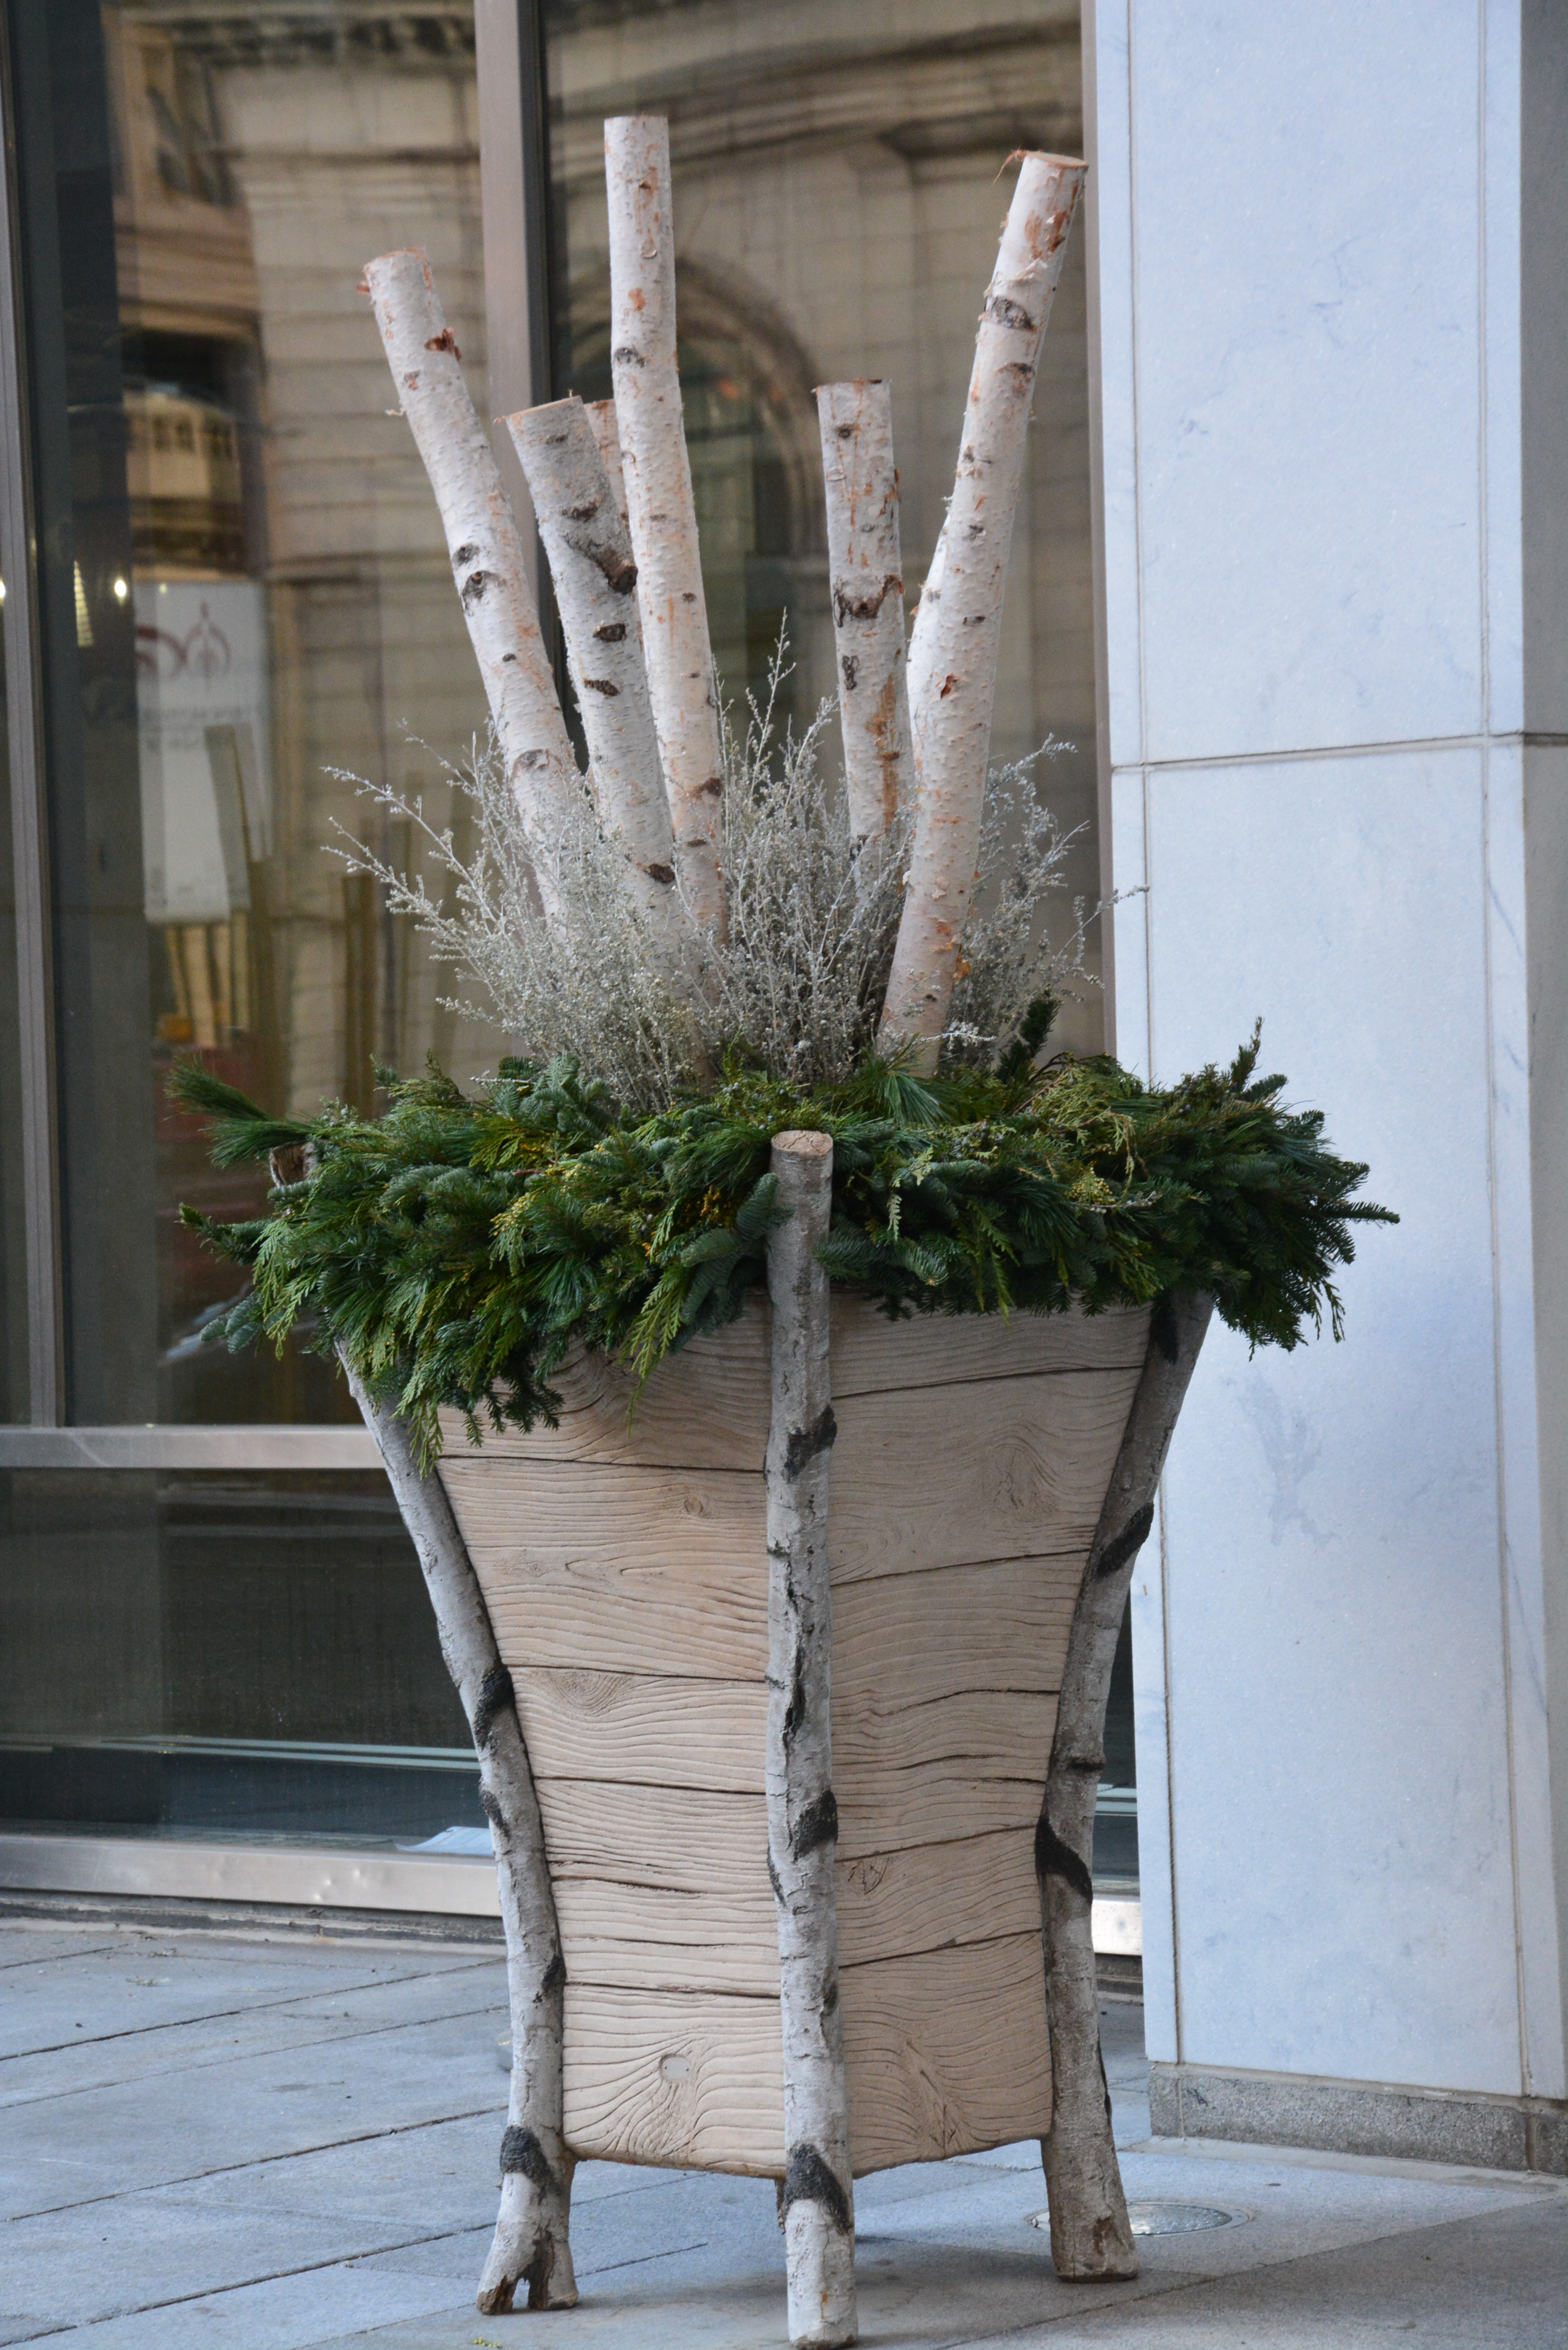
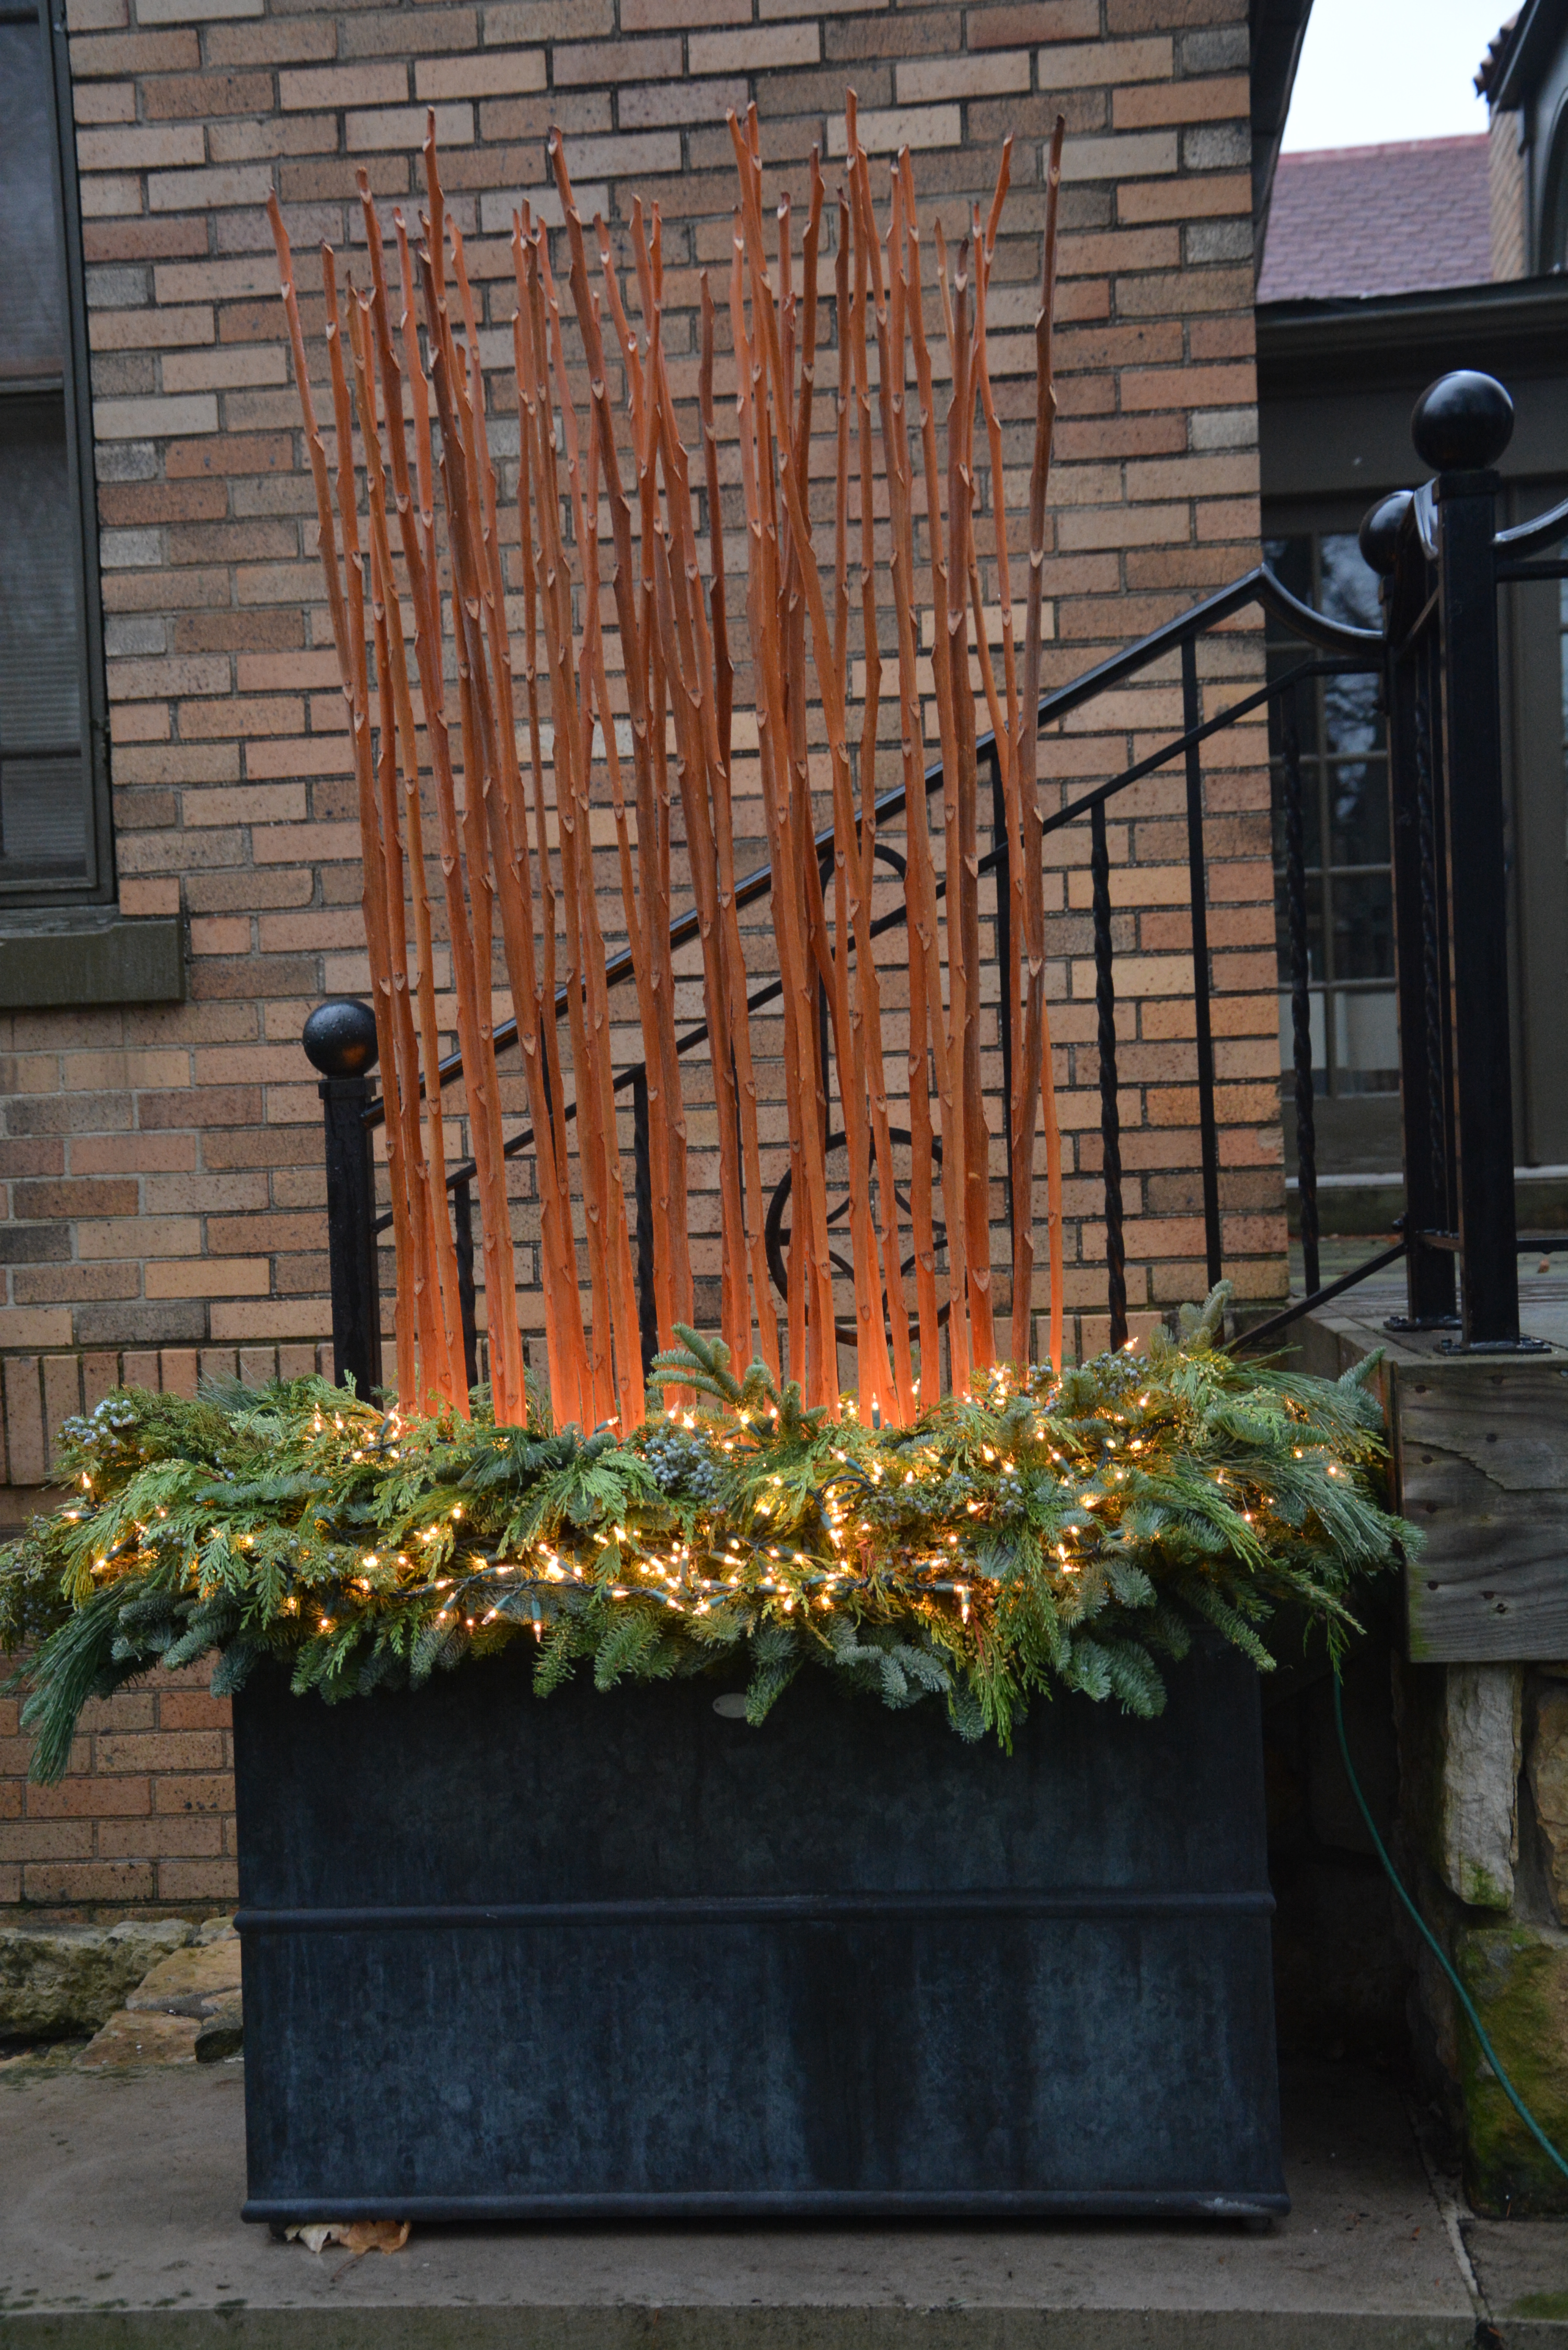
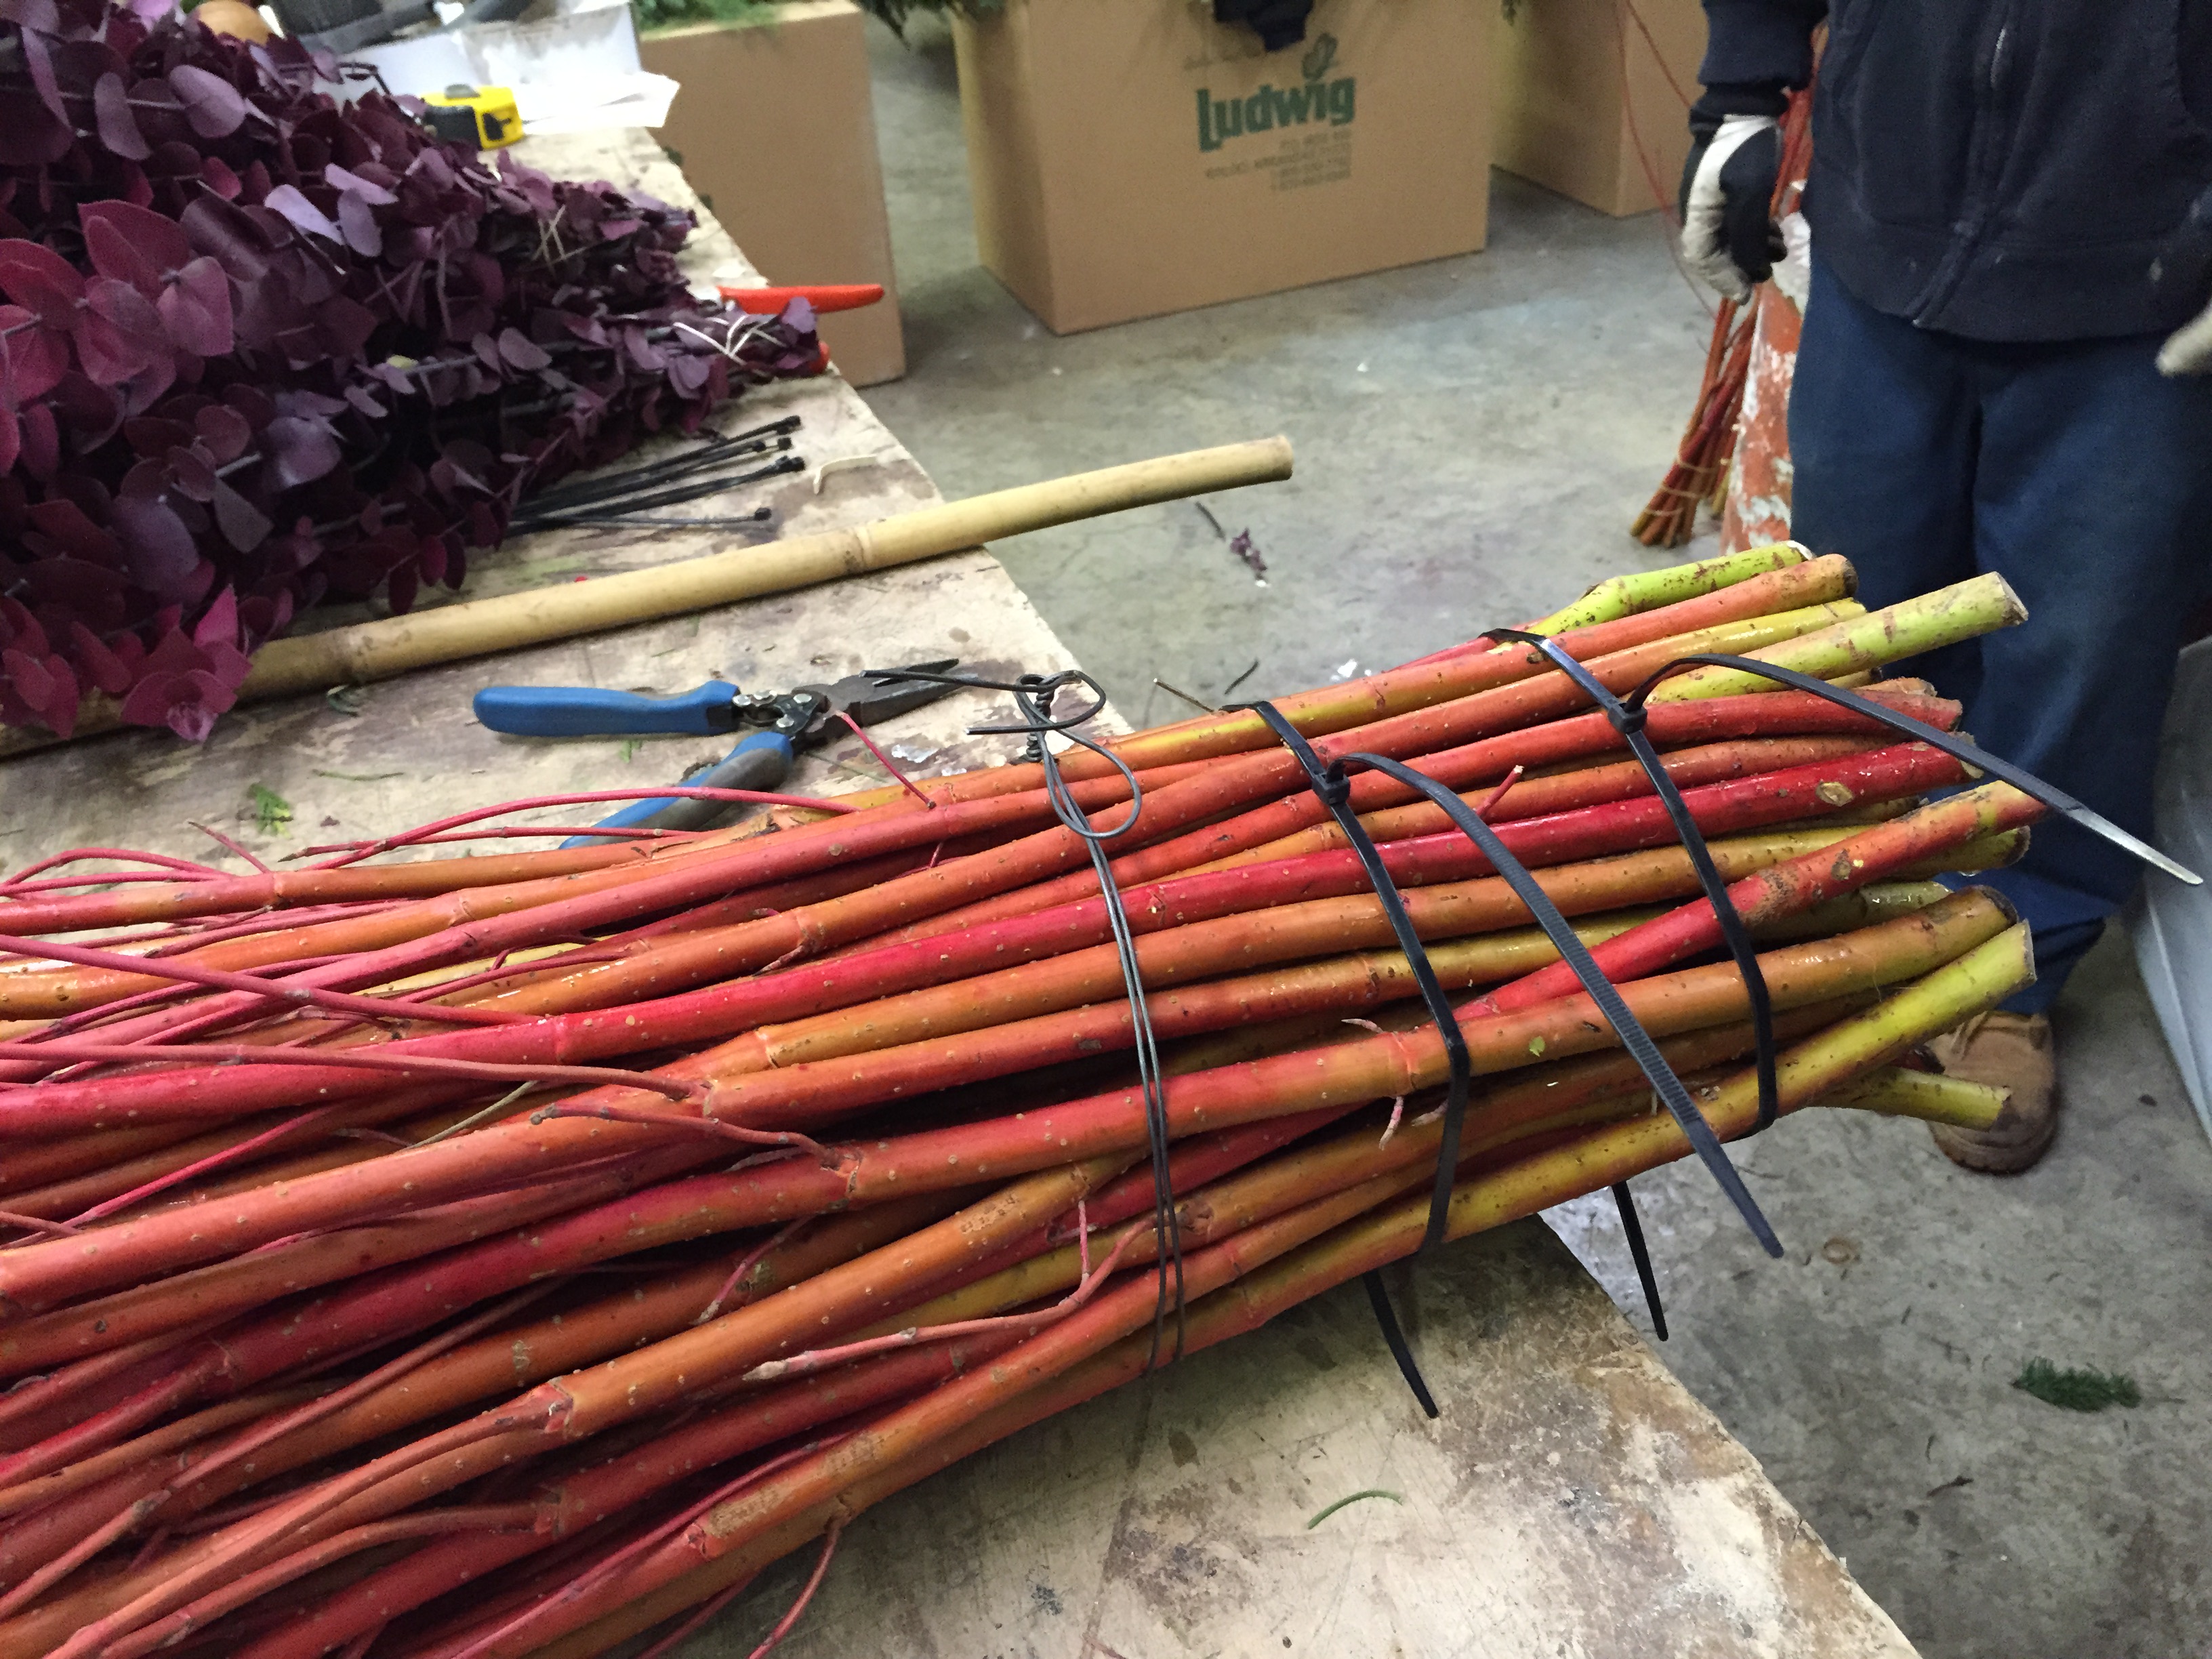
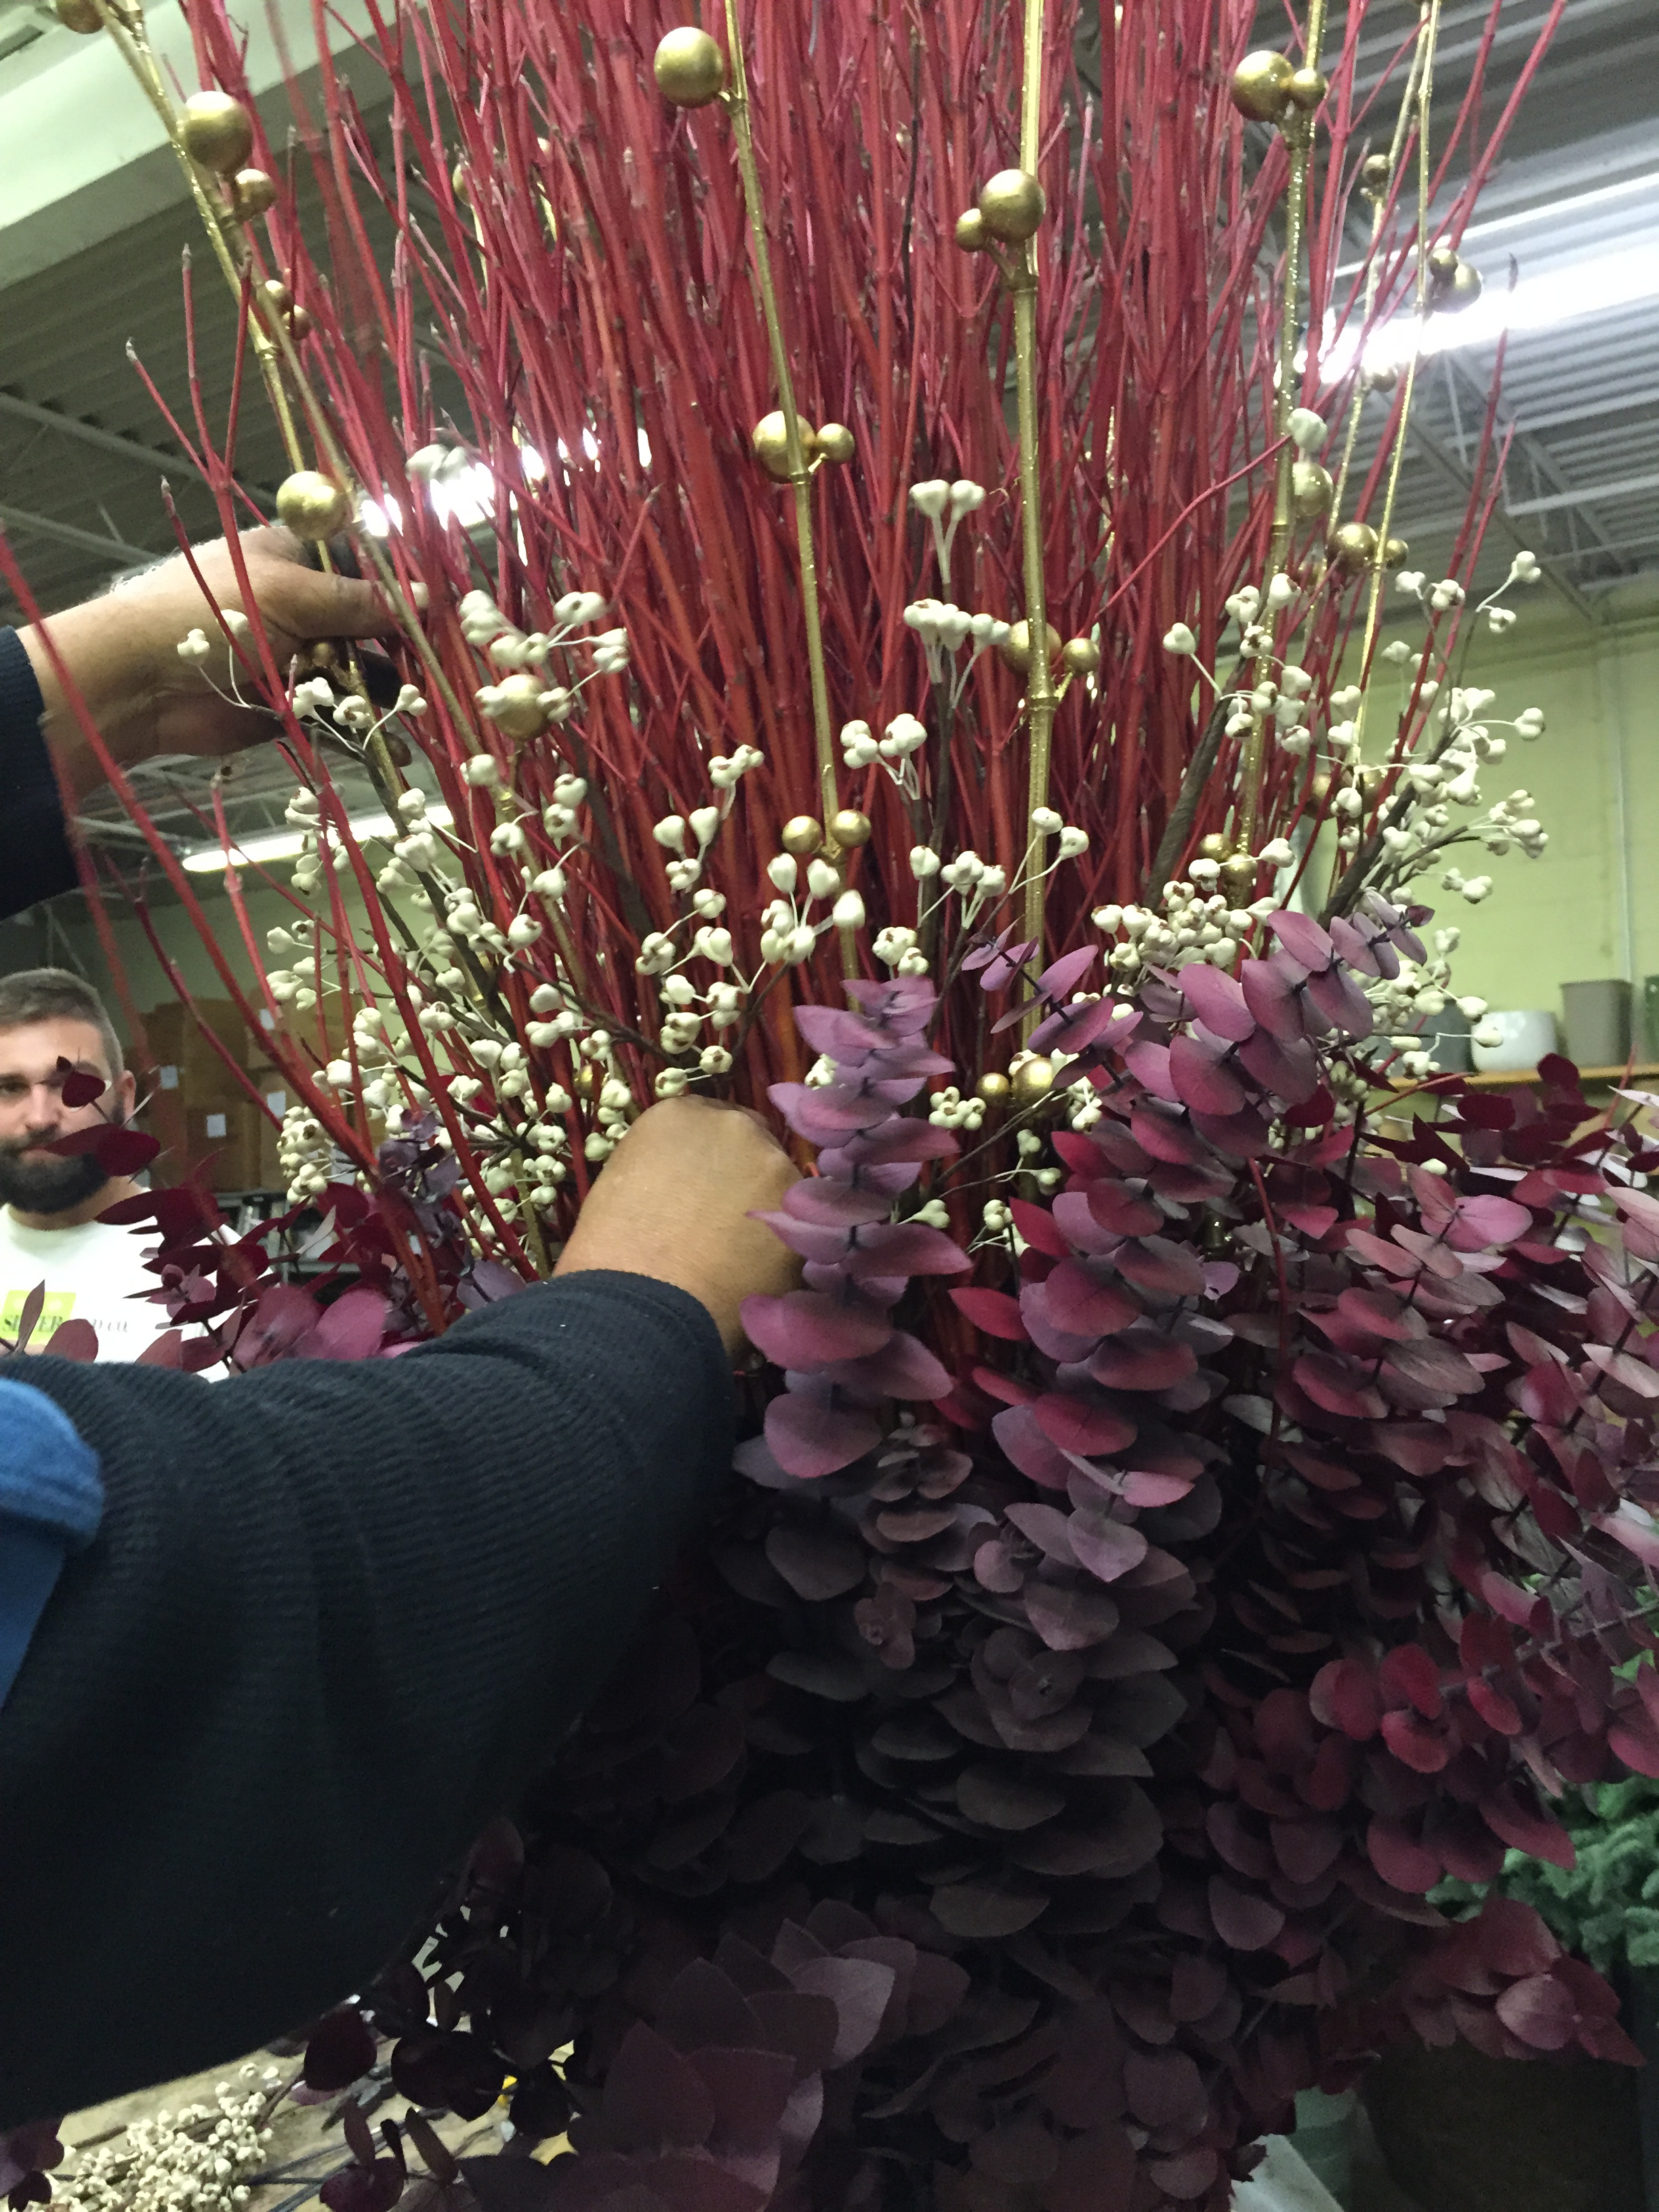
 Setting the centerpieces in winter and holiday pots has the same procedure, whether we have small or big pots to fill. The centerpiece often involves fresh cut branches that have considerable weight. The vertical element in a winter pot needs to stay vertical all winter. This large bunch of red twig dogwood been secured with several zip ties, and some concrete wire.
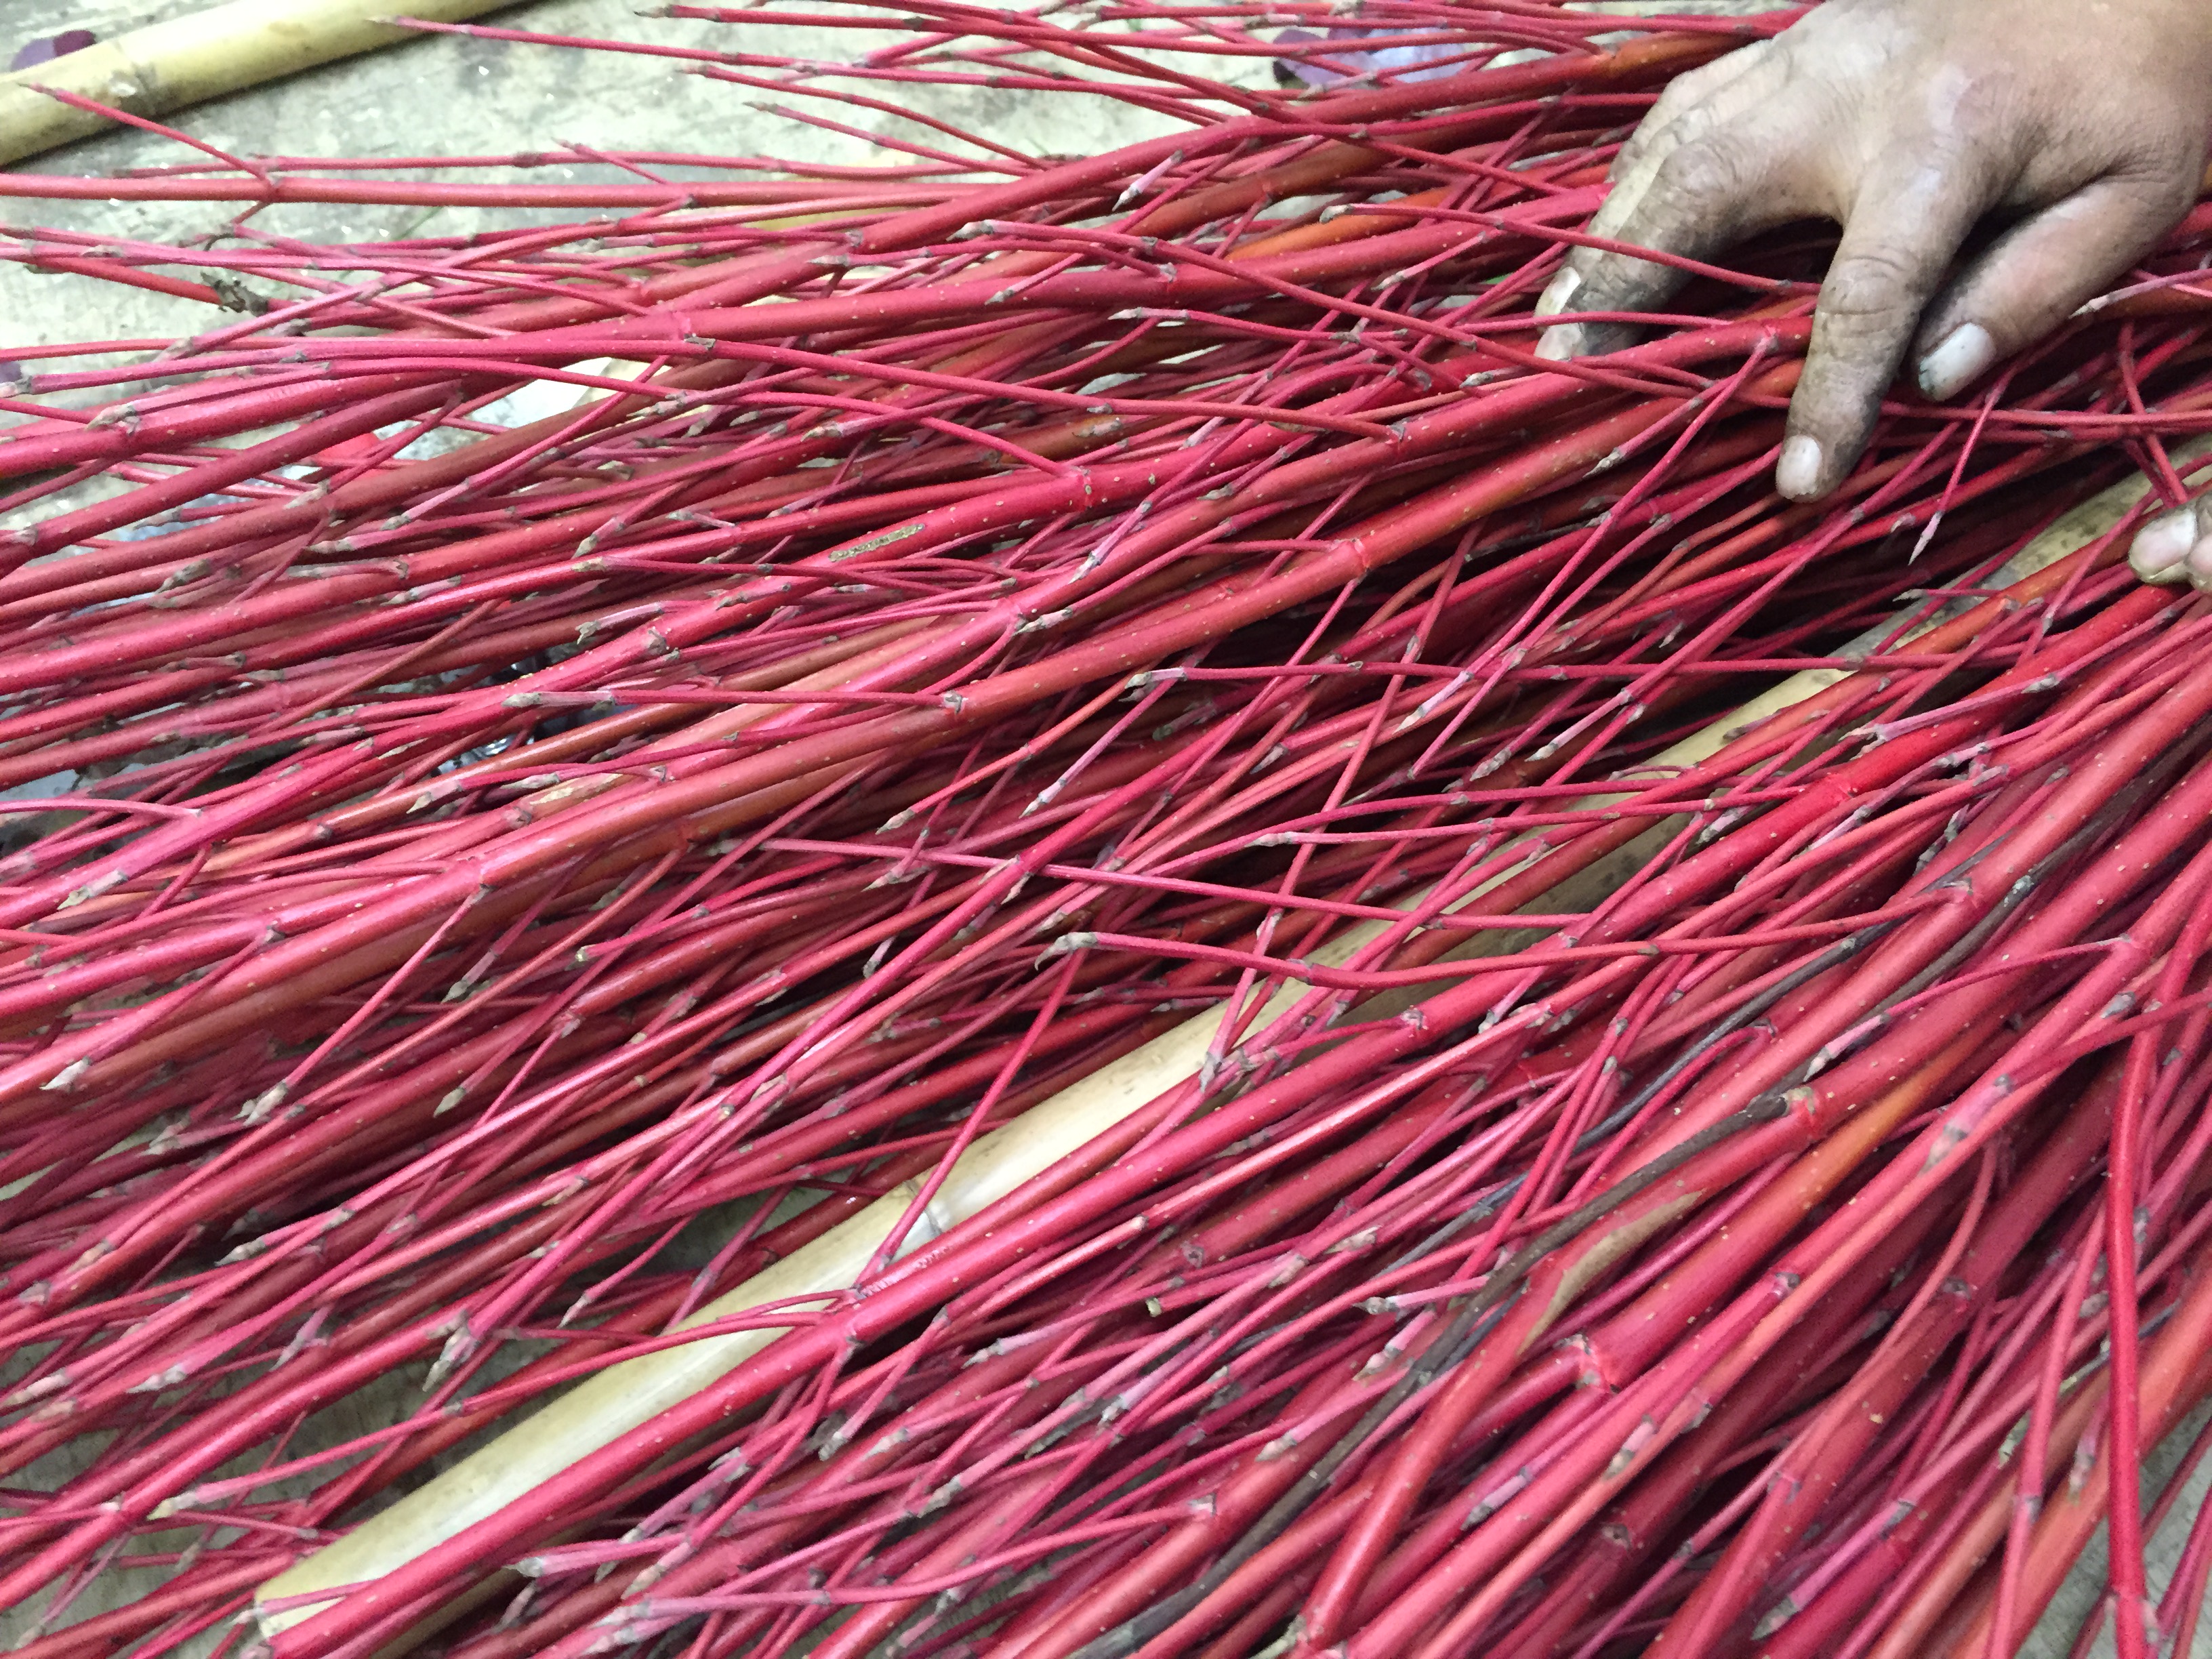 Buried in the twigs is a stout bamboo pole. When we are ready to install, we cut a hole in the foam that holds the greens, large enough for the twigs to pass through and rest on the soil. The stake will be driven down as deep as possible into the soil. This pole anchors the twigs in the pot. Very large centerpieces will have short lengths of steel rebar inserted all around. The steel posts will be wired together. Once the soil freezes, these arrangements will not move, or go over. If this seems like a lot of work, it is. A beautiful centerpiece gets some of its beauty from the strength and integrity of the installation.

Any other materials that get added to the twigs can be secured with another layer of zip ties. For more height, we may wedge additional materials between the branches, or wire them to the branches. The method of choice is whatever method makes the arrangement strong and weather proof. Snow and ice on a winter arrangement can be gorgeous. Snow and ice that brings an arrangement down is a nuisance. Once the soil freezes, a centerpiece gone over can be difficult to fix.
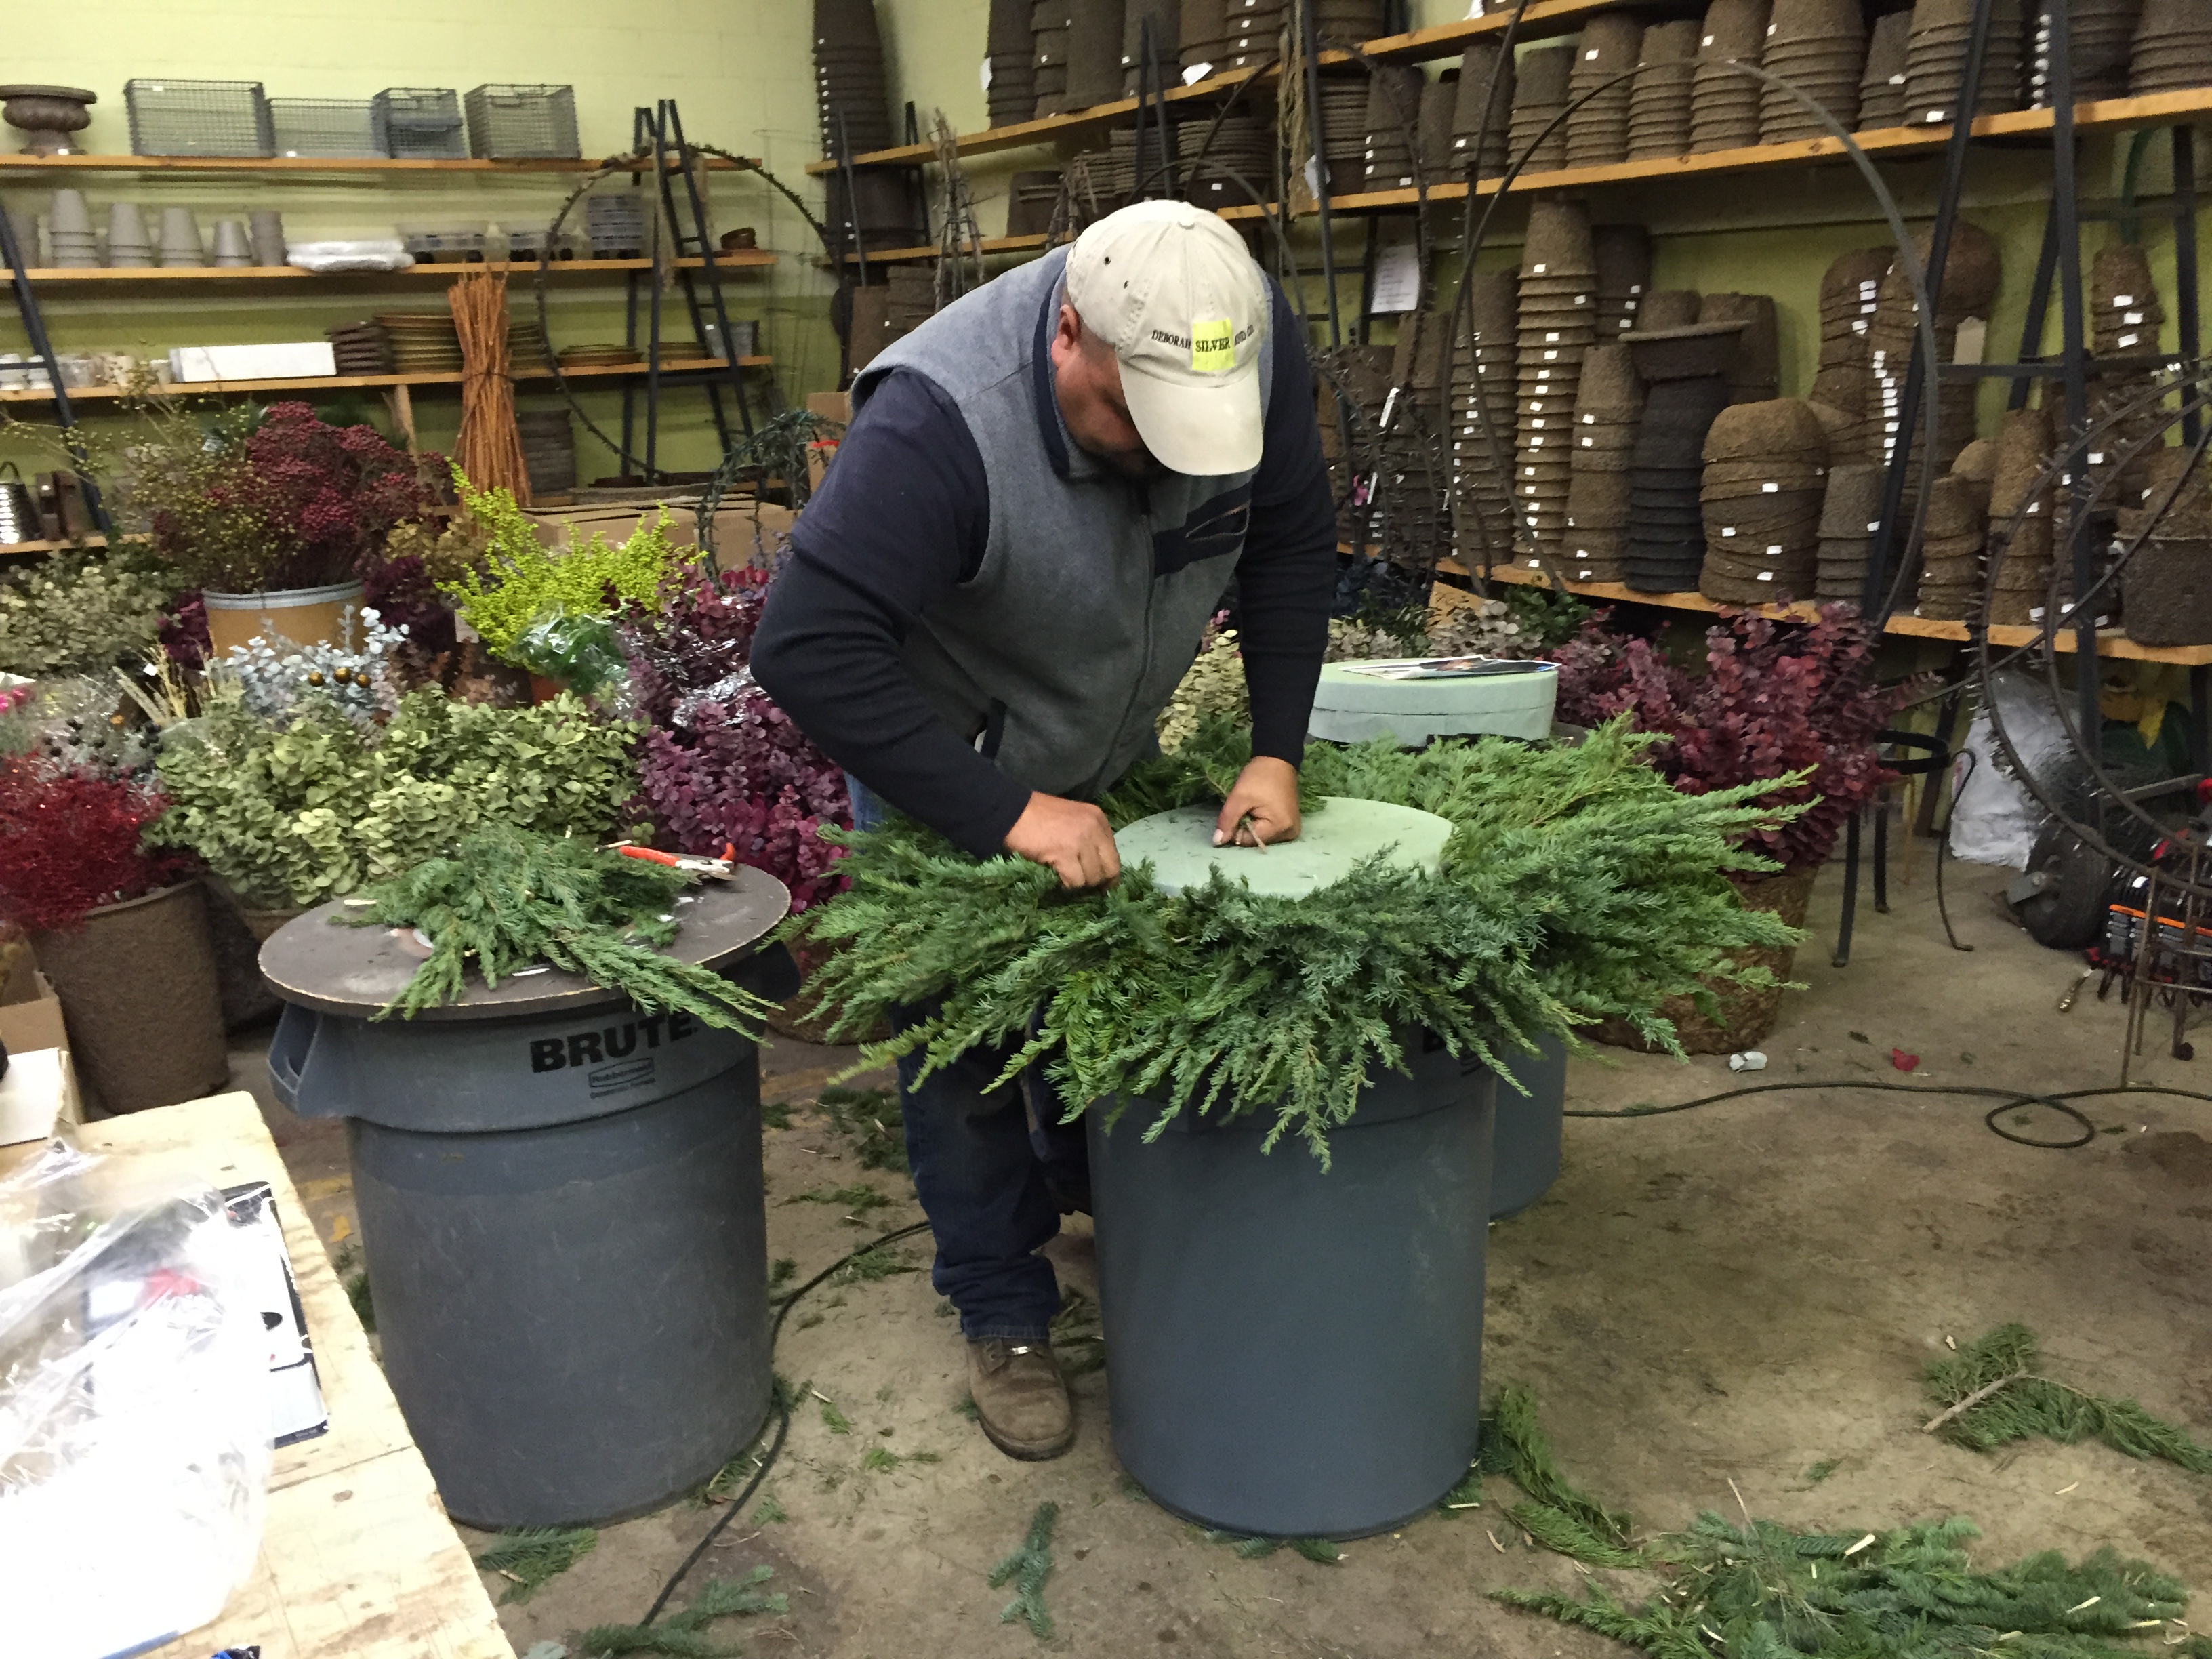
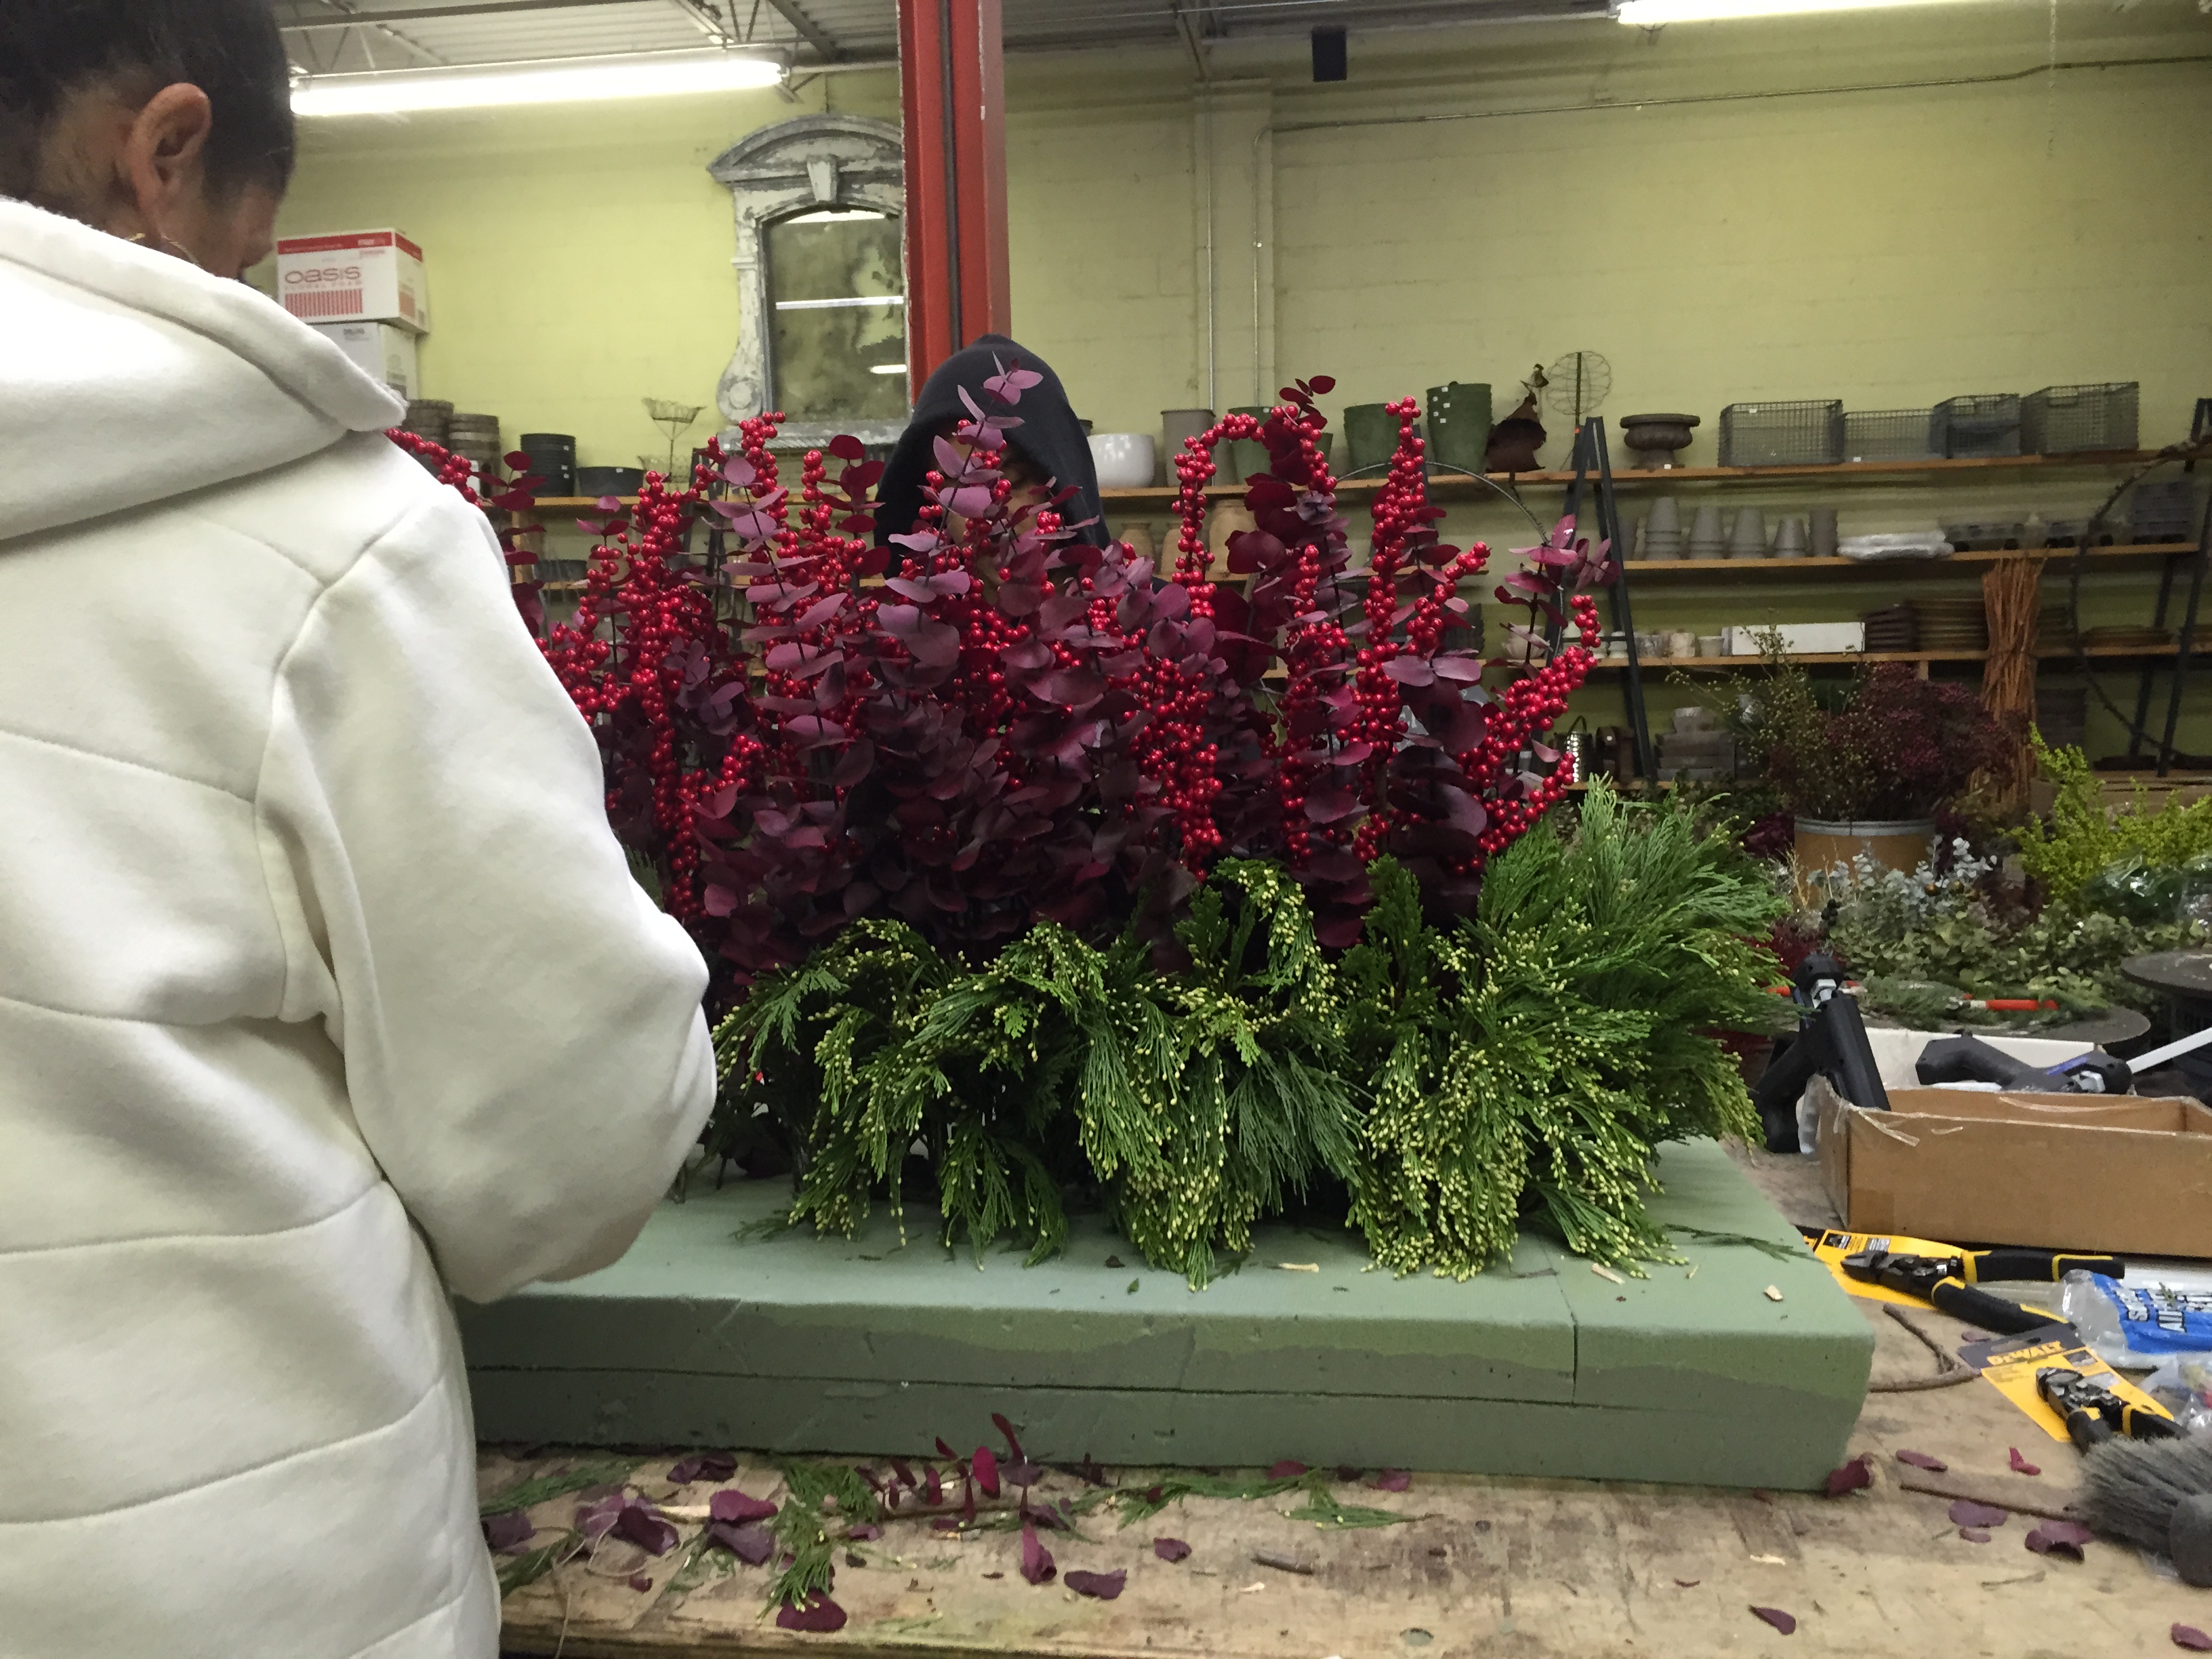
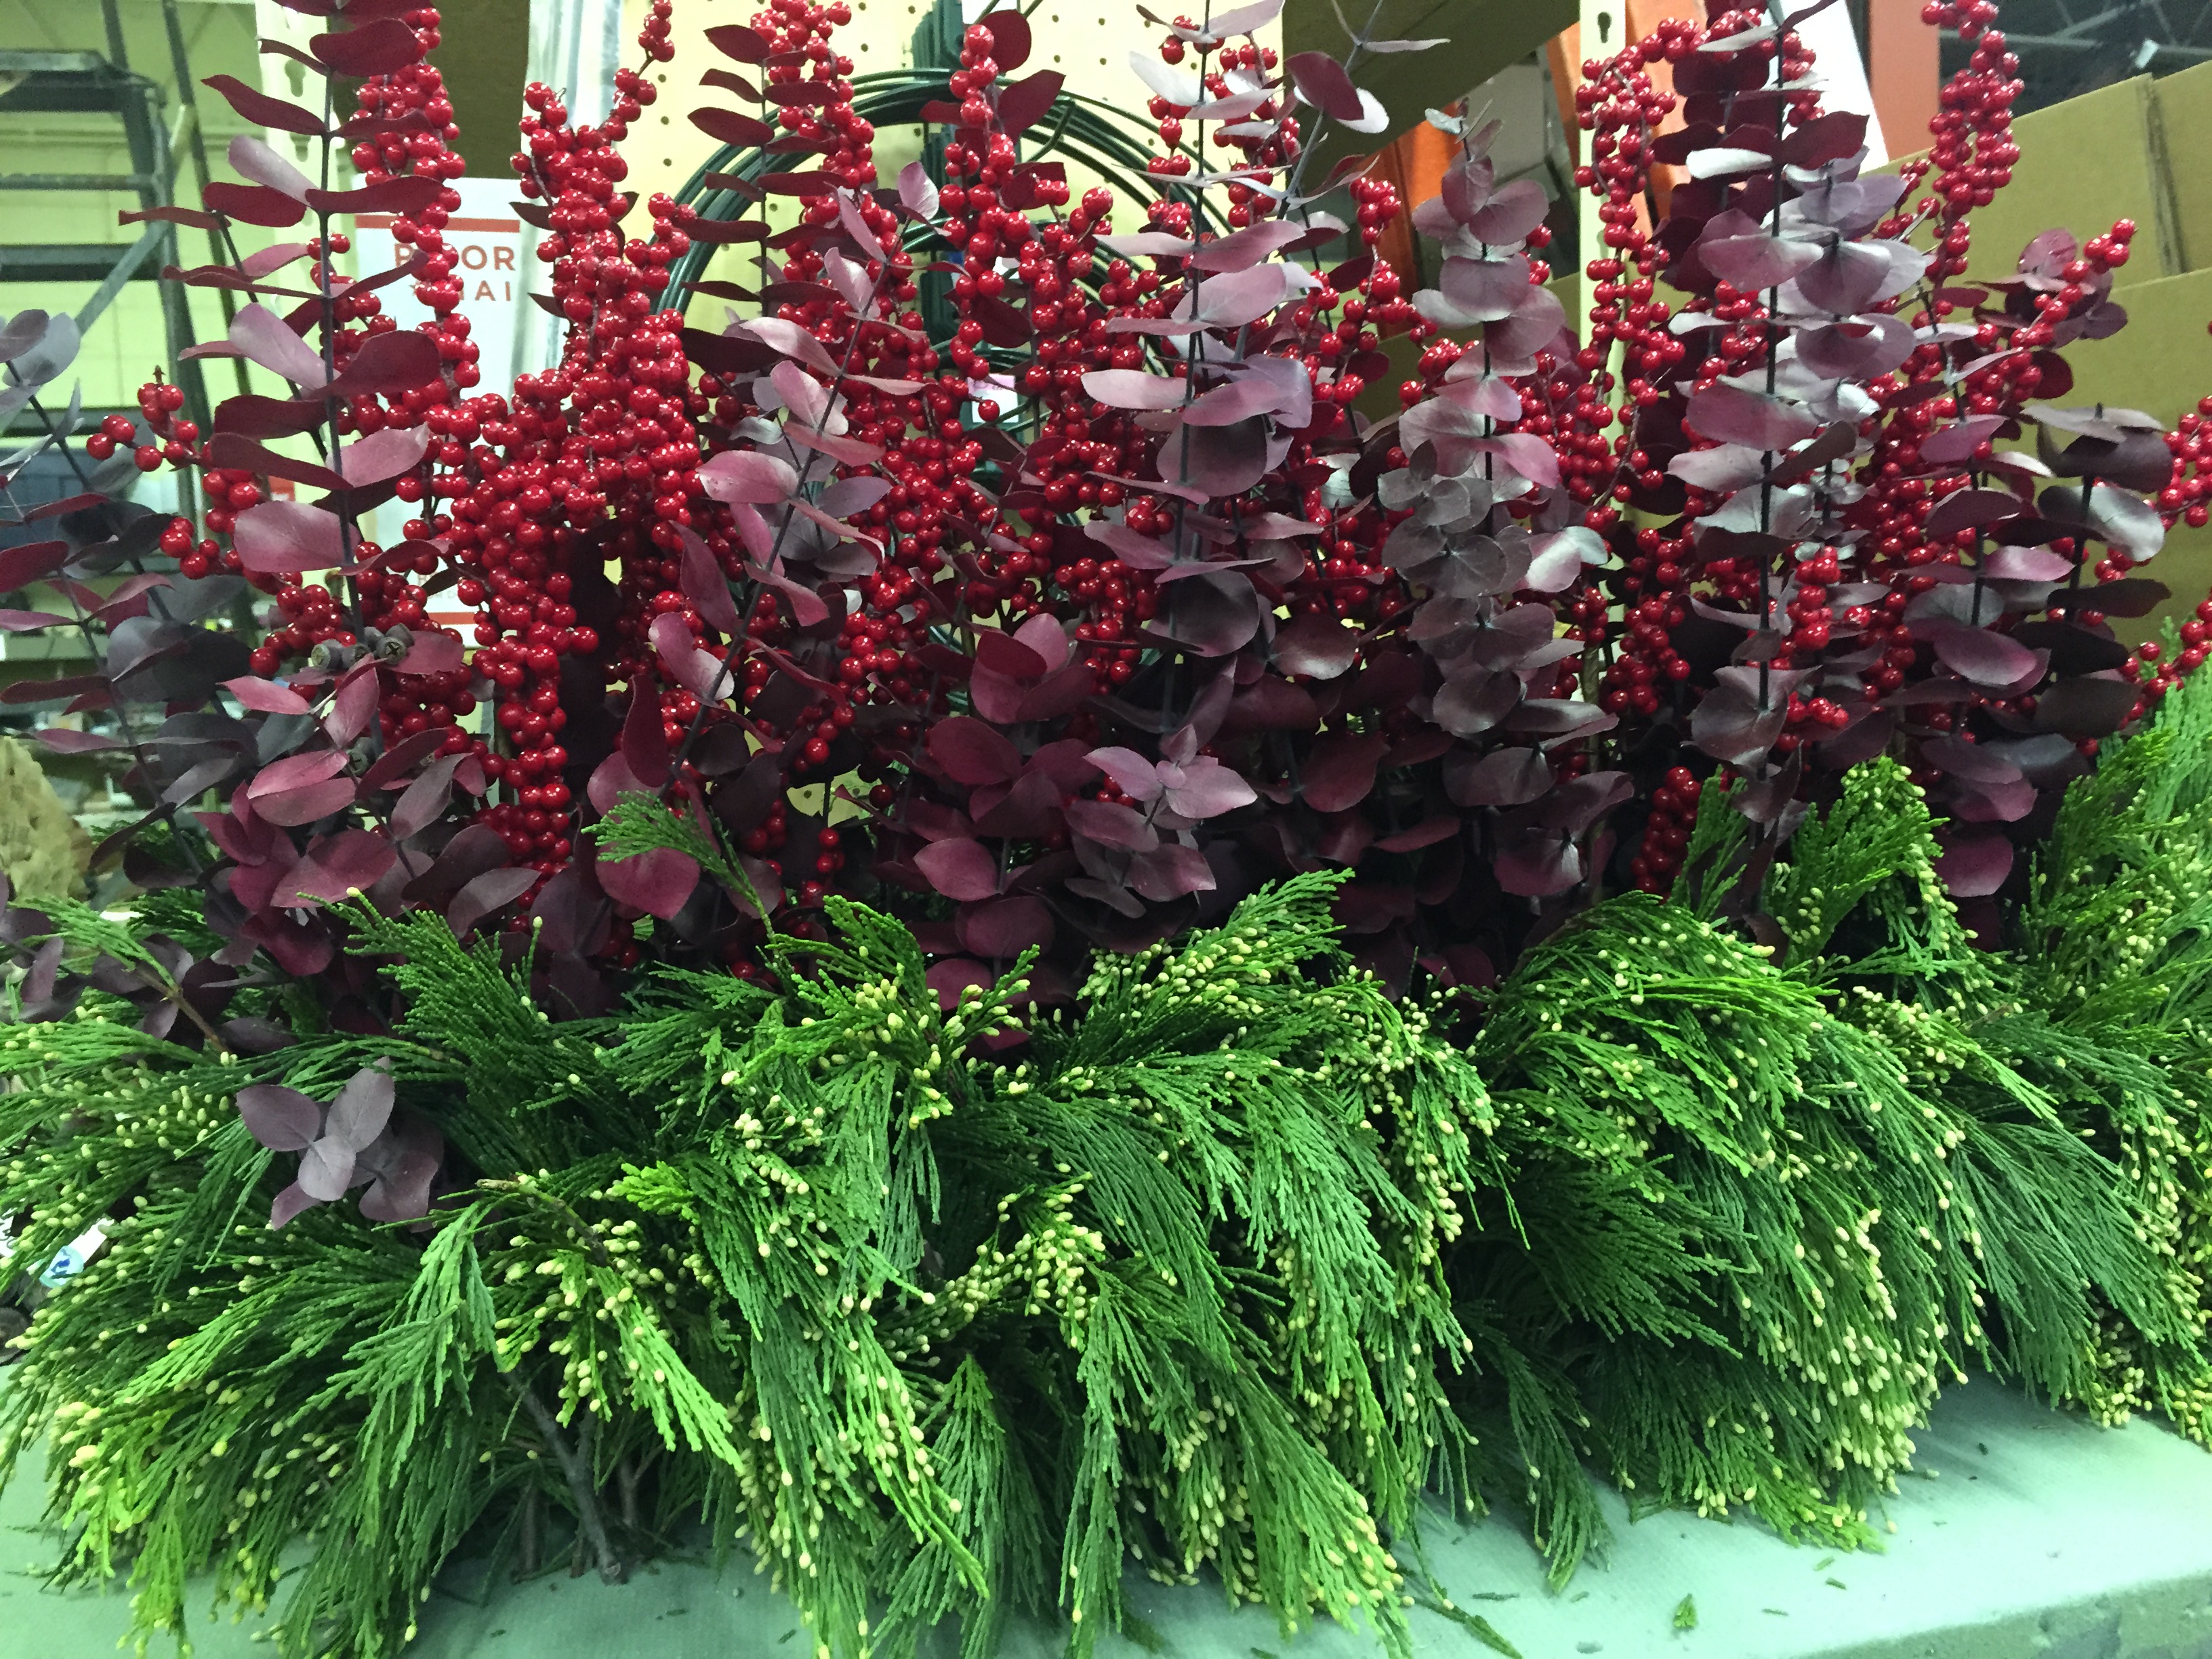
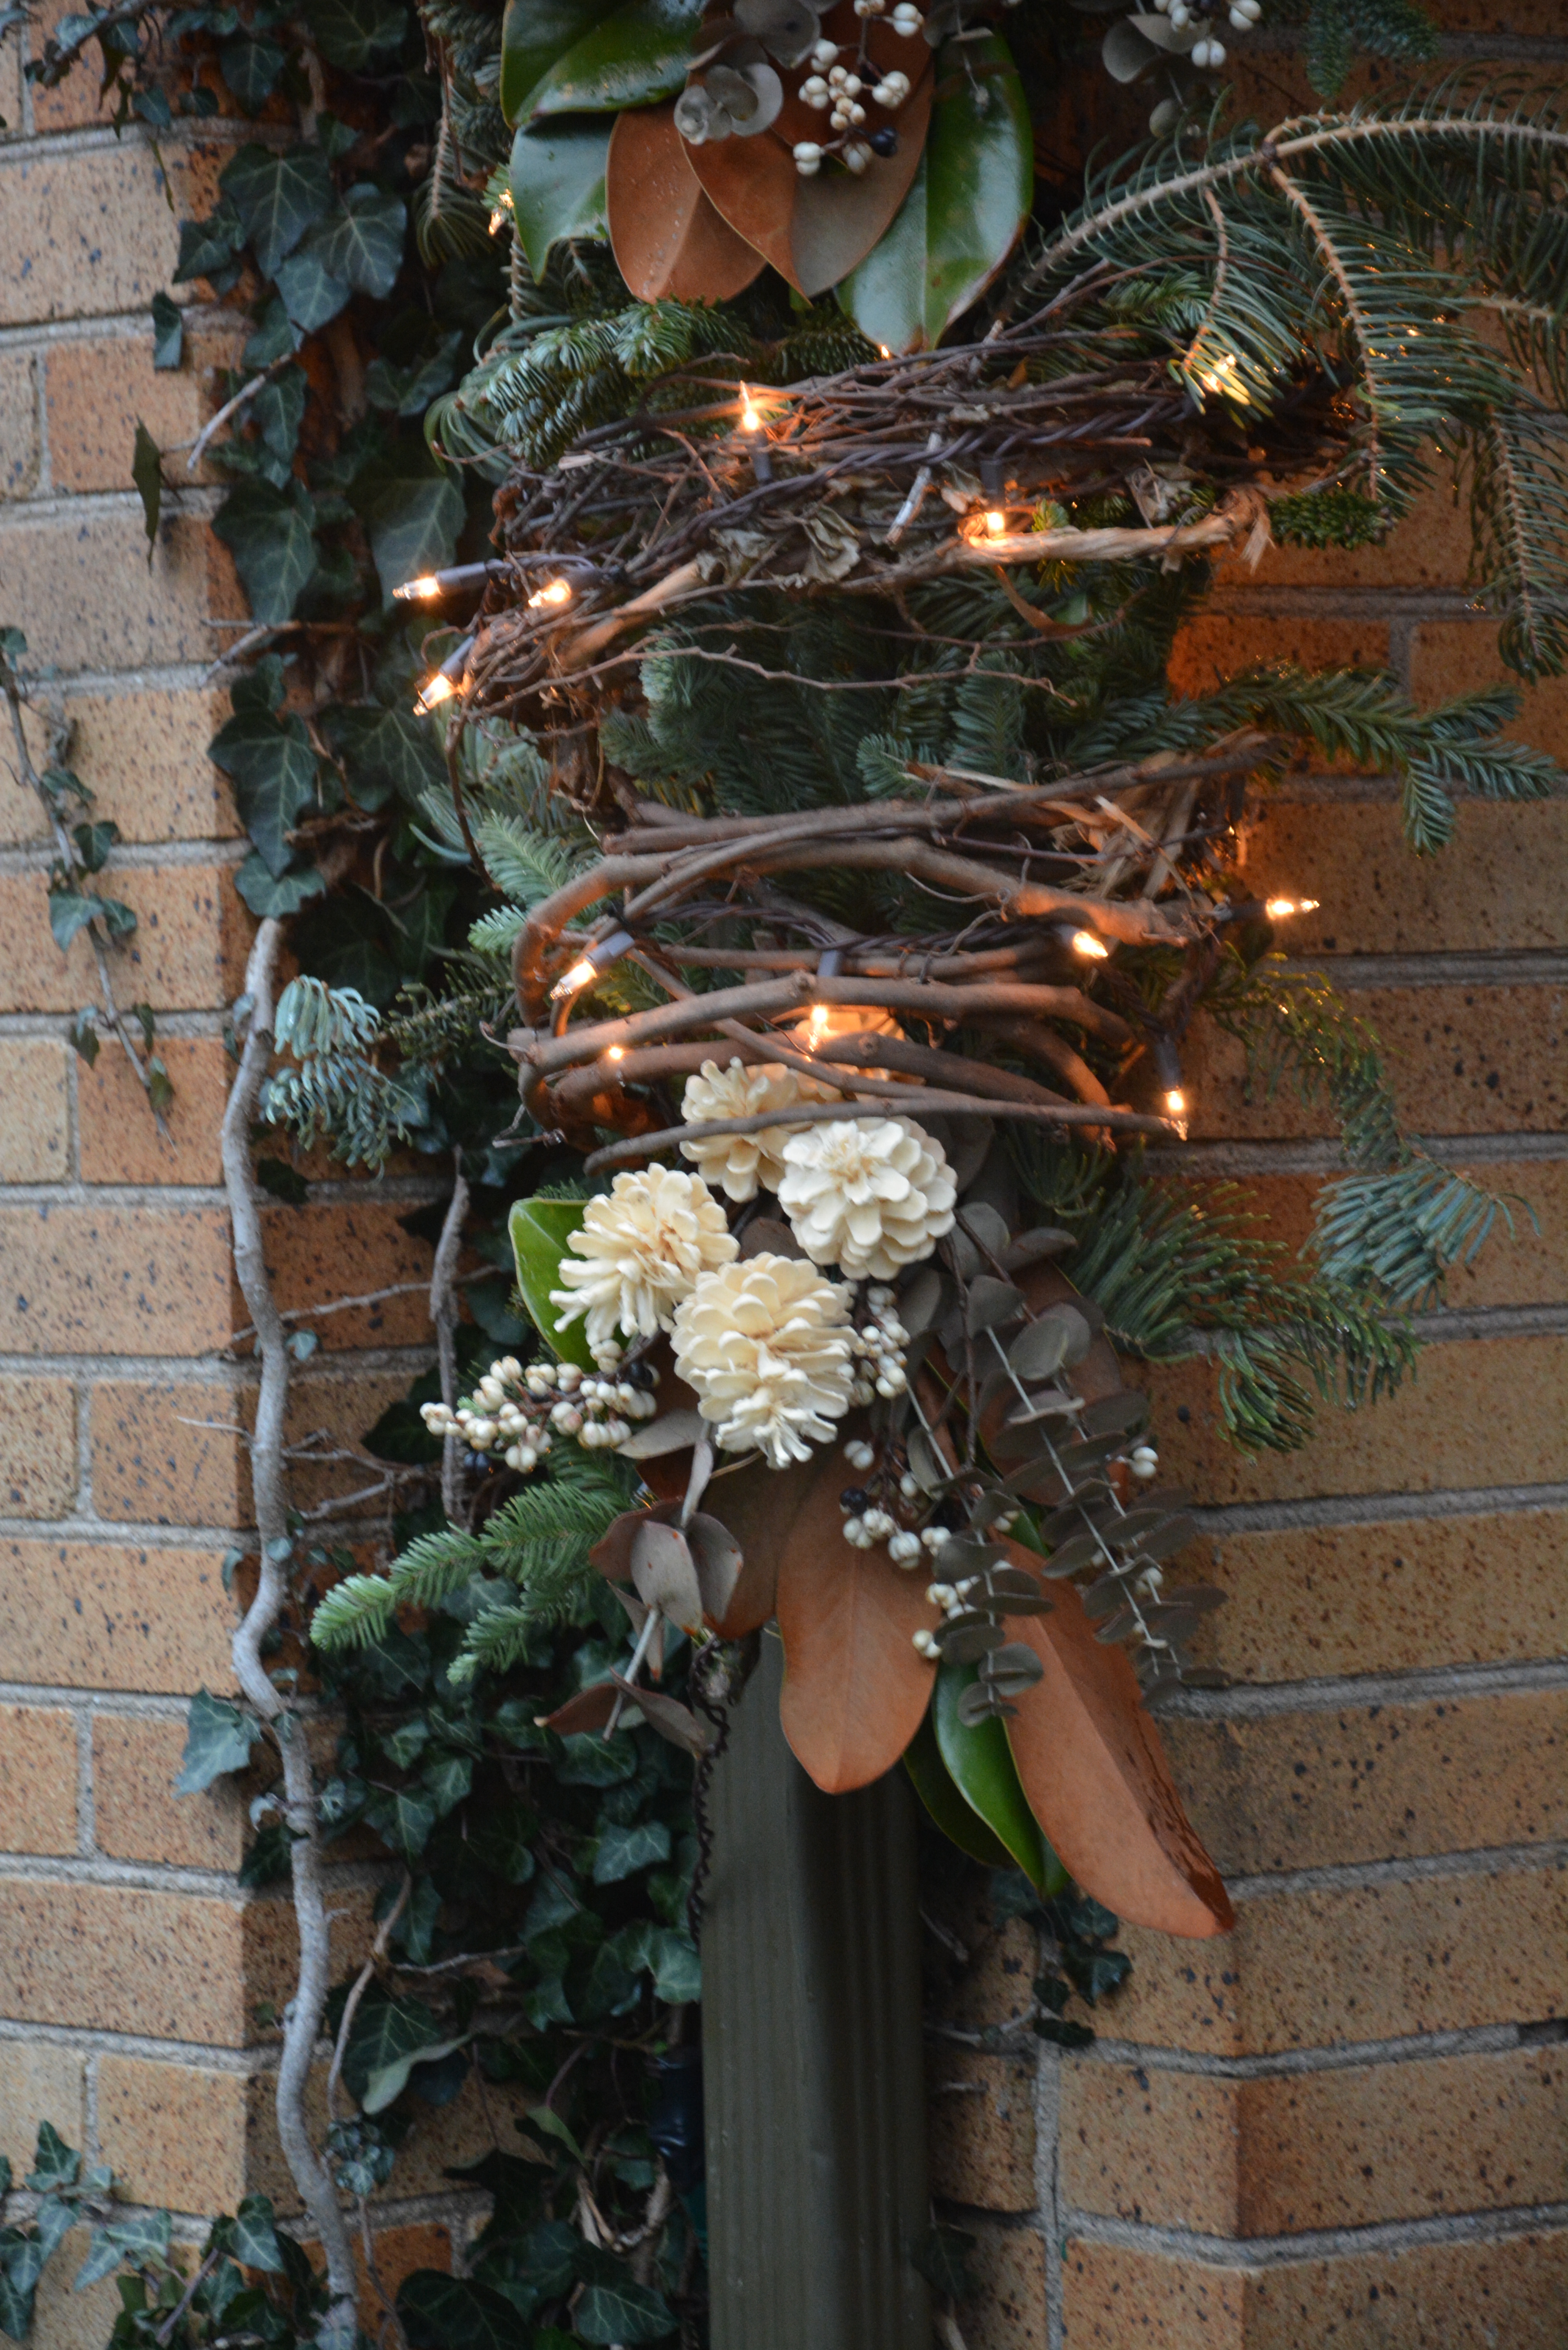
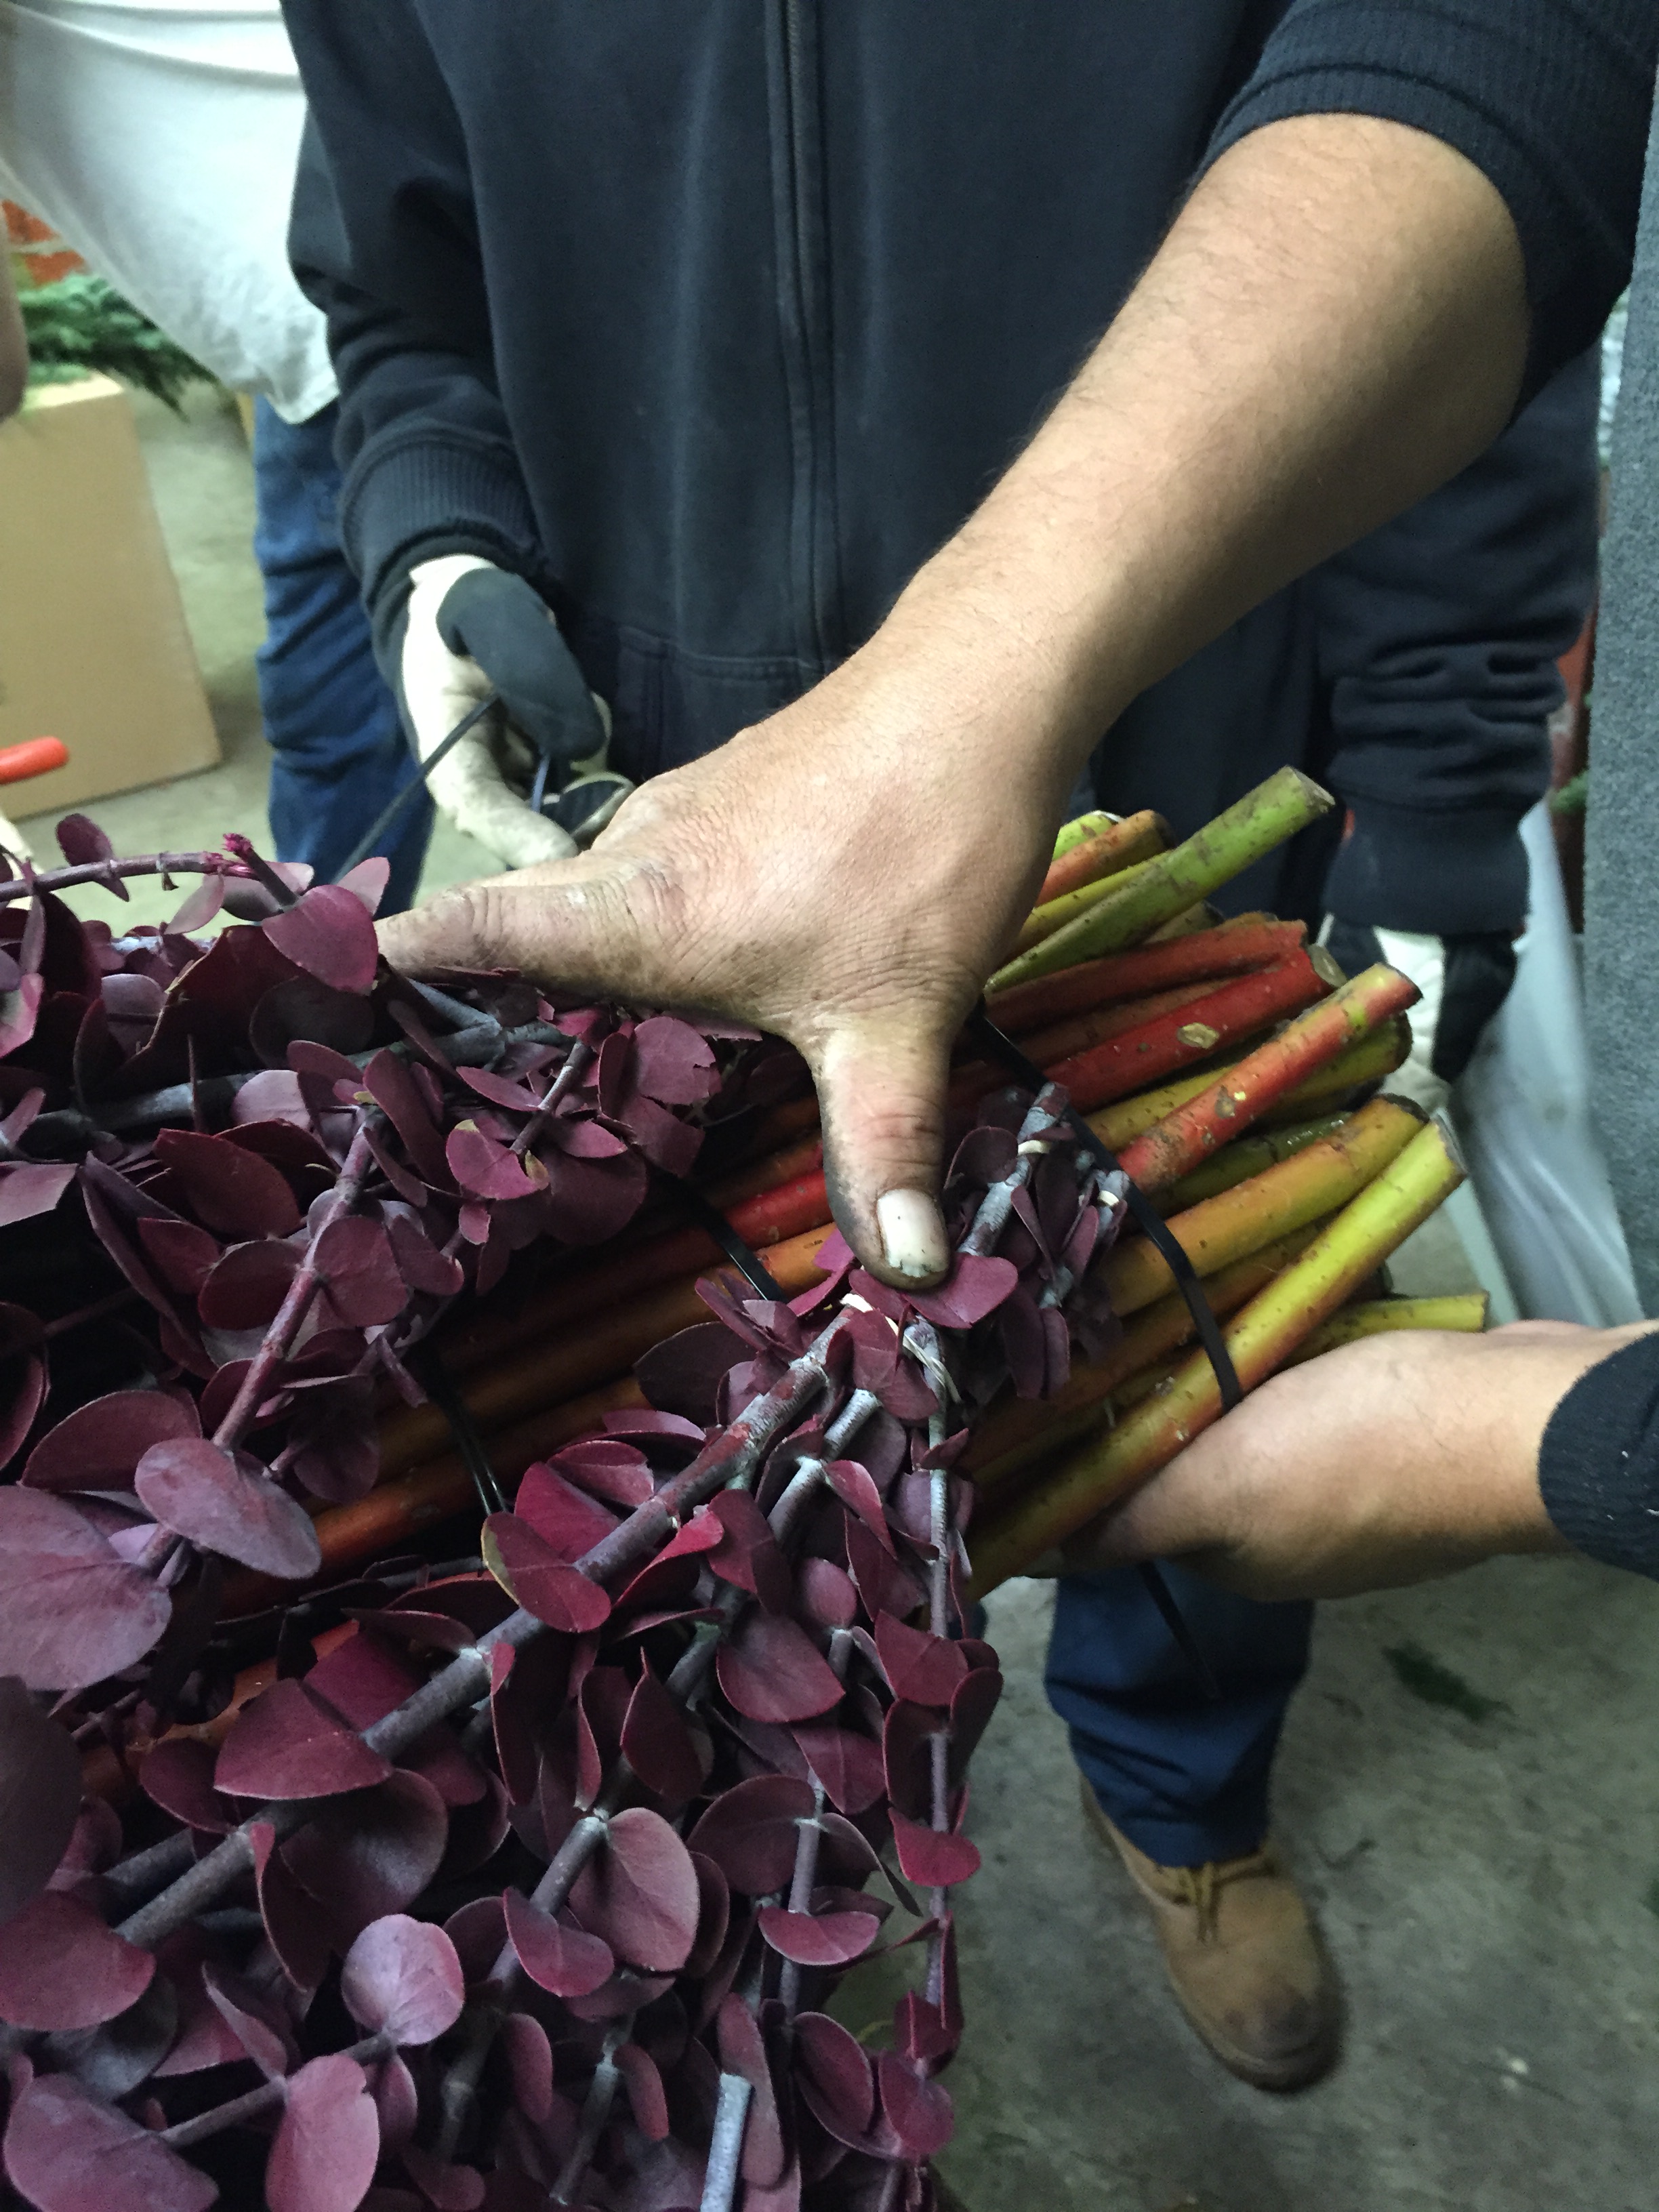 All of the evidence of the construction at the bottom of the centerpiece will be buried in the greens. Florist’s wire is a dark green that recedes from view. Preserved eucalyptus is a versatile material for winter centerpieces. The color does not run or fade. It is flexible and pliant. Very heavy snow can be gently broomed off-the eucalyptus will spring back. The soft, loose and leafy texture is a great contrast to the twigs. It helps to cover the evidence of the construction. Though making a centerpiece like this is a considerable amount of work, it needs to look effortless.
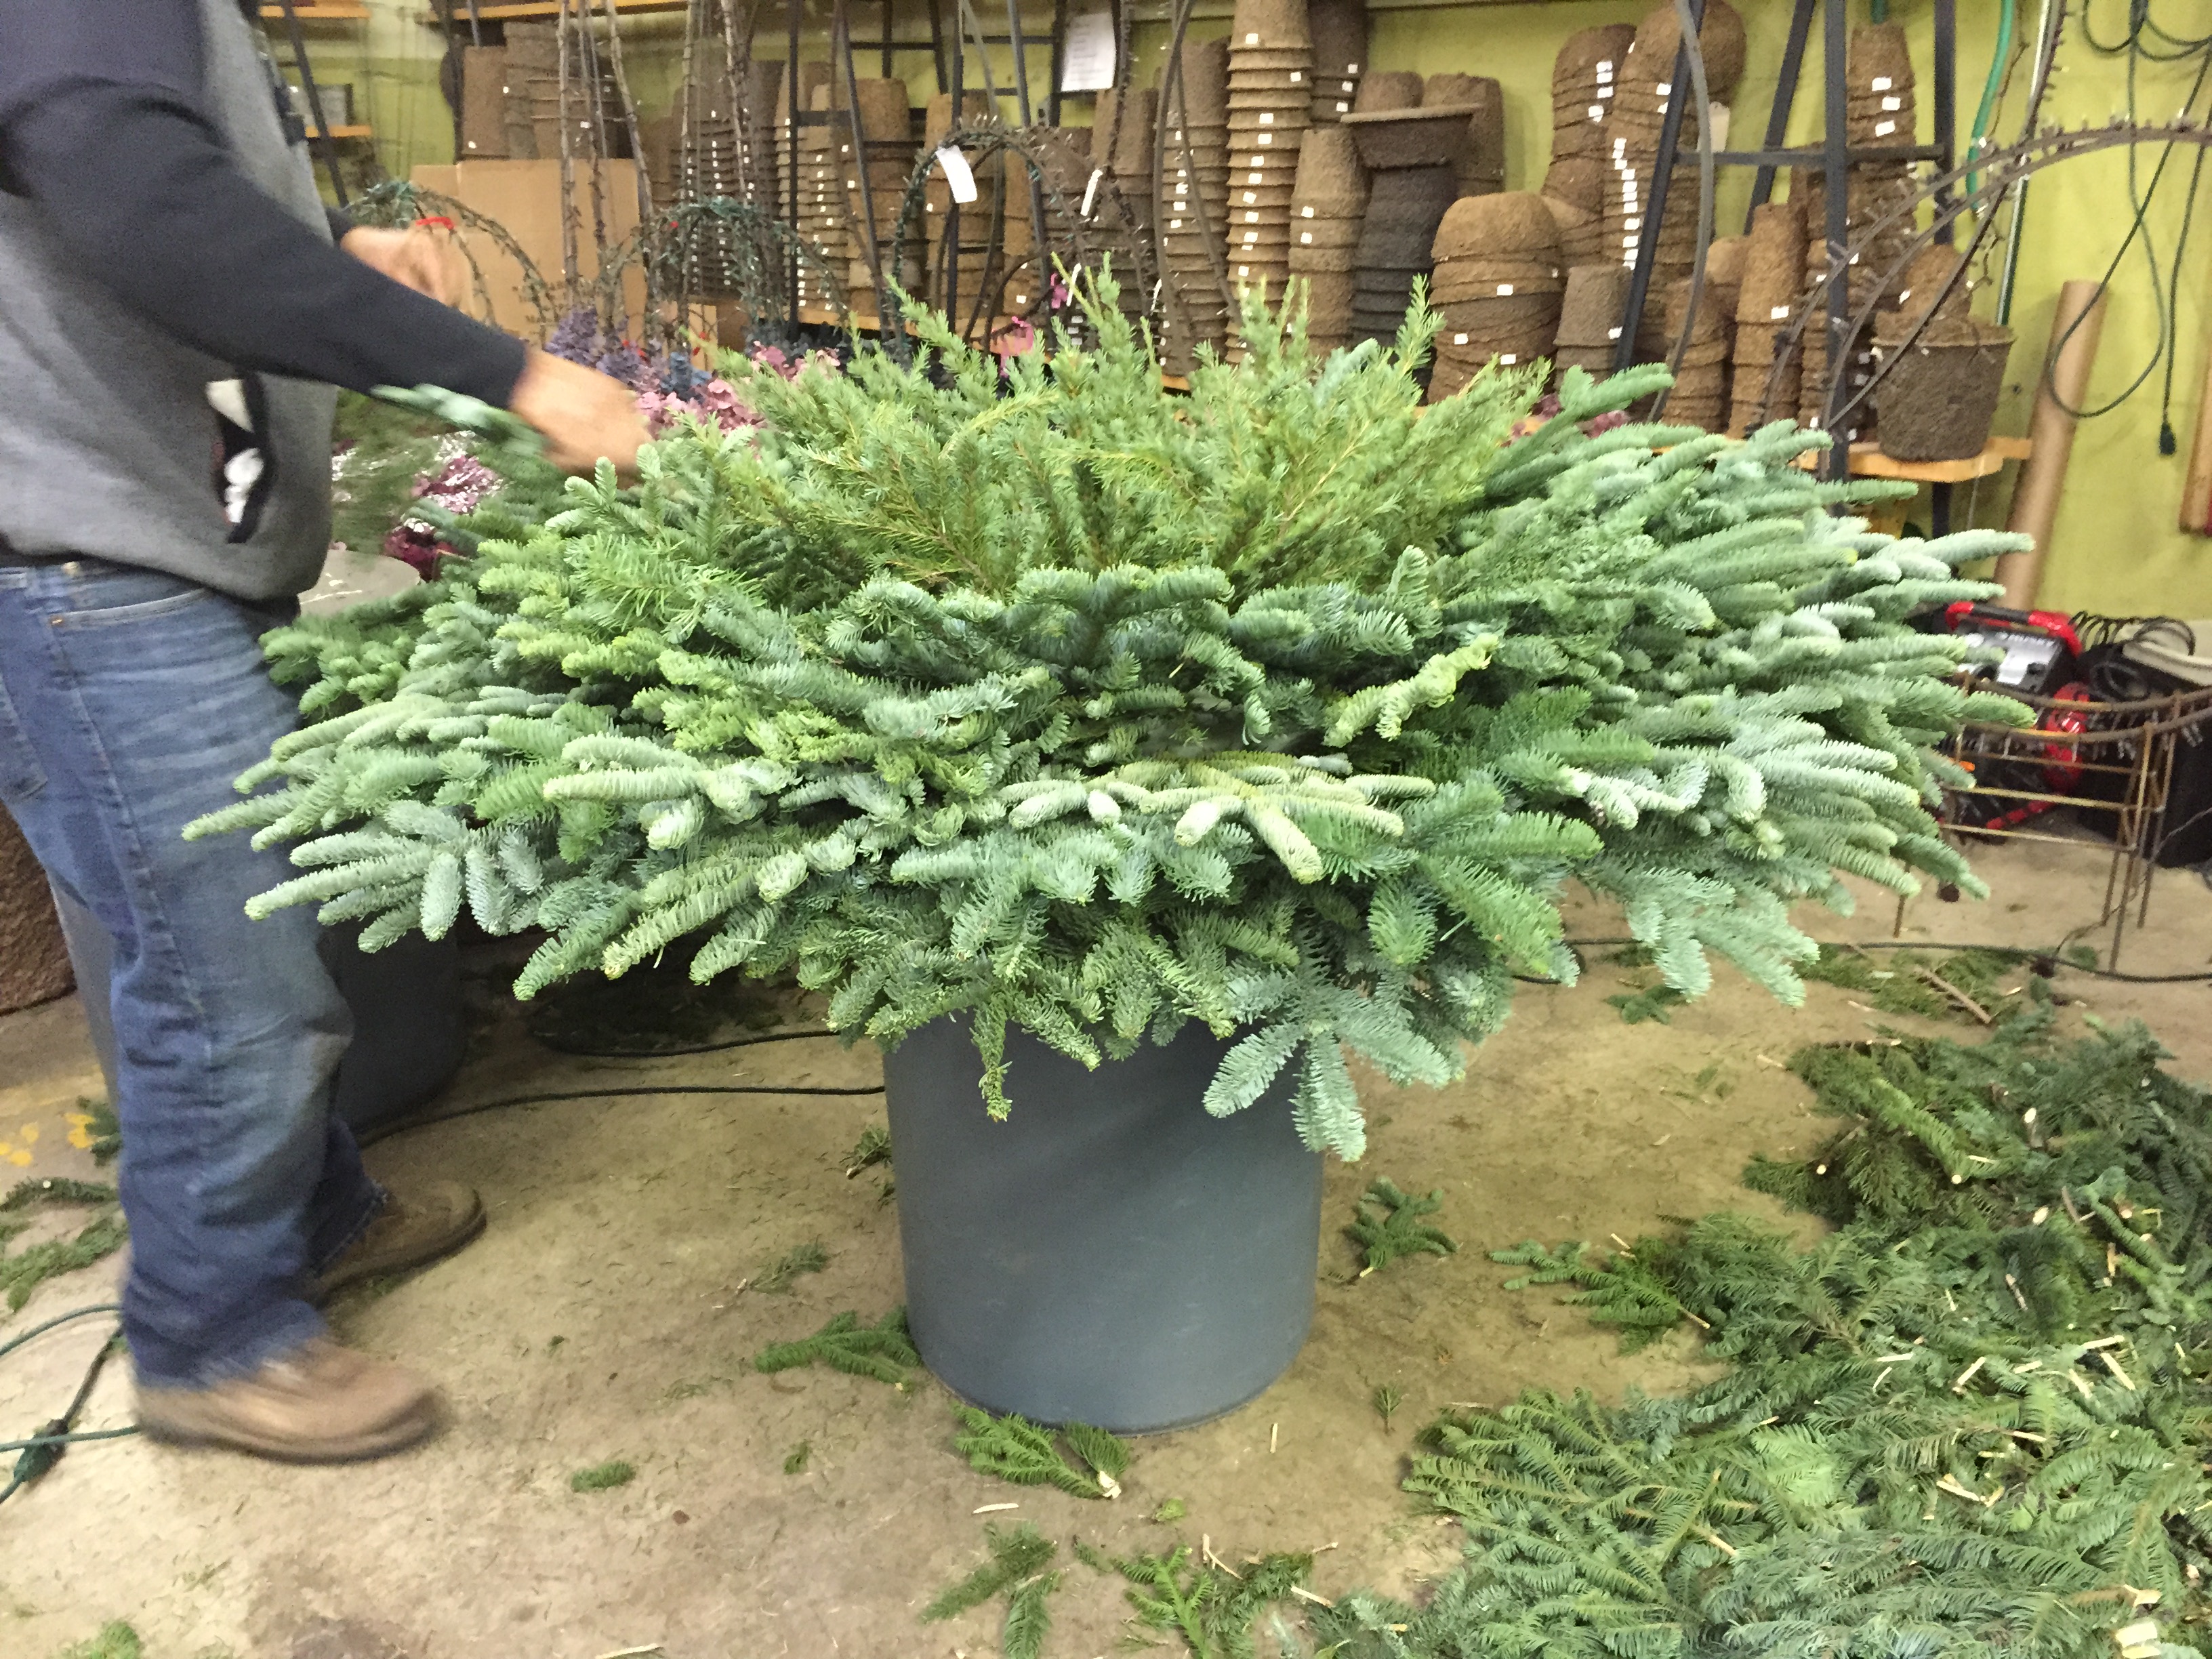
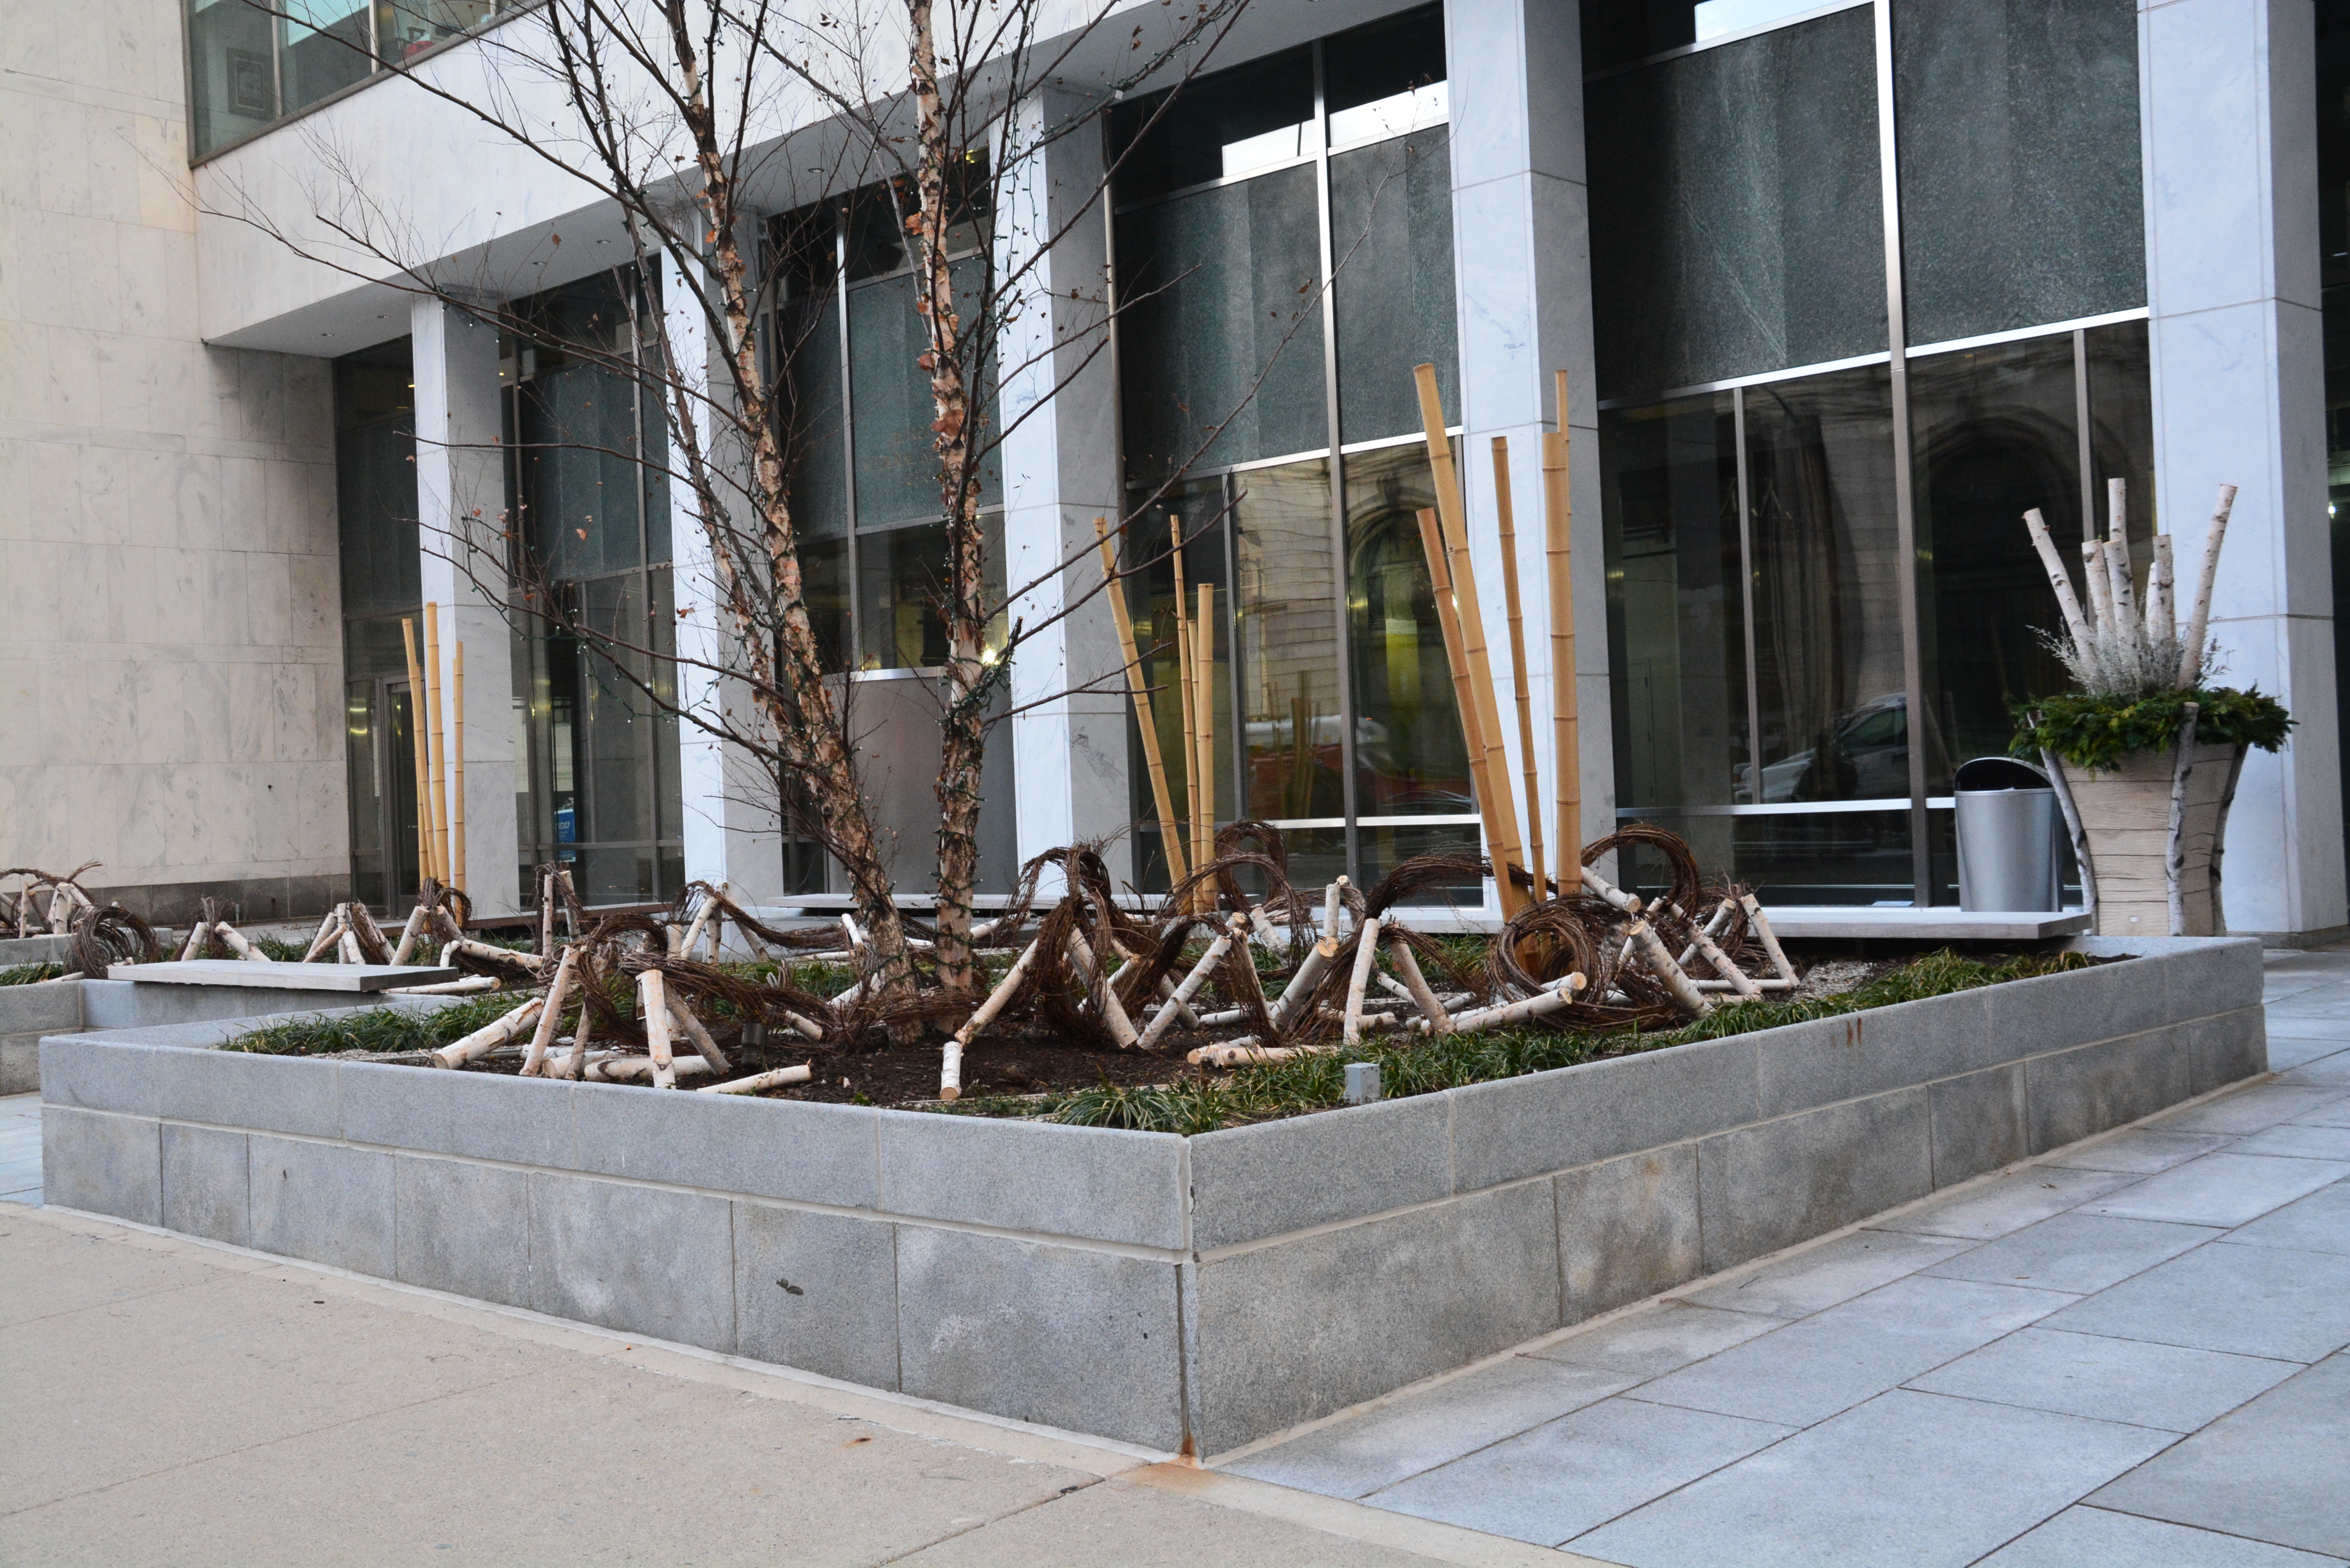
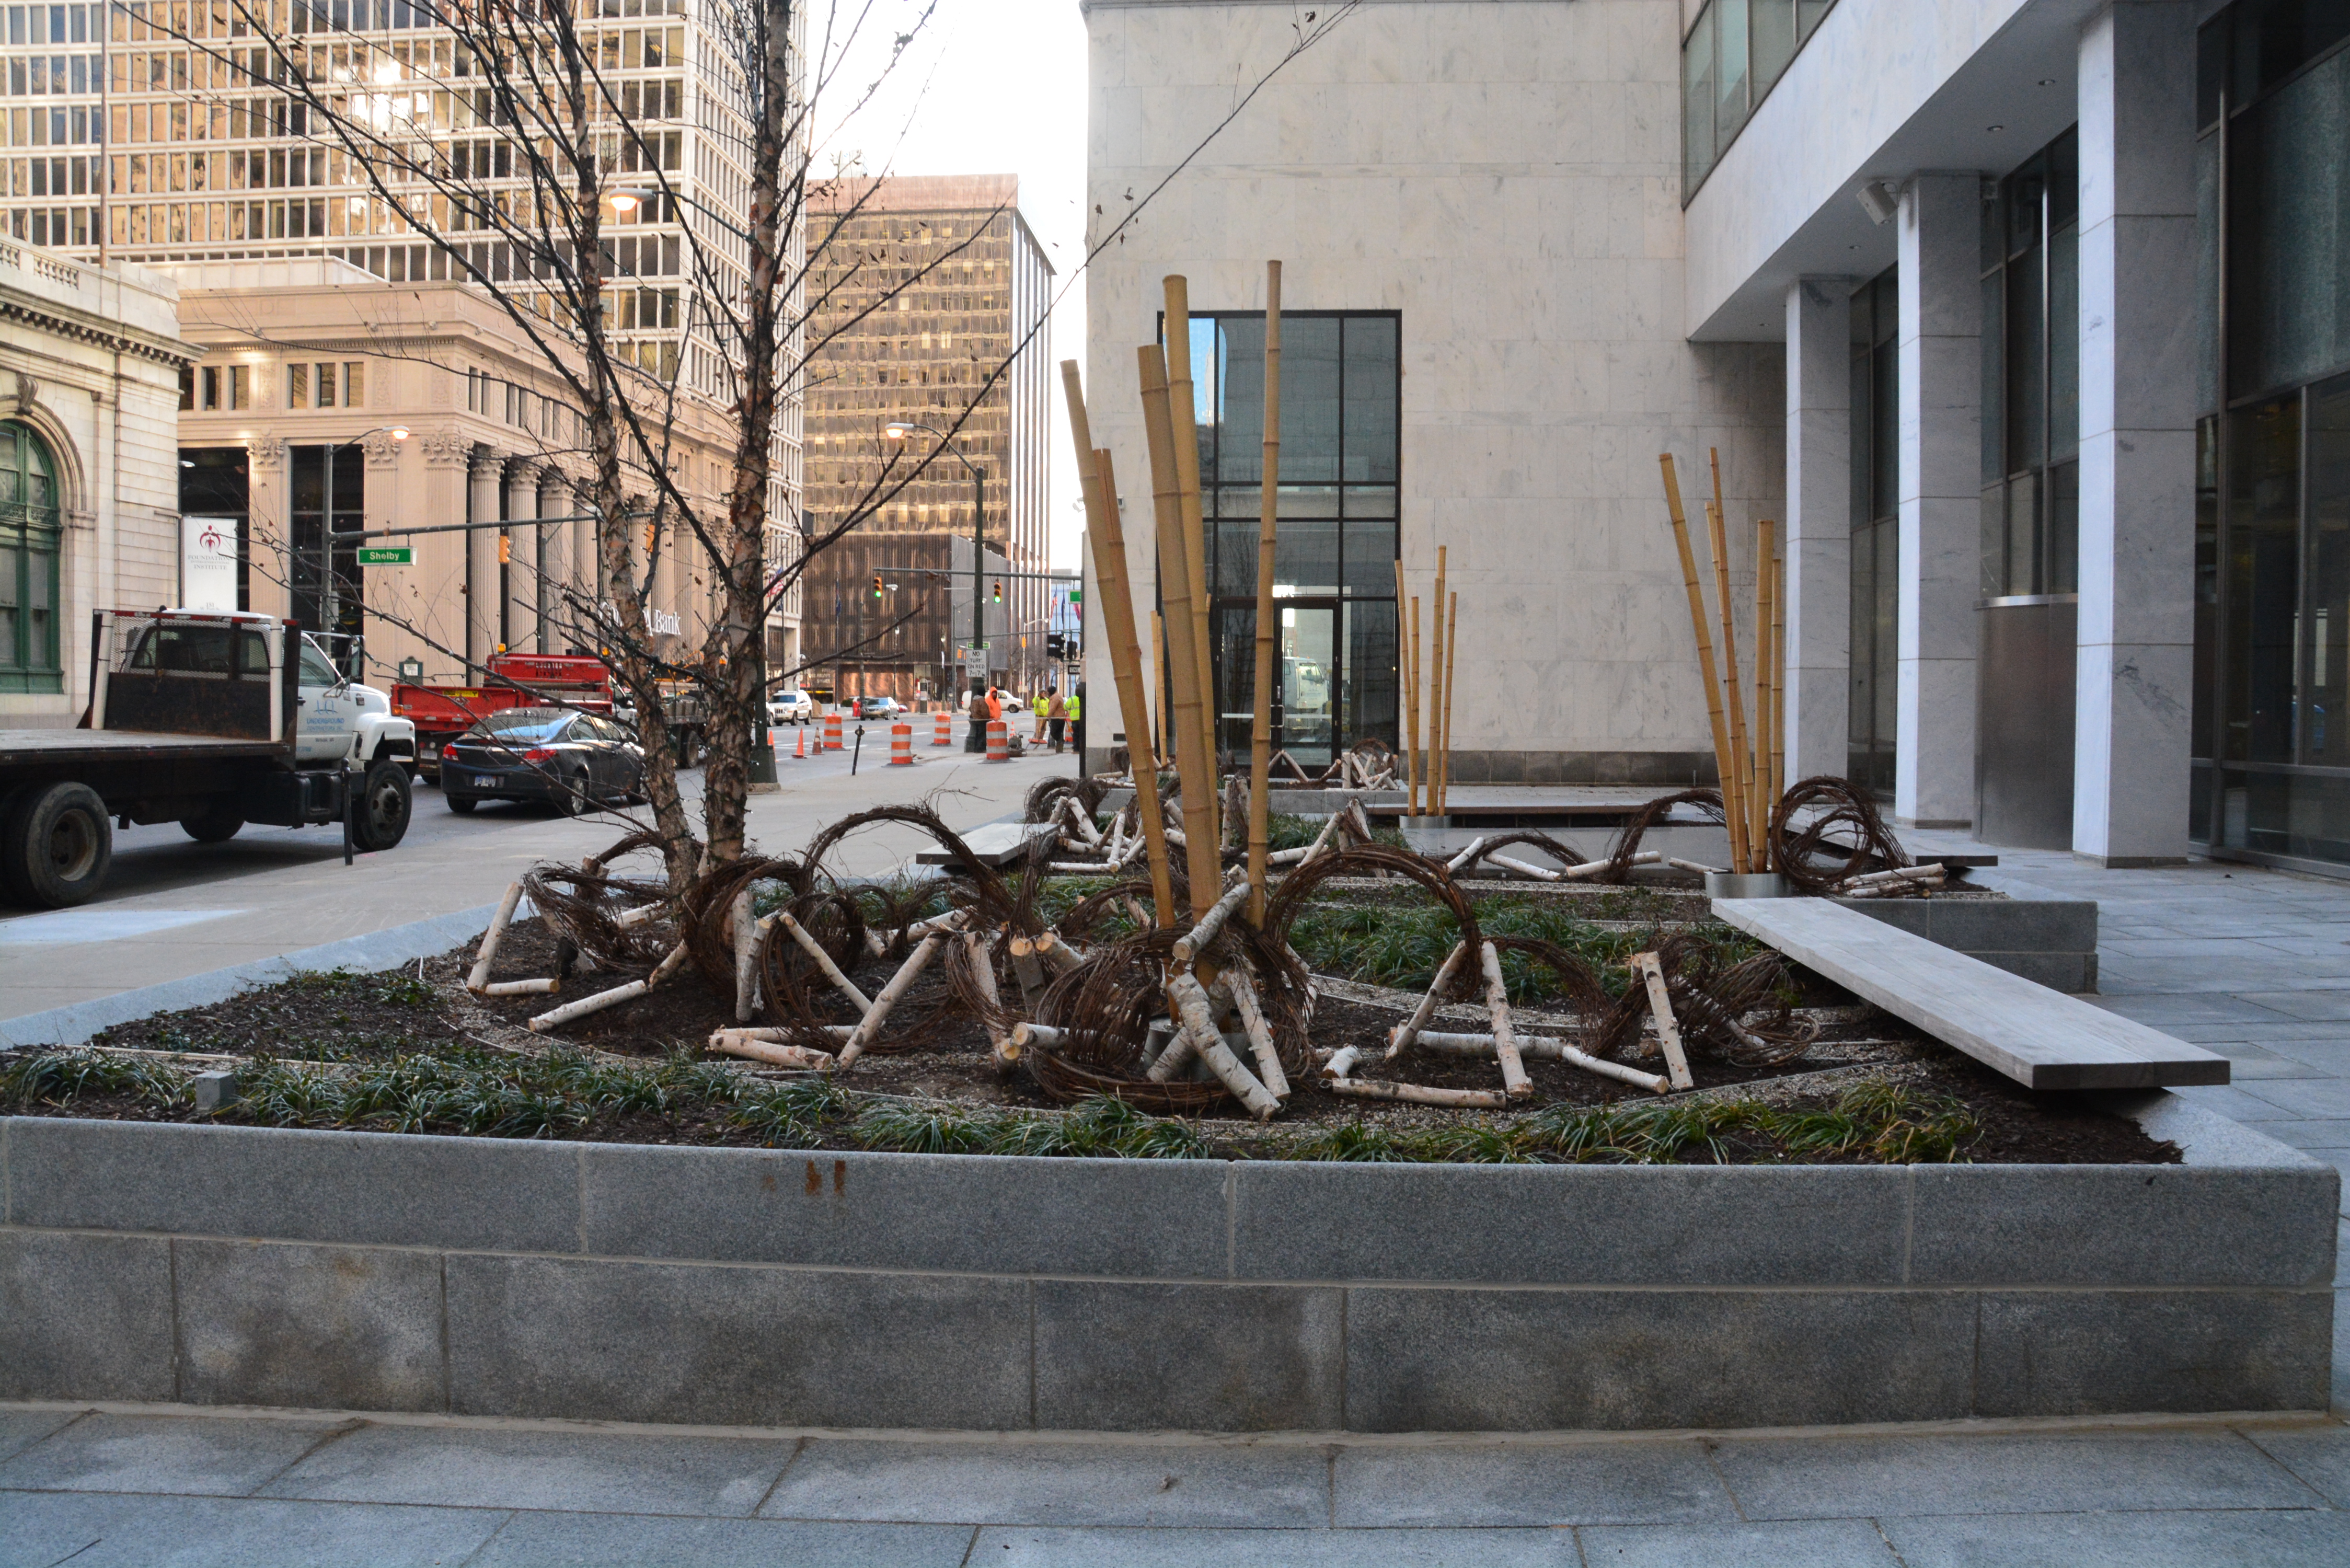
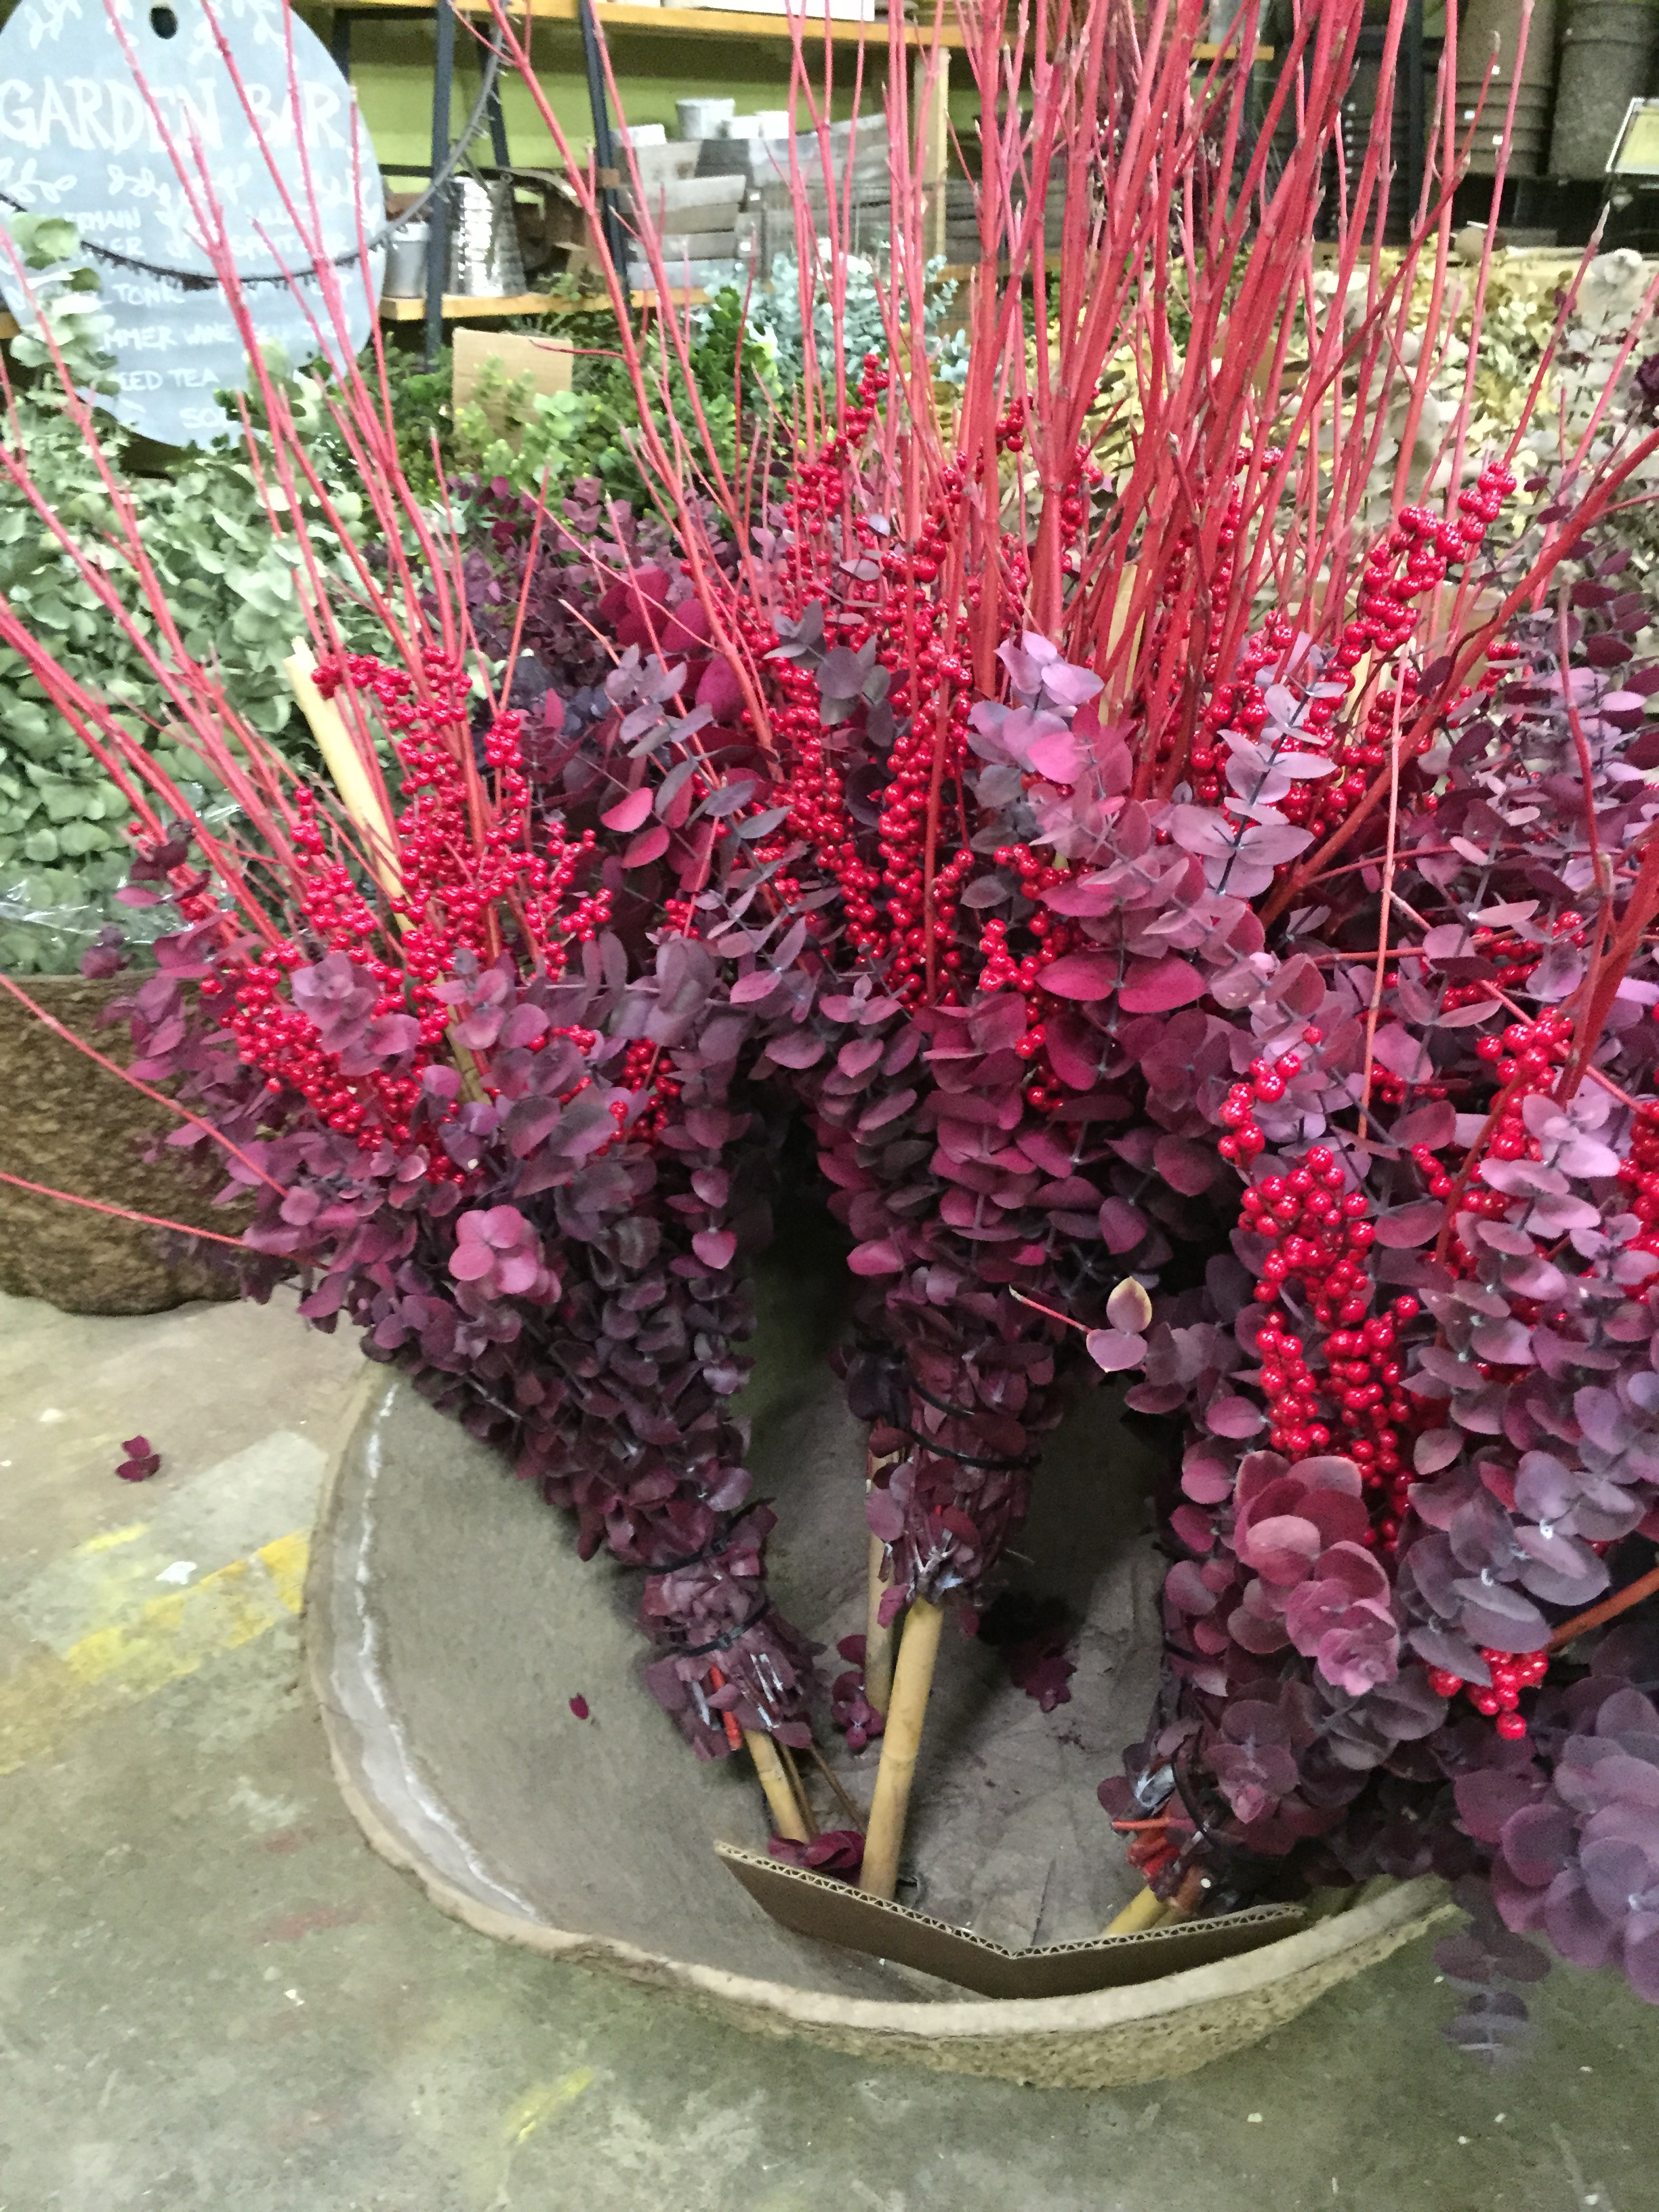 There are so many materials available for winter centerpieces that are weatherproof. Winter berry will hold for a long time outdoors, provided it has been soaked in Vapor Gard, or some other antidessicant. It seals the moisture inside the berries. It also helps keep the berries attached to the stems. In these centerpieces, the faux berries are a believable symbol of the real thing. The centerpieces have been scaled to the size of the pots that will hold them. The bamboo is just as thick as for a large centerpiece, but shorter.
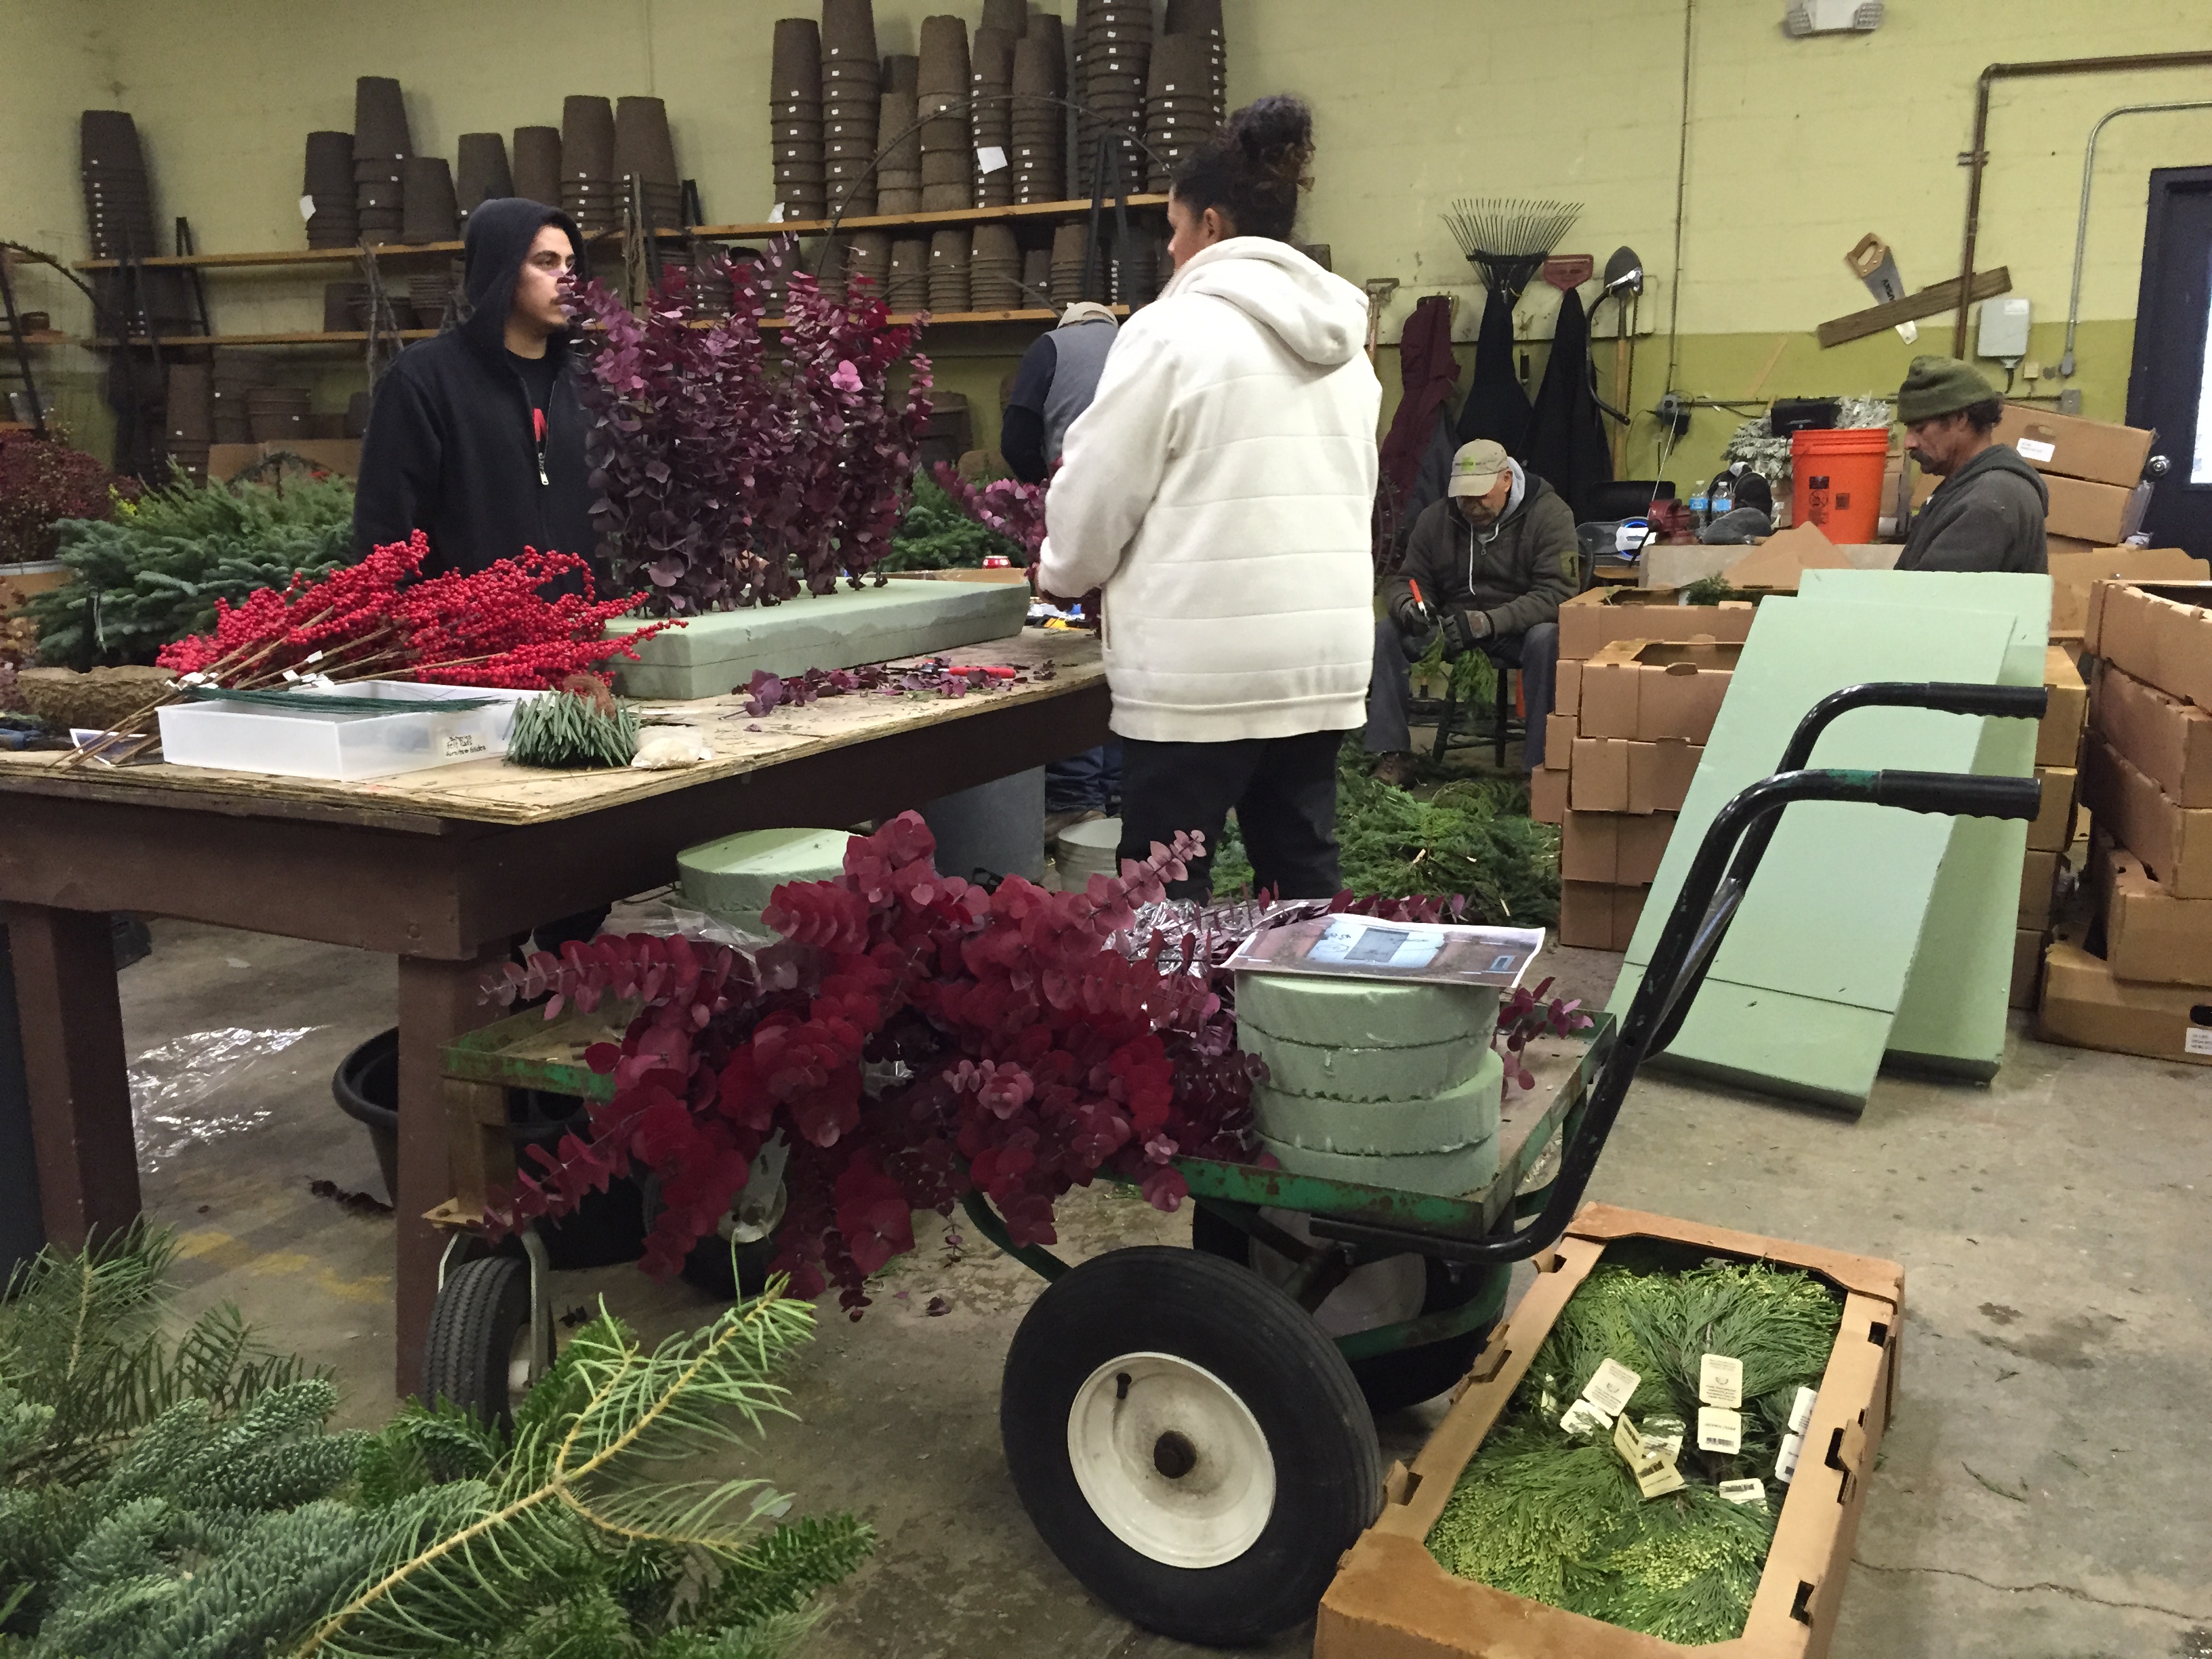
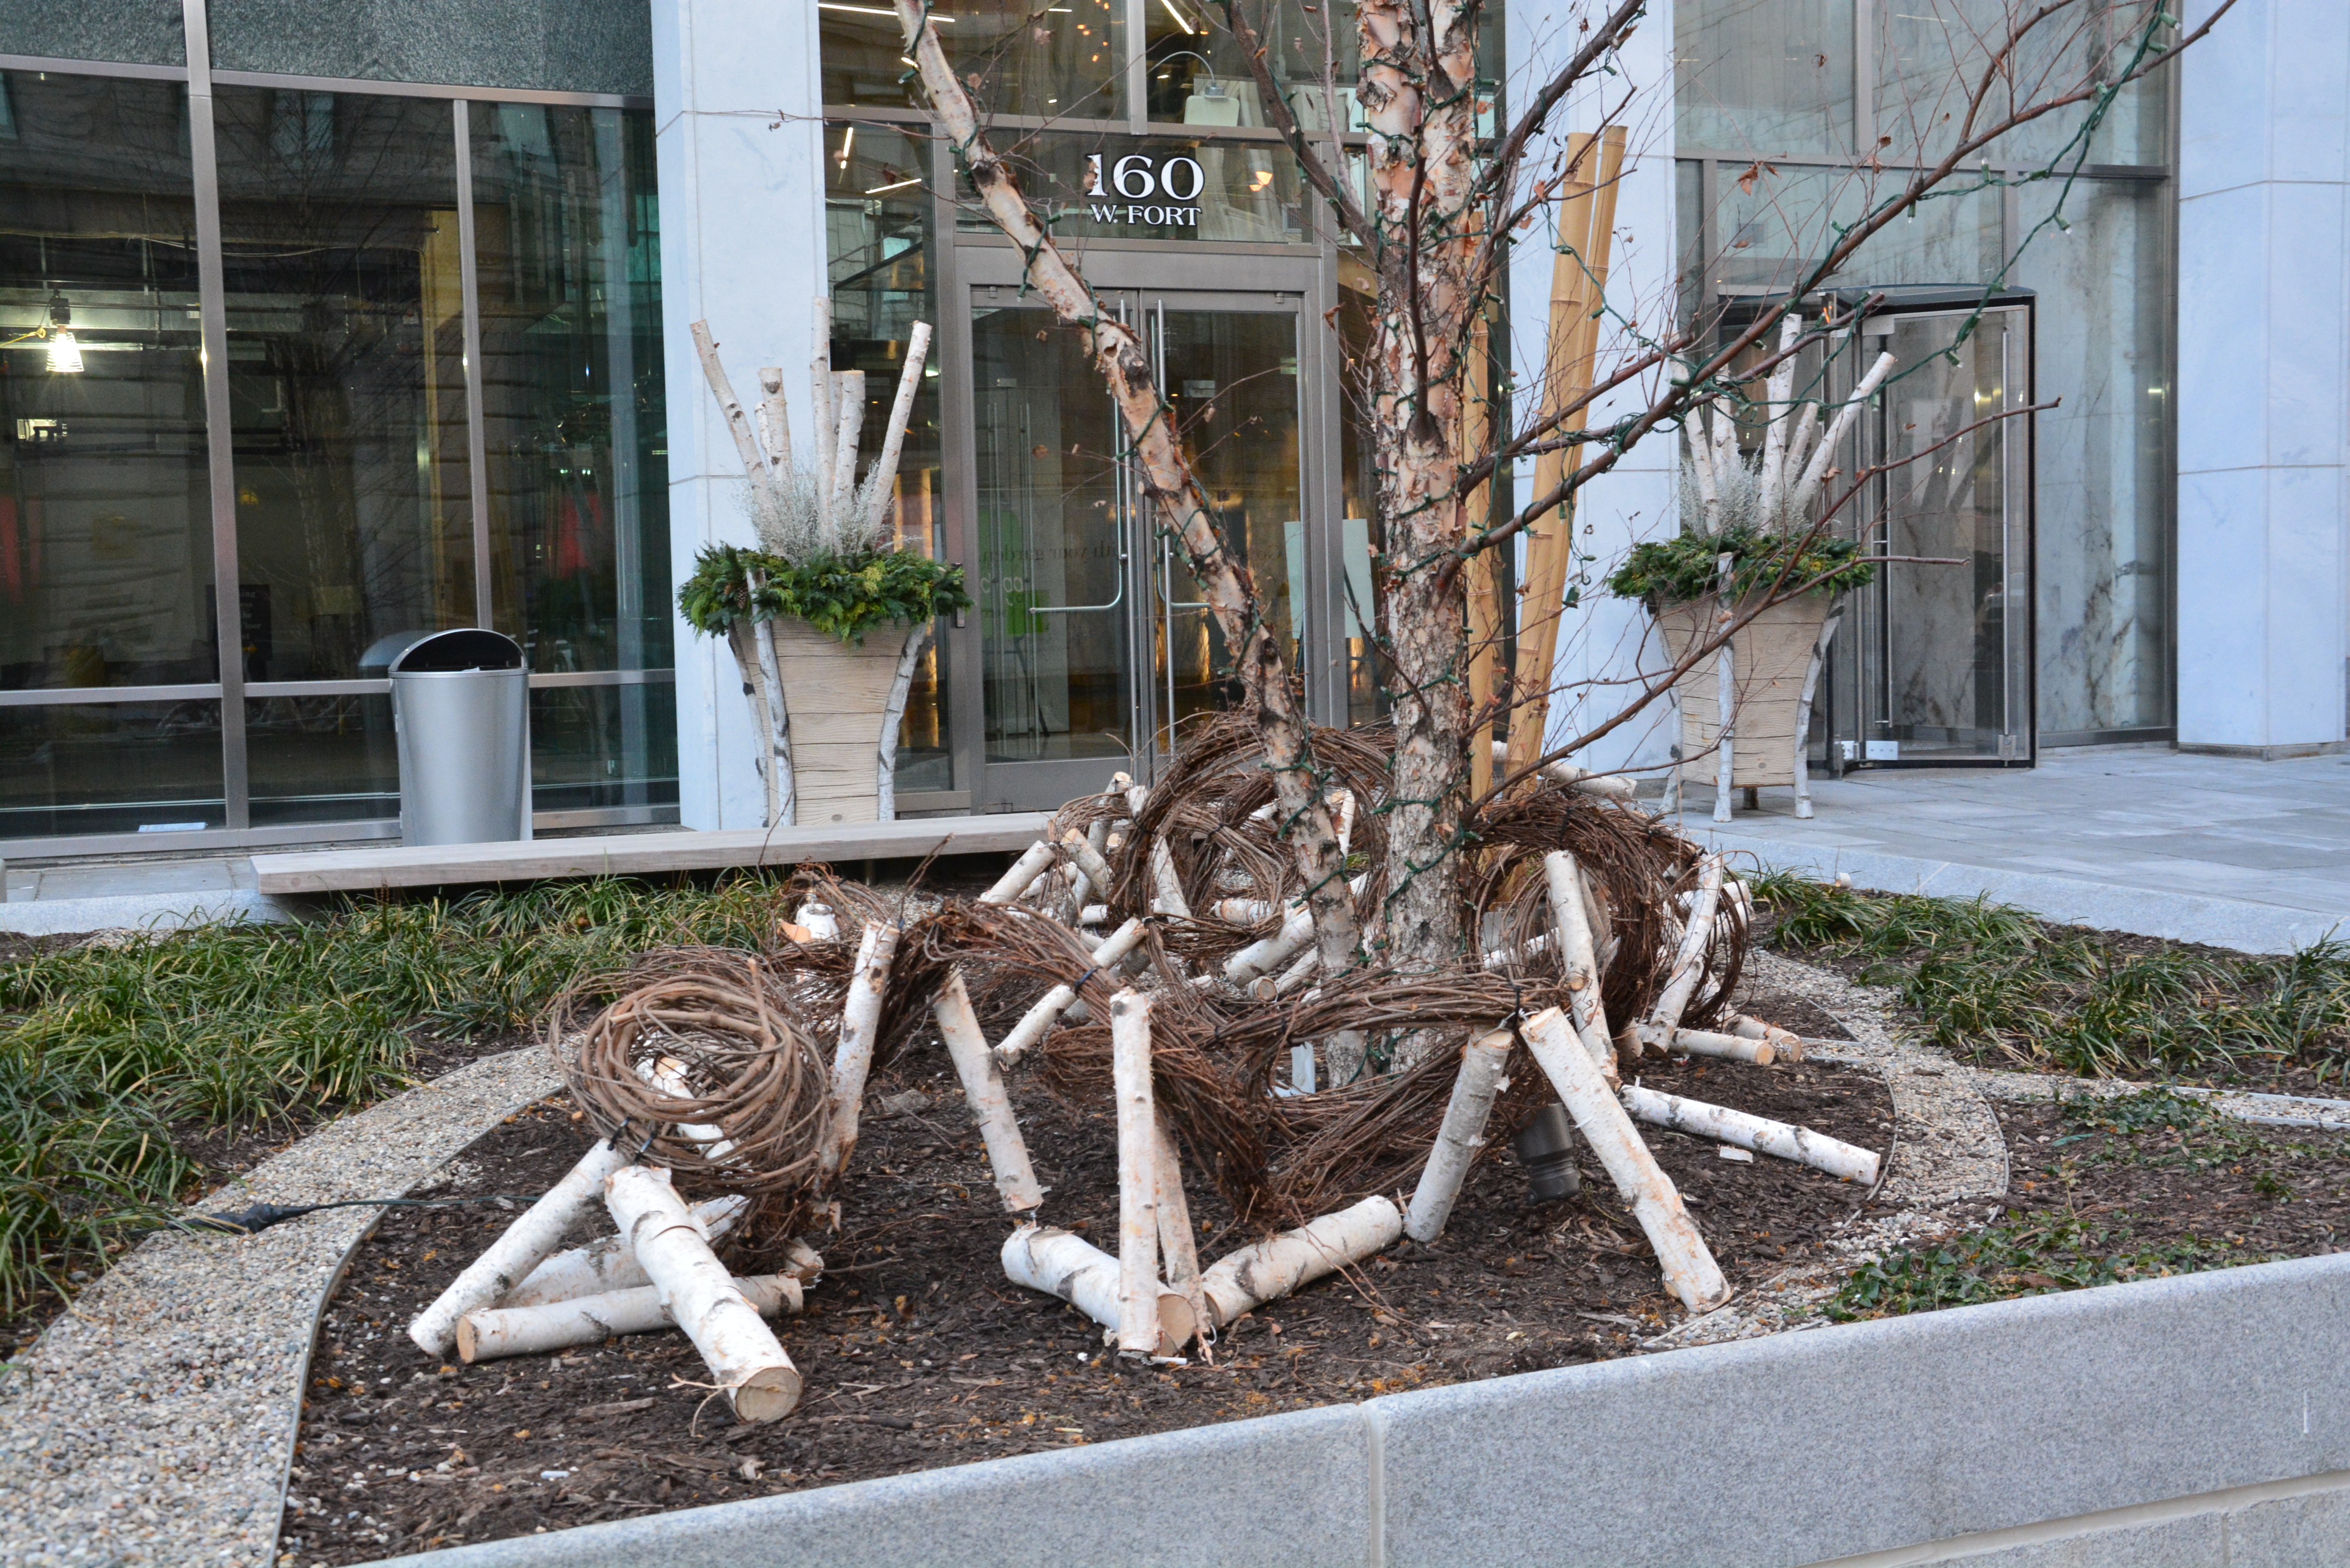
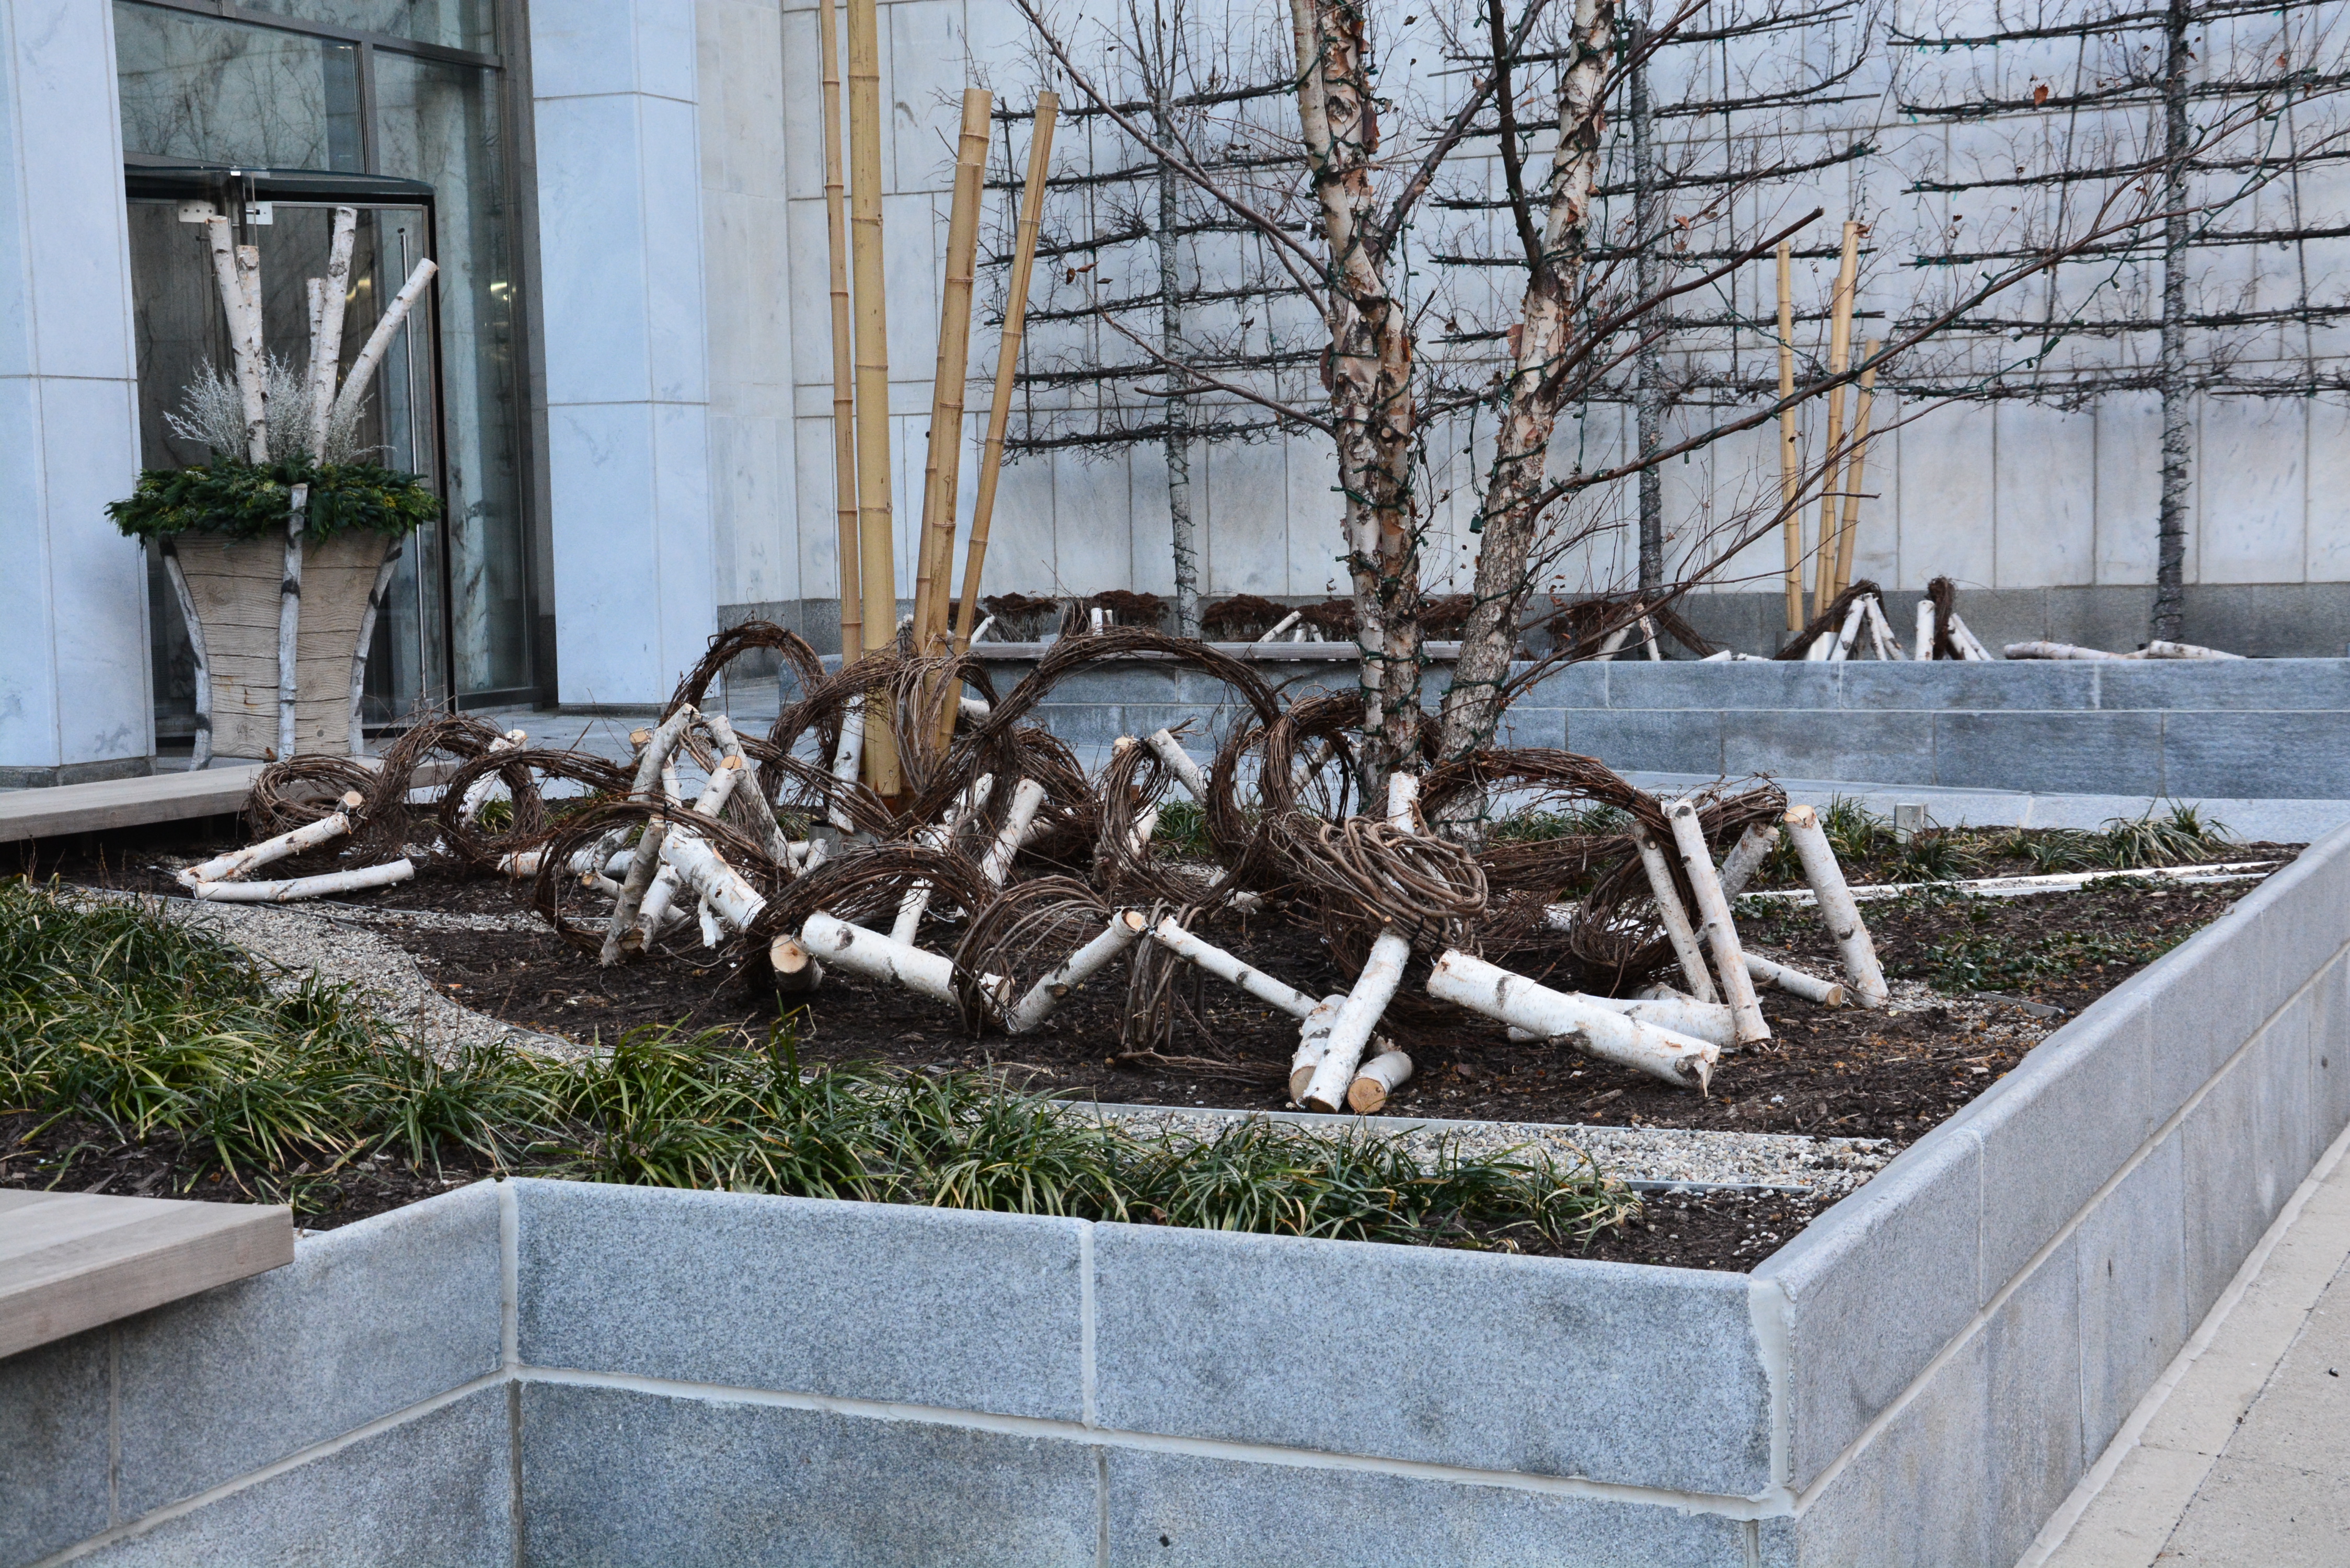
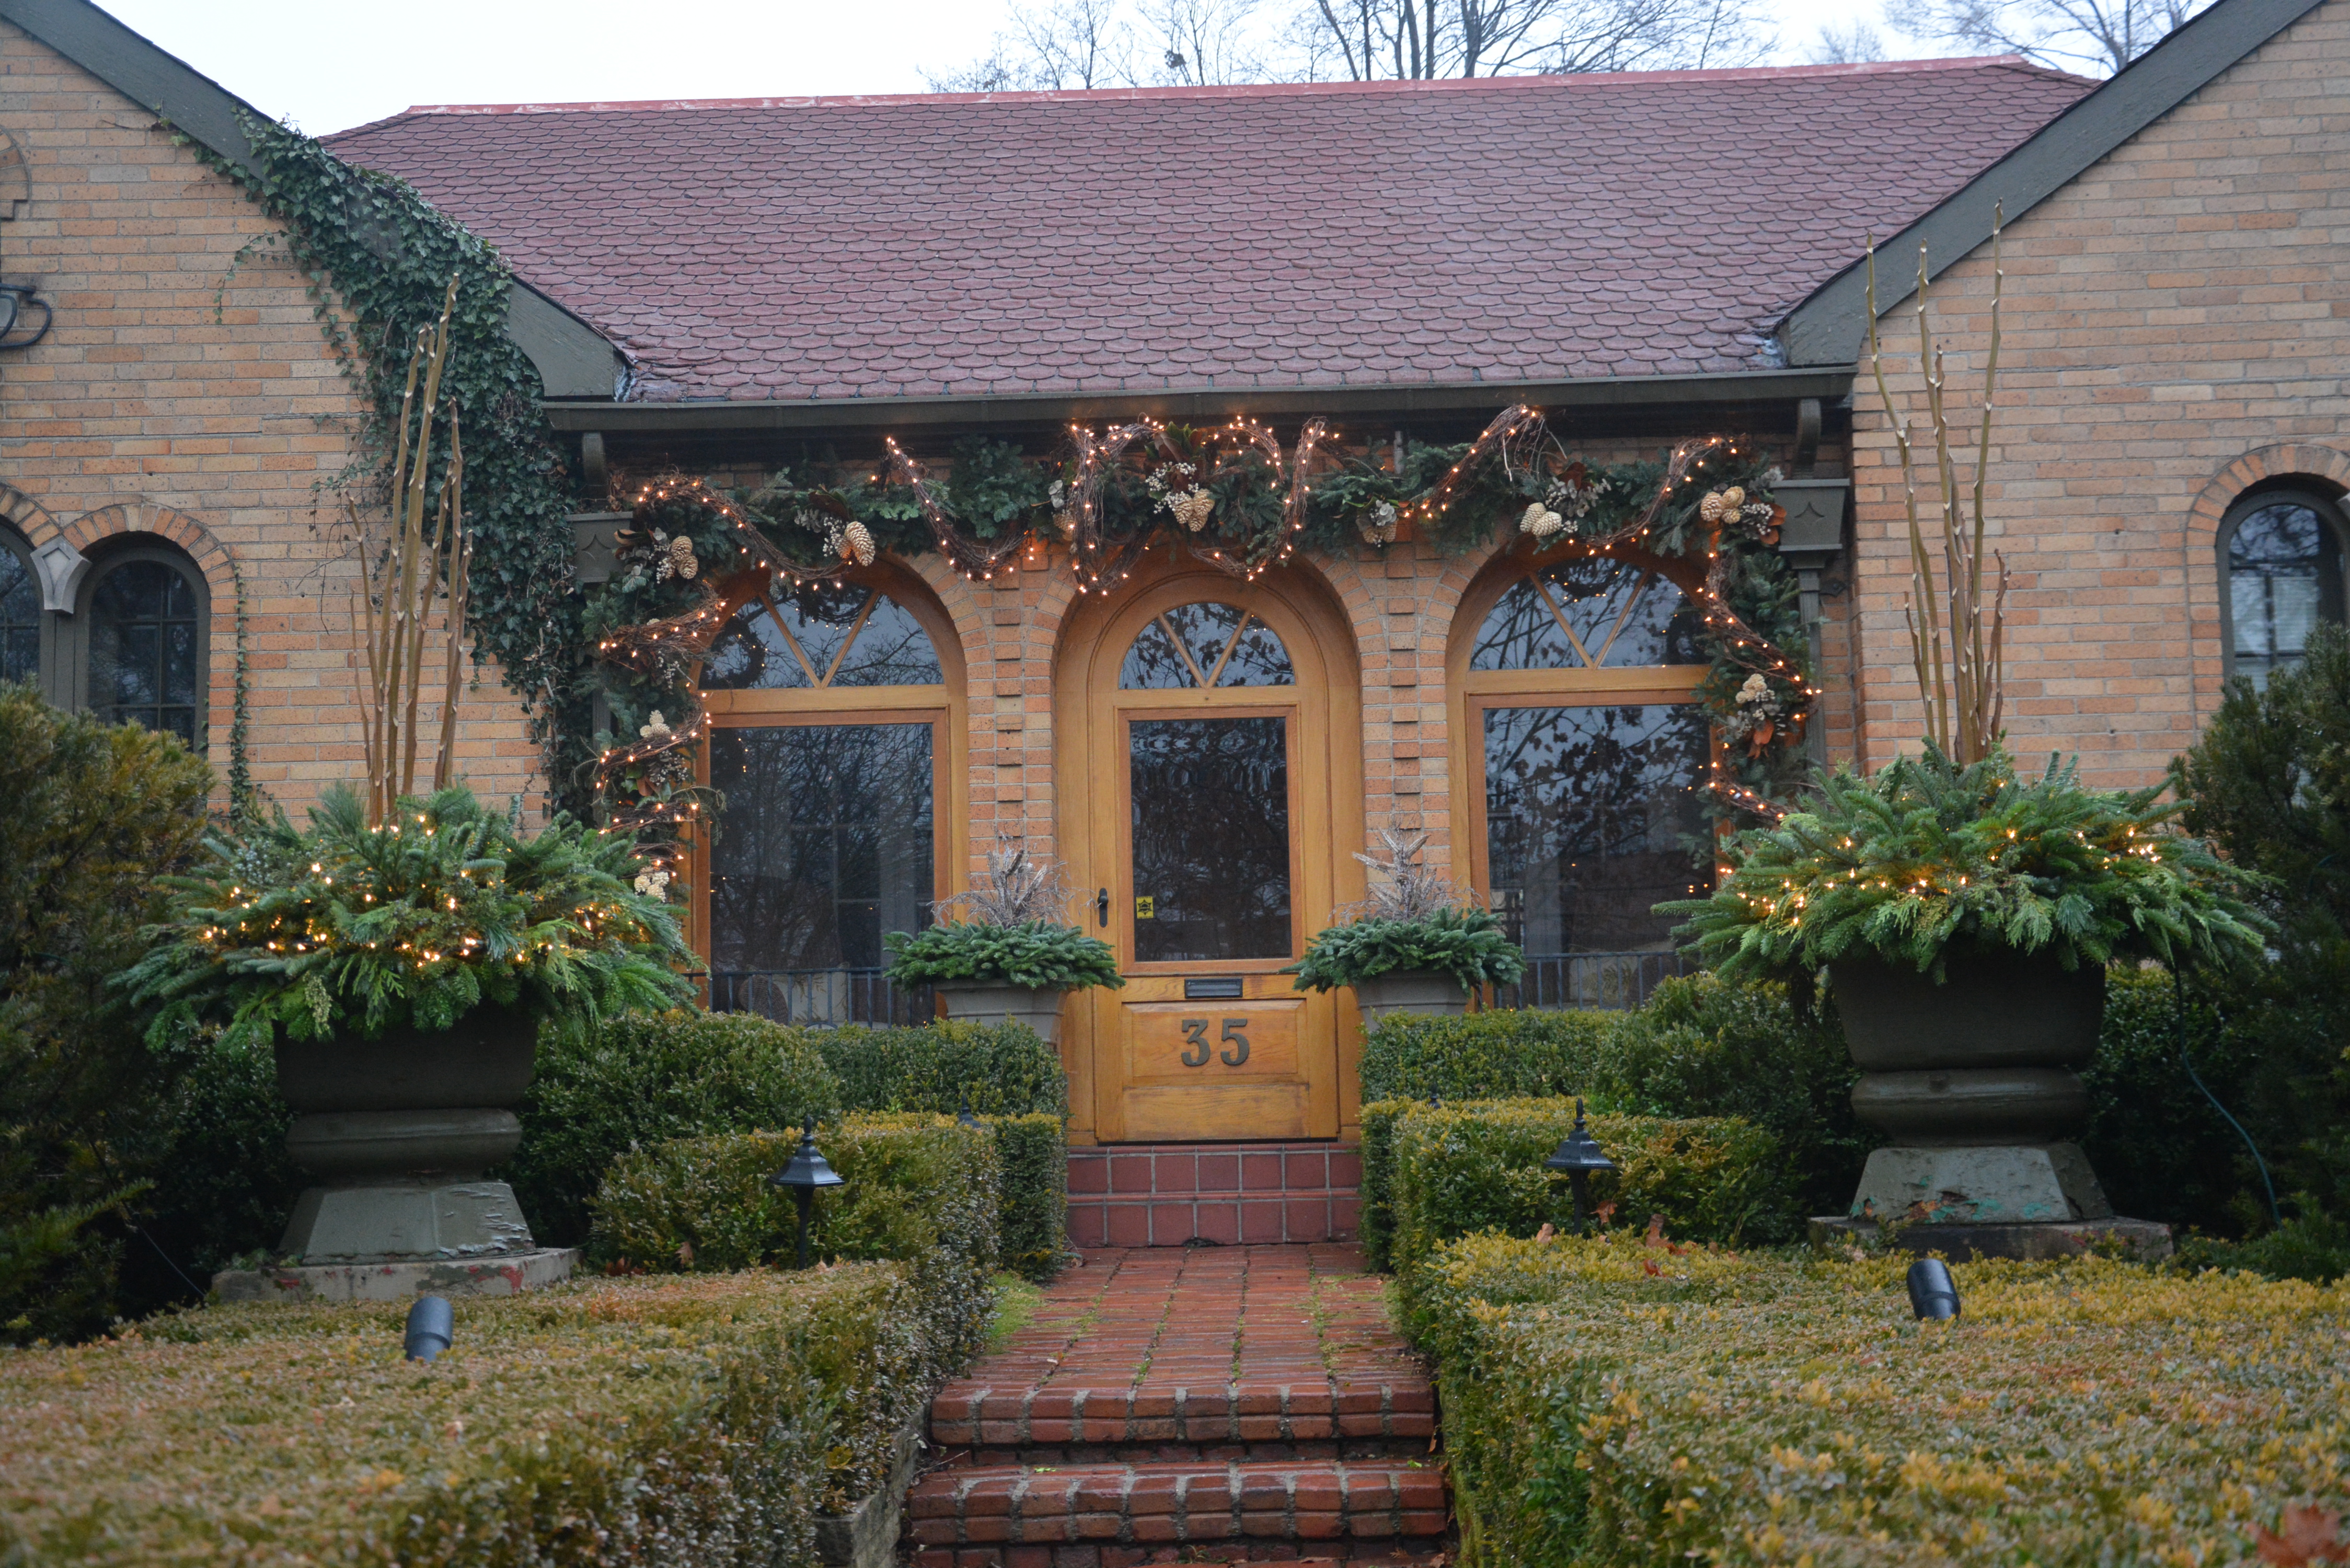
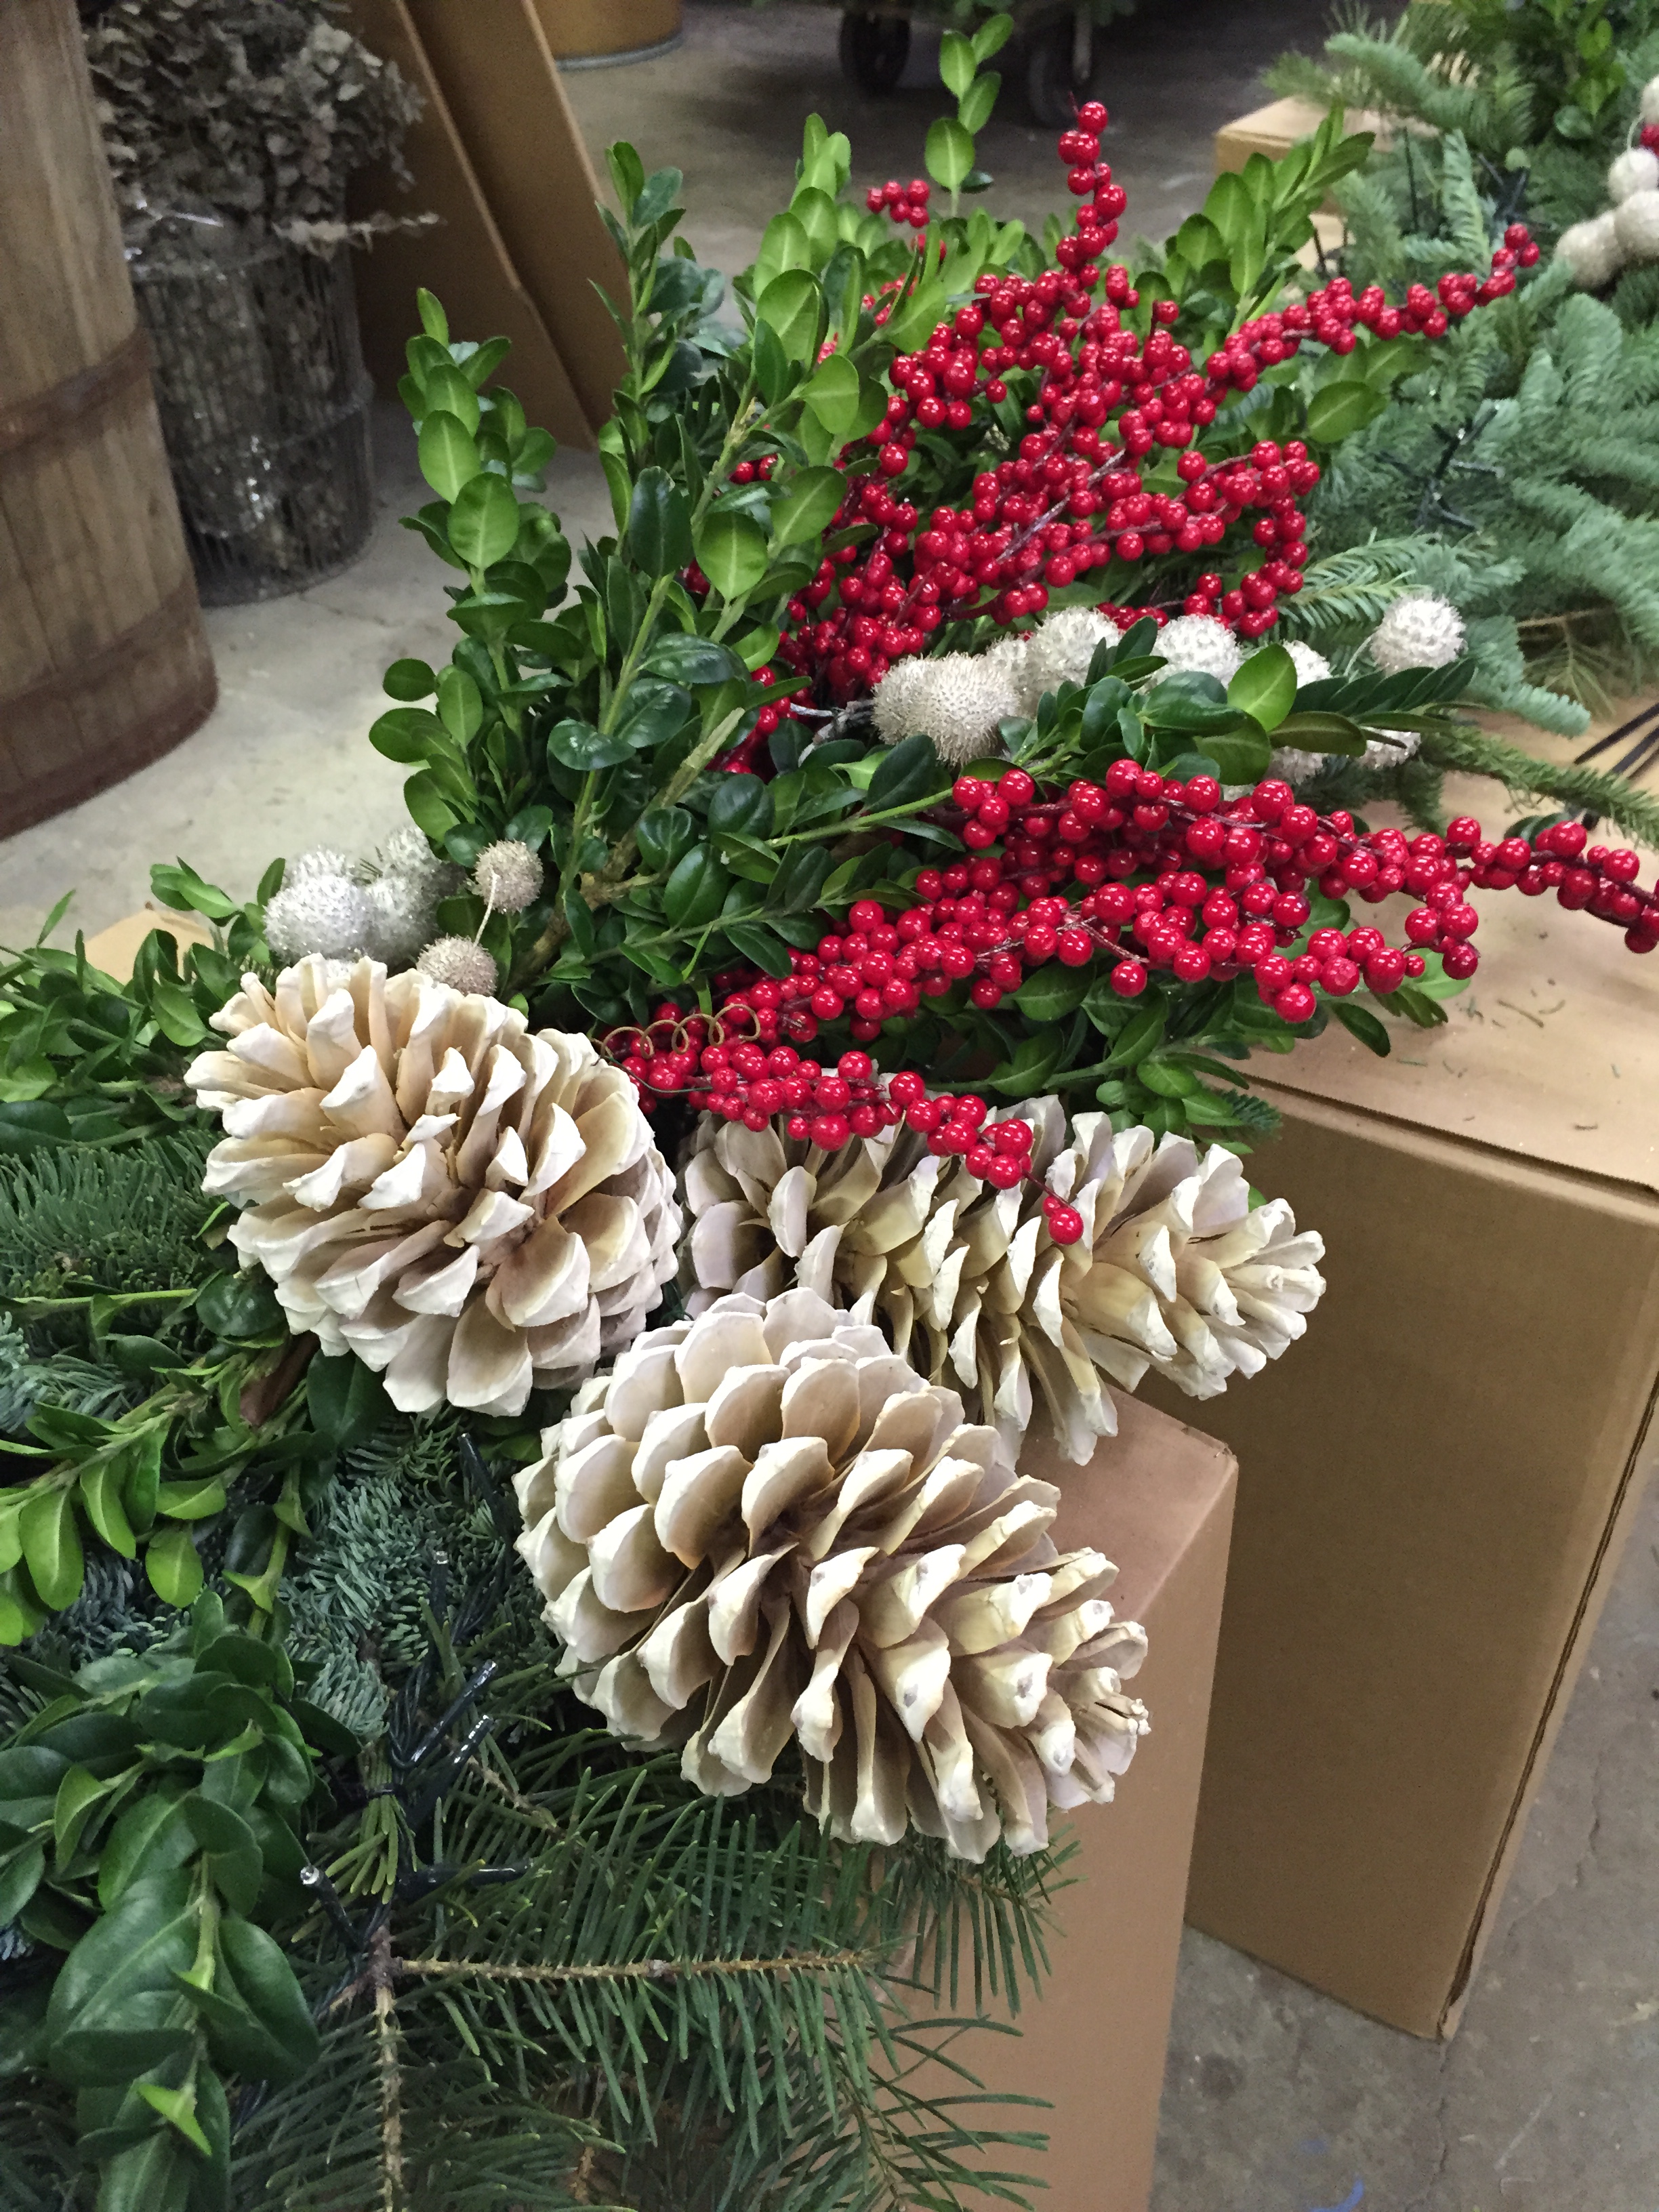
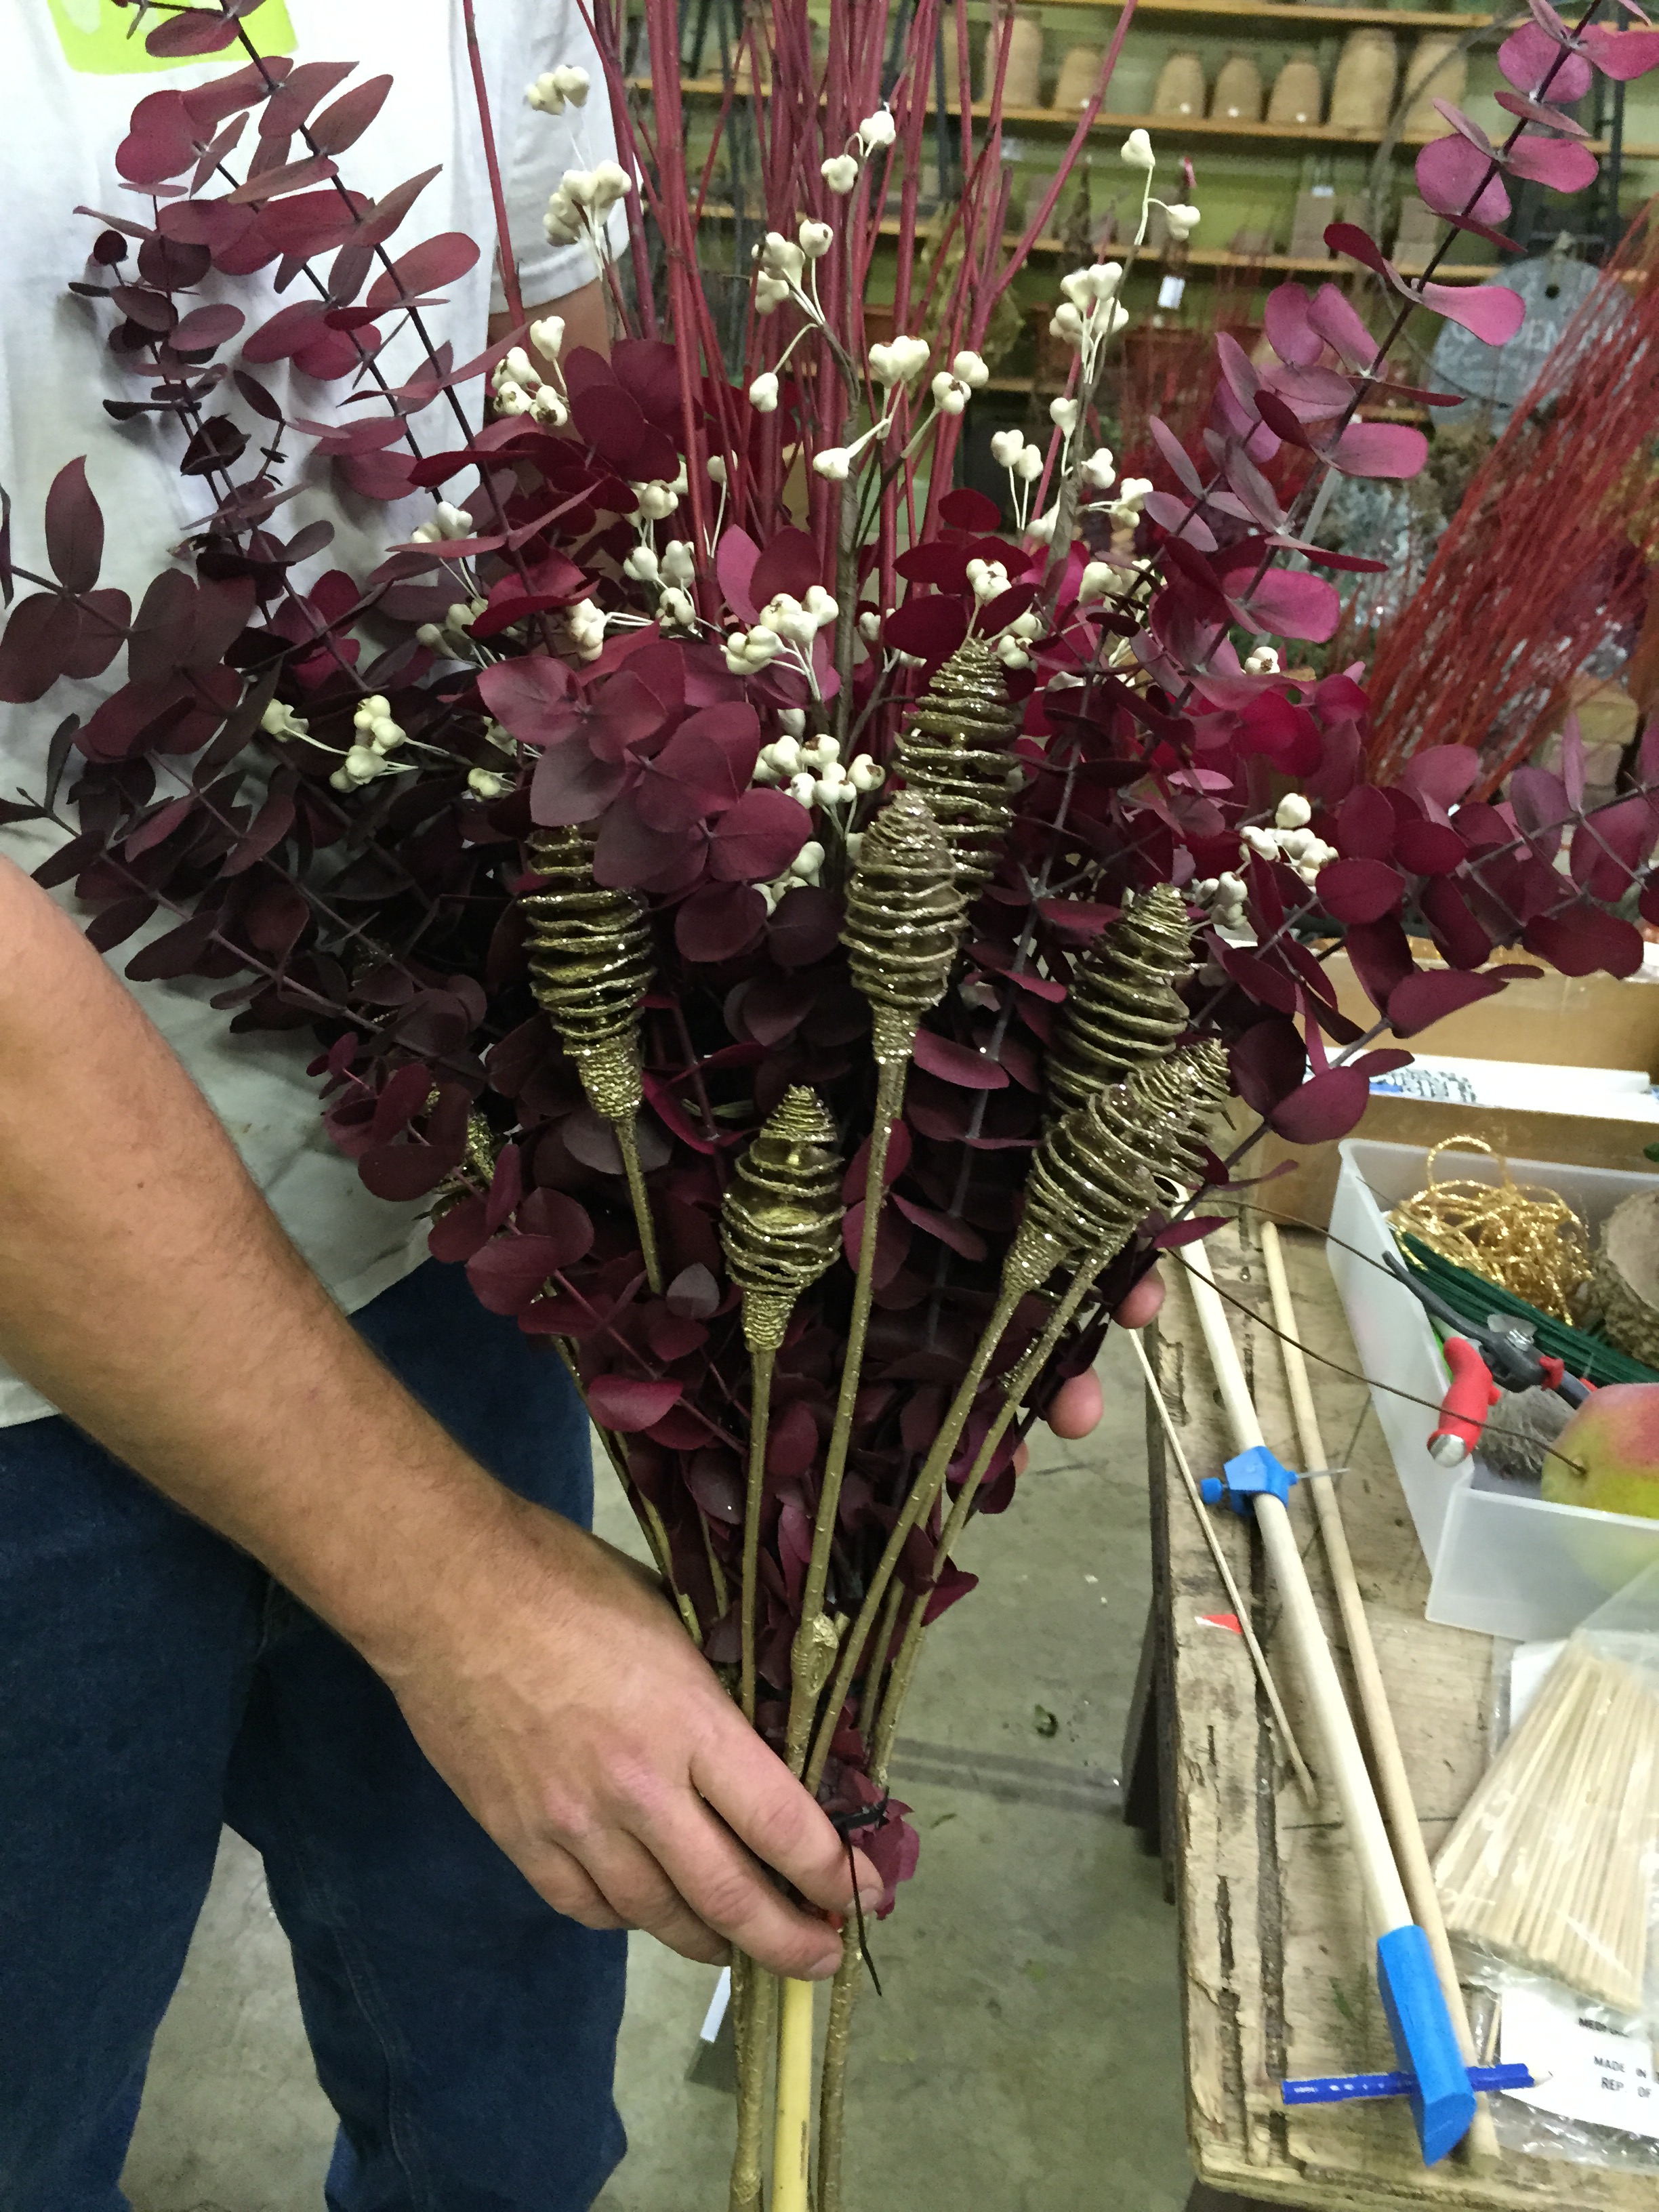 This client is interested in an expression of the holidays, in addition to their wintry look. The evergreen base to come will hide most of the stiff stalks of these glittered cone picks. A few more sprigs of eucalyptus will hide the rest. The holiday picks can be removed after New Year’s.
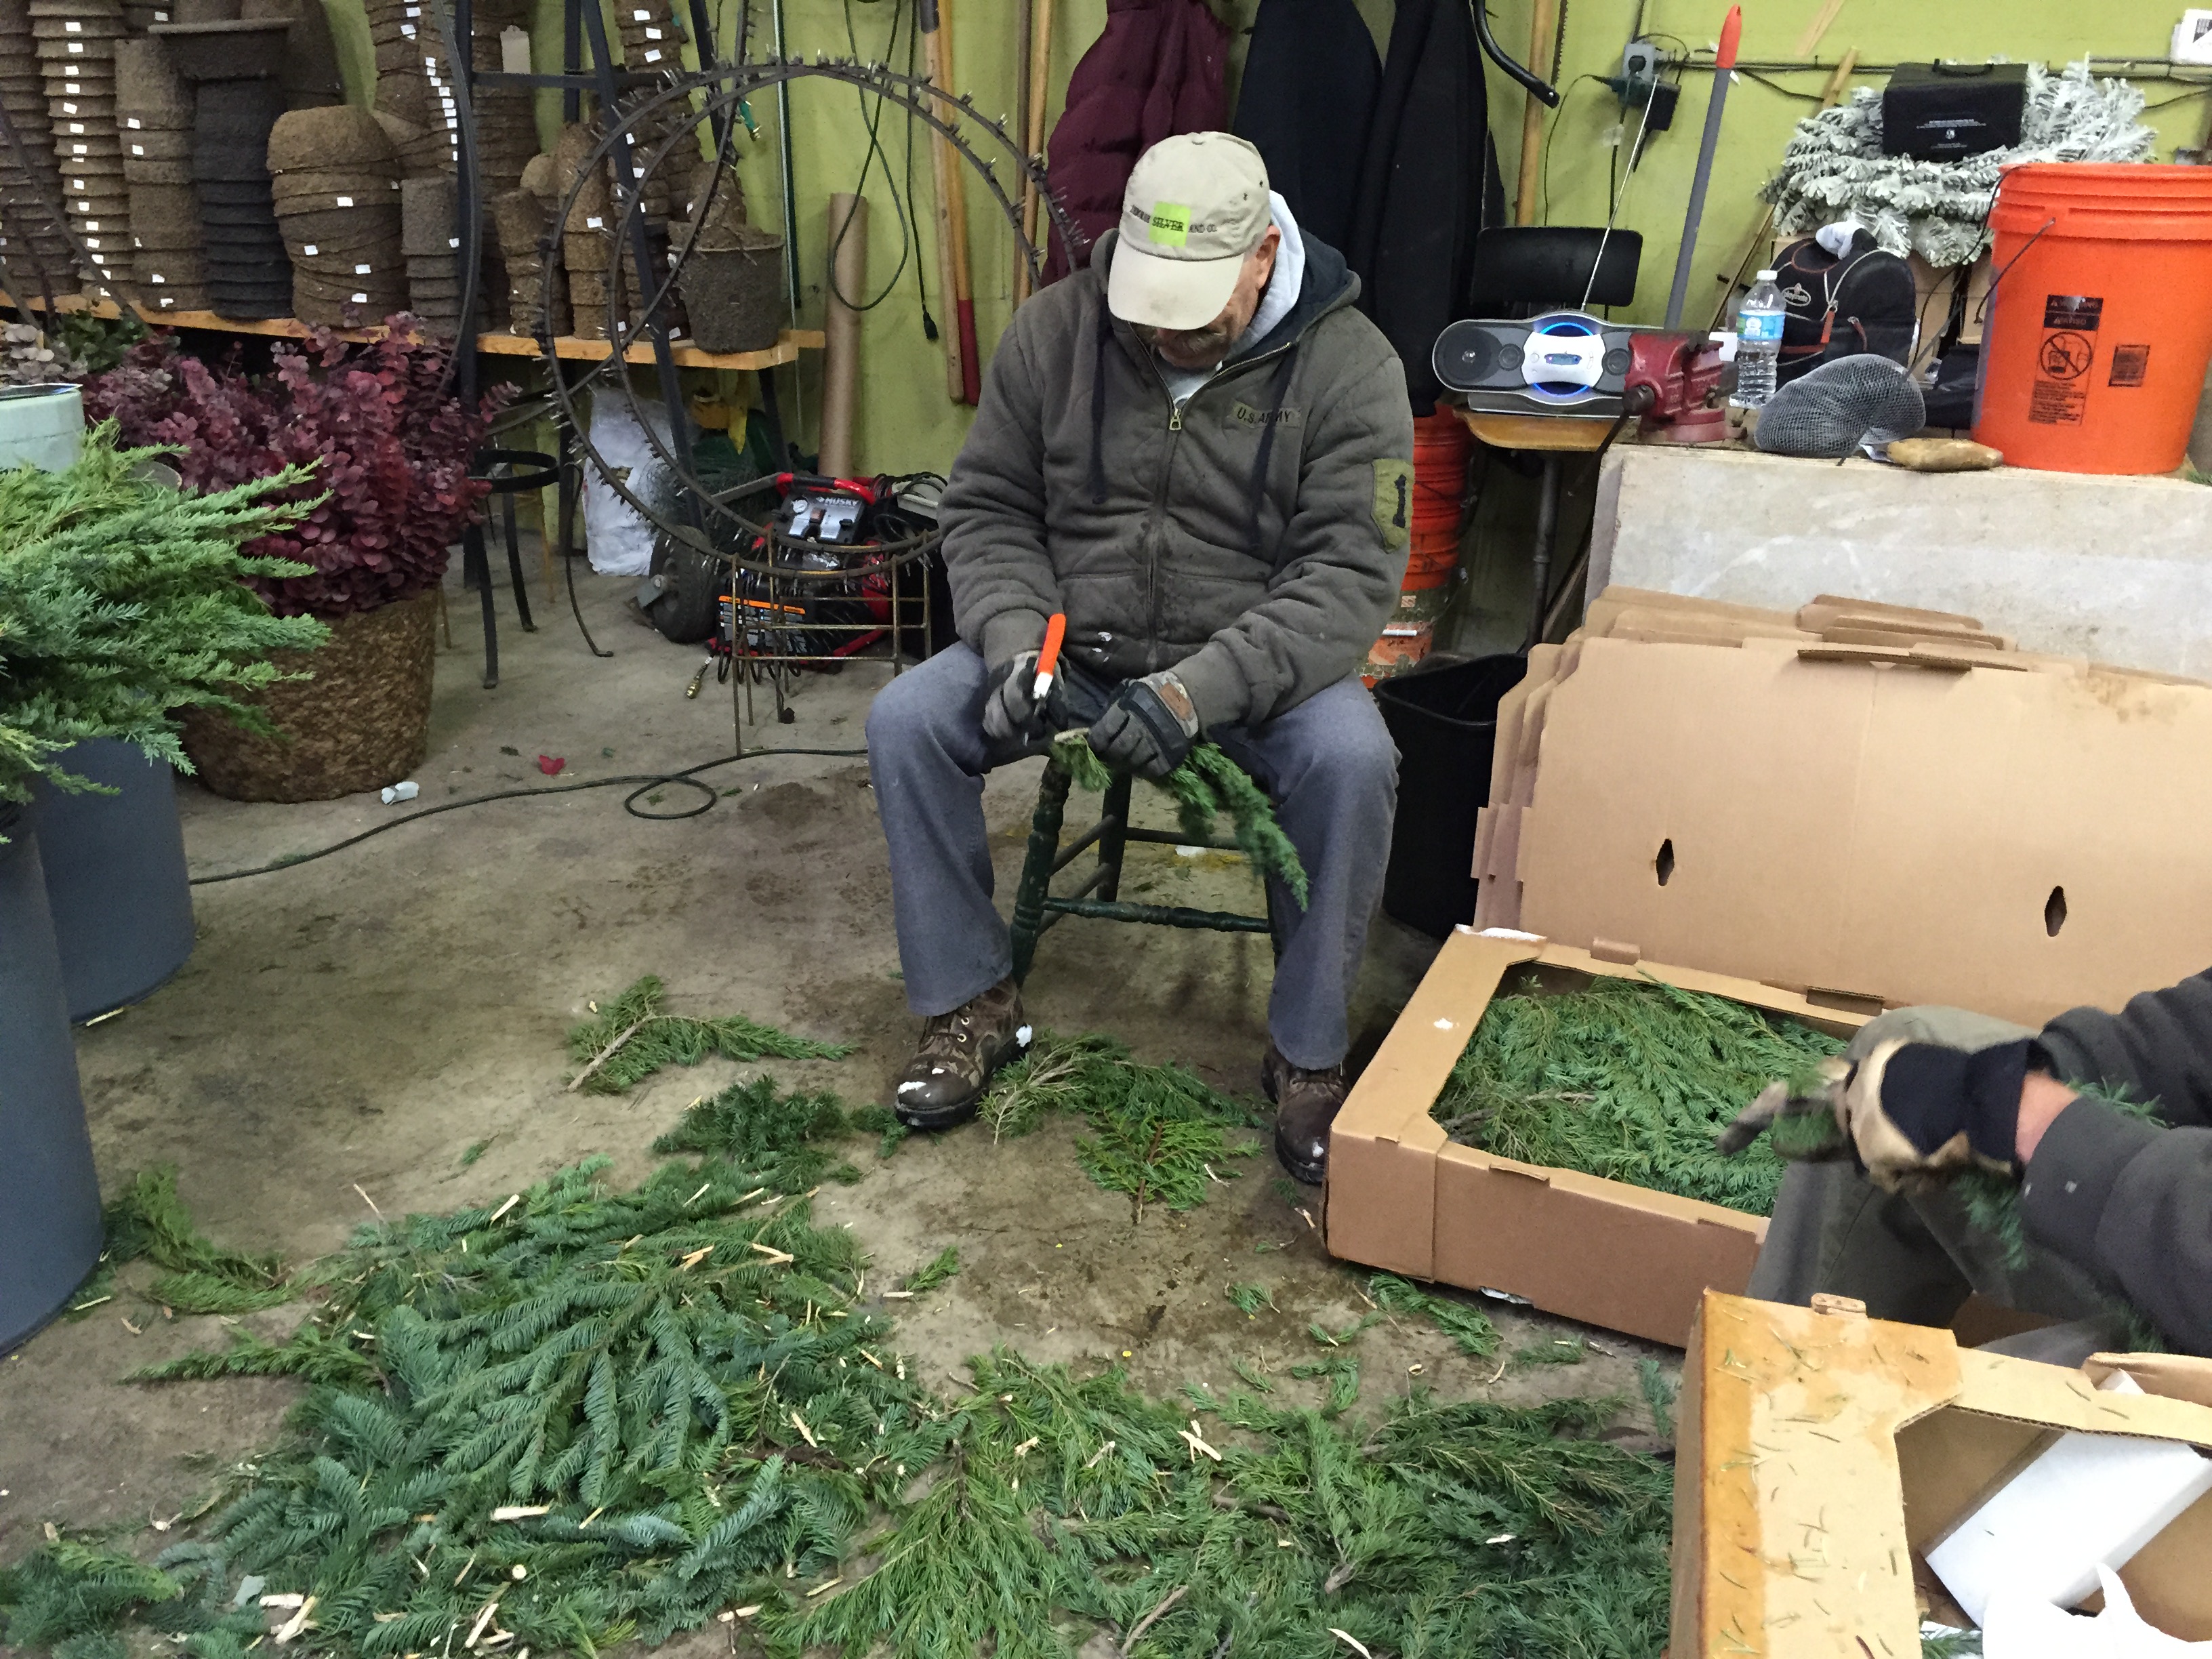
 We do as much of the construction as we can in the garage. Each of the white tallow berry picks in this centerpiece came to us packed flat in a box. It is so much easier to fluff out a wired pick in the garage, than outdoors. Some of the work is very hard to do with anything other than bare hands. Once the basic form of the centerpiece is set, there is a lot of hand work to come. More than anything, unfriendly working conditions discourage expression.
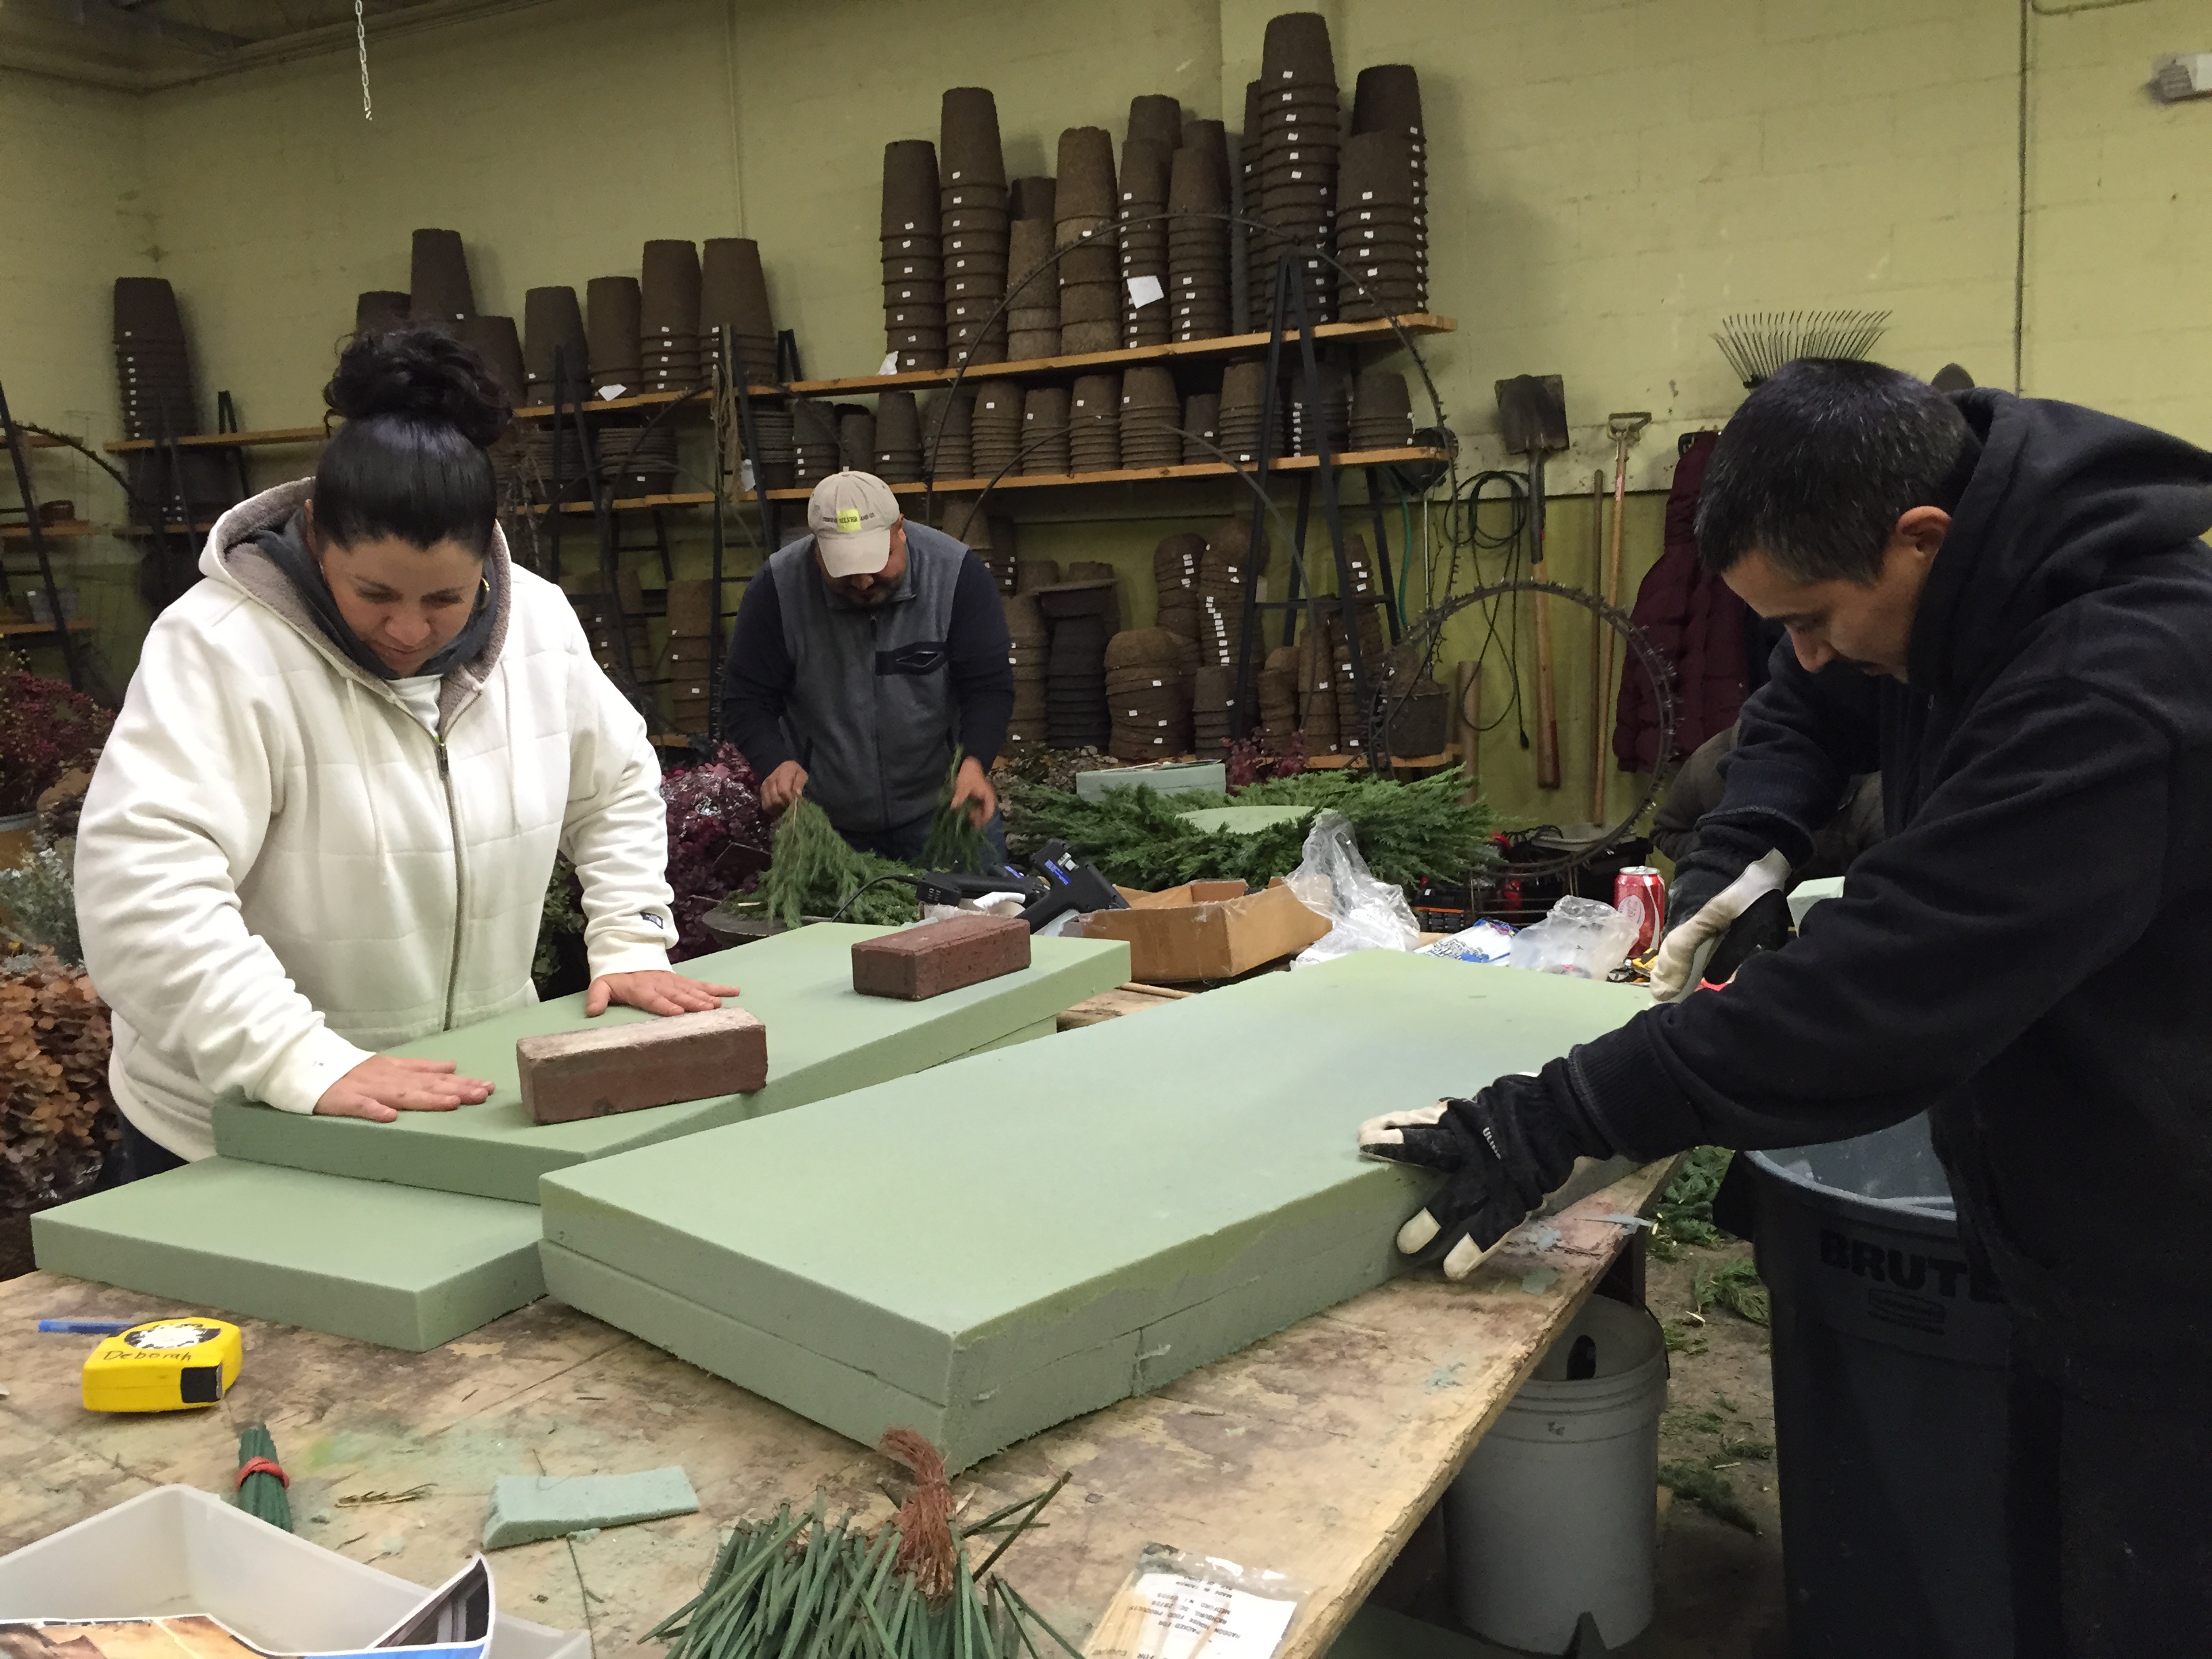
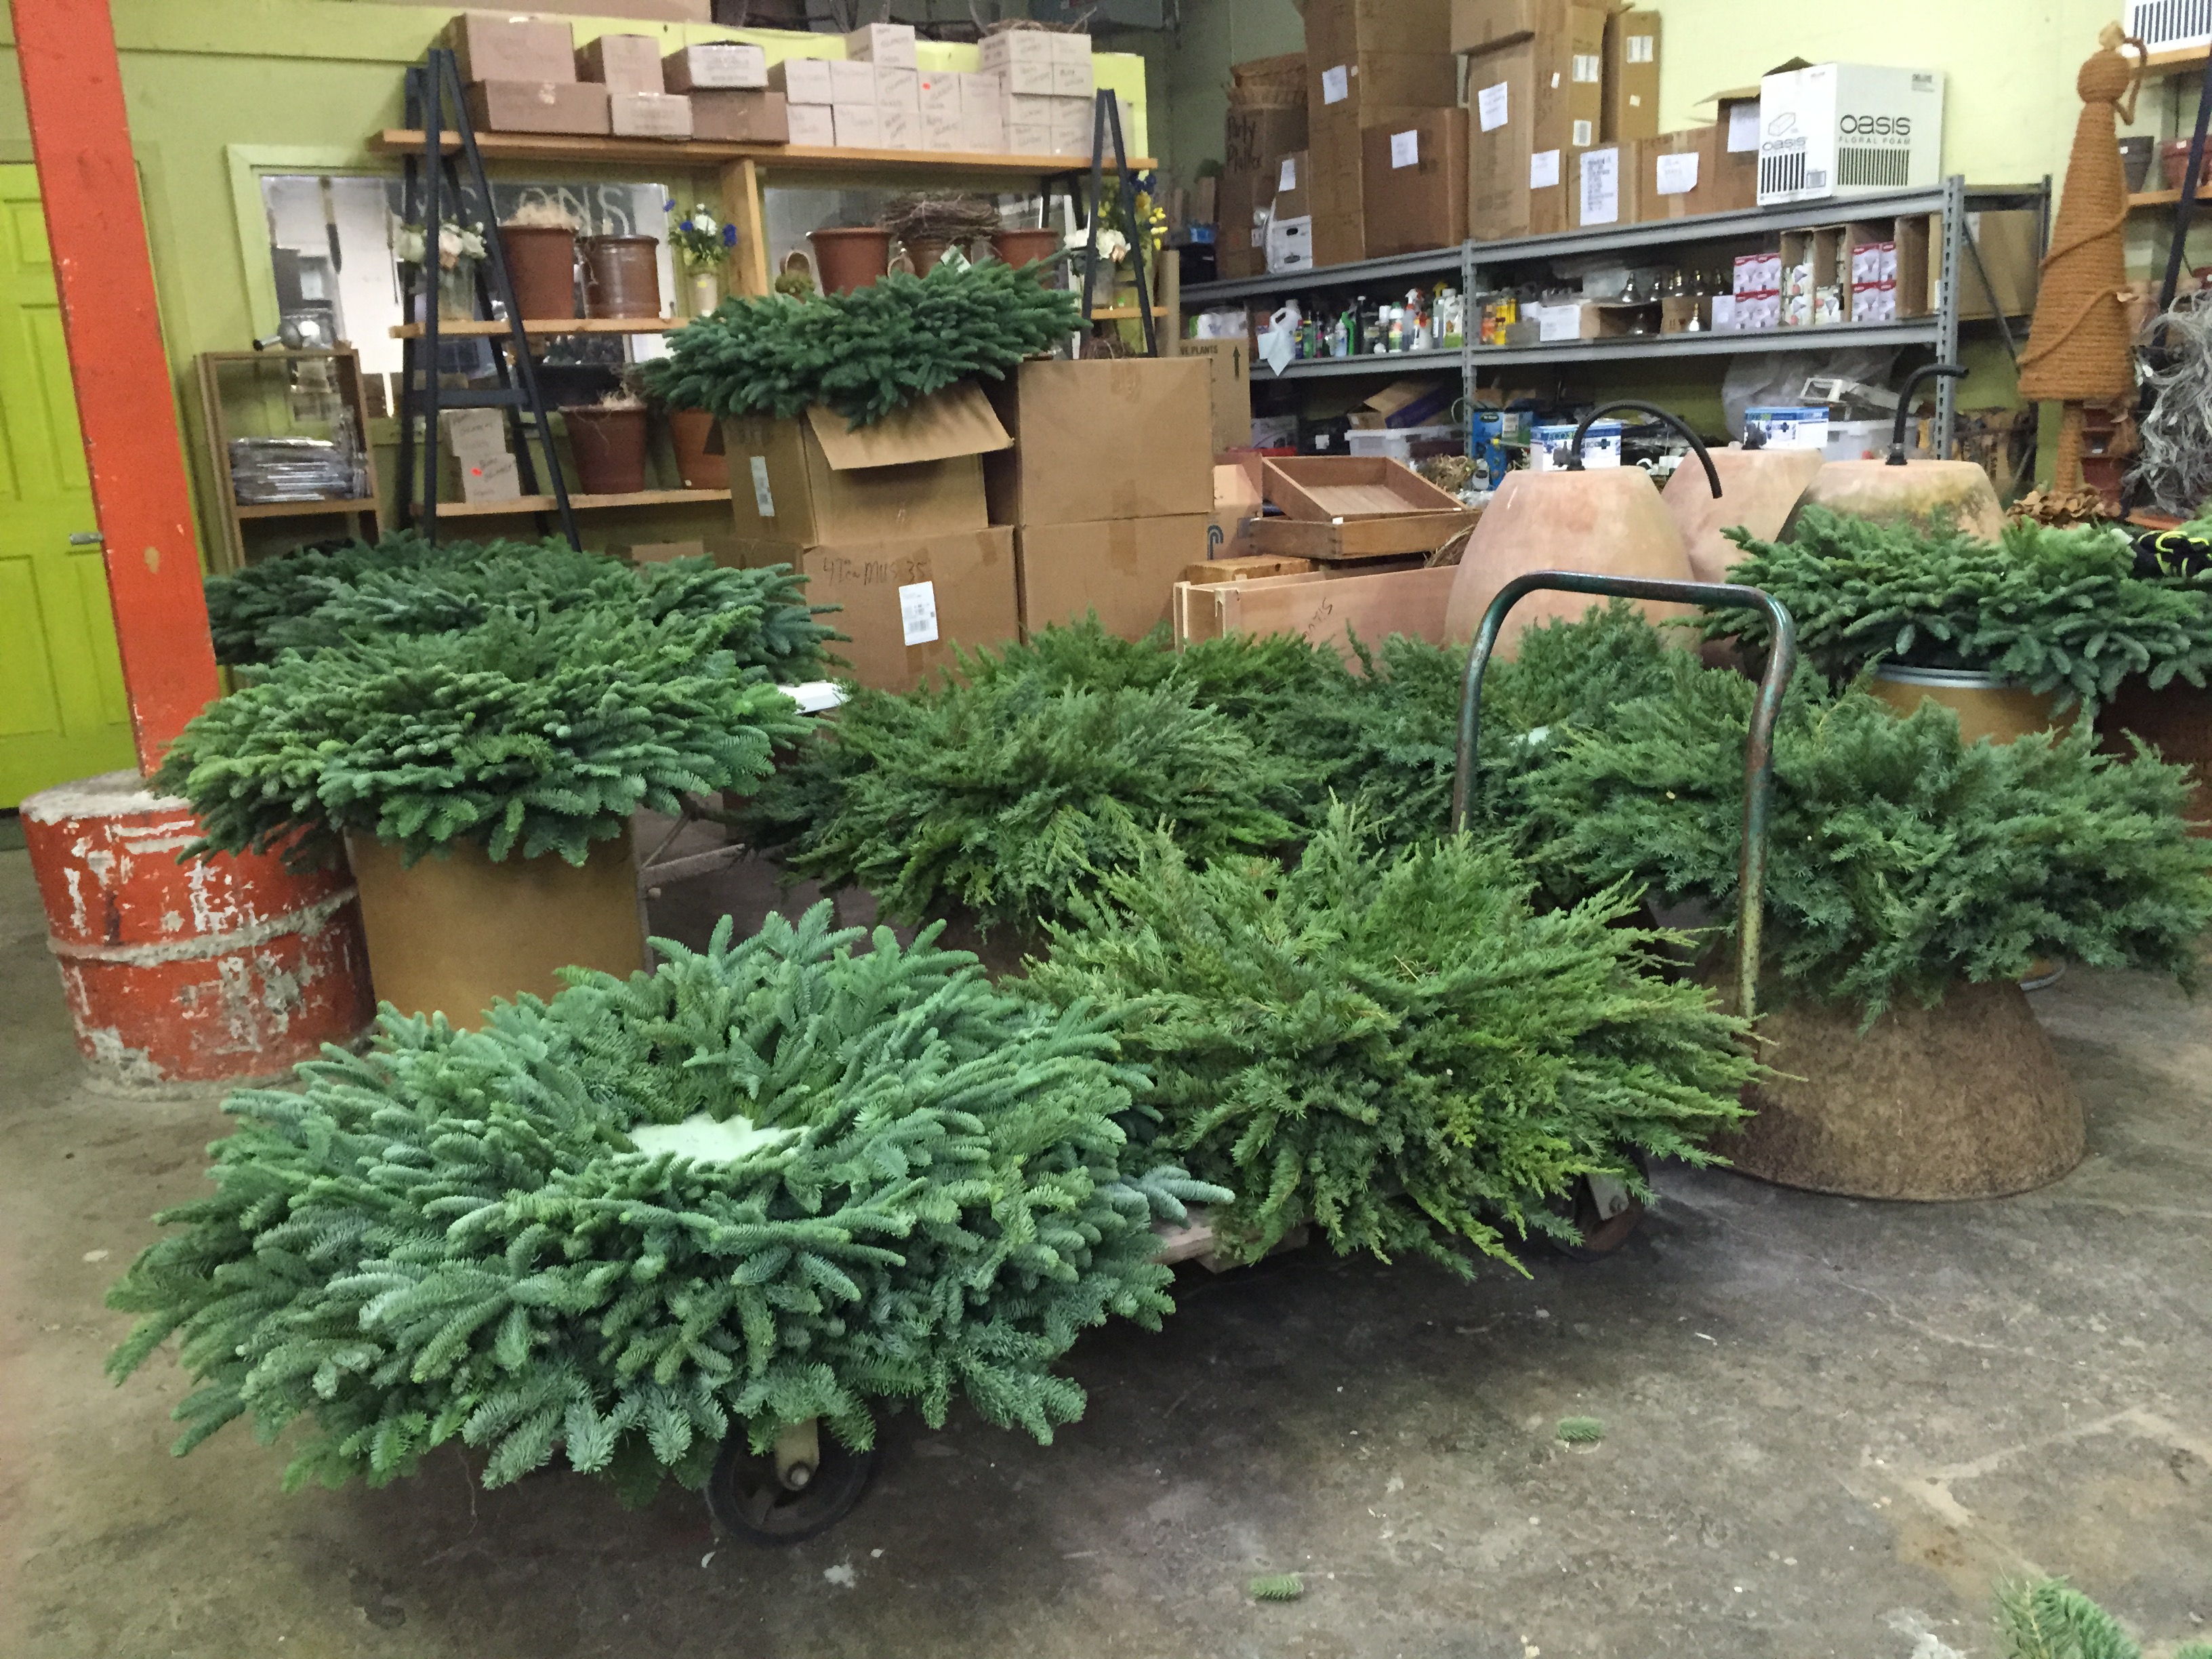
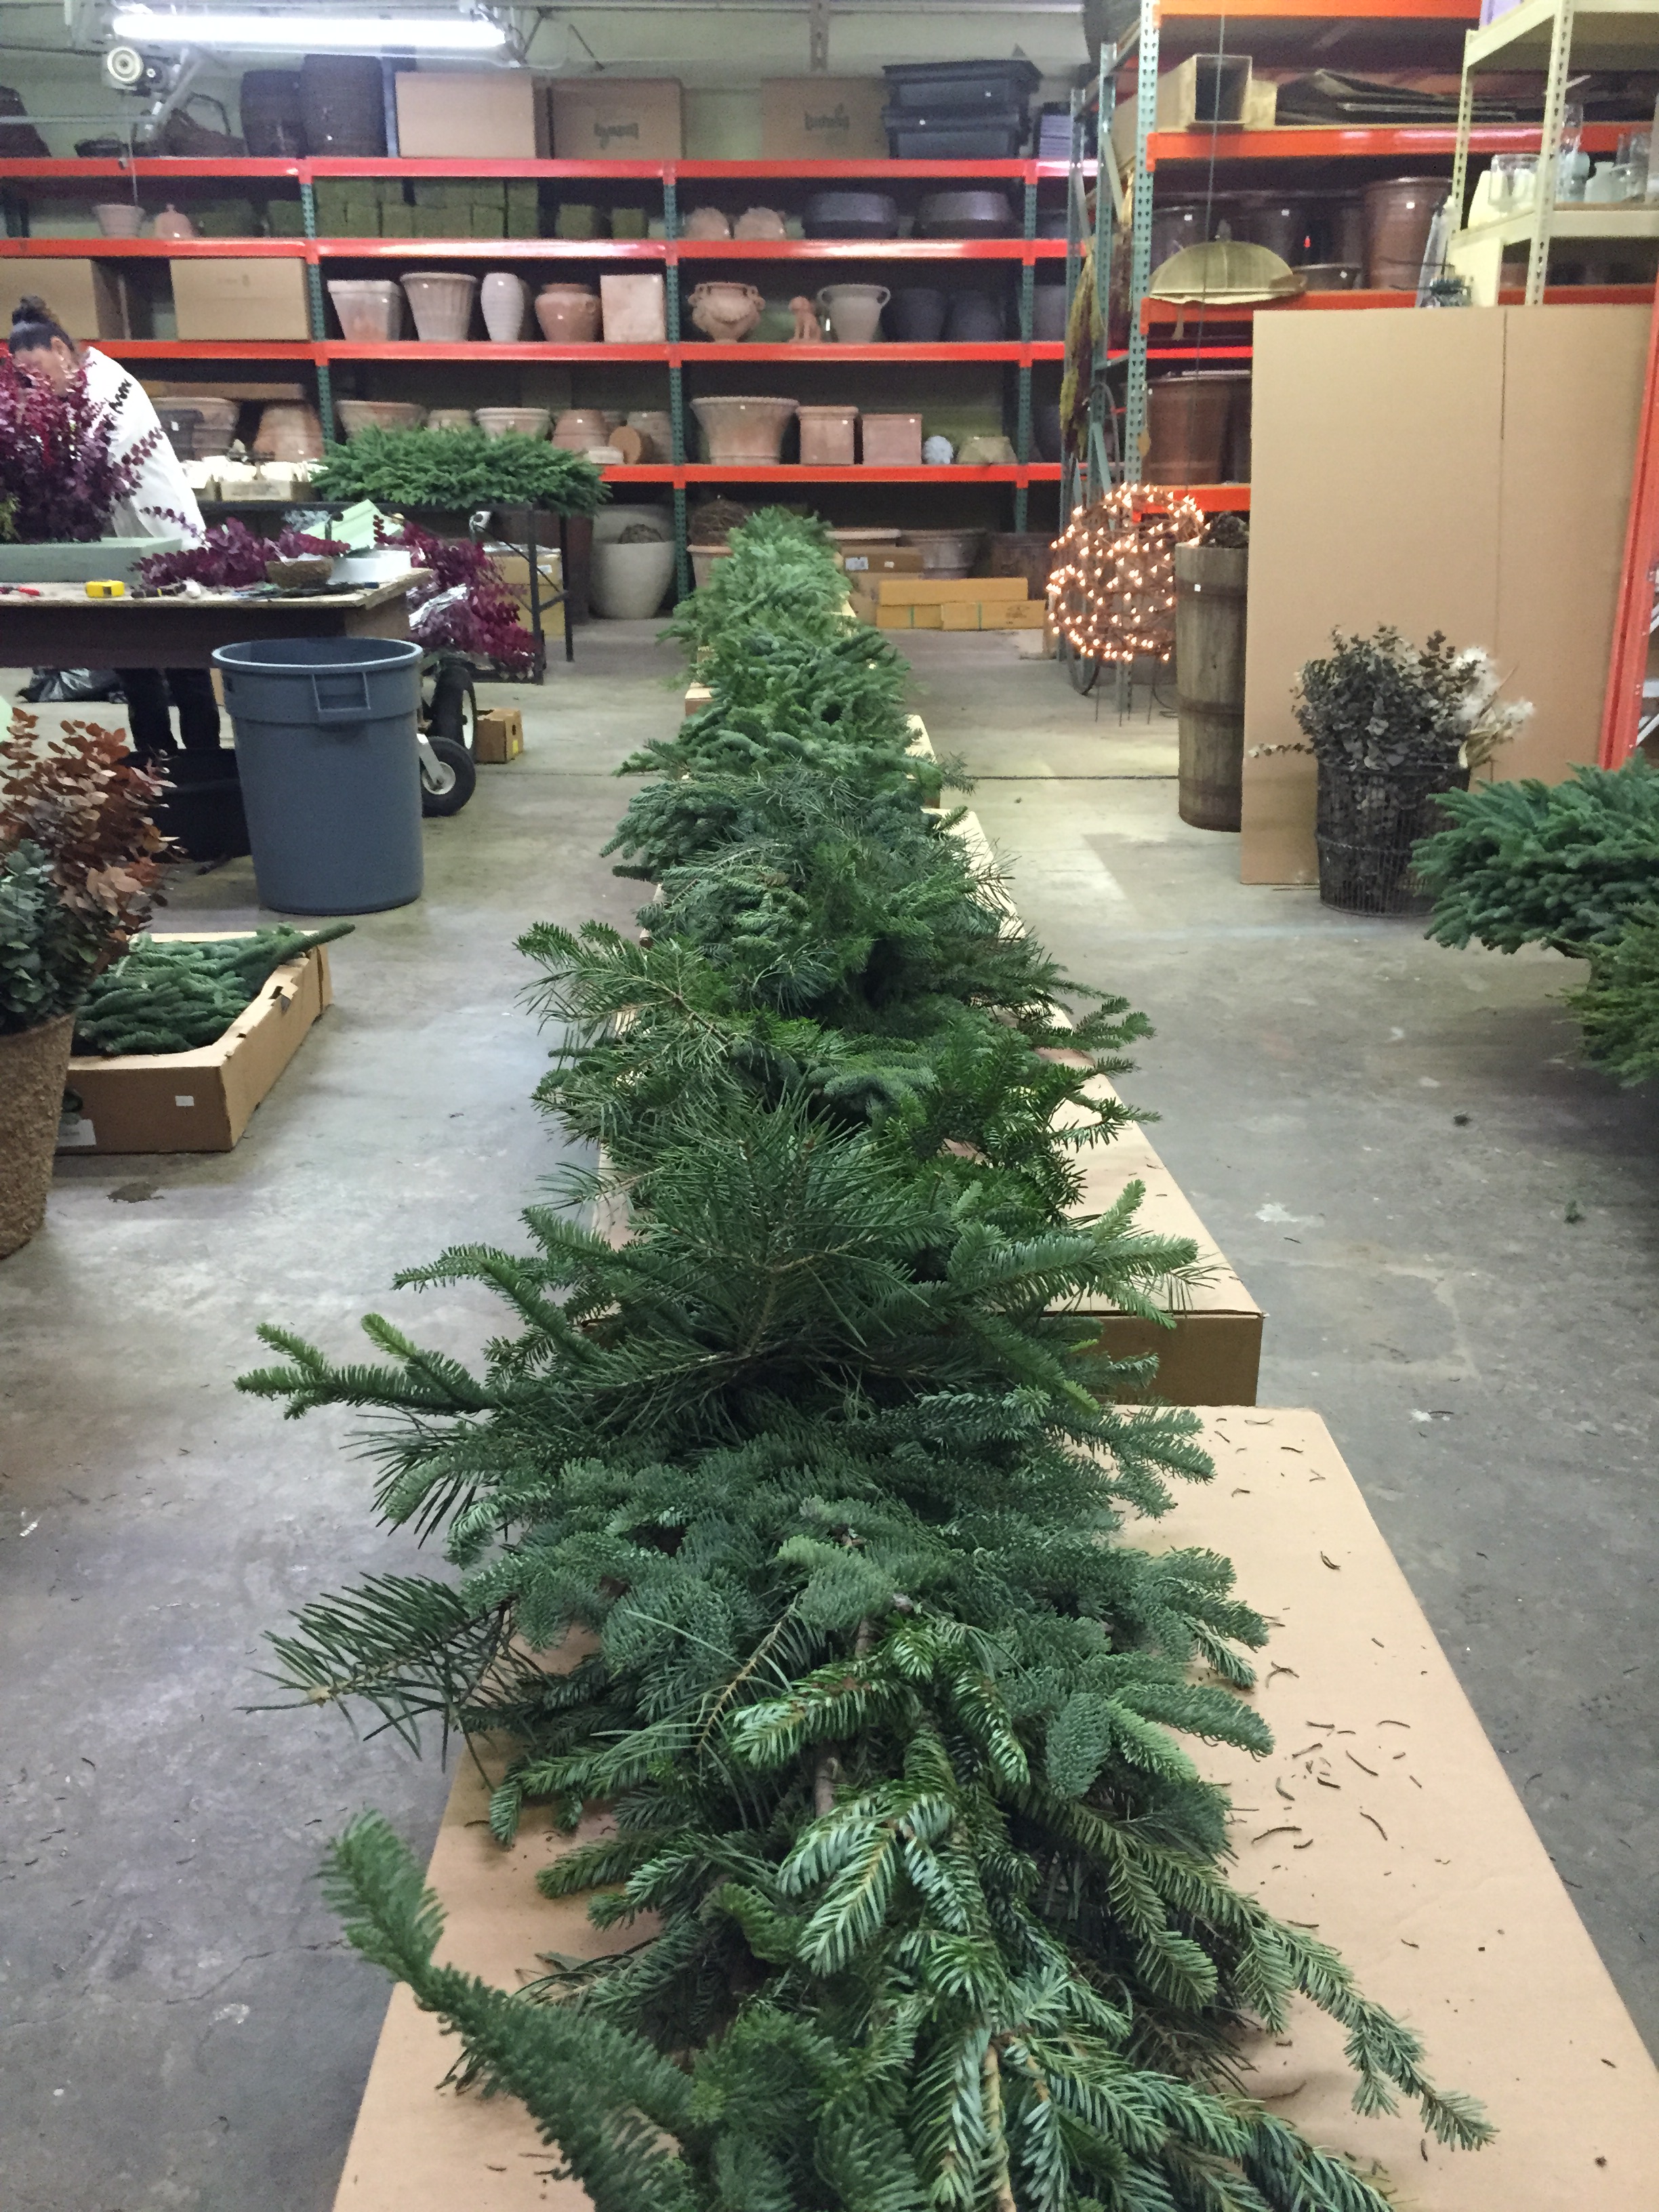
 I was glad for the two days we had in the shop to ready all of the materials for this holiday/winter installation. It will be cold today. Right now, it is 23 degrees with freezing fog. The high temperature will be 40. Having everything ready to install with a minimum of touch up work means we will not have to spend the entire day outdoors.
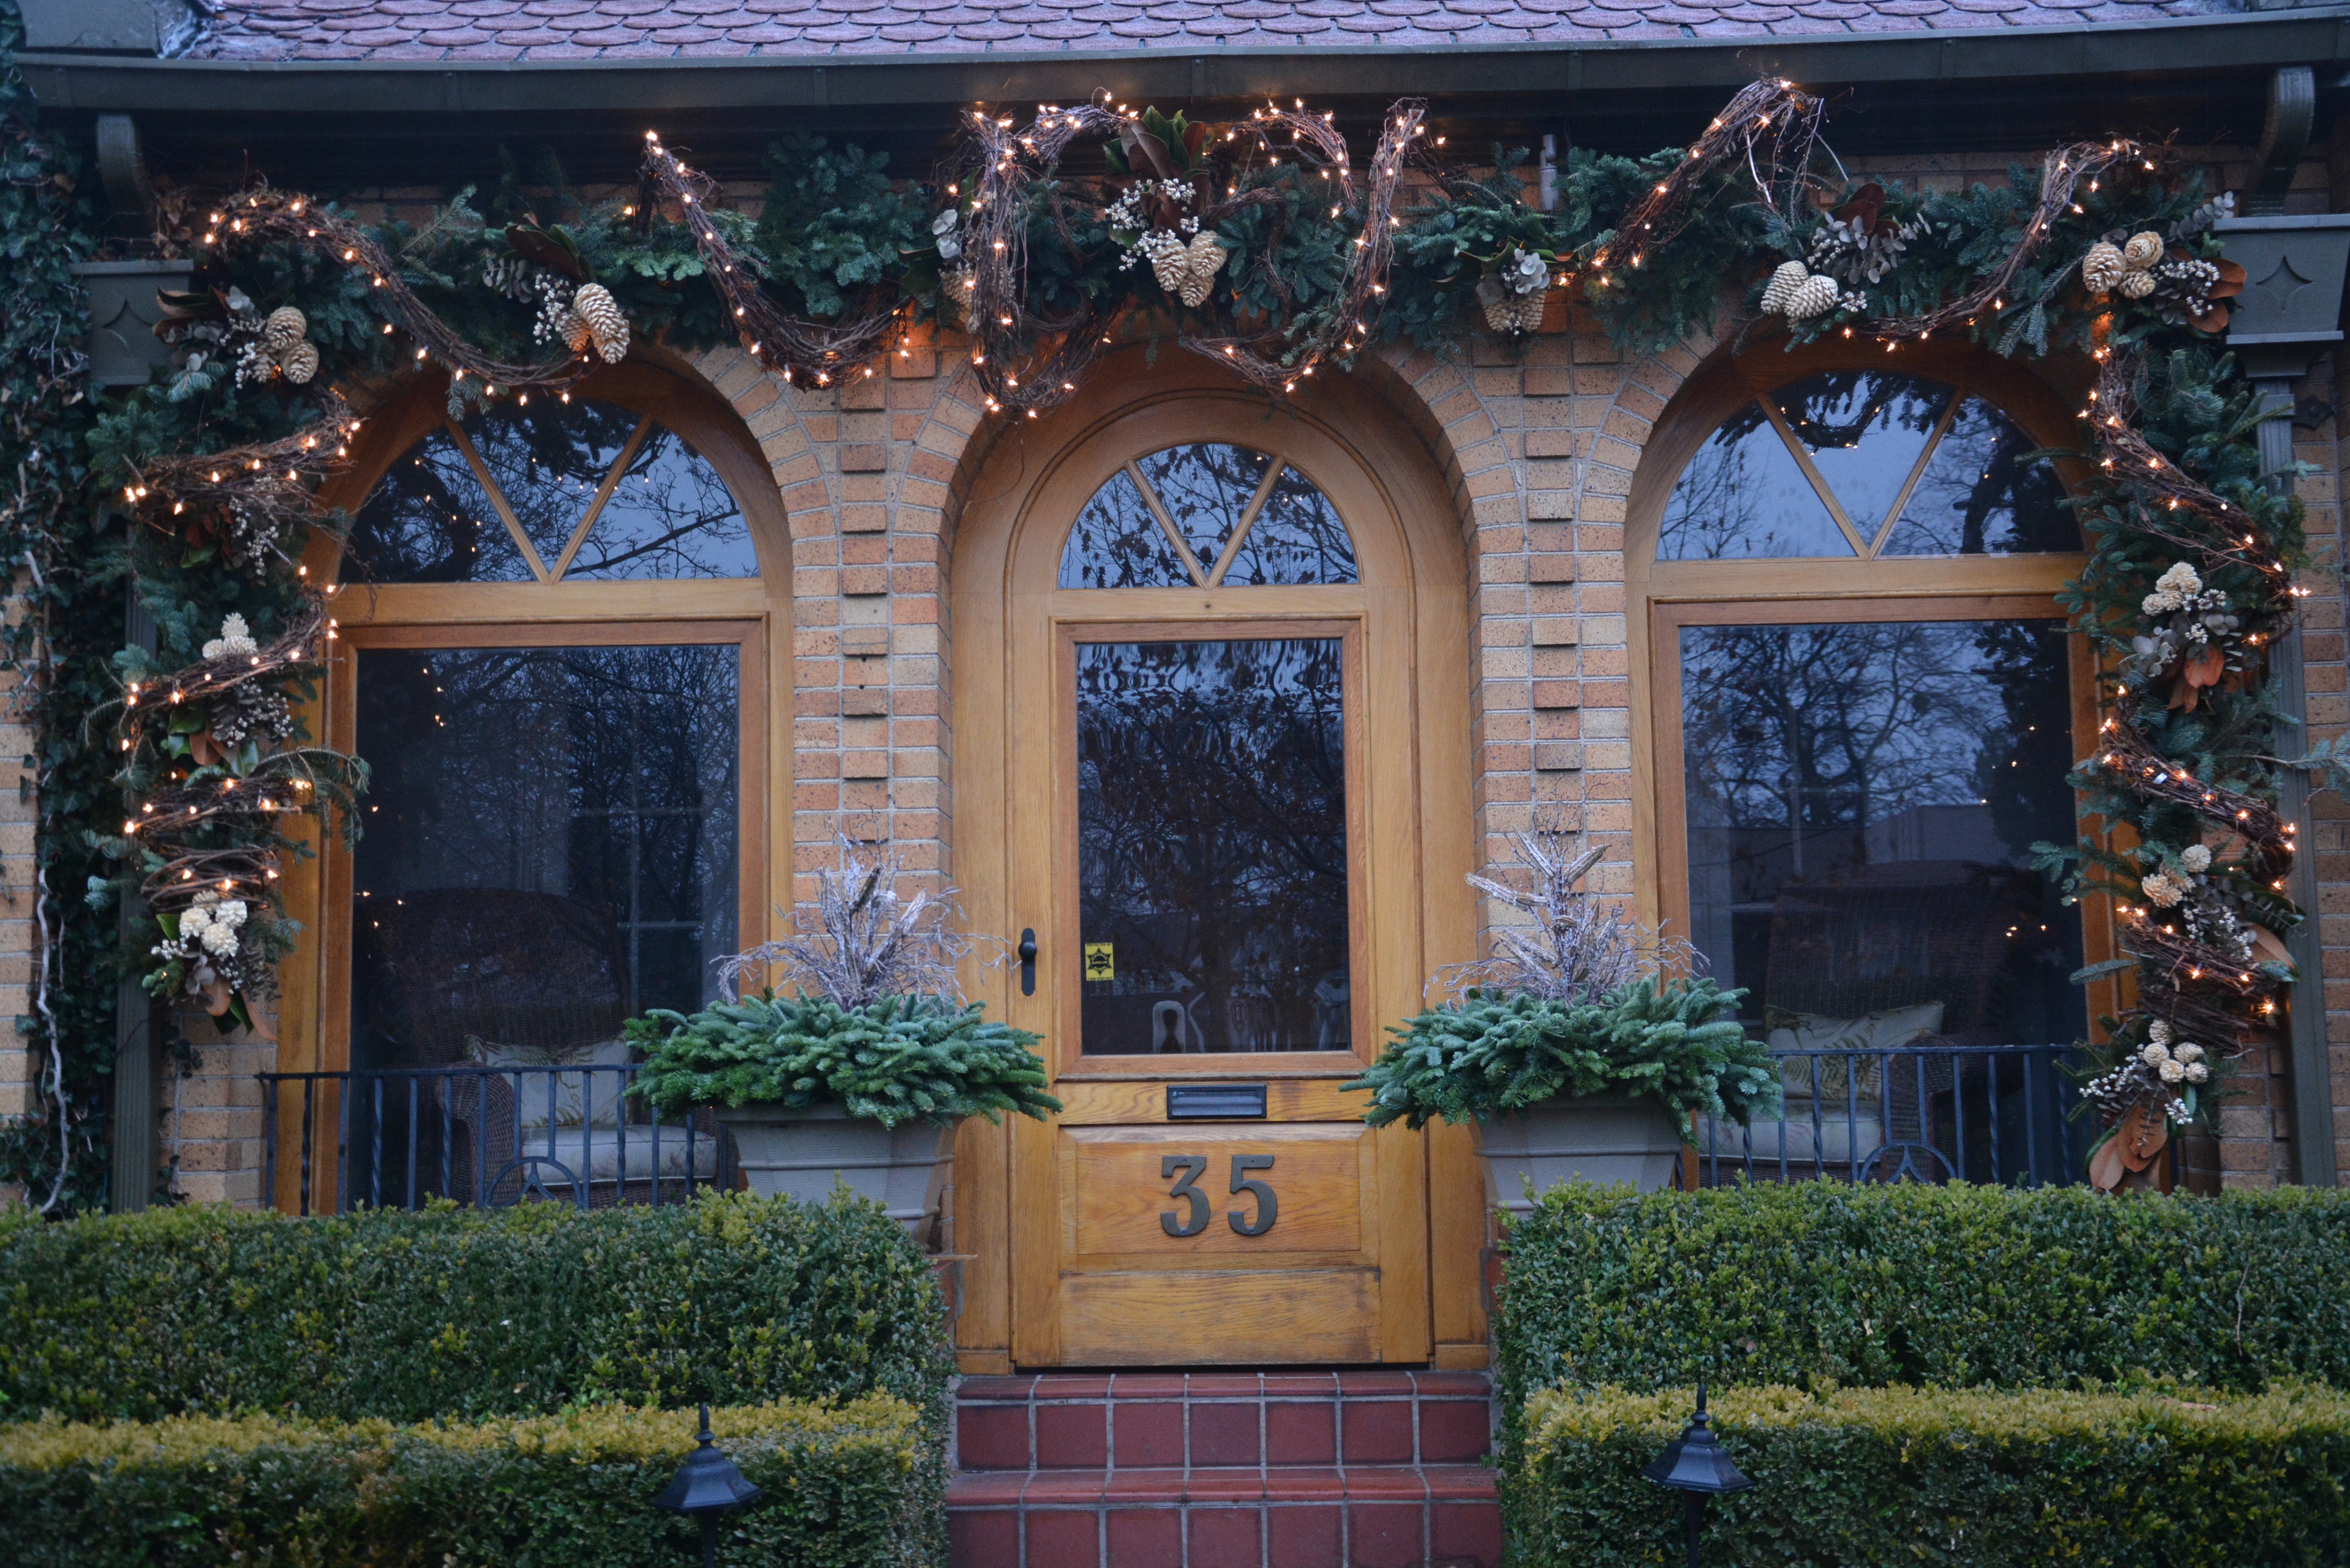
 We make small centerpieces for our garlands, as well as our pots. A variety of materials get zip tied together, and wired to a branch in the garland. If we use pine cones in a garland, we wire them on separately, and loosely. Having a long wire lead means you can nestle that cone in the evergreens wherever it seems appropriate and natural. Wiring them too close to the garland makes for a stiff look.
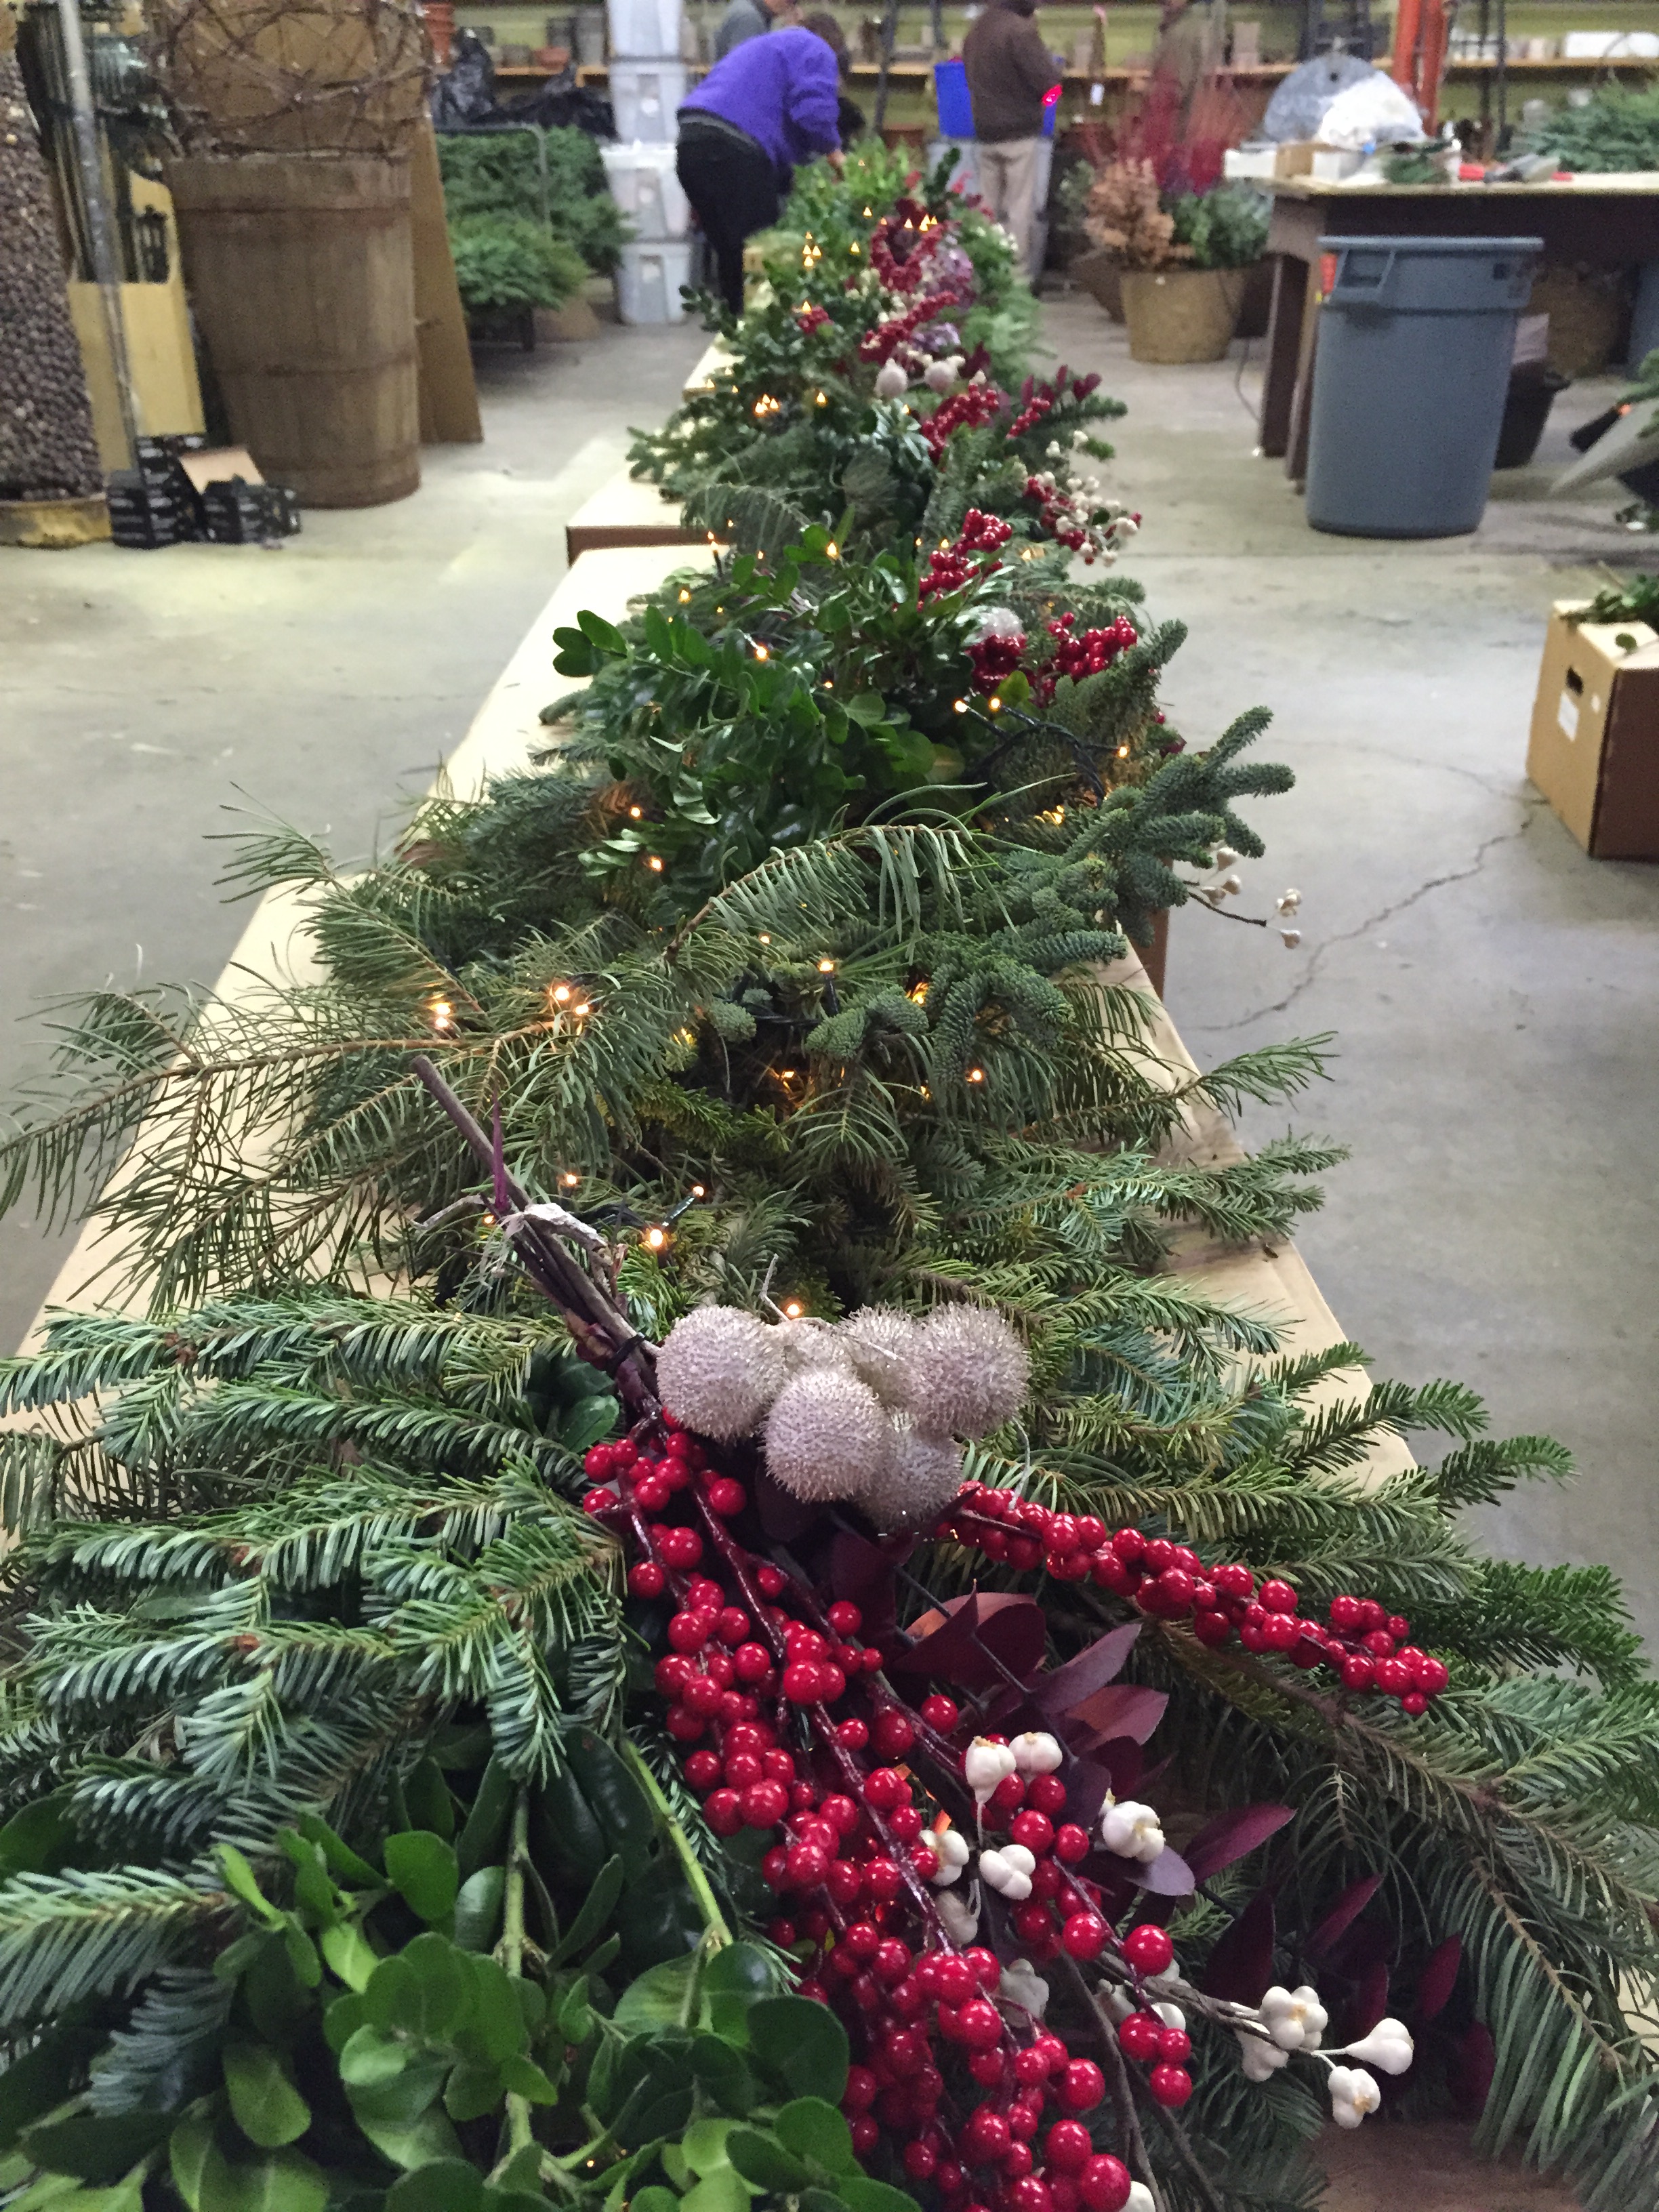 Since a garland is primarily viewed from below, we don’t worry so much about hiding the evidence of the construction. This new LED lighting we have this year features black/green wires that is small. The tiny bulbs are mounted on wire stalks that approximate evergreen needles. It is so light weight and flexible it is simple to attach to the garland. And the light is warm. Based on what I have seen so far, this is holiday lighting that is simple to use, and very durable. I did not need to worry about dropping the strand on our concrete floor.
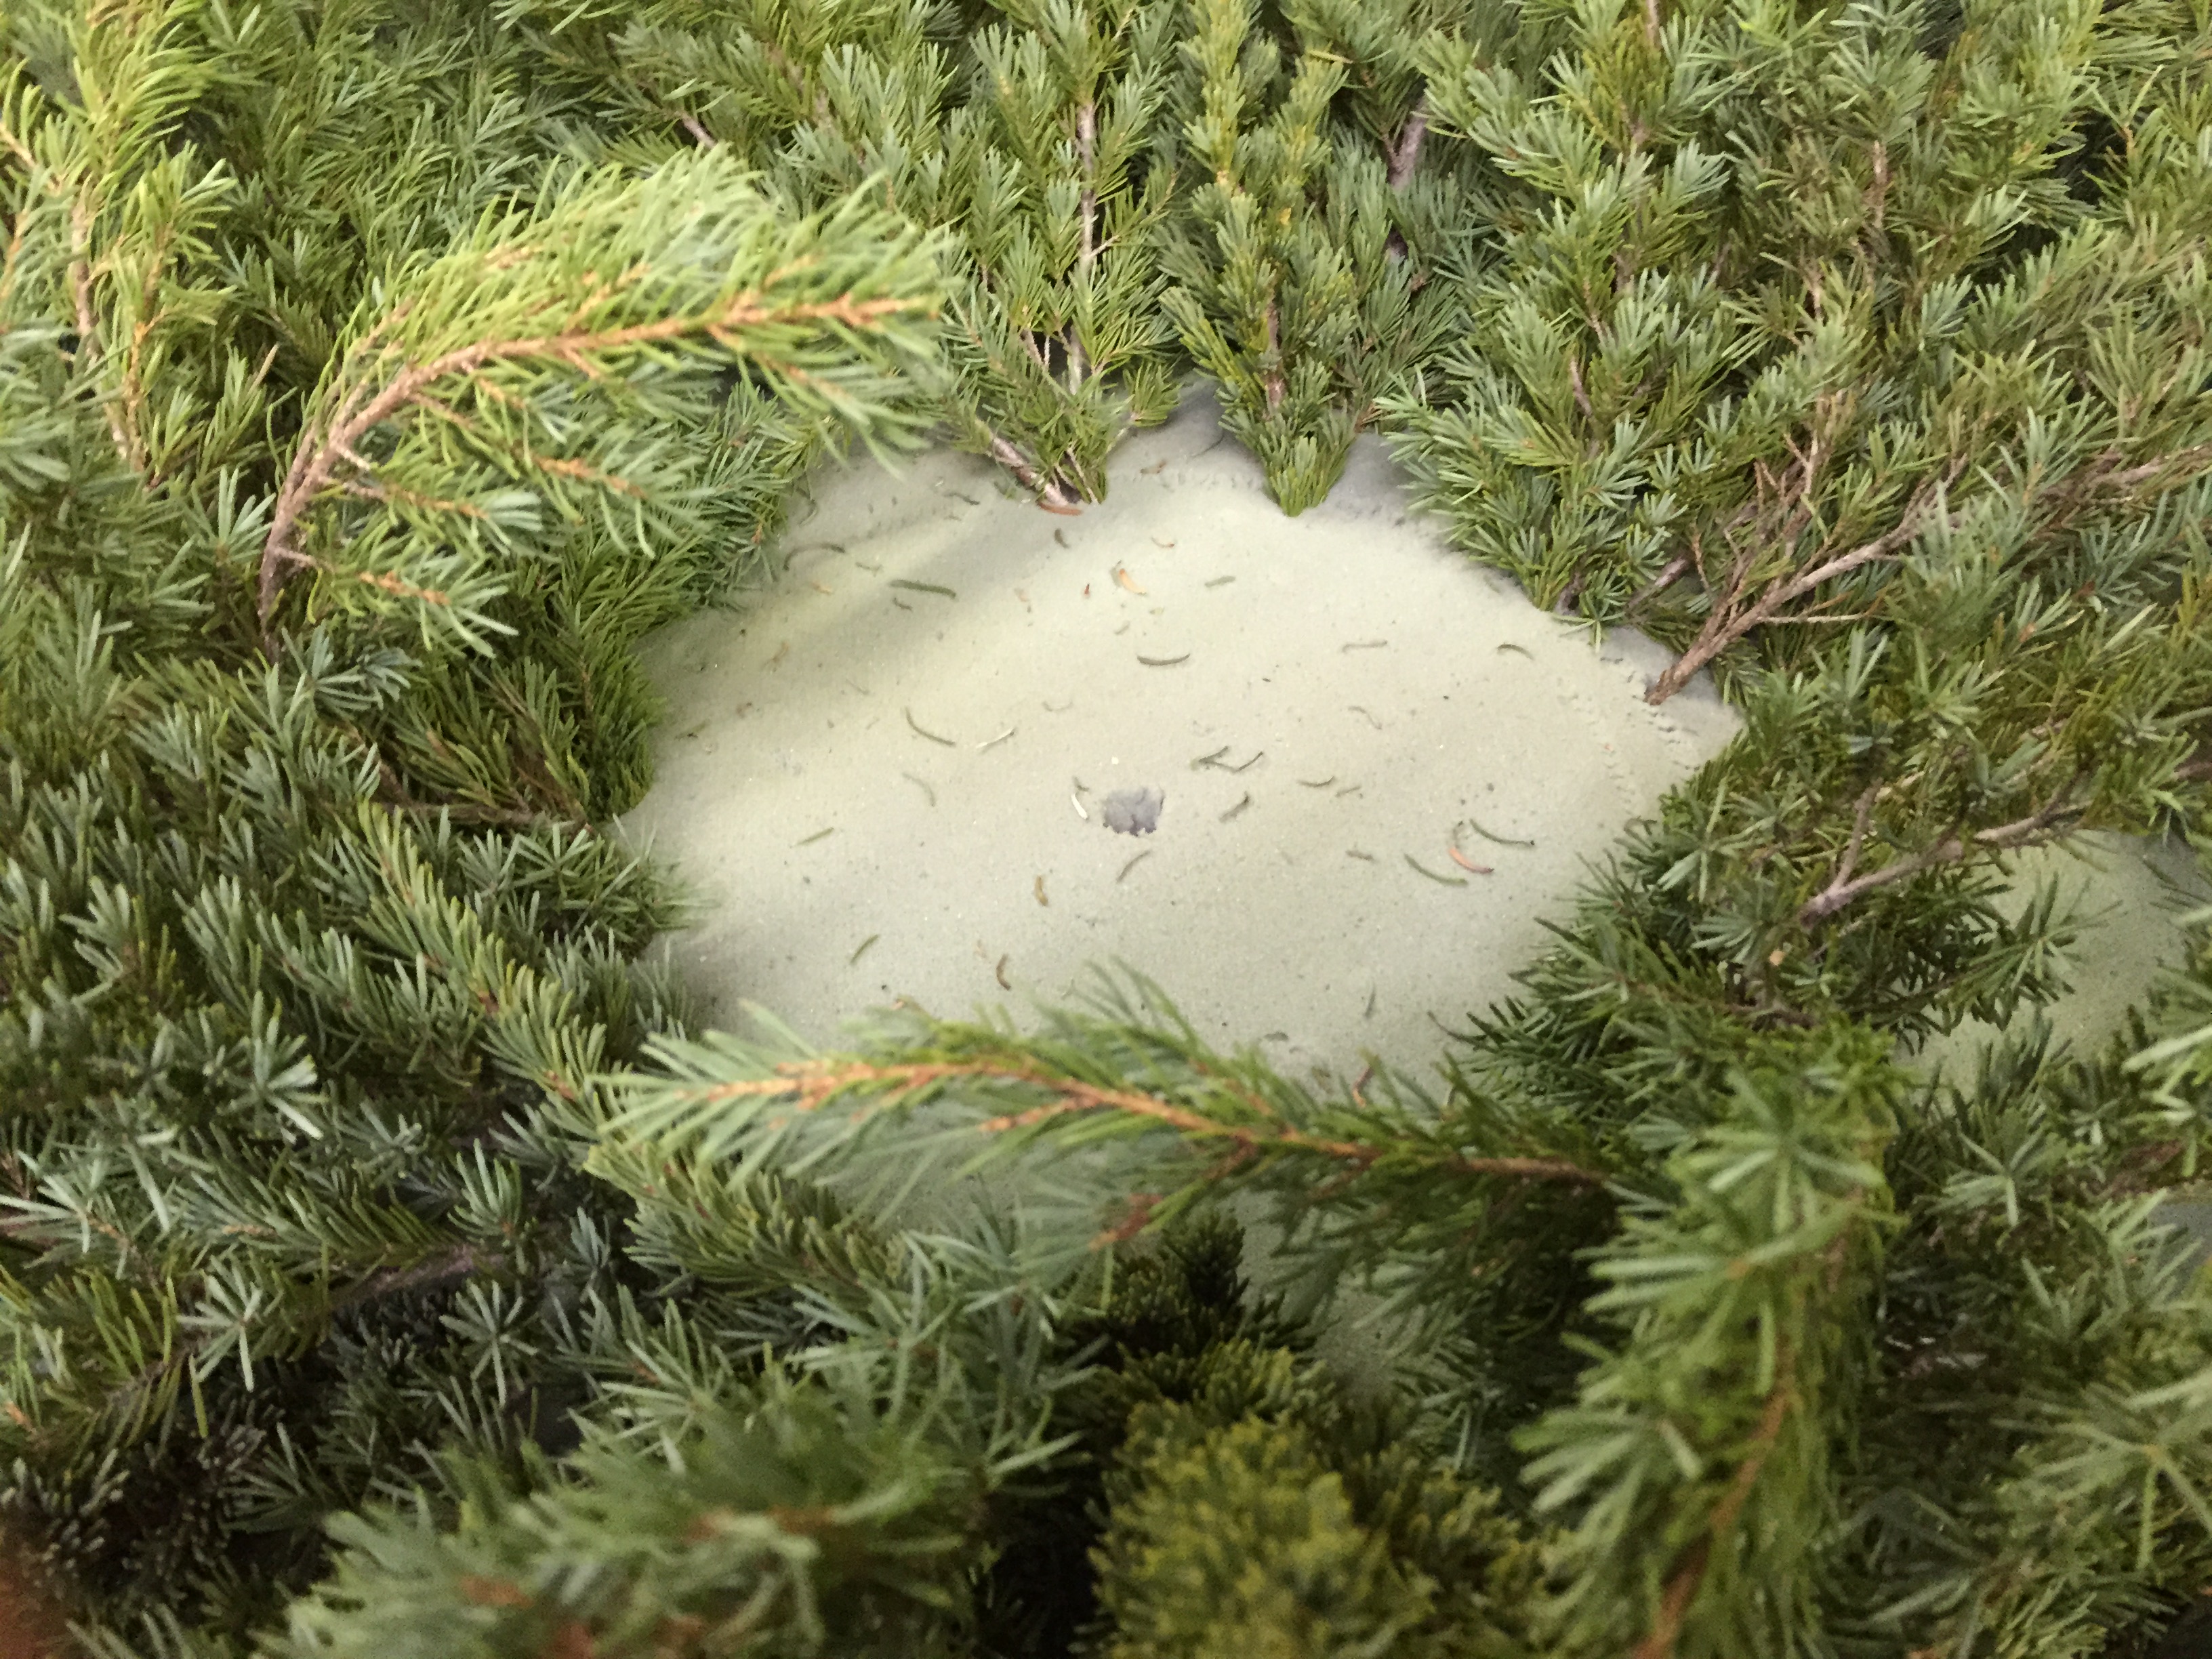
 There are 4 of the LED bulbs barely visible in this picture. The wires will be just about invisible once the garland is hung.
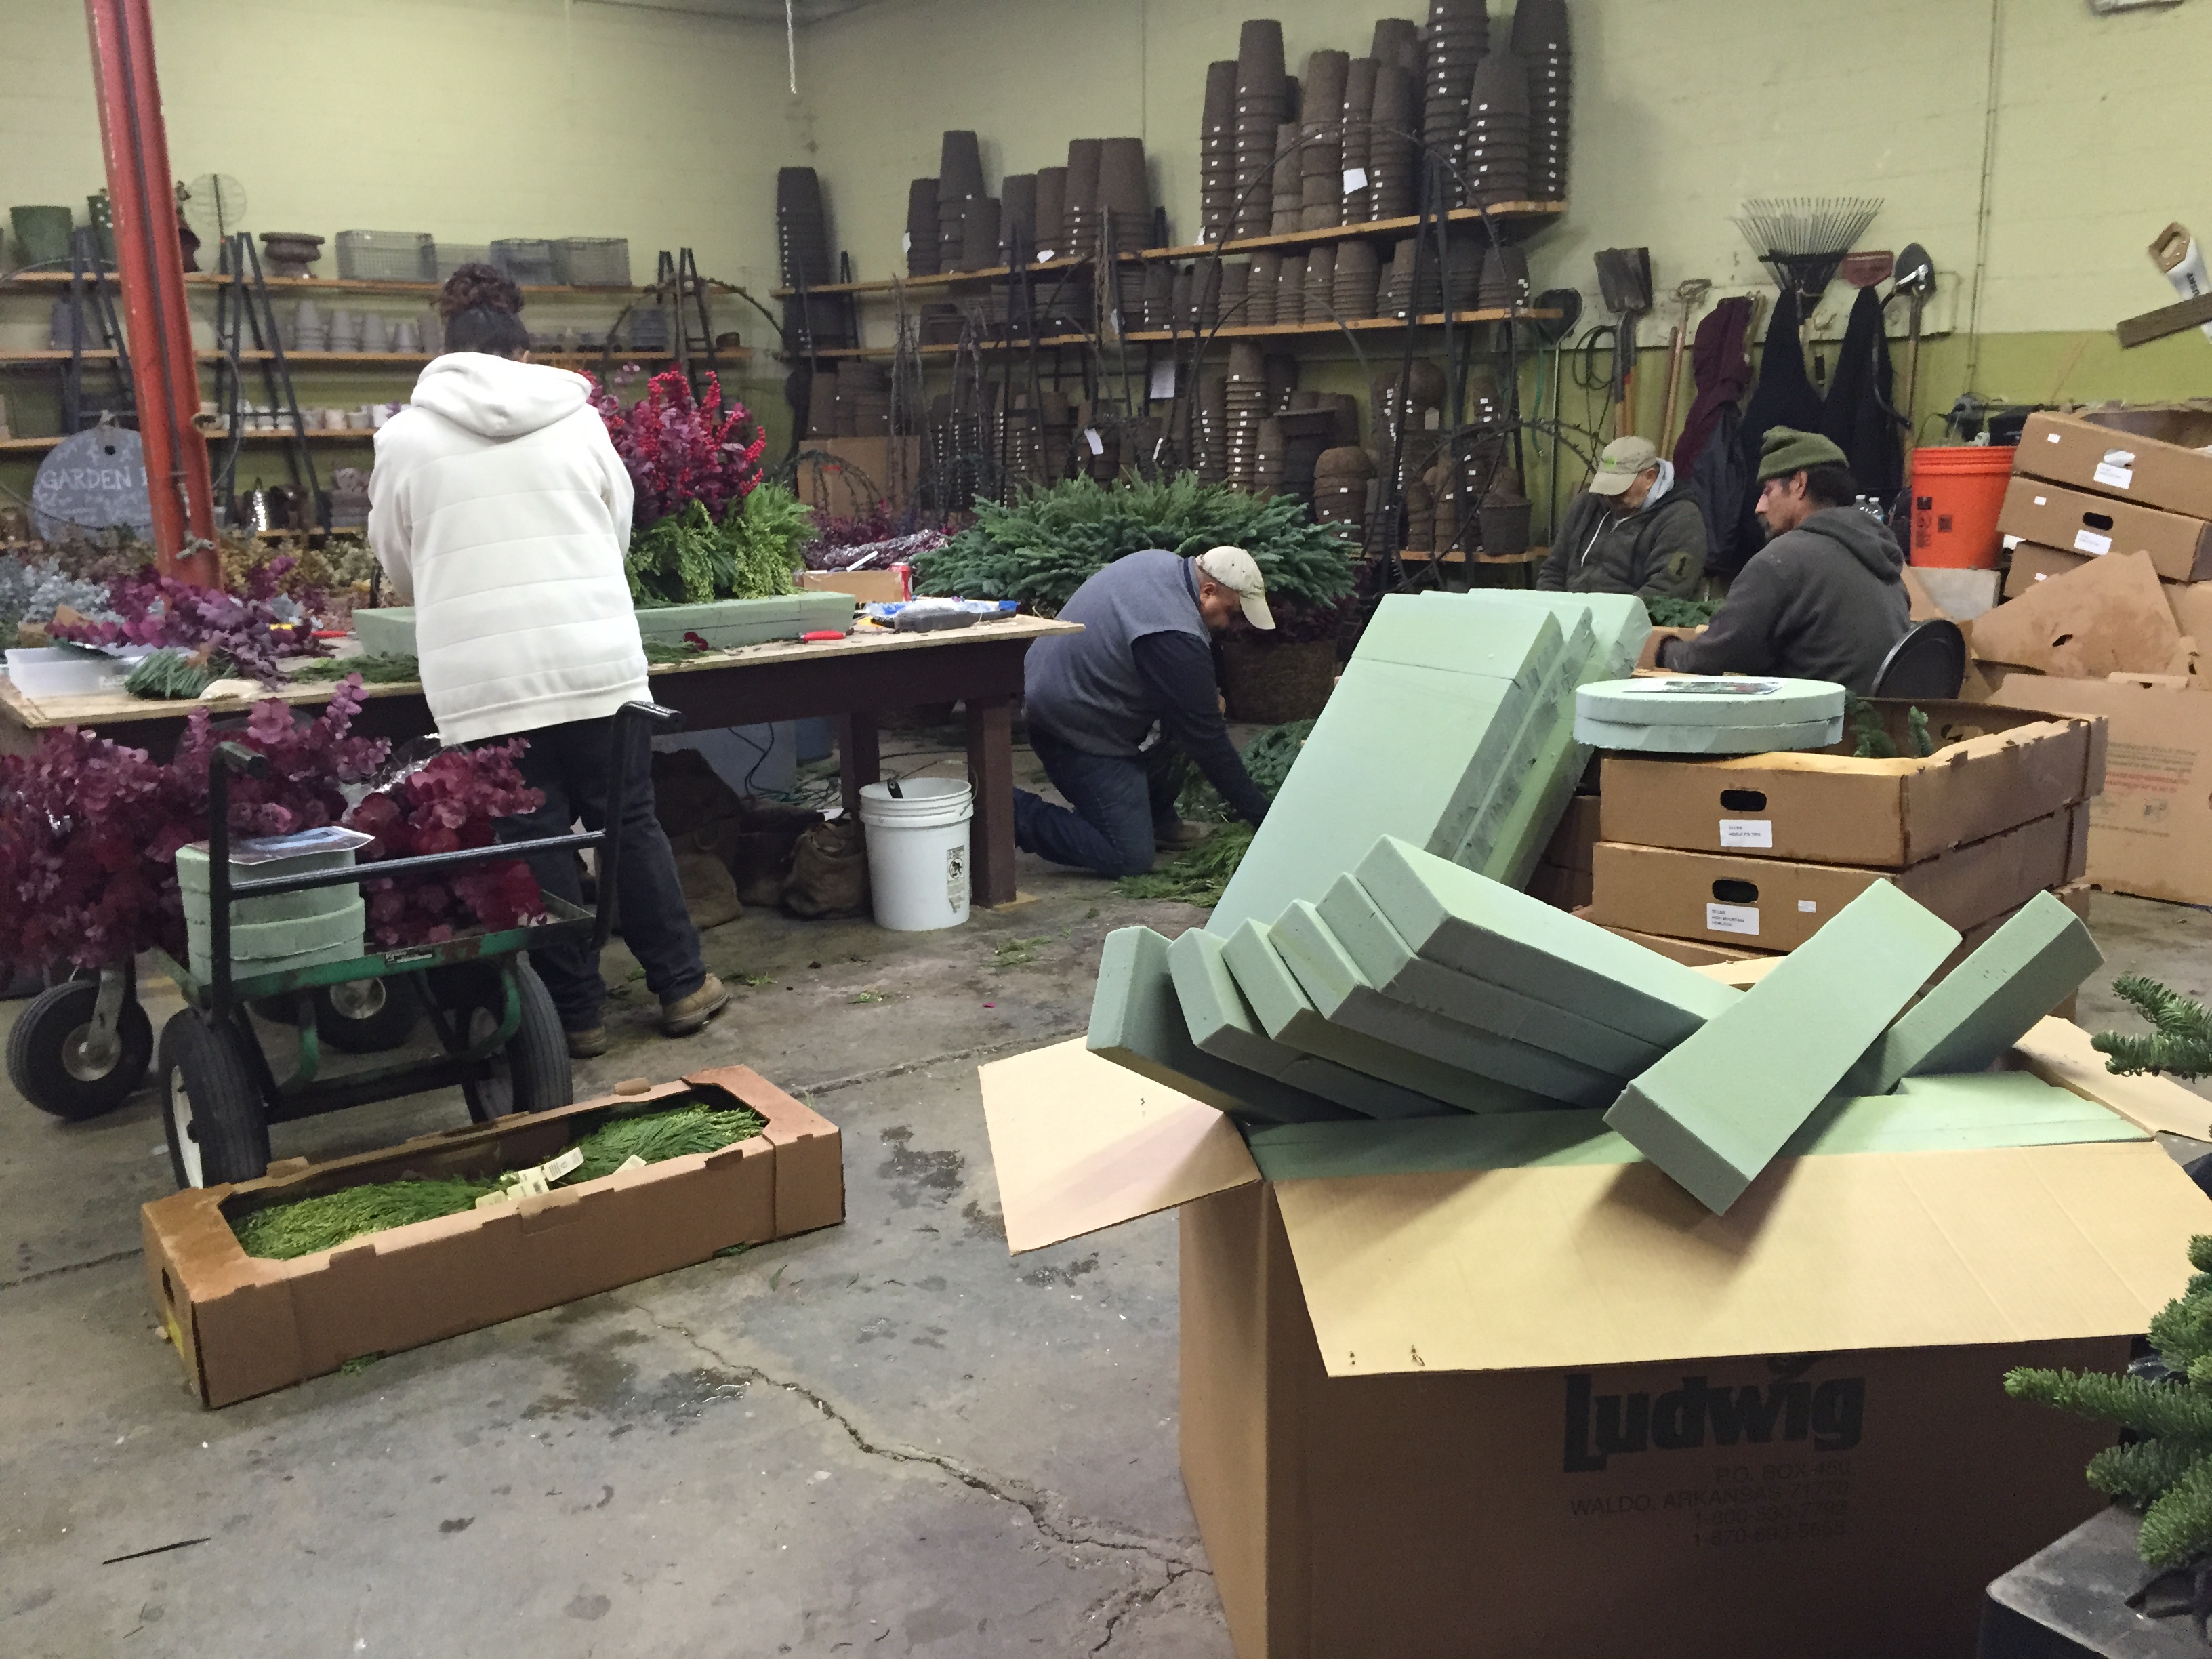
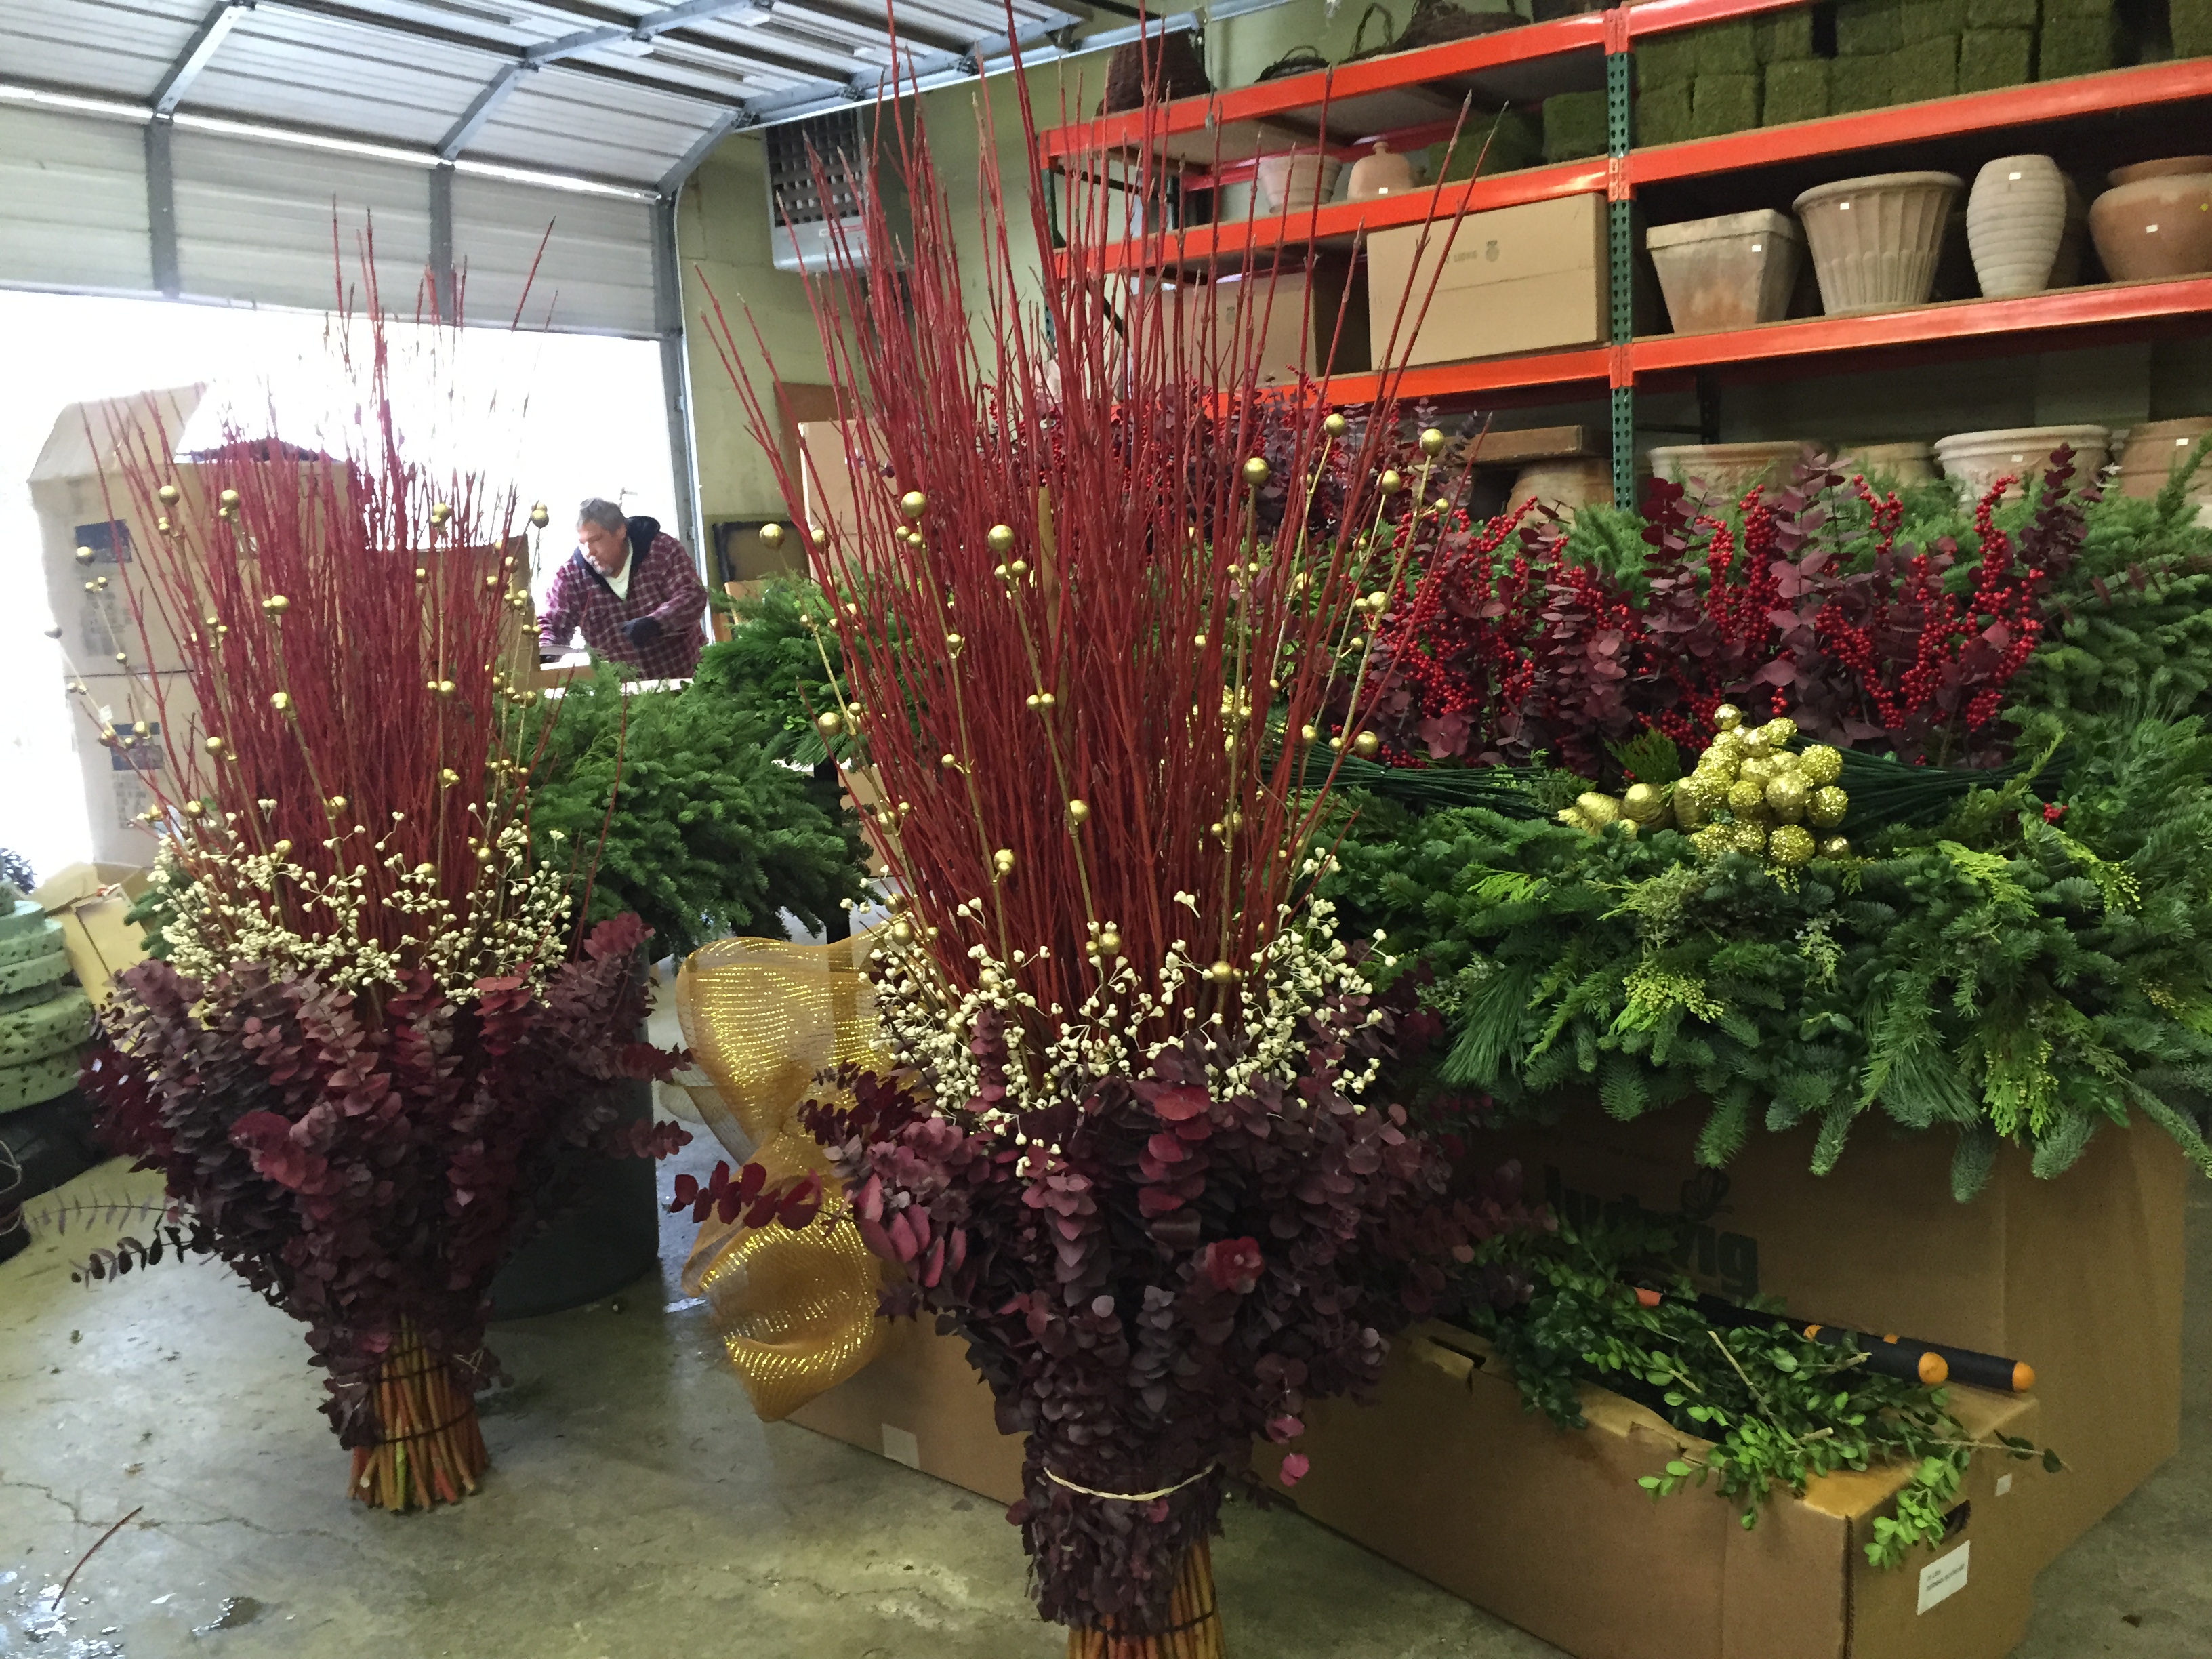 We are as ready as we can be for today’s work.