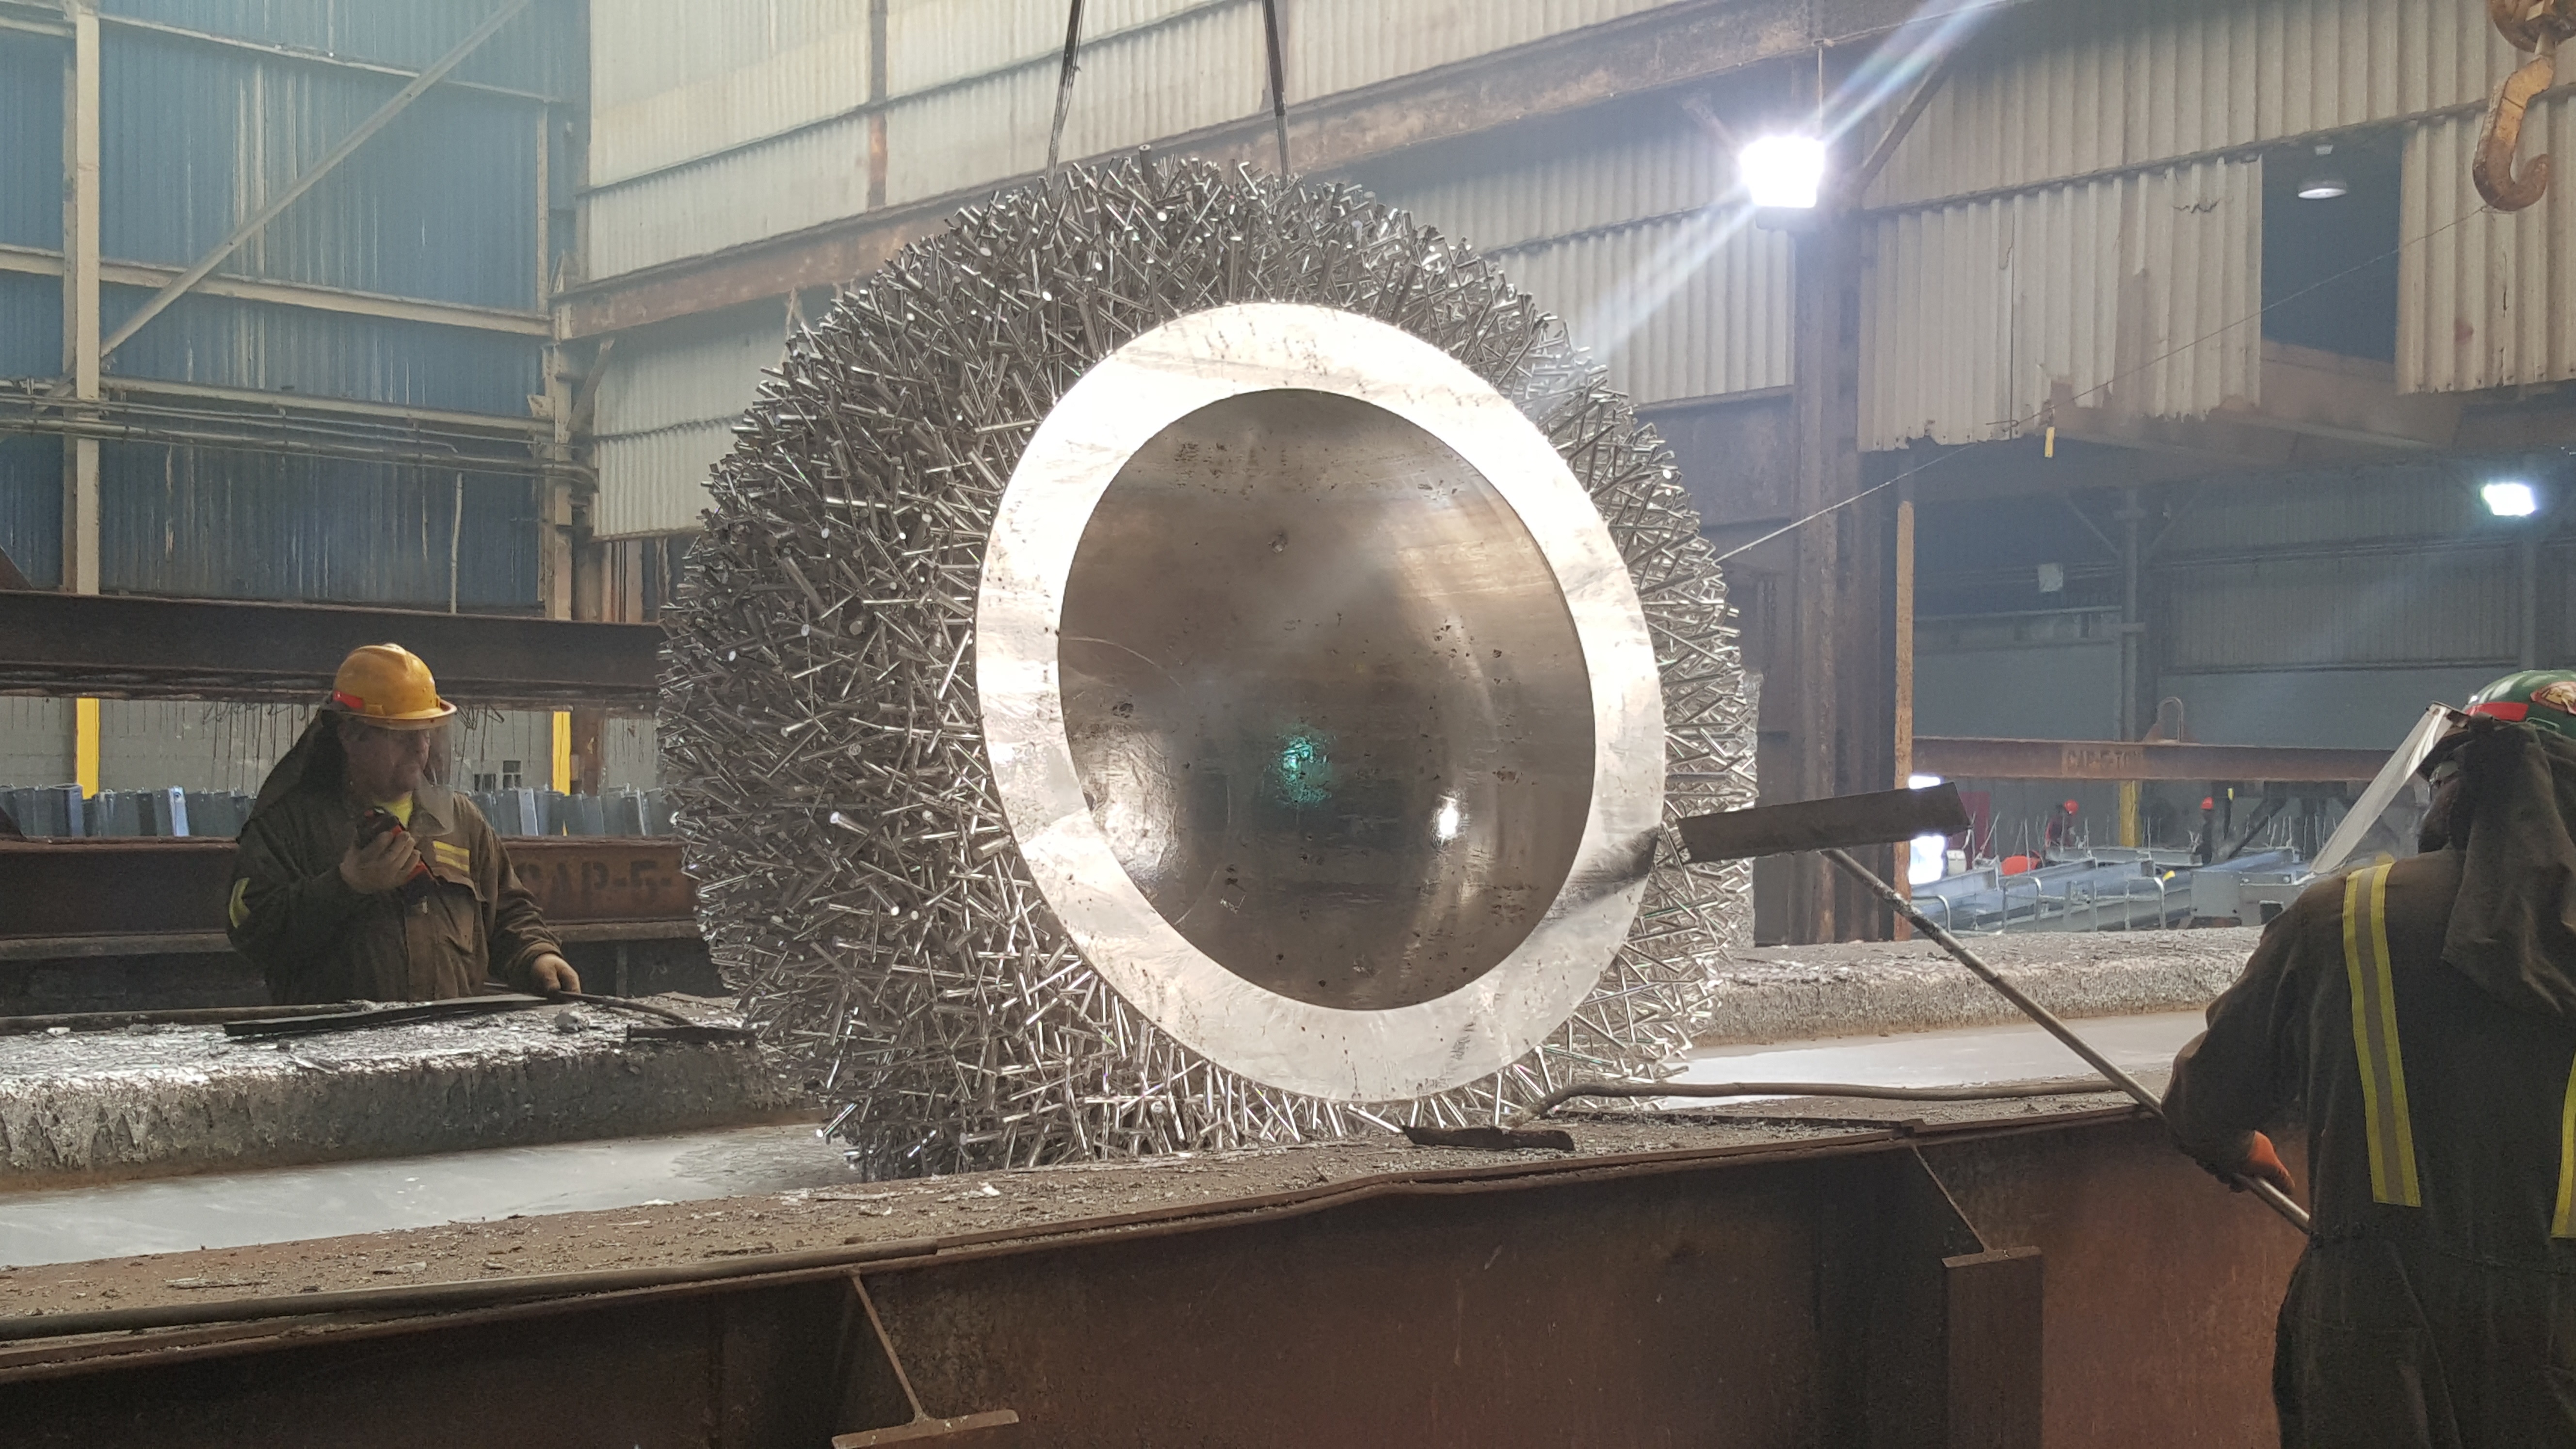
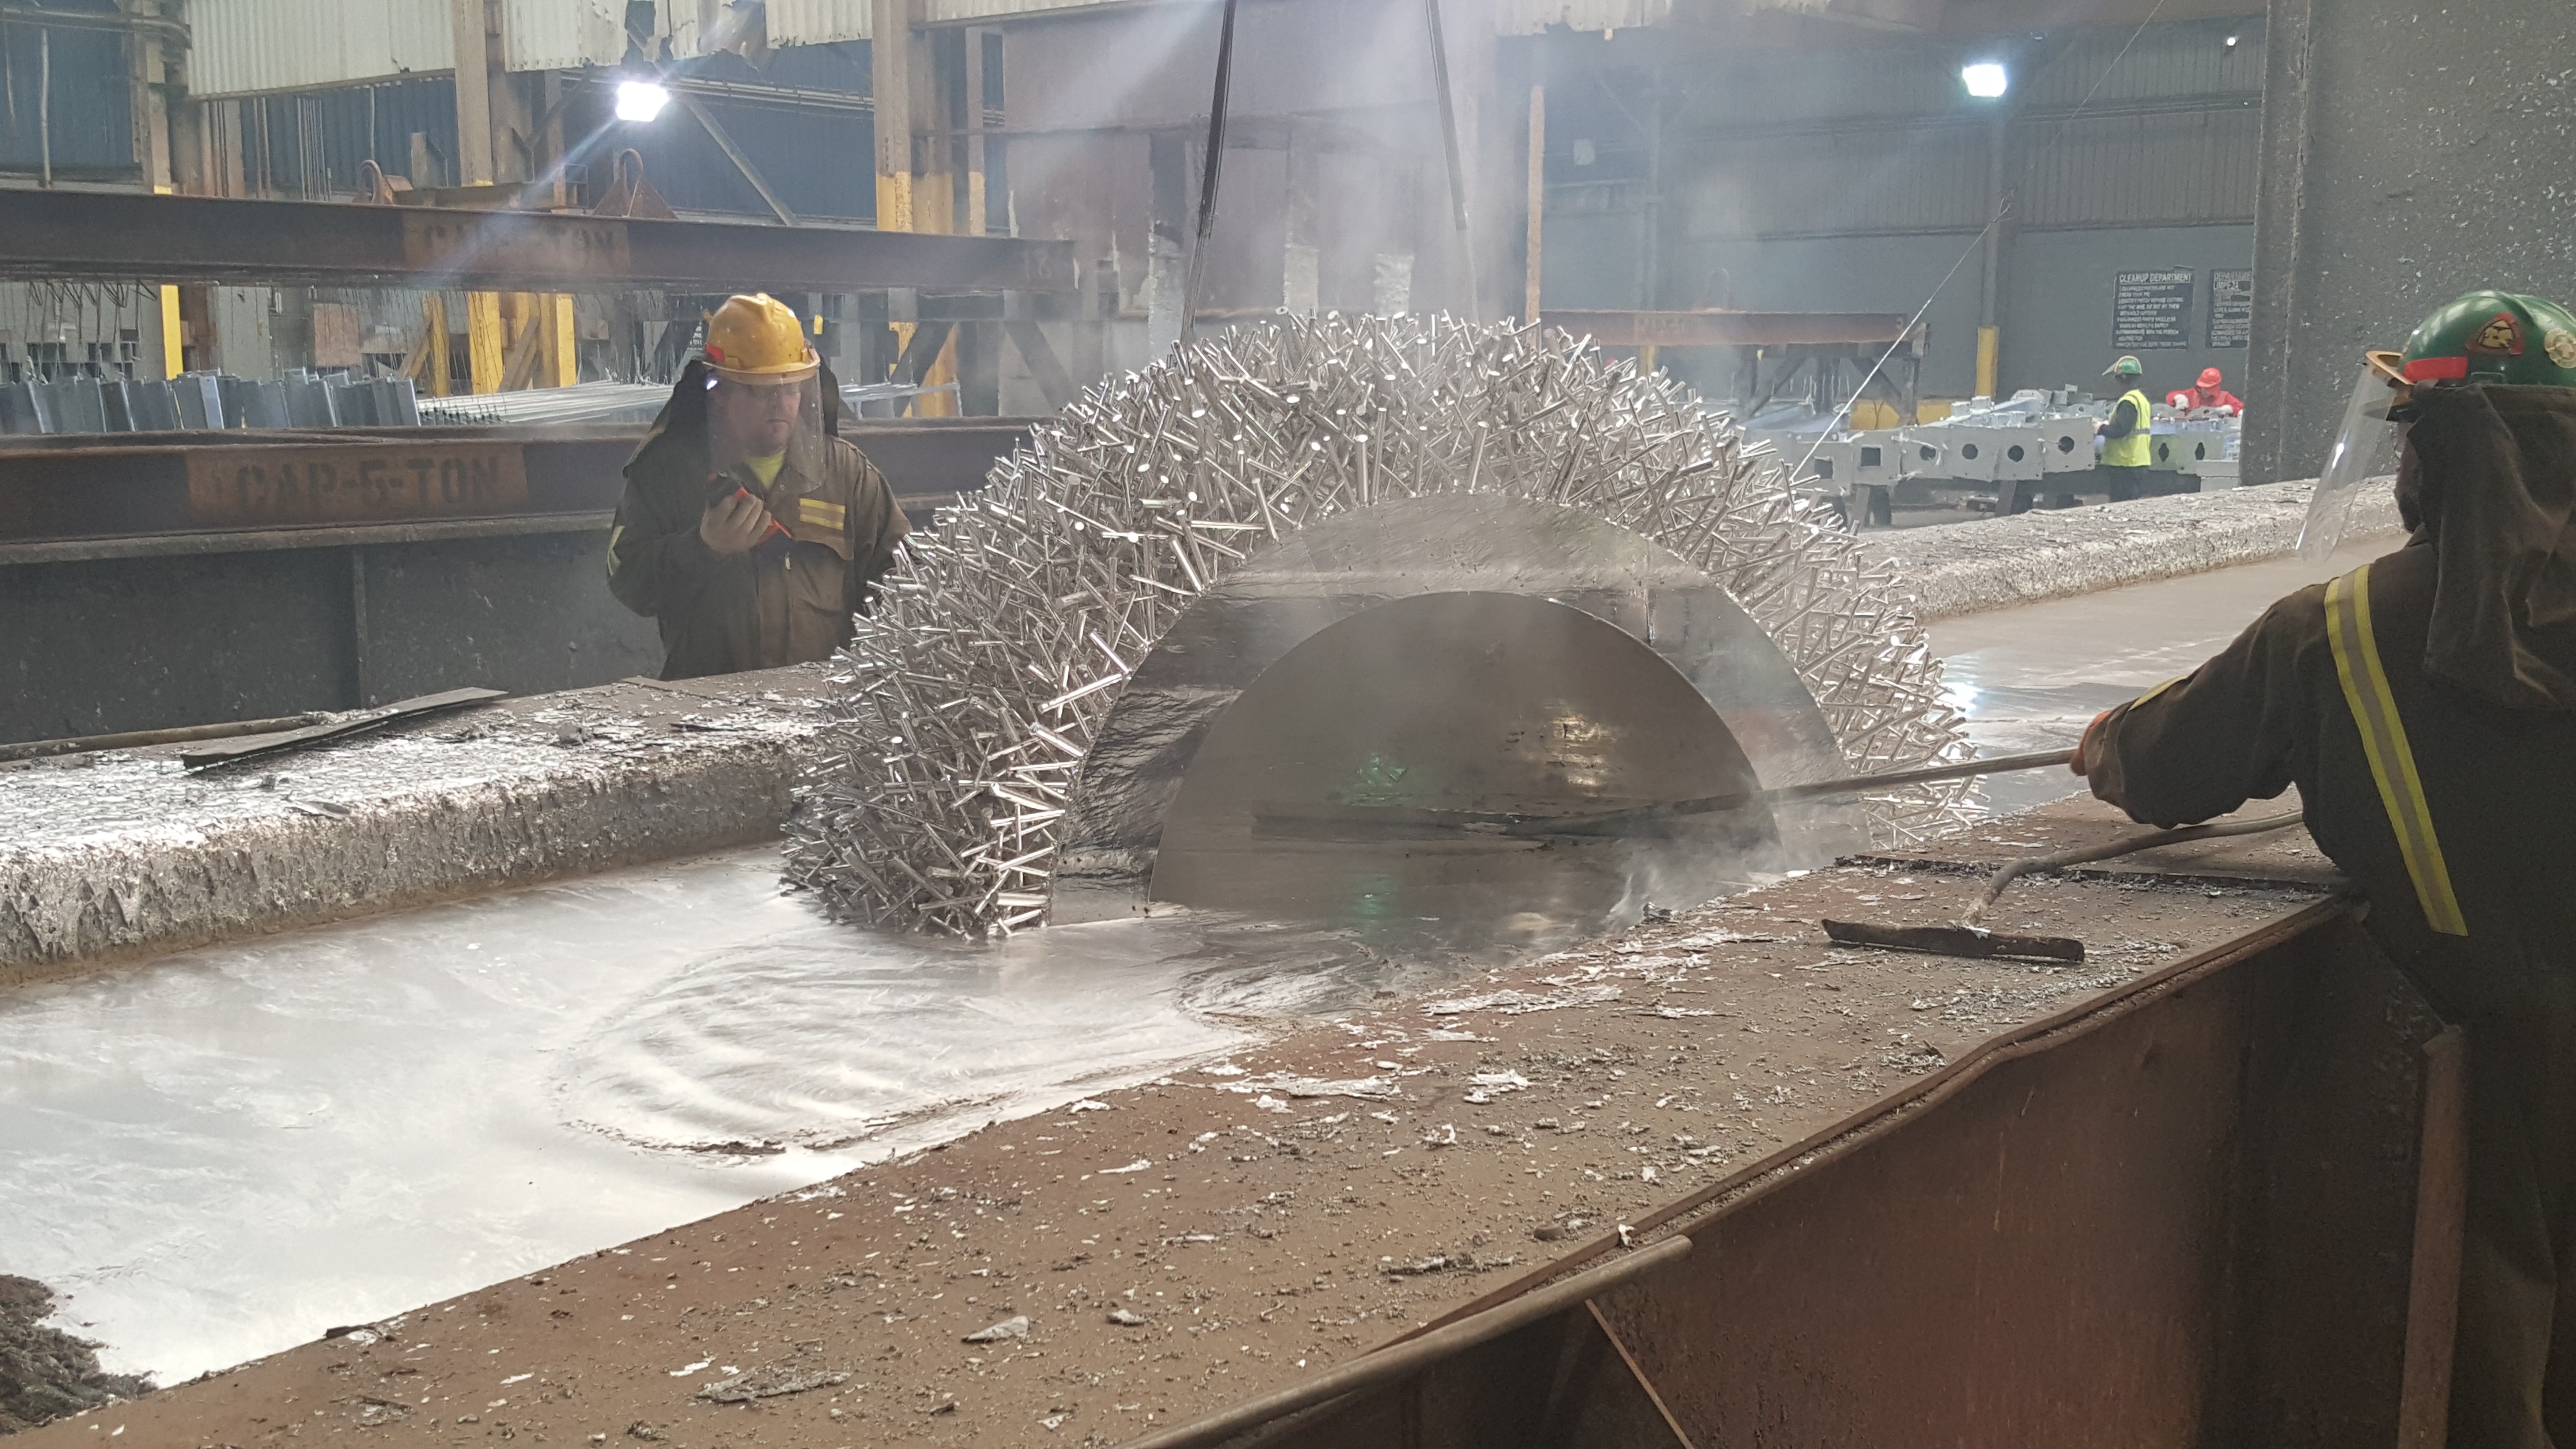
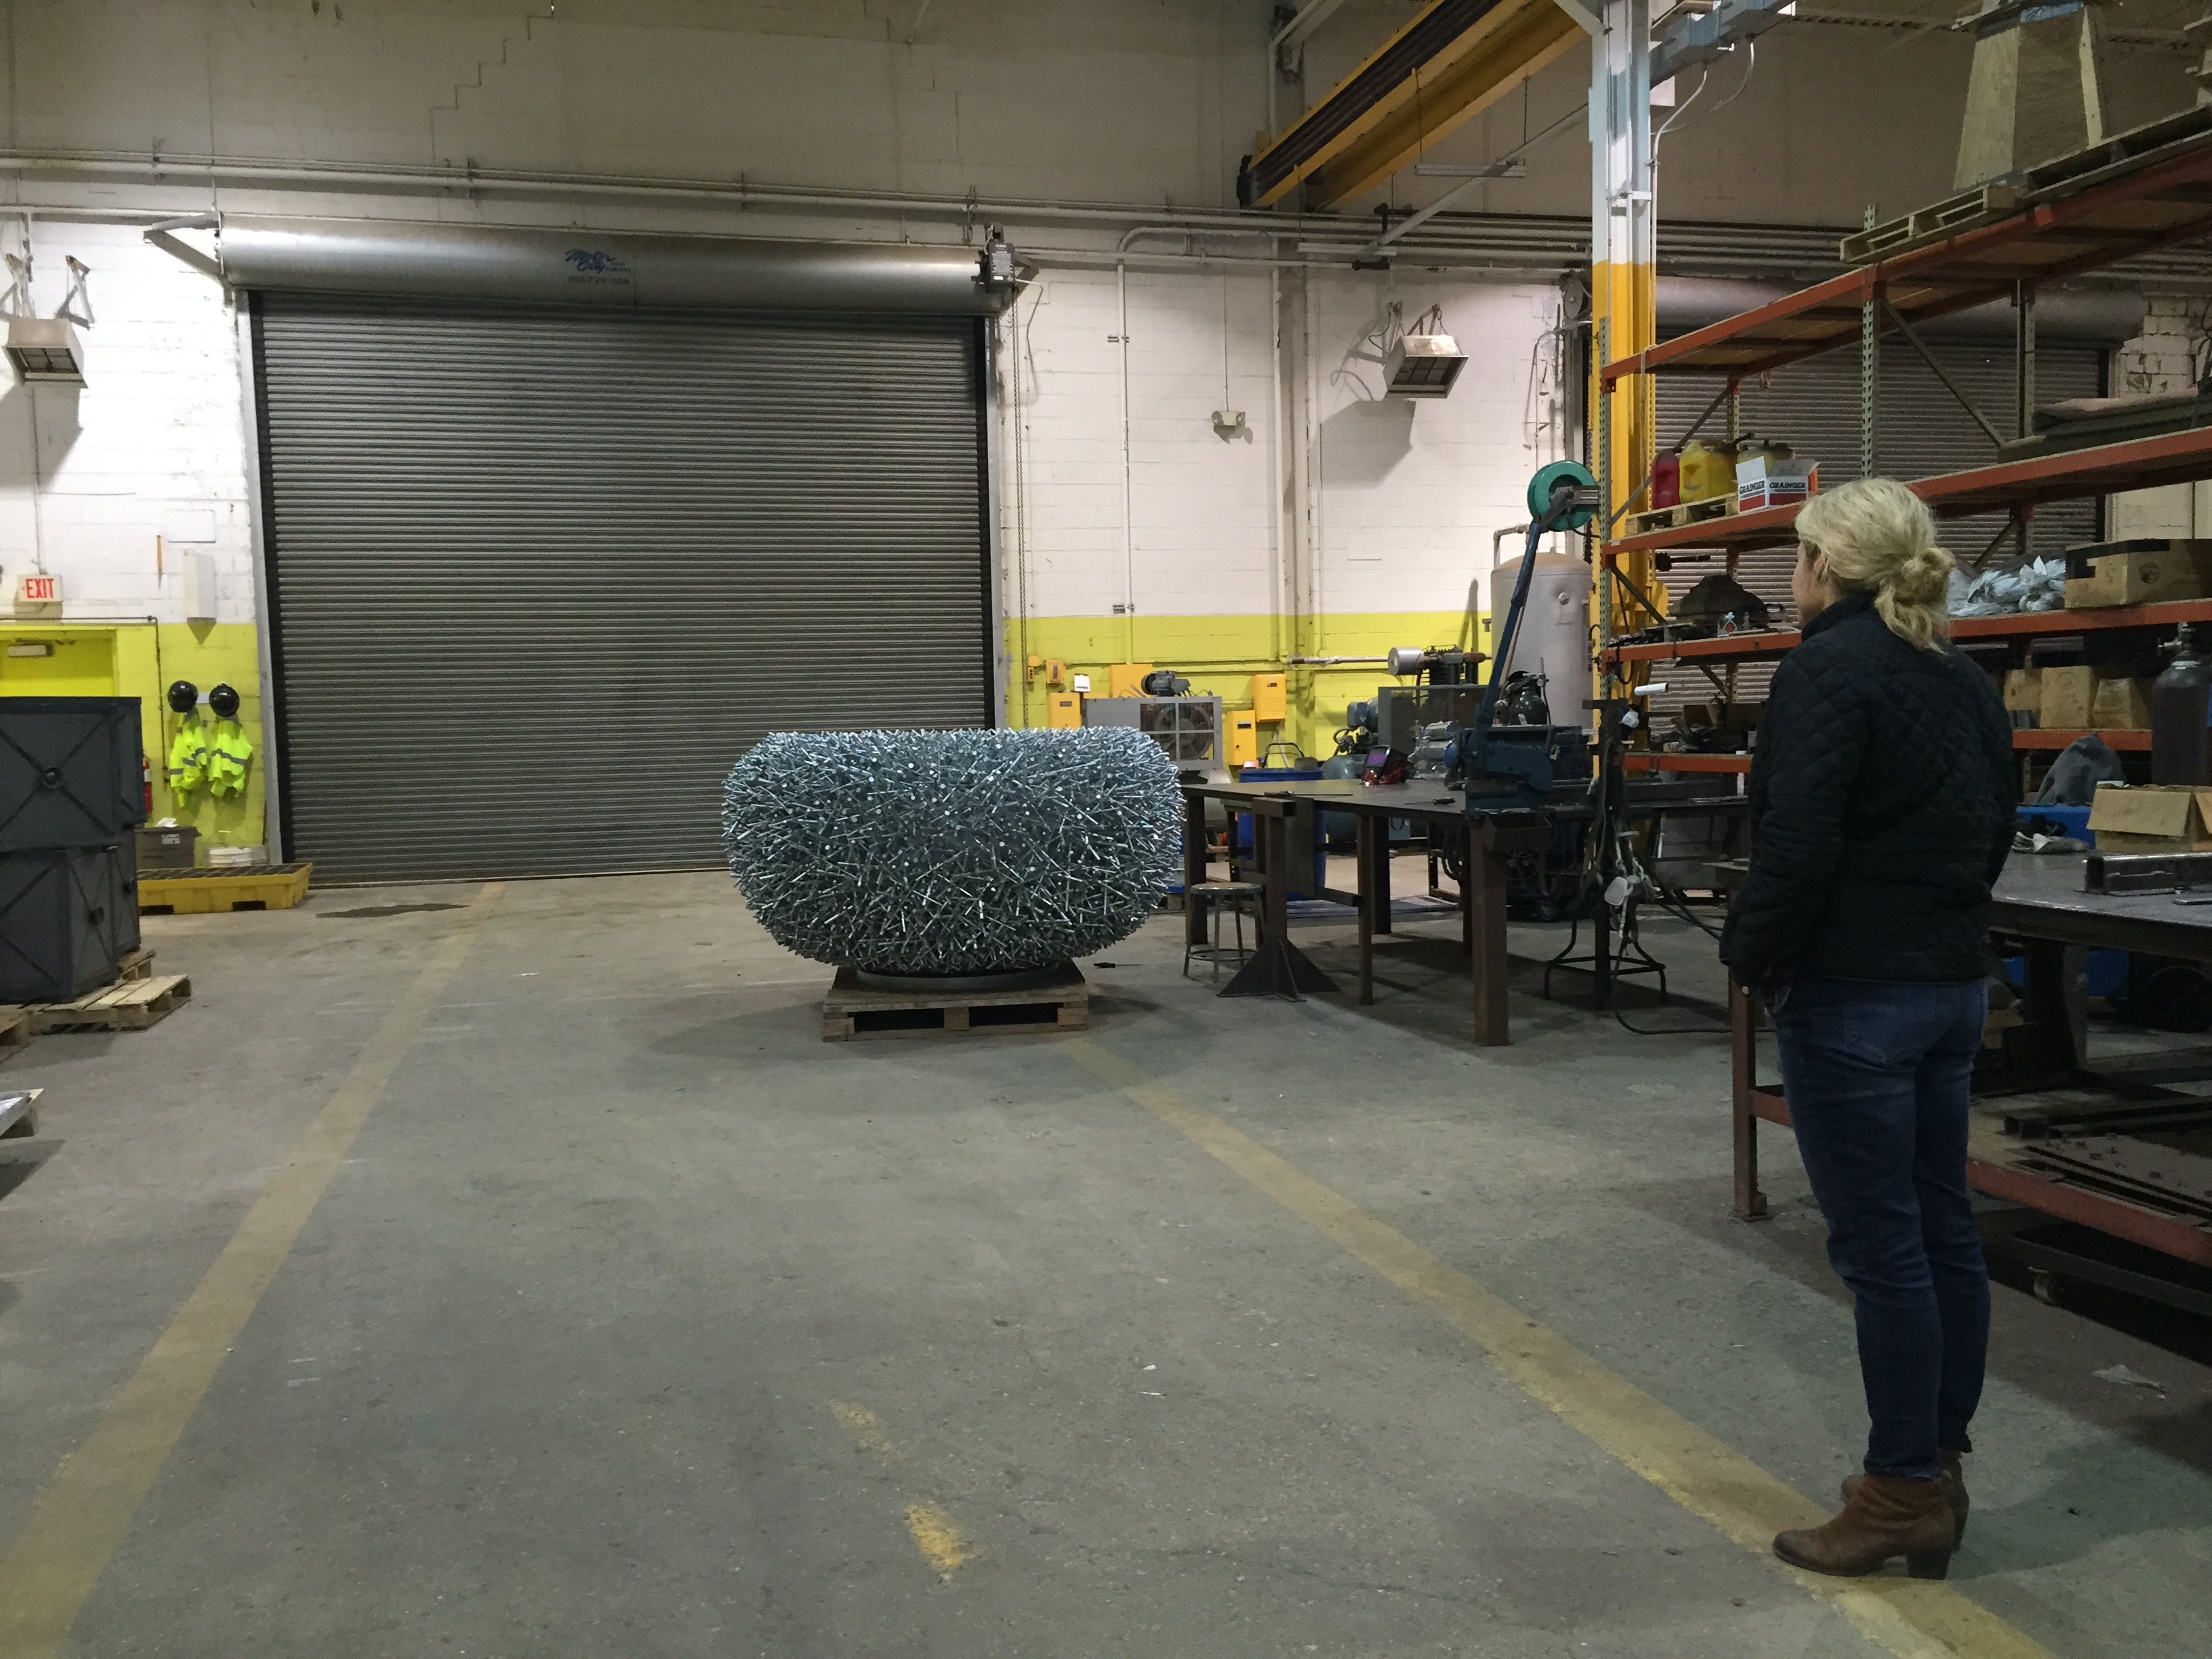
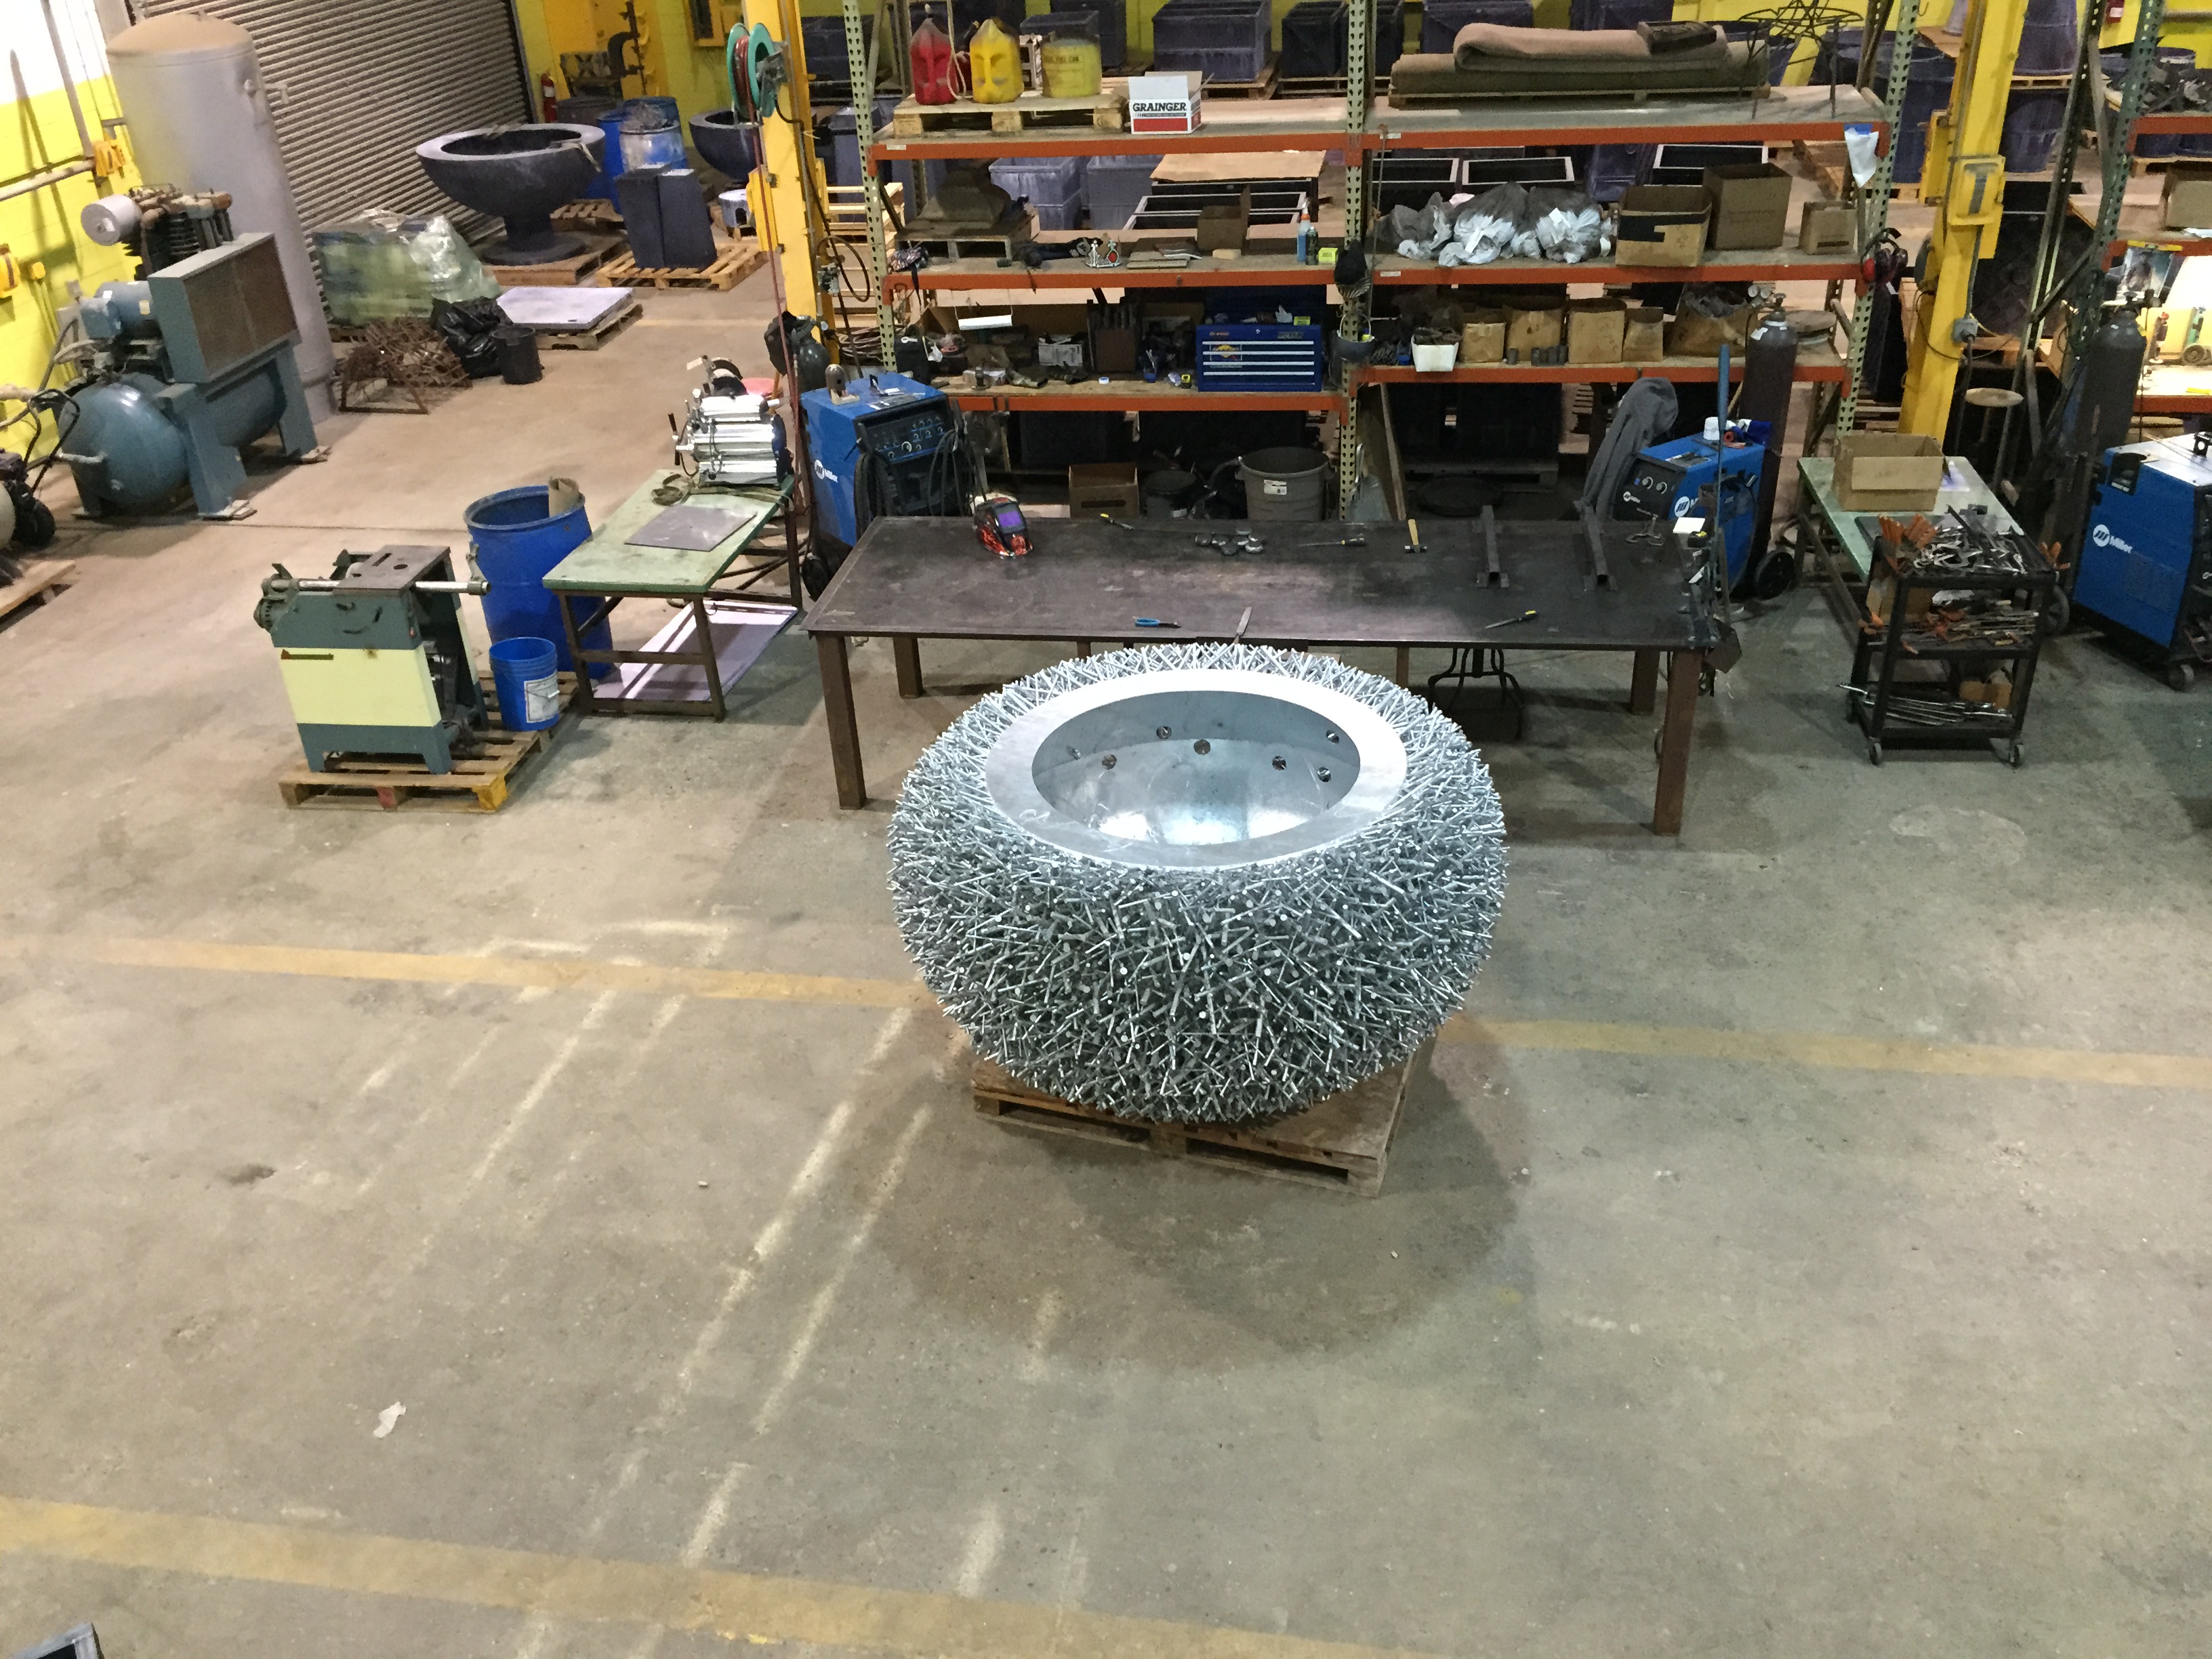
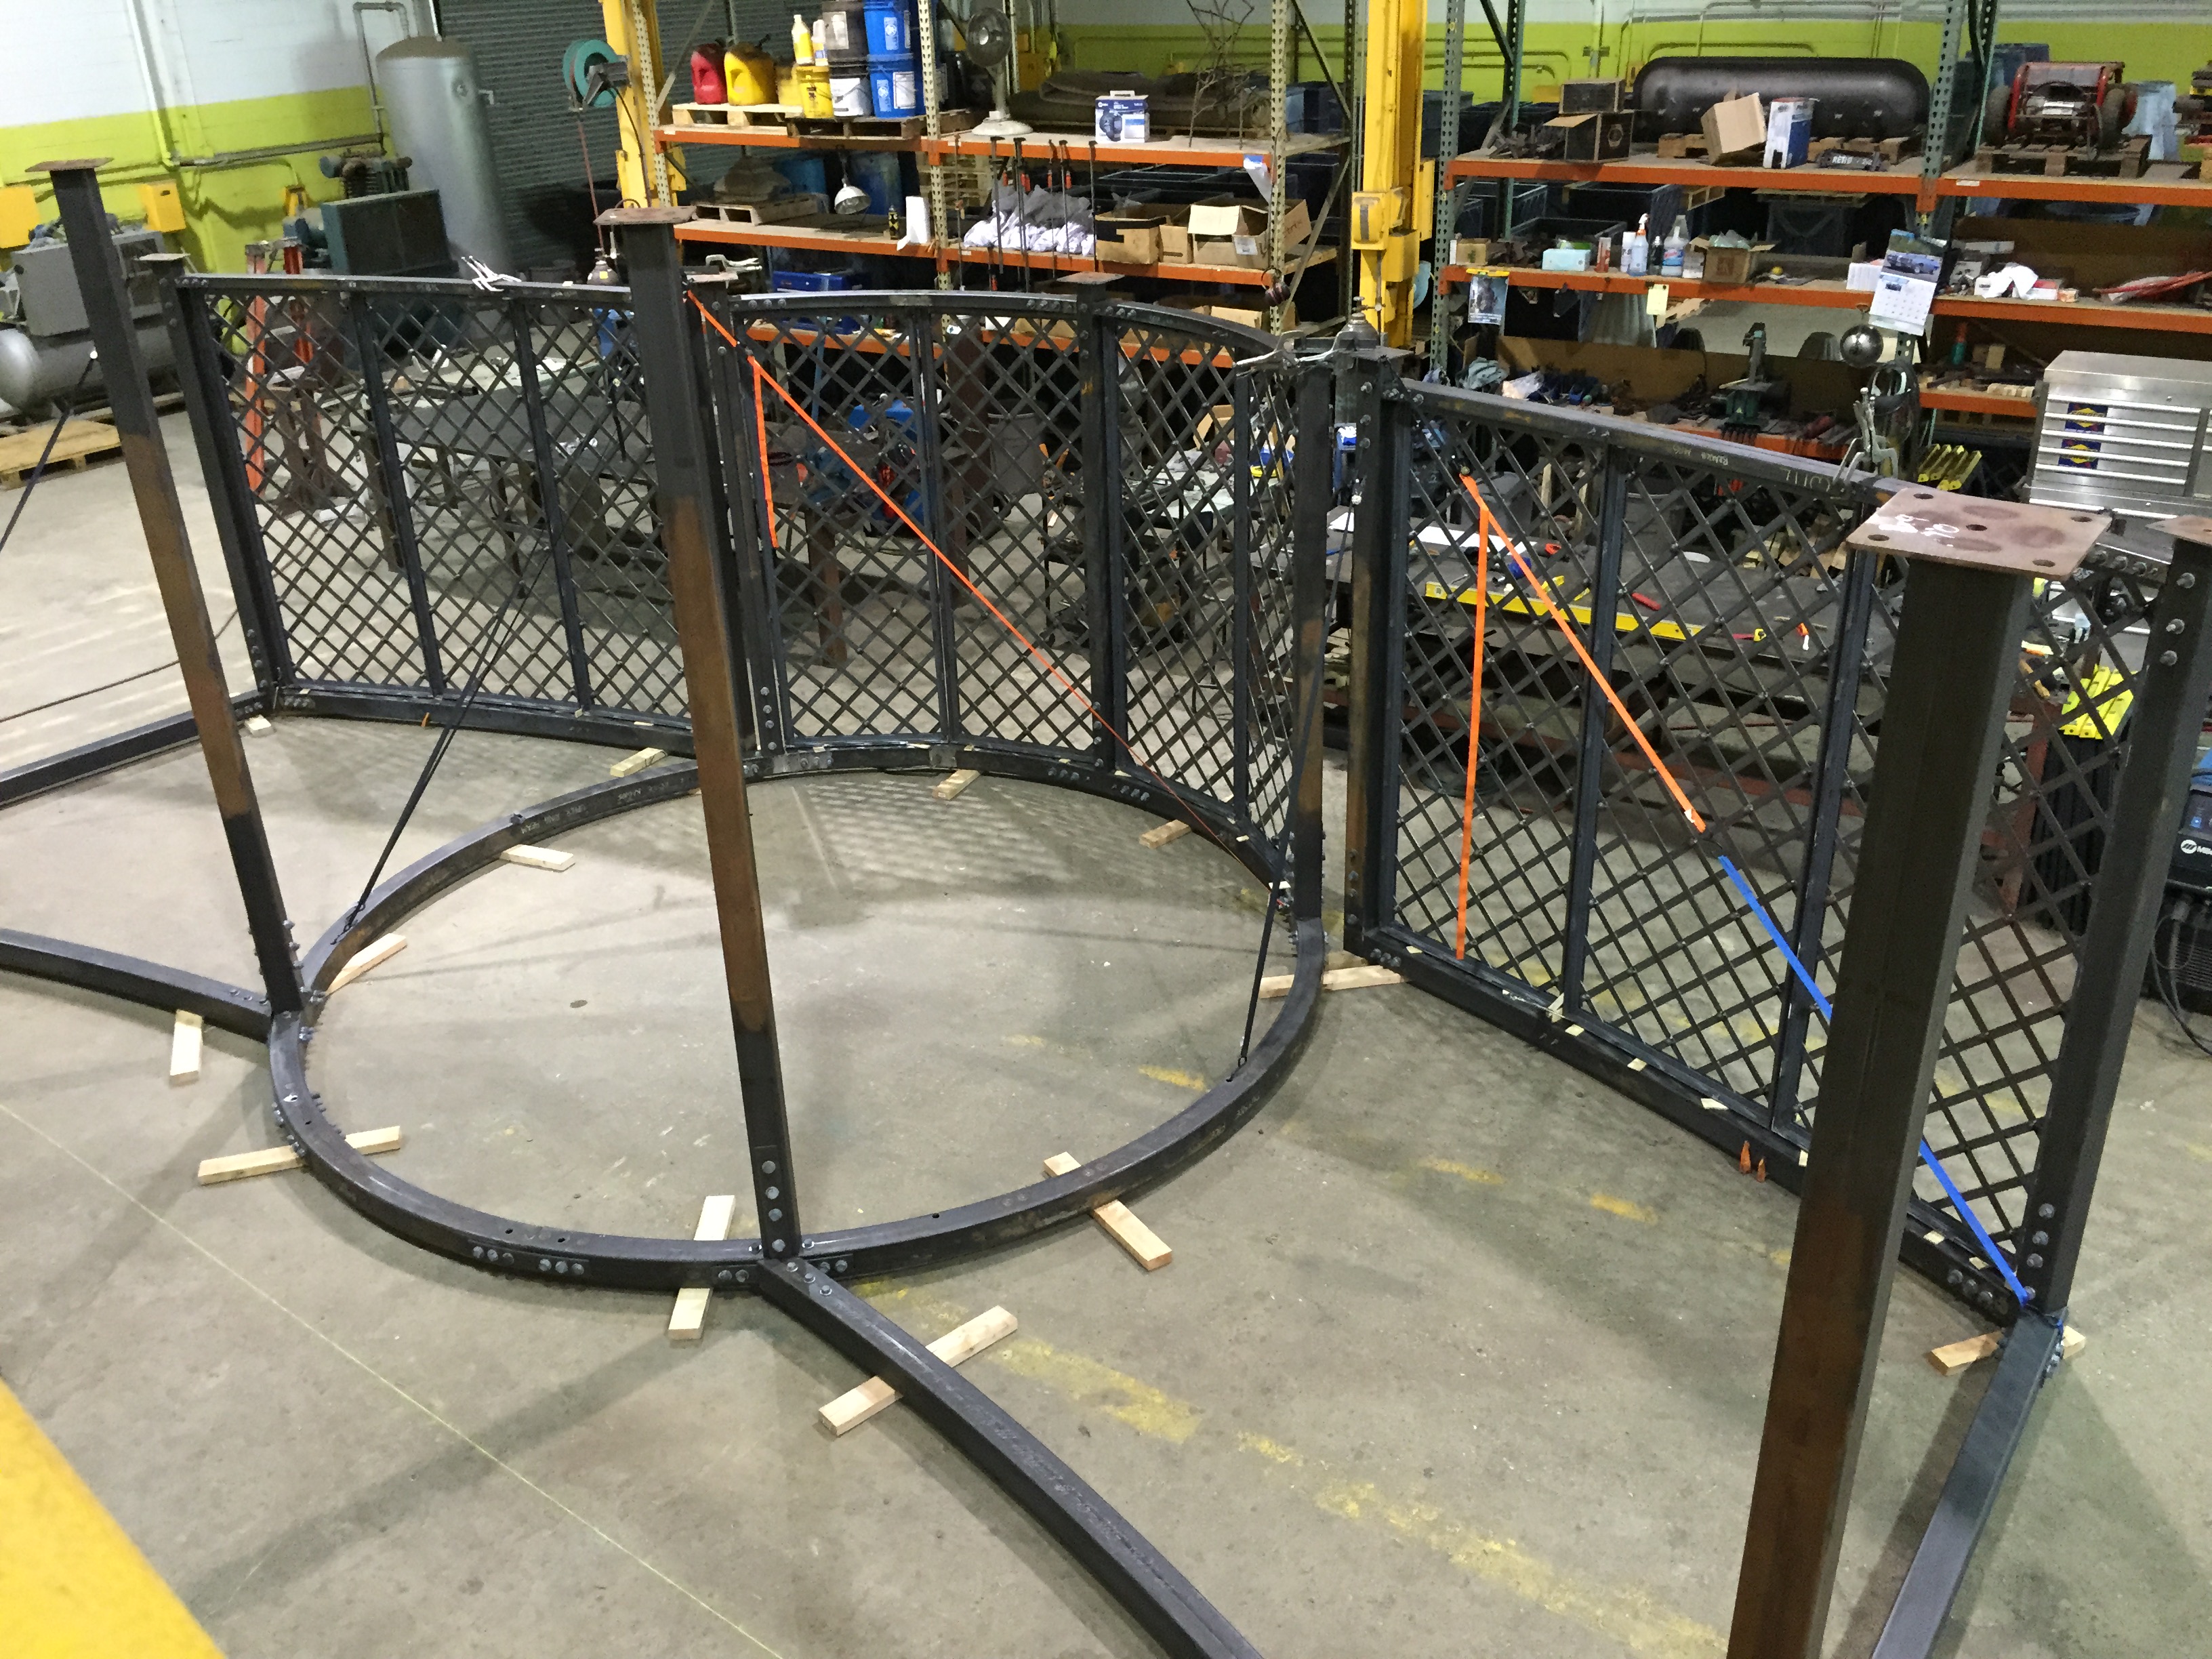
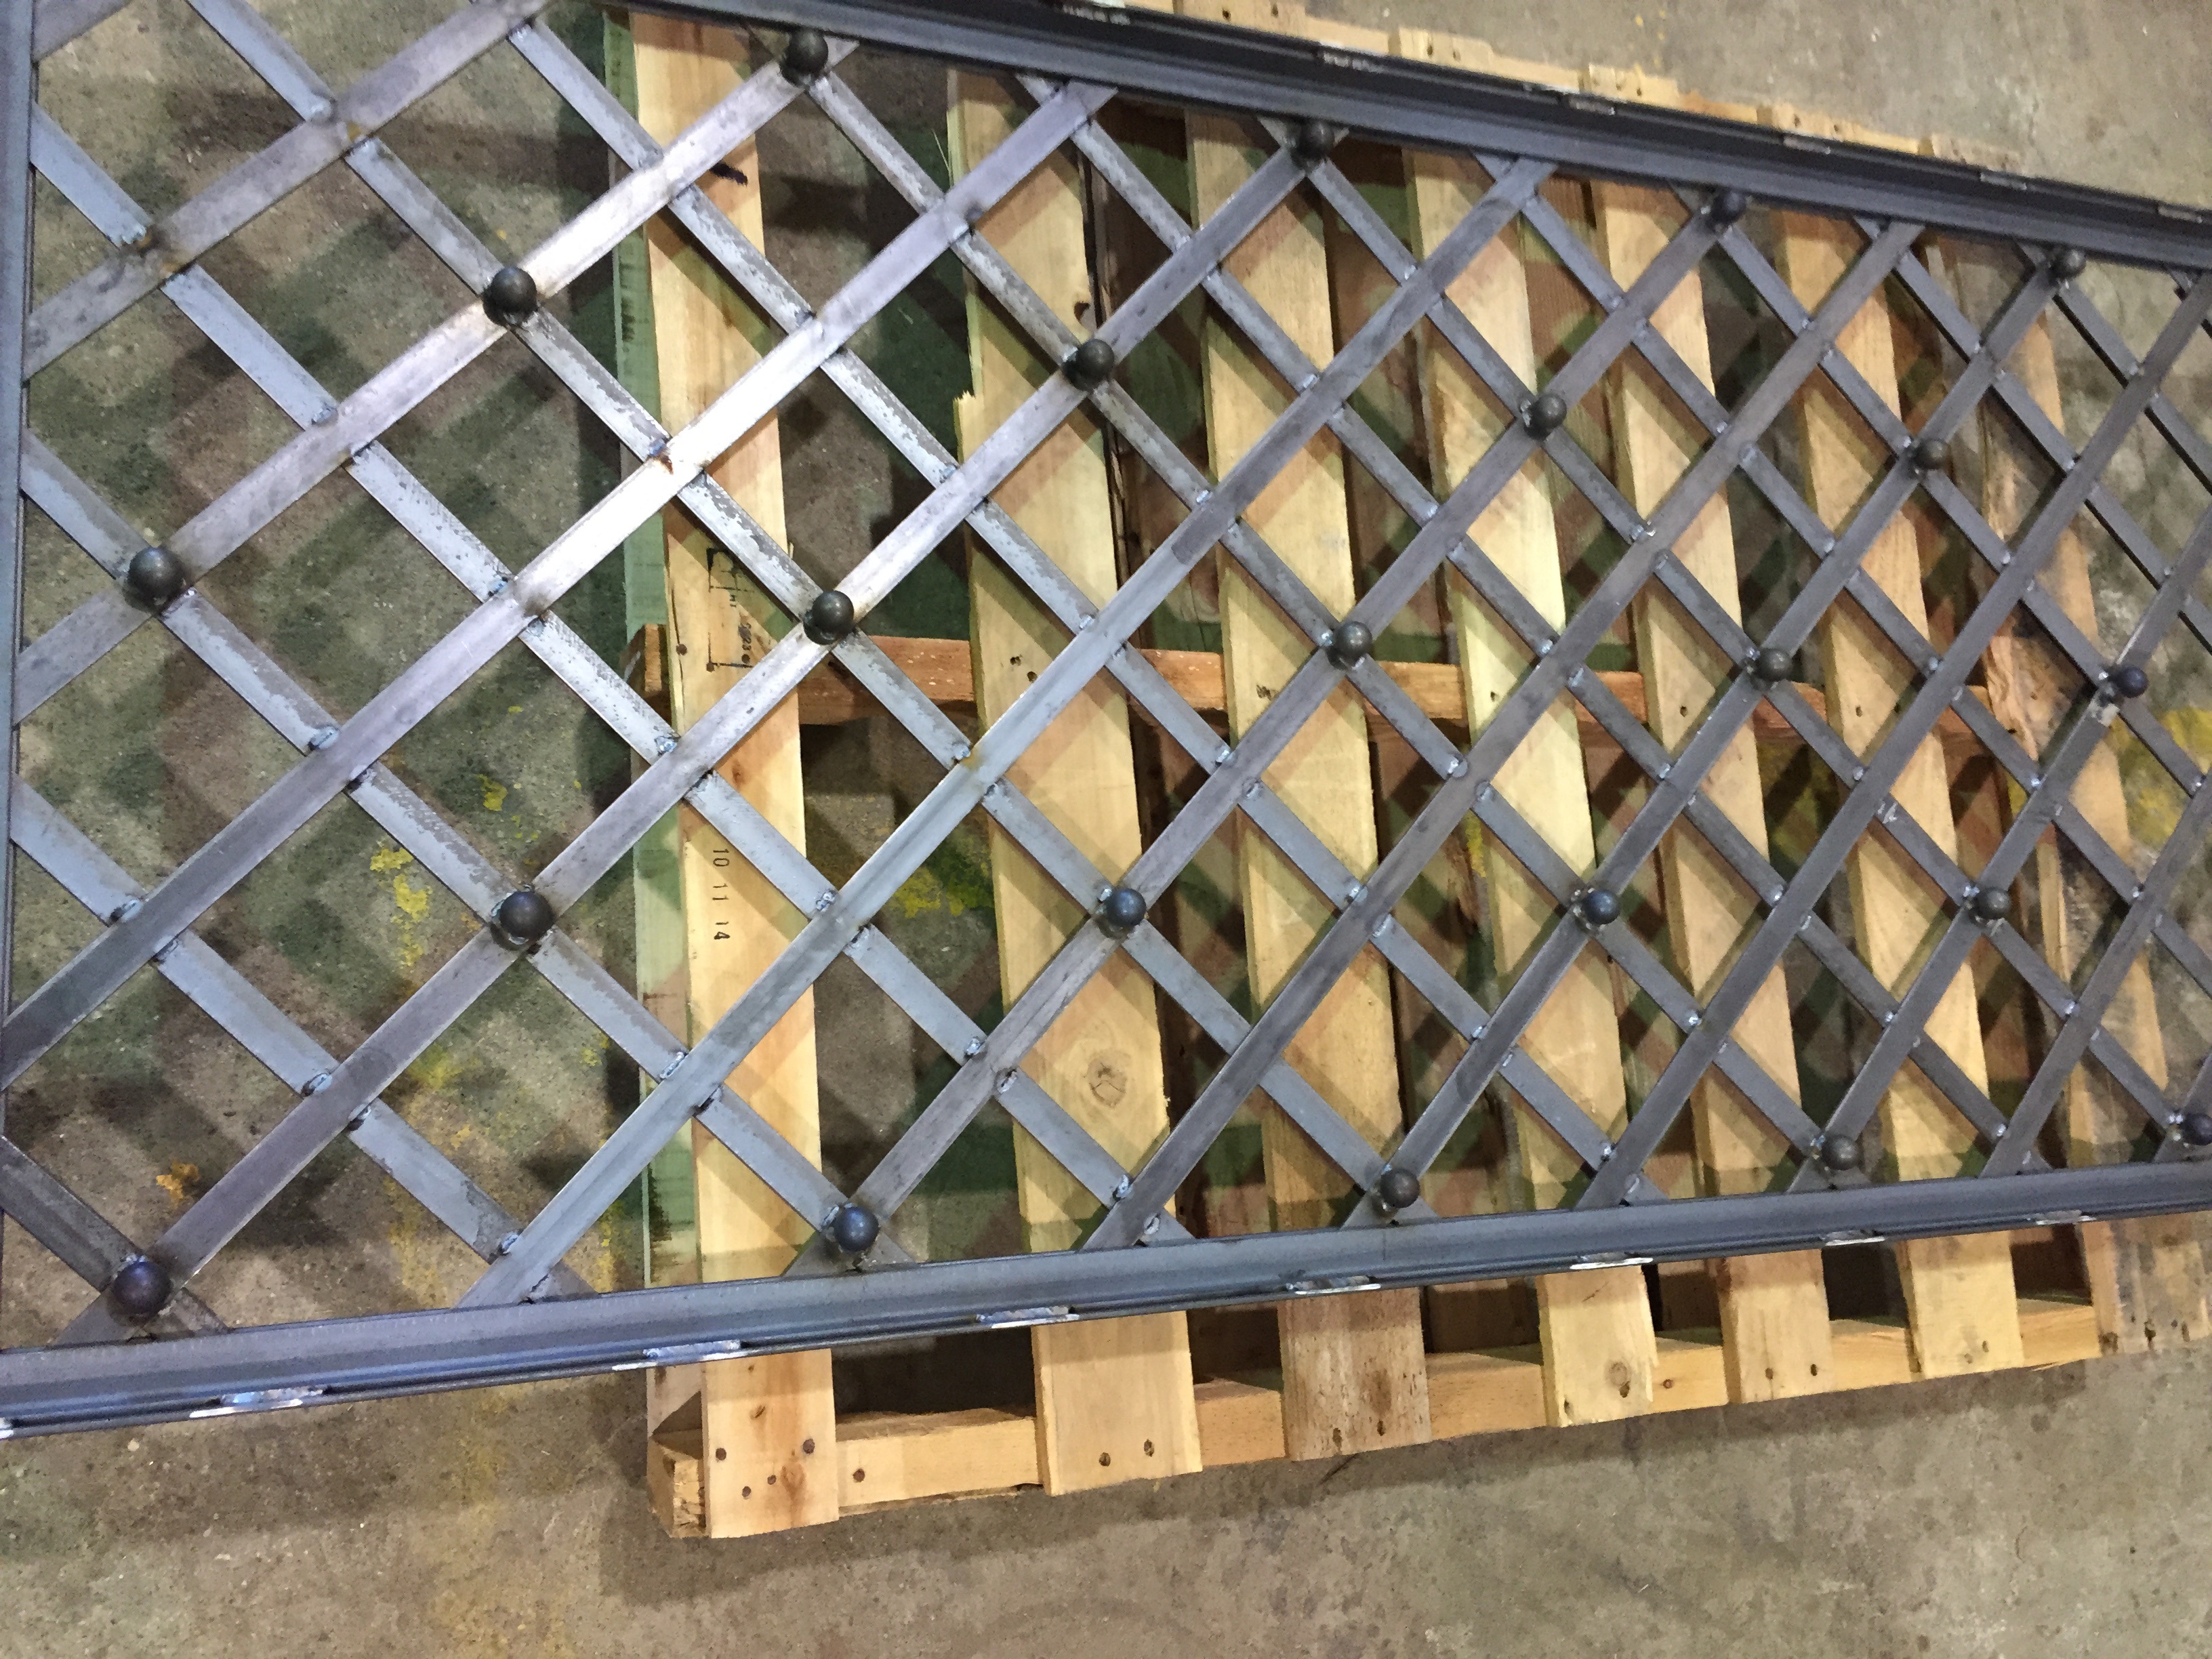
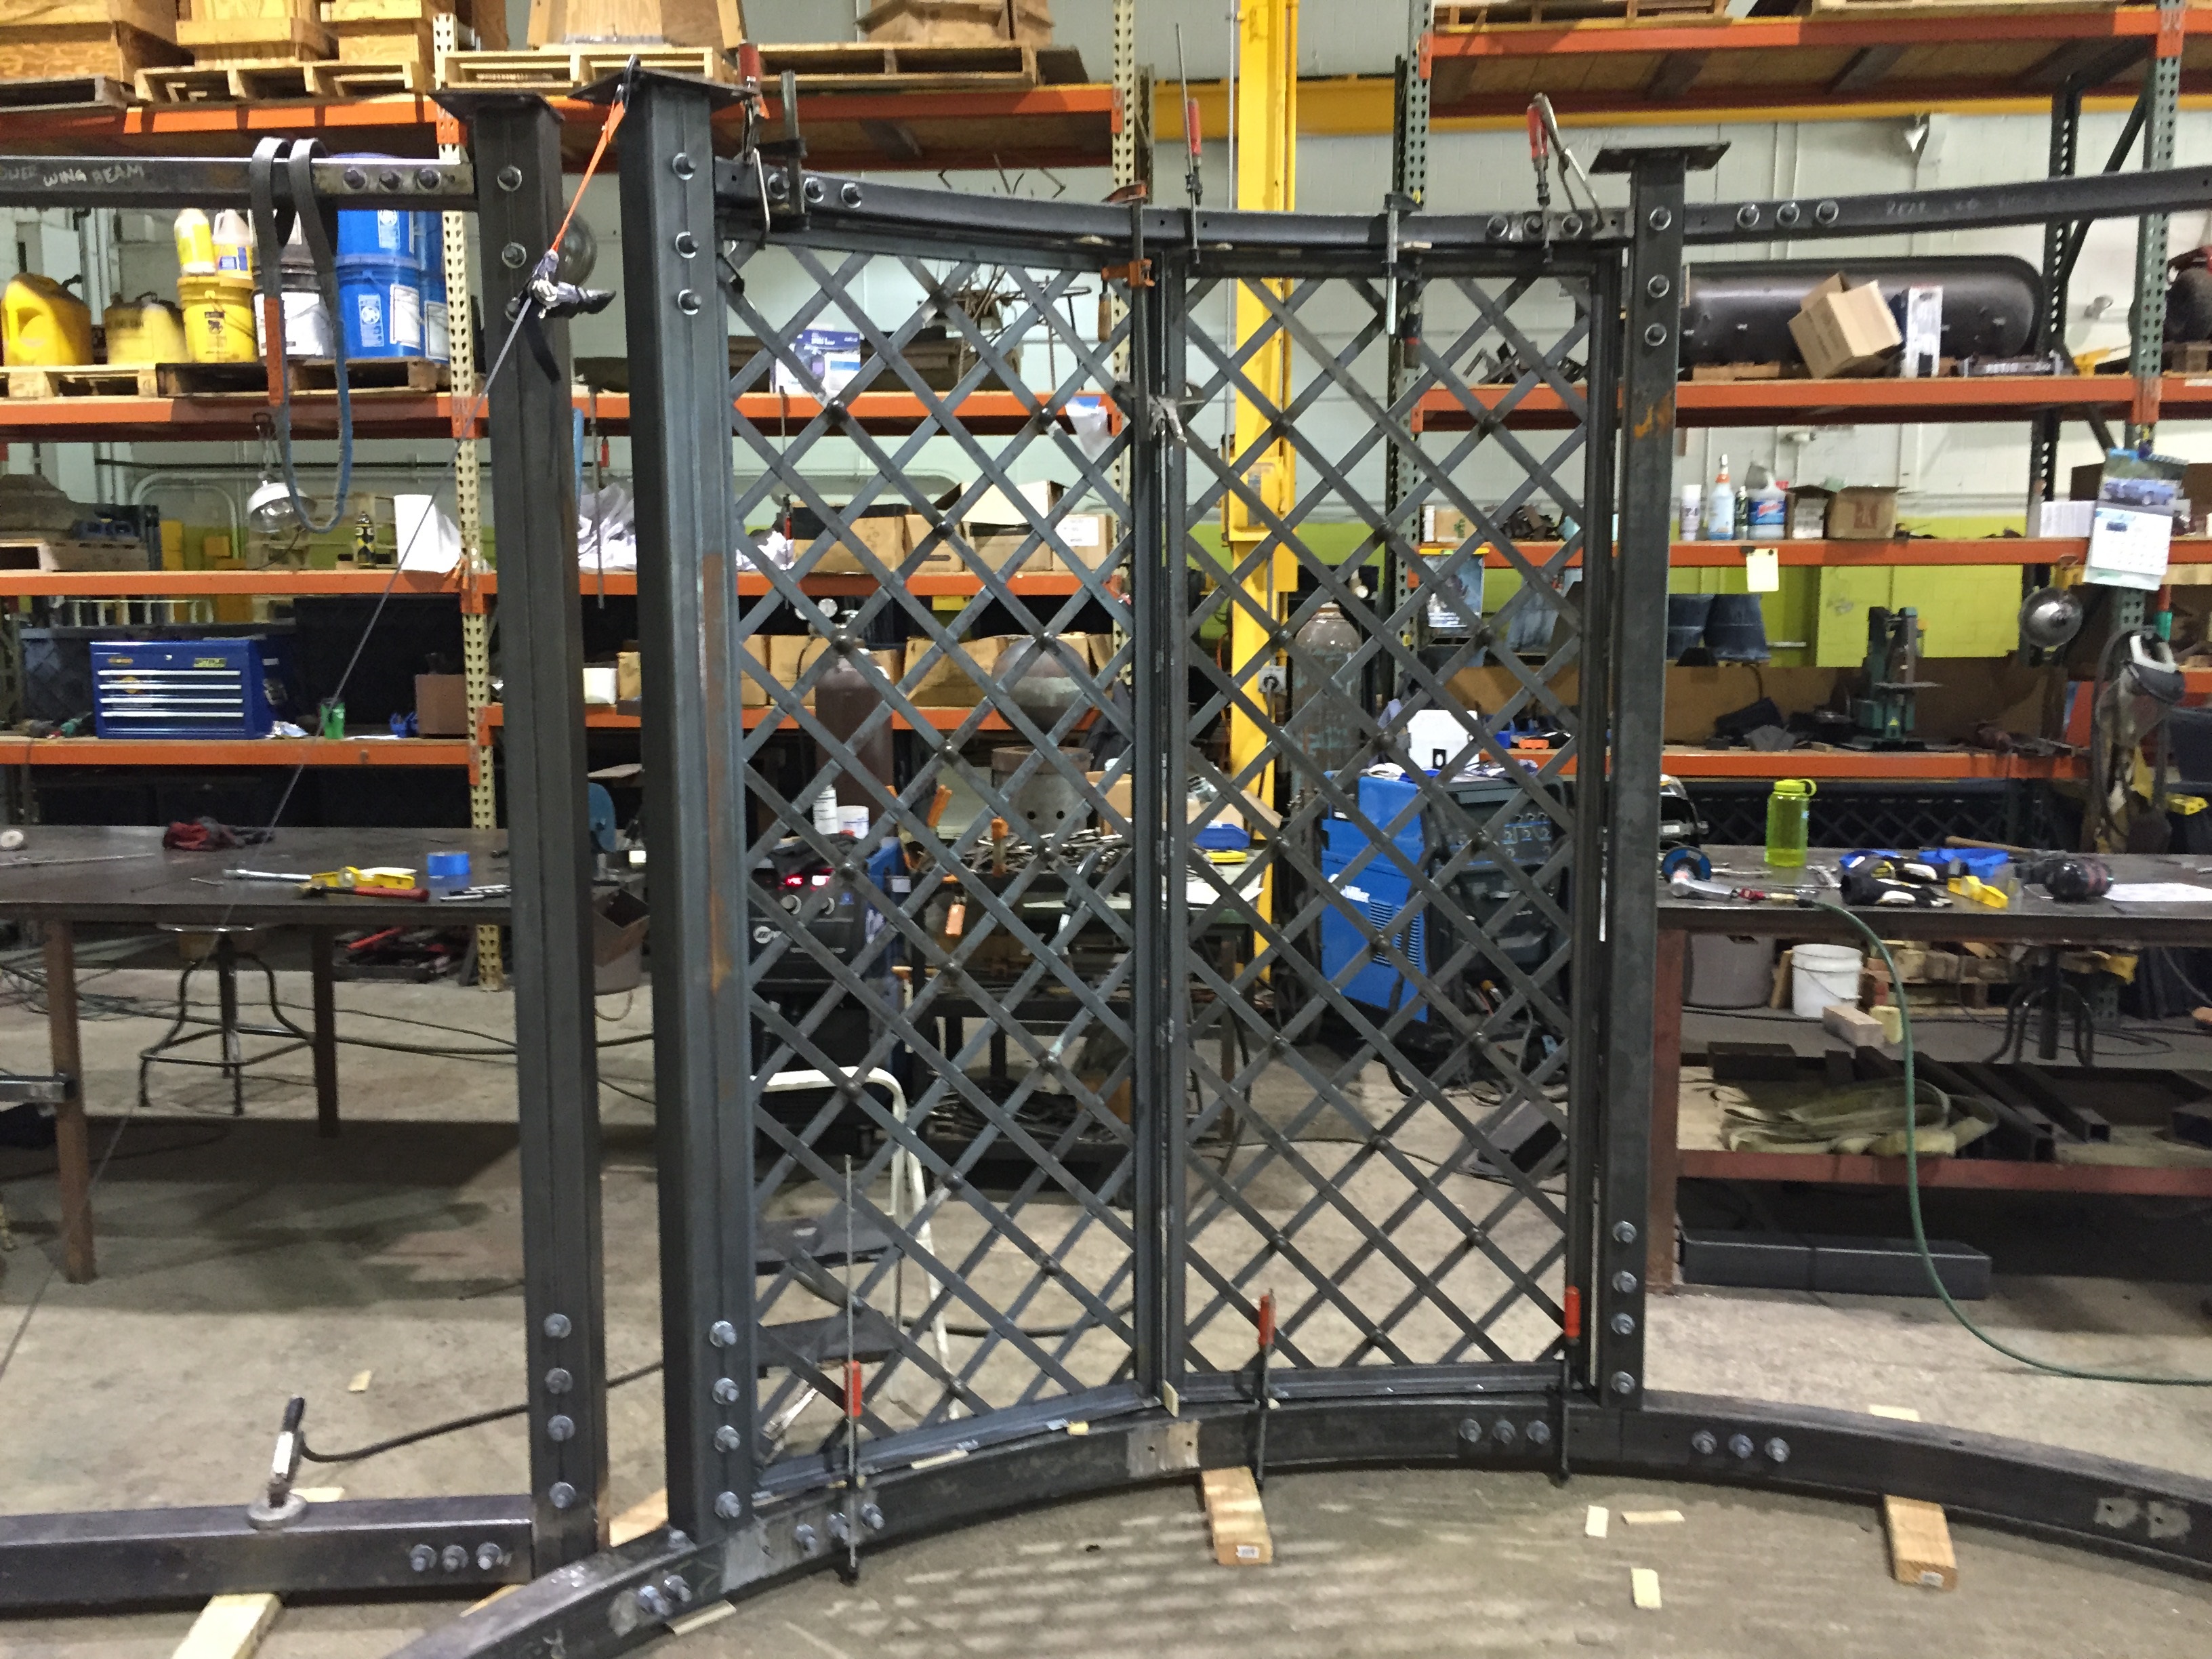
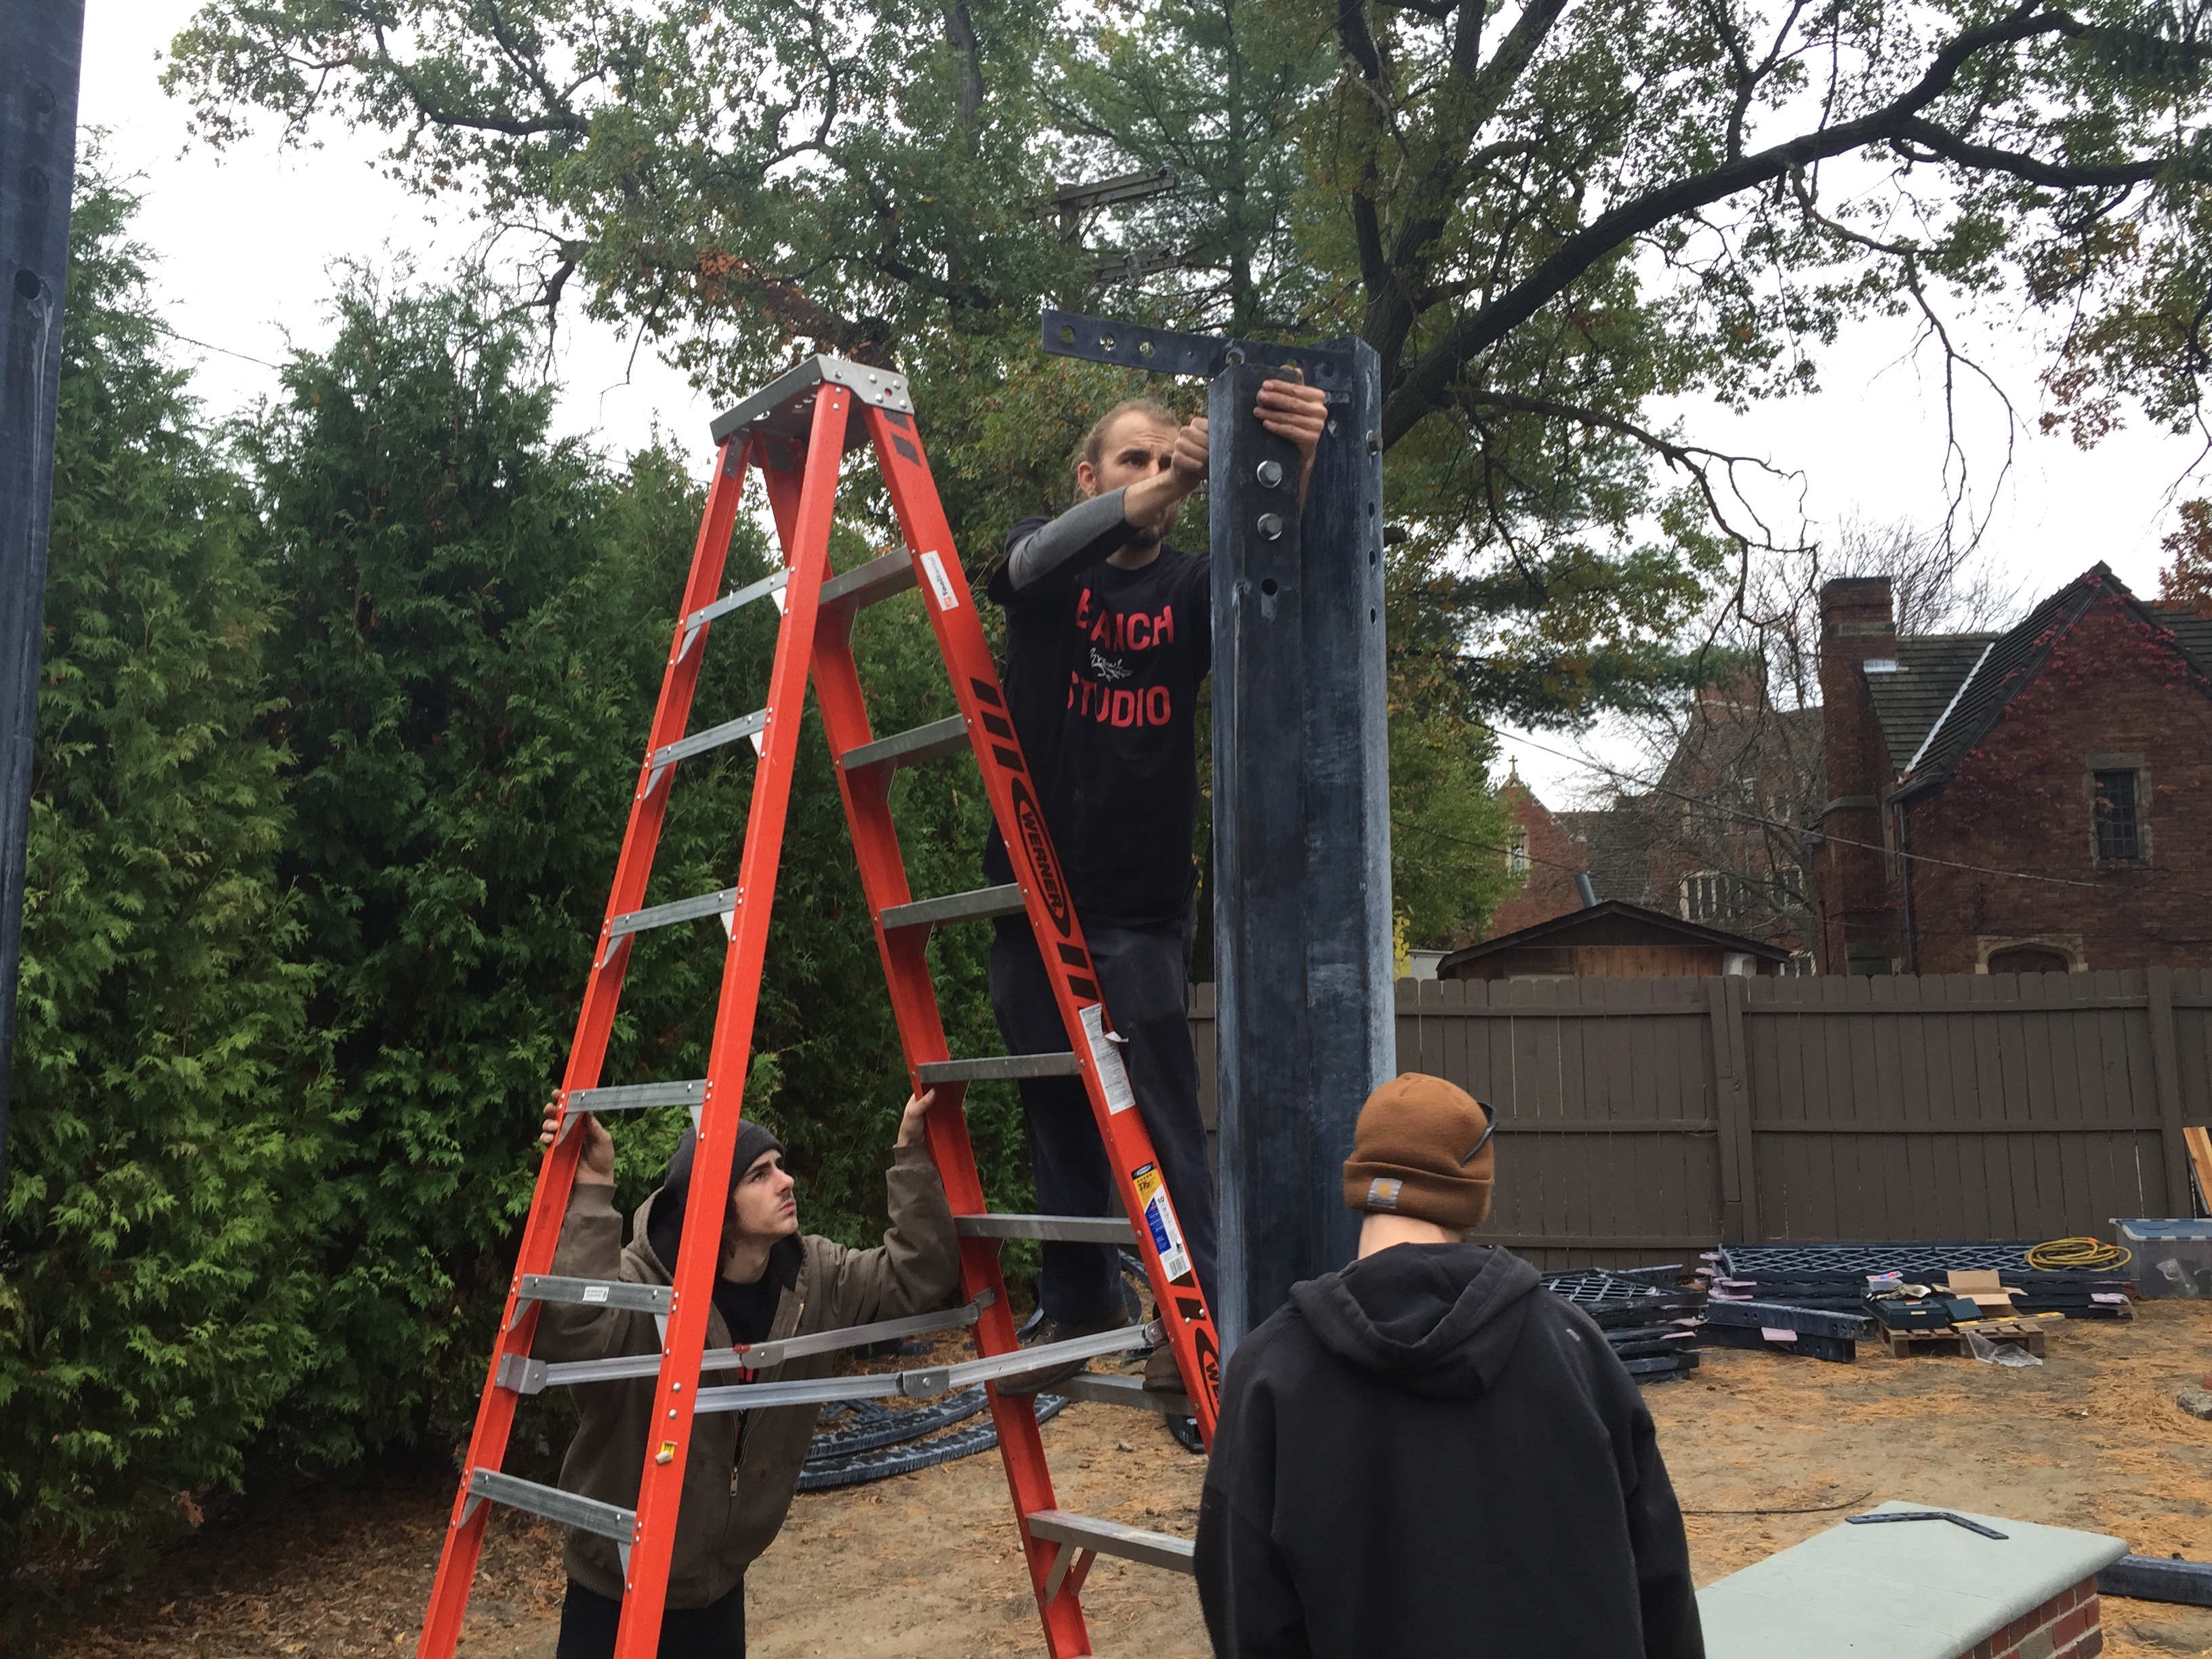
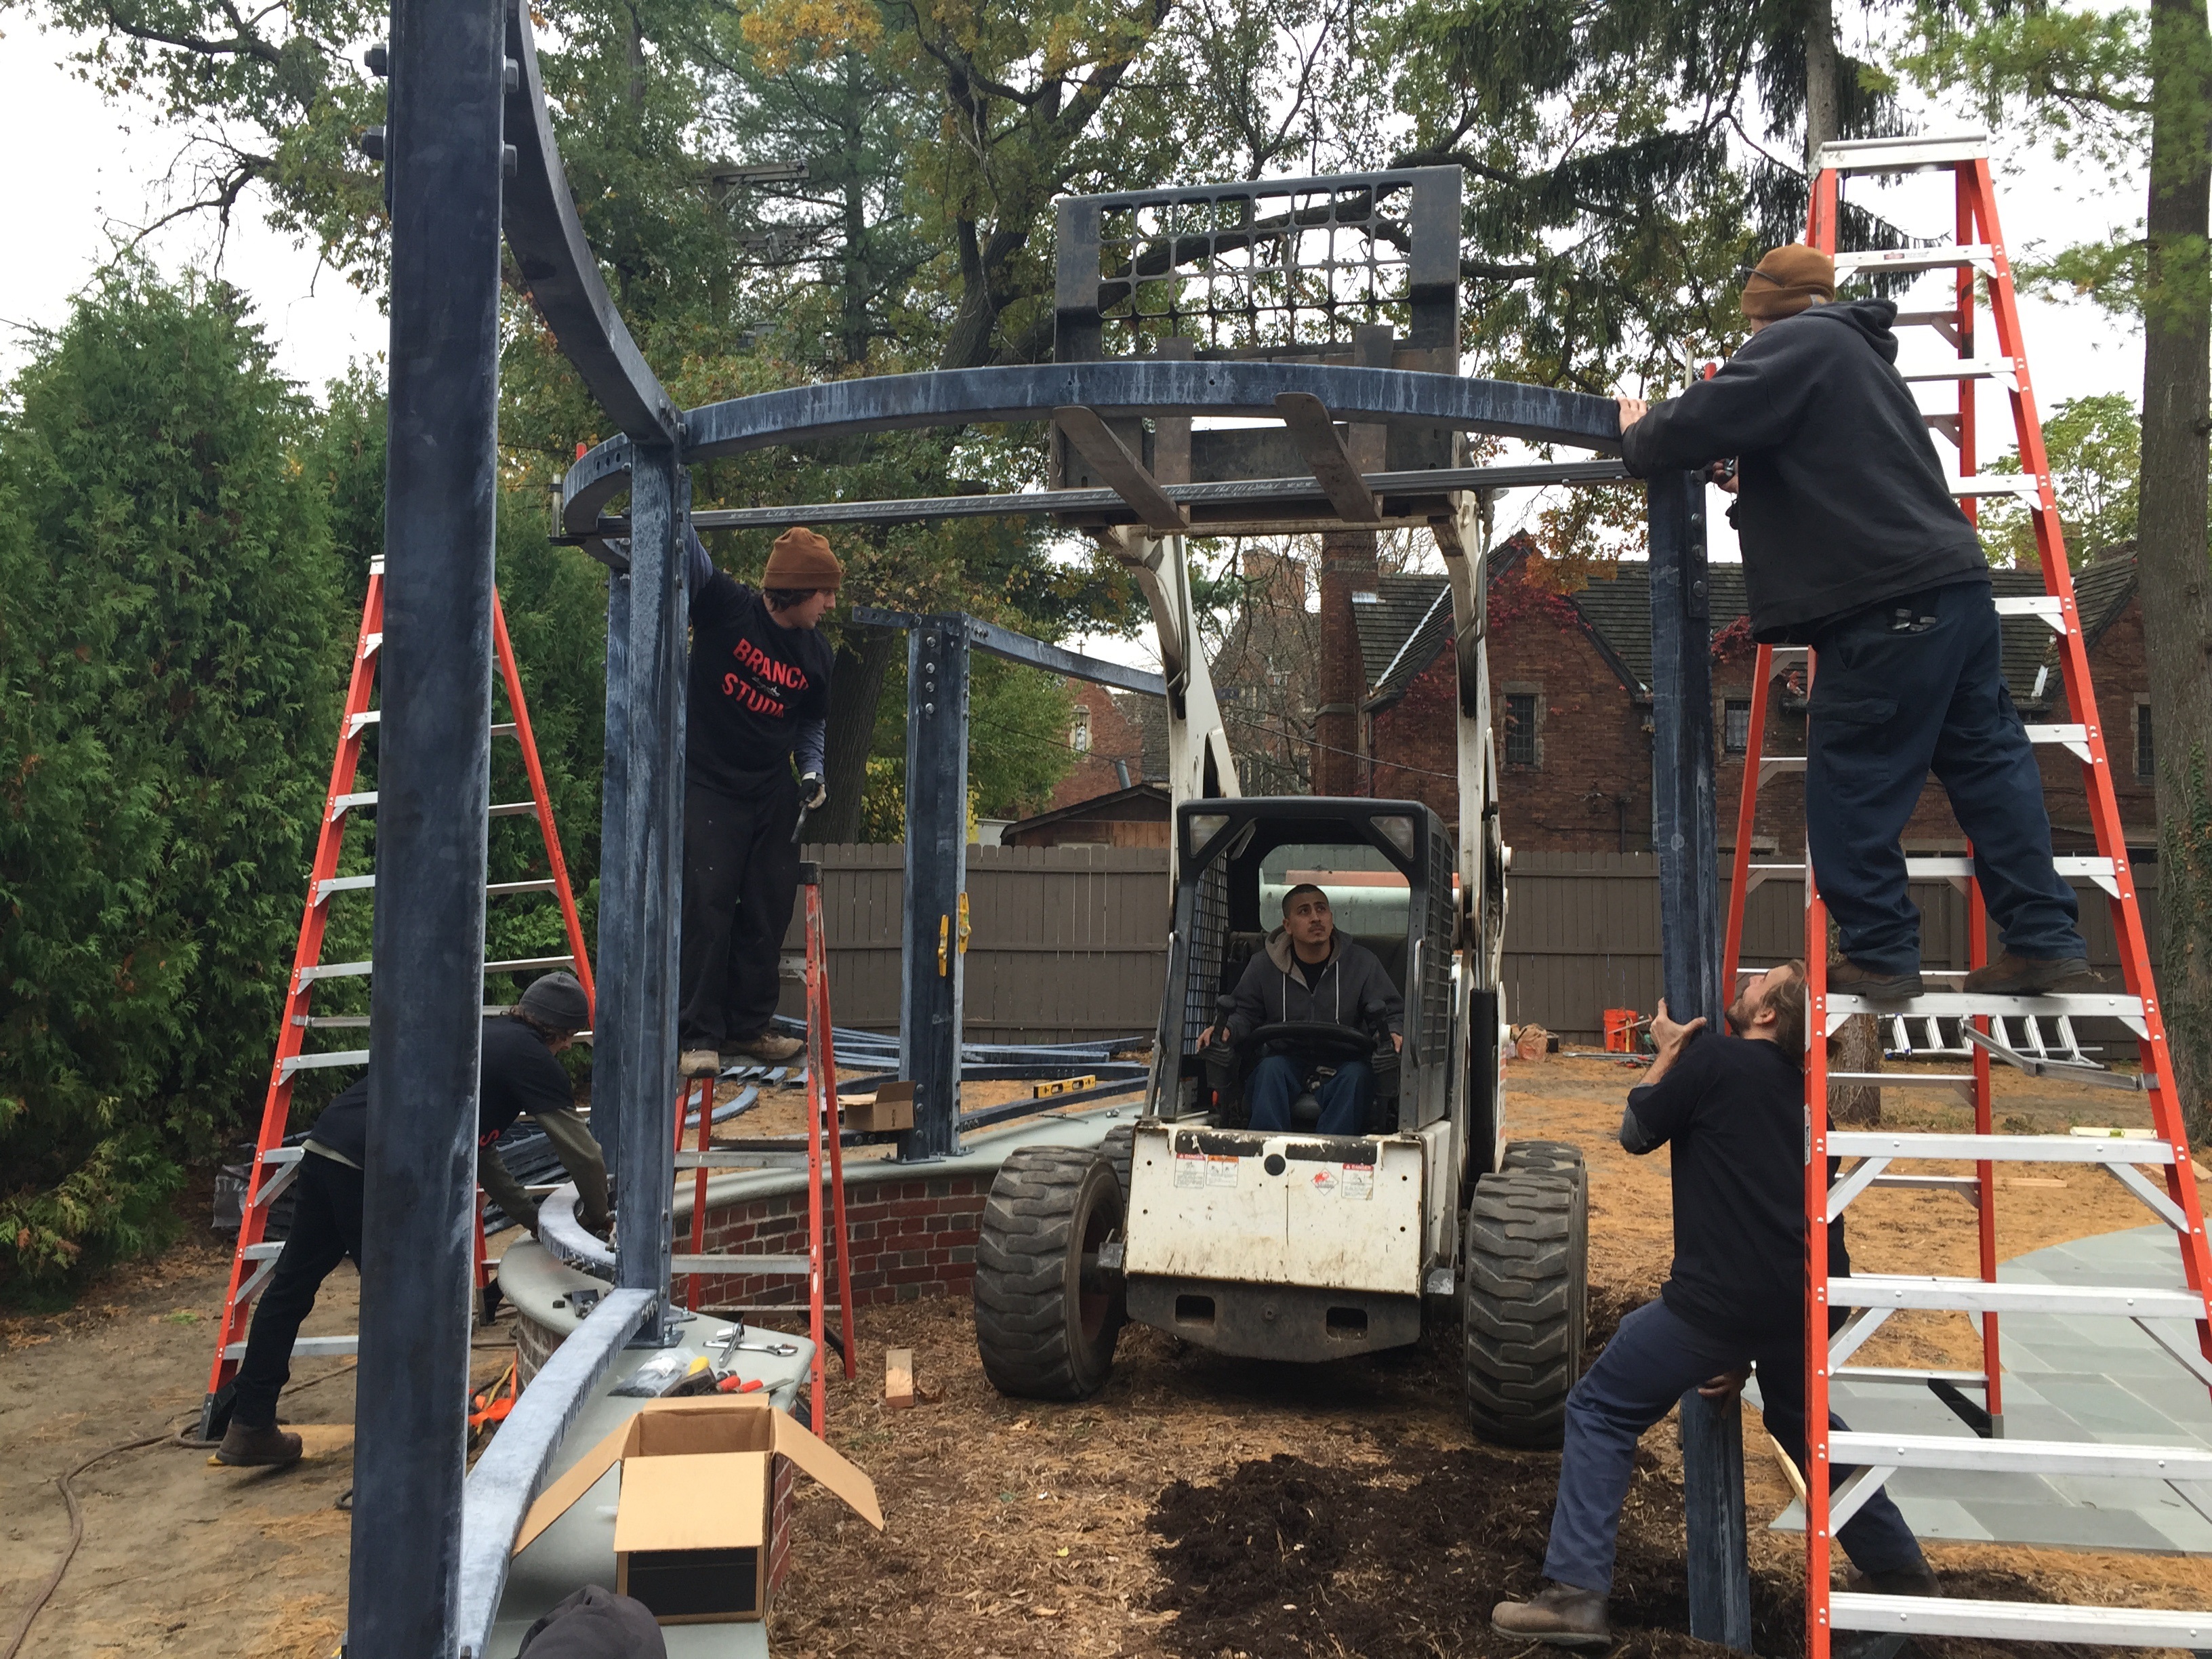
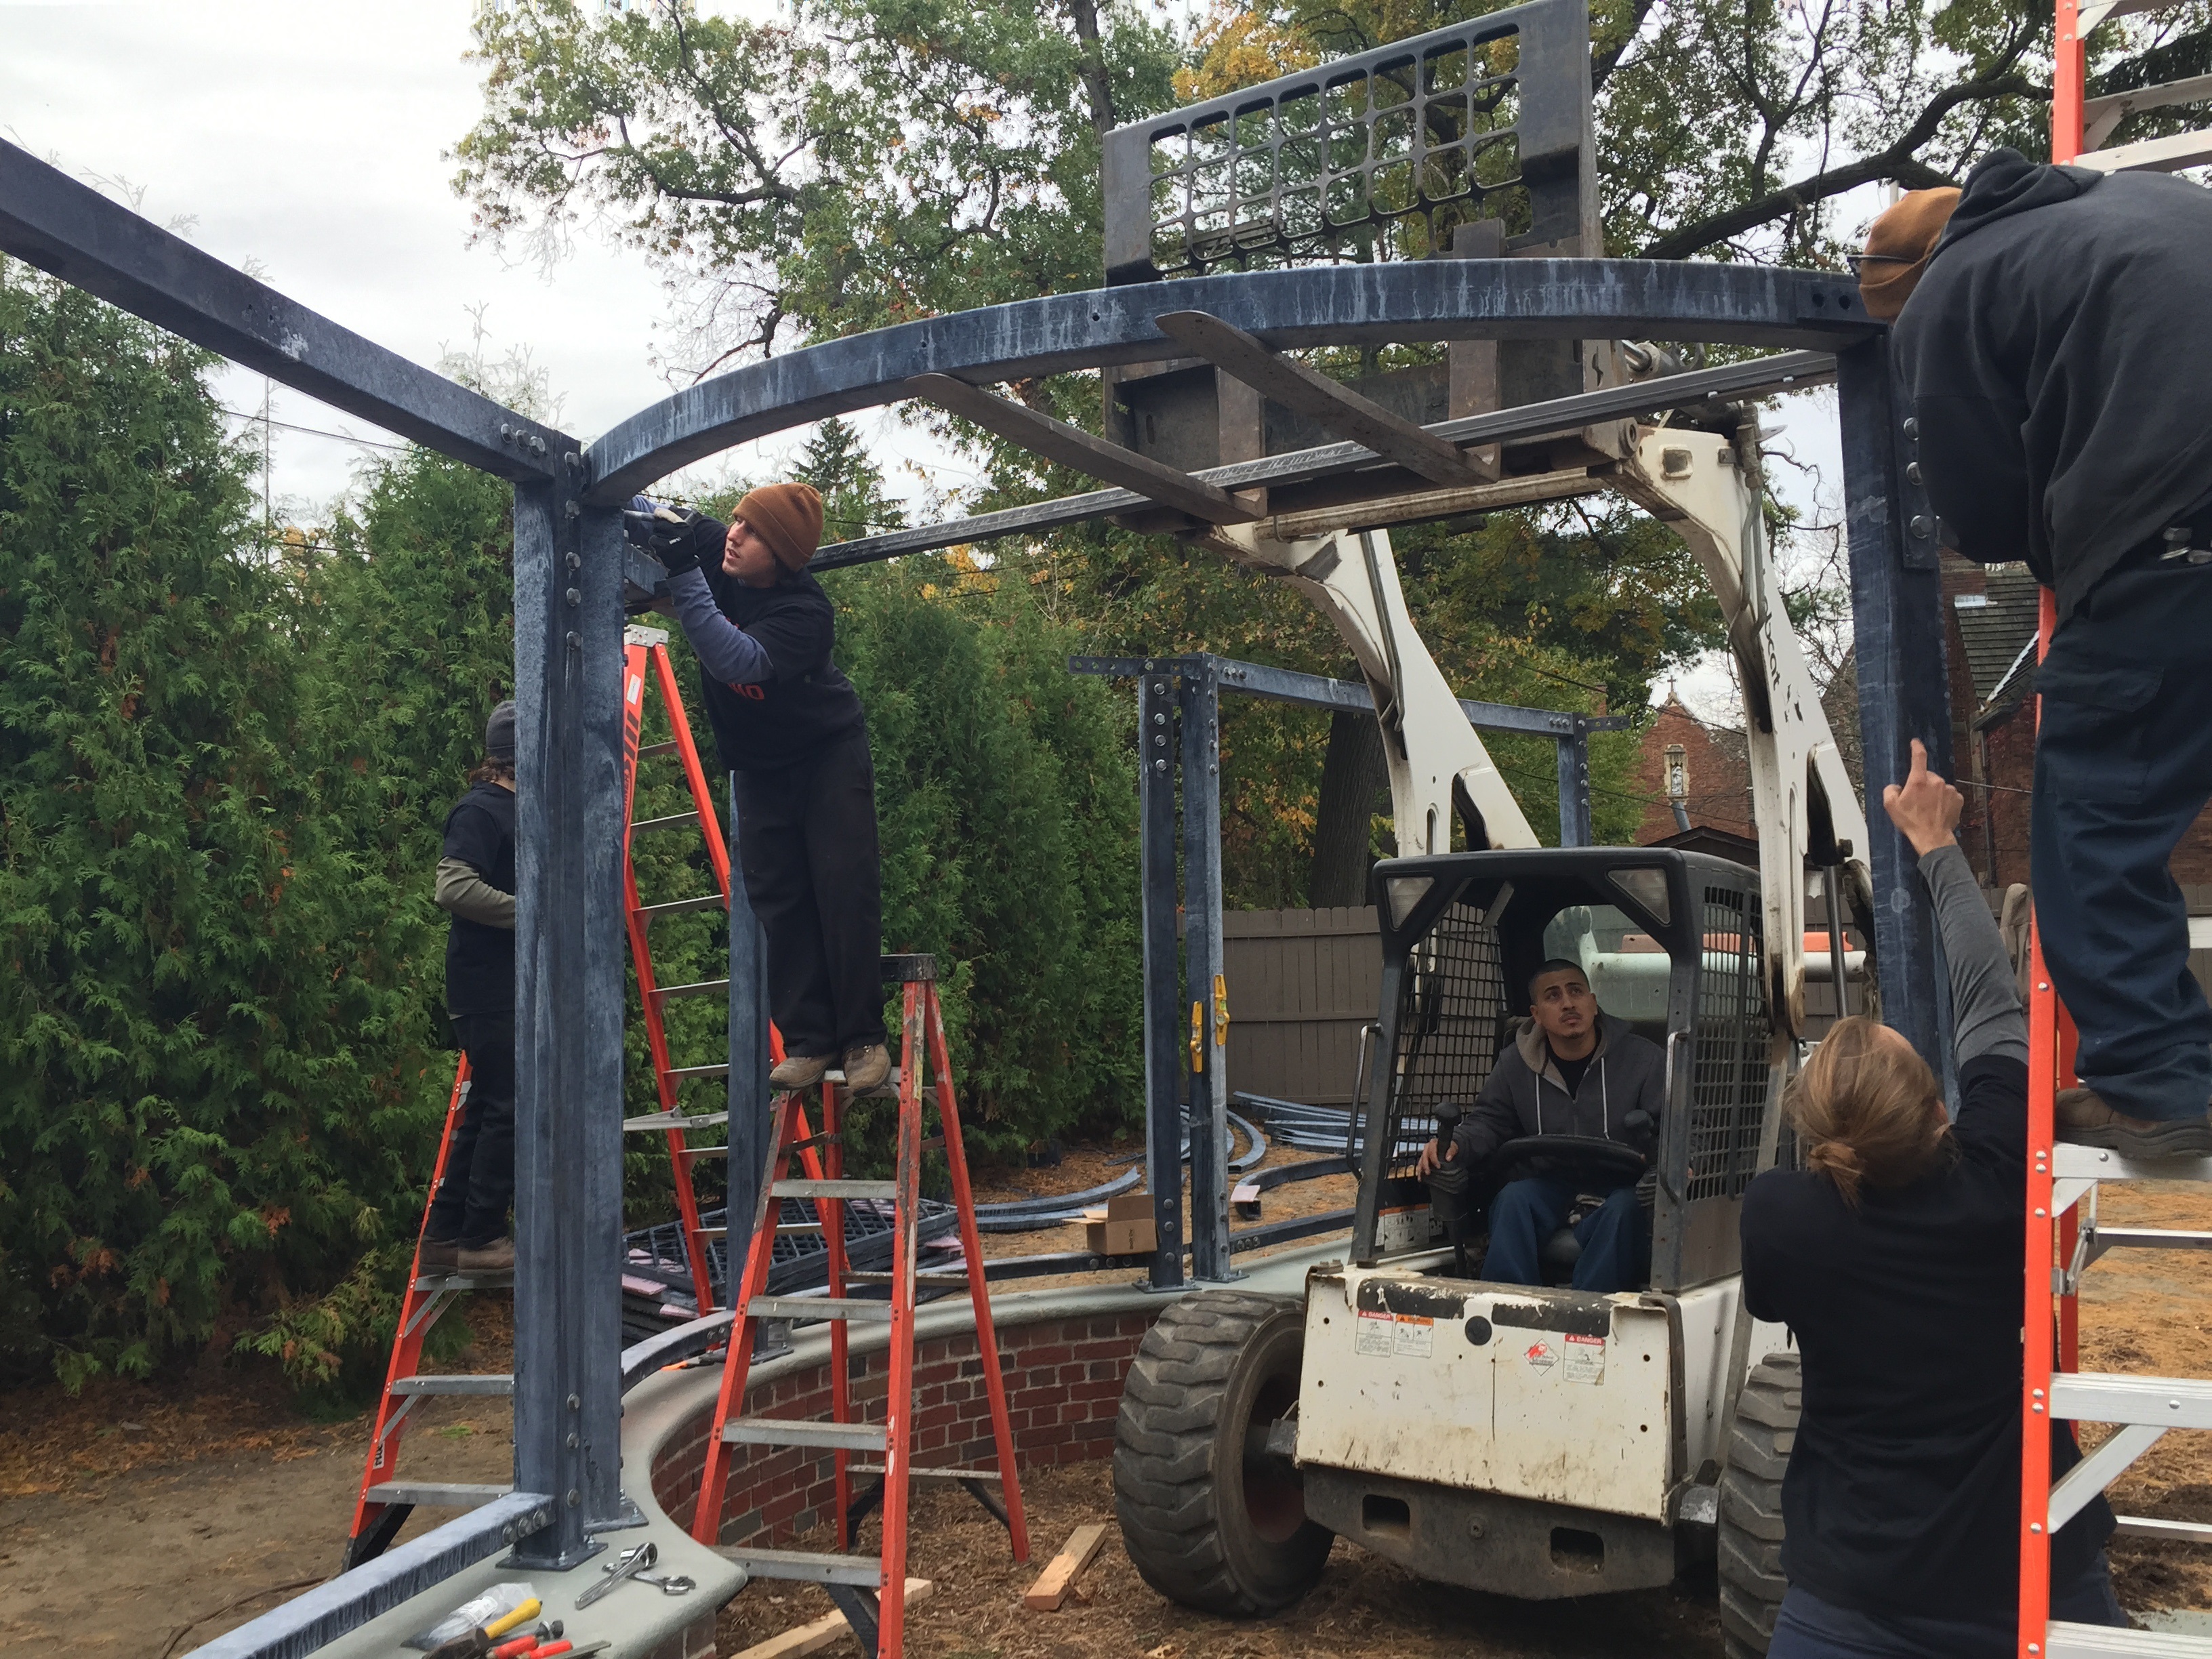
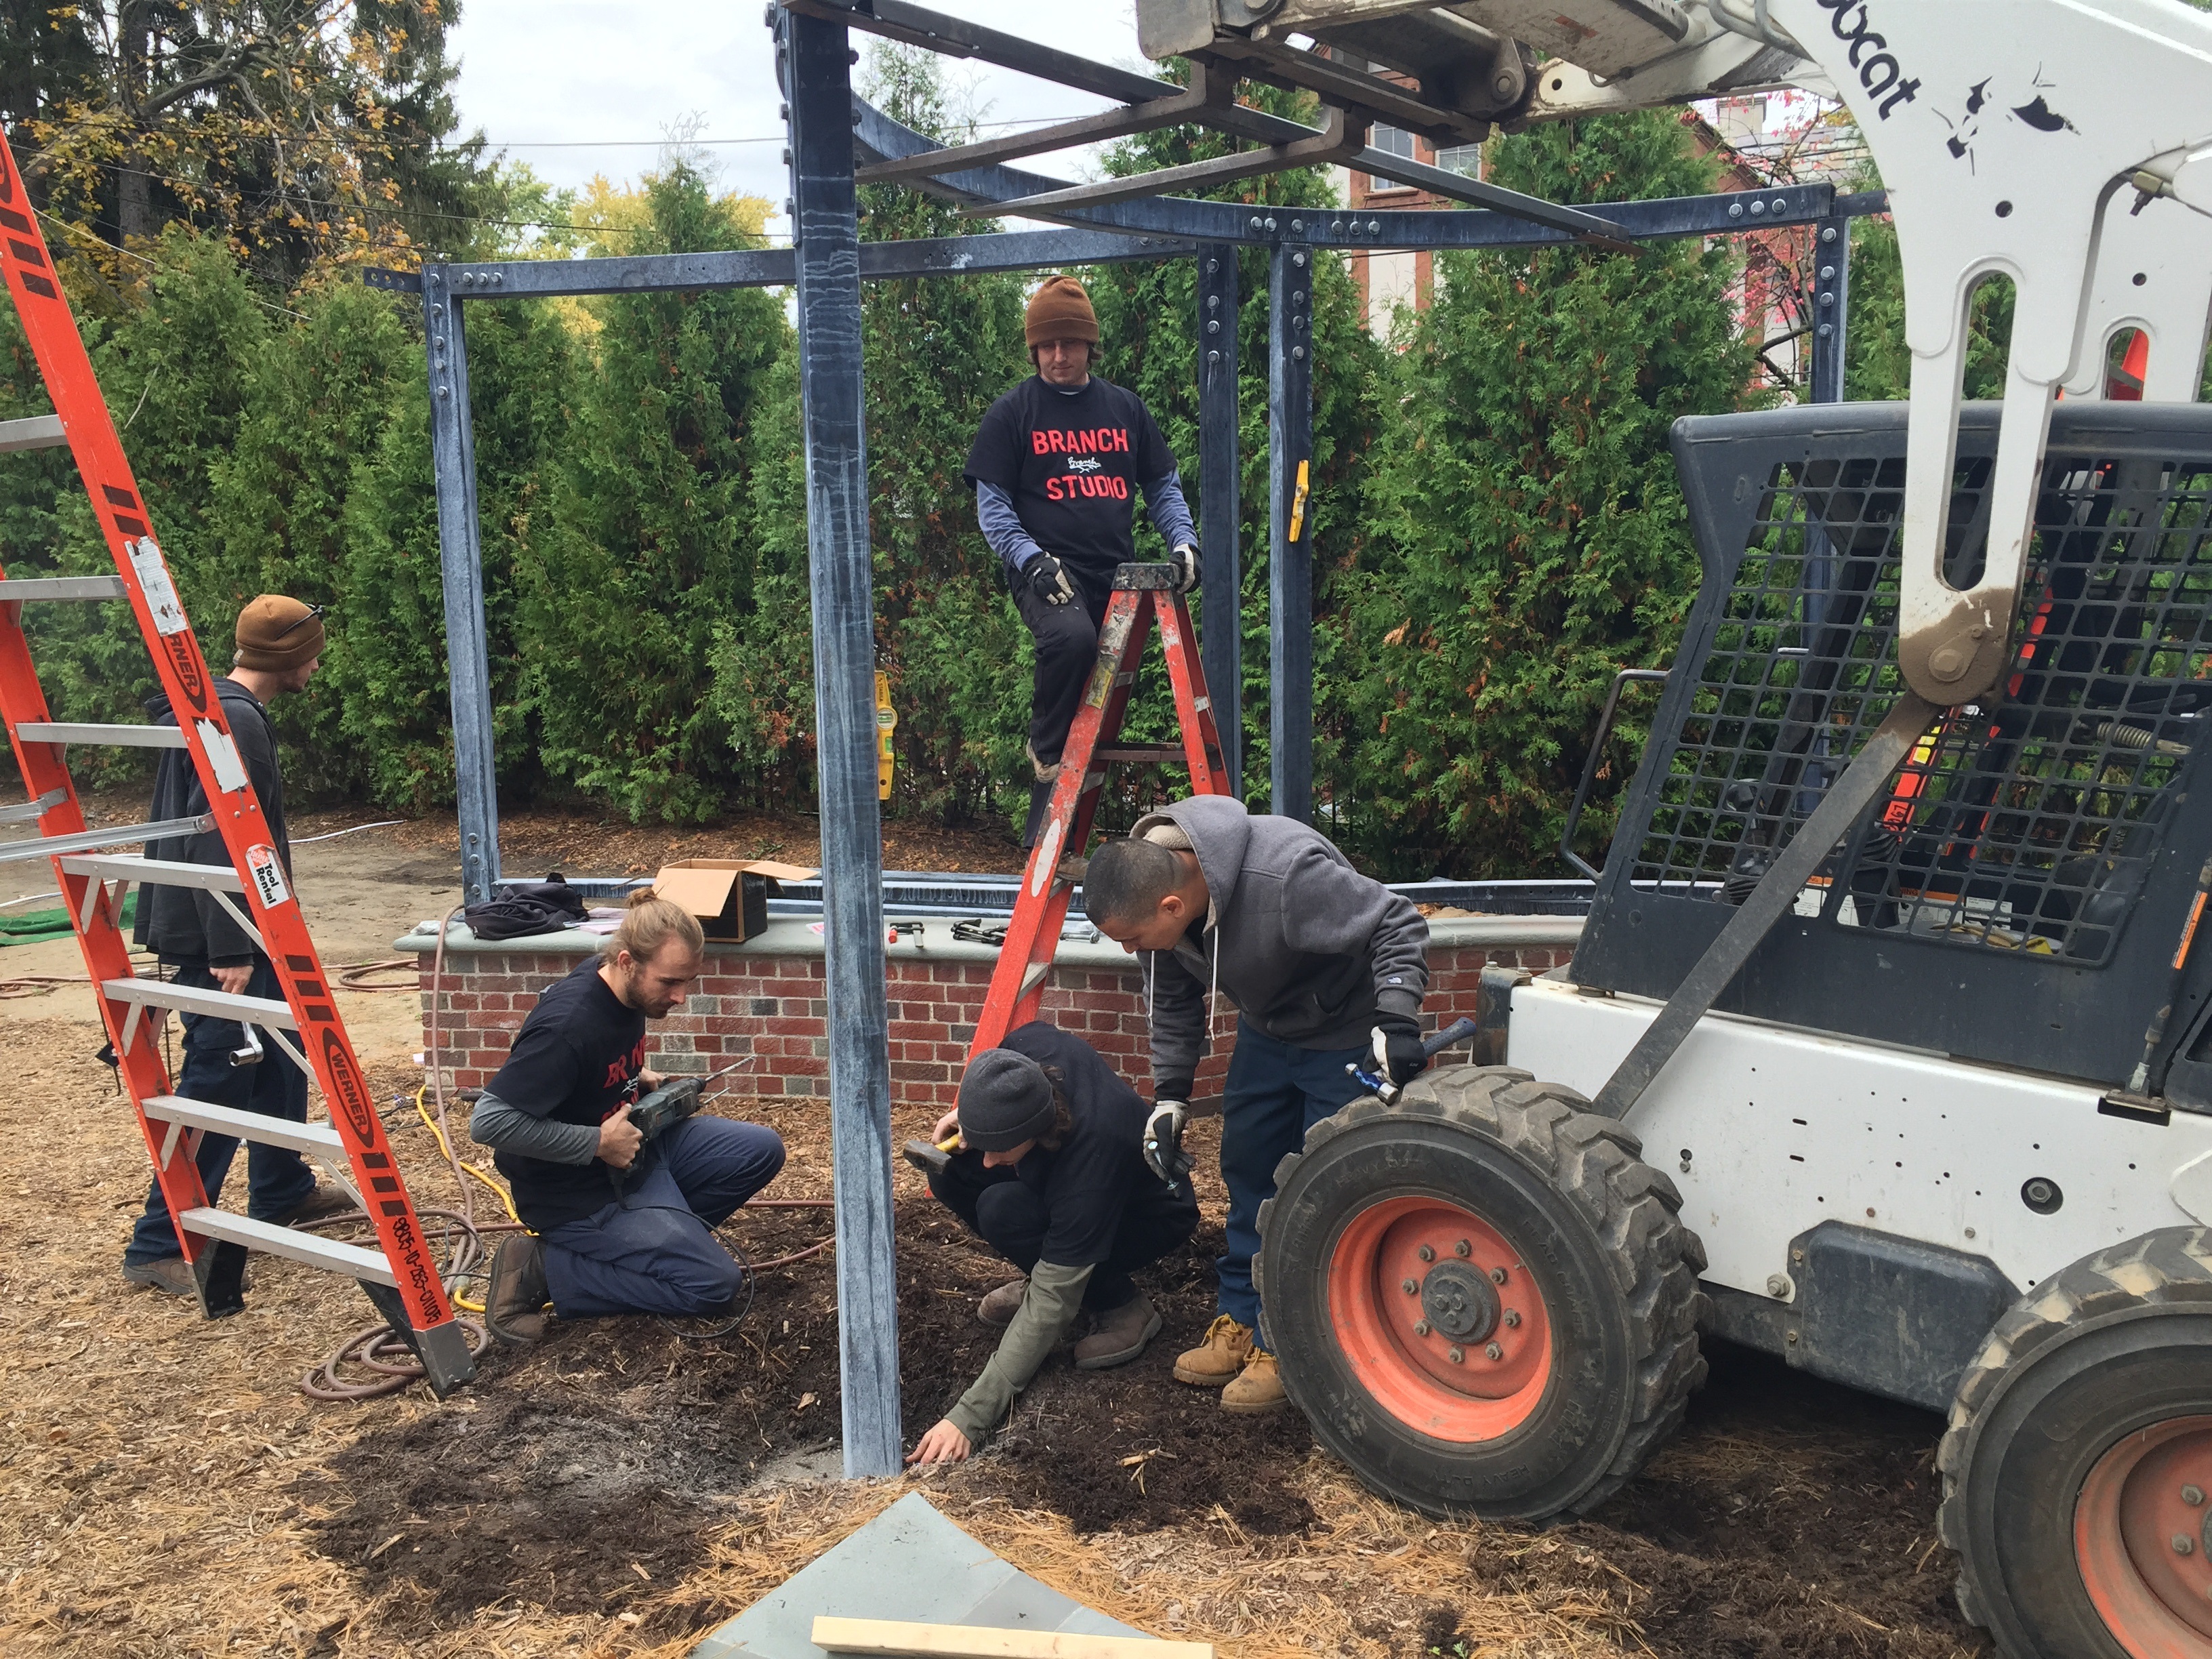
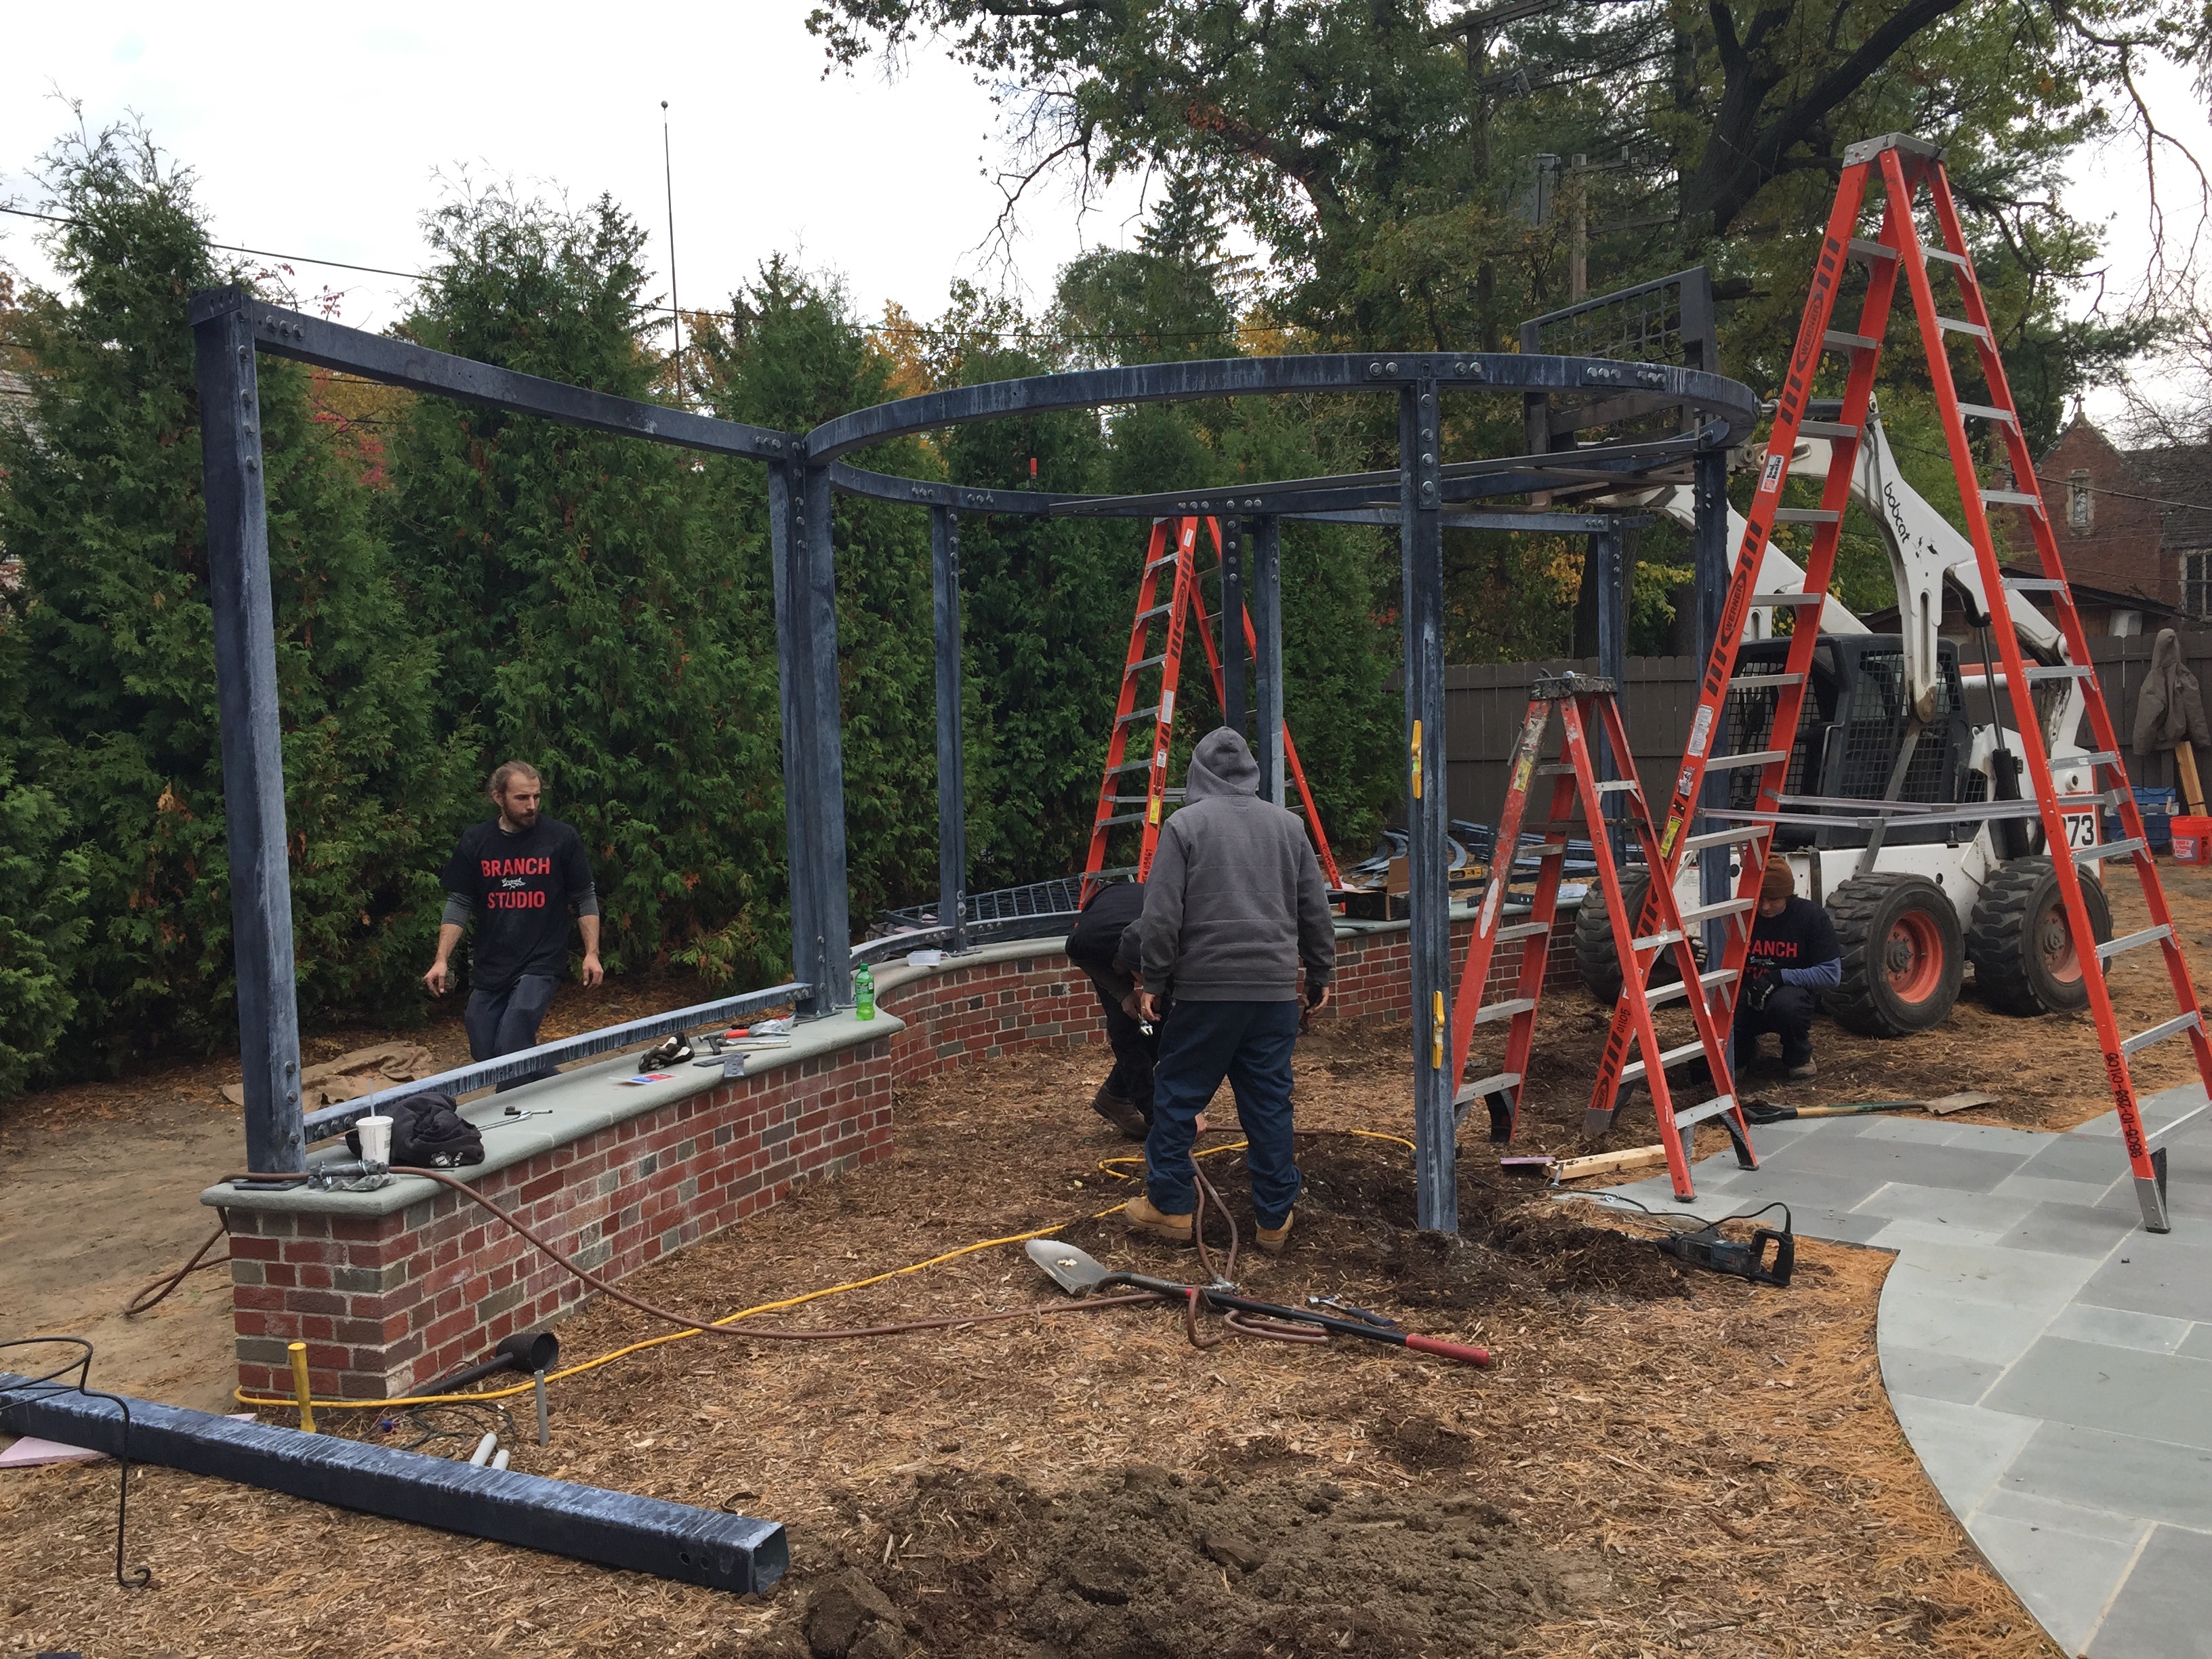
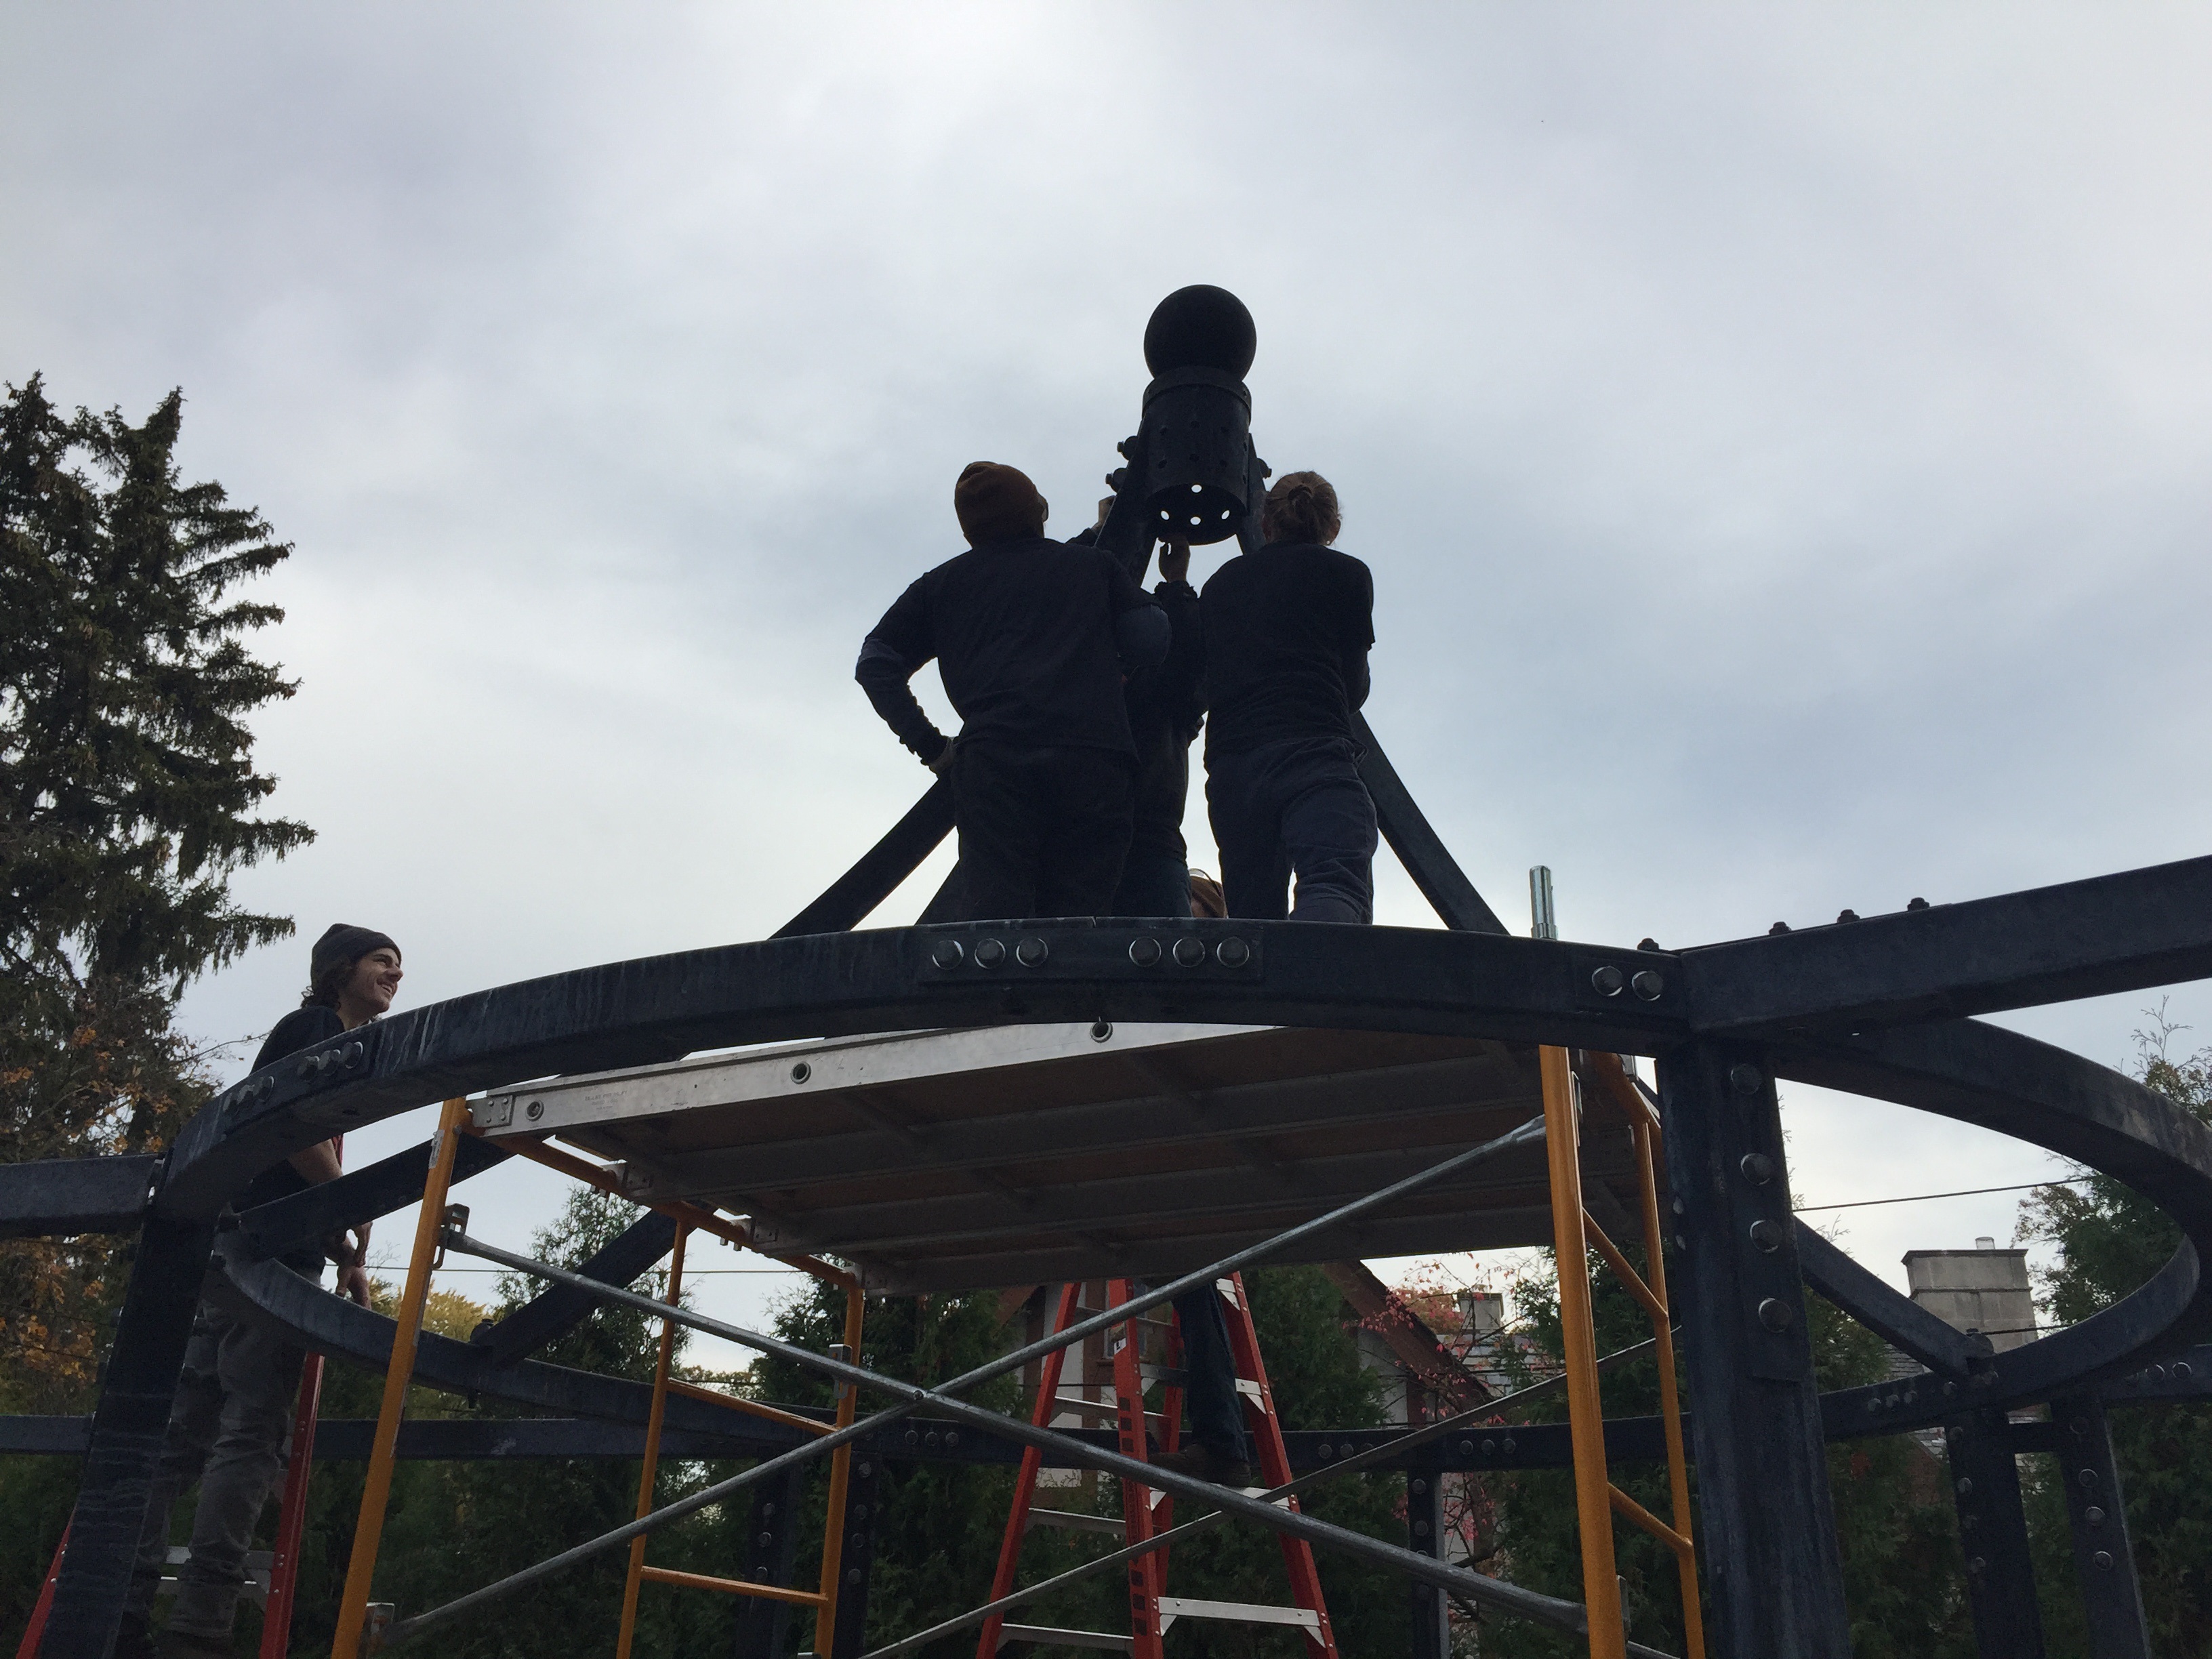
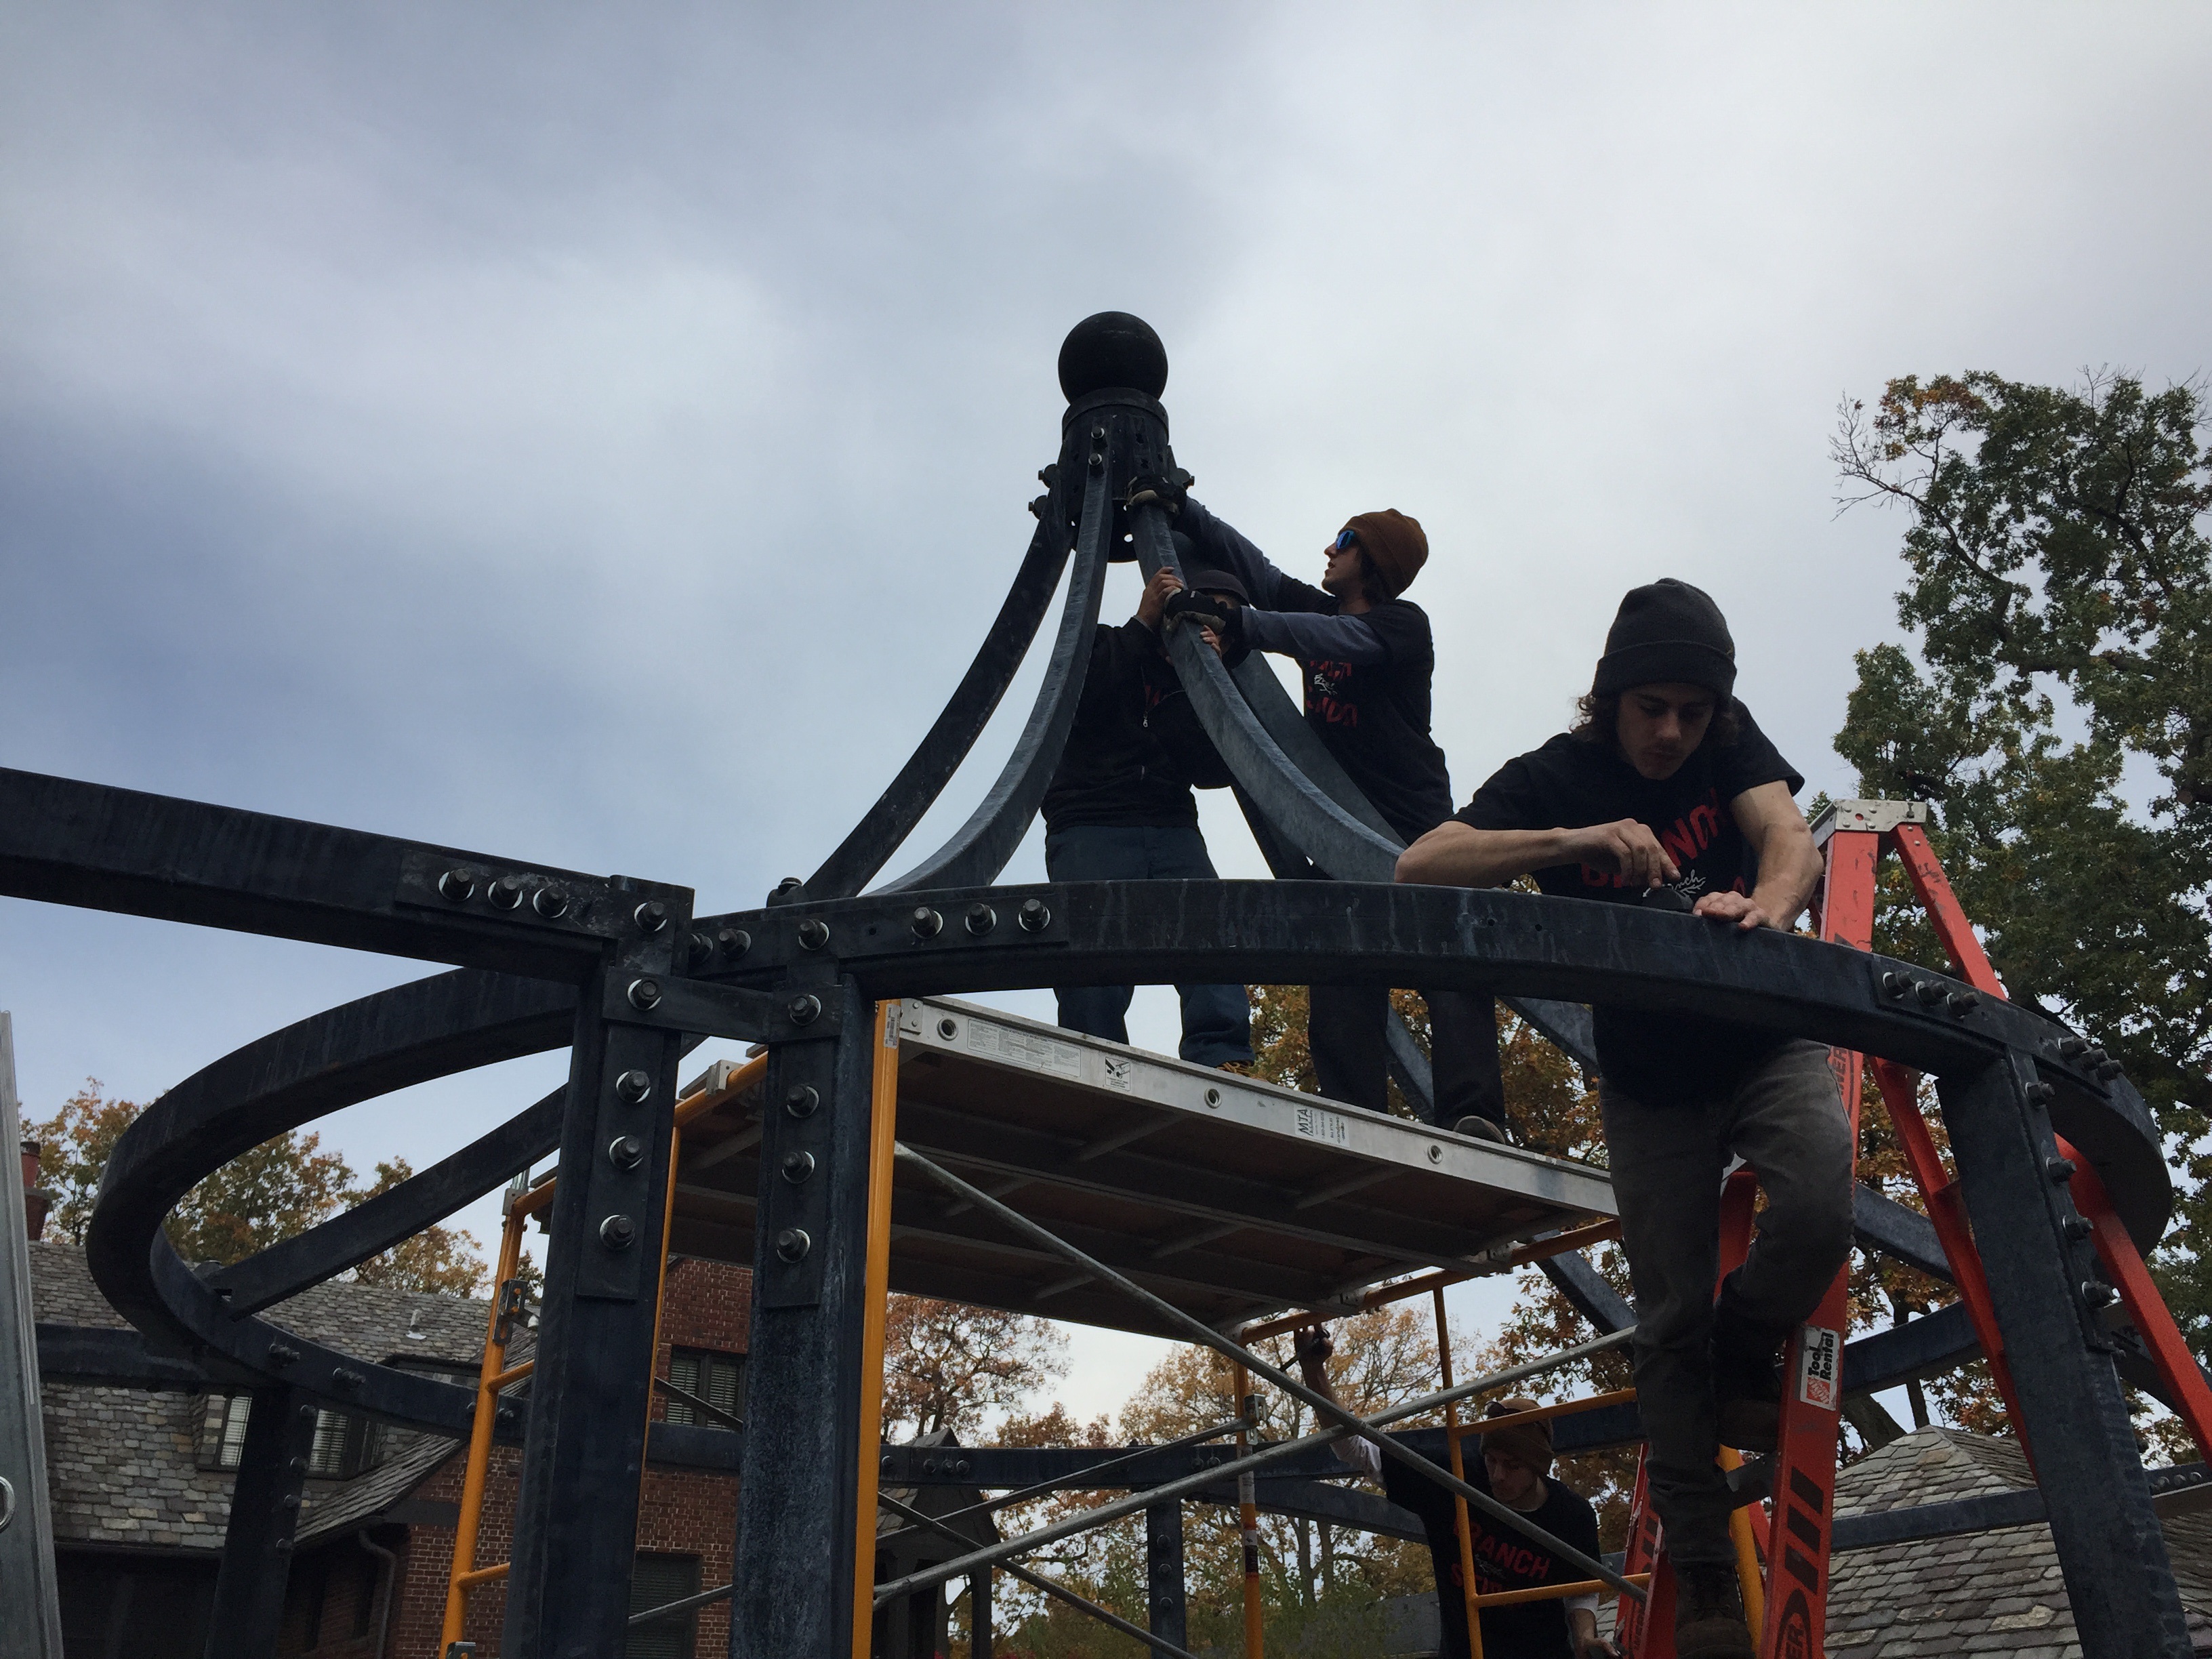
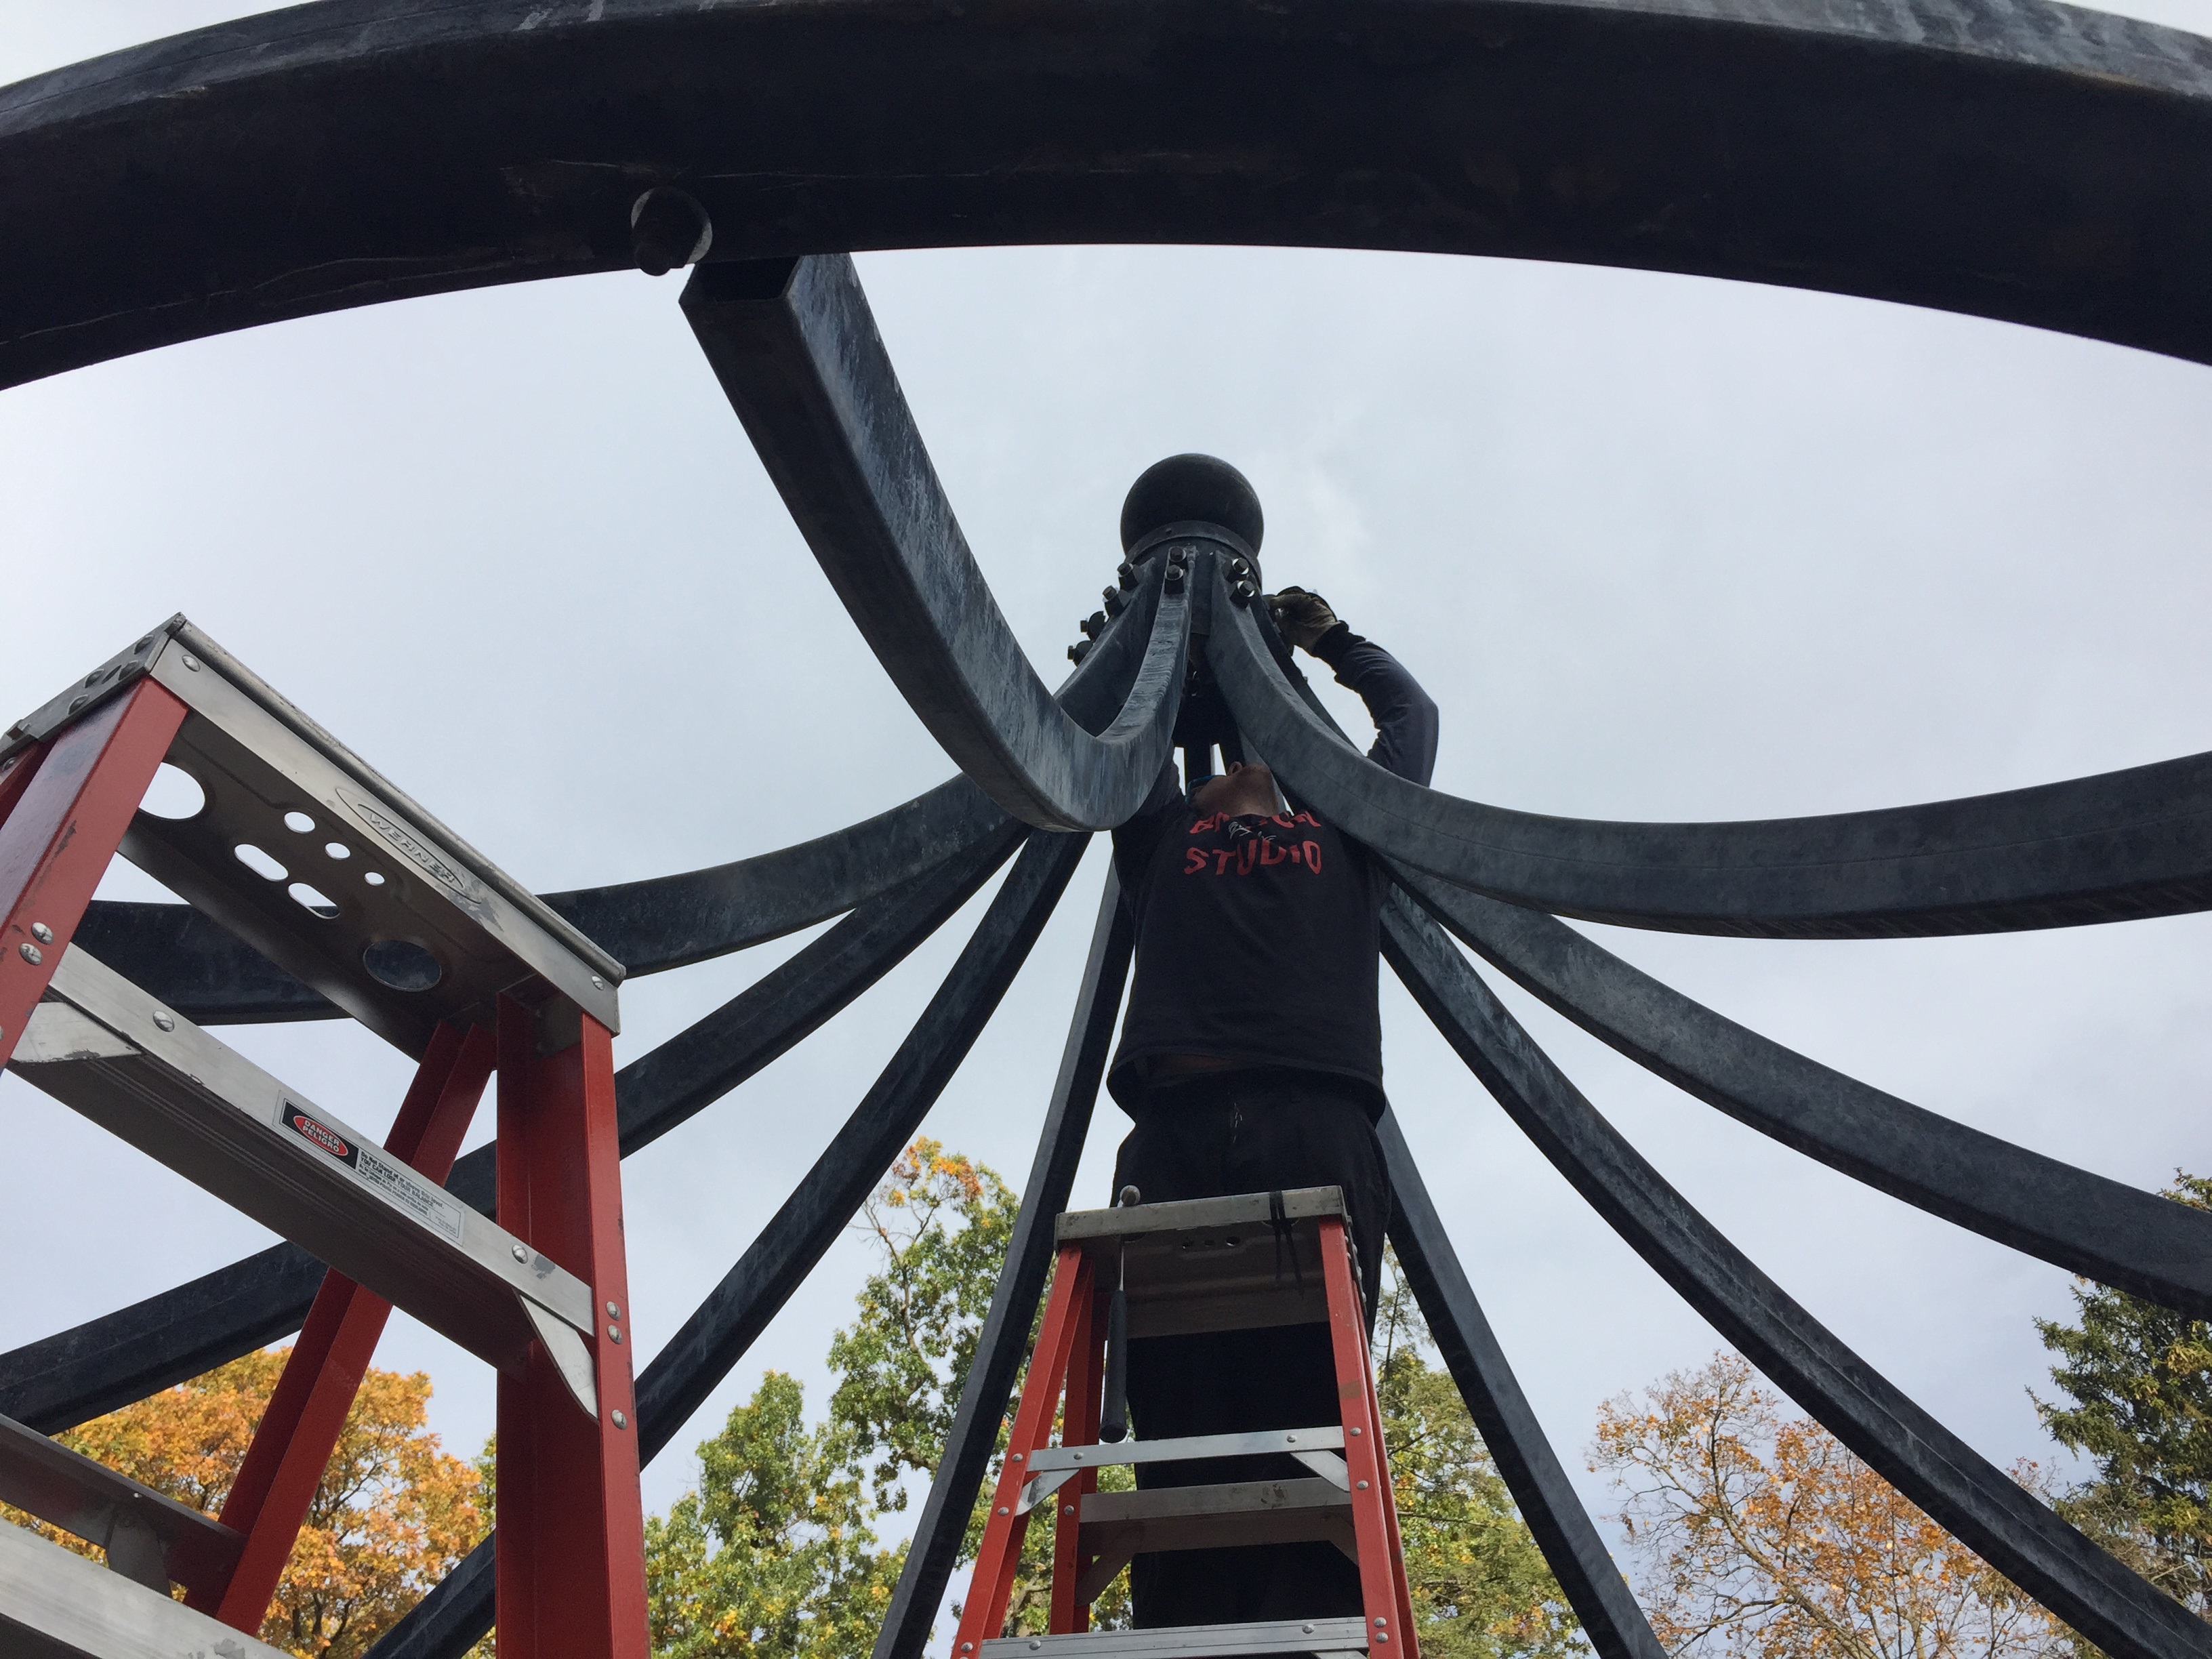
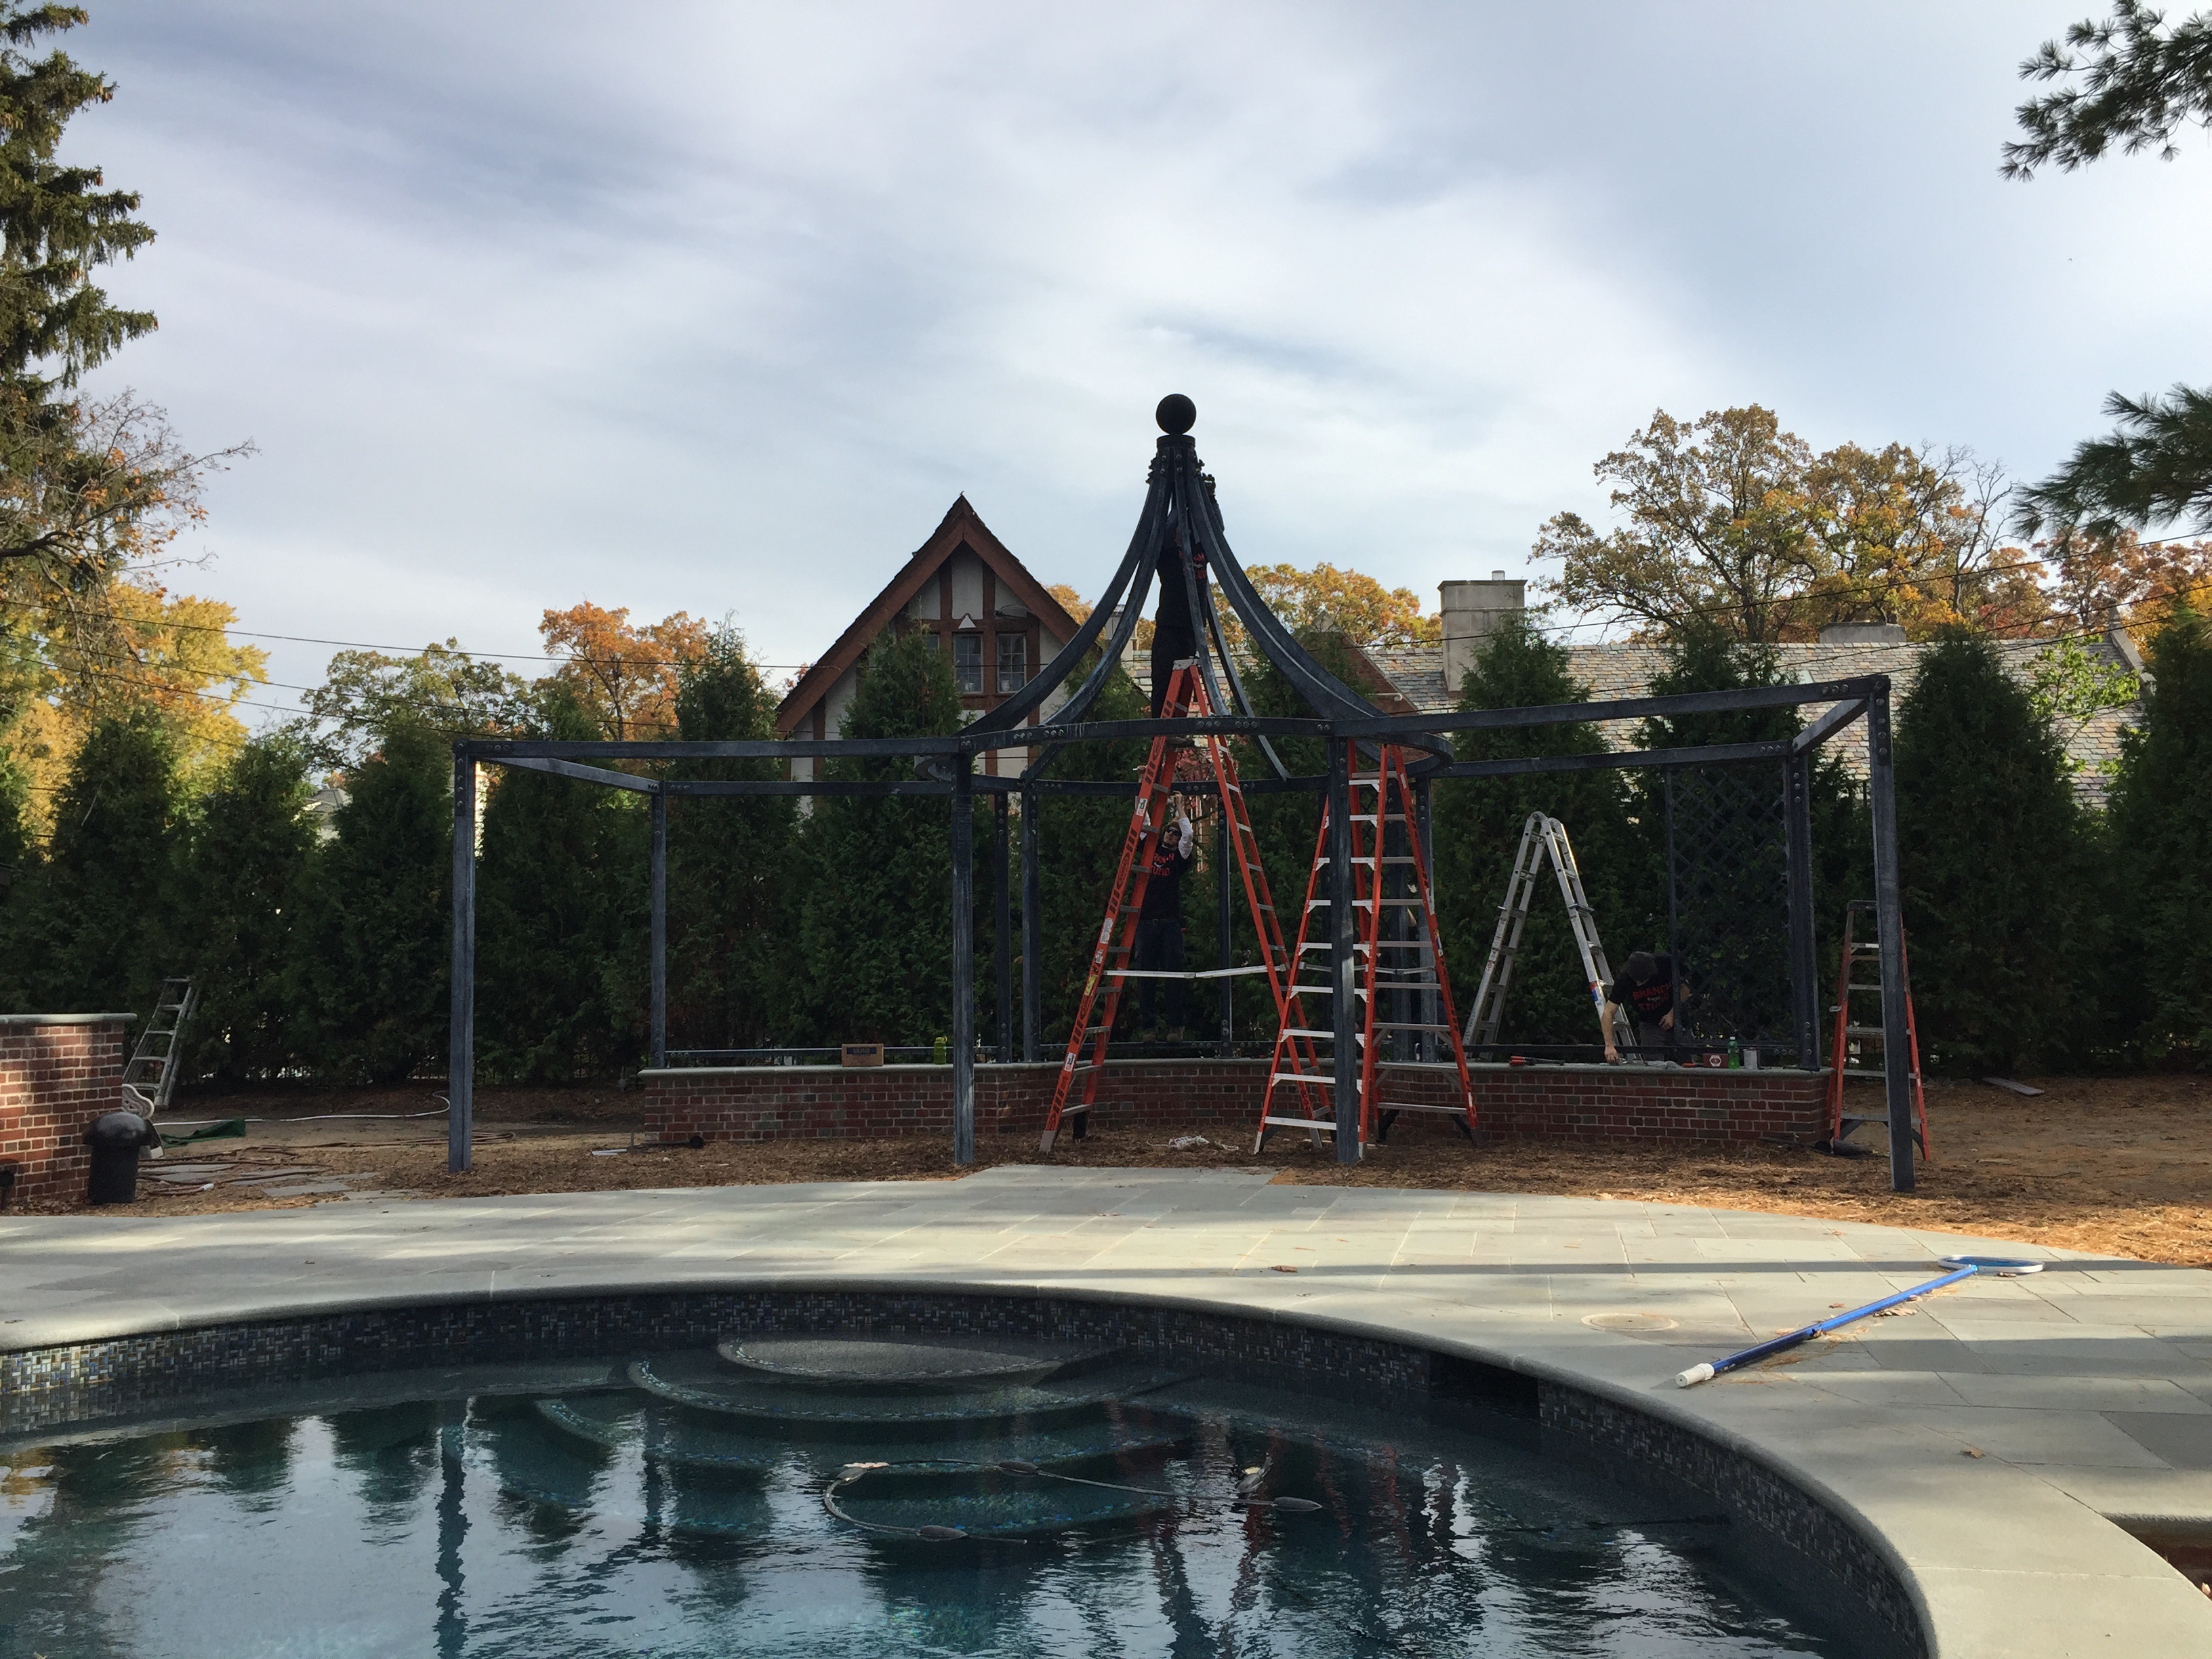
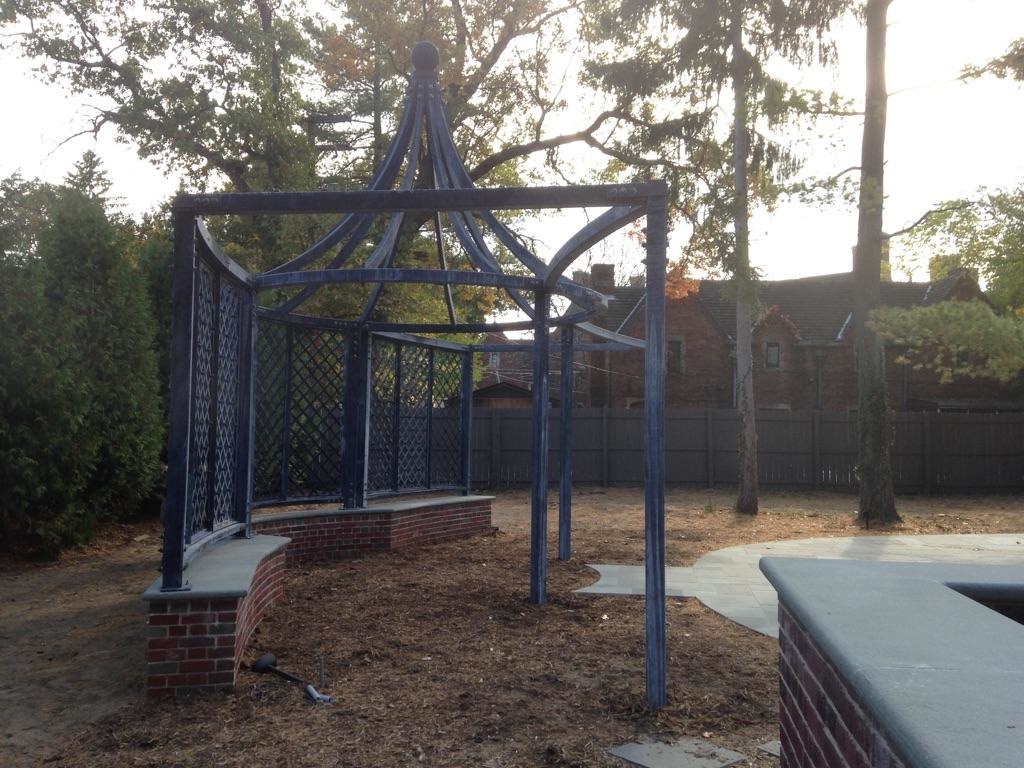
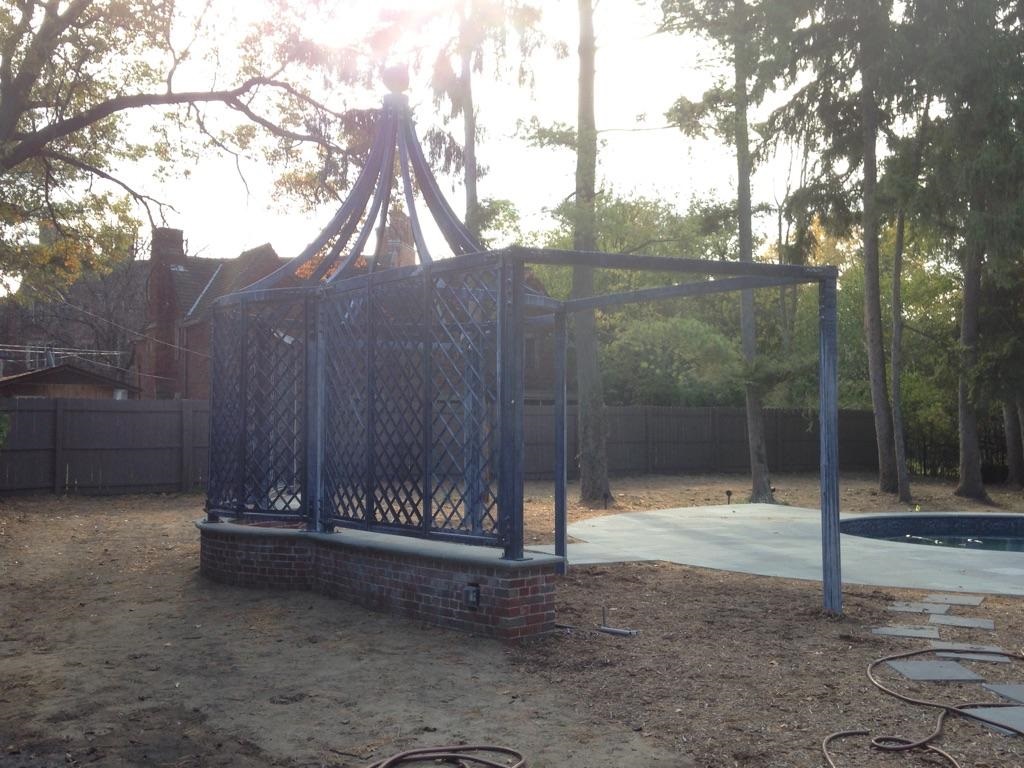
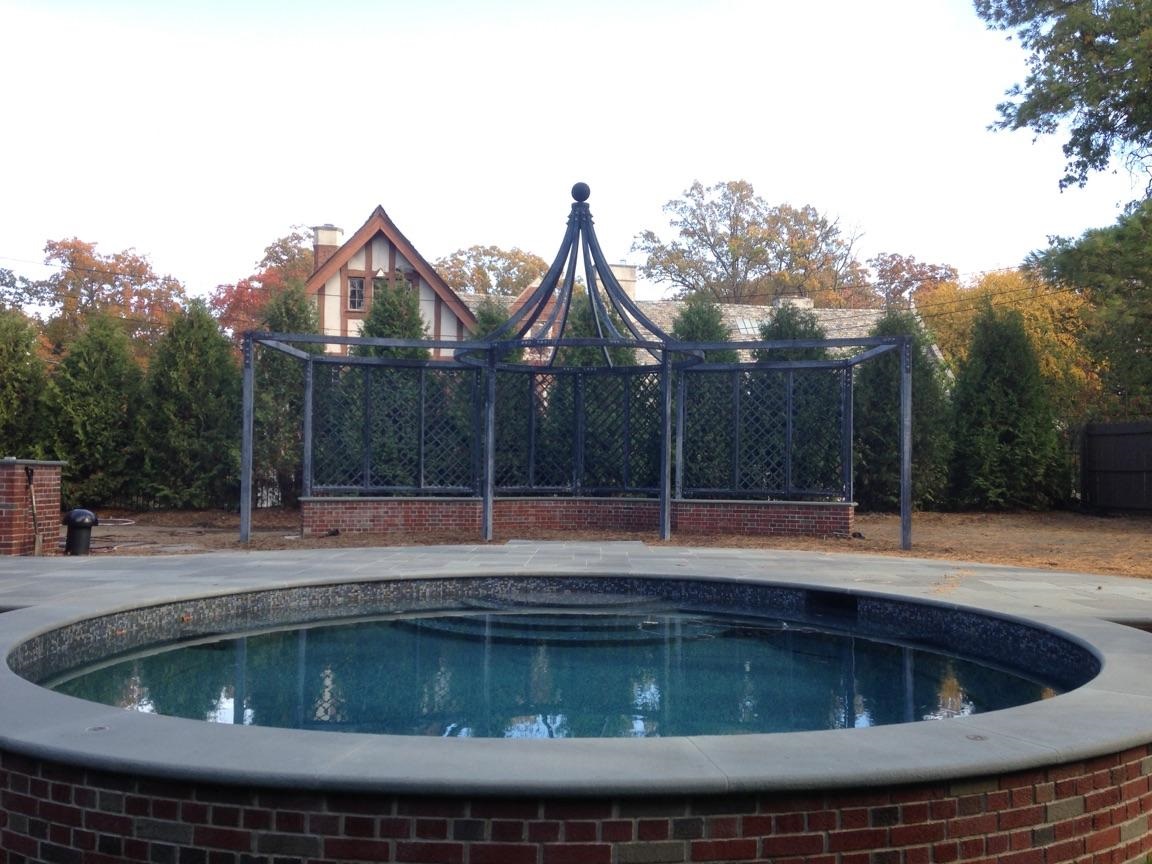
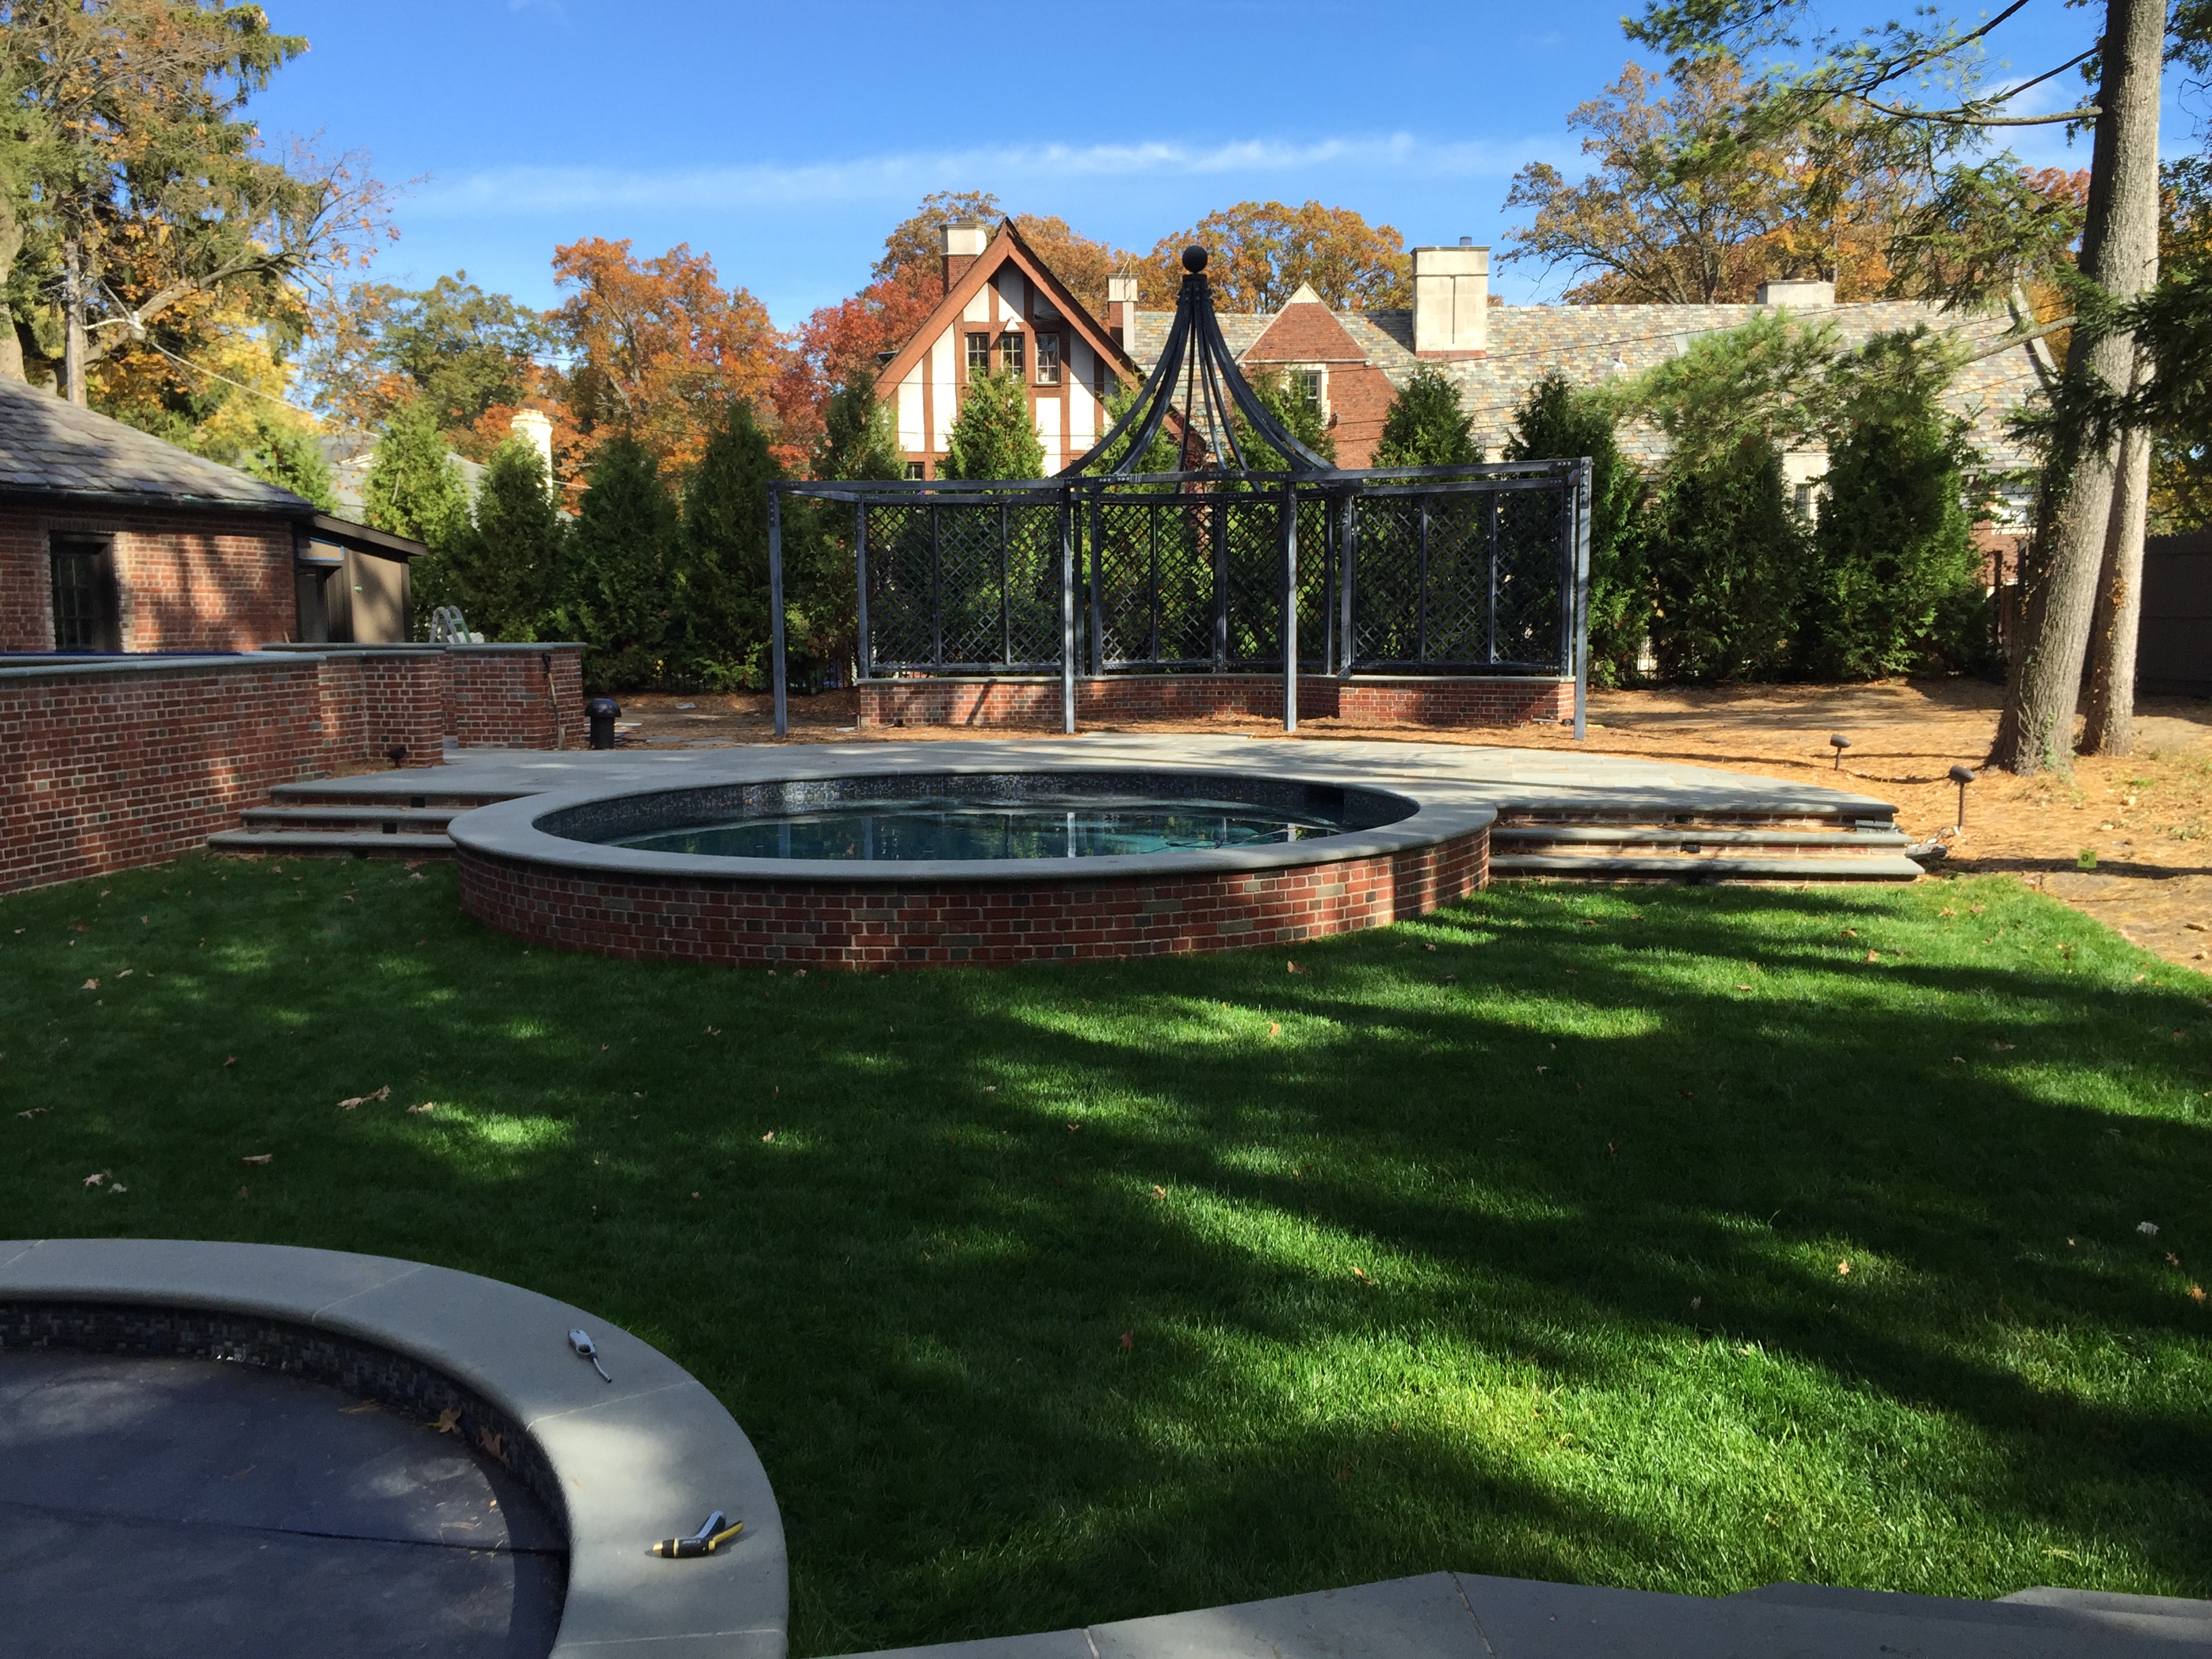
Though I have not posted in a good while about the Branch Studio, their work has been newsworthy. Every week they are shipping out stock and custom made steel ornament for the garden. It has been an incredibly busy season so far for them. Stock? Branch manufactures a stock line of garden boxes, pergolas, and fountains in a variety of sizes. Should you be interested to see what the Branch Studio makes and tries to keep in stock, Branch has its own section on the Detroit Garden Works website: The Branch Studio The design of most of our garden boxes, pergolas and fountains represents our modern version of classic European garden ornament. I am pleased to say that I think that my small midwestern factory is producing some of the most gorgeous and beautifully made planter boxes, pergolas and fountains for the garden being made and available for sale in our country. Just my opinion! I spent a good year researching garden boxes, many of which were fabricated from cast iron, wood, and lead. I spent another year building boxes and revising the sizes and proportions. Buck took the lead engineering the most efficient weather and wear proof construction. What Branch fabricates is the result of a lot of what is commonly known as research and development. Even now, it amazes me how much time and effort gets swallowed up by that phase. Branch is about to release a product line featuring more contemporary containers, and the Stuart dining table. The initial idea for this table was generated over 20 years ago. Don Taylor, an old school artisan/craftsman, was hard at work redoing my kitchen. I wanted a long, thin, and tall island table – on wood wheels, just for fun. My only request was an under structure for that table that would look like an arch bridge, or aqueduct. He was happy to oblige. That pine table on wood wheels has been in my kitchen, and in the back of my mind for better than 20 years.
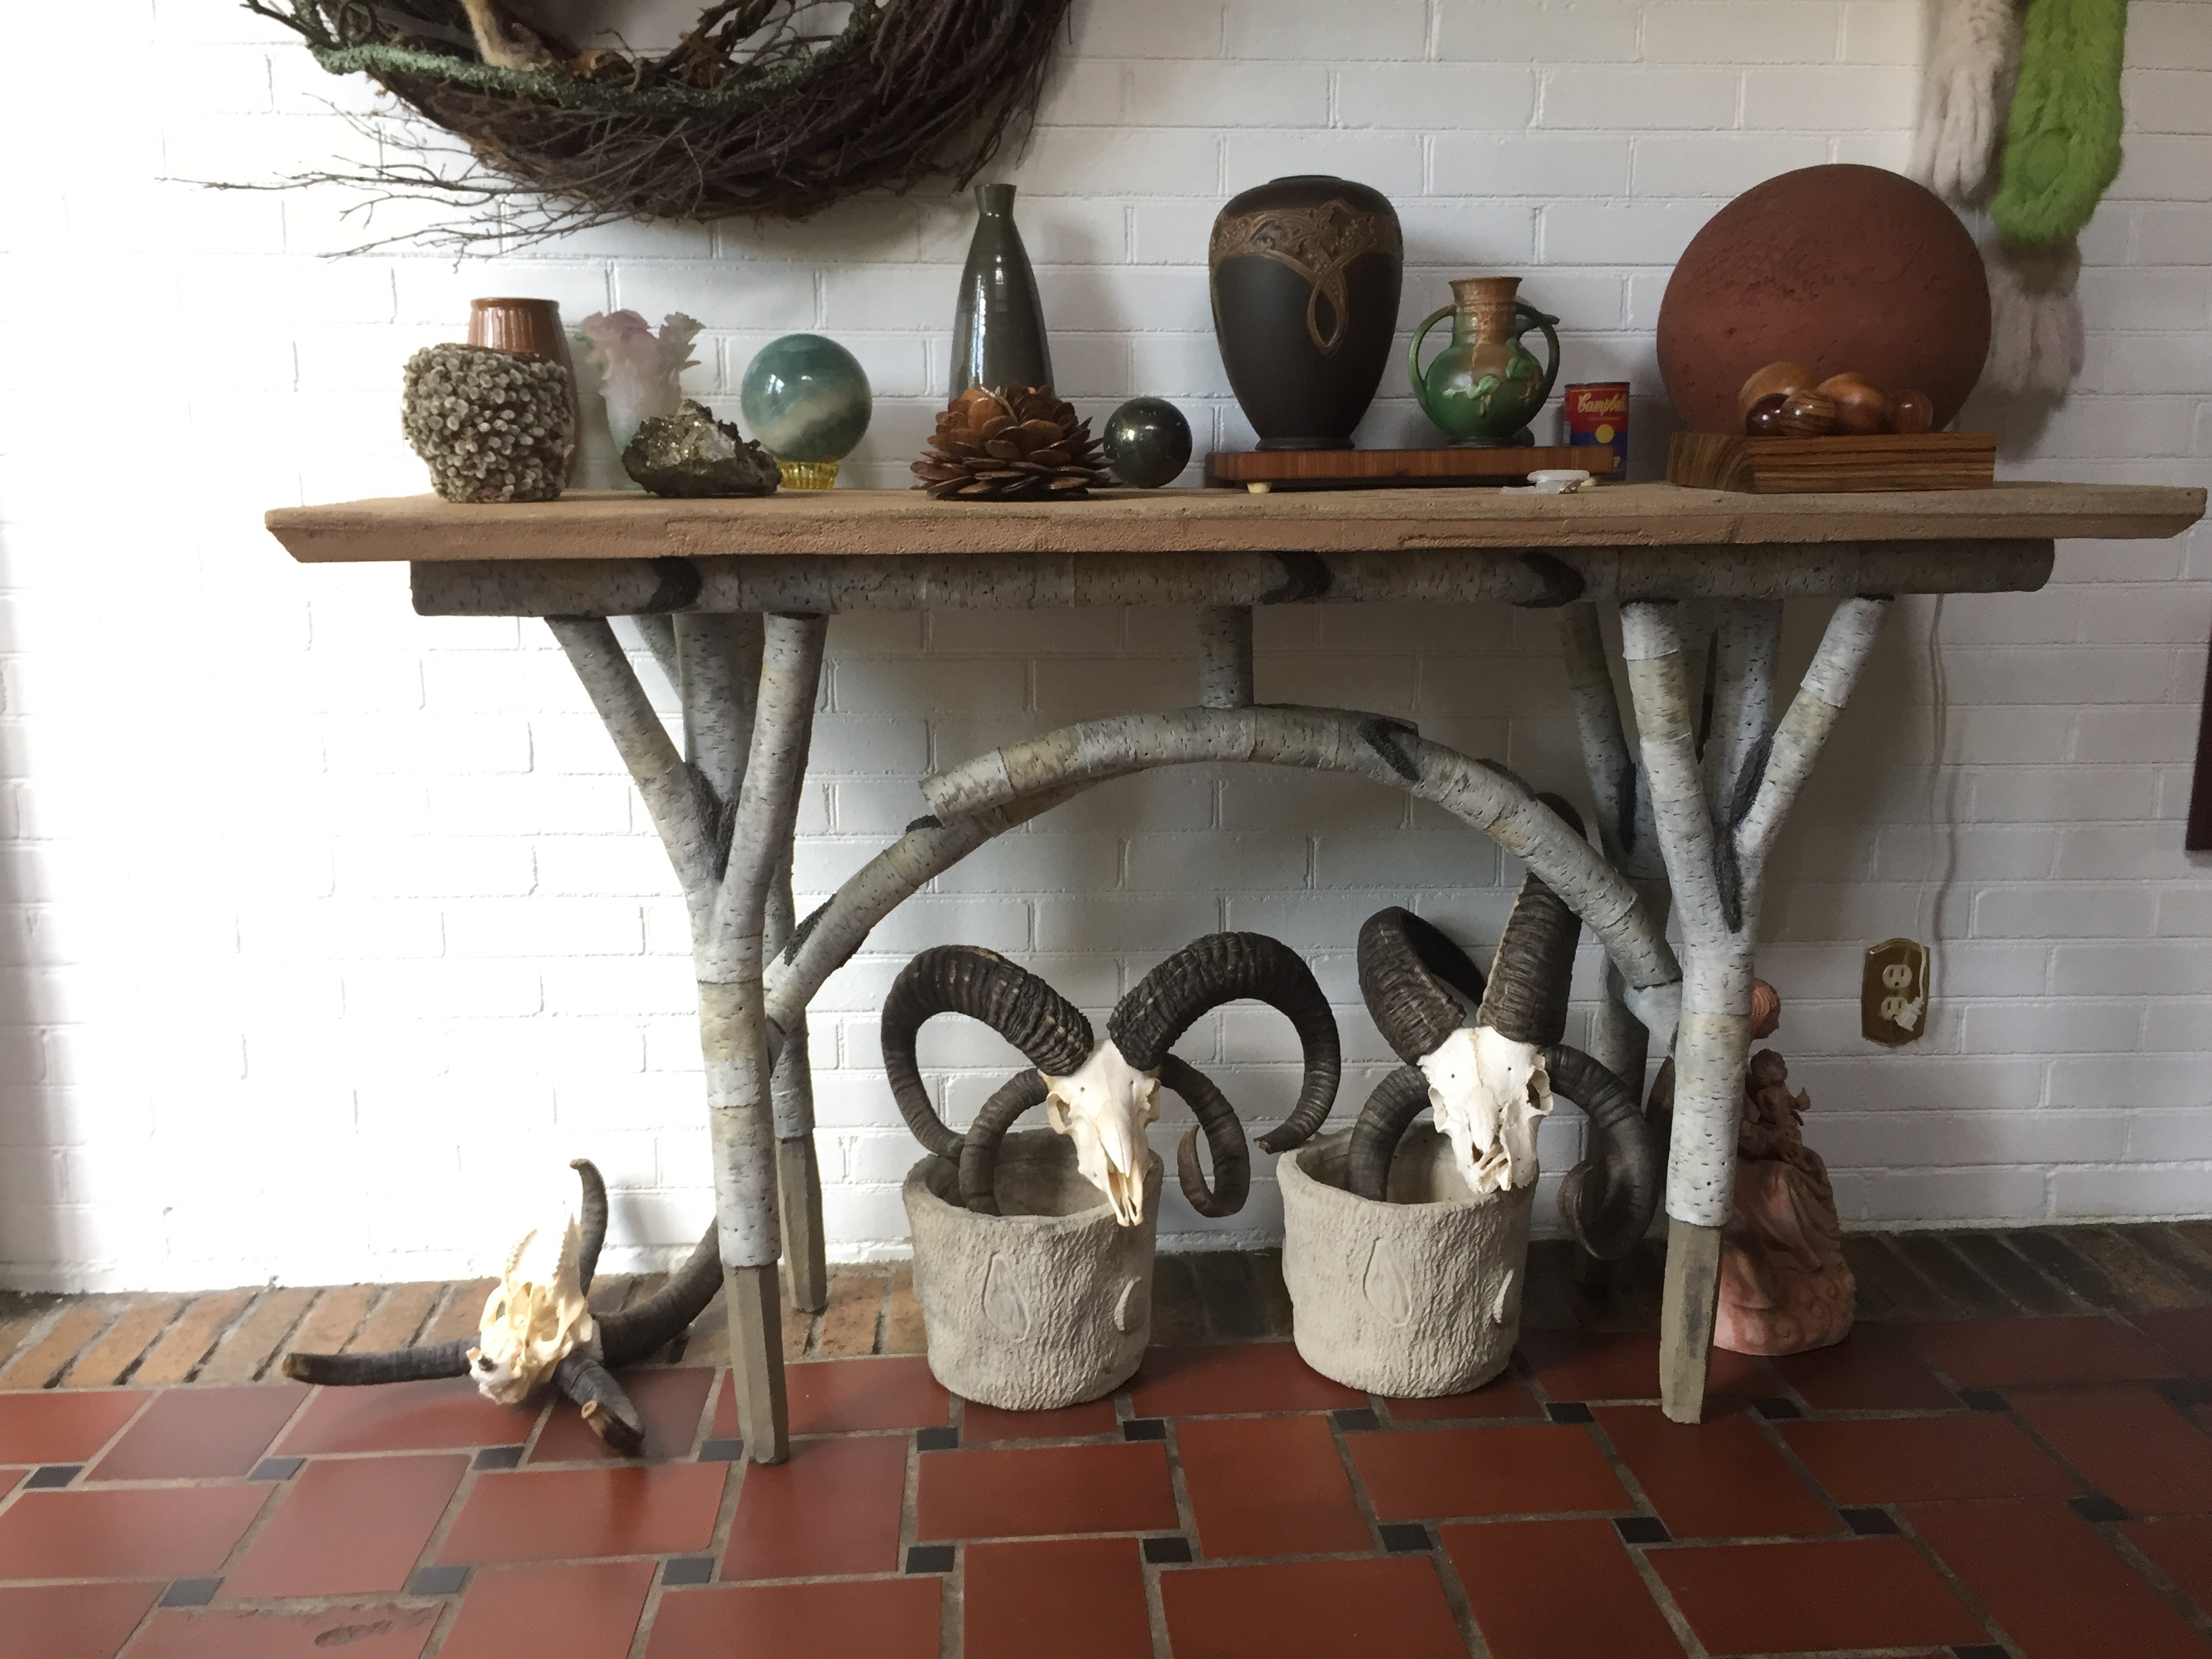 When Branch first opened, our primary fabrication was concrete faux bois. Faux bois, translated from the French as “false wood”, is an ancient art in which garden ornament and pots are fabricated from concrete formed and carved to look like wood. Troy made this faux bois birch sideboard at Branch 7 years ago. I sketched the design for him which included a bridge arch underneath. Though we eventually gave up fabricating in concrete for steel, I still treasure this early Branch piece. I could be my favorite detail is how Troy made the log legs look like they had been whittled down at the ends. That graceful detail would resurface in the Stuart table.
  Buck made early incarnations of the Stuart table by special order. And he built a prototype for our deck. His very important contribution to the design is what he calls a bar edge. The frame of the top of the Stuart table angles down. That angle is really friendly to elbows. This detail creates a profile that is thin, spare, and elegant. My interest in designing a contemporary dining table for the garden was a product of my research into what was available. Traditional tables are available in lots of sizes and configurations. But what if you have an interest in a contemporary outdoor dining table?
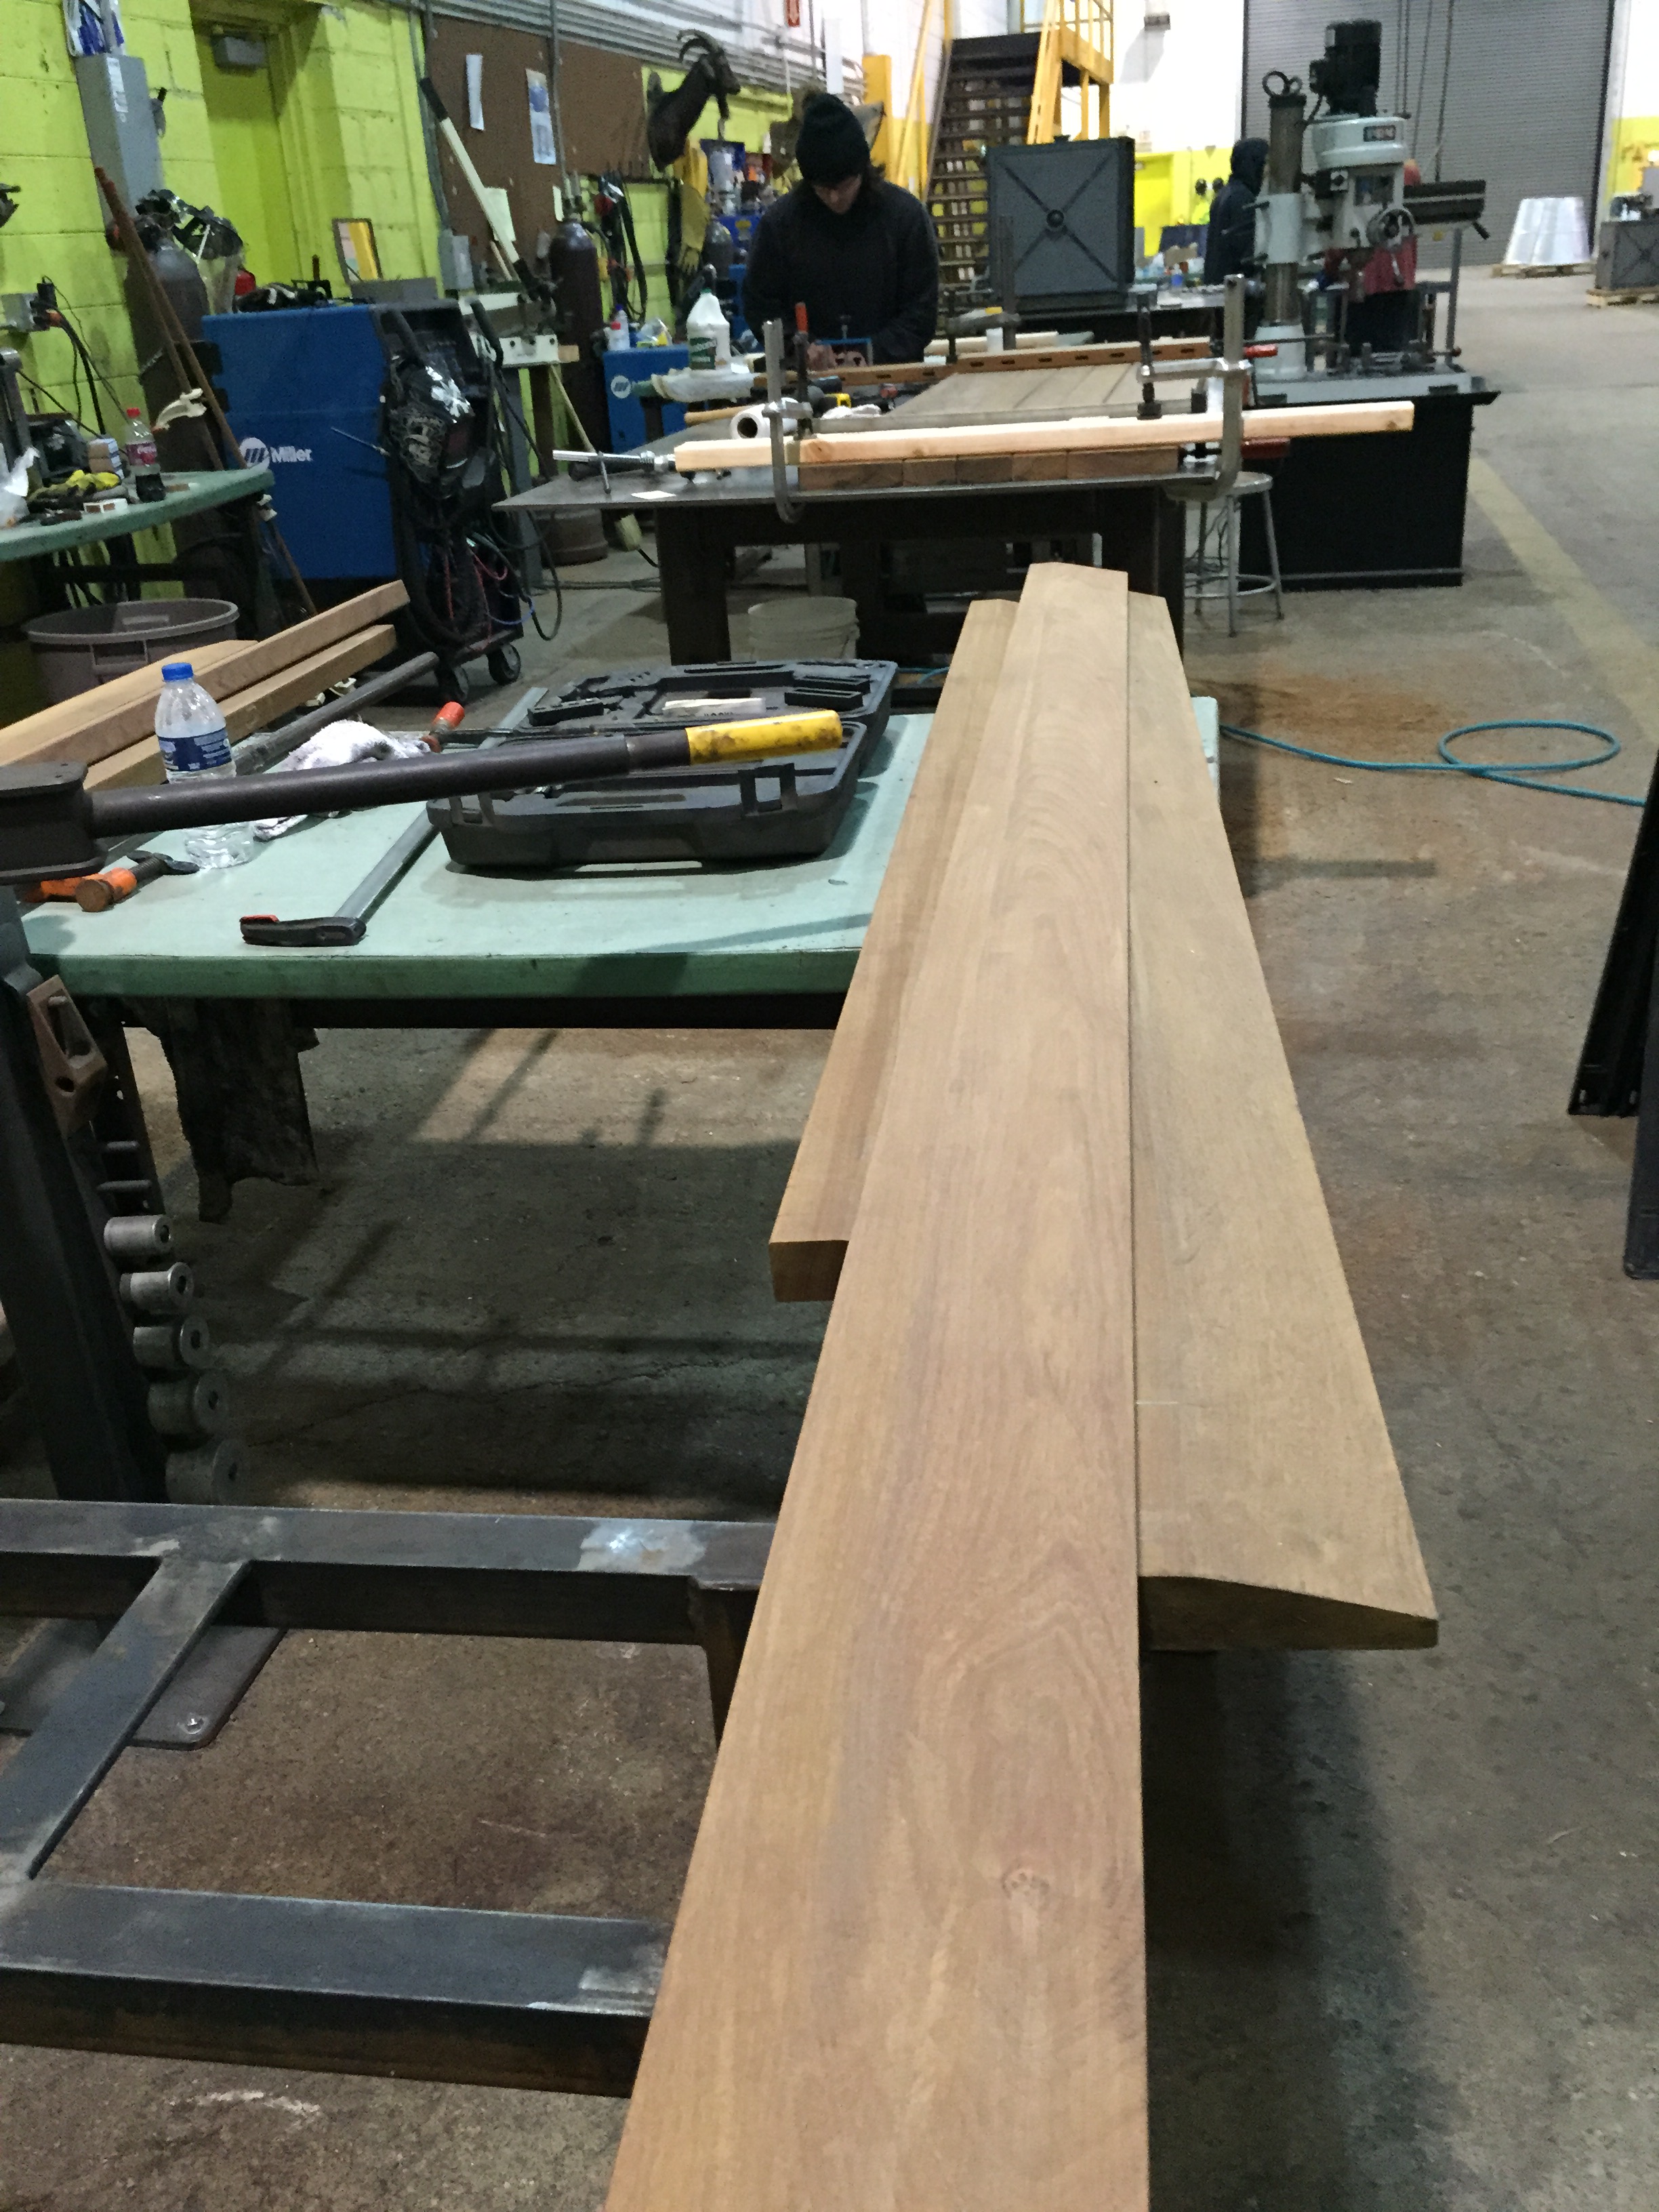
 Both the Stuart table top and feet are fabricated from Ipe. Ipe, commonly known as ironwood or Brazilian walnut, is four times denser than teak. It is so dense, it sinks in water. It has the same fire rating as concrete and steel. It is just about too is too dense to catch fire. That density makes this wood very hard to mill, plane or cut. But it makes it just about the most indestructible and desirable wood to use outdoors. Ipe decking has been available for a number of years. But we thought to use this incredibly hard and rot resistant wood in our handmade garden dining tables. Pictured above, our contemporary version of the whittled birch log legs at the bottom of a faux bois piece we fabricated 10 years ago. The upper portion of the foot would be inserted into to each table leg.
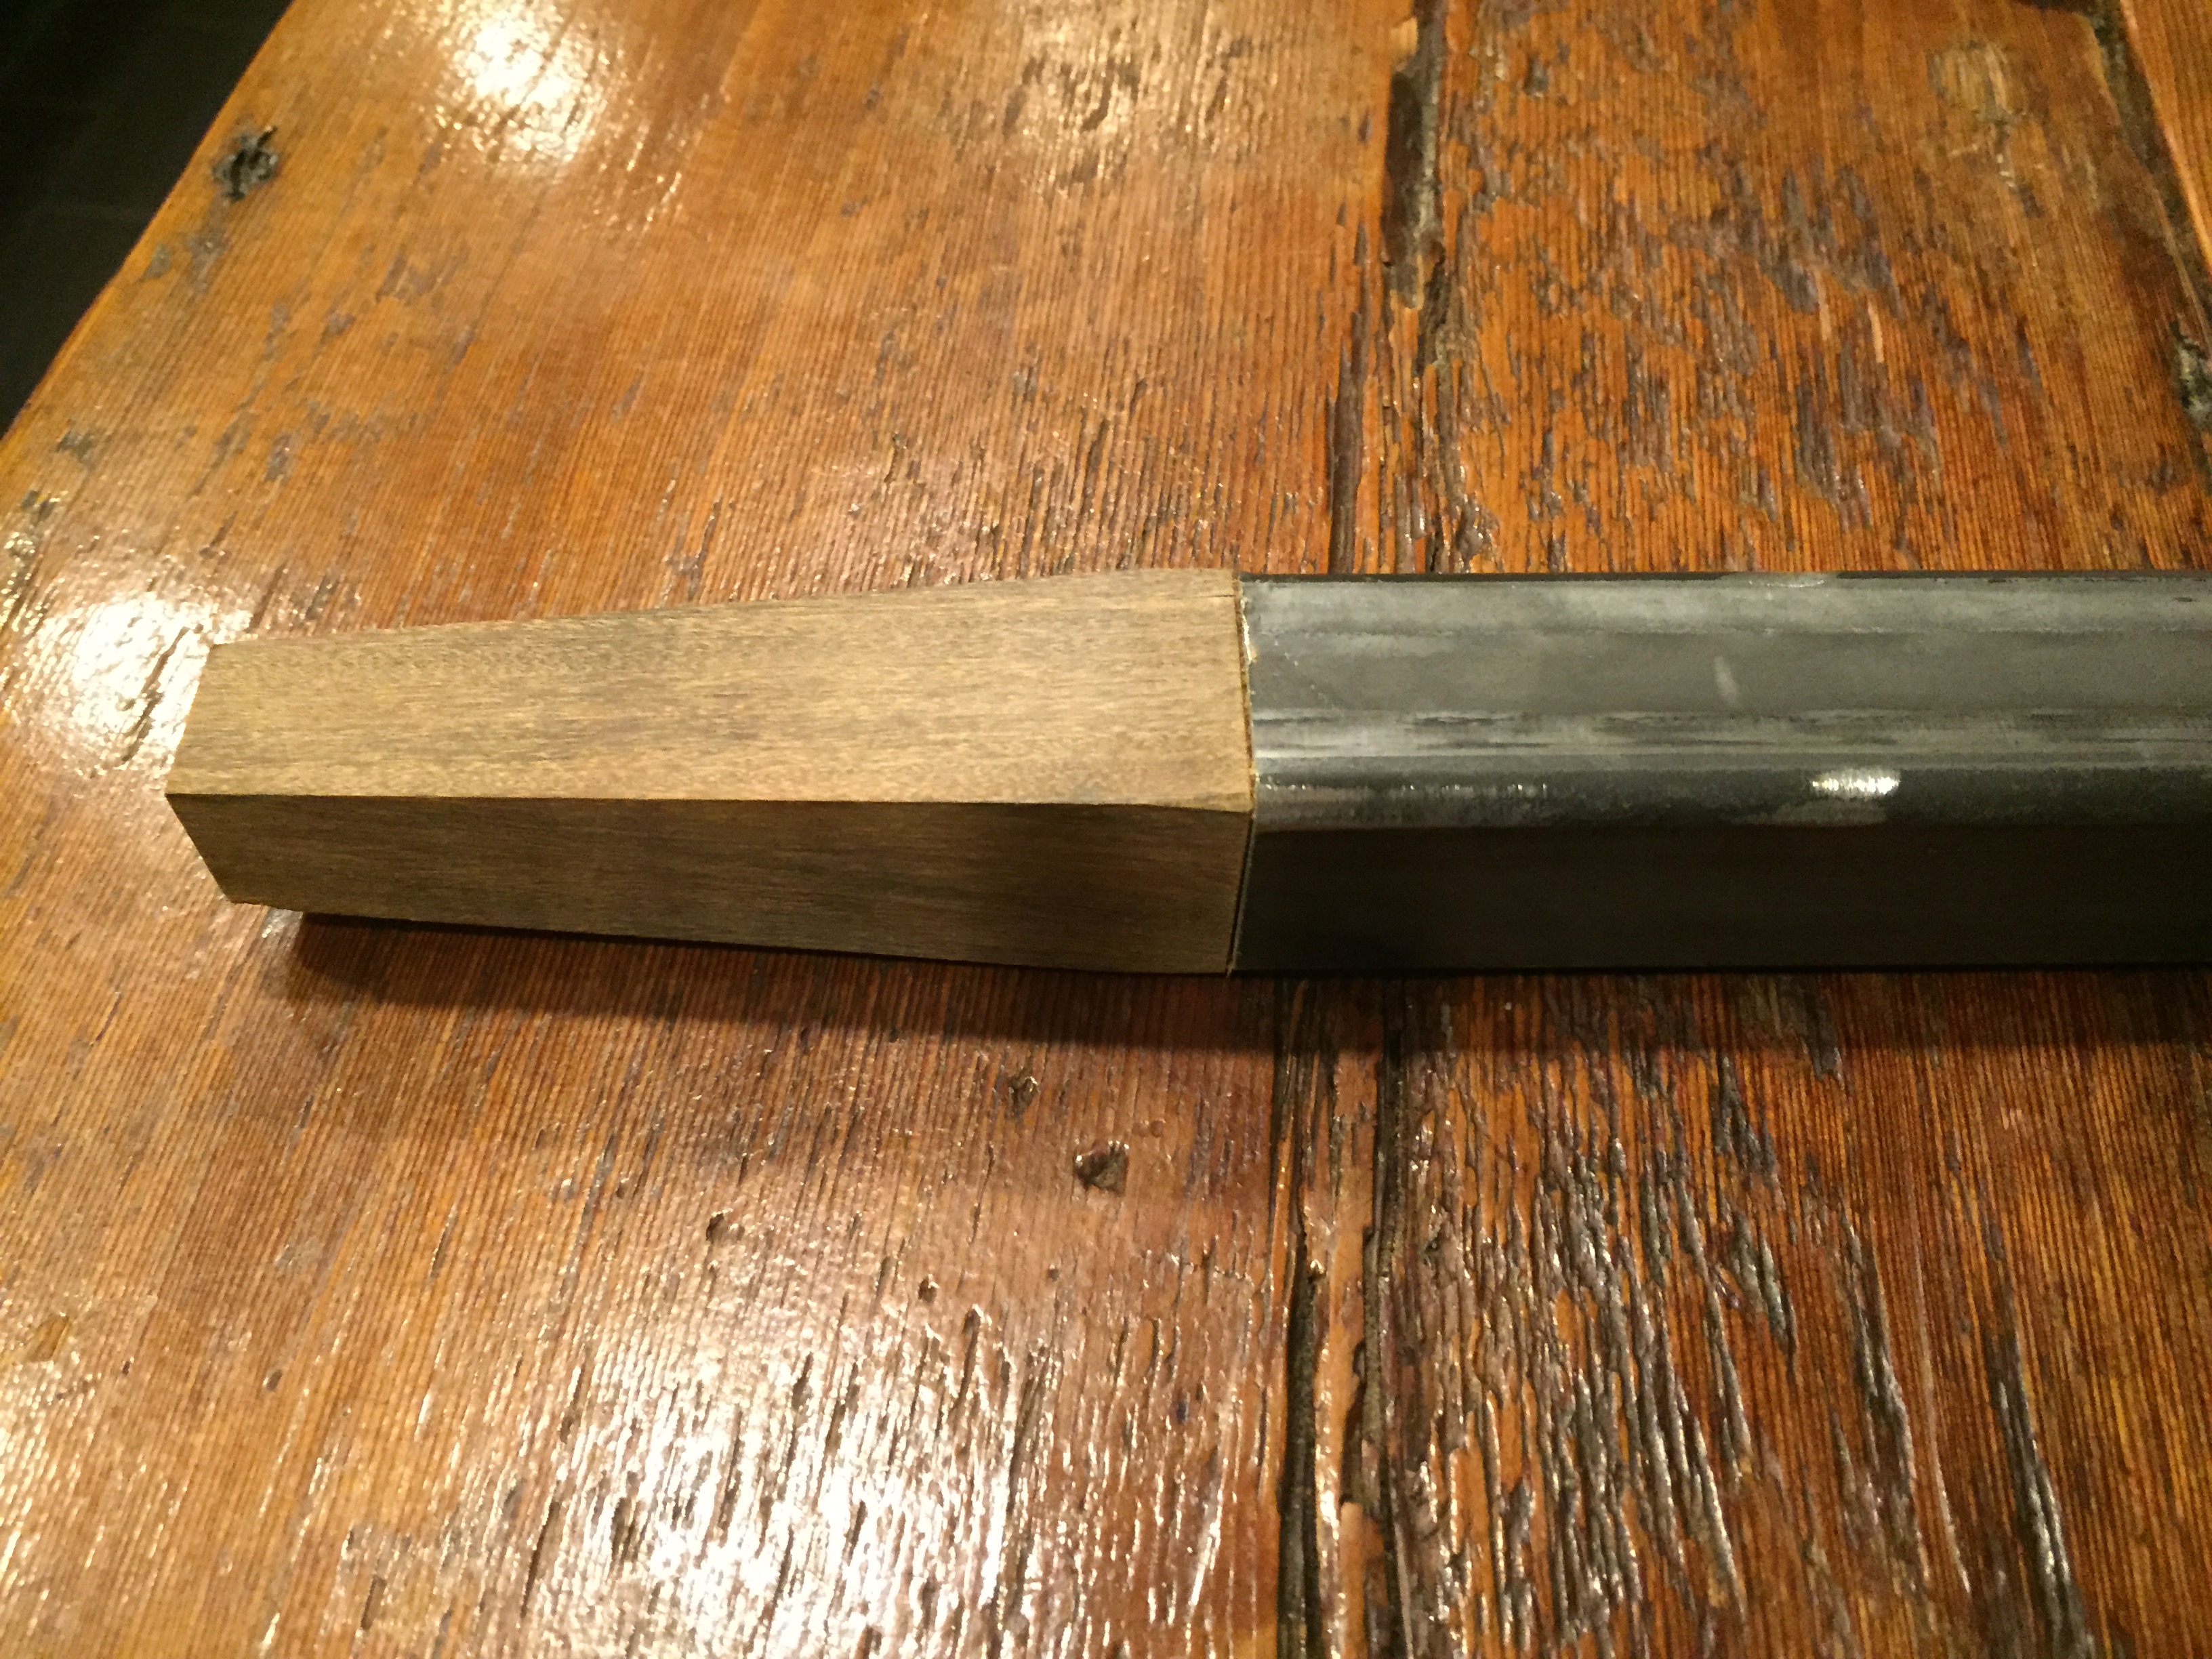 During the prototype fabrication phase, Buck brought this steel Stuart table leg with an Ipe foot home for me to see. Oh yes. I really liked it. I had a specific request that that the top boards have spaces in between them, so rain water would drain off quickly.
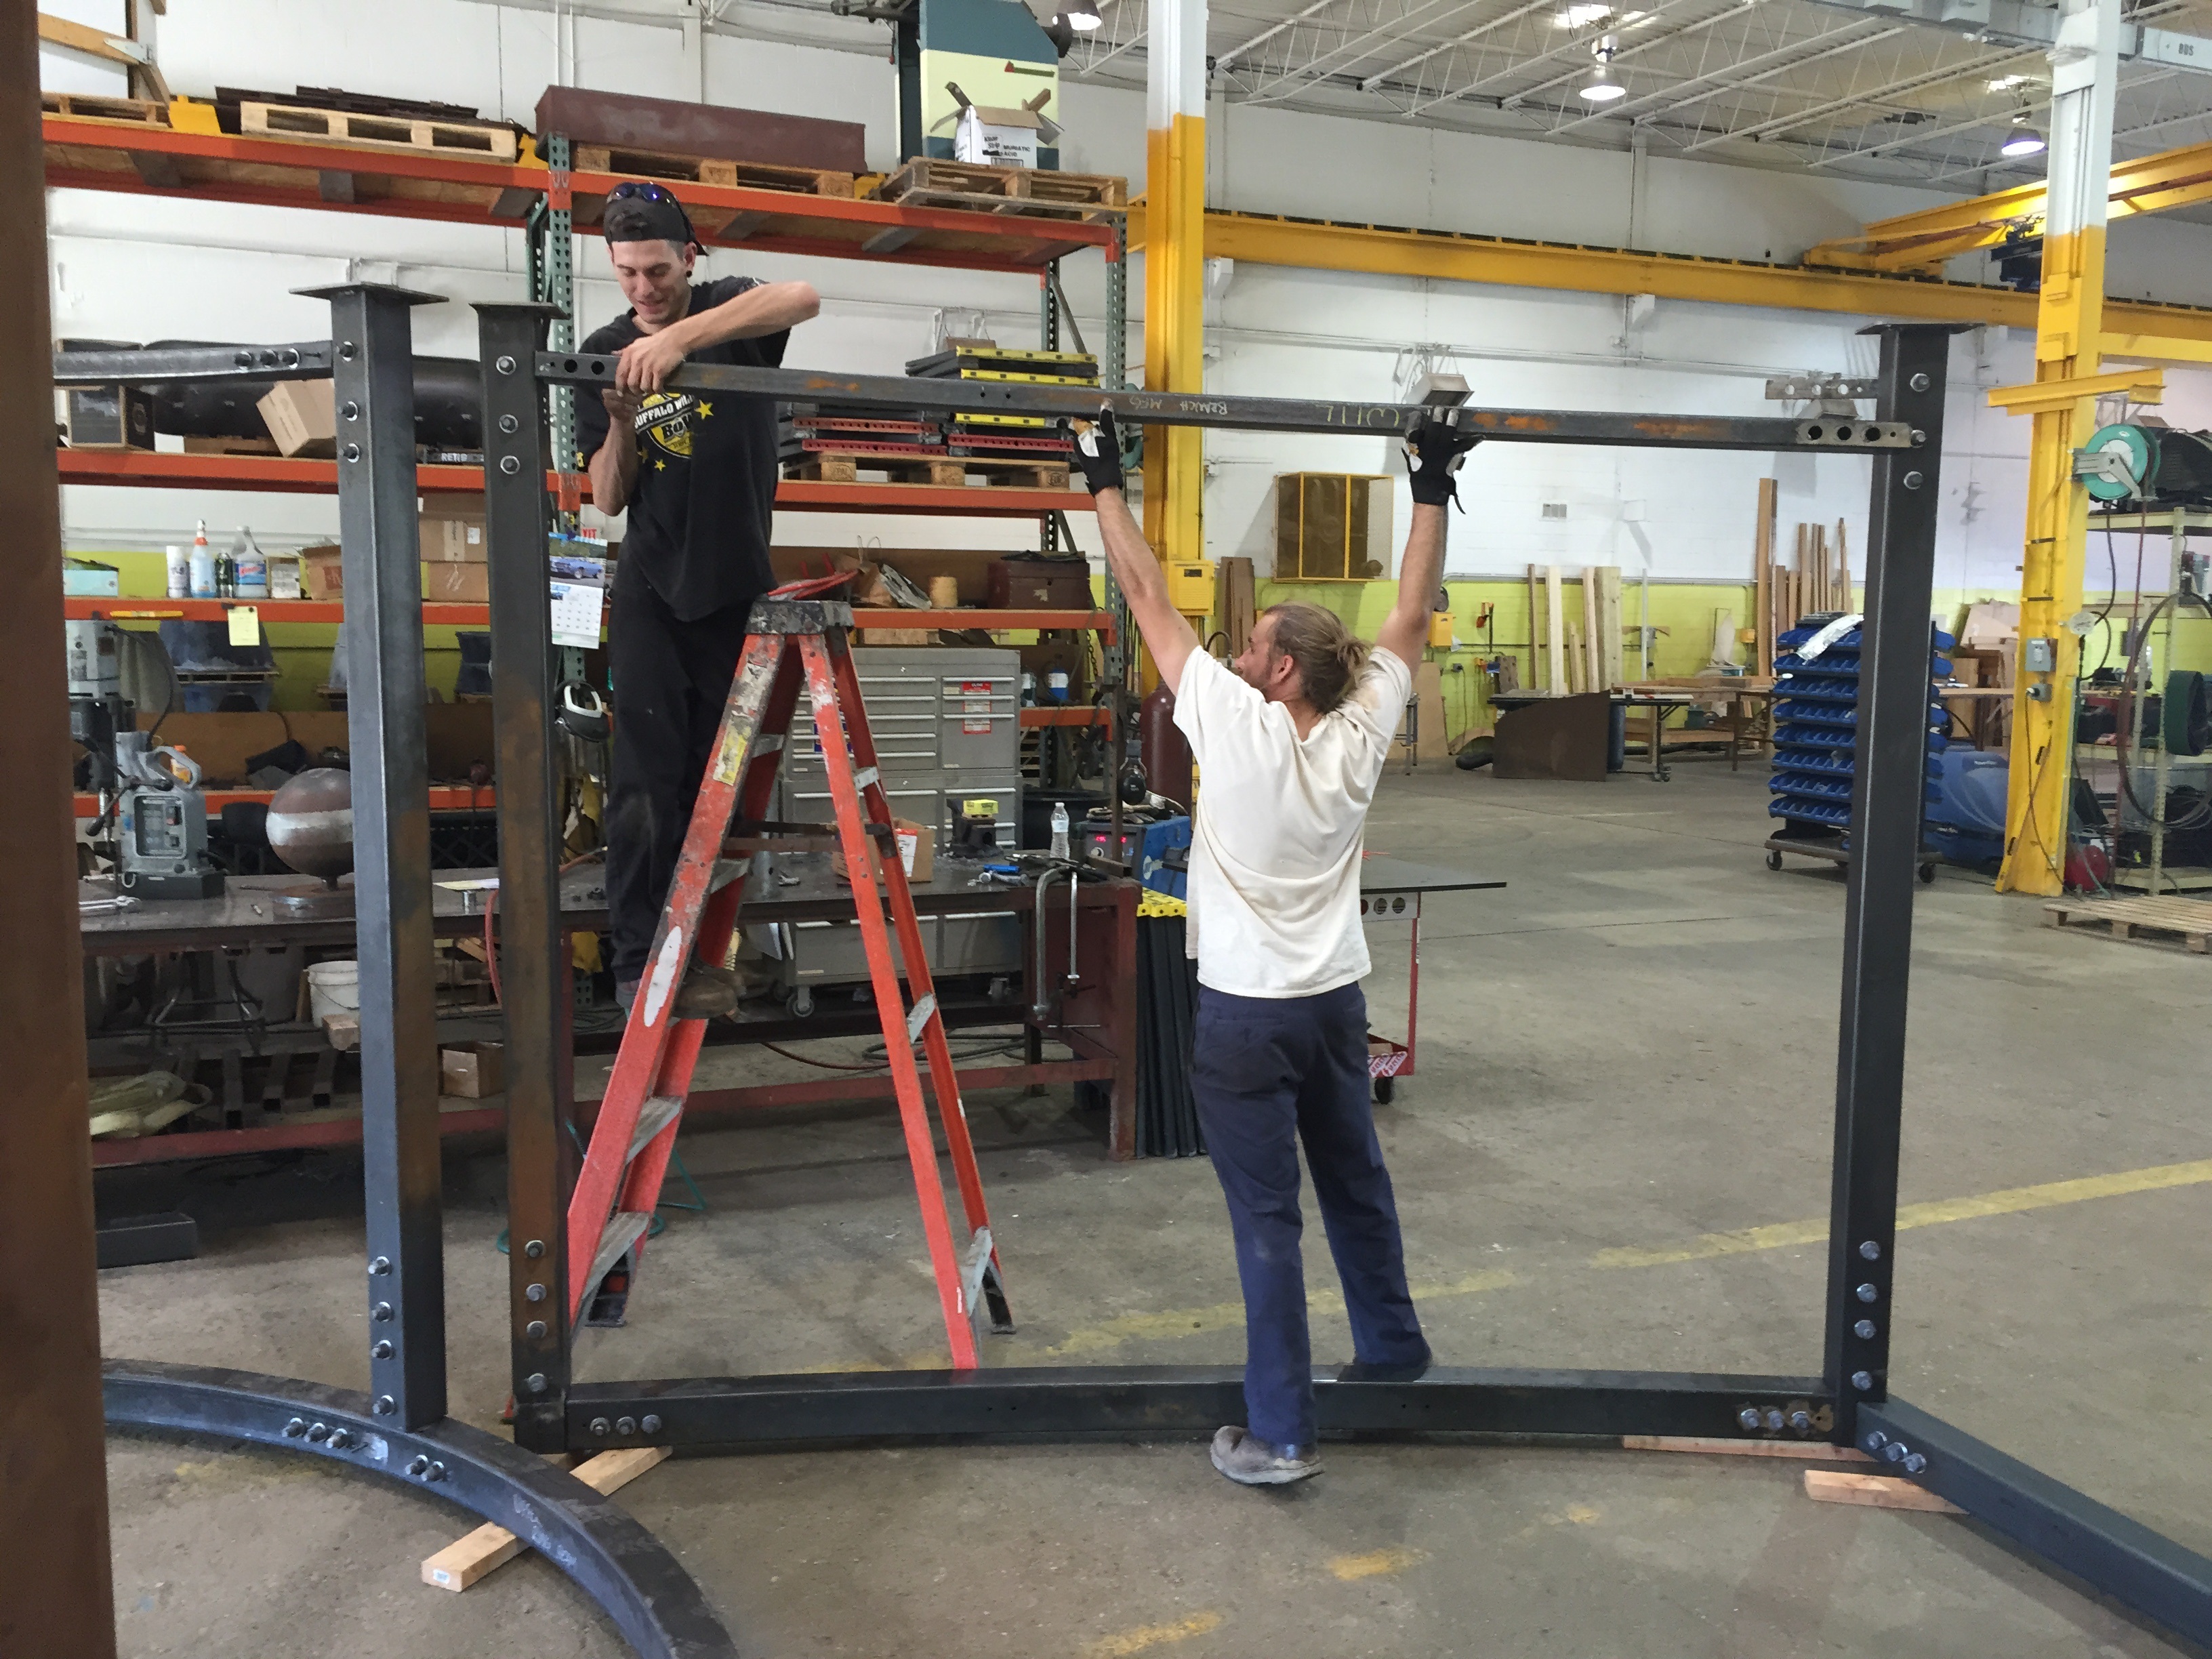
 The Stuart table is named after Buck – his middle name, that is. His bar edge is a beautiful feature of this table, is it not? He stuck by me throughout the conversation and noise that marked the design phase. And he went on to engineer the construction of the table. The base is more than adequate to support the considerable weight of the Ipe top. Best of all, this table is able to withstand anything the weather might dish out, both summer and winter.
 Every Stuart table manufactured at Branch is hand made.
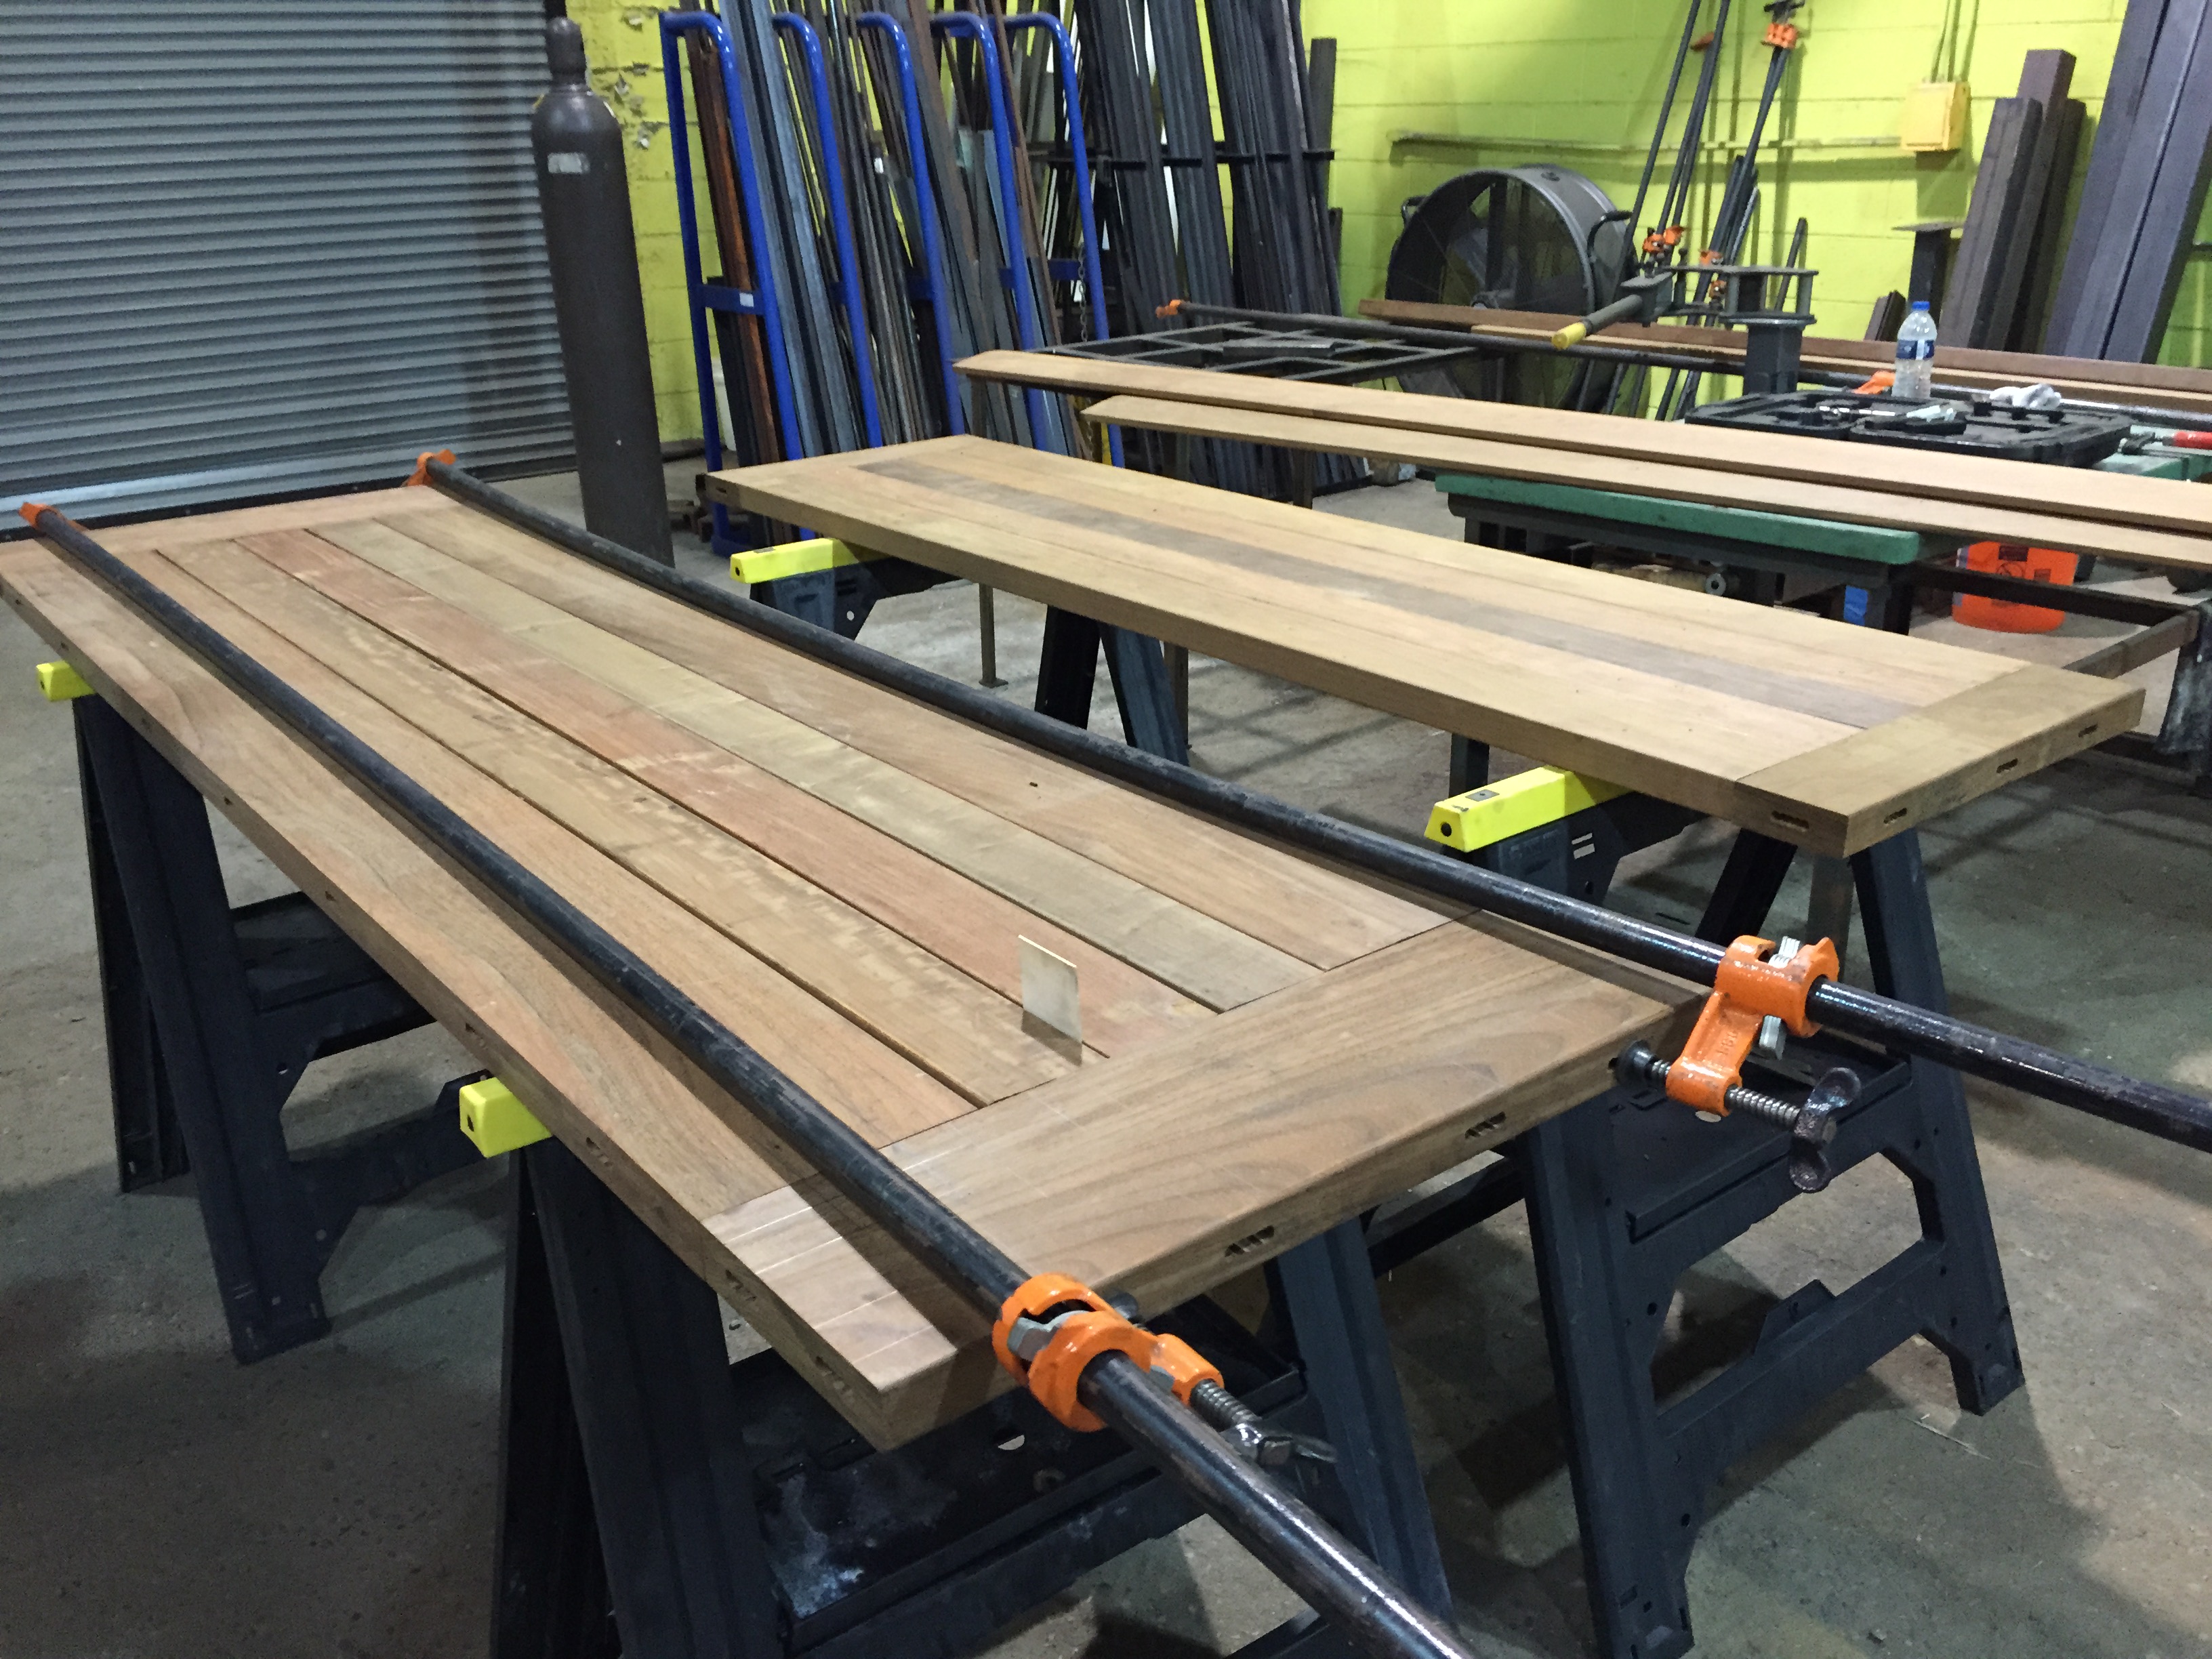
 Stuart table top under construction
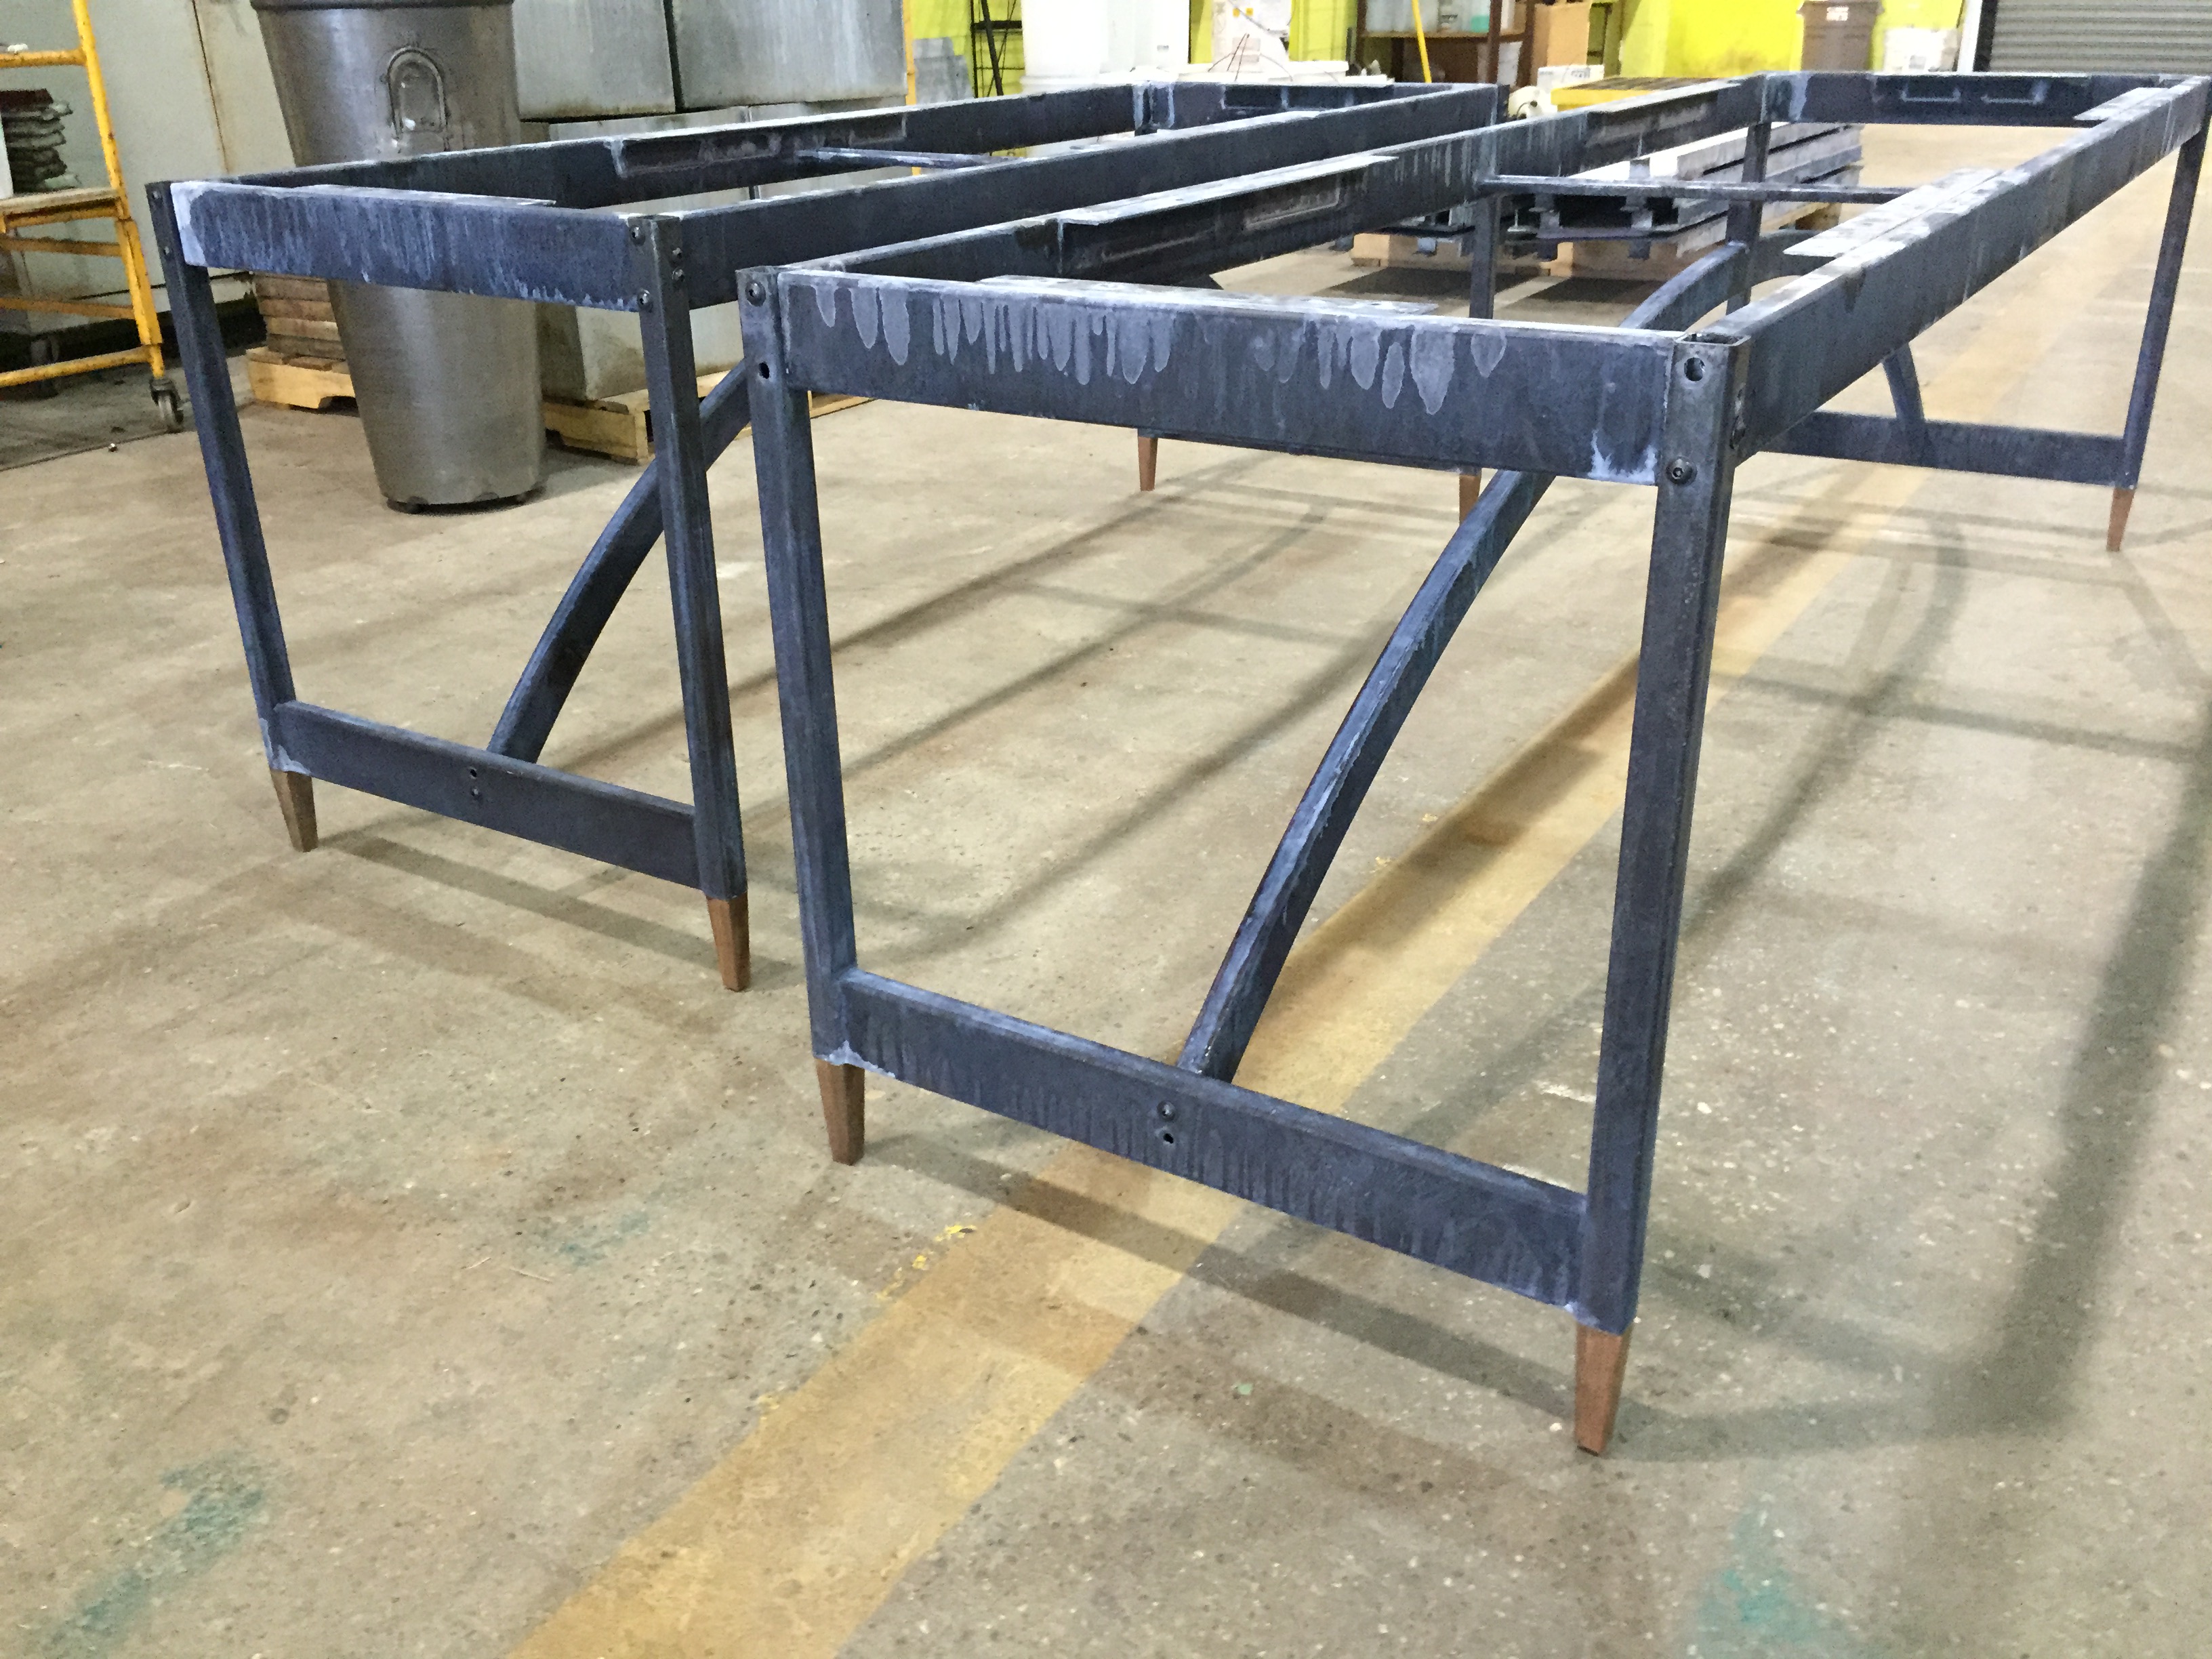
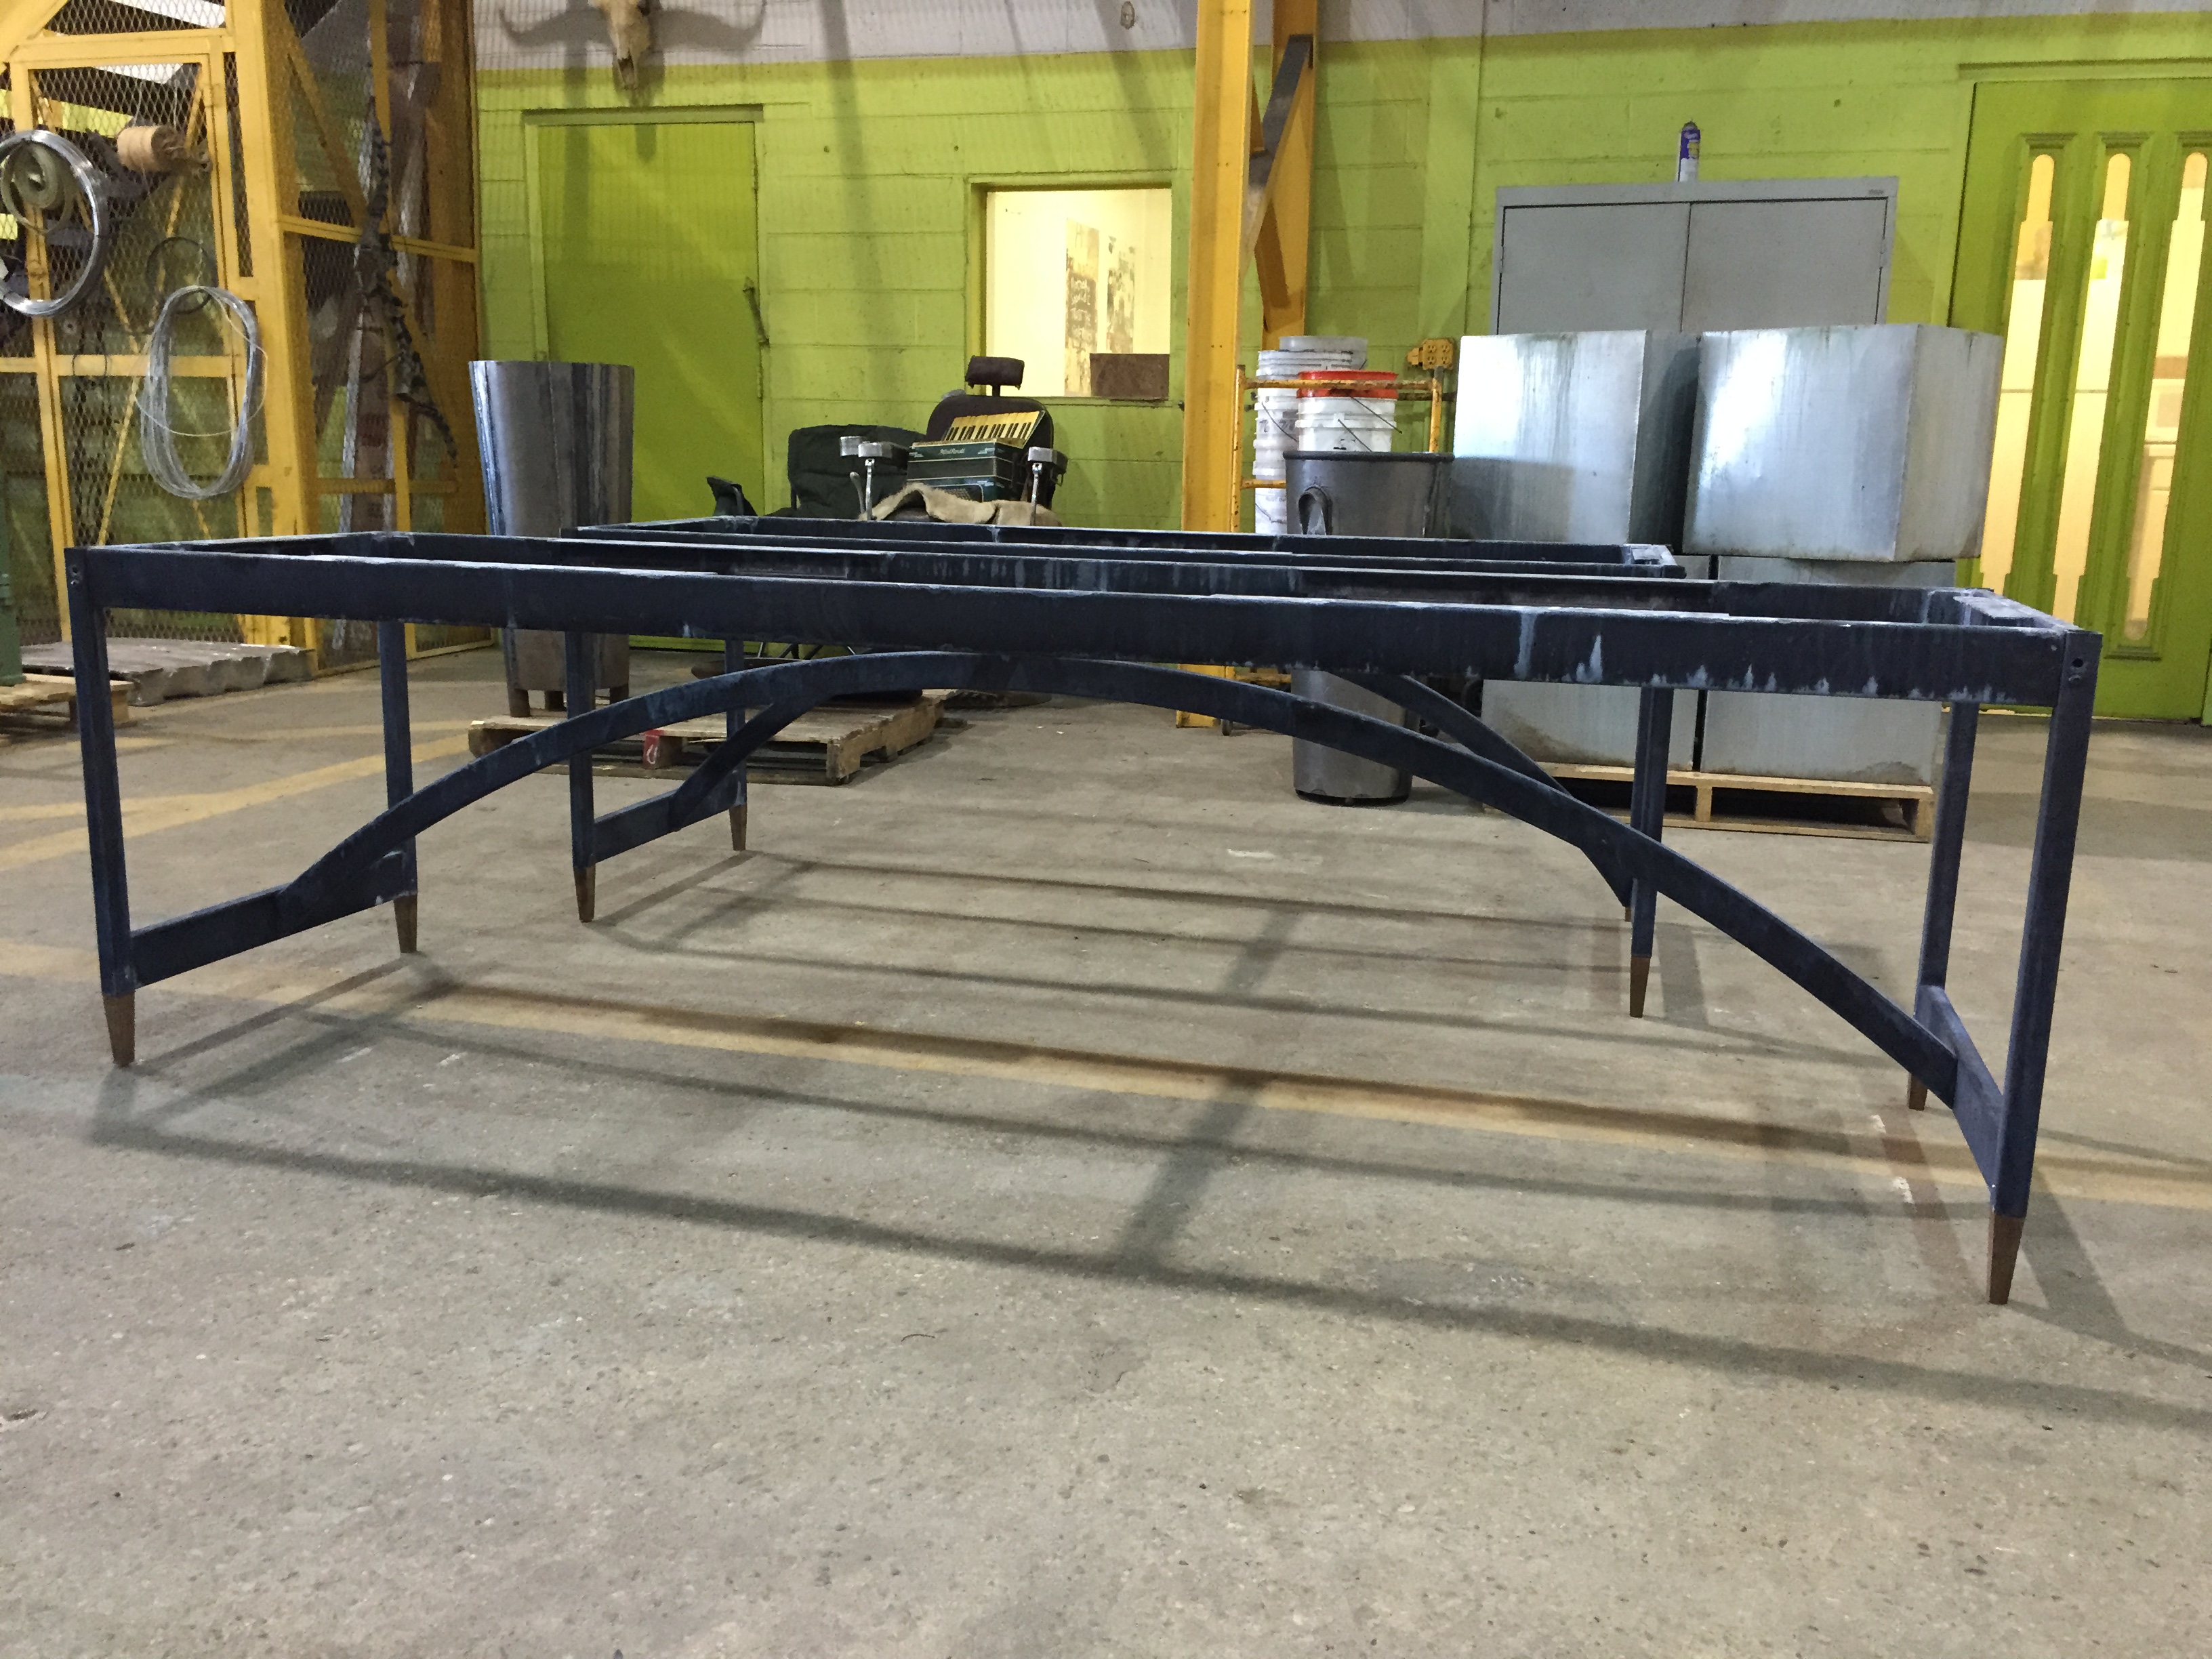 table bases
 The steel and ipe leg assembly is handsome and sturdy.
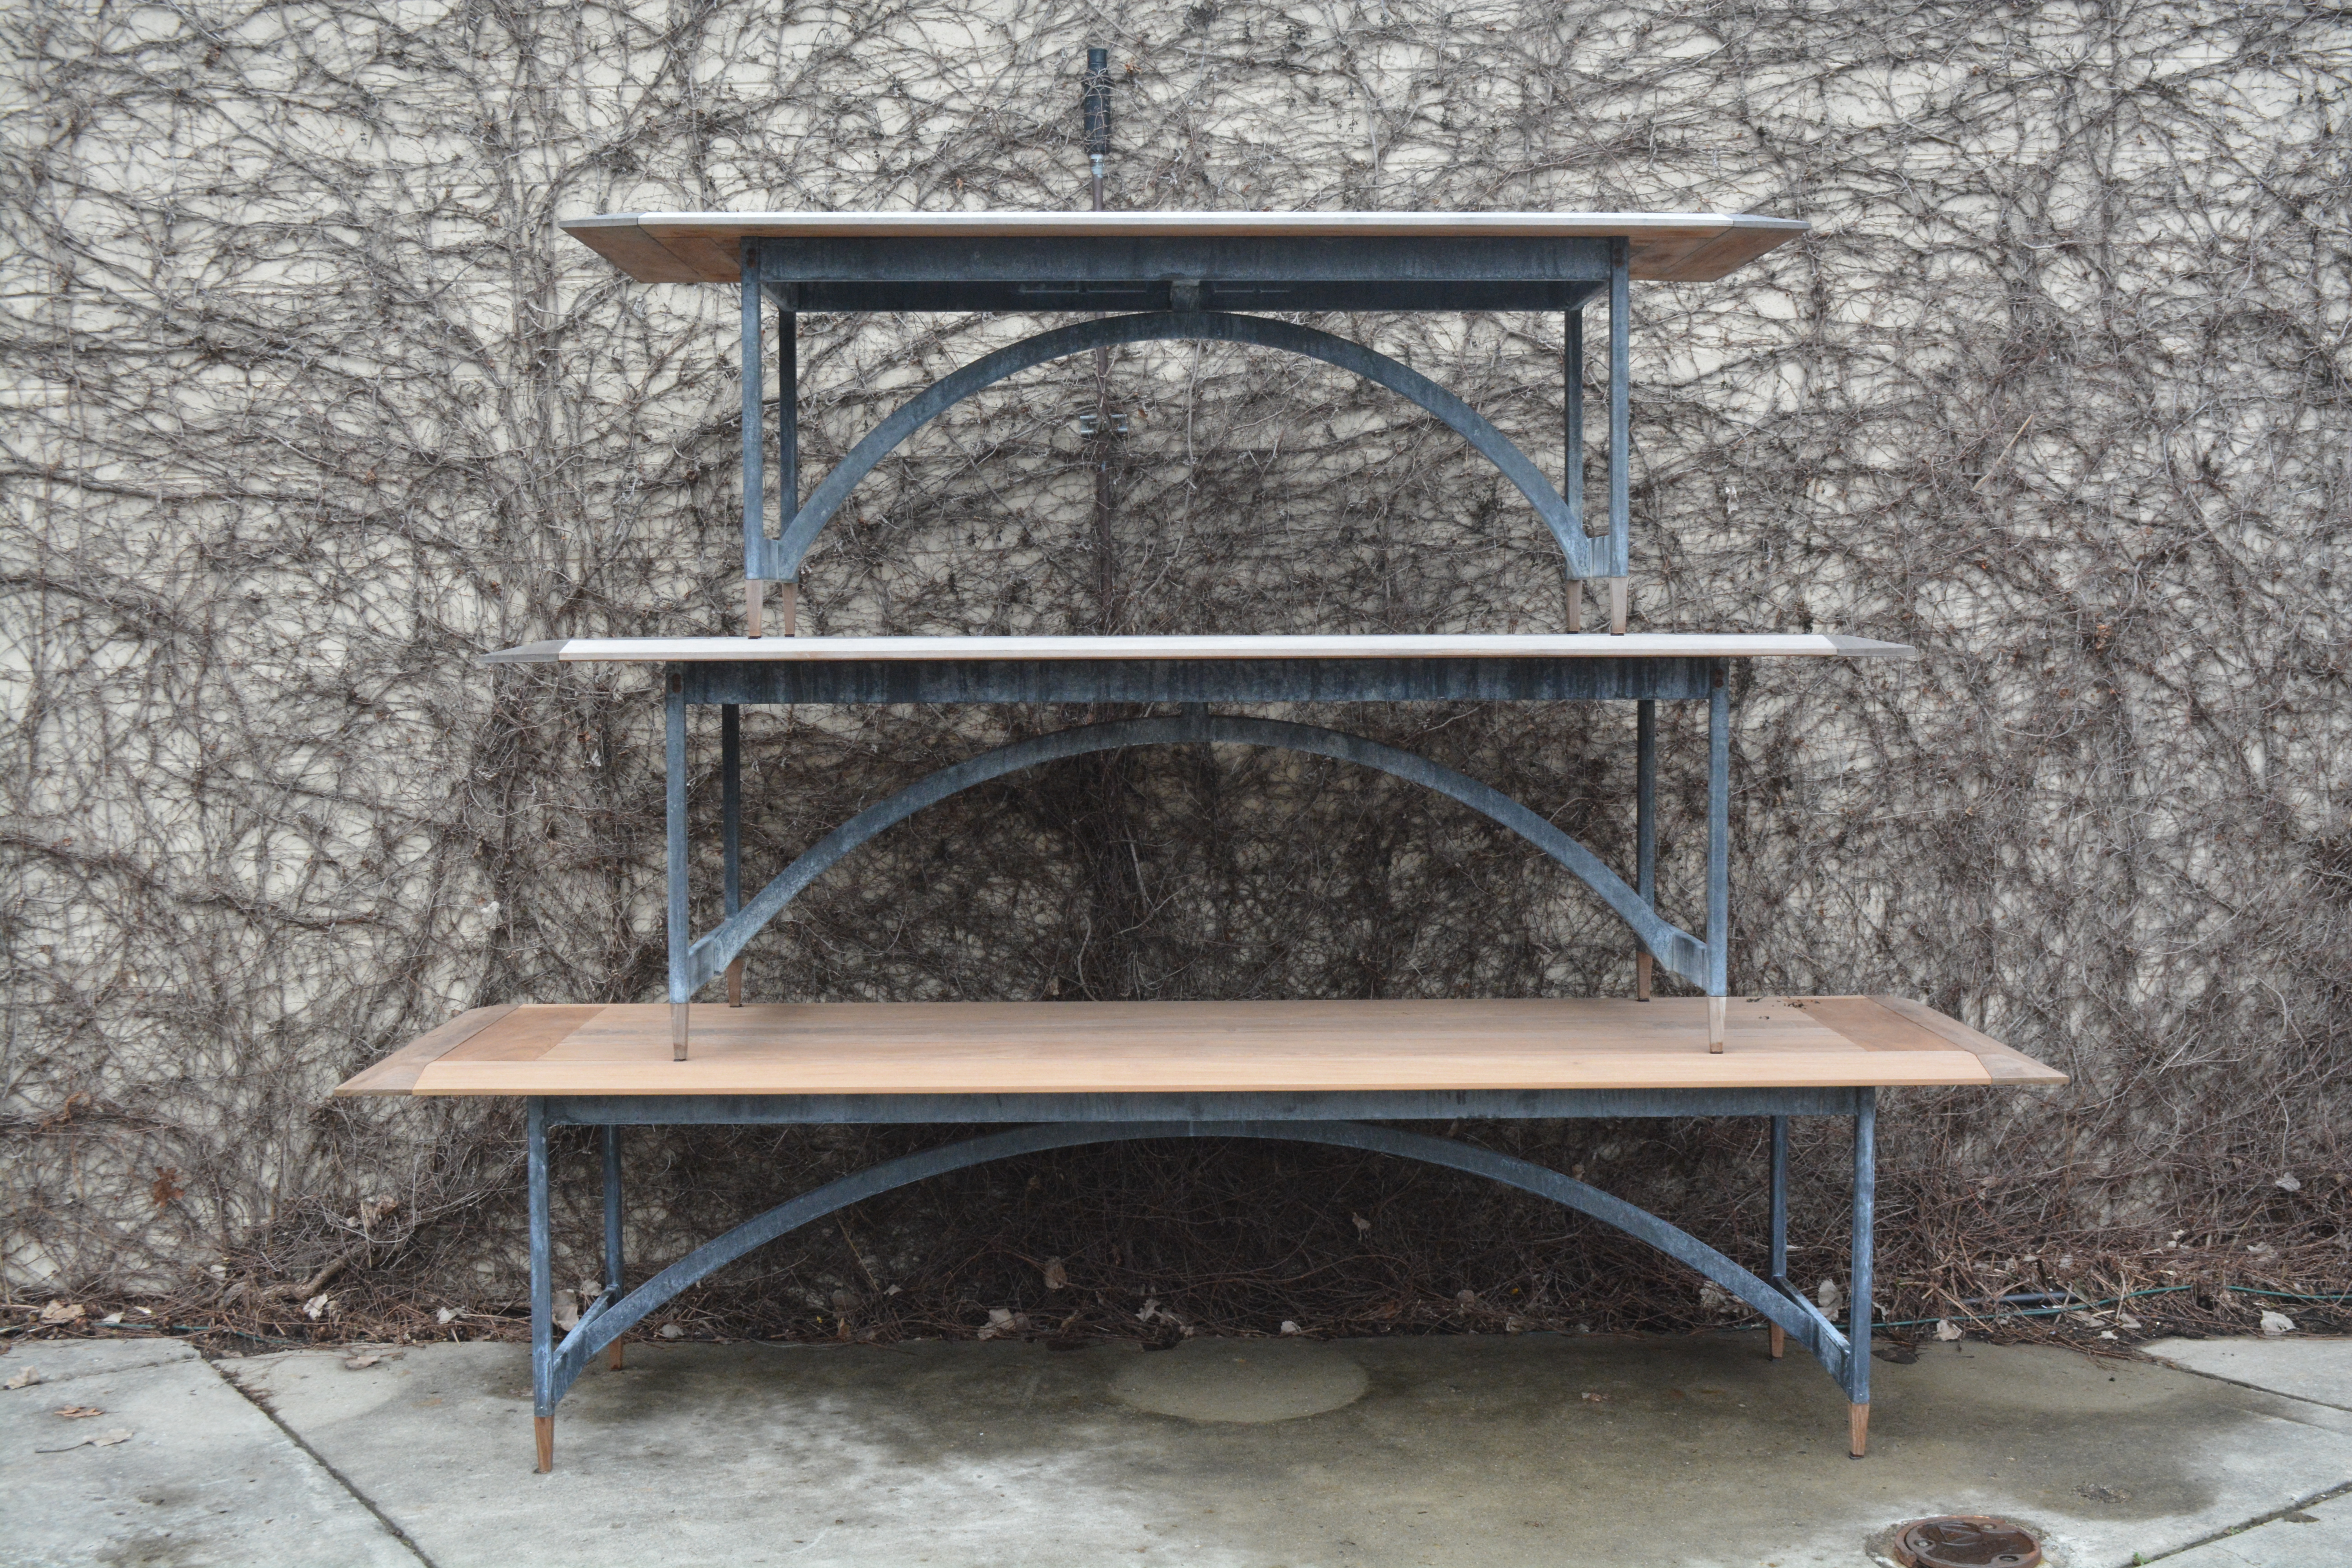 We make the table in 3 stock sizes – 7′, 8′, and 10′ long. It took 4 men and a front end loader to stack them up for this photograph. The three tables together weigh just shy of 1000 pounds. Rugged, I’d say.
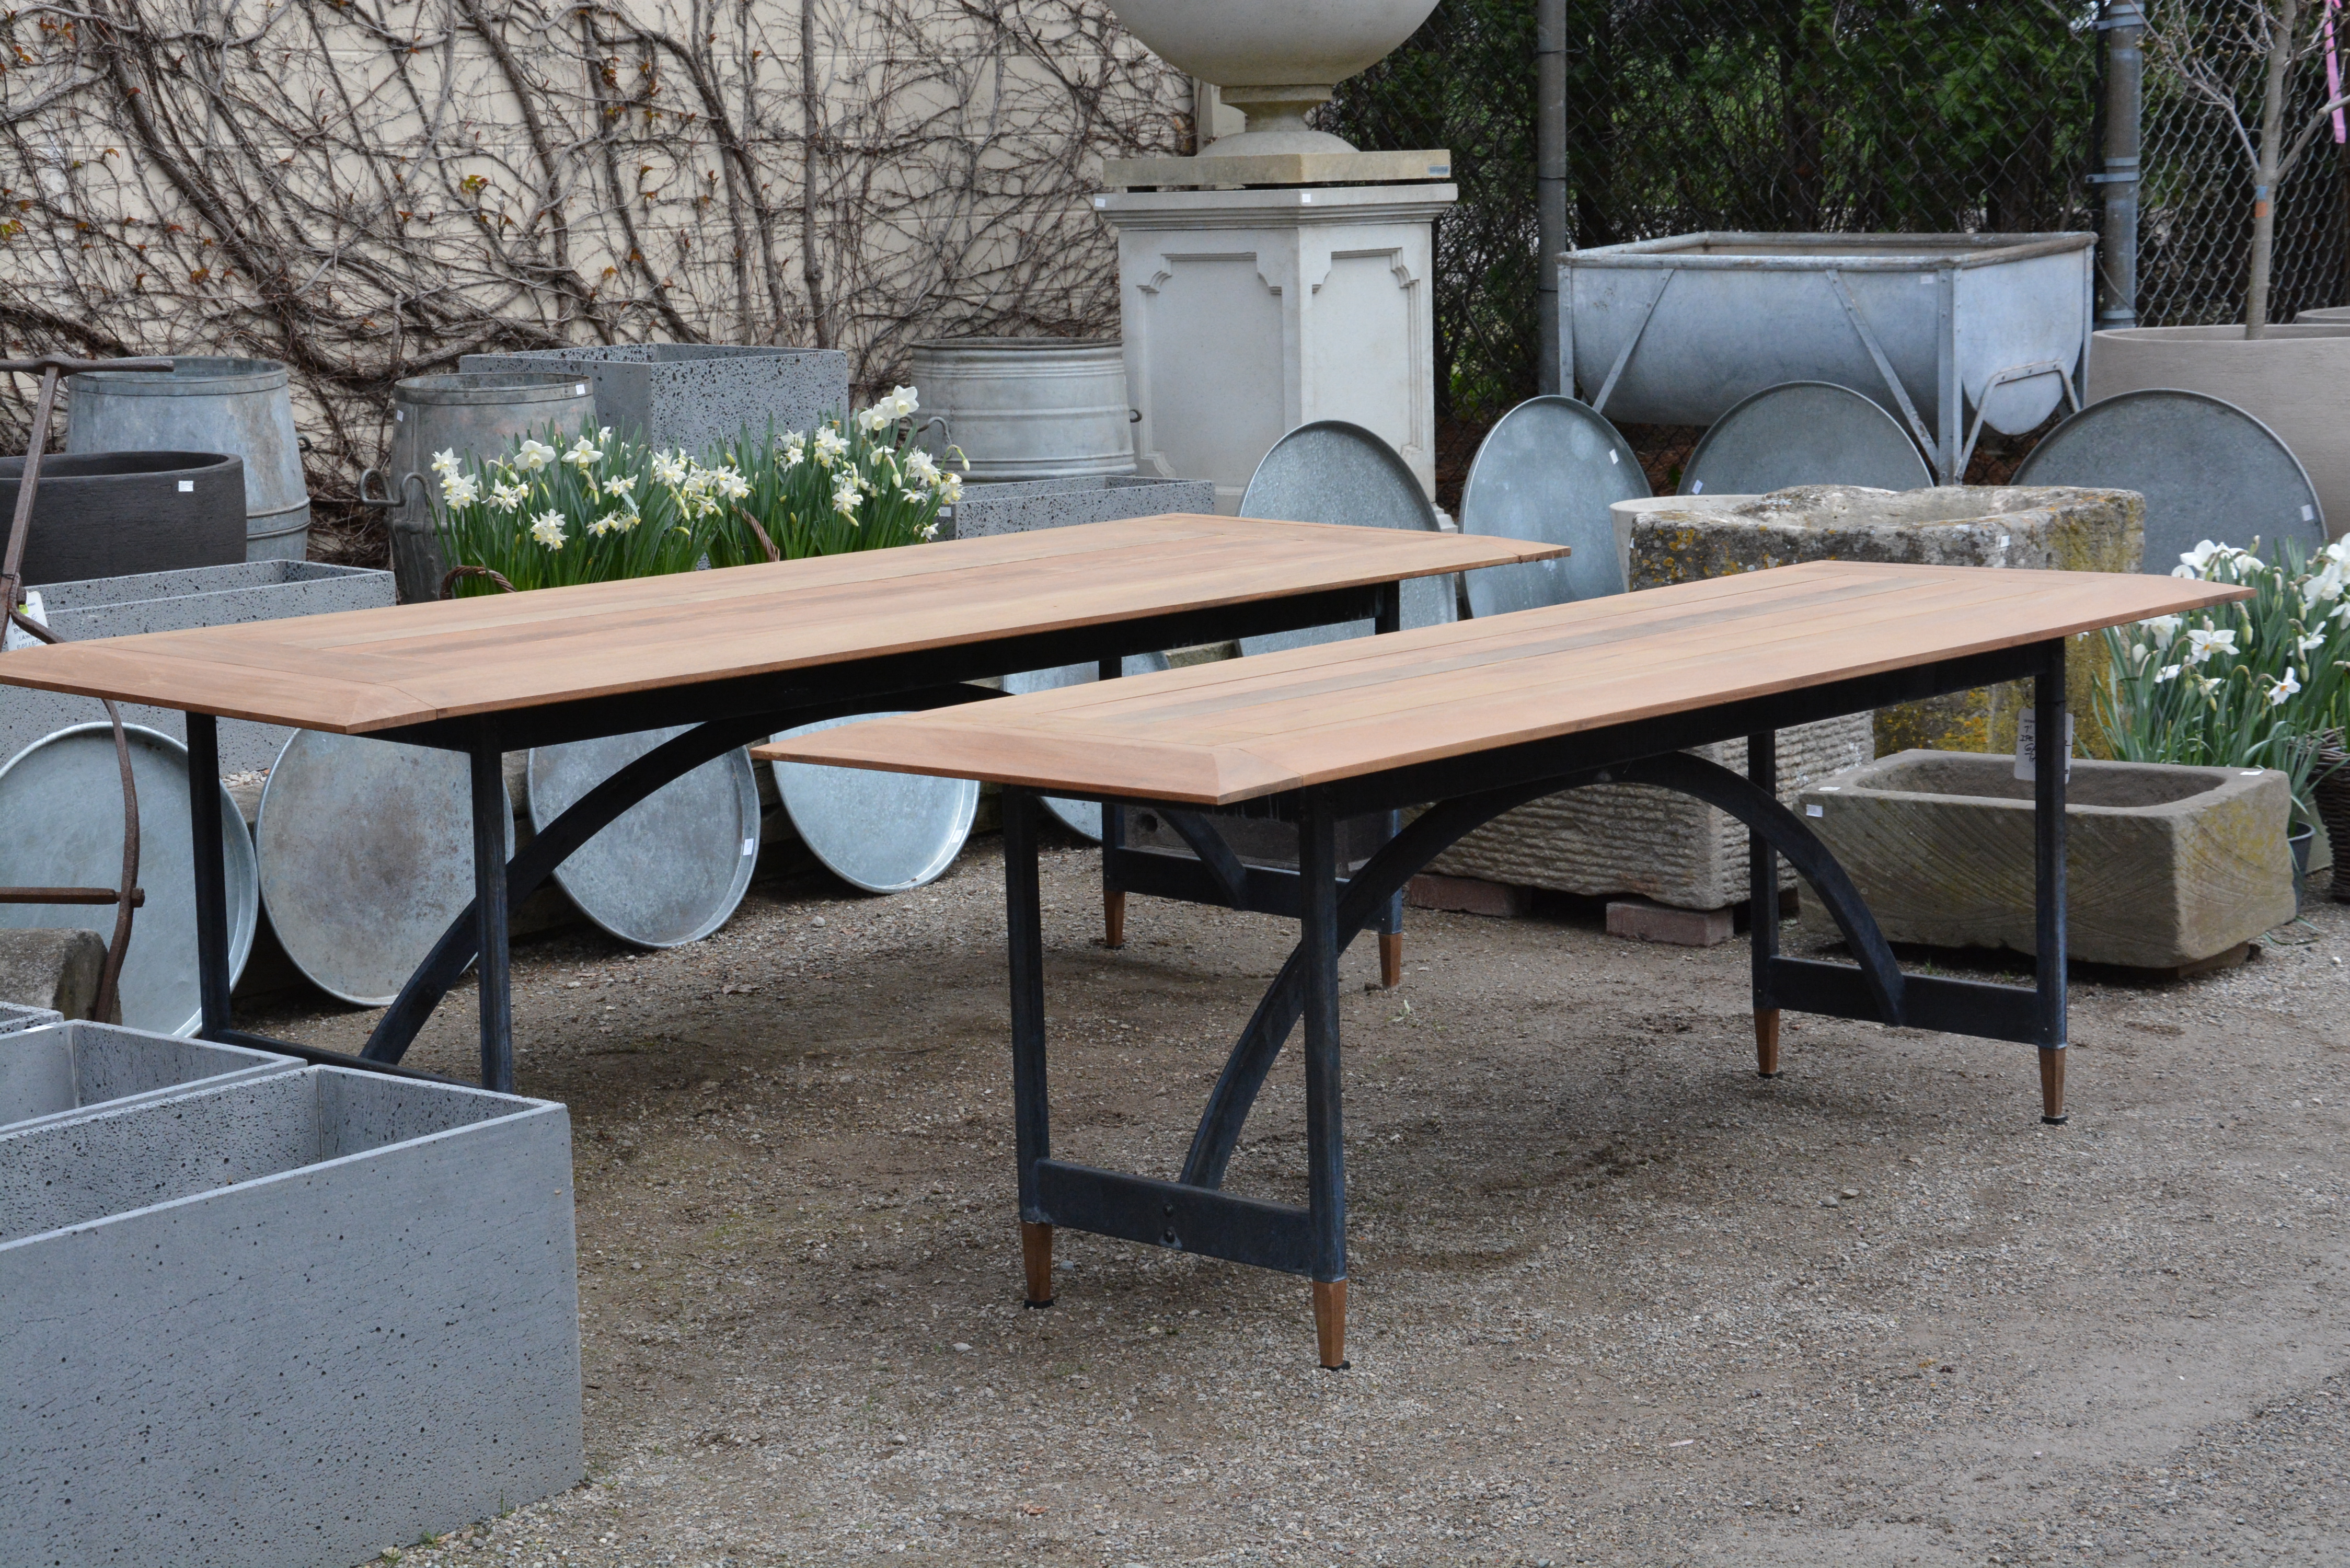 Left to its own devices outdoors, the wood will weather to a gorgeous silvery gray.
 Another special feature of this table is the generous overhang at the ends. The persons sitting at each end will have plenty enough room for their legs and feet. Branch is able to make custom versions of this table. Last week we finished a 9′ table with accommodation in the center and a specially constructed base for a garden umbrella. Finished yesterday was a version in which the slanted bar edge was flipped up side down, adding more flat space to the table surface. Another client placed this table on her enclosed porch.
Interested in the particulars? The Stuart garden dining table