The Installation

holiday container arrangements 2 (1)
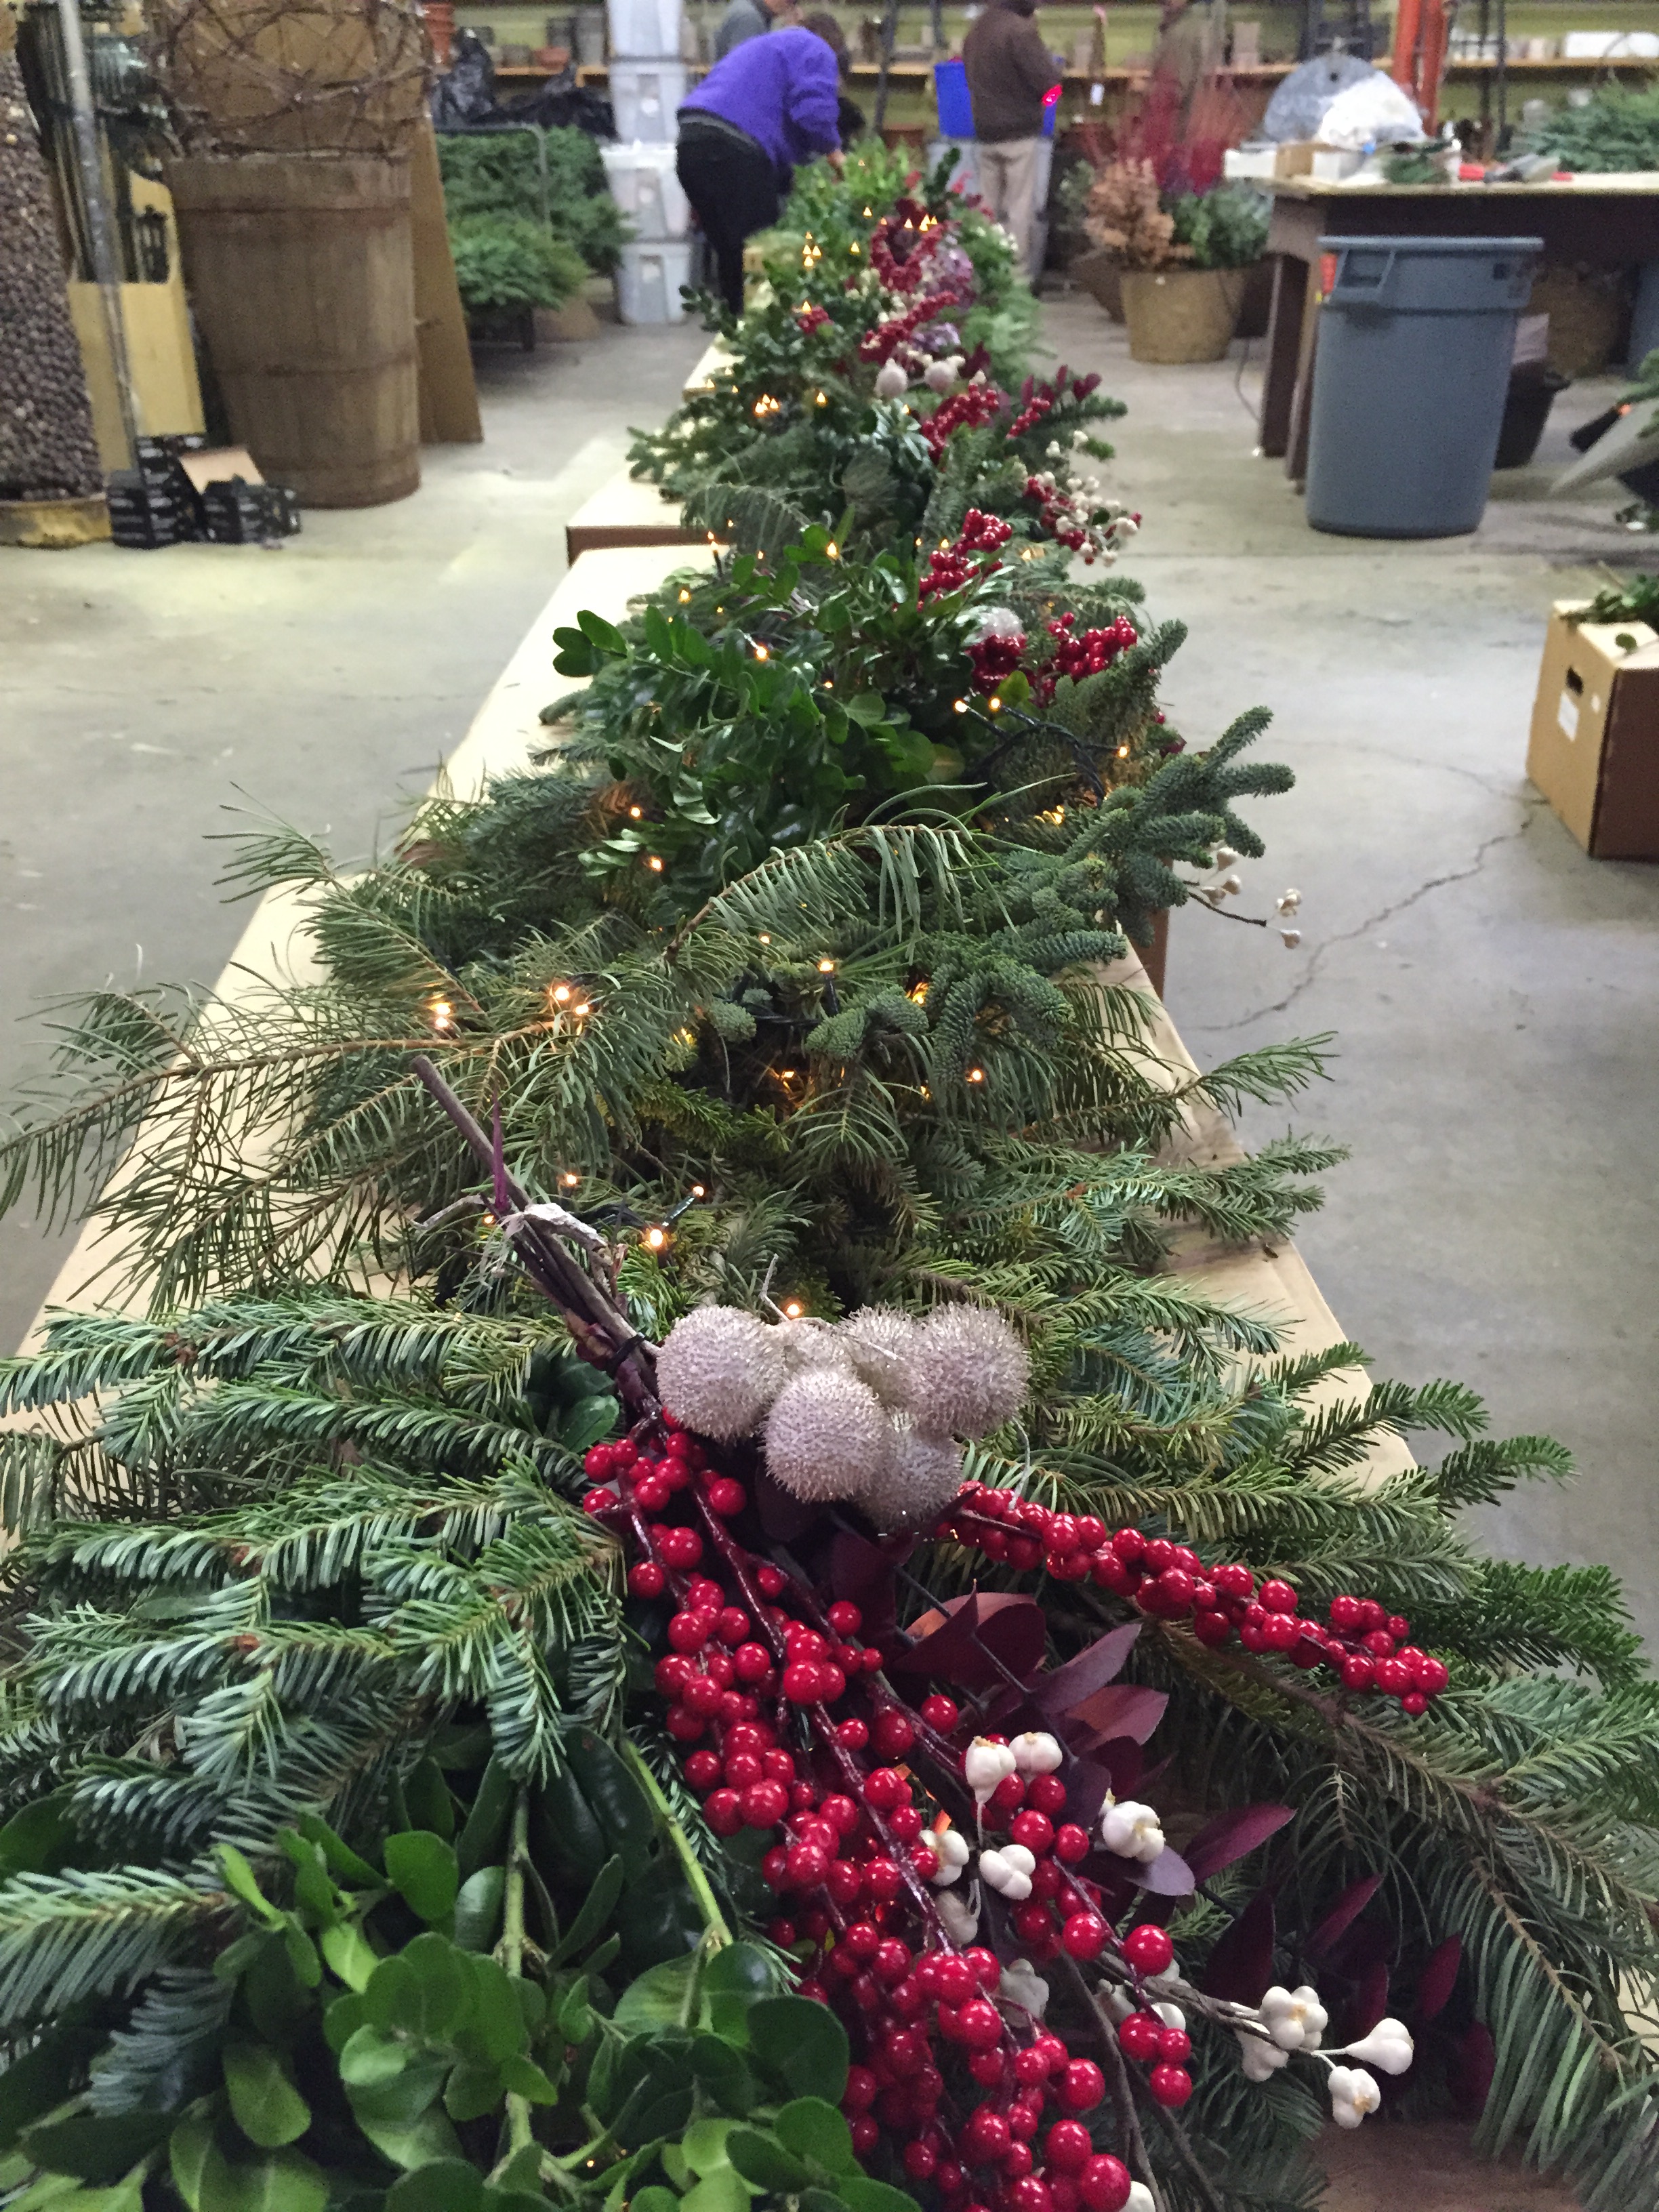
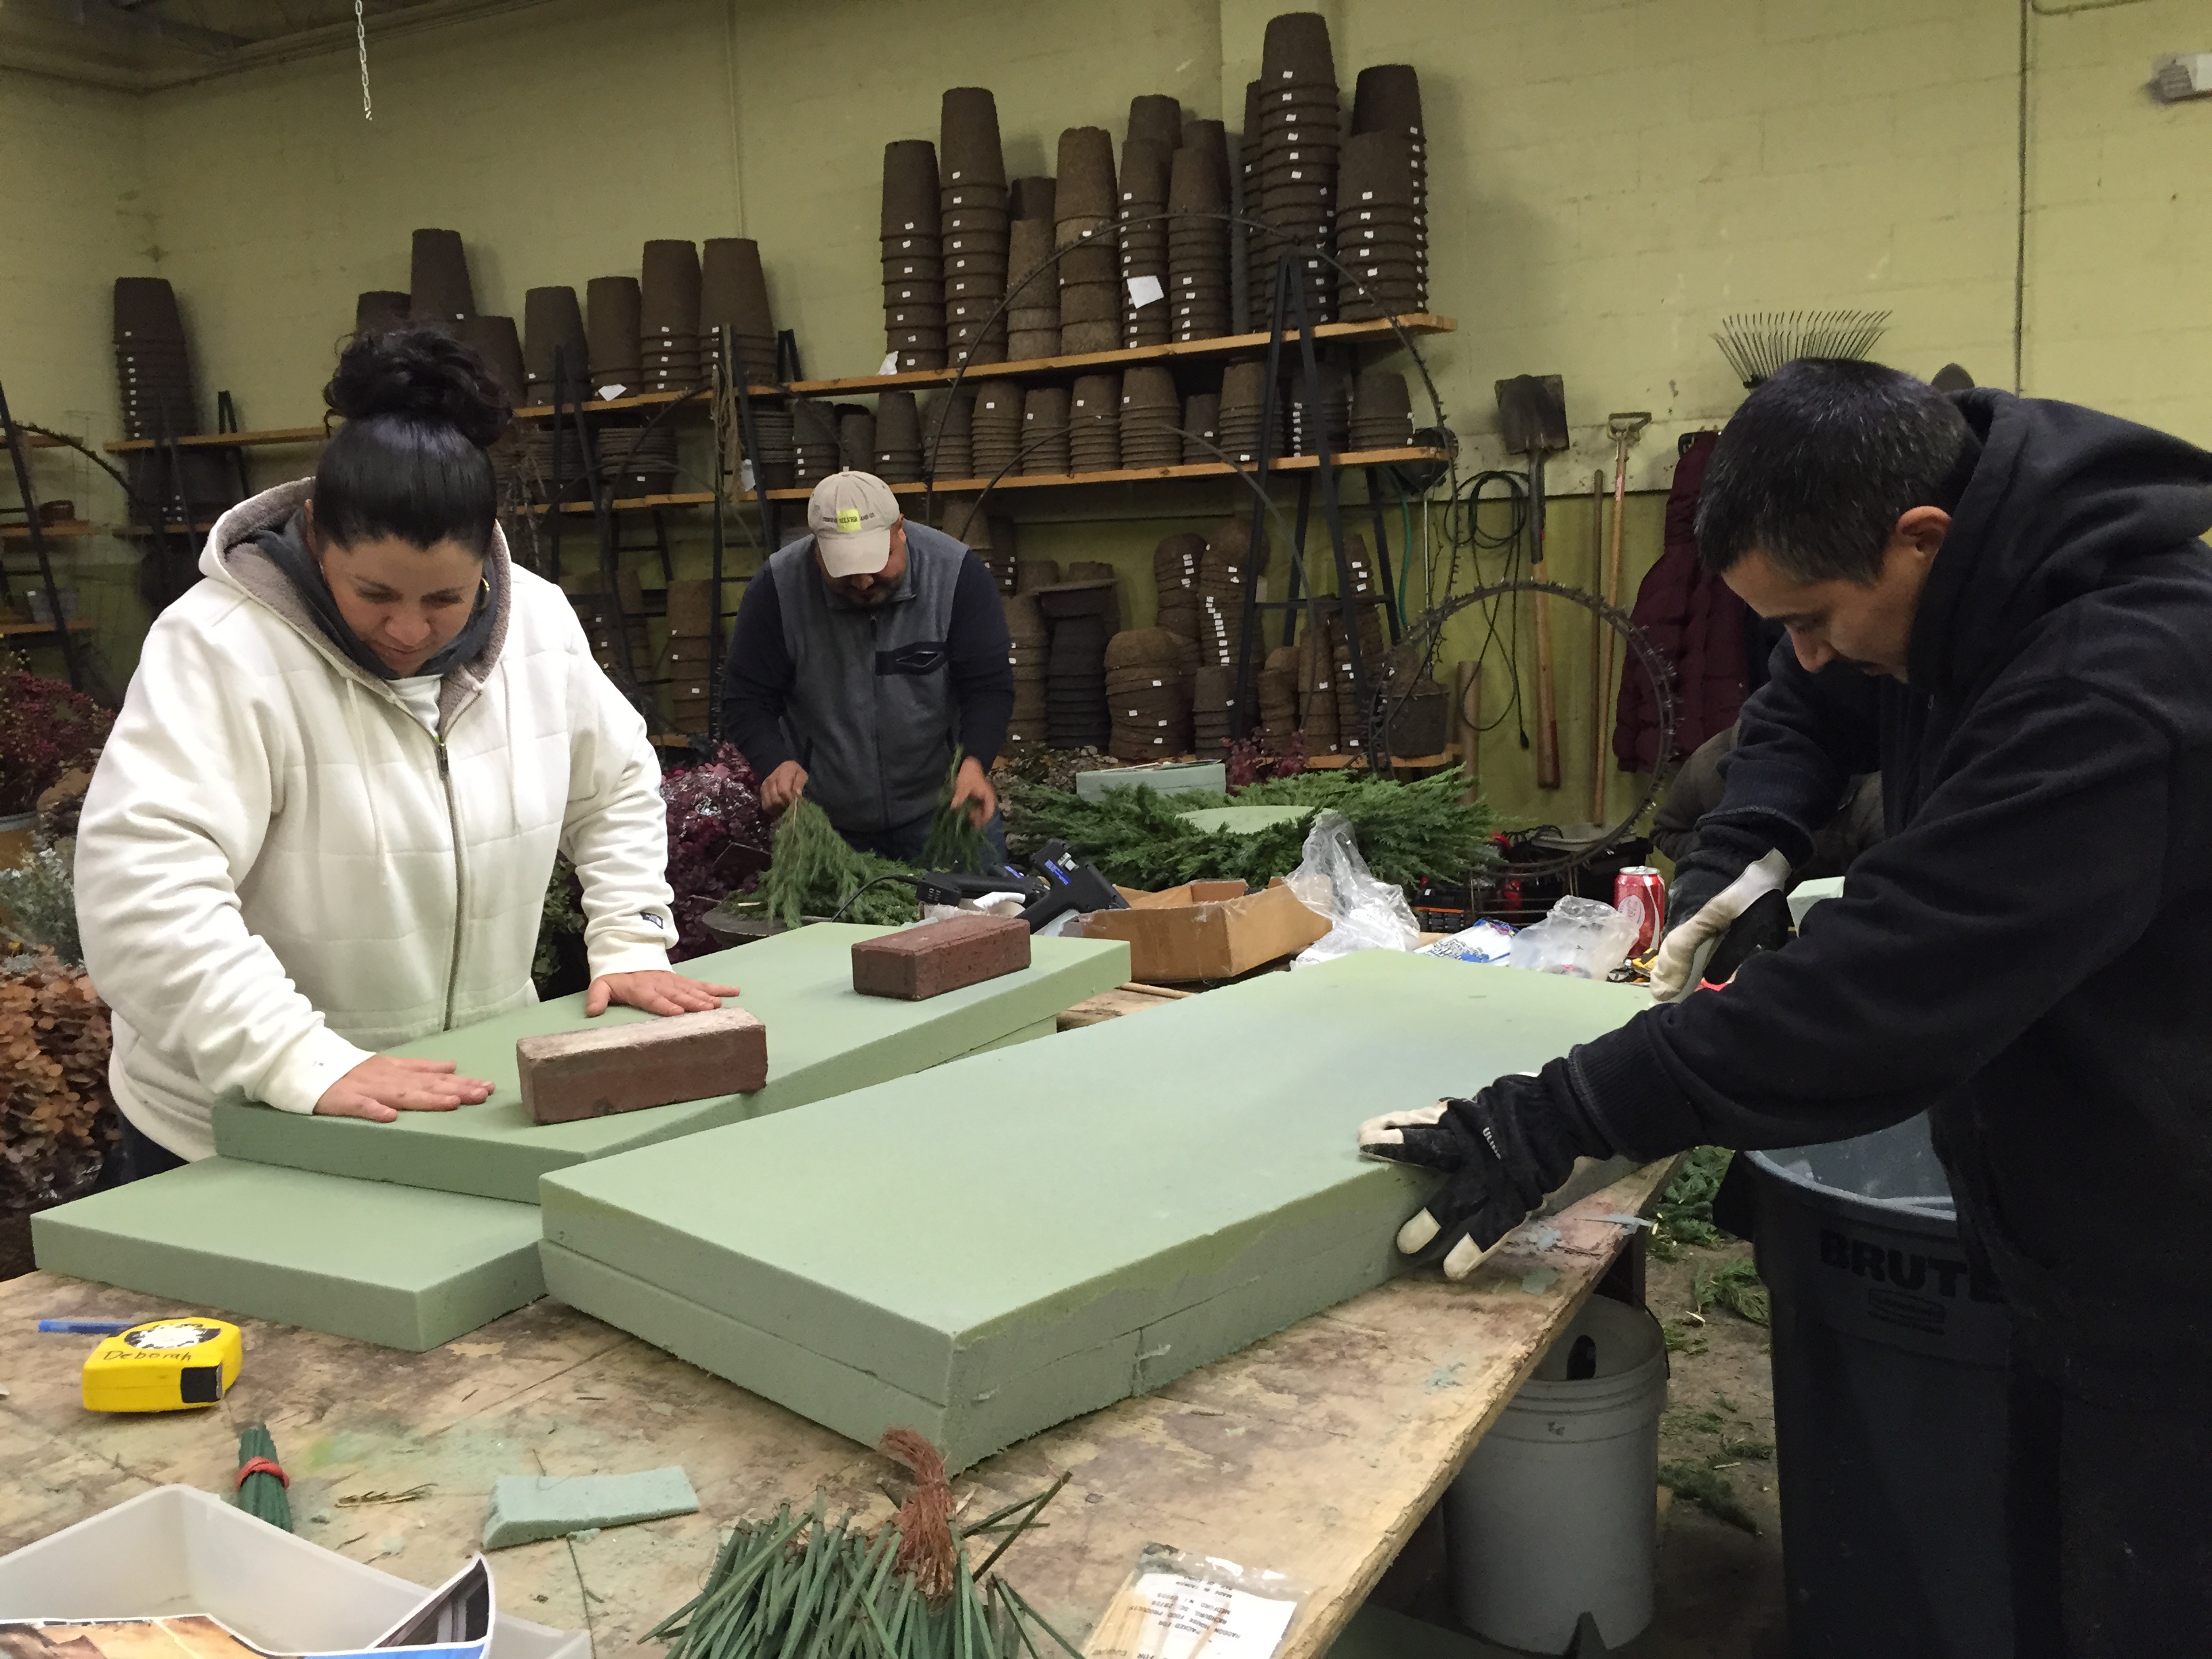
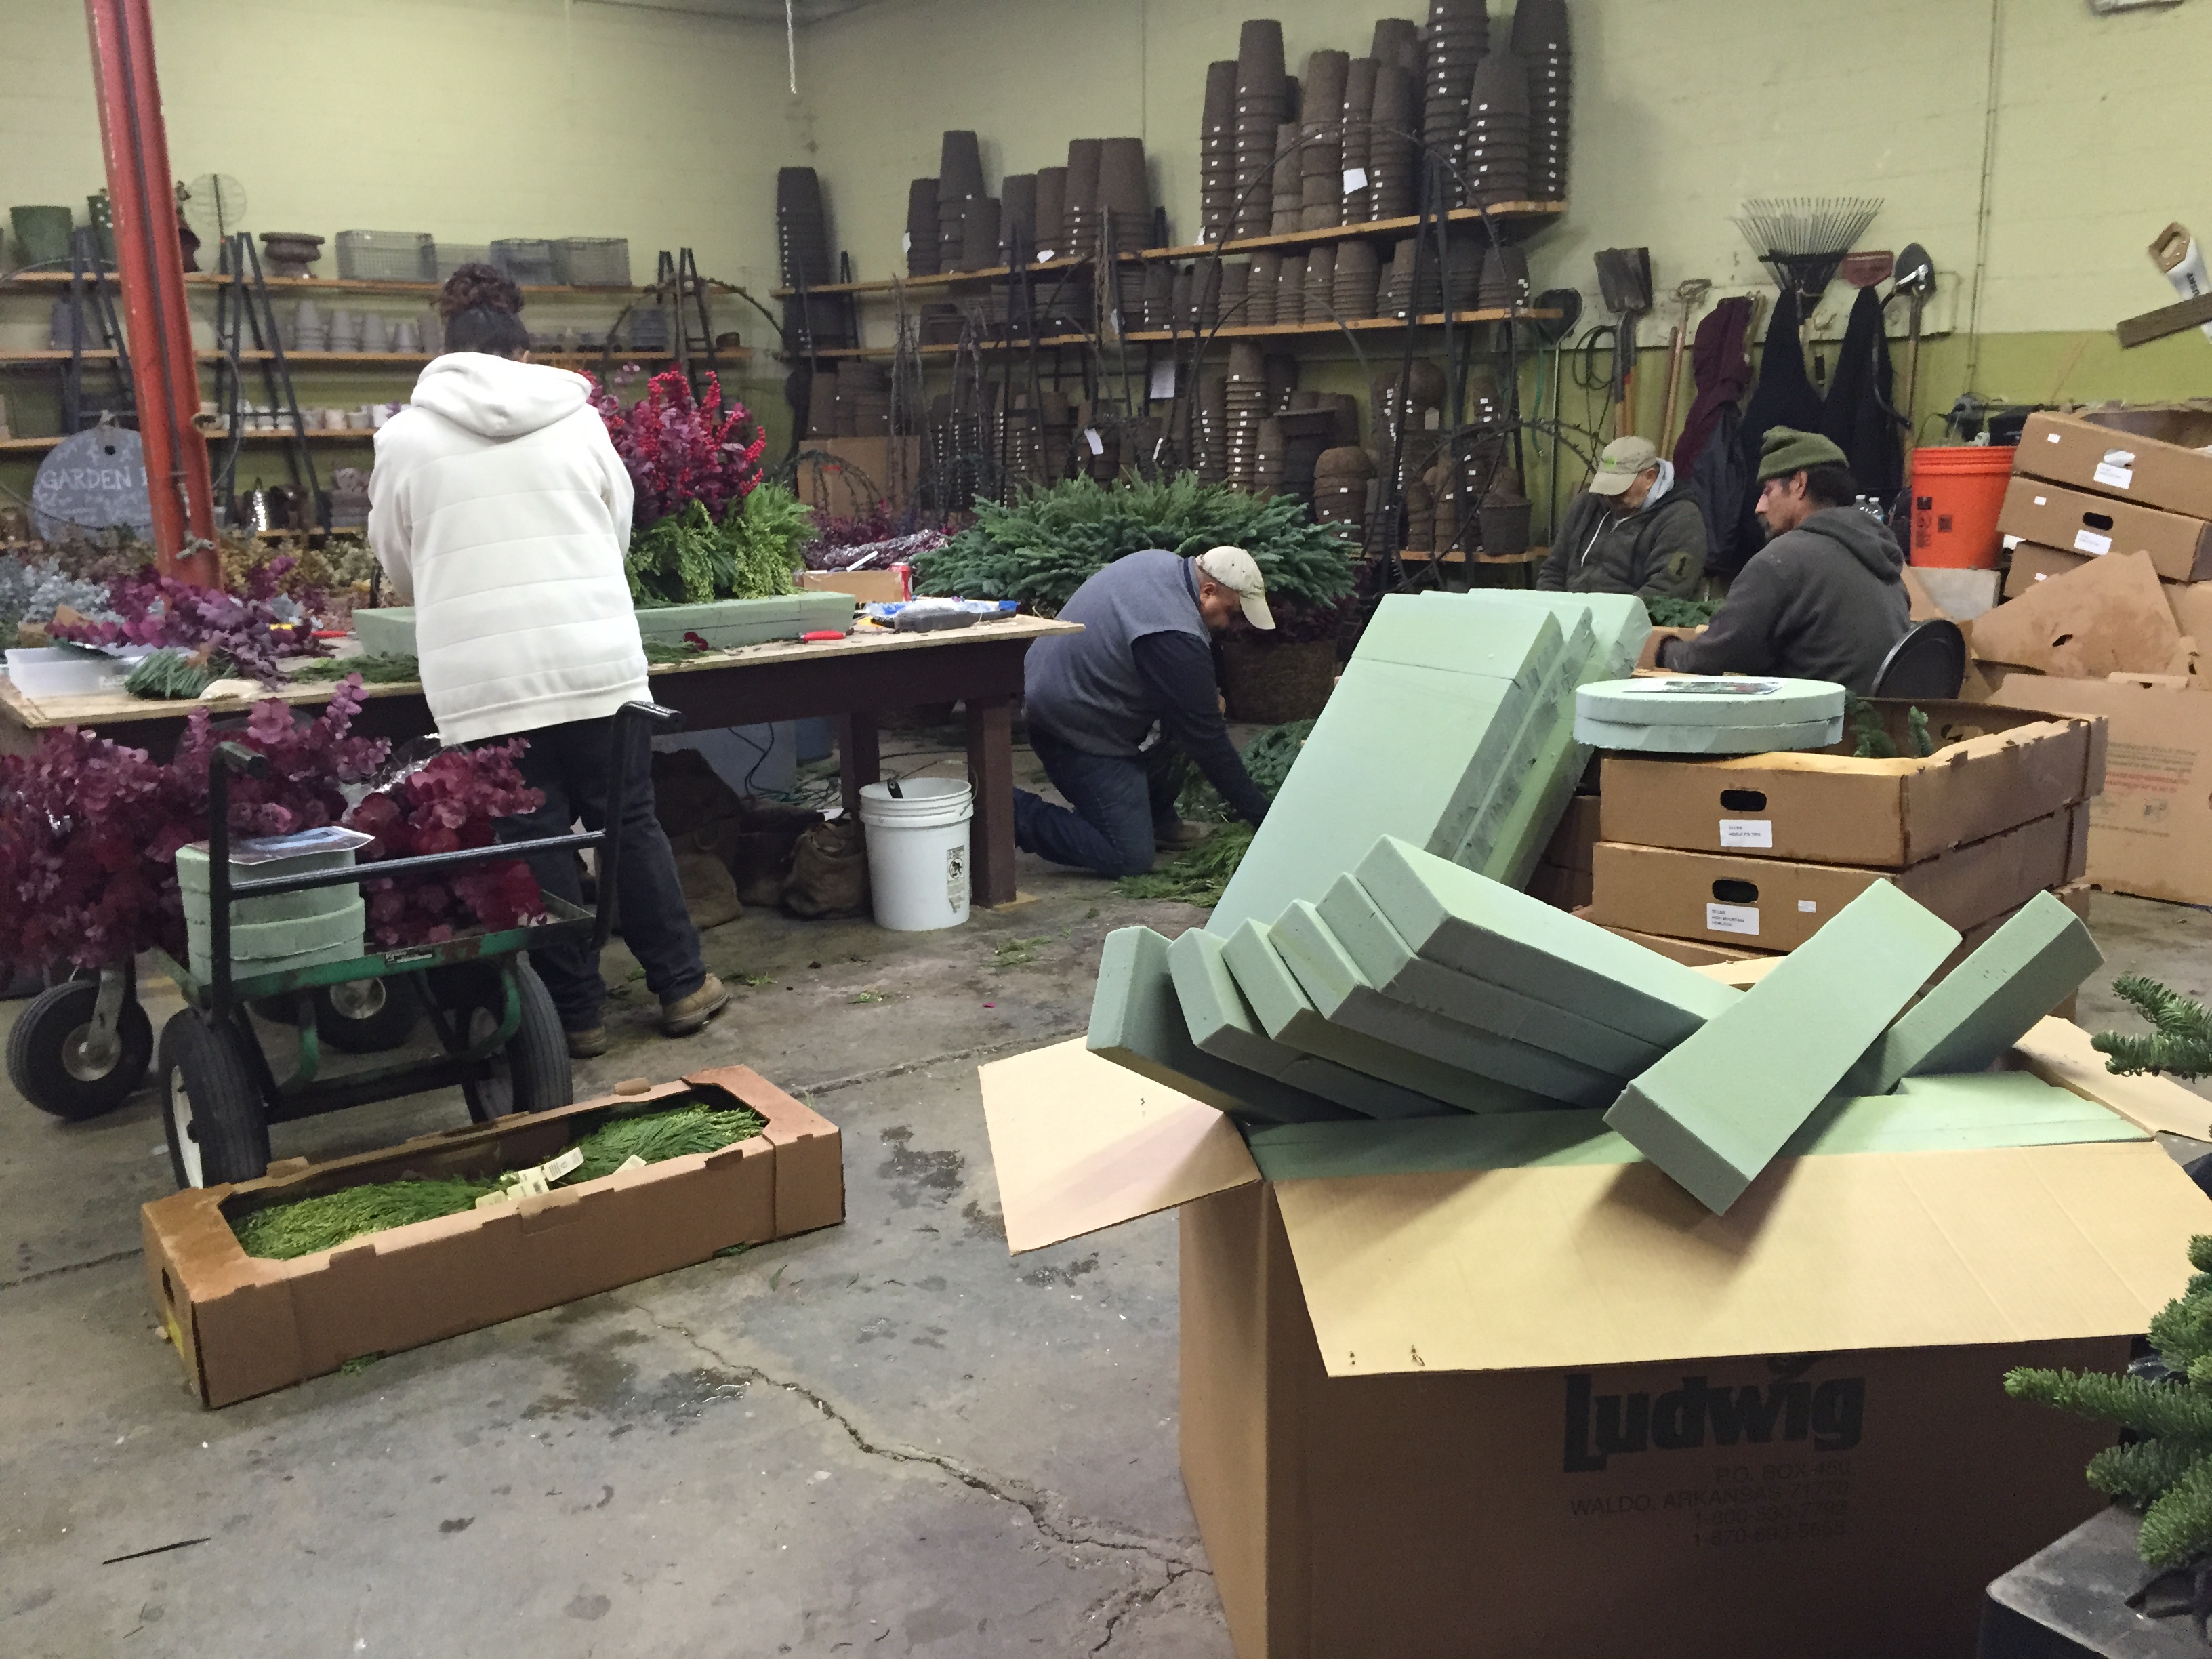
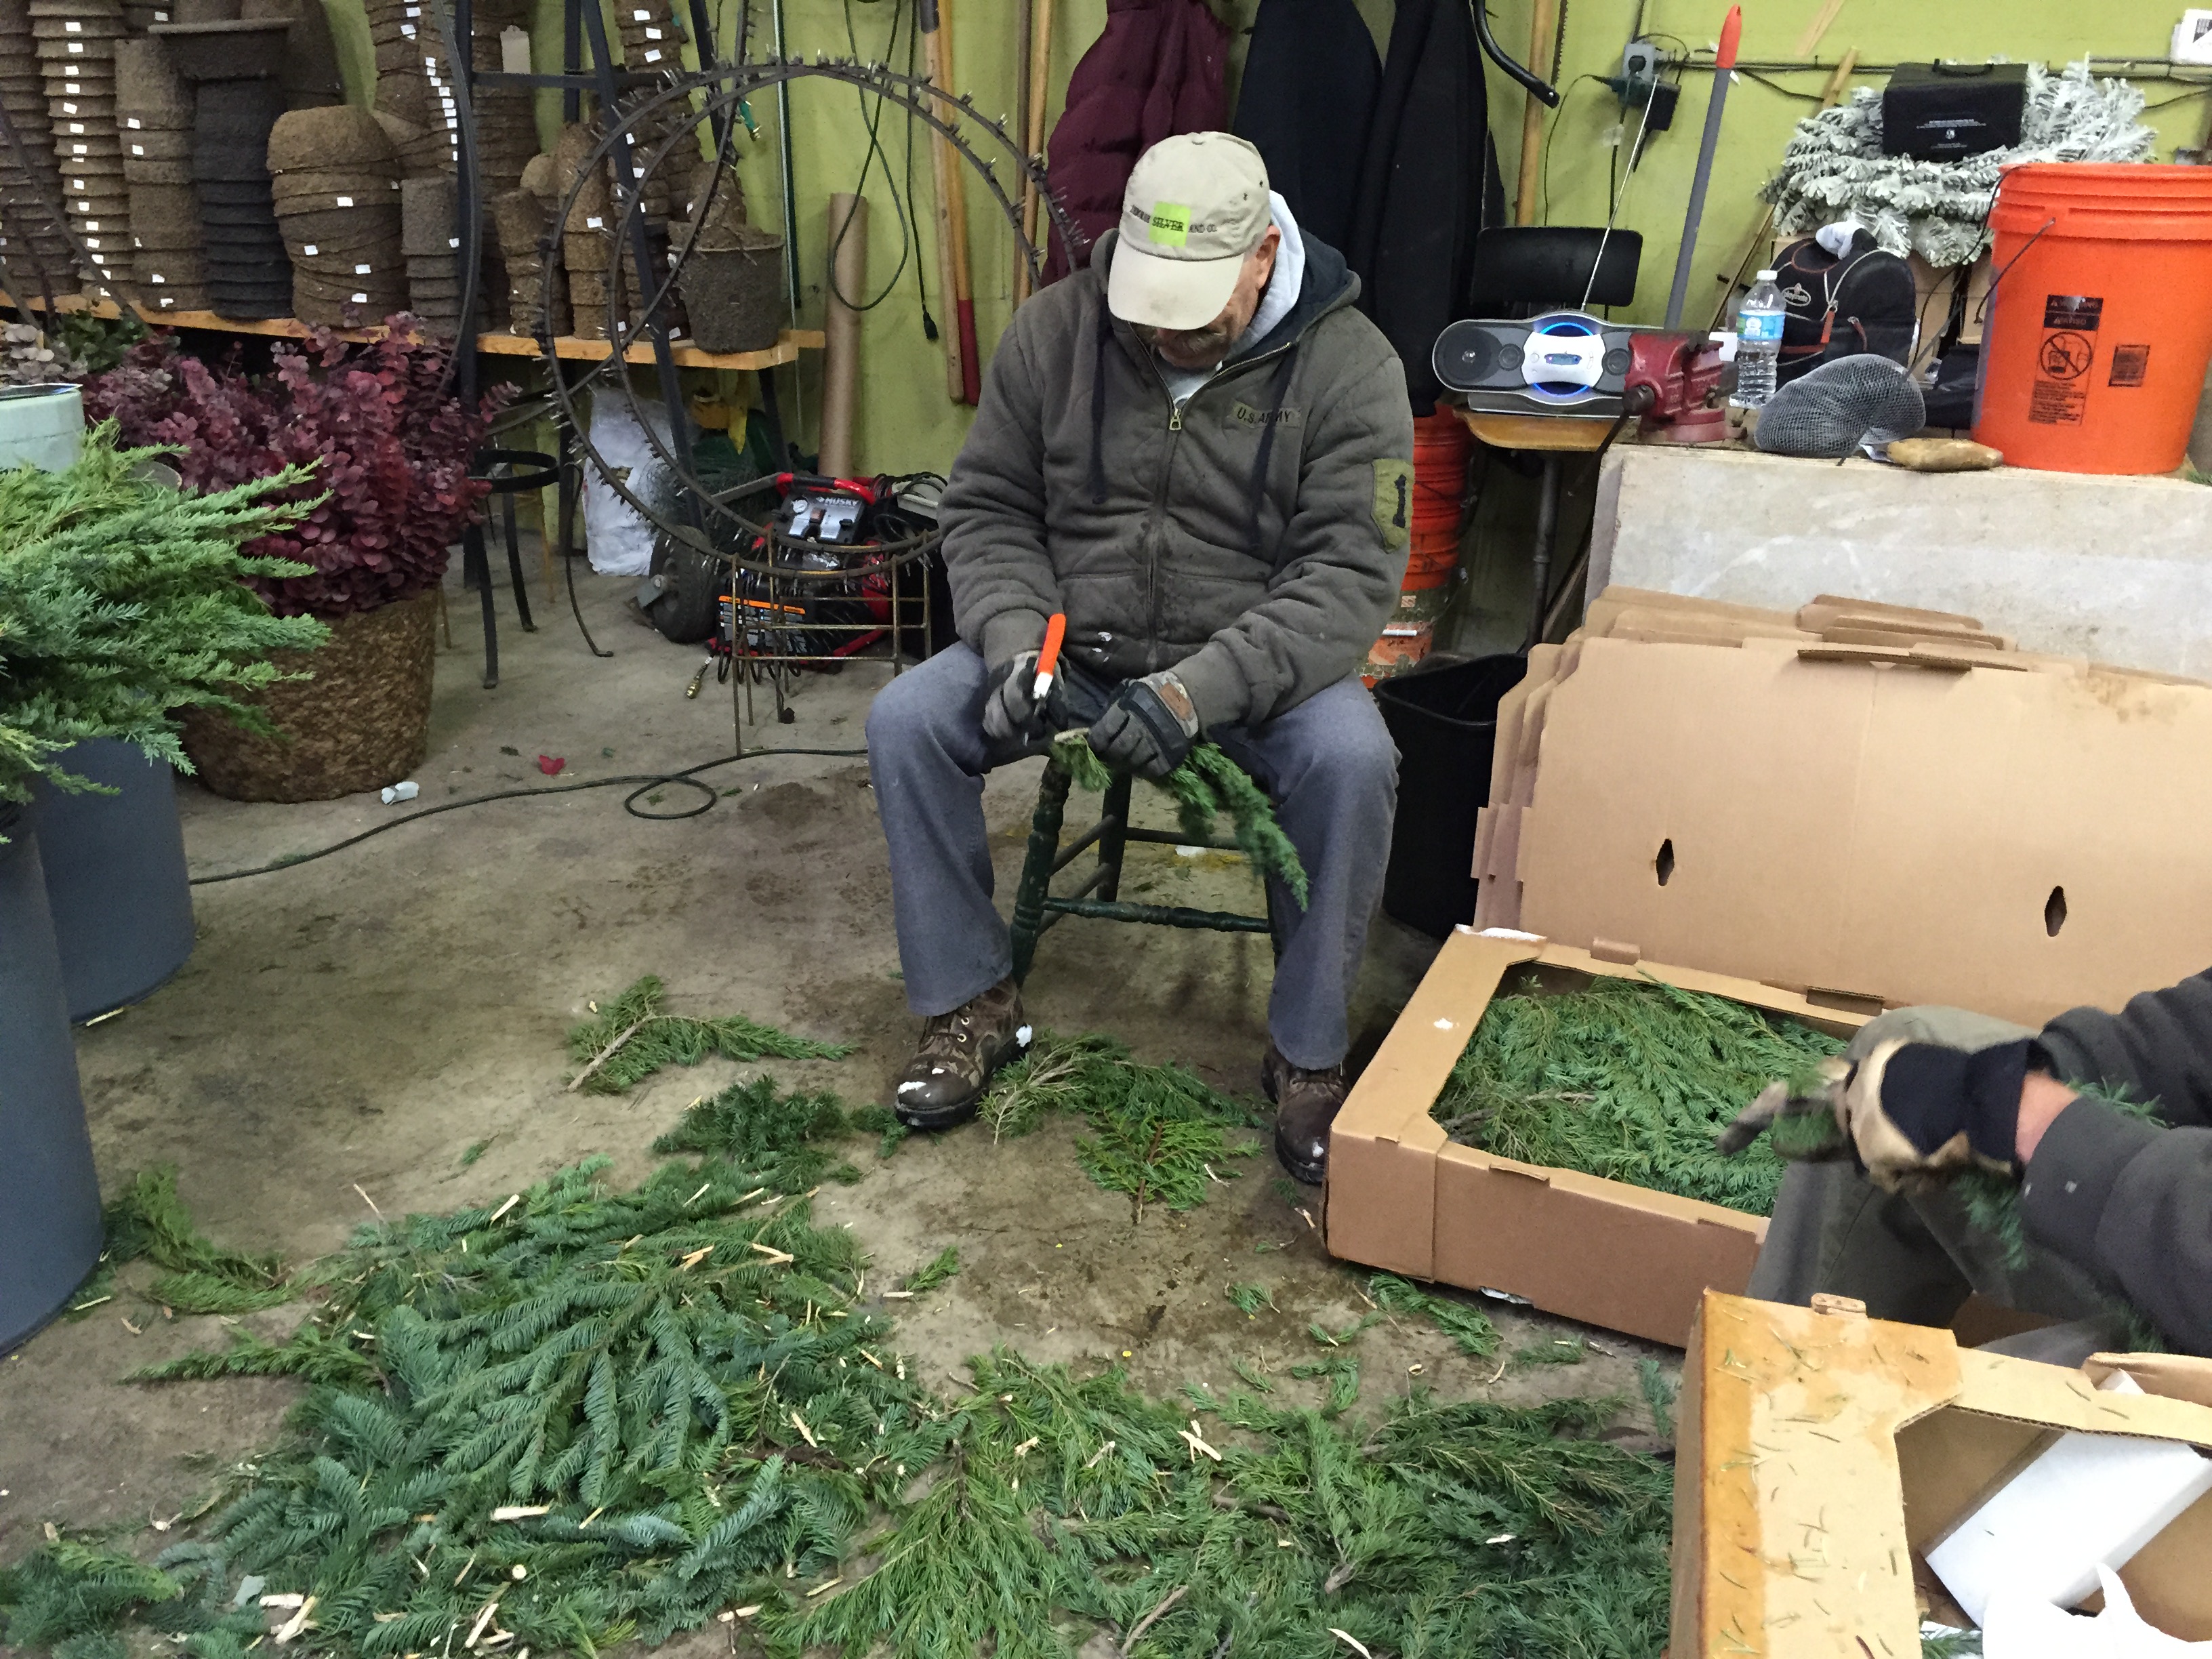
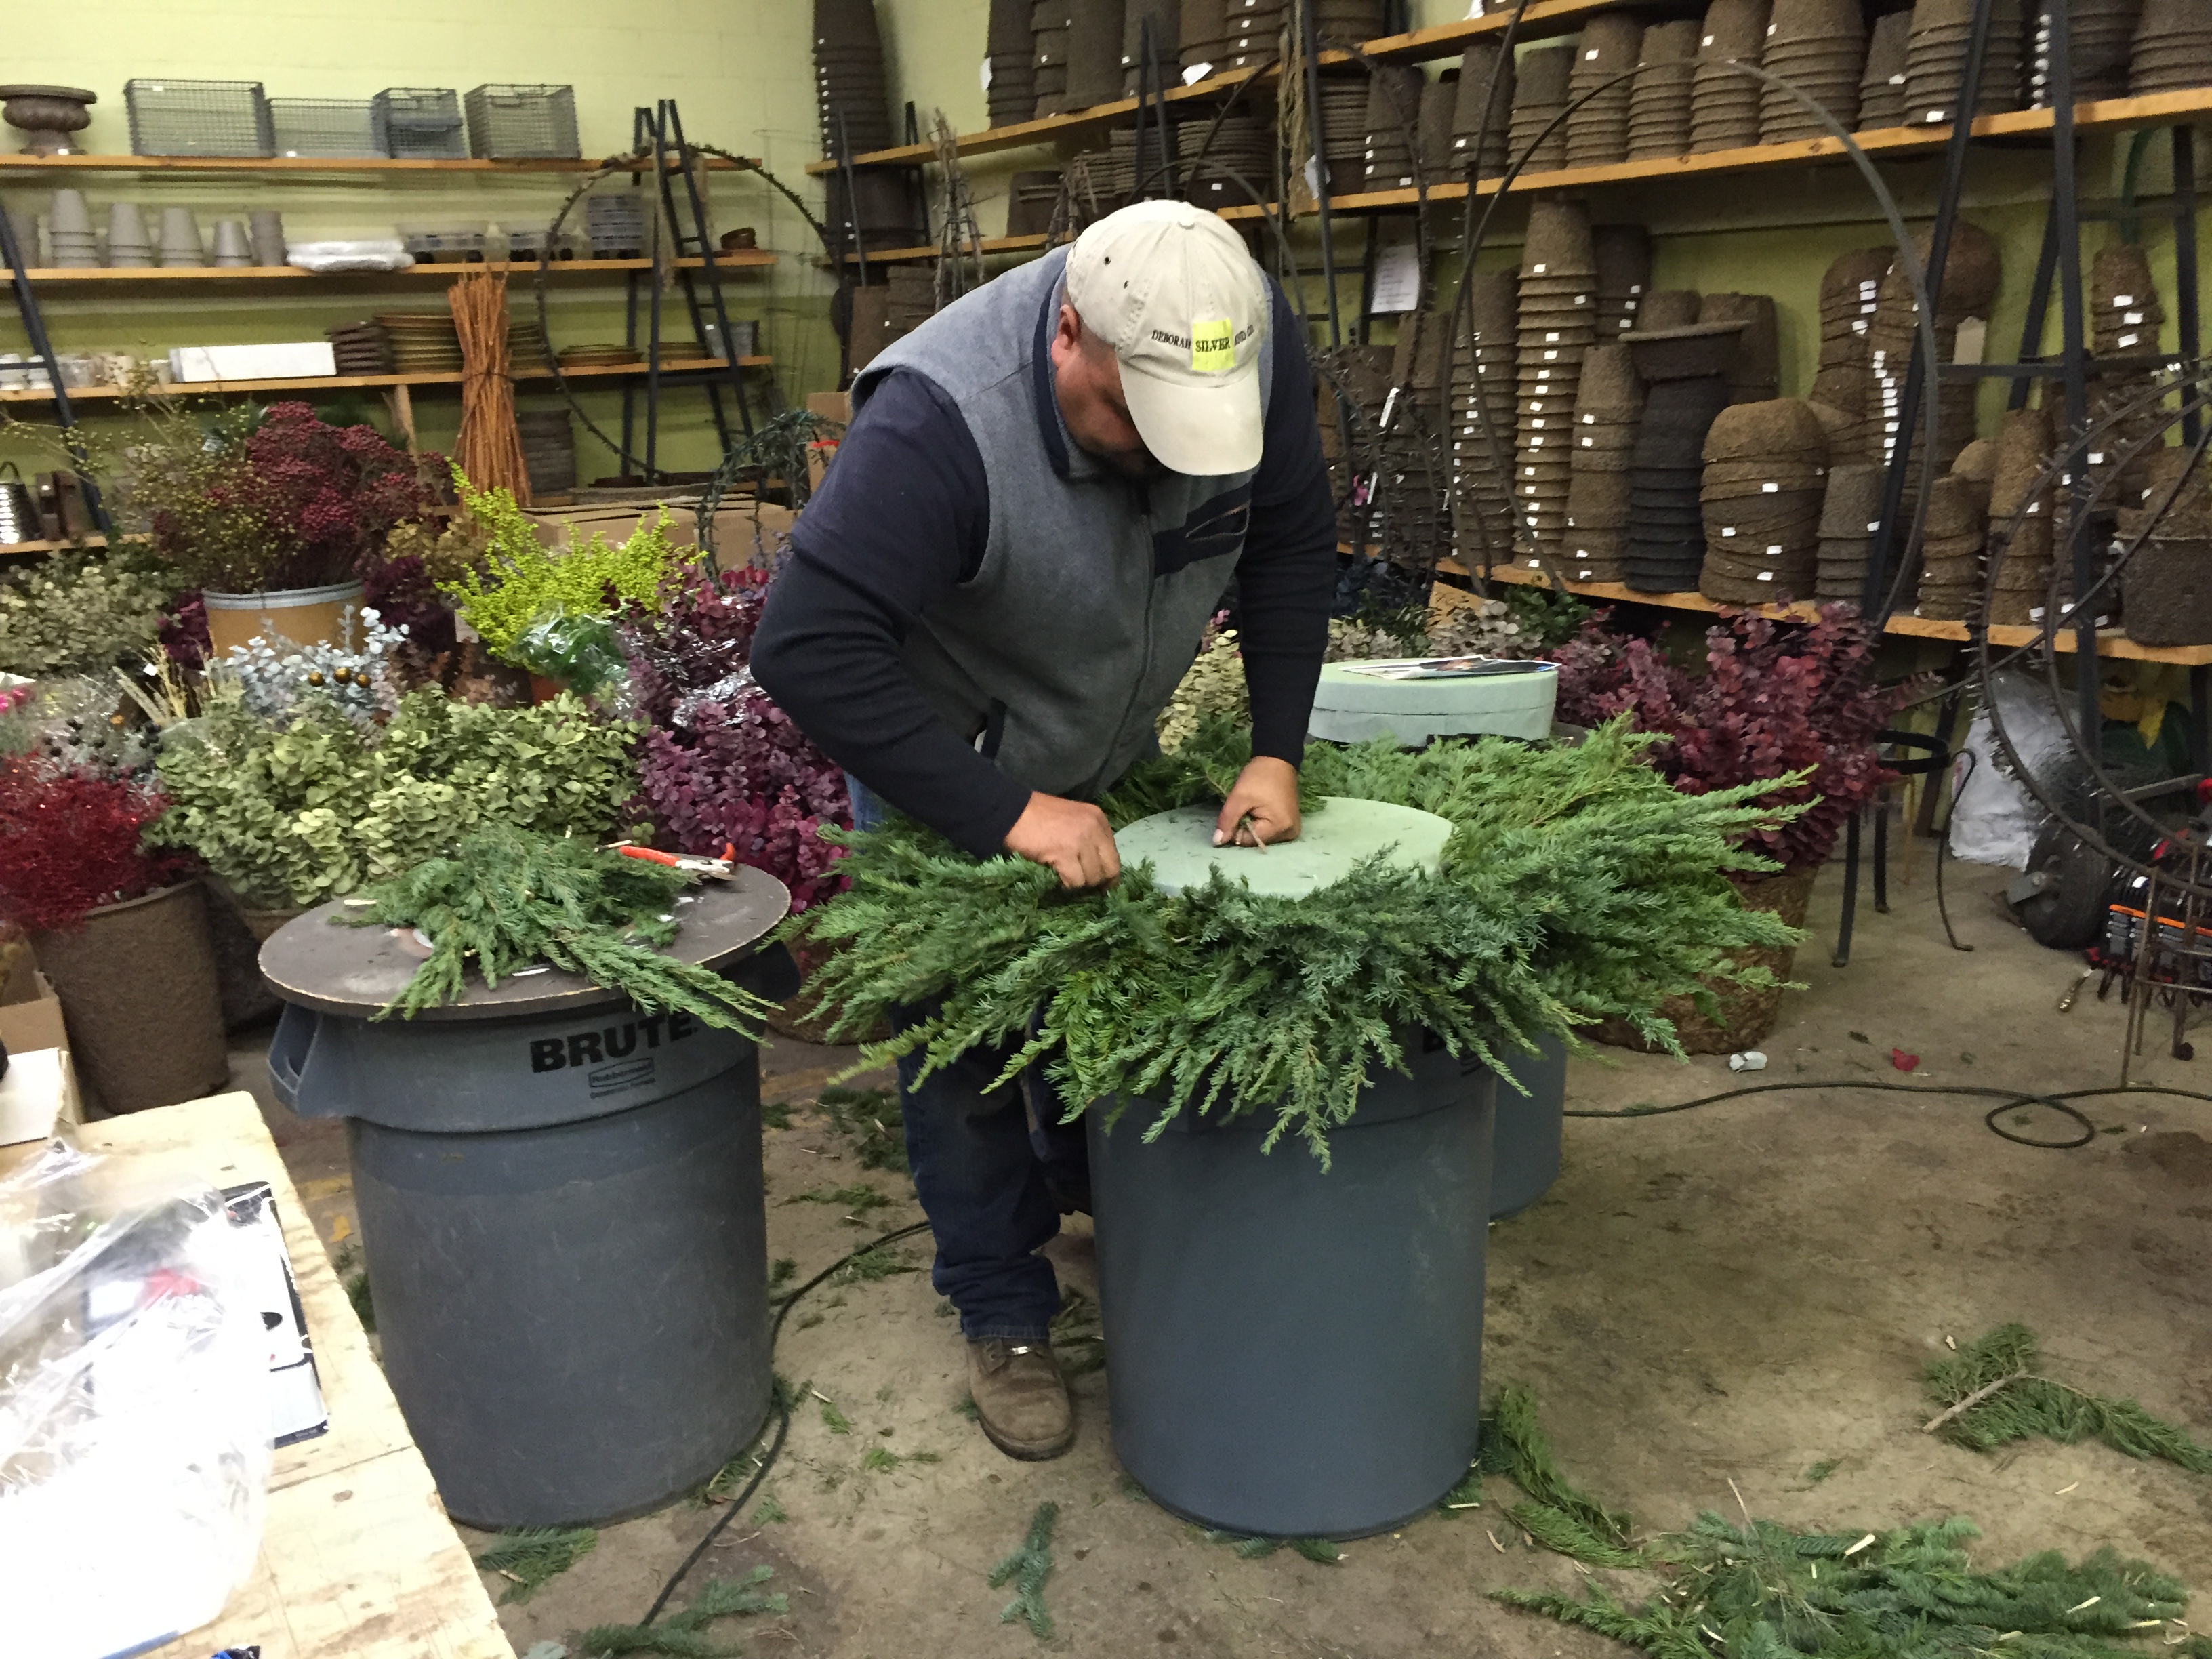
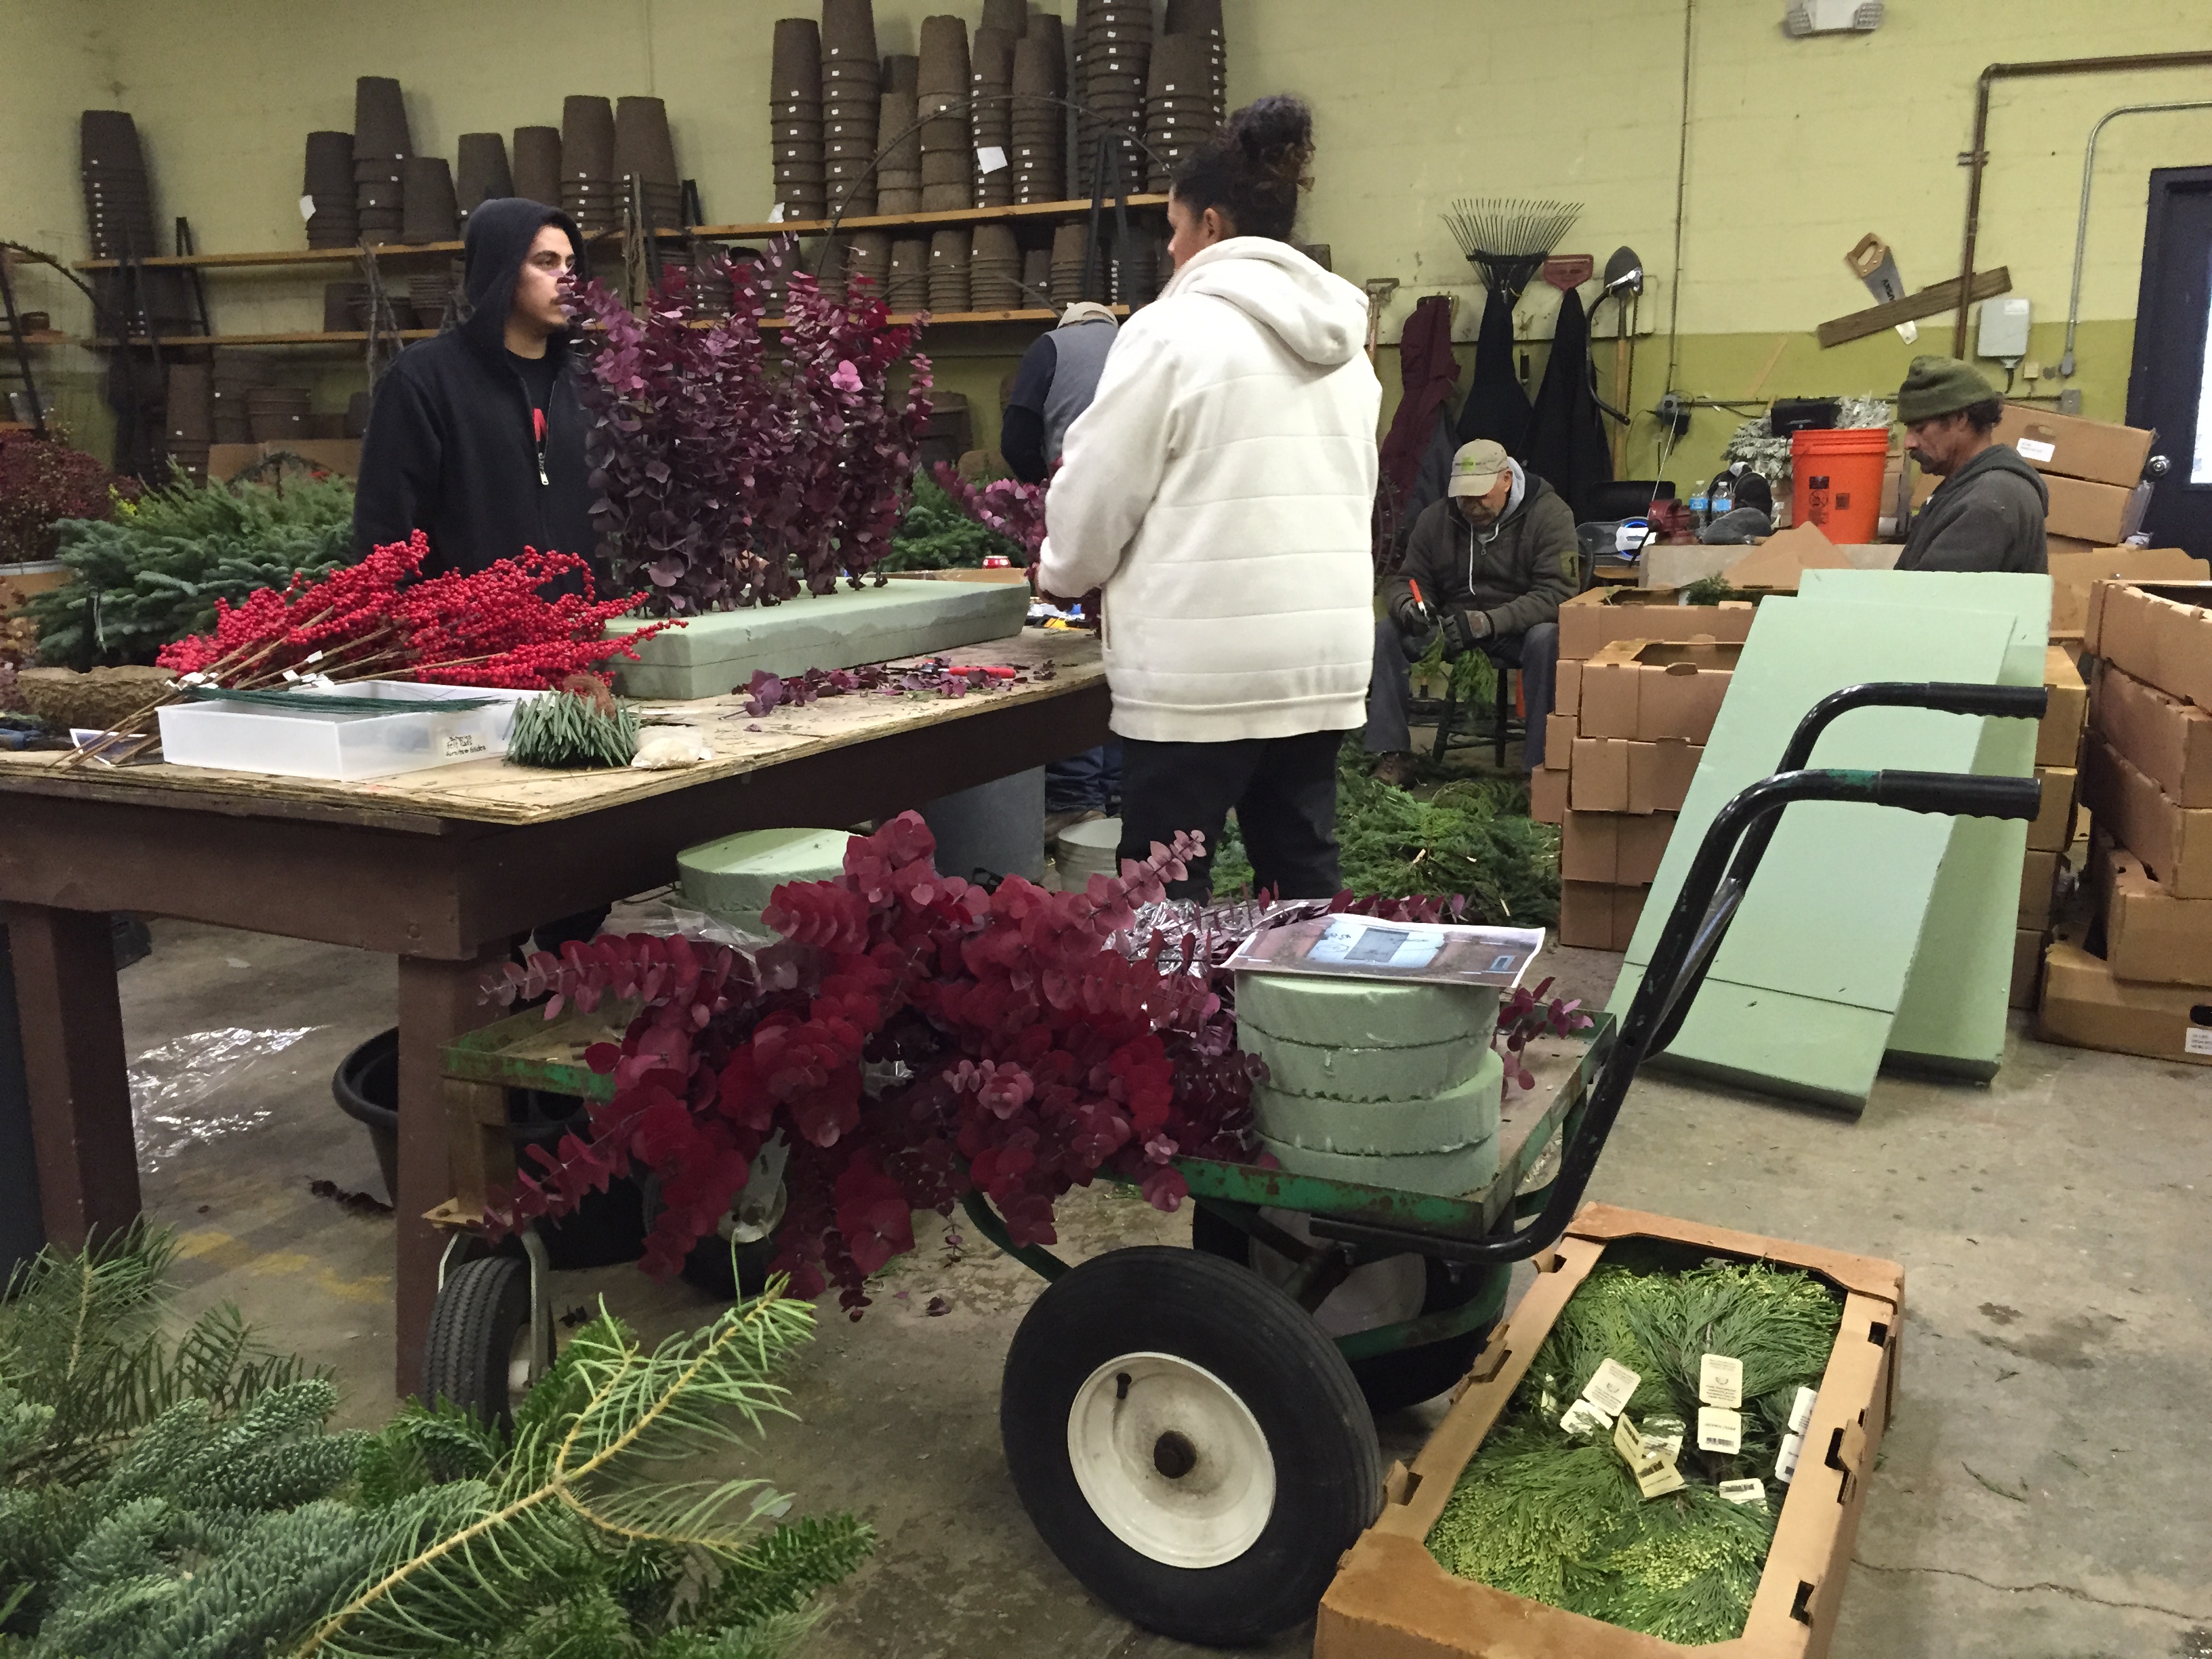
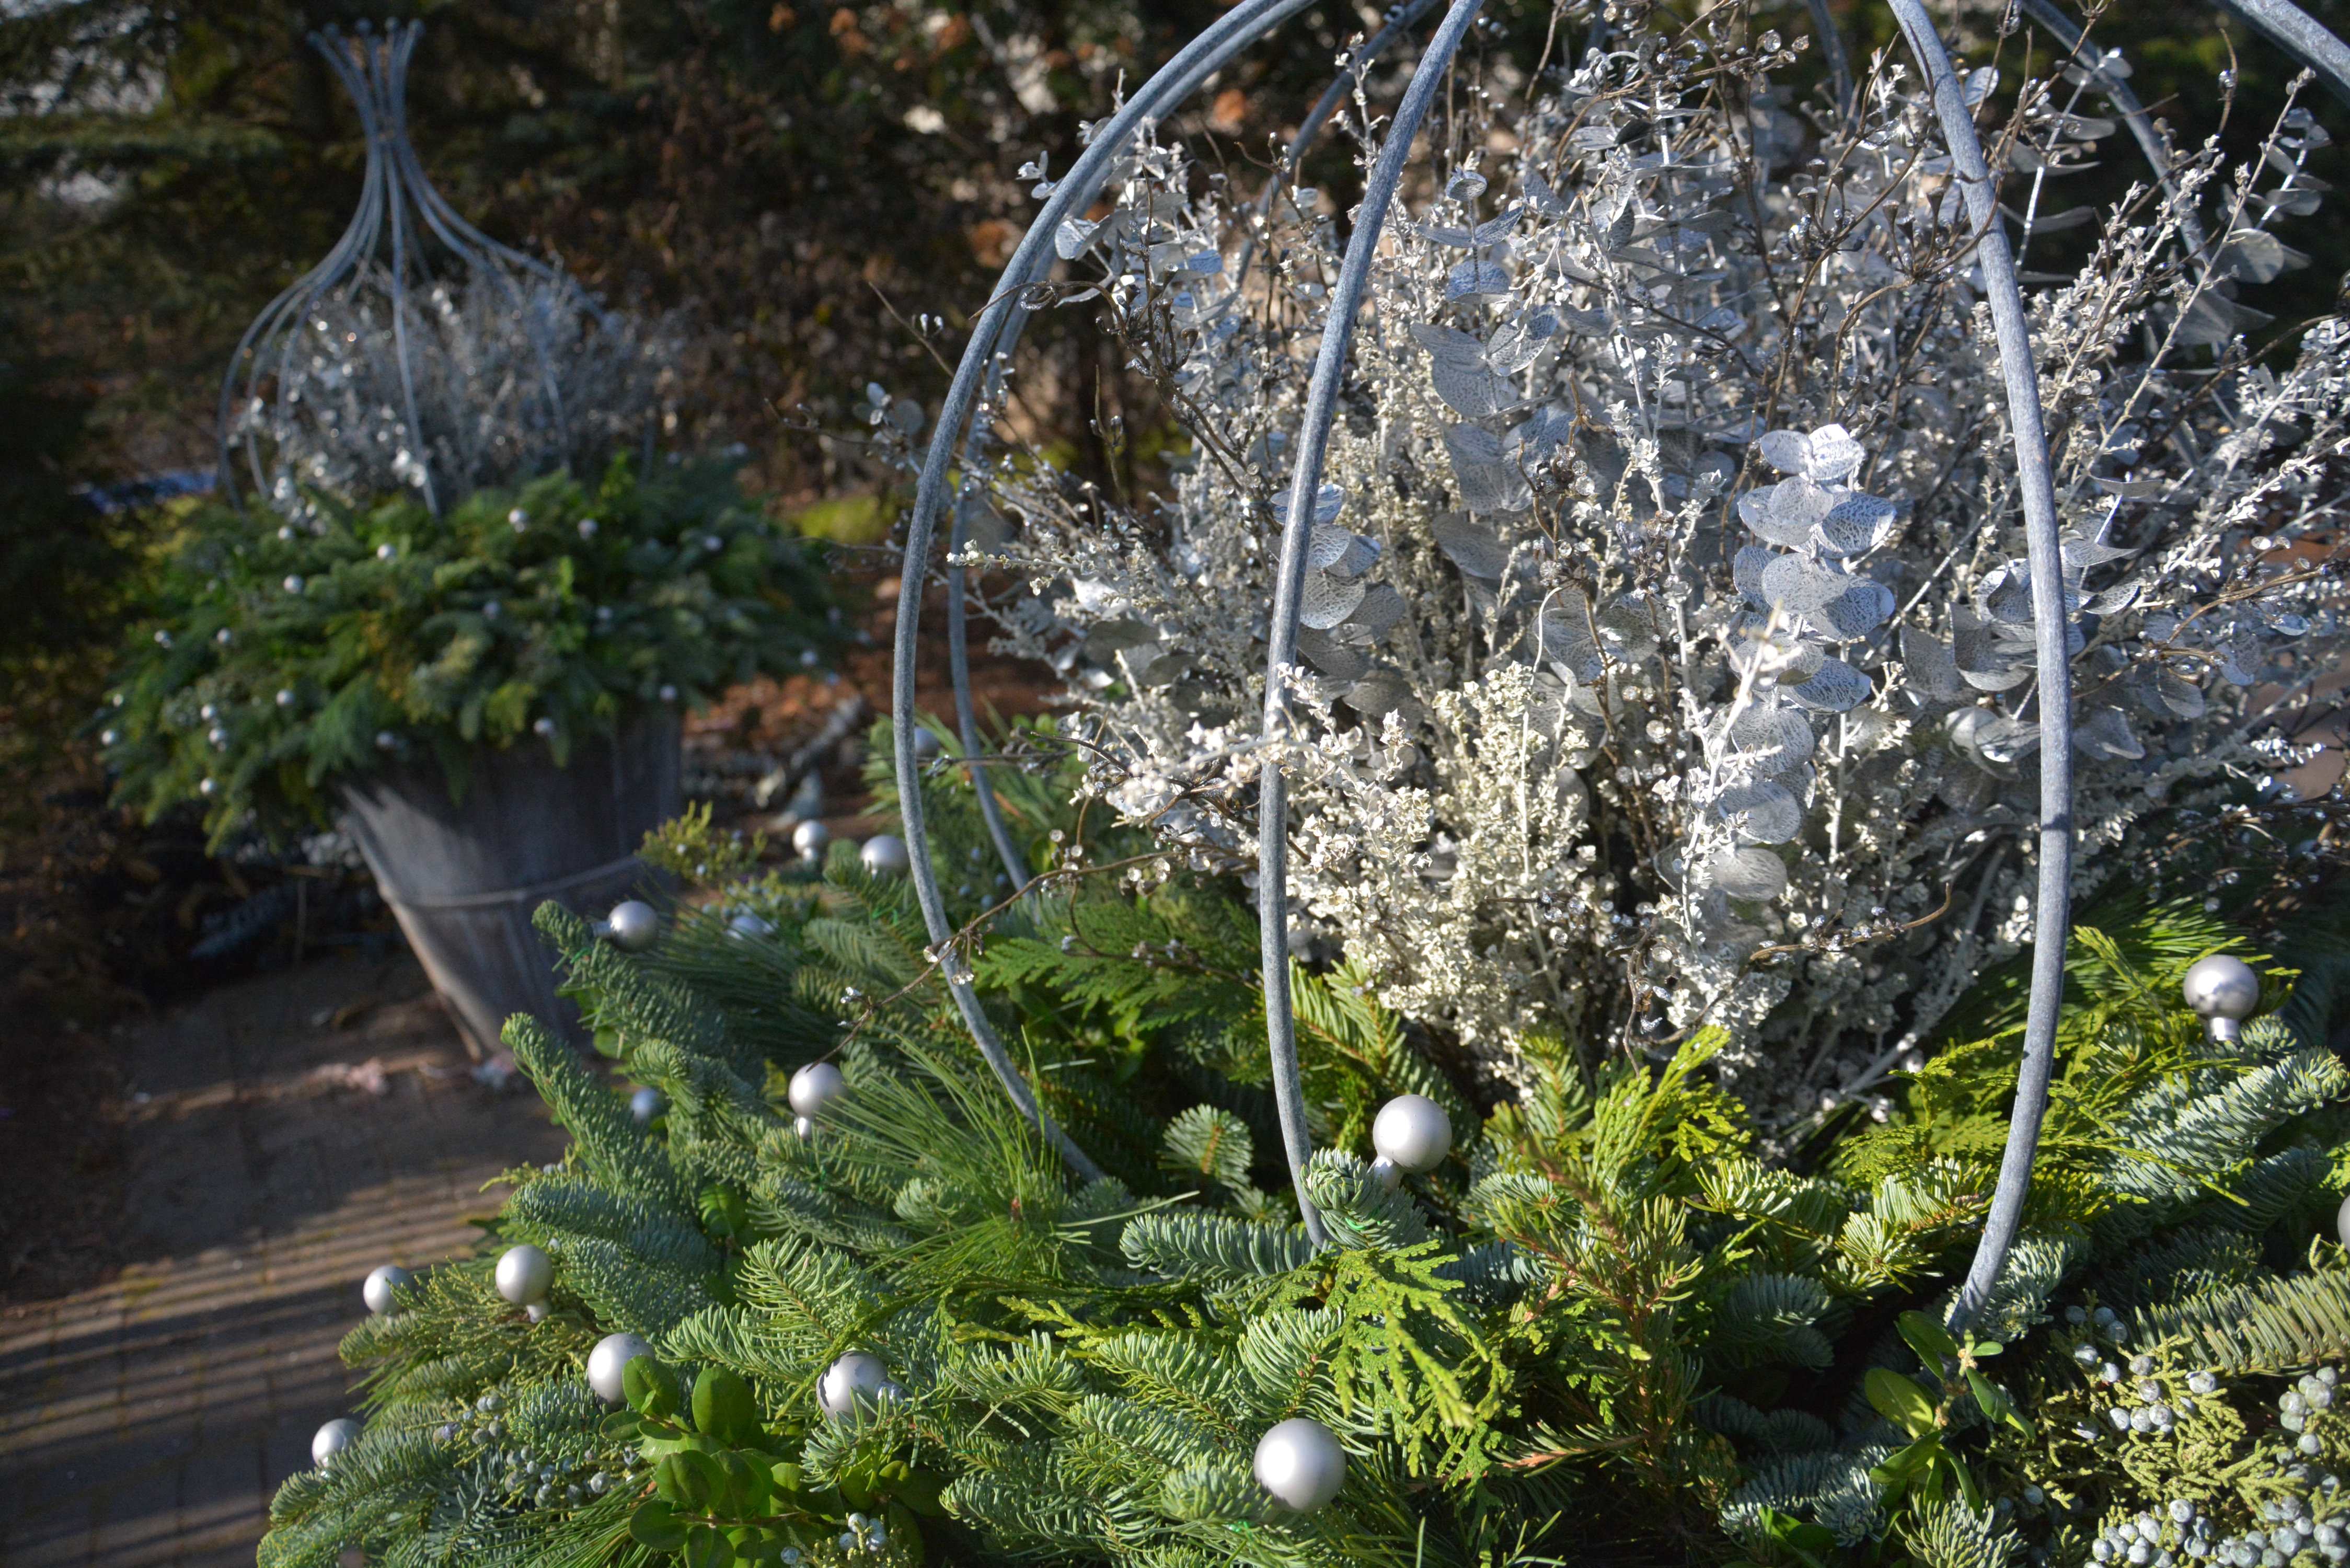
I am always appreciative of how much of the construction of the winter pots we are able to do in the shop, once we get to the installation phase. The greens for this oval bronze container had been stuffed into a form several days ago.  We try to be very accurate about the size of those forms, especially given that they will last through at least 3 seasons. Once the centerpiece was set, we attached a collar of red sinamay. Sinamay is a polyester mesh available in various widths.  We run a wire through a length of mesh, folded in have, with long running stitches.  Once the wire is pulled tight around the centerpiece, it creates a wavy graceful collar that softens the transition from the greens to the centerpiece. Sinamay with a metallic thread is a simple way to say holiday, and is very simple to remove after the holidays. Marzela did all of the finishing touches.

holiday container arrangements 2 (7)We did have to shovel the snow out of the pots. Some pots had just the right depth of soil, once the fall plants were removed.  Others needed a little topping up.

holiday container arrangements 2 (5)
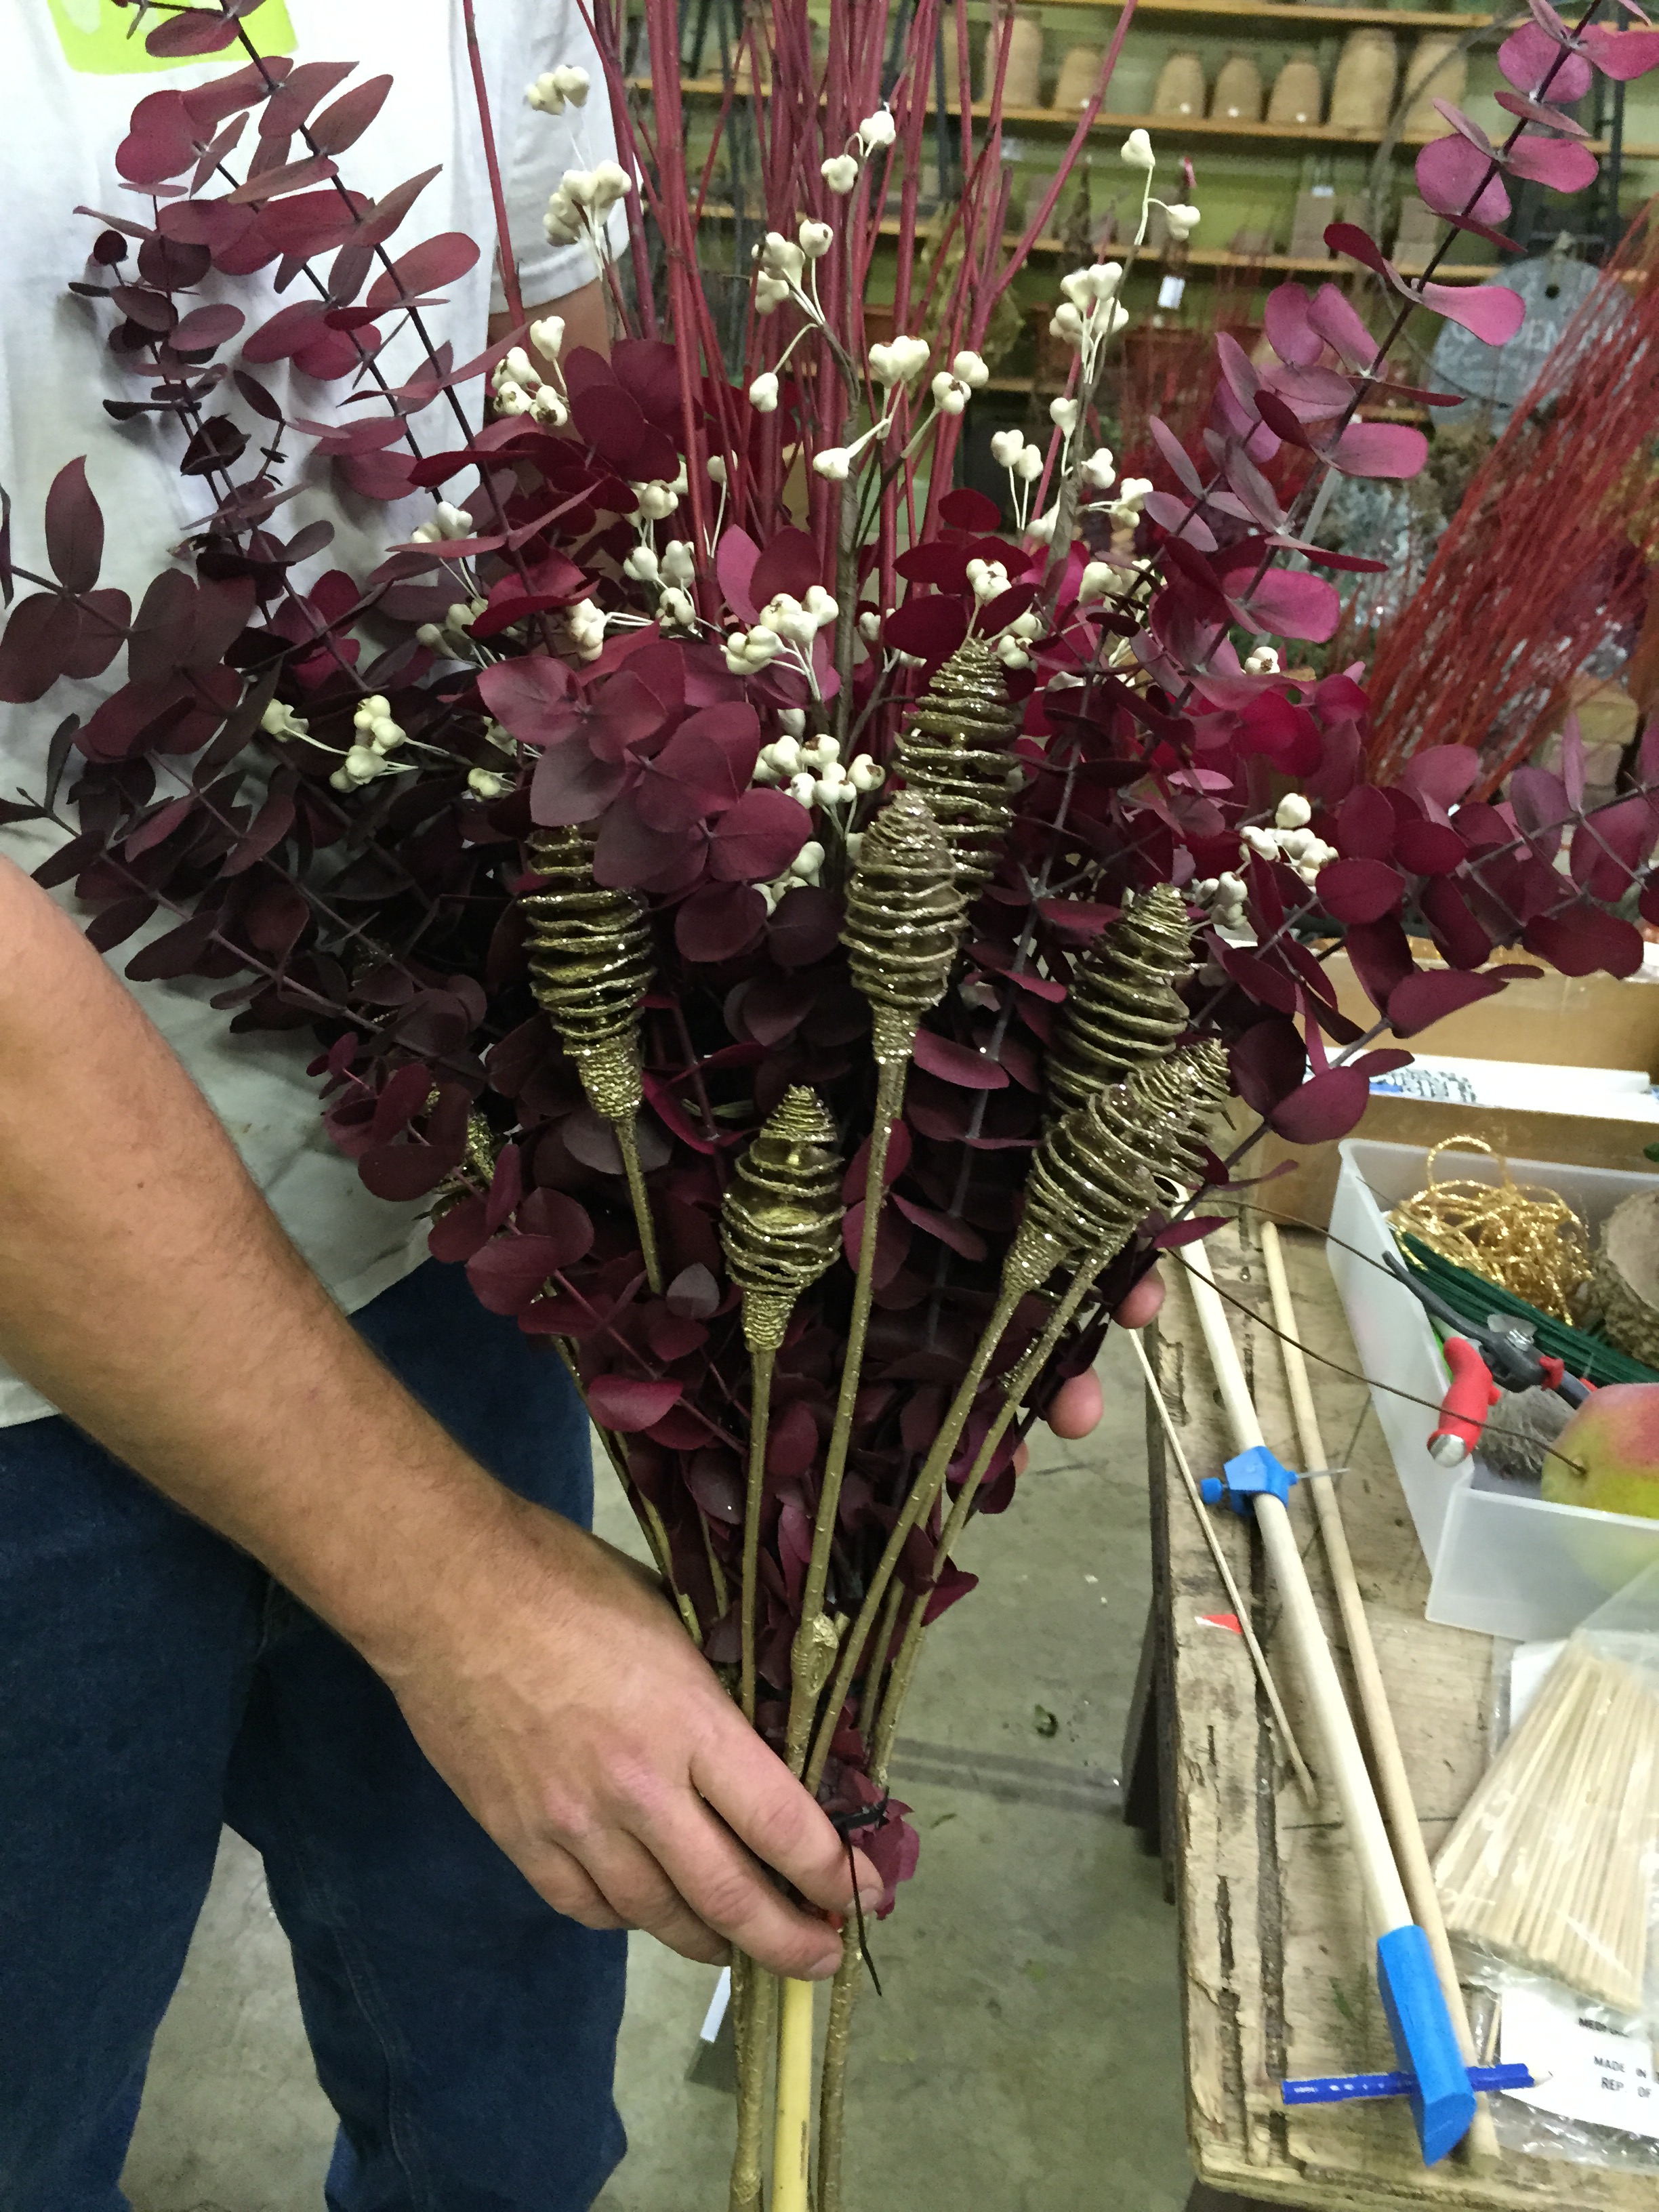
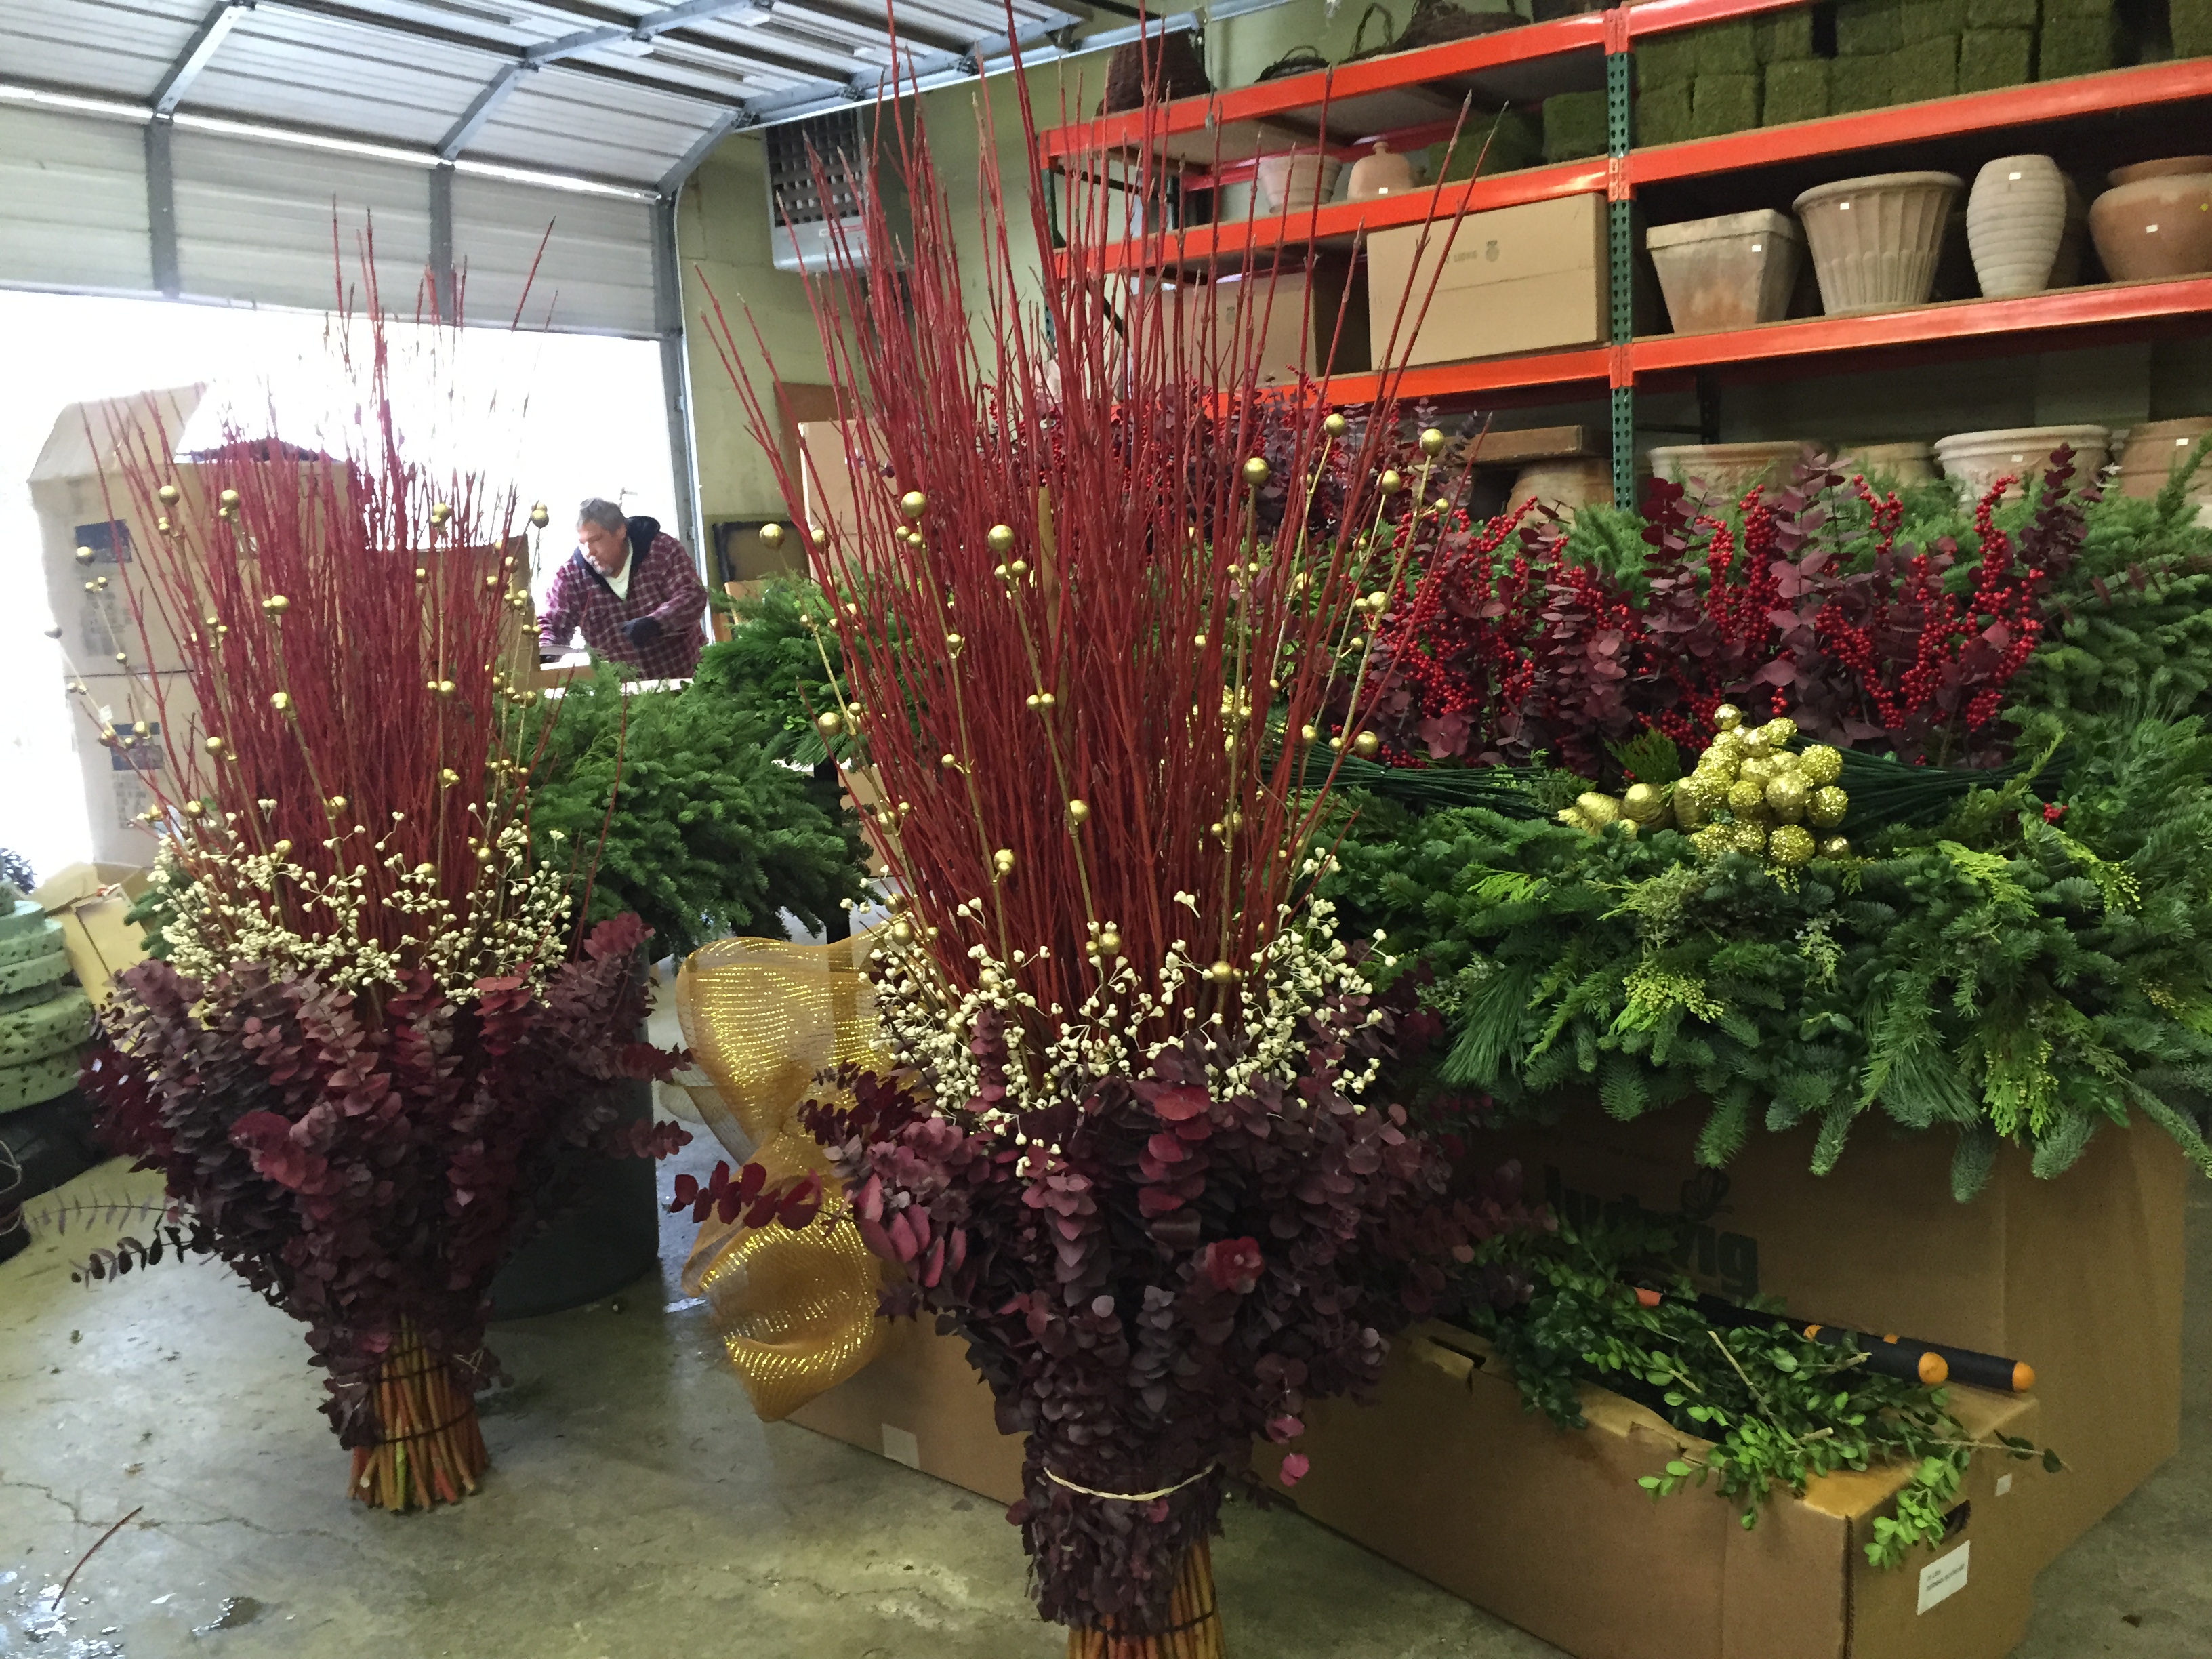
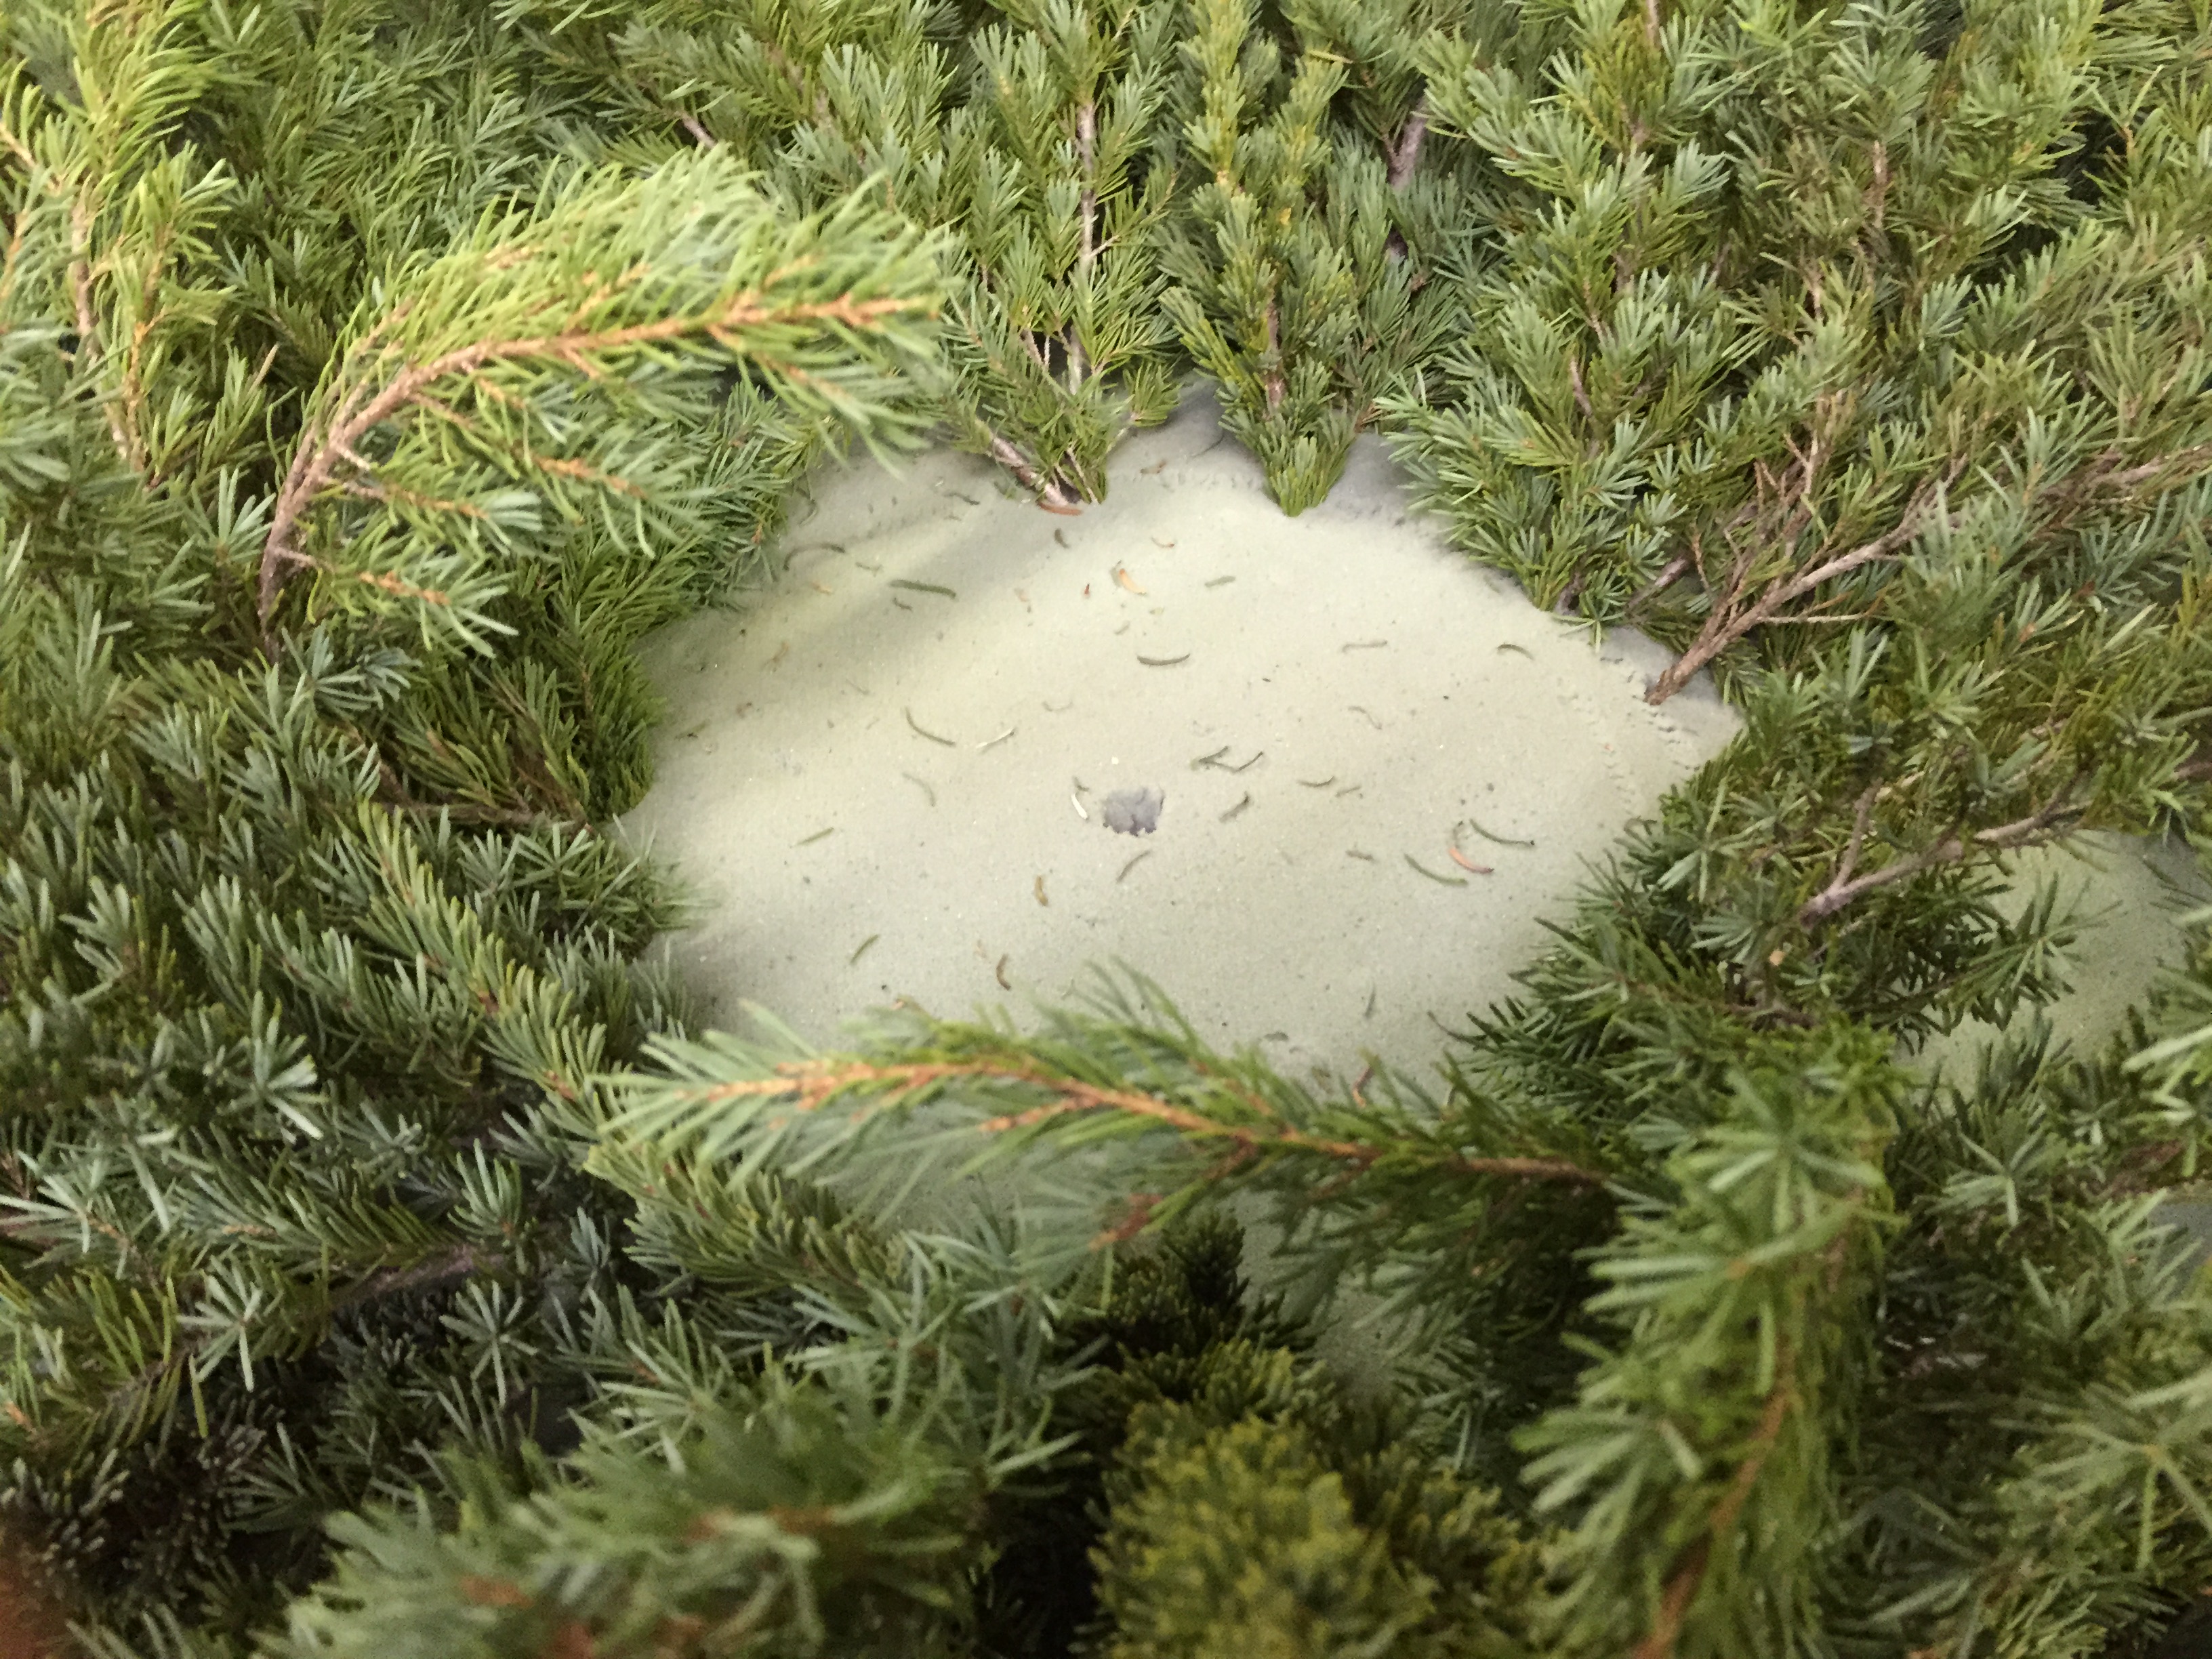
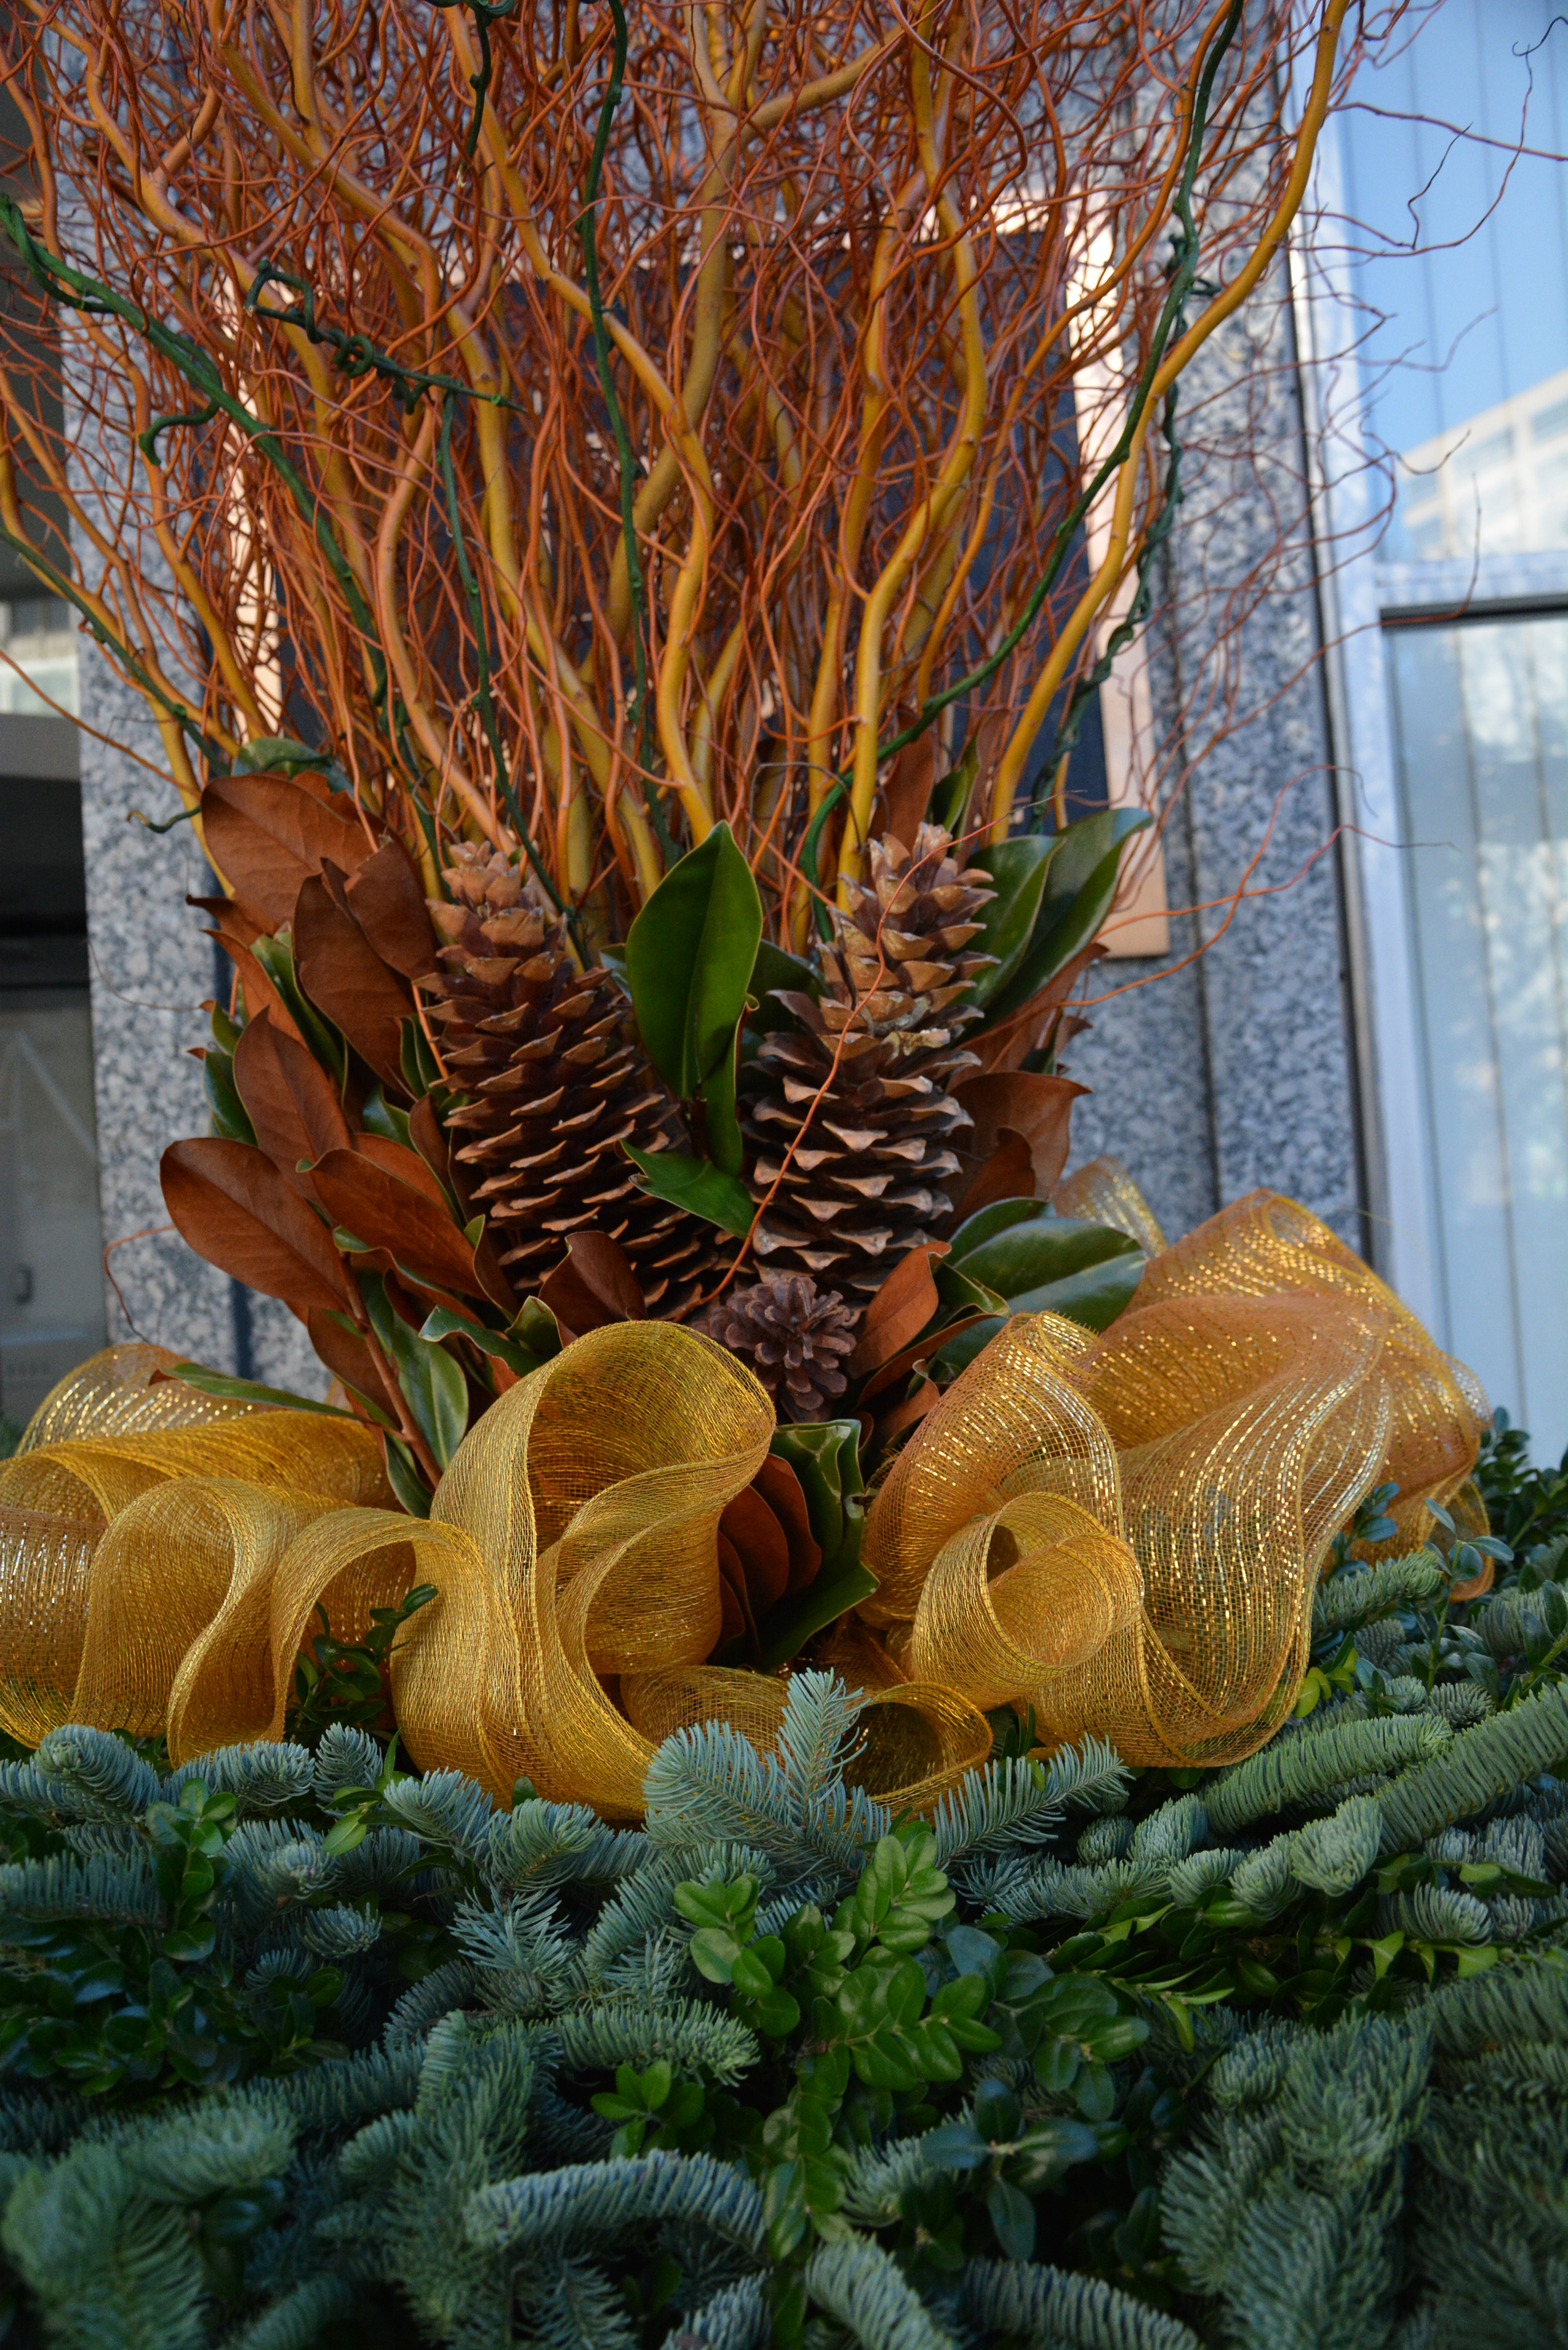
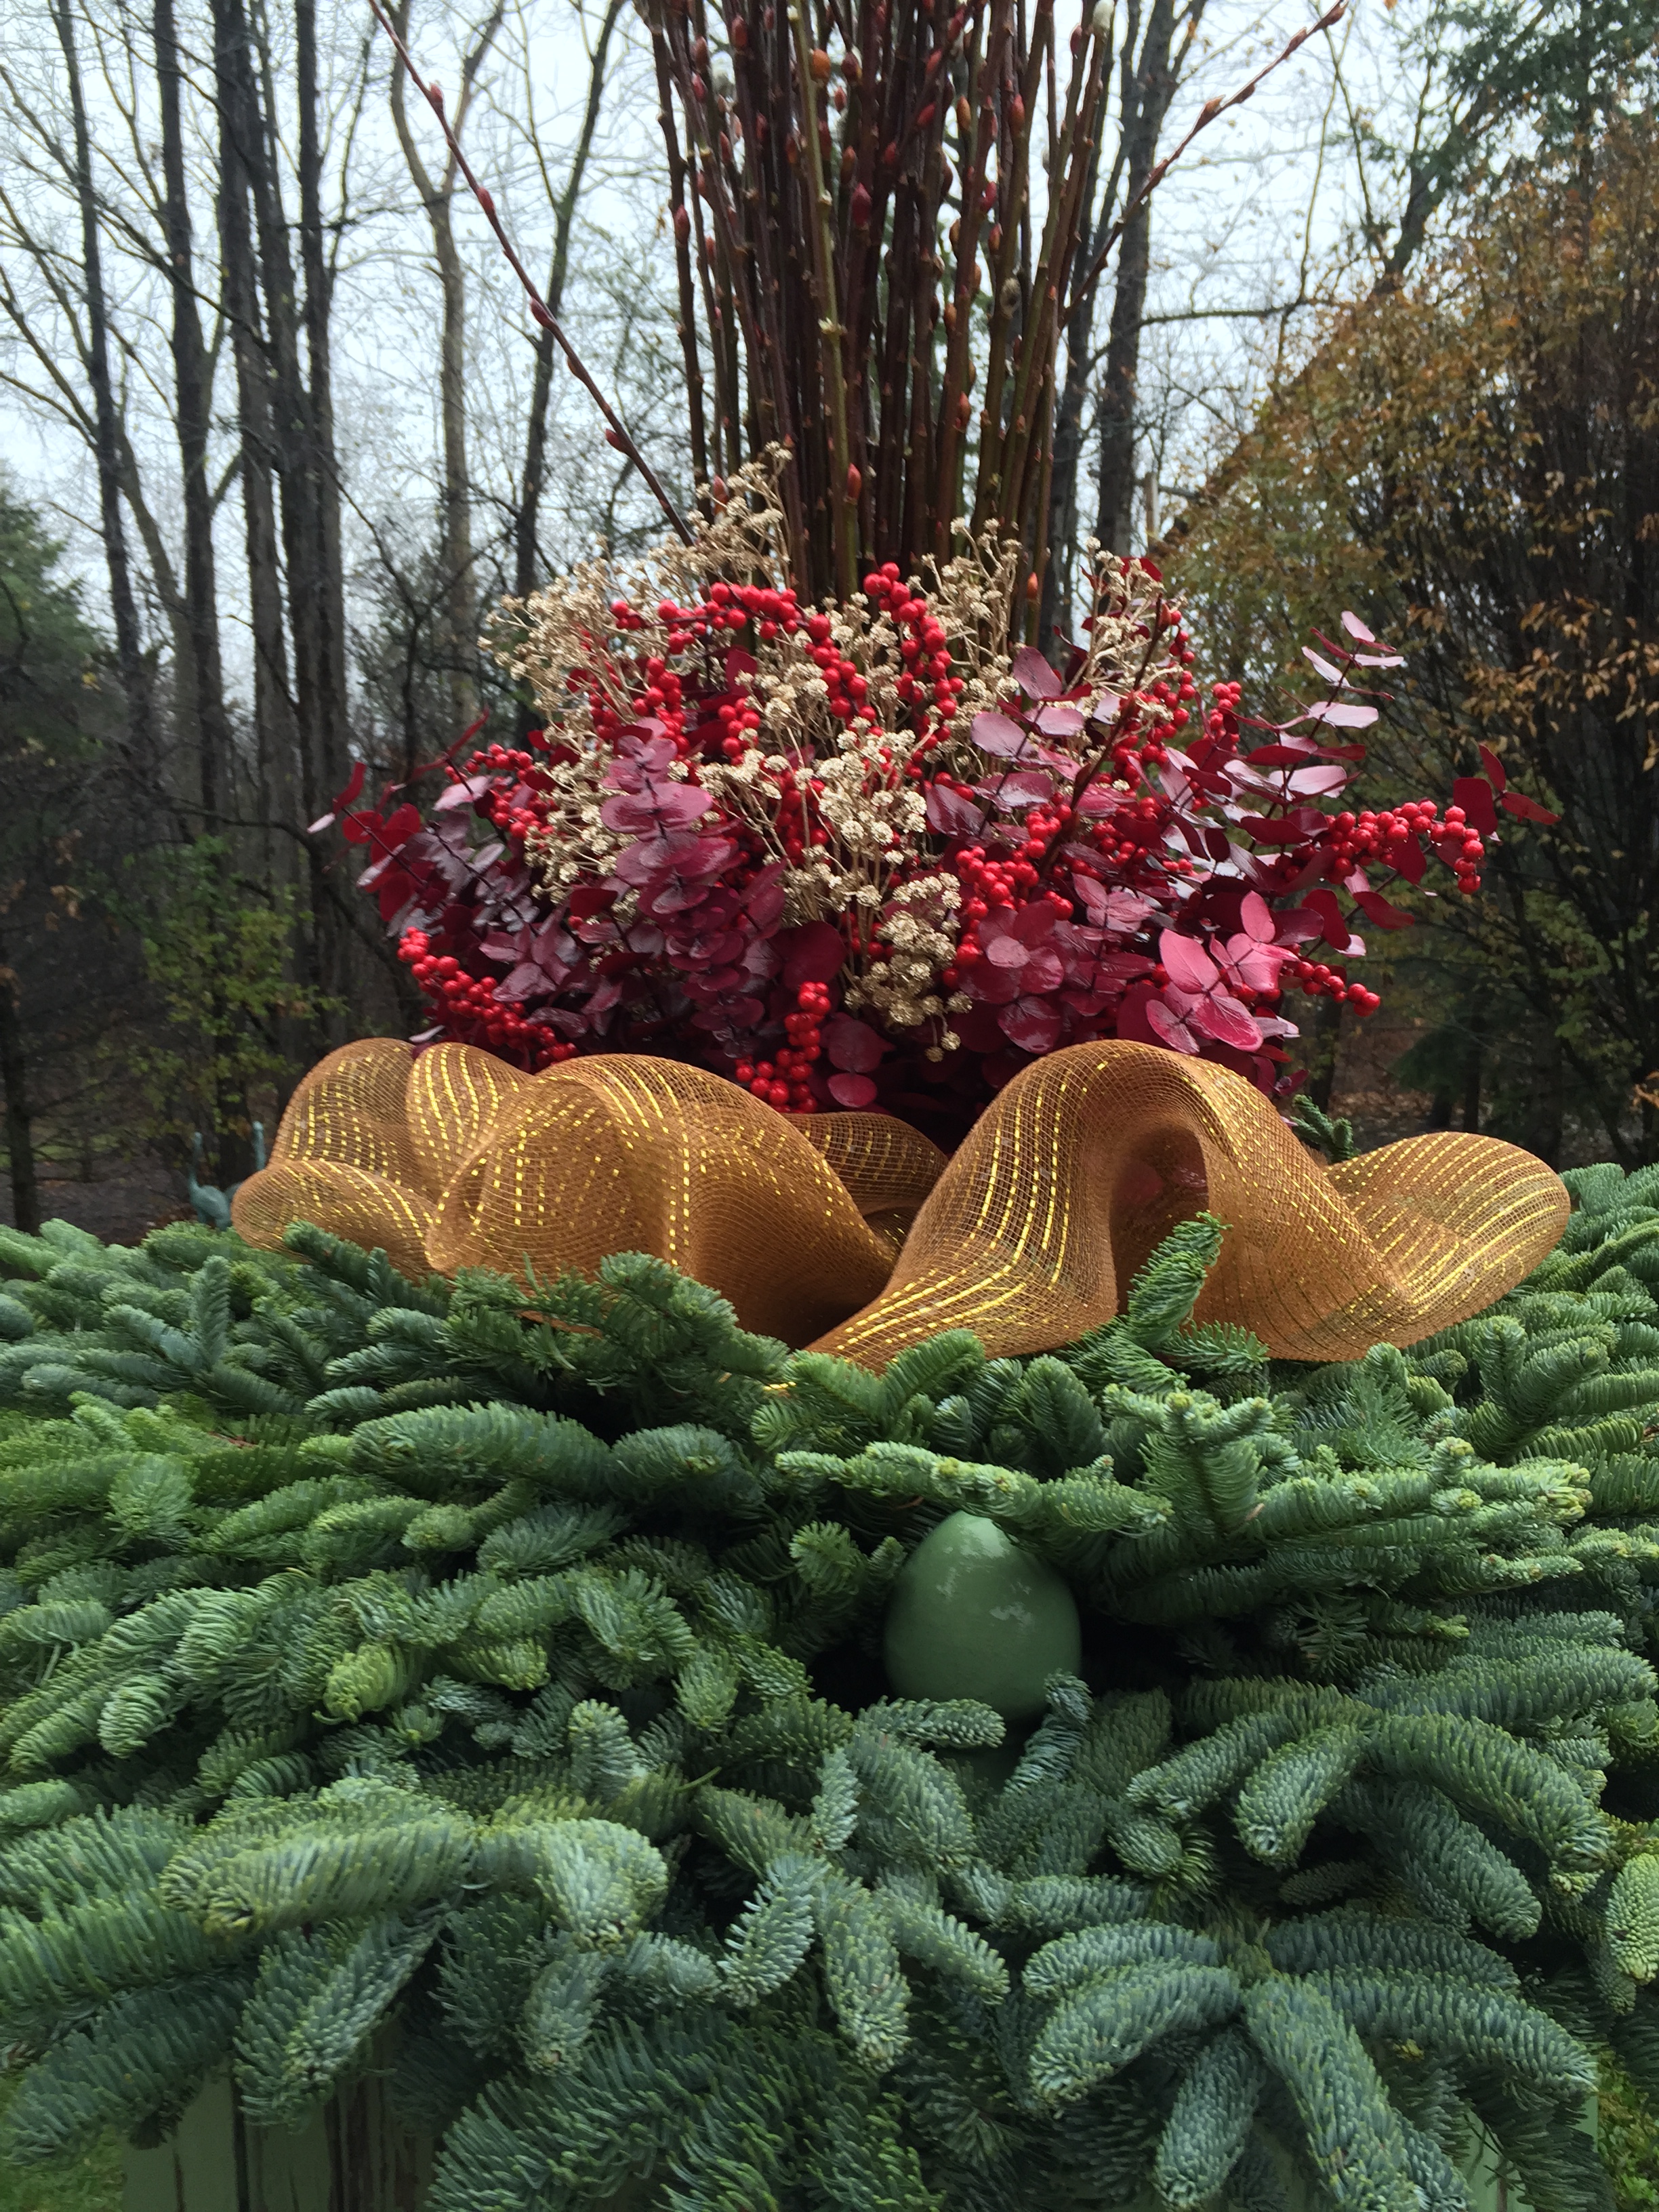
Even though these centerpieces were large, it was a short and simple matter to cut through the foam holding the greens, drive the bamboo stake down into the pot, and add a few greens to the ragged edges. This gold sinamay adds a very festive and absolutely weatherproof holiday note. Sinamay is also known as decor mesh, and it is readily available, should you search for it on your computer.

holiday container arrangements 2 (4)
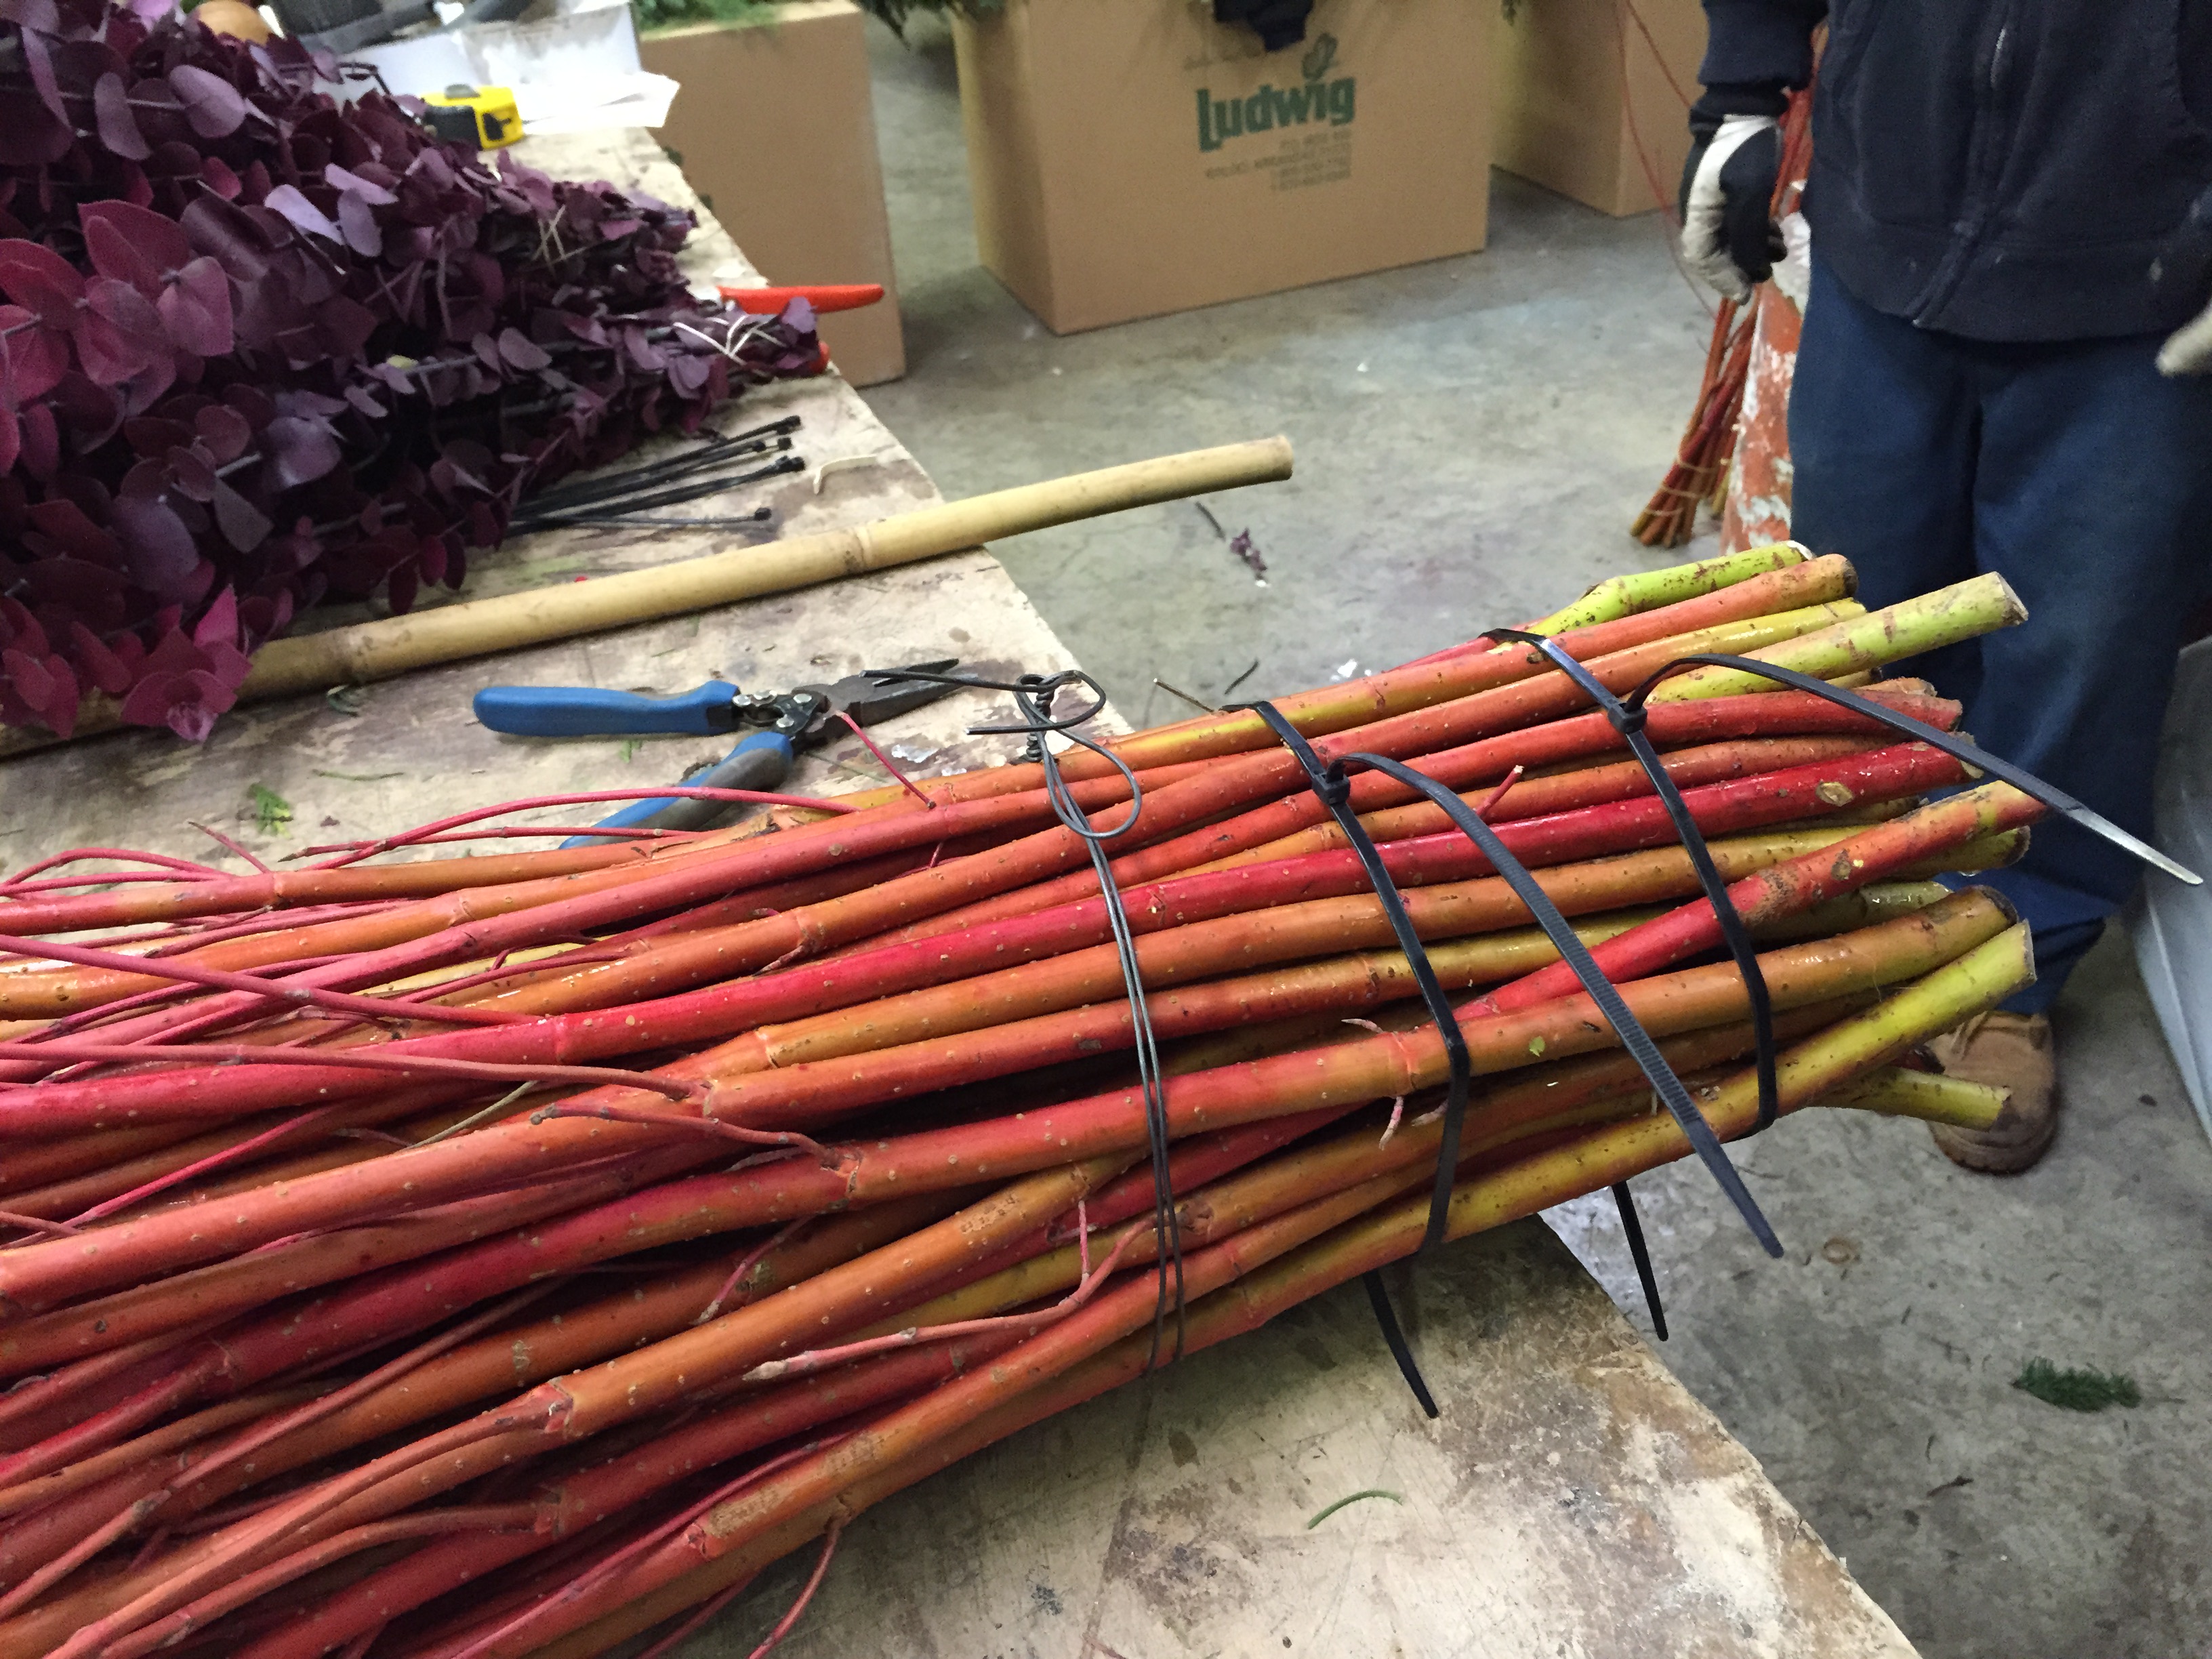
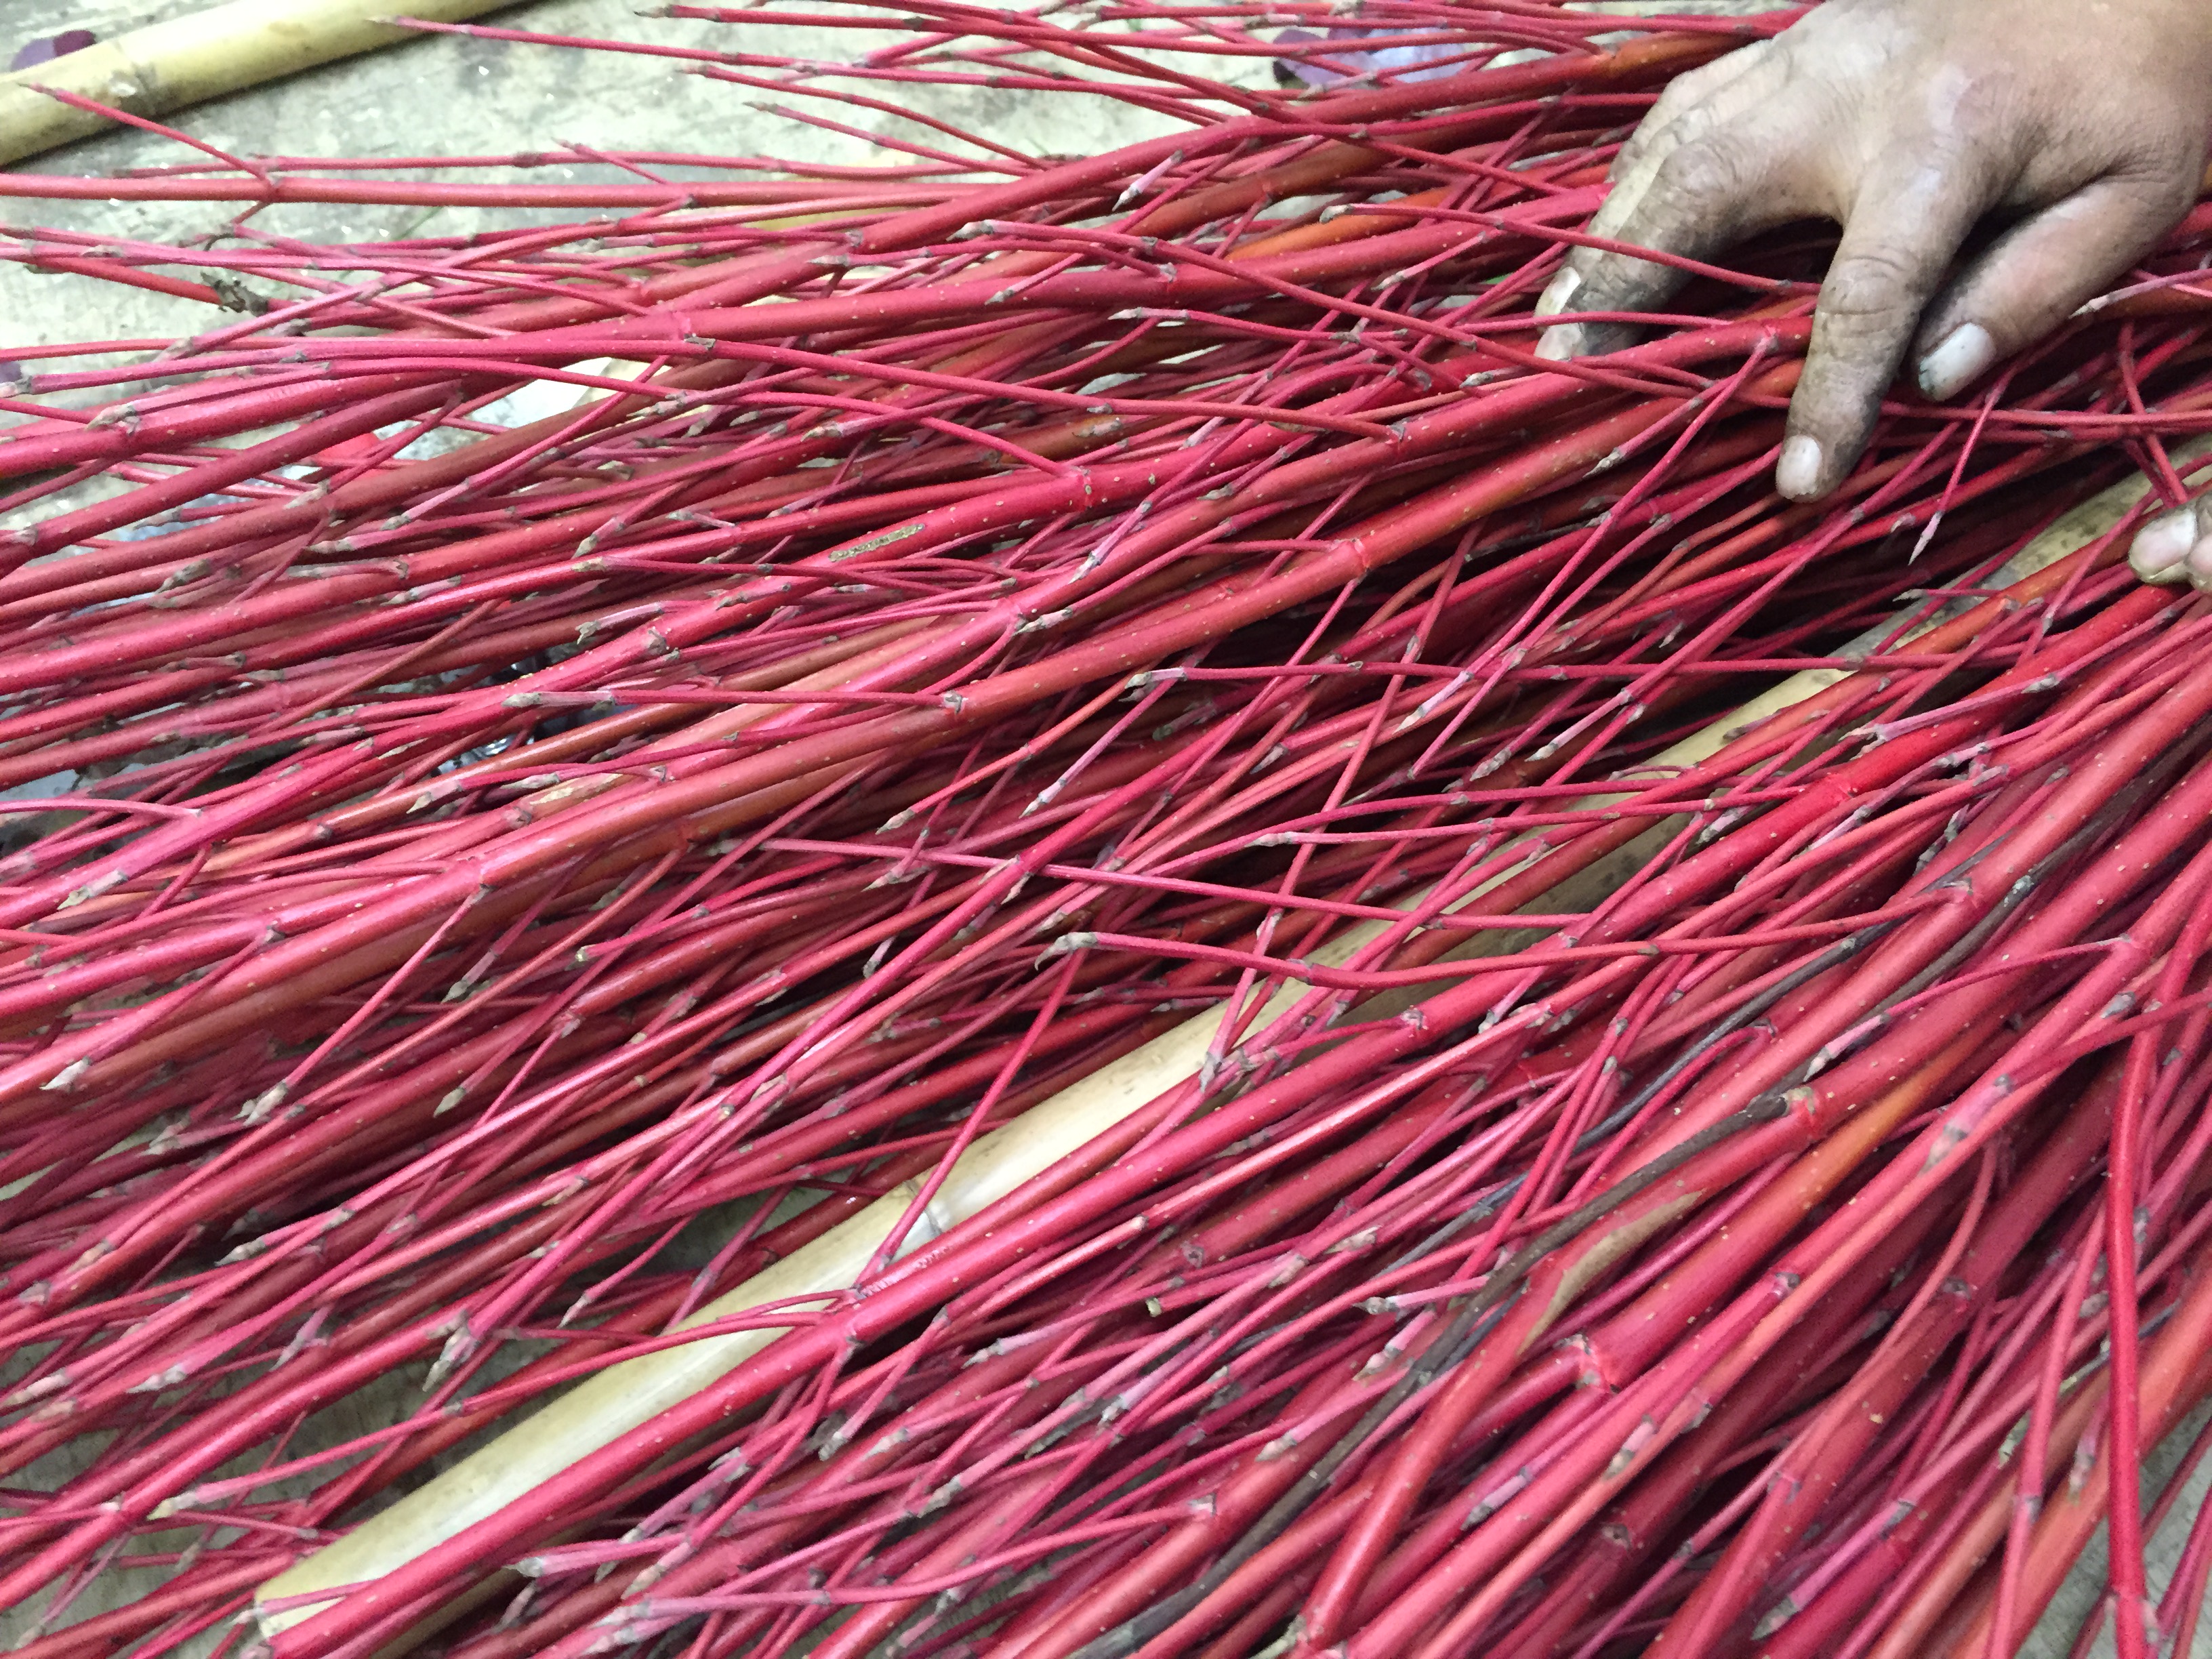
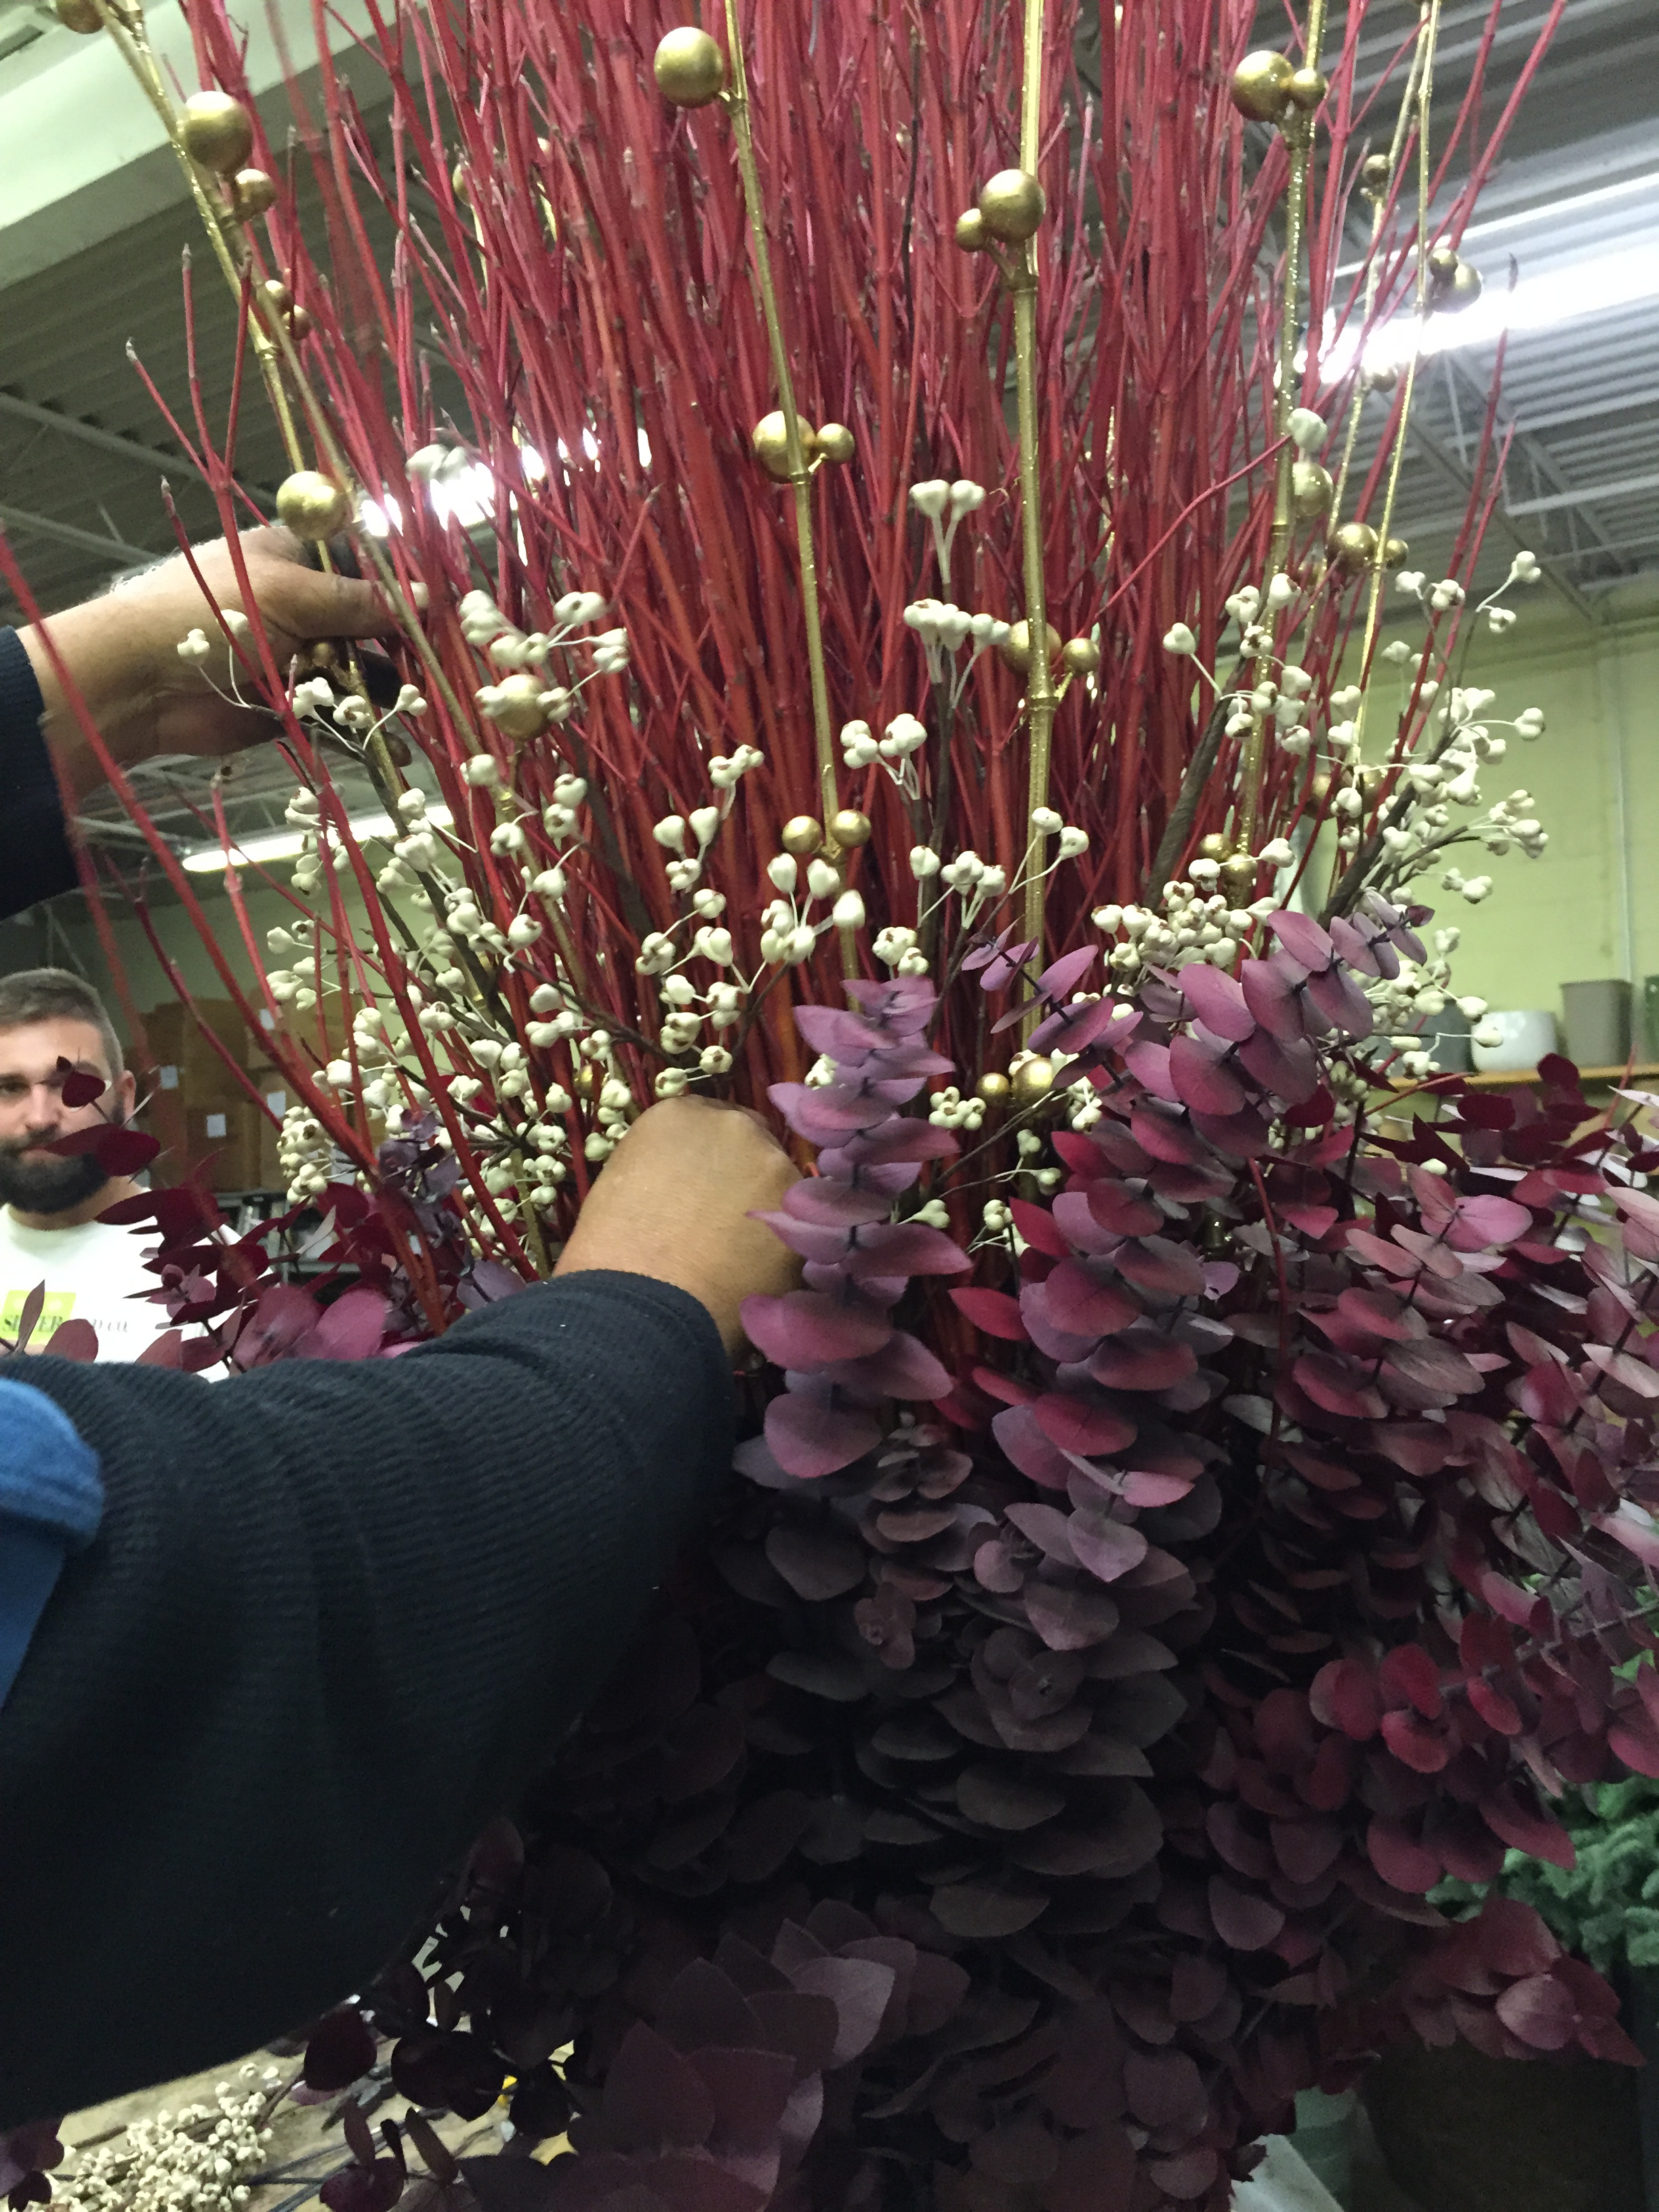
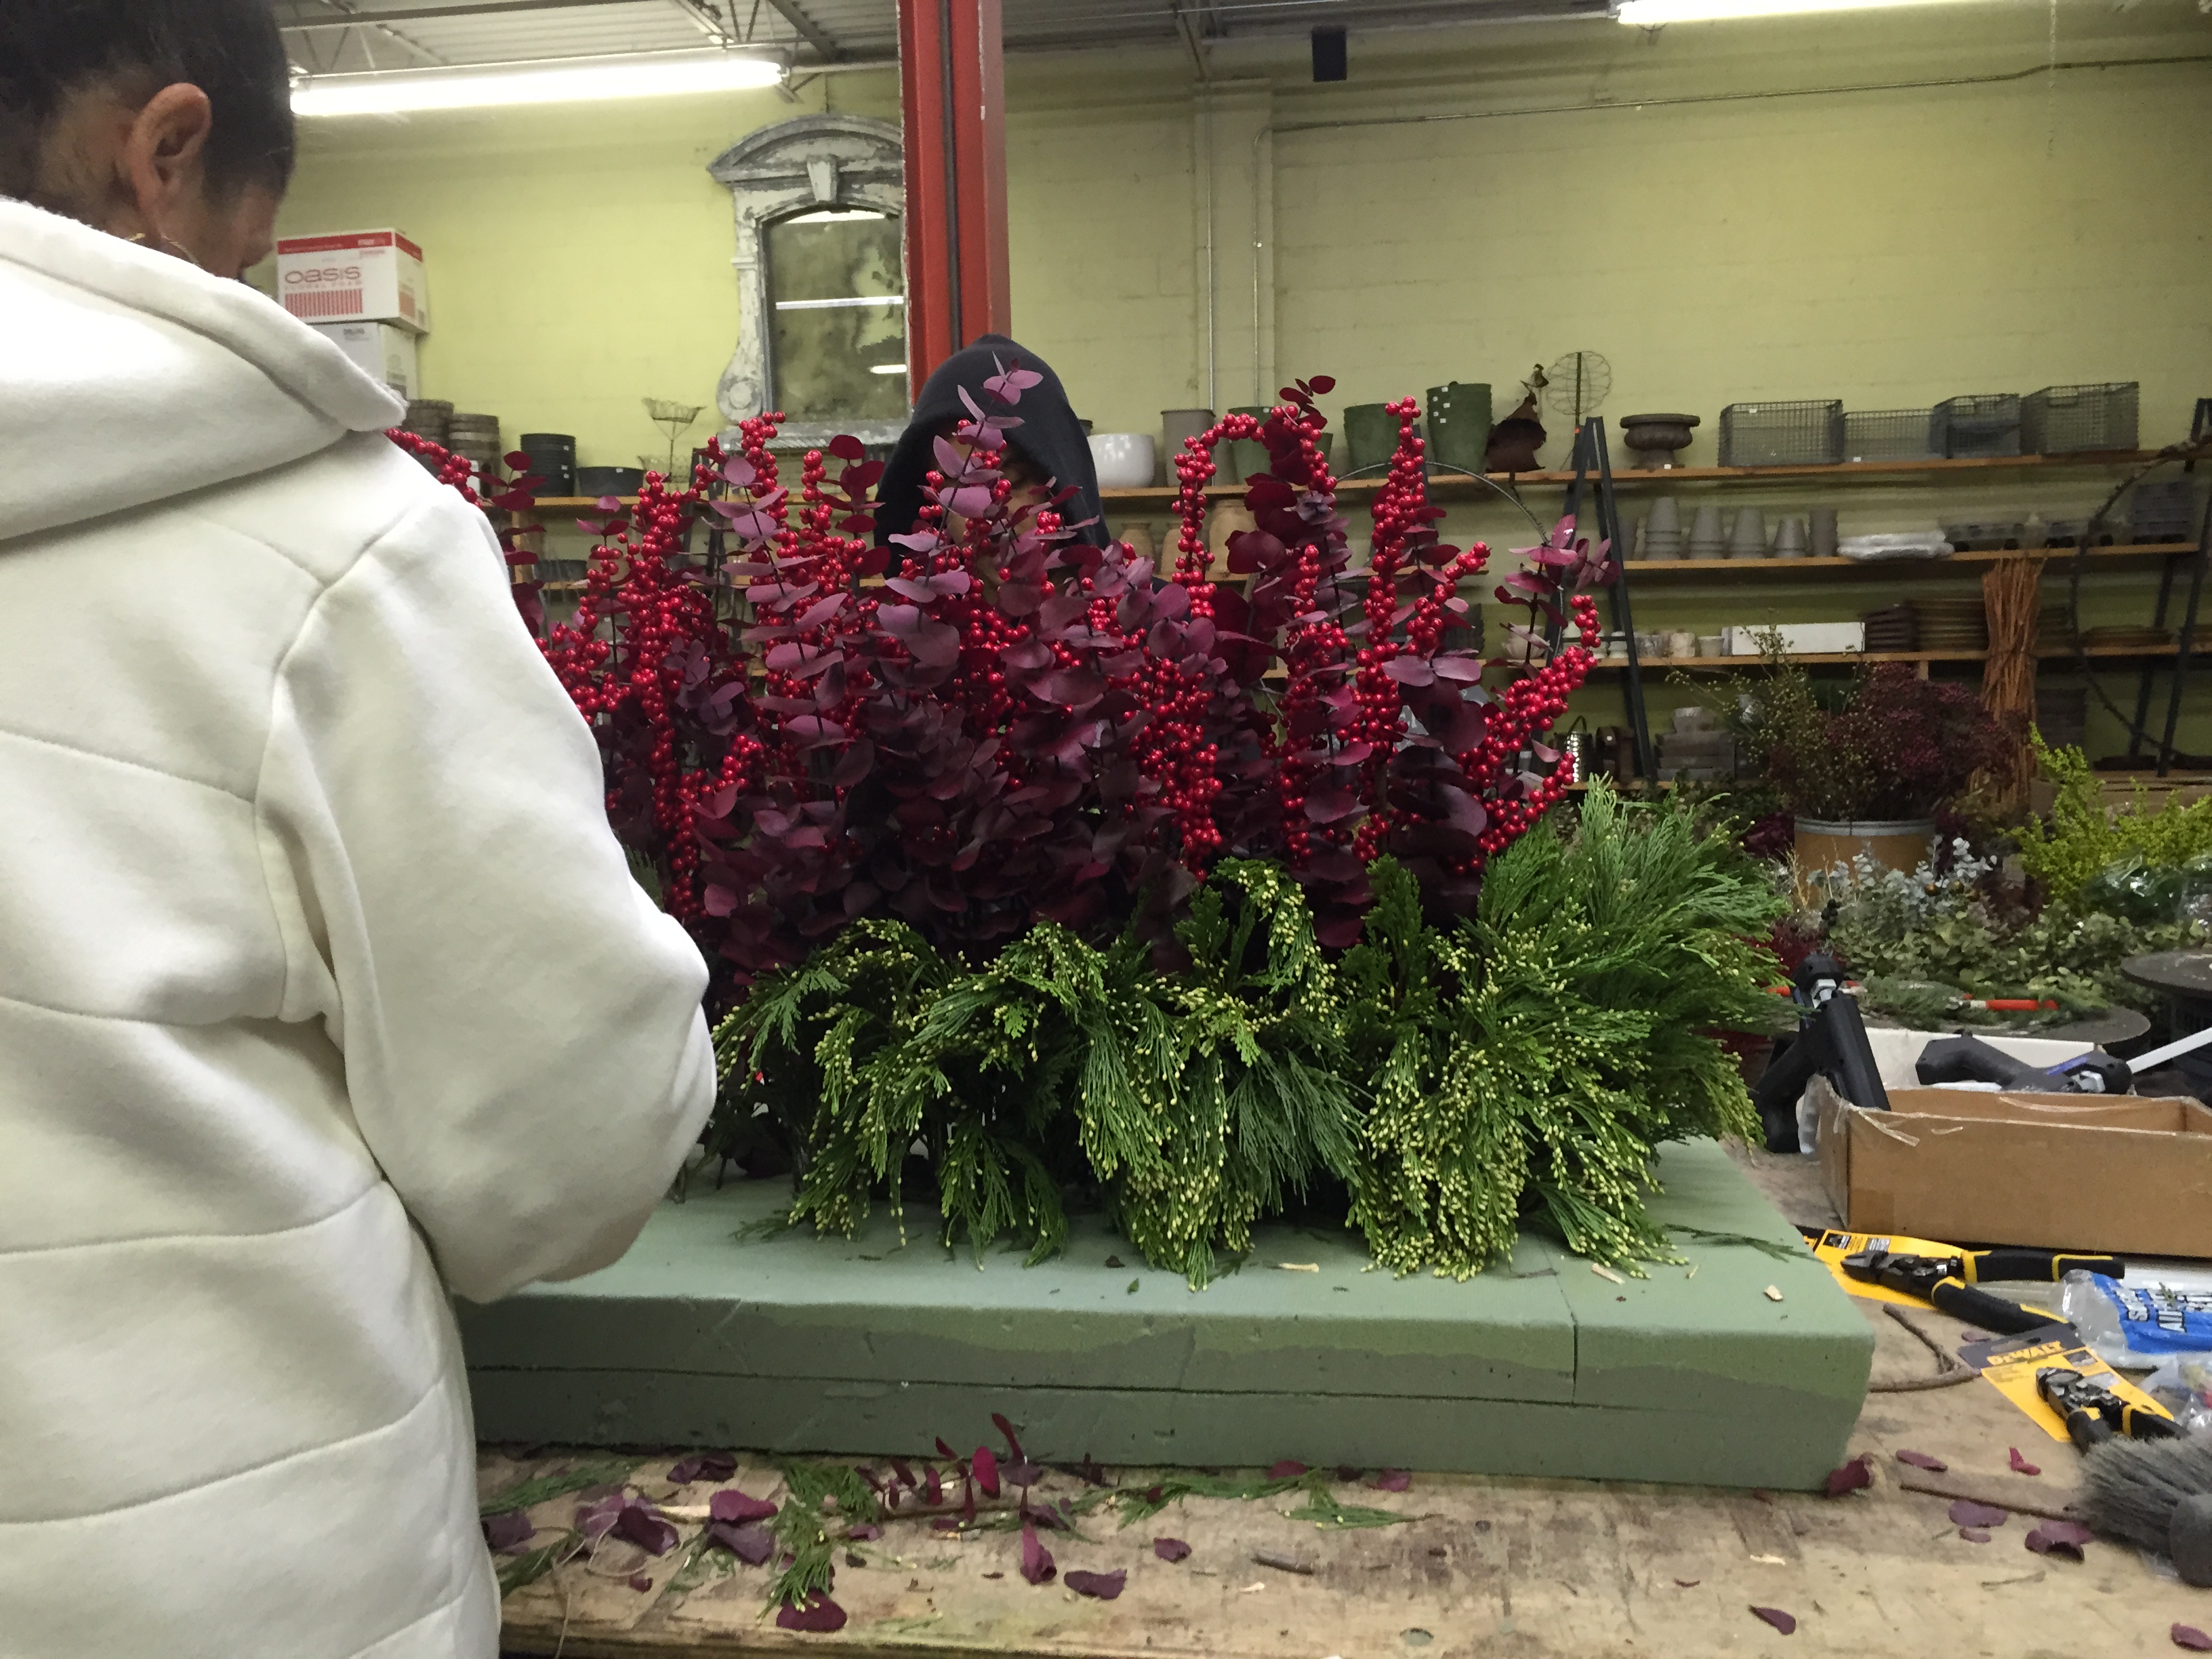
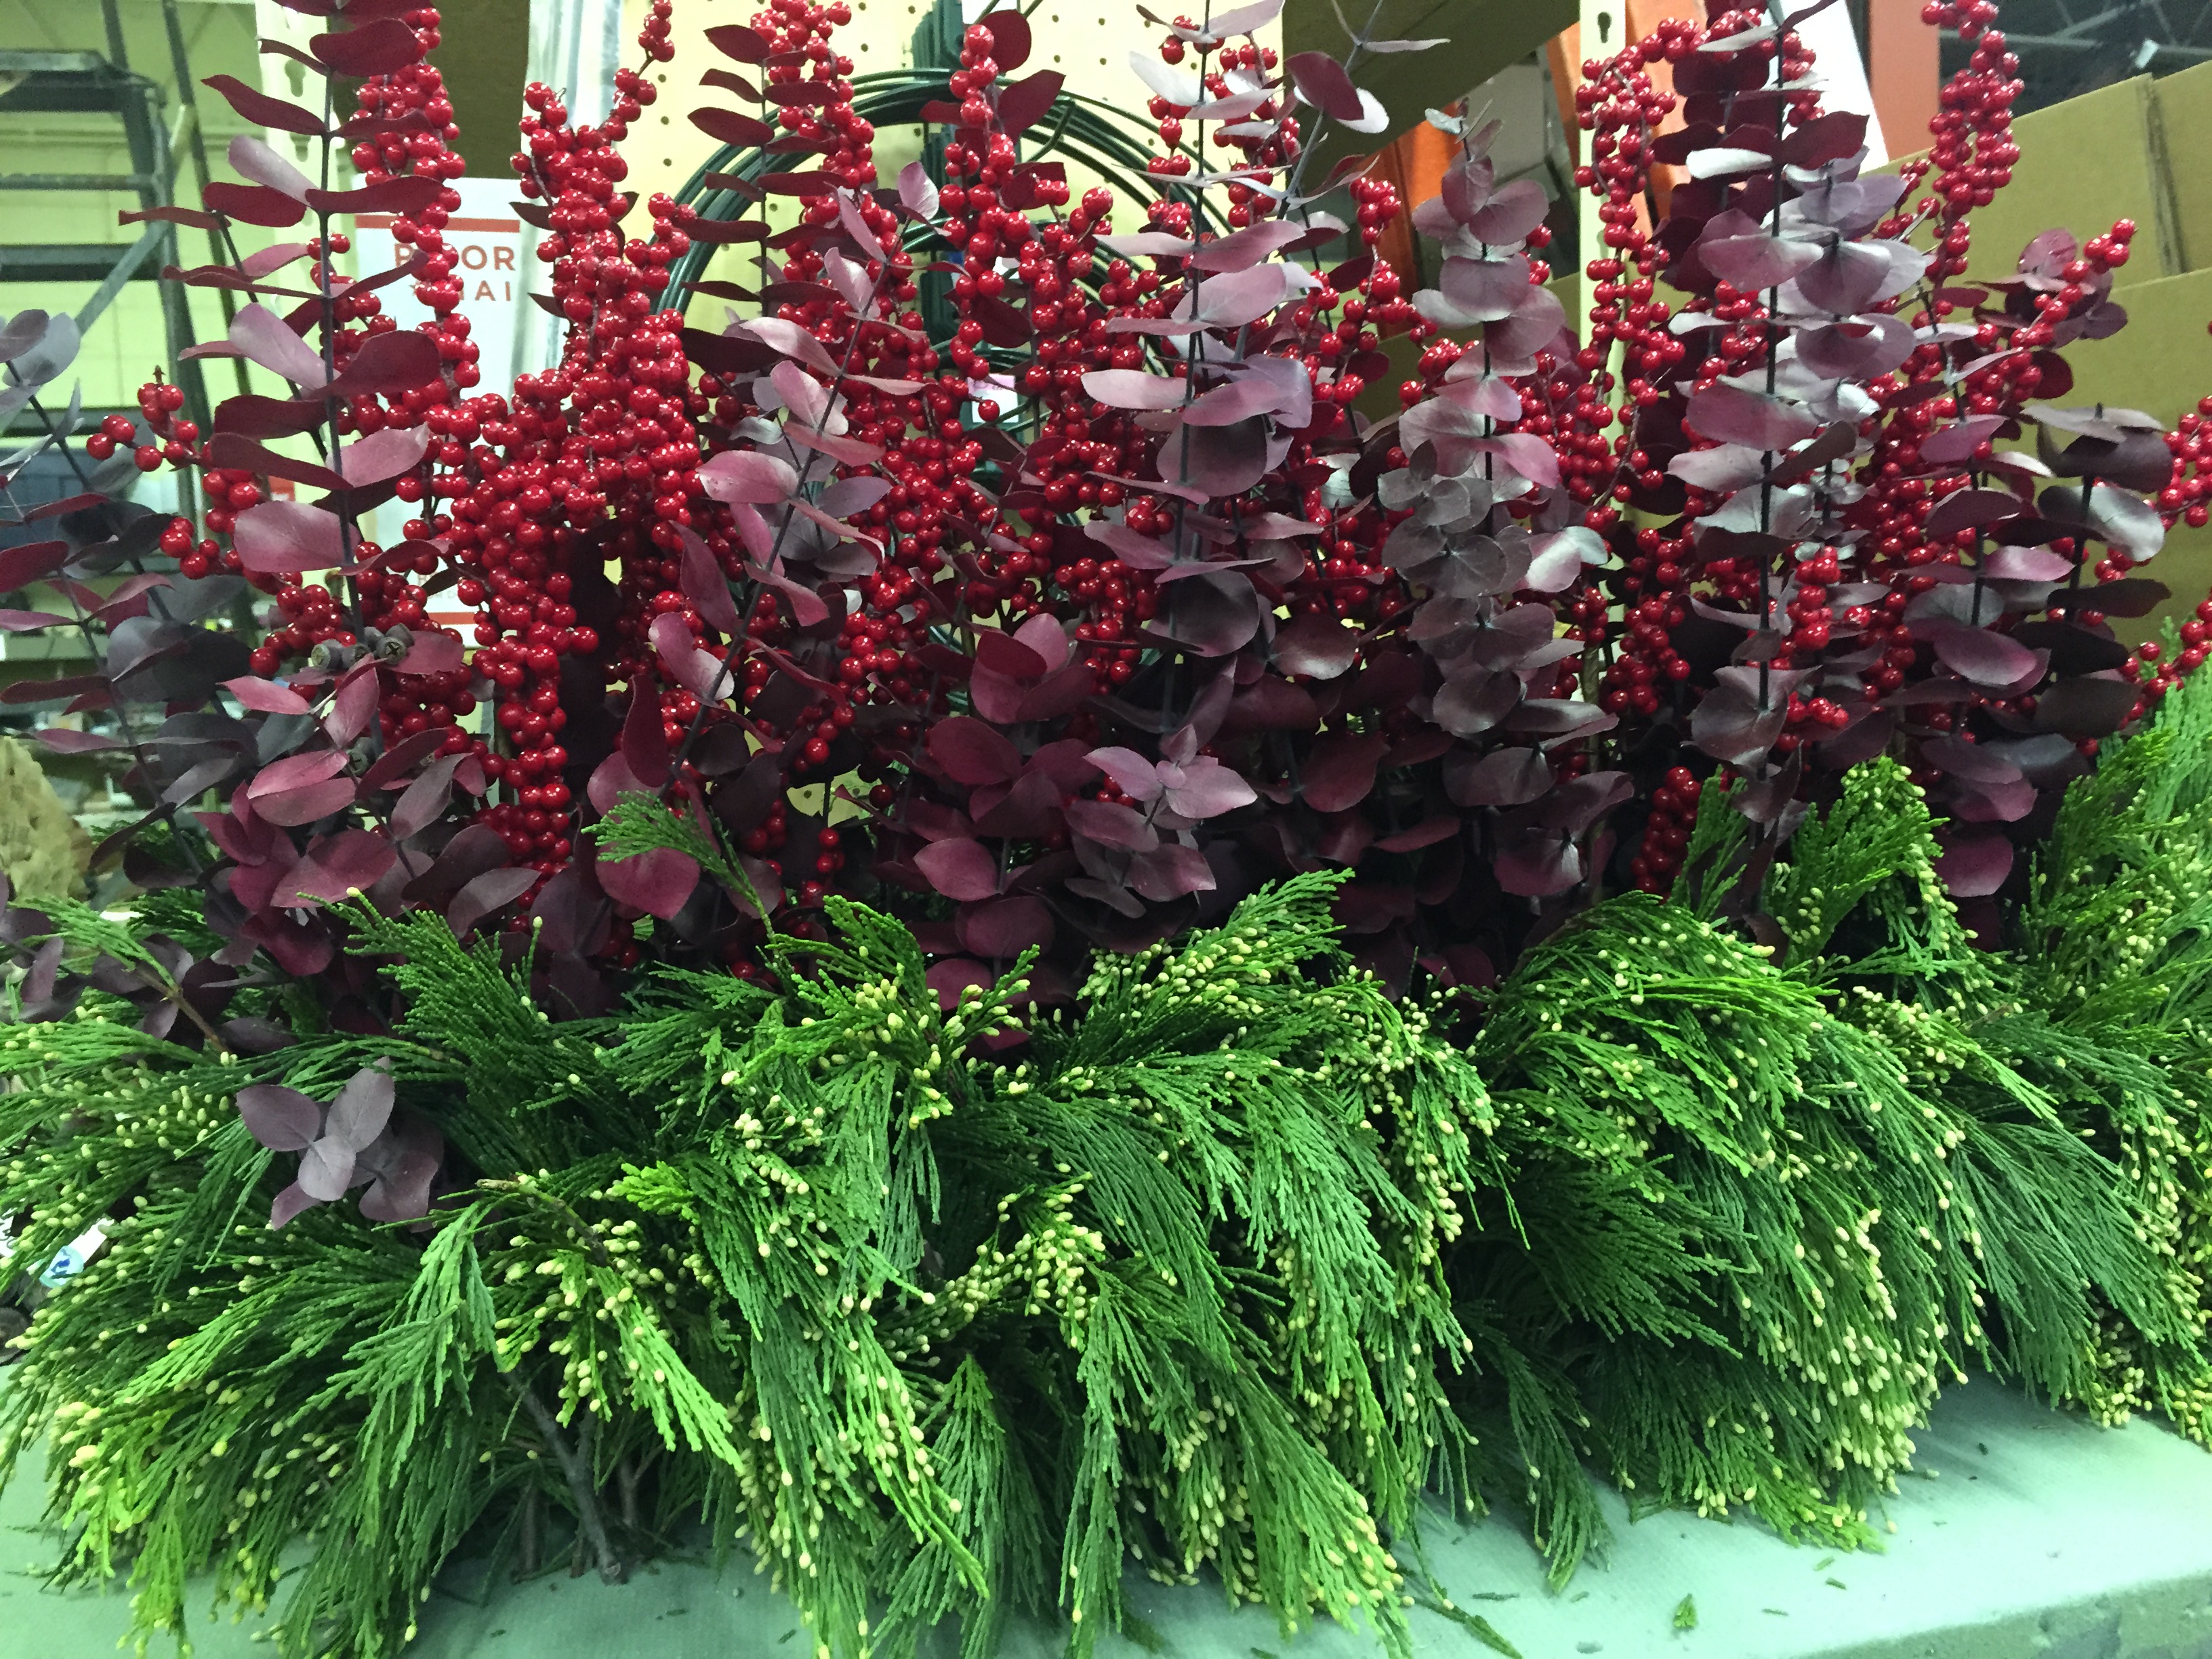
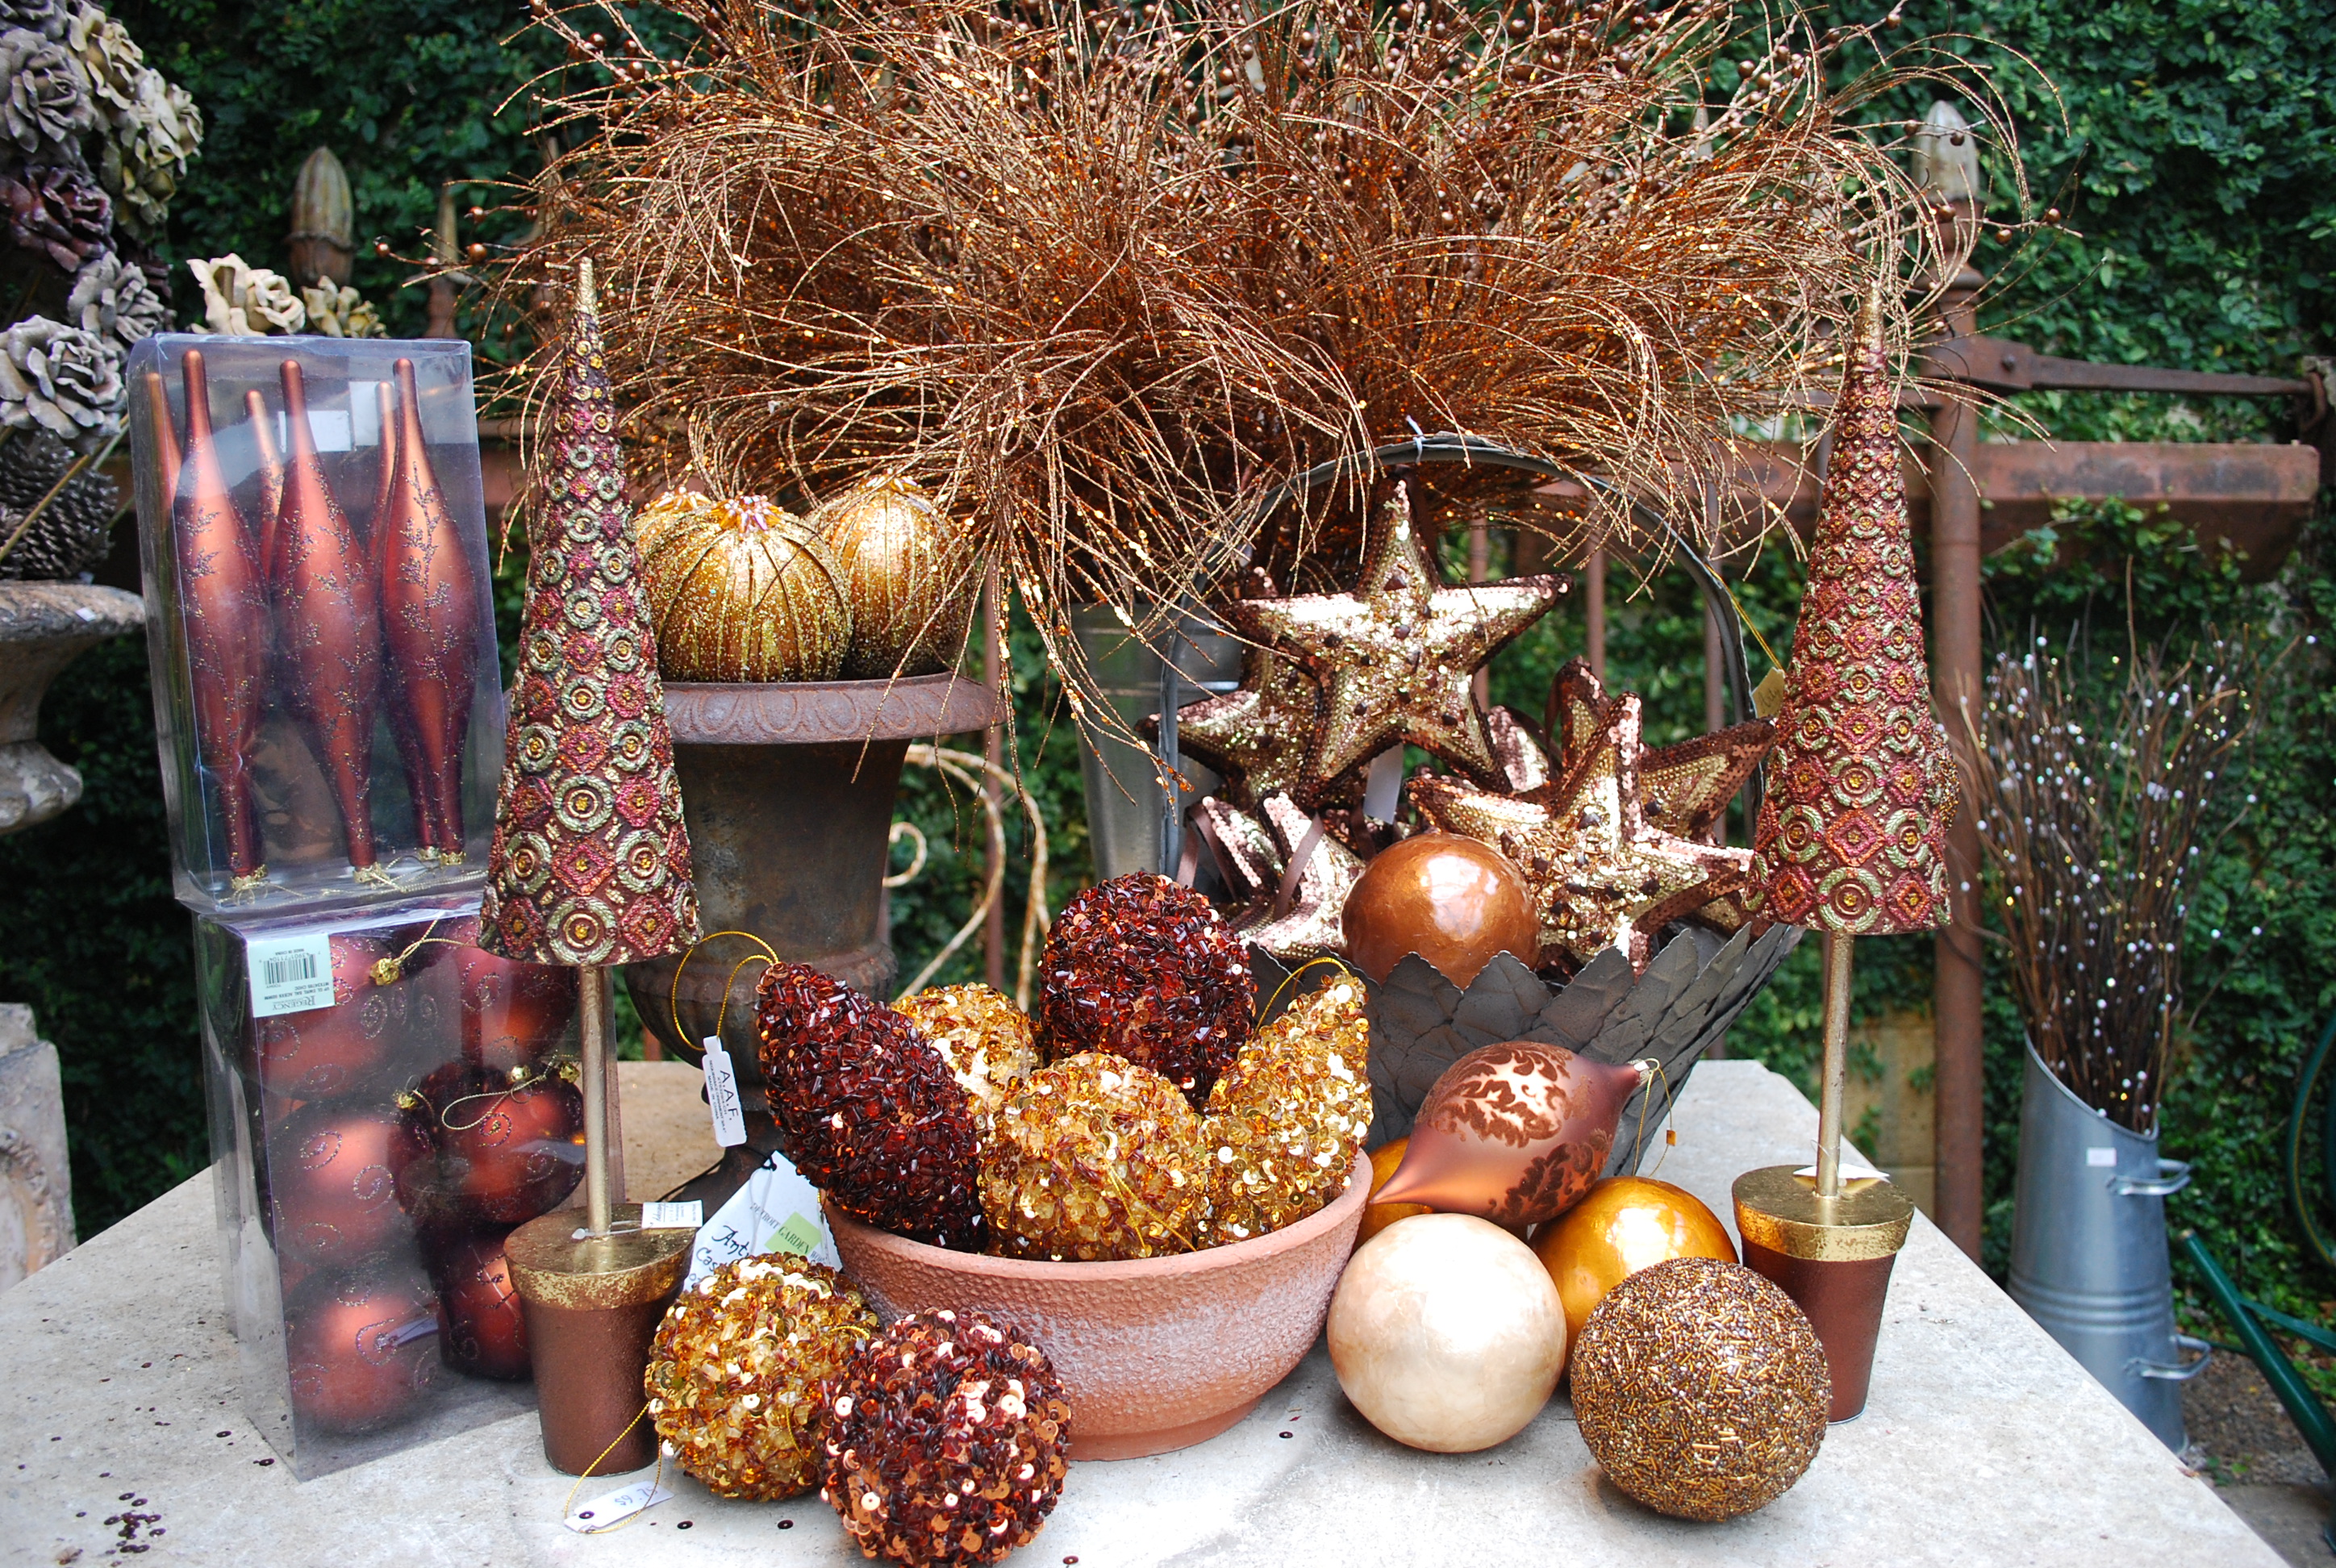
This low rectangular arrangement was finished in its entirety in the shop.  We only added 10 stems of red twig to the center, once the installation was complete. This pot is festive and dressy.

holiday container arrangements 2 (6)
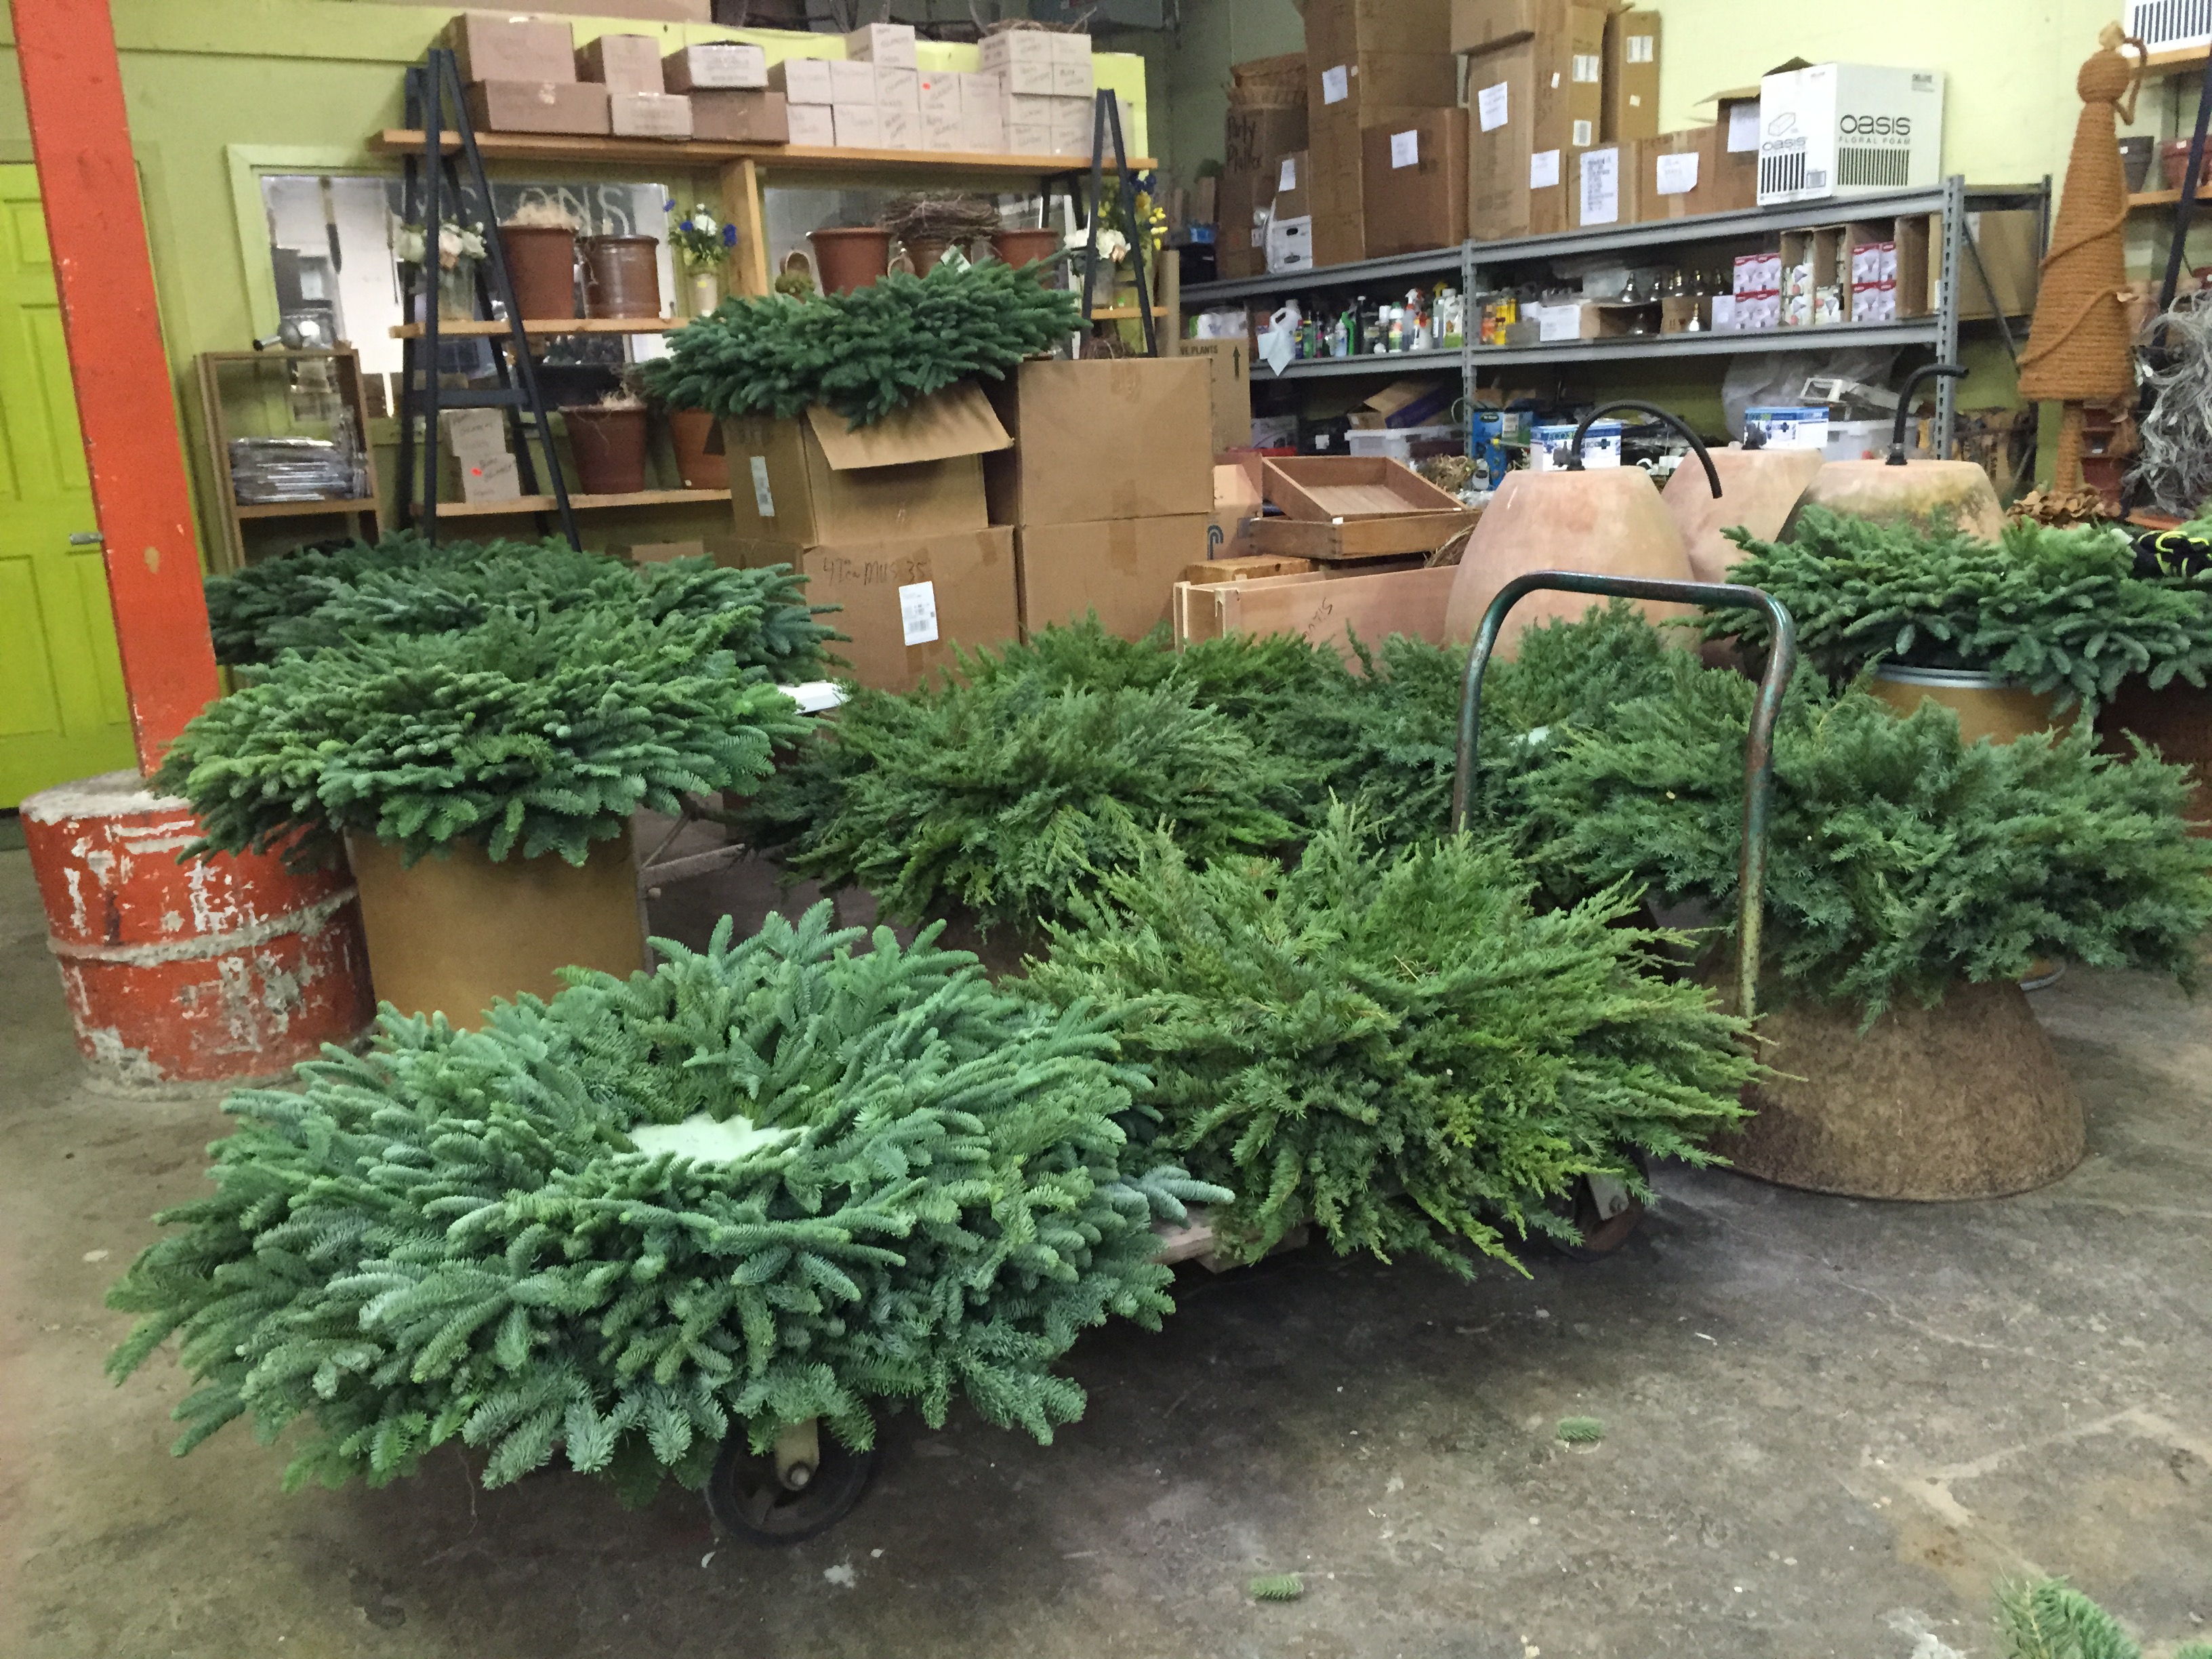
Every pot got filled. If I have a container I do not intend to fill for the winter, I put it away. A container in the landscape that is left empty for the winter is a missed opportunity to garden. I have one very special, sculptural, and old French pot in my landscape that I never plant.  That empty pot, and the weather acting on it, has a significance to me that I cannot really explain.  Some garden ornament evokes very strong feelings, and that can be enough.  But all of these pots needed filling.  A winter life for a garden and its head  gardener can be a good life.

holiday container arrangements 2 (3)
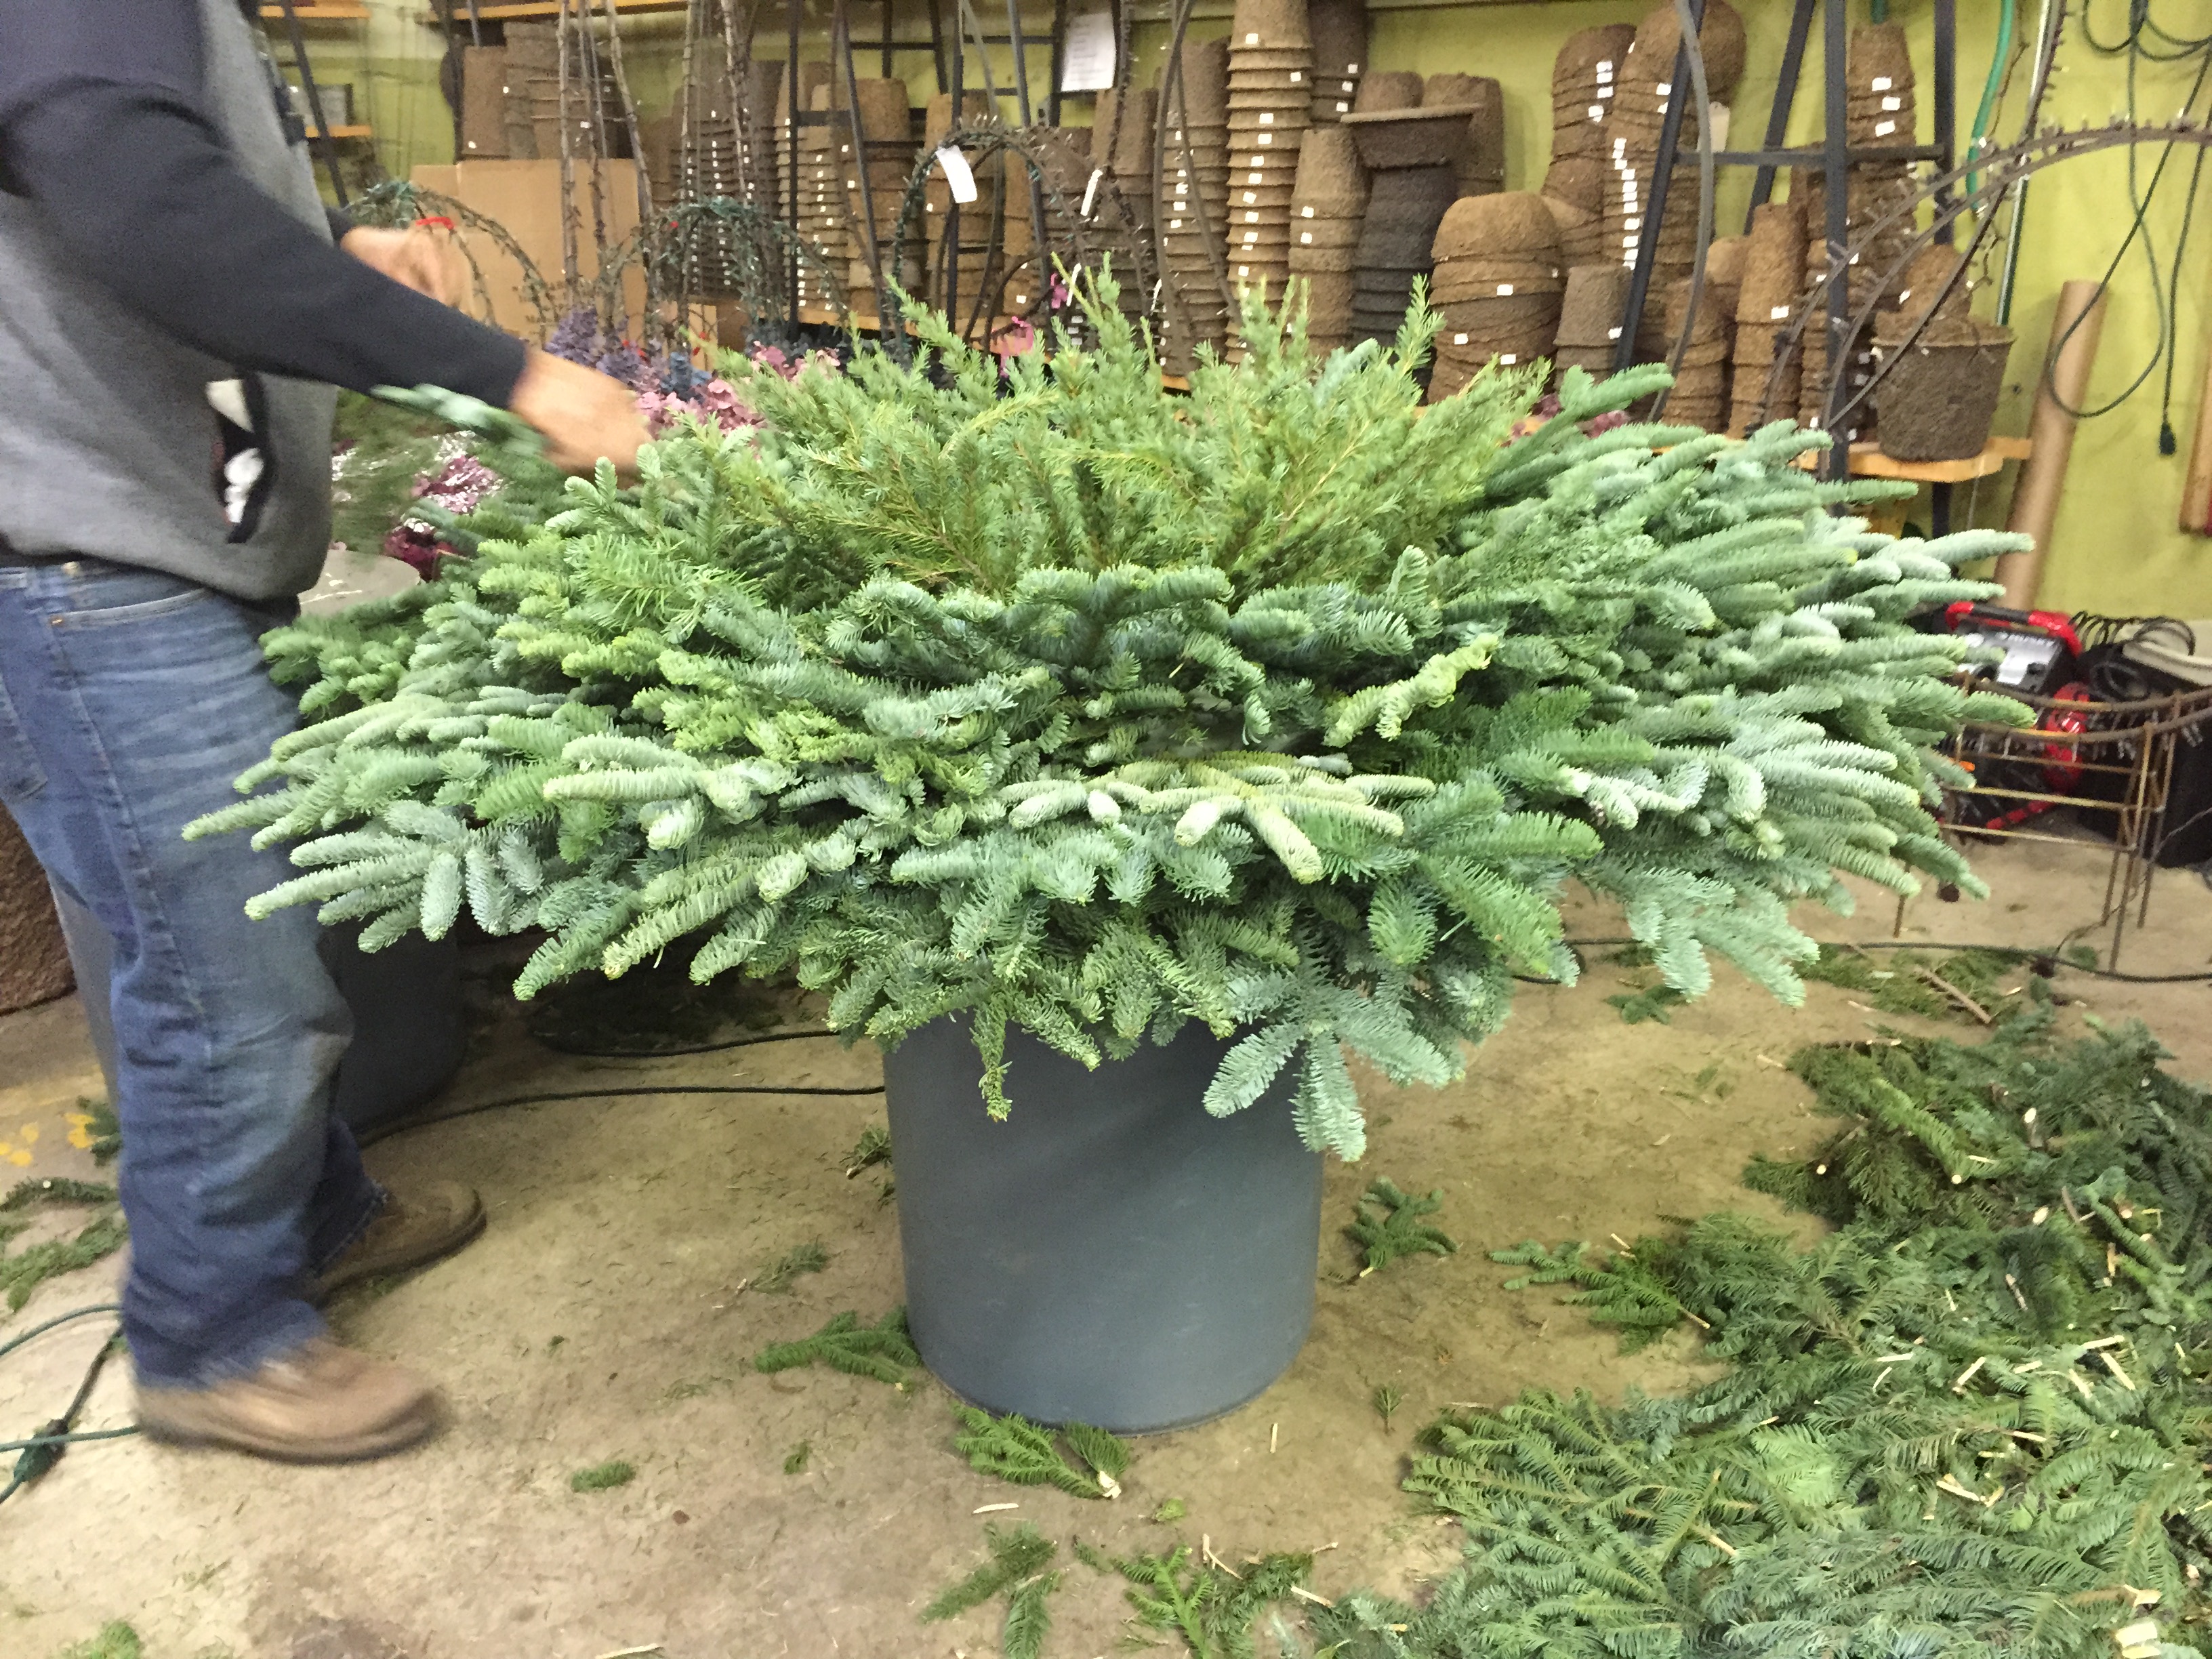
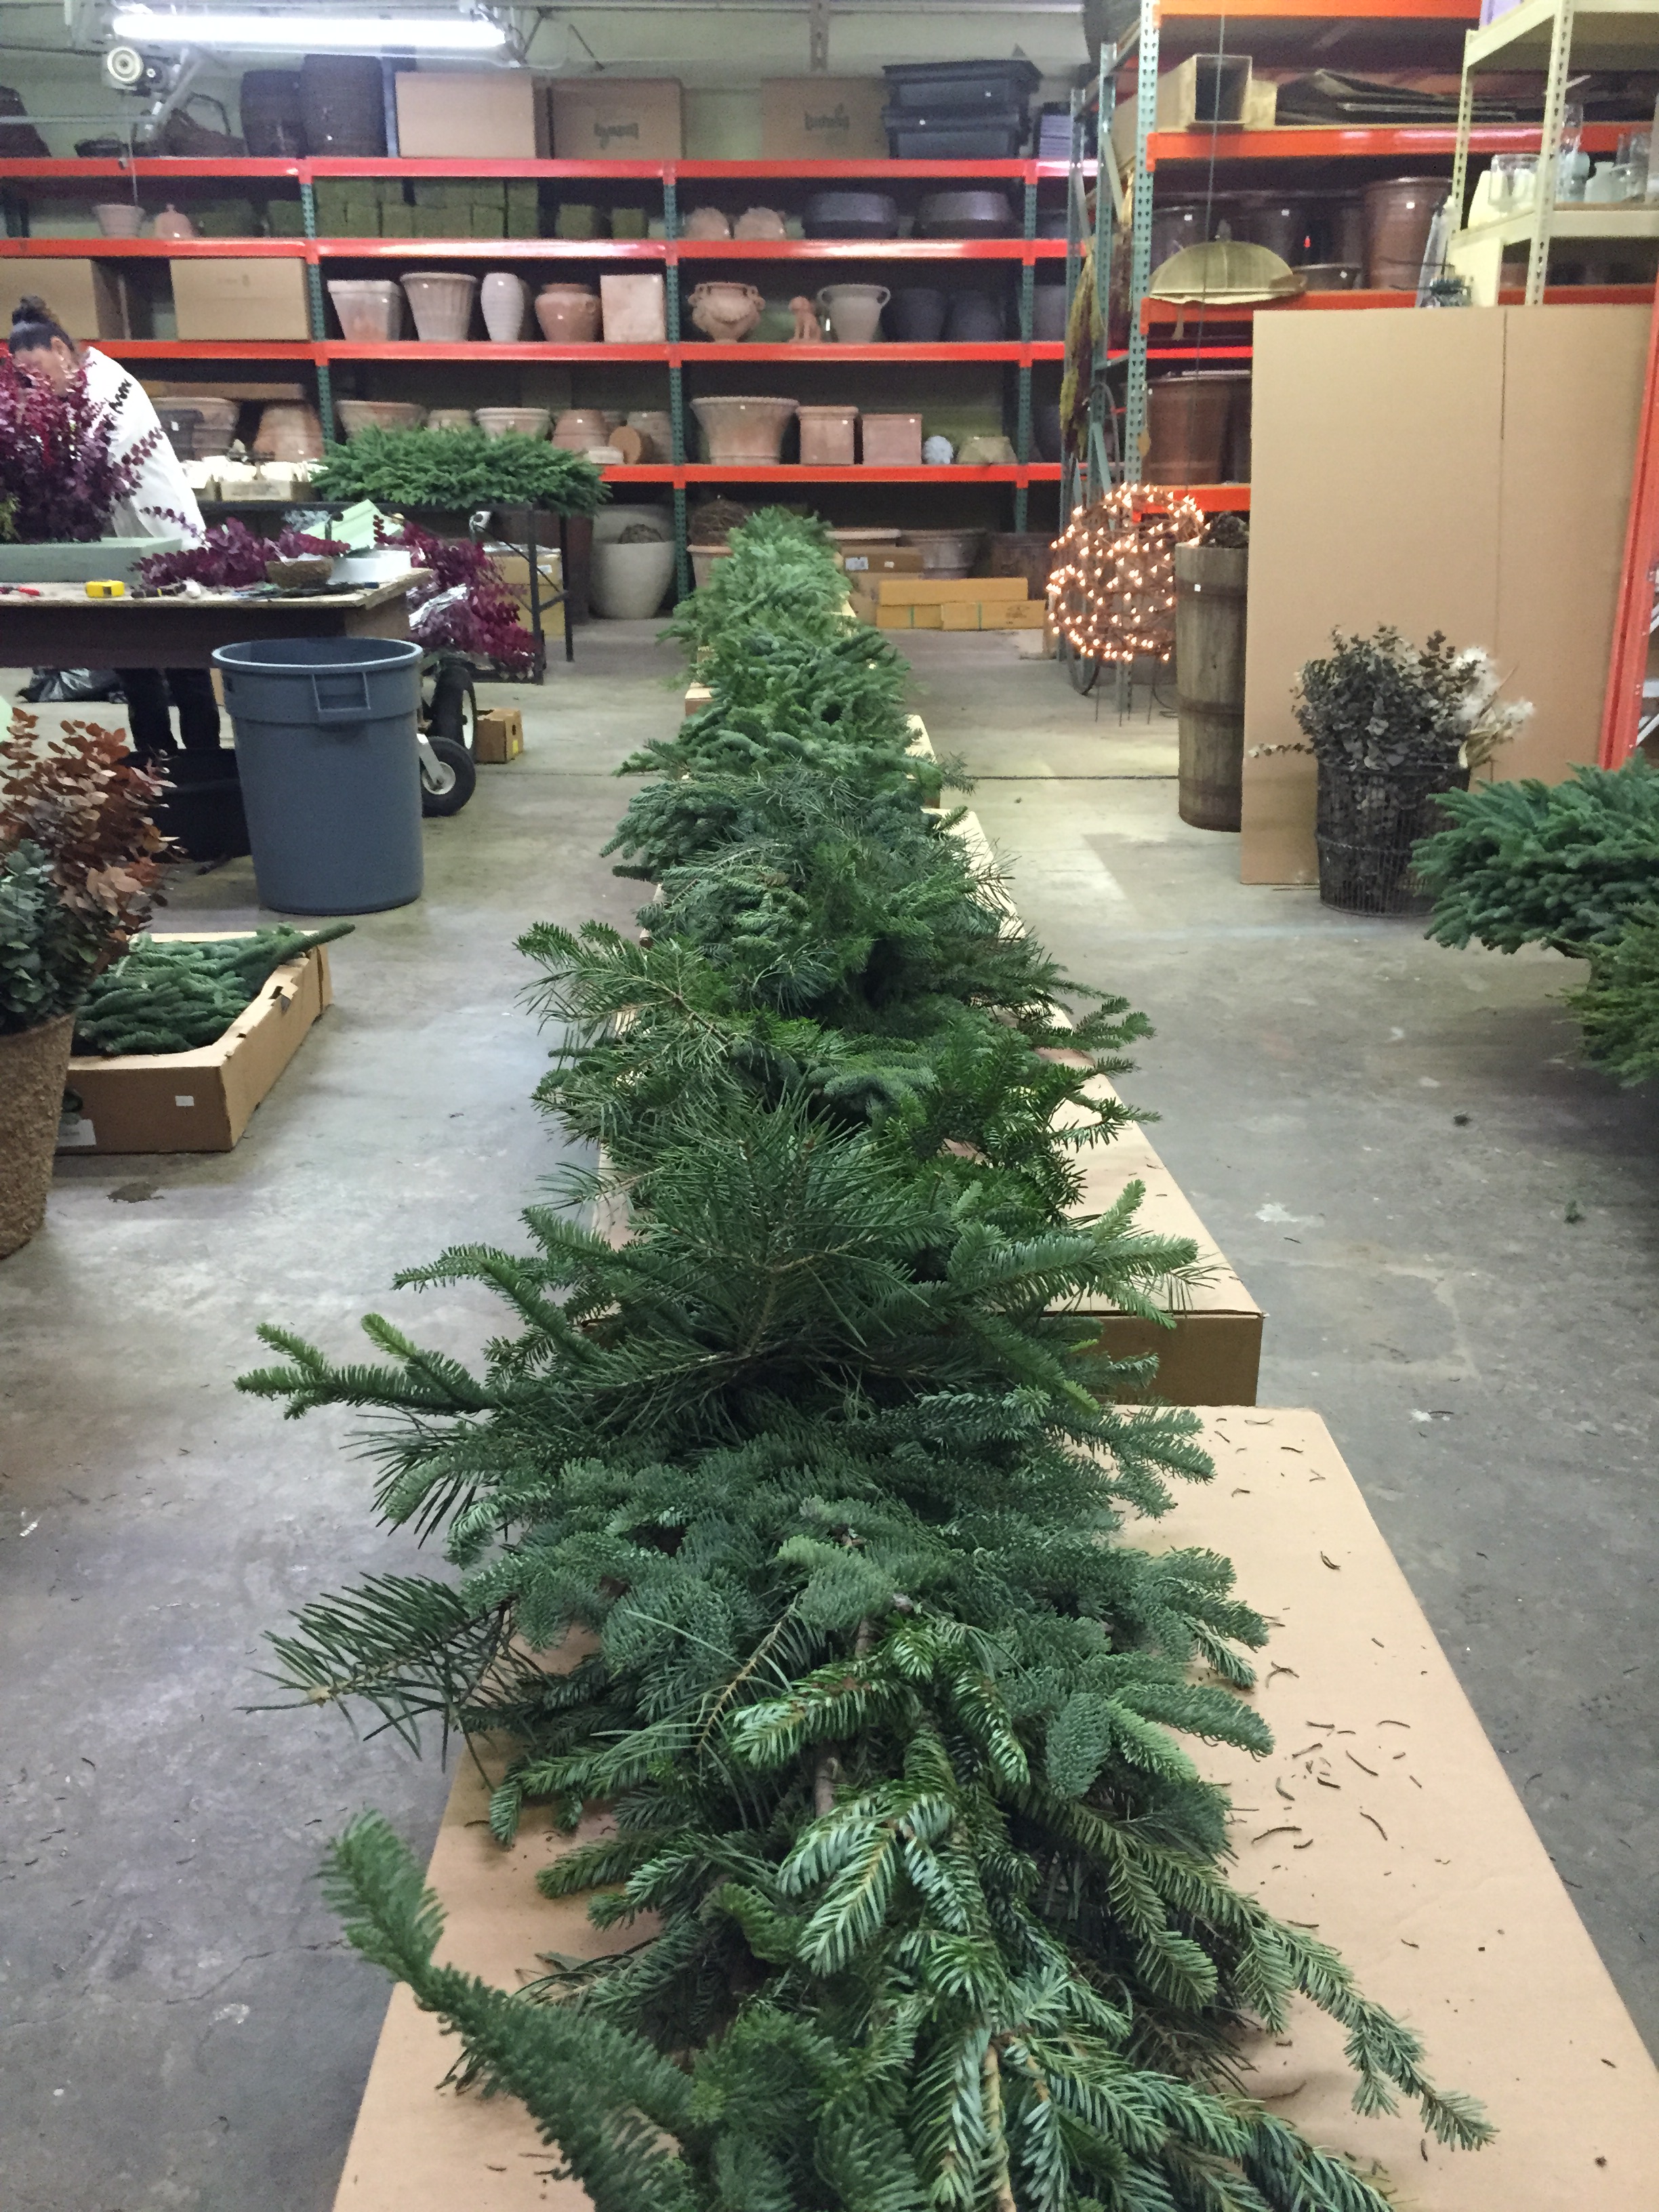
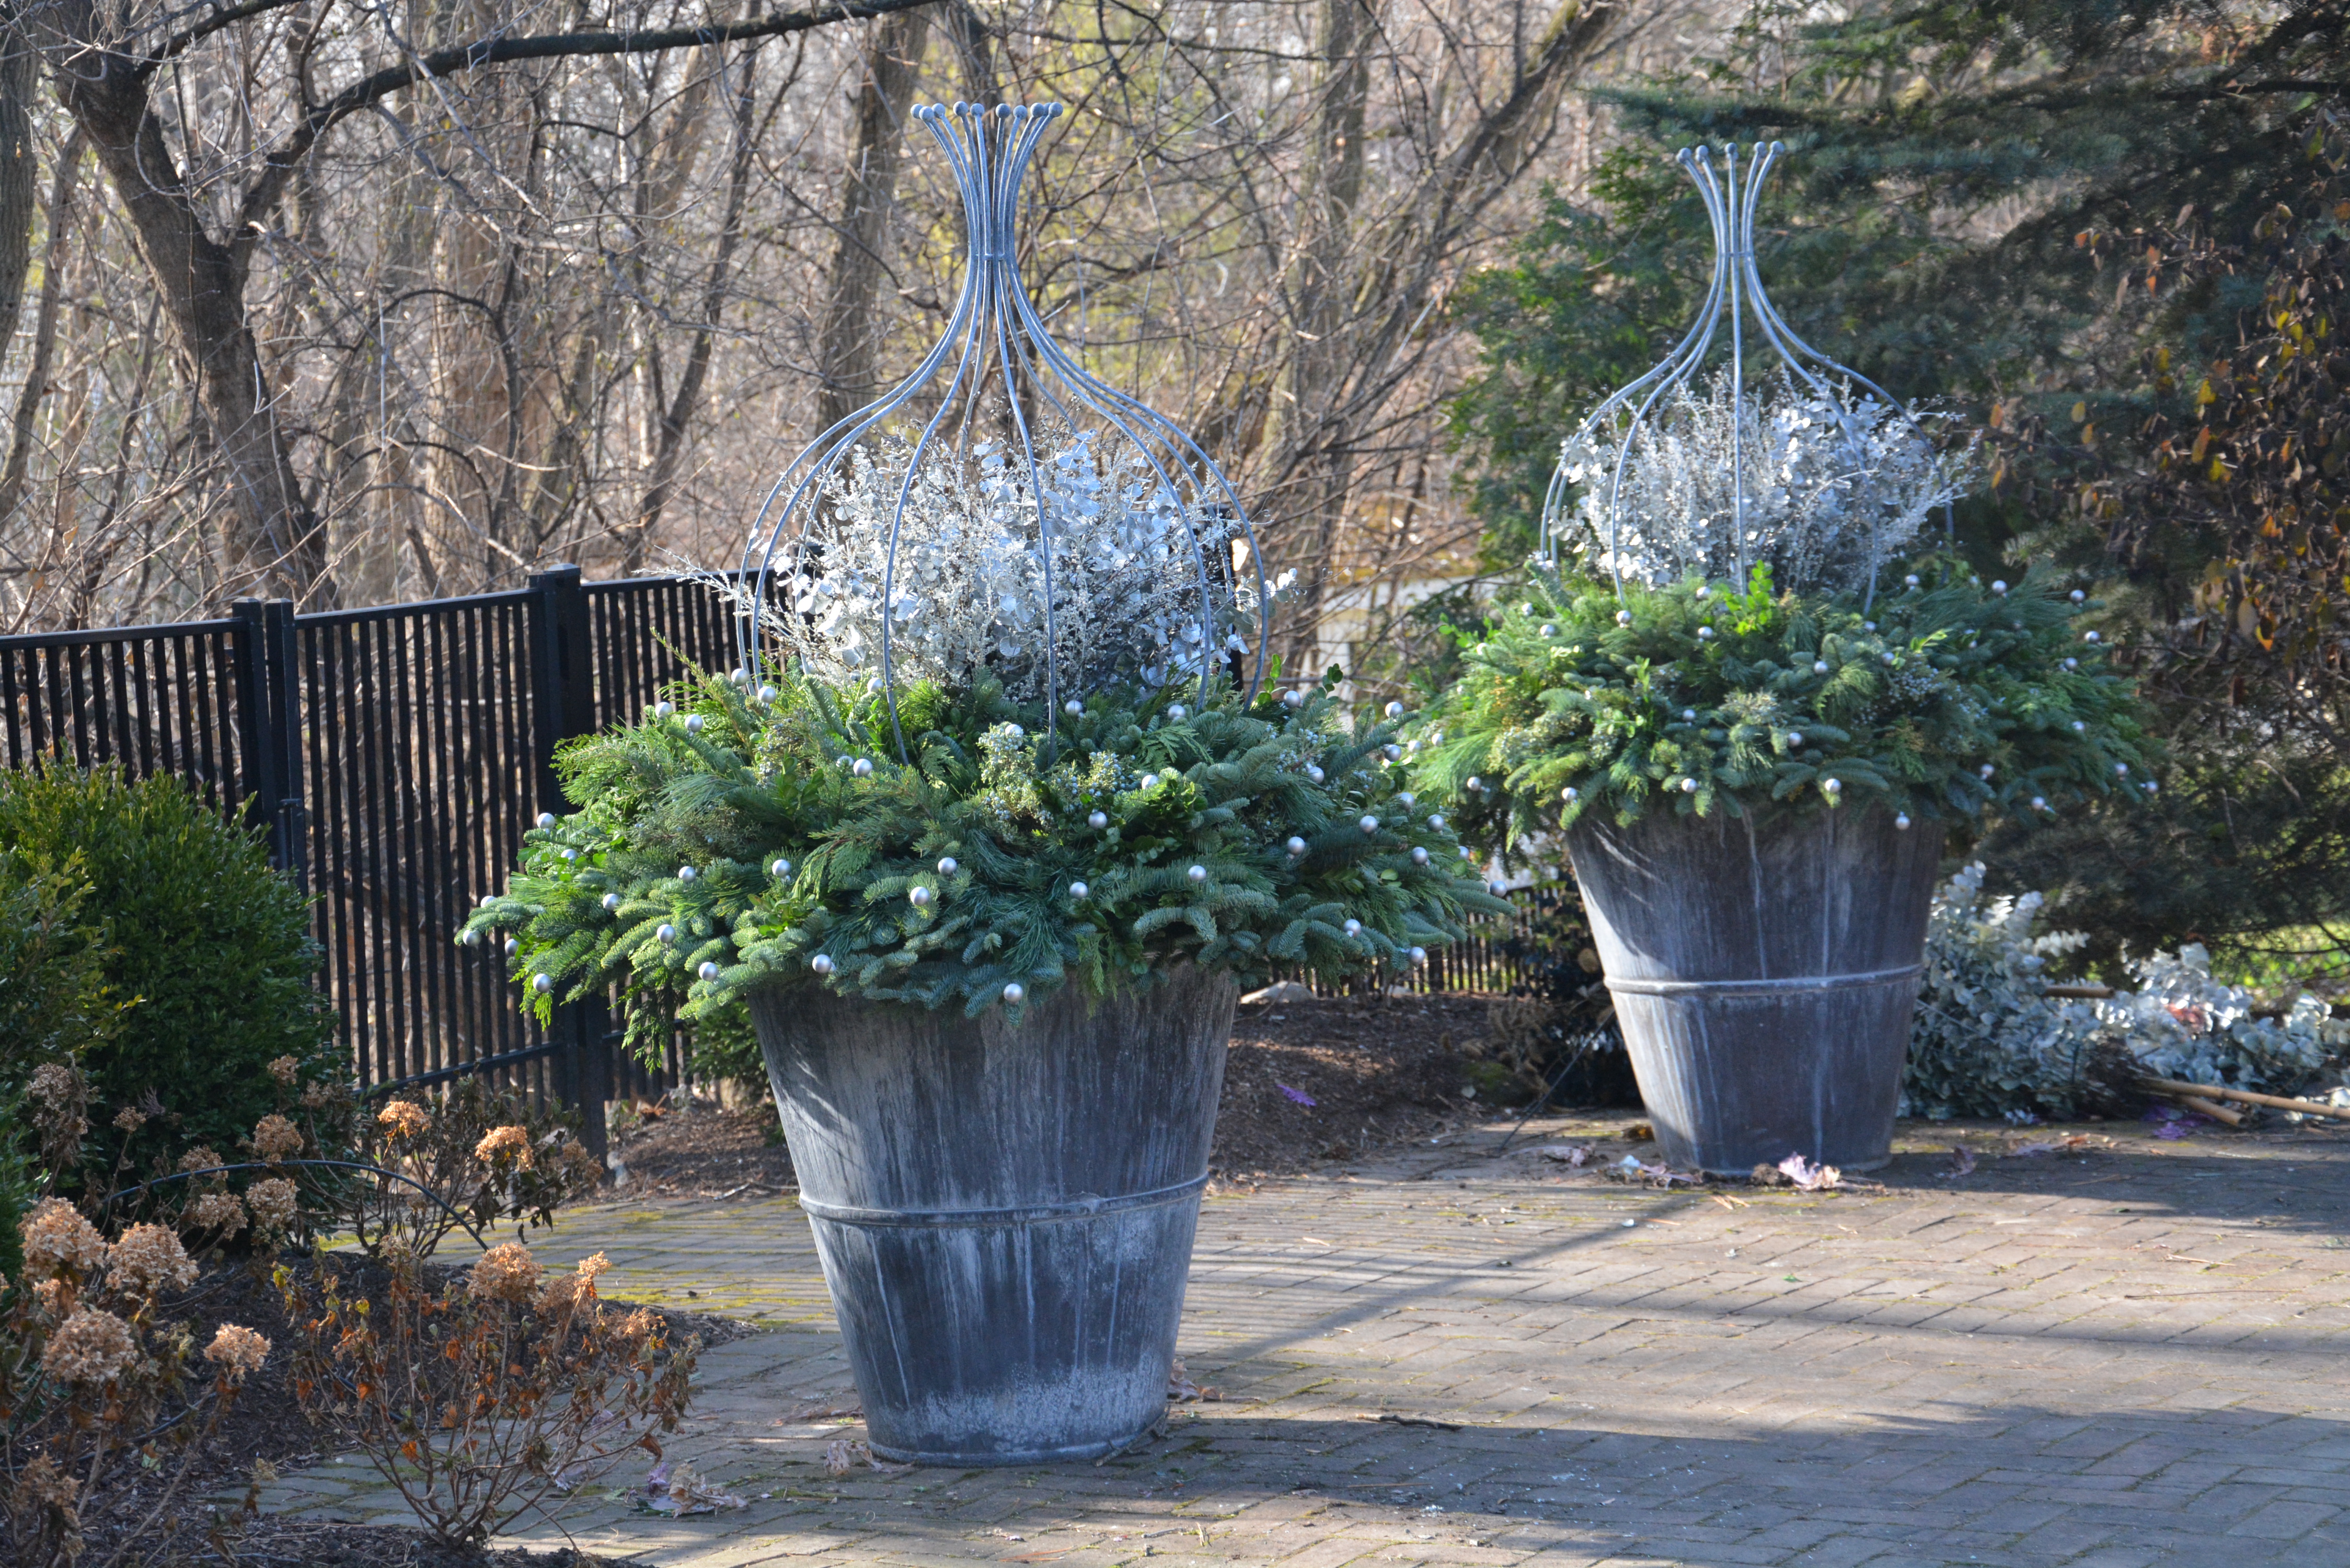
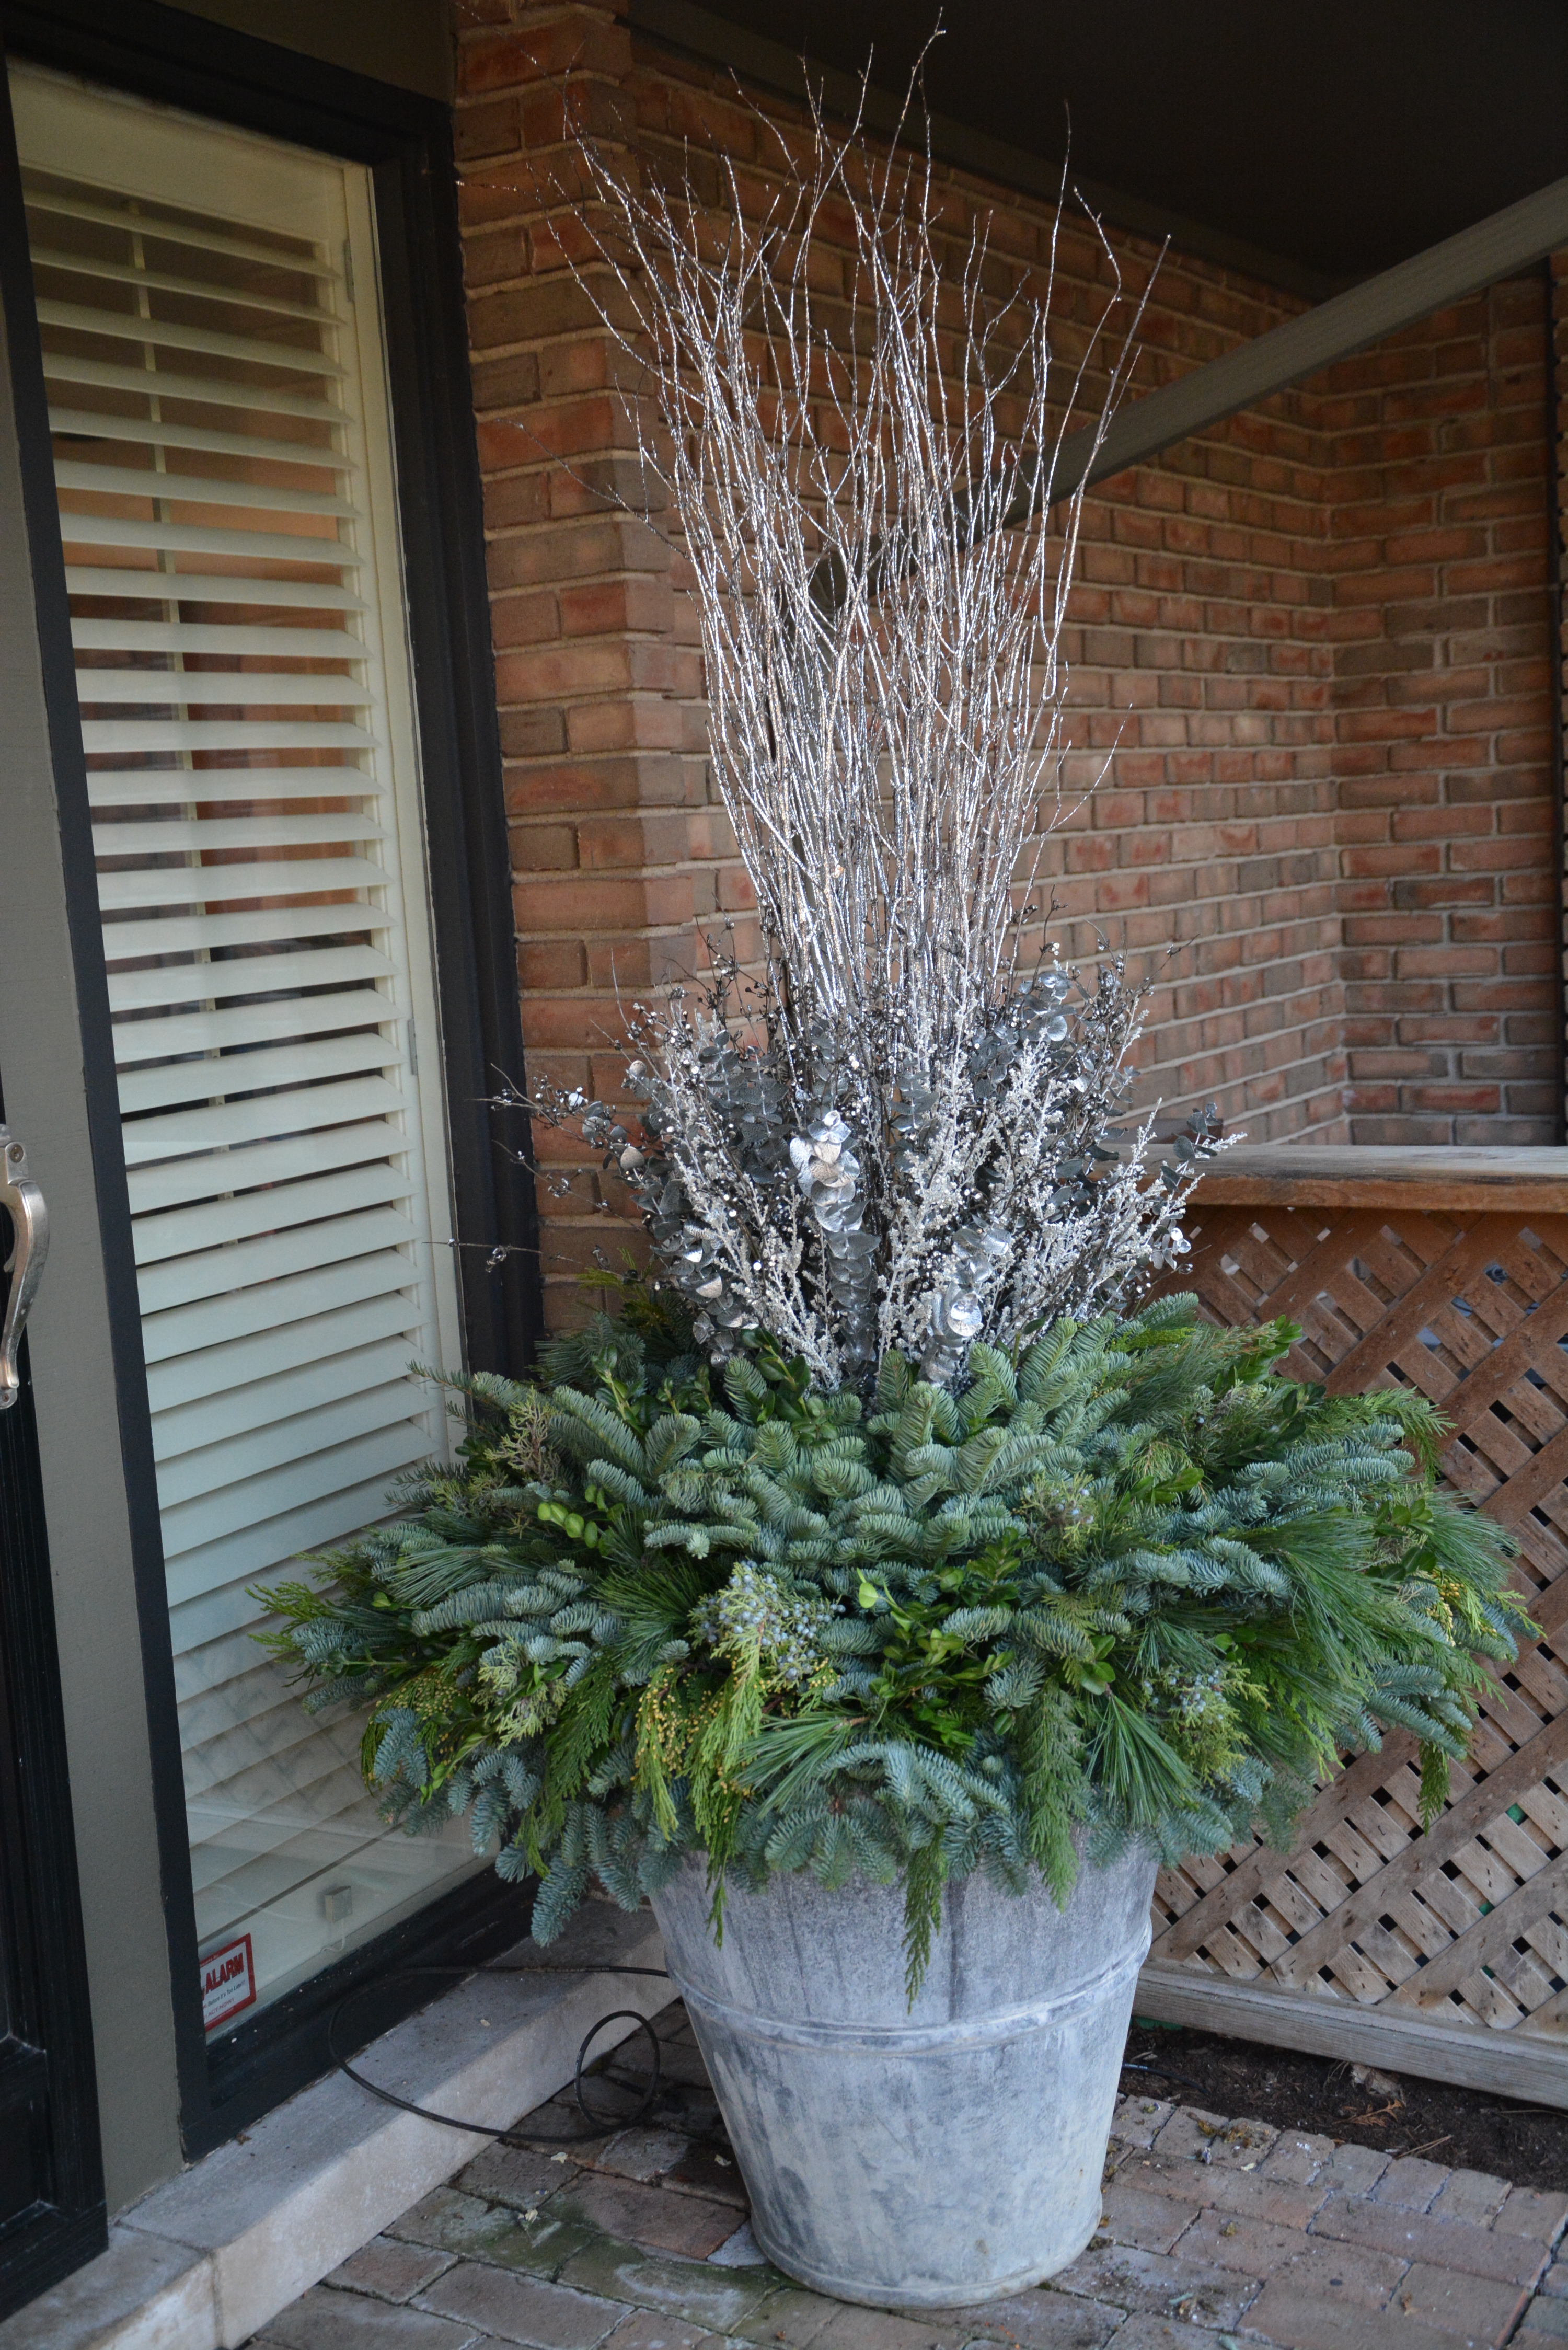
These concrete urns needed to be filled for the winter.  They are not especially fine pots, but there are six of them, and they punctuate a long terrace.  What we have in them is simple. Of particular interest is the choice of greens. Mountain hemlock branches are harvested from trees at very high elevations.  We have to take these greens early in the season.  I could not order them now. These trees are up high, and buried in snow by now. They are perfect for containers in exposed and windy locations. Even in cut form, they will stay green until the end of March.

holiday container arrangements (1)The pots and boxes in the back yard got installed today in fairly steady rain. Our high temperature today was 58 degrees-I will take that, and shrug off the rain.

holiday container arrangements (8)
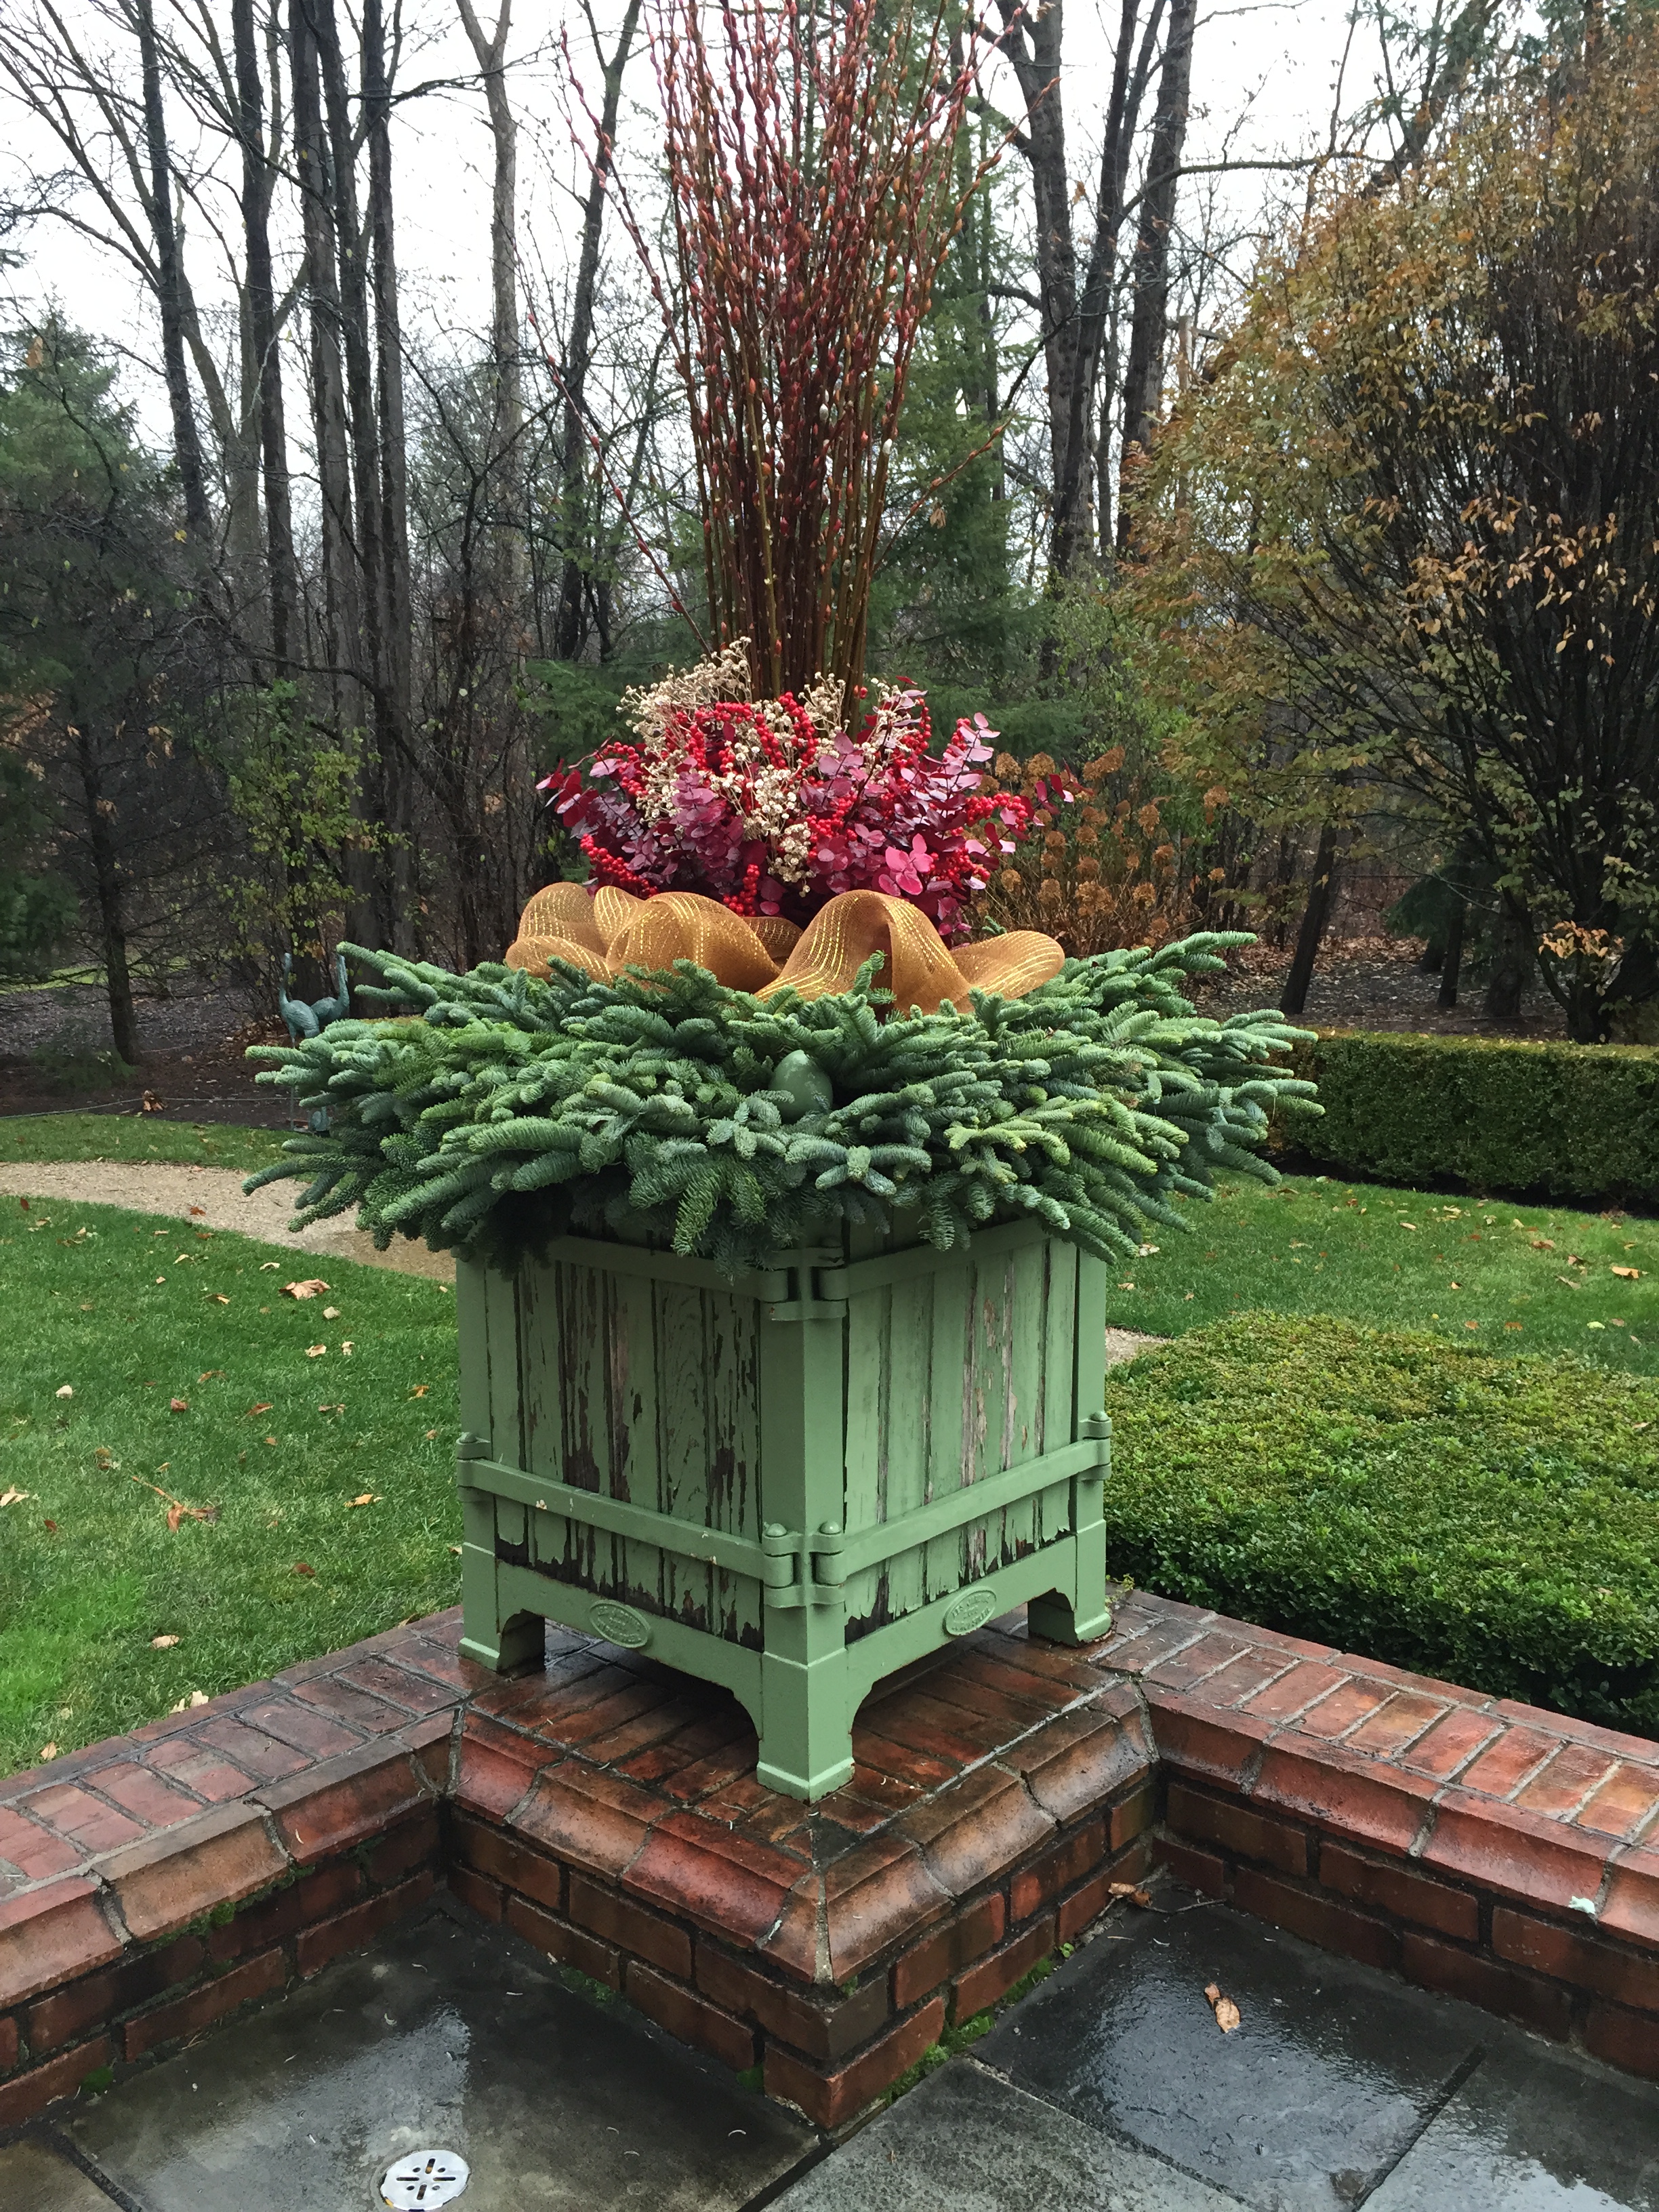
This client bought these French made orangery boxes from me in 2003. The oval medallion at the bottom of each side of the box details the year of manufacture. These French boxes, the history of the manufacture of which dates back hundreds of years, are very dear to my heart. There are no other garden boxes quite like them. They are as beautiful a box as ever graced a landscape. They inspired me to open Branch.   Though the oak and cast iron fittings are as solid as they can be, the paint has deteriorated. Weather takes its toll. We will restore them, at the end of the winter.

holiday container arrangements (4)There is not so much more to say about this installation, except that once a container arrangement comes out of the shop, and finds a home in the landscape, it is easy to see what they provide is like no other element. If you are a gardener, I would encourage you to add some pots to your landscape and garden. They are a challenge and a delight, year round.

holiday container arrangements (5)Landscapes with multiple levels of interest sustain the eye.

holiday container arrangements (2)I am not so fond of working in the rain, but today was different. My mind was on another topic entirely. The garden can be so satisfying, on so many different levels. Year after year. Moment after moment. This unusually late November warmth and rain was an experience I would have missed, had I not been out there filling the pots for the winter season to come. Some garden pleasures are so unexpected, simple, and so striking.

holiday container arrangements (7)rainy late November day

holiday container arrangements (3)
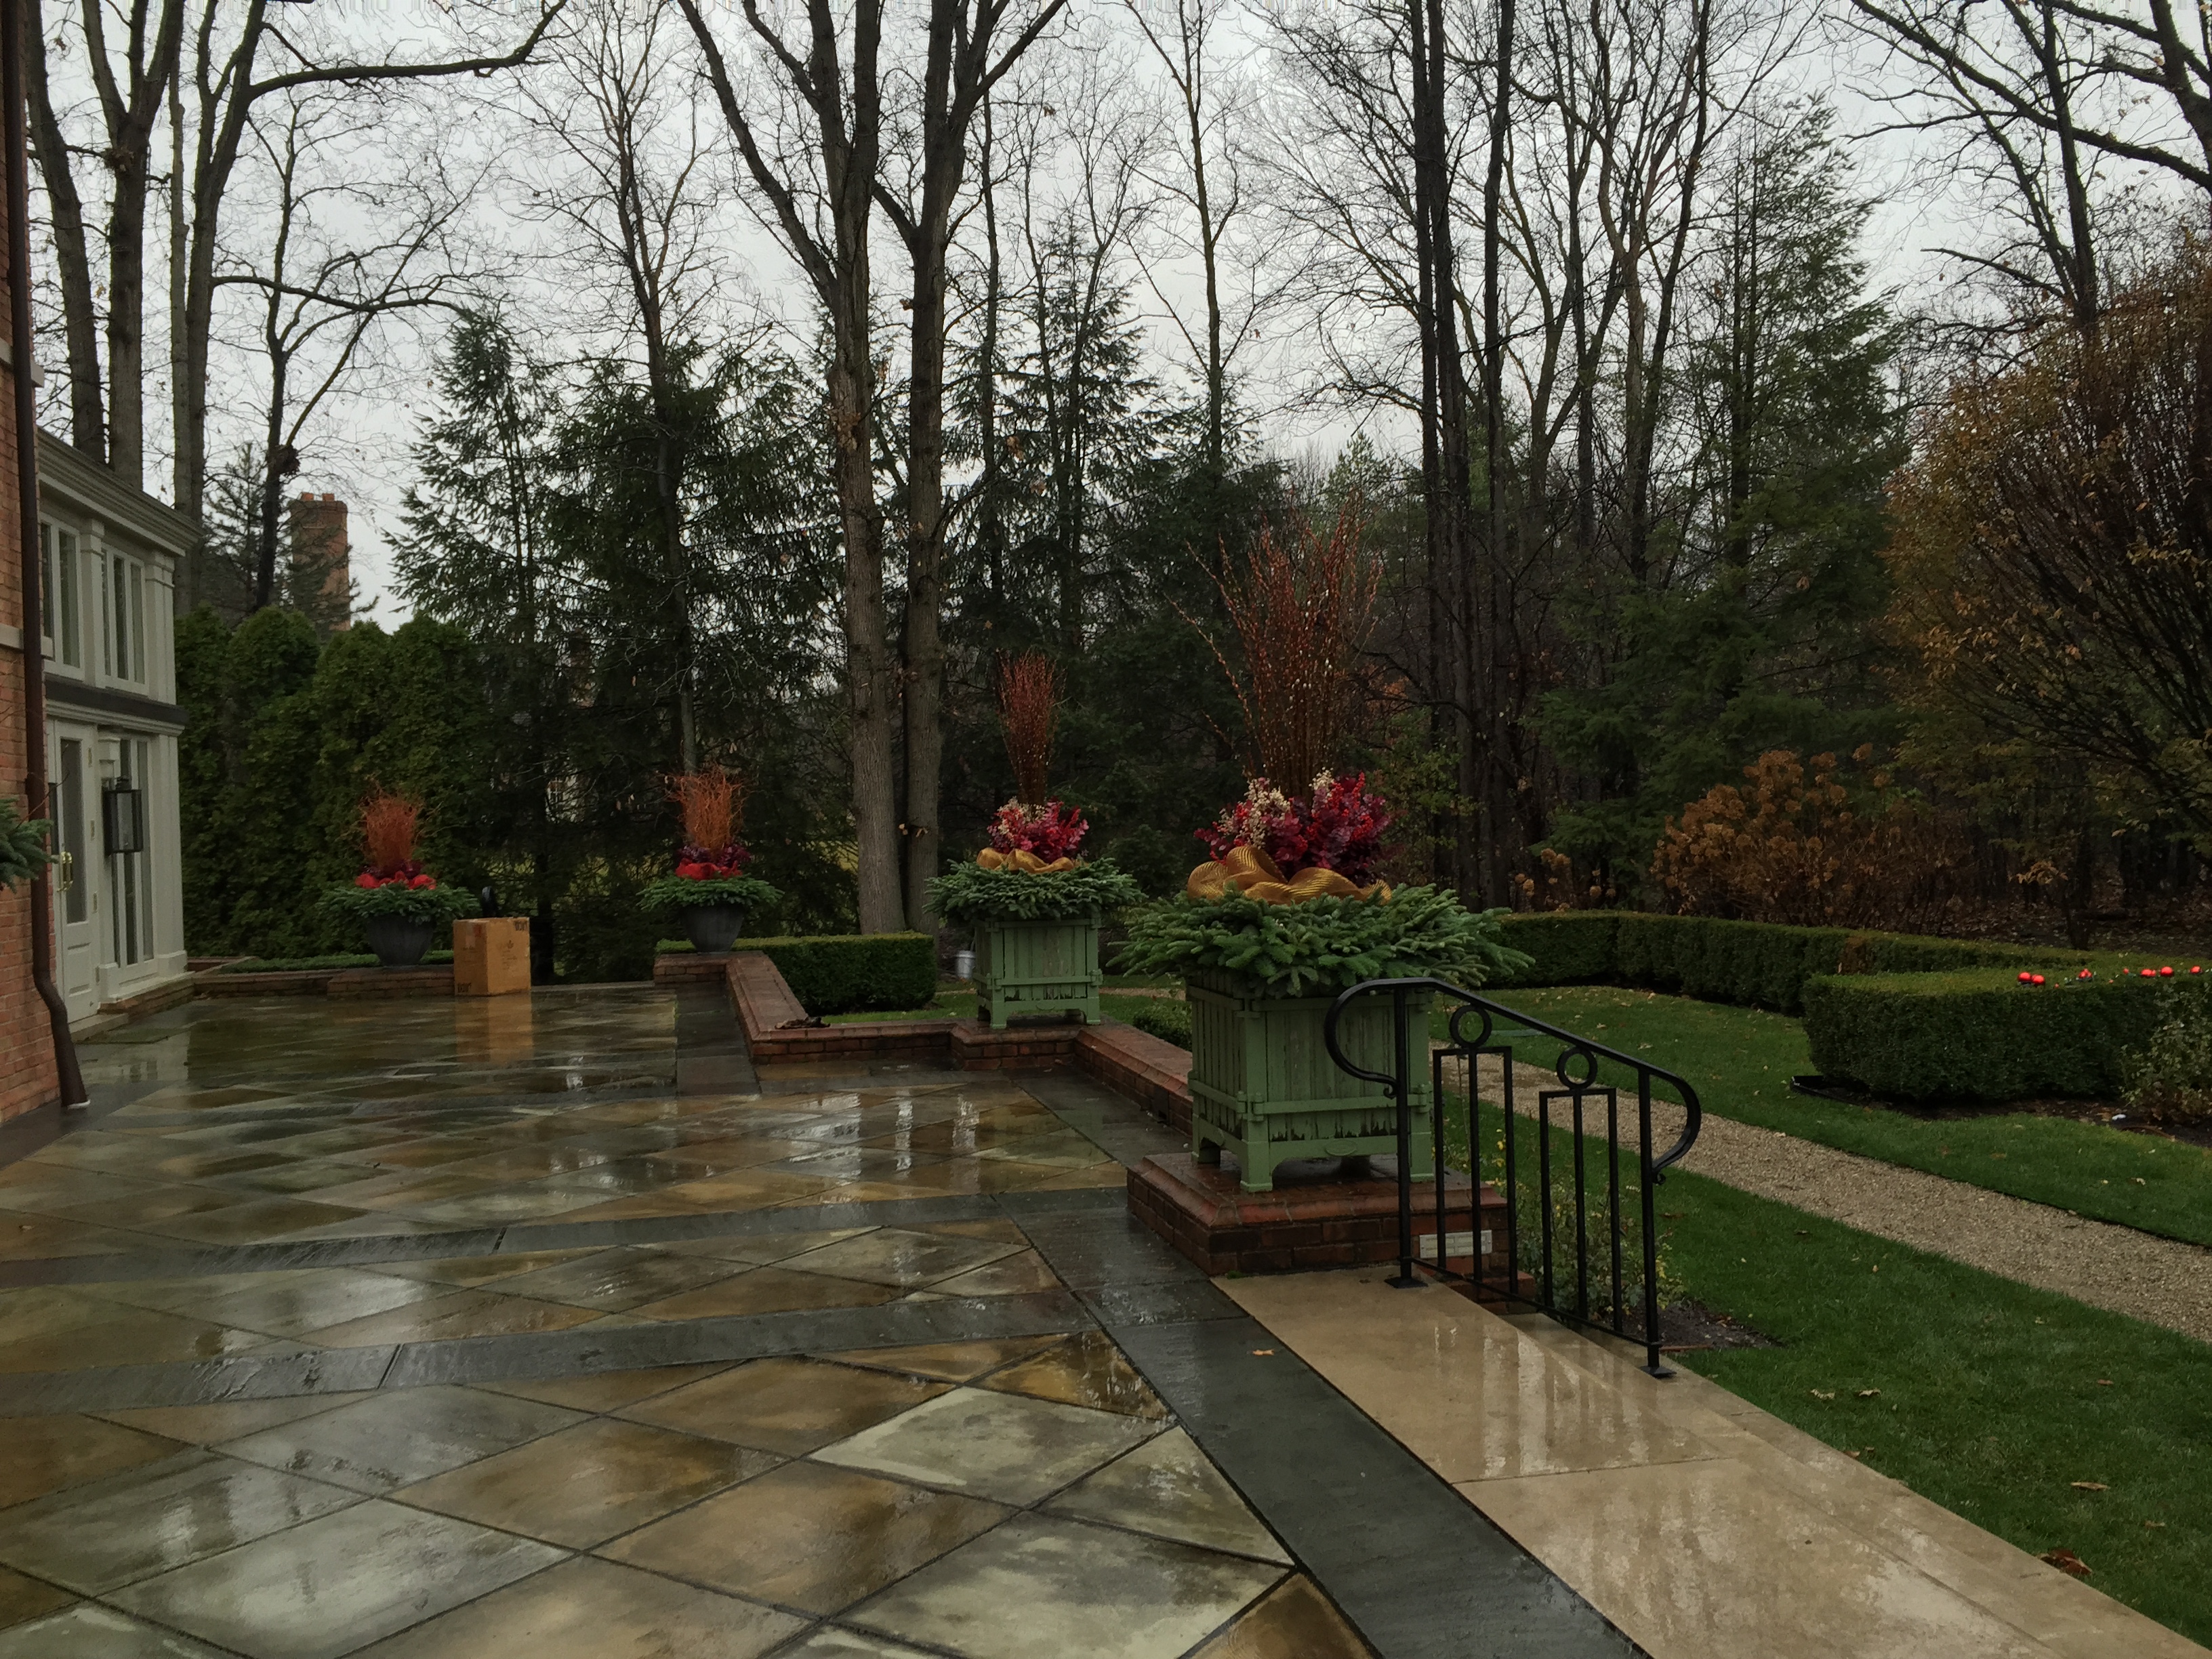
the terrace in November

holiday container arrangements (6)This view out to the late November garden was beautiful. I have been working for these clients for going on 30 years. The holiday/winter pots fit right in. It was a perfectly rain soaked and fabulous November day.


Constructing The Winter Centerpieces

centerpieces for winter containers (4)Setting the centerpieces in winter and holiday pots has the same procedure, whether we have small or big pots to fill.  The centerpiece often involves fresh cut branches that have considerable weight. The vertical element in a winter pot needs to stay vertical all winter. This large bunch of red twig dogwood been secured with several zip ties, and some concrete wire.

centerpieces for winter containers (5)Buried in the twigs is a stout bamboo pole. When we are ready to install, we cut a hole in the foam that holds the greens, large enough for the twigs to pass through and rest on the soil.  The stake will be driven down as deep as possible into the soil. This pole anchors the twigs in the pot. Very large centerpieces will have short lengths of steel rebar inserted all around.  The steel posts will be wired together. Once the soil freezes, these arrangements will not move, or go over. If this seems like a lot of work, it is. A beautiful centerpiece gets some of its beauty from the strength and integrity of the installation.

centerpieces for winter containers (6)
Any other materials that get added to the twigs can be secured with another layer of zip ties.  For more height, we may wedge additional materials between the branches, or wire them to the branches. The method of choice is whatever method makes the arrangement strong and weather proof. Snow and ice on a winter arrangement can be gorgeous.  Snow and ice that brings an arrangement down is a nuisance.  Once the soil freezes, a centerpiece gone over can be difficult to fix.

centerpieces for winter containers (7)All of the evidence of the construction at the bottom of the centerpiece will be buried in the greens. Florist’s wire is a dark green that recedes from view. Preserved eucalyptus is a versatile material for winter centerpieces.  The color does not run or fade. It is flexible and pliant. Very heavy snow can be gently broomed off-the eucalyptus will spring back. The soft, loose and leafy texture is a great contrast to the twigs. It helps to cover the evidence of the construction. Though making a centerpiece like this is a considerable amount of work, it needs to look effortless.

centerpieces for winter containers (9)There are so many materials available for winter centerpieces that are weatherproof.  Winter berry will hold for a long time outdoors, provided it has been soaked in Vapor Gard, or some other antidessicant. It seals the moisture inside the berries. It also helps keep the berries attached to the stems. In these centerpieces, the faux berries are a believable symbol of the real thing. The centerpieces have been scaled to the size of the pots that will hold them.  The bamboo is just as thick as for a large centerpiece, but shorter.

centerpieces for winter containers (8)This client is interested in an expression of the holidays, in addition to their wintry look. The evergreen base to come will hide most of the stiff stalks of these glittered cone picks. A few more sprigs of eucalyptus will hide the rest. The holiday picks can be removed after New Year’s.

centerpieces for winter containers (10)We do as much of the construction as we can in the garage. Each of the white tallow berry picks in this centerpiece came to us packed flat in a box.  It is so much easier to fluff out a wired pick in the garage, than outdoors. Some of the work is very hard to do with anything other than bare hands. Once the basic form of the centerpiece is set, there is a lot of hand work to come. More than anything, unfriendly working conditions discourage expression.

centerpieces for winter containers (11)I was glad for the two days we had in the shop to ready all of the materials for this holiday/winter installation. It will be cold today. Right now, it is 23 degrees with freezing fog.  The high temperature will be 40. Having everything ready to install with a minimum of touch up work means we will not have to spend the entire day outdoors.

centerpieces for winter containers (13)We make small centerpieces for our garlands, as well as our pots. A variety of materials get zip tied together, and wired to a branch in the garland. If we use pine cones in a garland, we wire them on separately, and loosely.  Having a long wire lead means you can nestle that cone in the evergreens wherever it seems appropriate and natural.  Wiring them too close to the garland makes for a stiff look.

centerpieces for winter containers (14)Since a garland is primarily viewed from below, we don’t worry so much about hiding the evidence of the construction. This new LED lighting we have this year features black/green wires that is small.  The tiny bulbs are mounted on wire stalks that approximate evergreen needles.  It is so light weight and flexible it is simple to attach to the garland. And the light is warm. Based on what I have seen so far, this is holiday lighting that is simple to use, and very durable.  I did not need to worry about dropping the strand on our concrete floor.

centerpieces for winter containers (1)There are 4 of the LED bulbs  barely visible in this picture. The wires will be just about invisible once the garland is hung.

centerpieces for winter containers (12)We are as ready as we can be for today’s work.


Constructing The Winter Pots

the winter pots (1)If my last post was convincing enough to make you entertain the notion of filling your pots for the winter, you might appreciate a description of our process. Every pot begins with dry floral foam.  I cannot really explain how liberating it is to have foam, and not soil as a medium, except to say that that a soil base dictates the overall shape. We take the soil down in all of our pots 4 inches, and put a thick layer of foam in top.  In big pots, we may anchor the foam with steel rebar driven down into the soil. A winter pot needs to stand in spite of winter wind and snow. I like greens that are much wider than the pot. That generously sized blanket of greens has warmth written all over it. No soil based construction can deliver much in the way of width.   Constructing a winter pot on site in freezing weather is slow and uncomfortable.  It is just about impossible to clean up.  We make the mess in our garage, and only go on site to install. A garage heated to 50 or 60 degrees means you can concentrate on what looks beautiful, rather than the cold that is making you miserable.

the winter pots (9)We buy the dry floral foam by the case, in big sheets. But craft stores usually carry dry floral foam in bricks. The bricks will need to be glued up with hot melt glue. If you use bricks, floral picks or skewers can be used to further secure all of the pieces.  Wedging the entire assembly into the top of the pot will also help keep it together.We use a giant wood compass to scribe the interior diameter of the pot on the foam.  We glue 2 sheets together. The bottom sheet  goes in the pot.  The top sheet goes above the rim of the pot, and will have evergreens stuck all around the edge into it. The width of those greens all around the edge of the pot will determine the proportions of every other gesture. Ready to stick?

the winter pots (3)We sharpen our greens down to the wood with the blade side of a pair of pruners. Stuffing an evergreen stem with the needles still on it means the hole in the foam will eventually be too large.  As the needles loose moisture, they will shrink. A heavy bough in a hole that is suddenly too large may fall out.  We only insert sharpened wood into the foam. A tight fit is a fit that will last throughout the winter, no matter the weather. When we have a lot of pots to do, we have at least two people who sharpen evergreen stems.  We buy evergreen tips that are 18″ long. Short evergreen stems suitable for wreaths and table arrangements are not long or hefty enough for what we do.

the winter pots (2)Stuffing the stems into the foam is an art. My landscape crew does an incredible job of it-better than I could.  All their years planting means they have a feeling for how the cut stems should look in a winter pot. They need to have a loose and natural look. This is not to say that we do not do more contemporary pots that are more about design generated by the human hand than nature. This client prefers a more natural and traditional look.

the winter pots (6)A bamboo stake marks the approximate location of the center of the form. We leave a big empty space in the middle-that will be cut out to hold the centerpiece. Or perhaps the centerpiece is comprised of twigs or picks set individually. If we set a big centerpiece through the greens foam, we will have to go back and stick individual evergreen branches around that centerpiece to soften the transition from the horizontal plane to the vertical plane.

the winter pots (5)We have 2 very large pots to dress for winter on Monday.  The outer layer is noble fir.  The inner layer is mountain hemlock. What else will go in these greens to to be determined.  It could be the large leaved German boxwood. It could be branchy twigs, or pine cones. It could be mini grapevine garlands.  It could be no end of winter and holiday picks. The greens are the foundation upon which all else will be built.

the winter pots (7)All of the fir family branches hold up and sail through the winter.  Even winters with heavy snow. The mountain hemlock is the toughest green I have ever used.  The stems in my pots on my driveway were as green and lush the end of March as they were in November. For gardeners that live in northern climates, the longevity of cut greens is important. I stay away from cedar and white pine. They dry out and turn brown so fast.

the winter pots (10)Some winter and holiday pots begin with the centerpiece. These are some pots that need something other than a center of interest. They need a wider ranging area of interest.  The floral foam is a perfect medium for this.

the winter pots (4)This arrangement will go in a rectangular pot. That rectangle is a strong geometric shape that asks for an answer that resonates. We set the center in some pots before the edges. Why? The foam will adequately hold a shorter centerpiece.  A very tall centerpiece has a bamboo stake which gets driven down in to the soil for stability. It goes through the foam, it is not supported by the foam.

the winter pots (11)This center is diffuse., but roughly rectangular. The red berry picks and plum eucalyptus make for a mix of reds that is interesting.  The port orford cedar is a strong contrast.  We will finish the edges with mixed evergreens, with lots of port orford cedar in that mix. Anything else? I am not sure yet.

the winter pots (8)Winter and holiday pots are not all that we do.  The place where today’s pots will go have a garland to go over the door.  We buy garland, and then zip tie our evergreen boughs to it. This doubles the heft, and the places where other ornament can be attached. For winter, I like every gesture to be generous and warm. I would not want to be resigned to the coming of the cold and the gray skies. I would rather fend off the dark and dreary in whatever way I could.  This garland gets set on an army of cardboard boxes, so the work is at a convenient height. Convenient to see and think over, and convenient to work on. I will so enjoy all the making that lies ahead.

Sparkle, Anyone?

winter sparkle (11)
My first introduction to sparkle may have been a dress my Mom wore to a New Year’s Eve party at the Whitney in the 50’s. The fabric was woven from metallic thread in white gray and black.  The dress was shimmery.  At some point I would have seen a sequined ball gown, or black patent leather shoes.  Sparkly fabrics and materials were reserved for formal evening events, when the daylight had vanished, and the party lights were dialed down low.  Sparkly materials pick up and reflect whatever light there is available. Sparkling materials seem to glow or shine from within.  In any event, all things sparkly, metallic, shimmery and glittery suggest celebration.  Sparkle at this time of year is a pleasure to the eye.

winter sparkle (8)The transition from the fall to the winter season is marked the coming of the cold, and the dark.  If I drive home from work at 5:30, it is dark.  If I drive in to work at 7am, it is dark.  November and December cold is bearable. But the dark can be daunting.  Winter container arrangements and outdoor holiday decor that incorporates a little sparkle will read better in low light. This is a holiday season, meaning there is cause to celebrate.  The copper curly willow, magnolia and boxwood in this arrangement have a glossy surface that reflects the light.  The poly mesh fabric is shot through with a gold thread every so often.  Arranging it in multiple curves and layers present lots of metallic surface area to the available light.

winter sparkle (12)Most of the green in my garden is long gone, but for the evergreens.  Needled evergreens present as little in the way of surface area to winter sun and winds-this helps them to conserve whatever moisture they have stored to survive the winter. I don’t expect or get sparkle from evergreen boughs, unless I have sprayed them with wilt pruf or vaporgard.  These waxy antidessicants will impart some shine to your cut evergreens. Burt there are other ways to introduce a little sparkle.  If you use artificial holiday picks in your outdoor containers, test them first.  A dunk in a glass of water will tell you just about instantly whether the material is suitable for outdoor use.

holiday-sparkle.jpgPoly mesh is not a natural material.  It is just what the name says it is.  It will have the same springy shape in March that it has now. Plenty of companies make plastic ornaments for outdoor use at the holidays, but glass ornaments are fine. We all have windshields, don’t we?  If I use glass ornaments outdoors, I glue on and seal the caps.  As long as you can keep water outside of the ornament, you should be fine.  Natural Michigan holly is notorious for dropping its berries fairly quickly.  A thorough soaking with vapor gard will add lots of gloss to that gorgeous red, and help prevent berry drop.

holiday sparkleSparkle comes in an incredible variety of textures.  Glittered picks reflect lots of light.  Plastic sprayed with a metallic coating glows.  Ornaments coated in glass or plastic beads refract an incredible amount of light.  Anodized aluminum wire comes in a wide variety of colors. Some paper wrapped metallic picks will survive the winter outdoors-as long as there is no rain.  Only snow. Snow resistant is much different than water resistant.  Should you have lots of rain in November and December, an acrylic sealer might help you out.

winter sparkle (17)We did this pair of Branch tapers for holiday and winter today. The topiary forms were wound with lights after I took this picture.  The big leaves of preserved silver eucalyptus reflect a lot of light. Lots of black picks with rhinestone dots will reflect the natural and artificial light.  Lots of the frasier fir boughs have small shiny gray ornaments wired to the tips.

DSC_6670There are lots of opportunities for sparkle here.  Located at the end of the driveway, these will transform and reflect the available winter light many times over.

winter sparkle (16)This third pot is located under the under hang, and will never get much in the way of light.  The silver glittered sticks in the center will make the most of whatever light is available.  I have clients for whom natural materials are the materials of choice.  Others like a little sparkle.  The best part of decorating the garden is that so many materials are available, anyone can assemble a group of materials that perfectly expresses their own individual idea of the holiday.

winter sparkle (6)The pale gold metallic picks in several heights, the cream and gold sinamay, and the pale gold pine cones in this pot are rather subdued in this pot during the day.  Come dark, the garland lights on the topiary form will create a whole lot of sparkle.

winter sparkle (14)Glass is a highly reflective material. There are enough shapes, sizes, and colors of glass ornaments to inform countless different holiday designs outdoors.

holiday sparkle.jpgIn a dark interior room, glass ornaments will gently shimmer.  The plastic bead garlands pictured here come in a 30 foot length for 6.00. They can create a lot of holiday cheer, for not so much of an investment.

holiday-containers.jpgI have yet to see a landscape visually harmed by a little sparkle at the holidays.  This is the time of year when a little celebration seems just right.

magnolia-wreath.jpgMy favorite part of this magnolia holiday wreath?  The pale chocolate string ribbon-shimmering.