 The previous post was all about the construction of a winter arrangement for a pair of pots and a sizeable planter. To follow are pictures of that installation. This is a look see post. I do not much see the need to write any more than what I have already written. Except to say that fresh cut yellow twig dogwood is a most beautiful material that I welcome to our winter season.
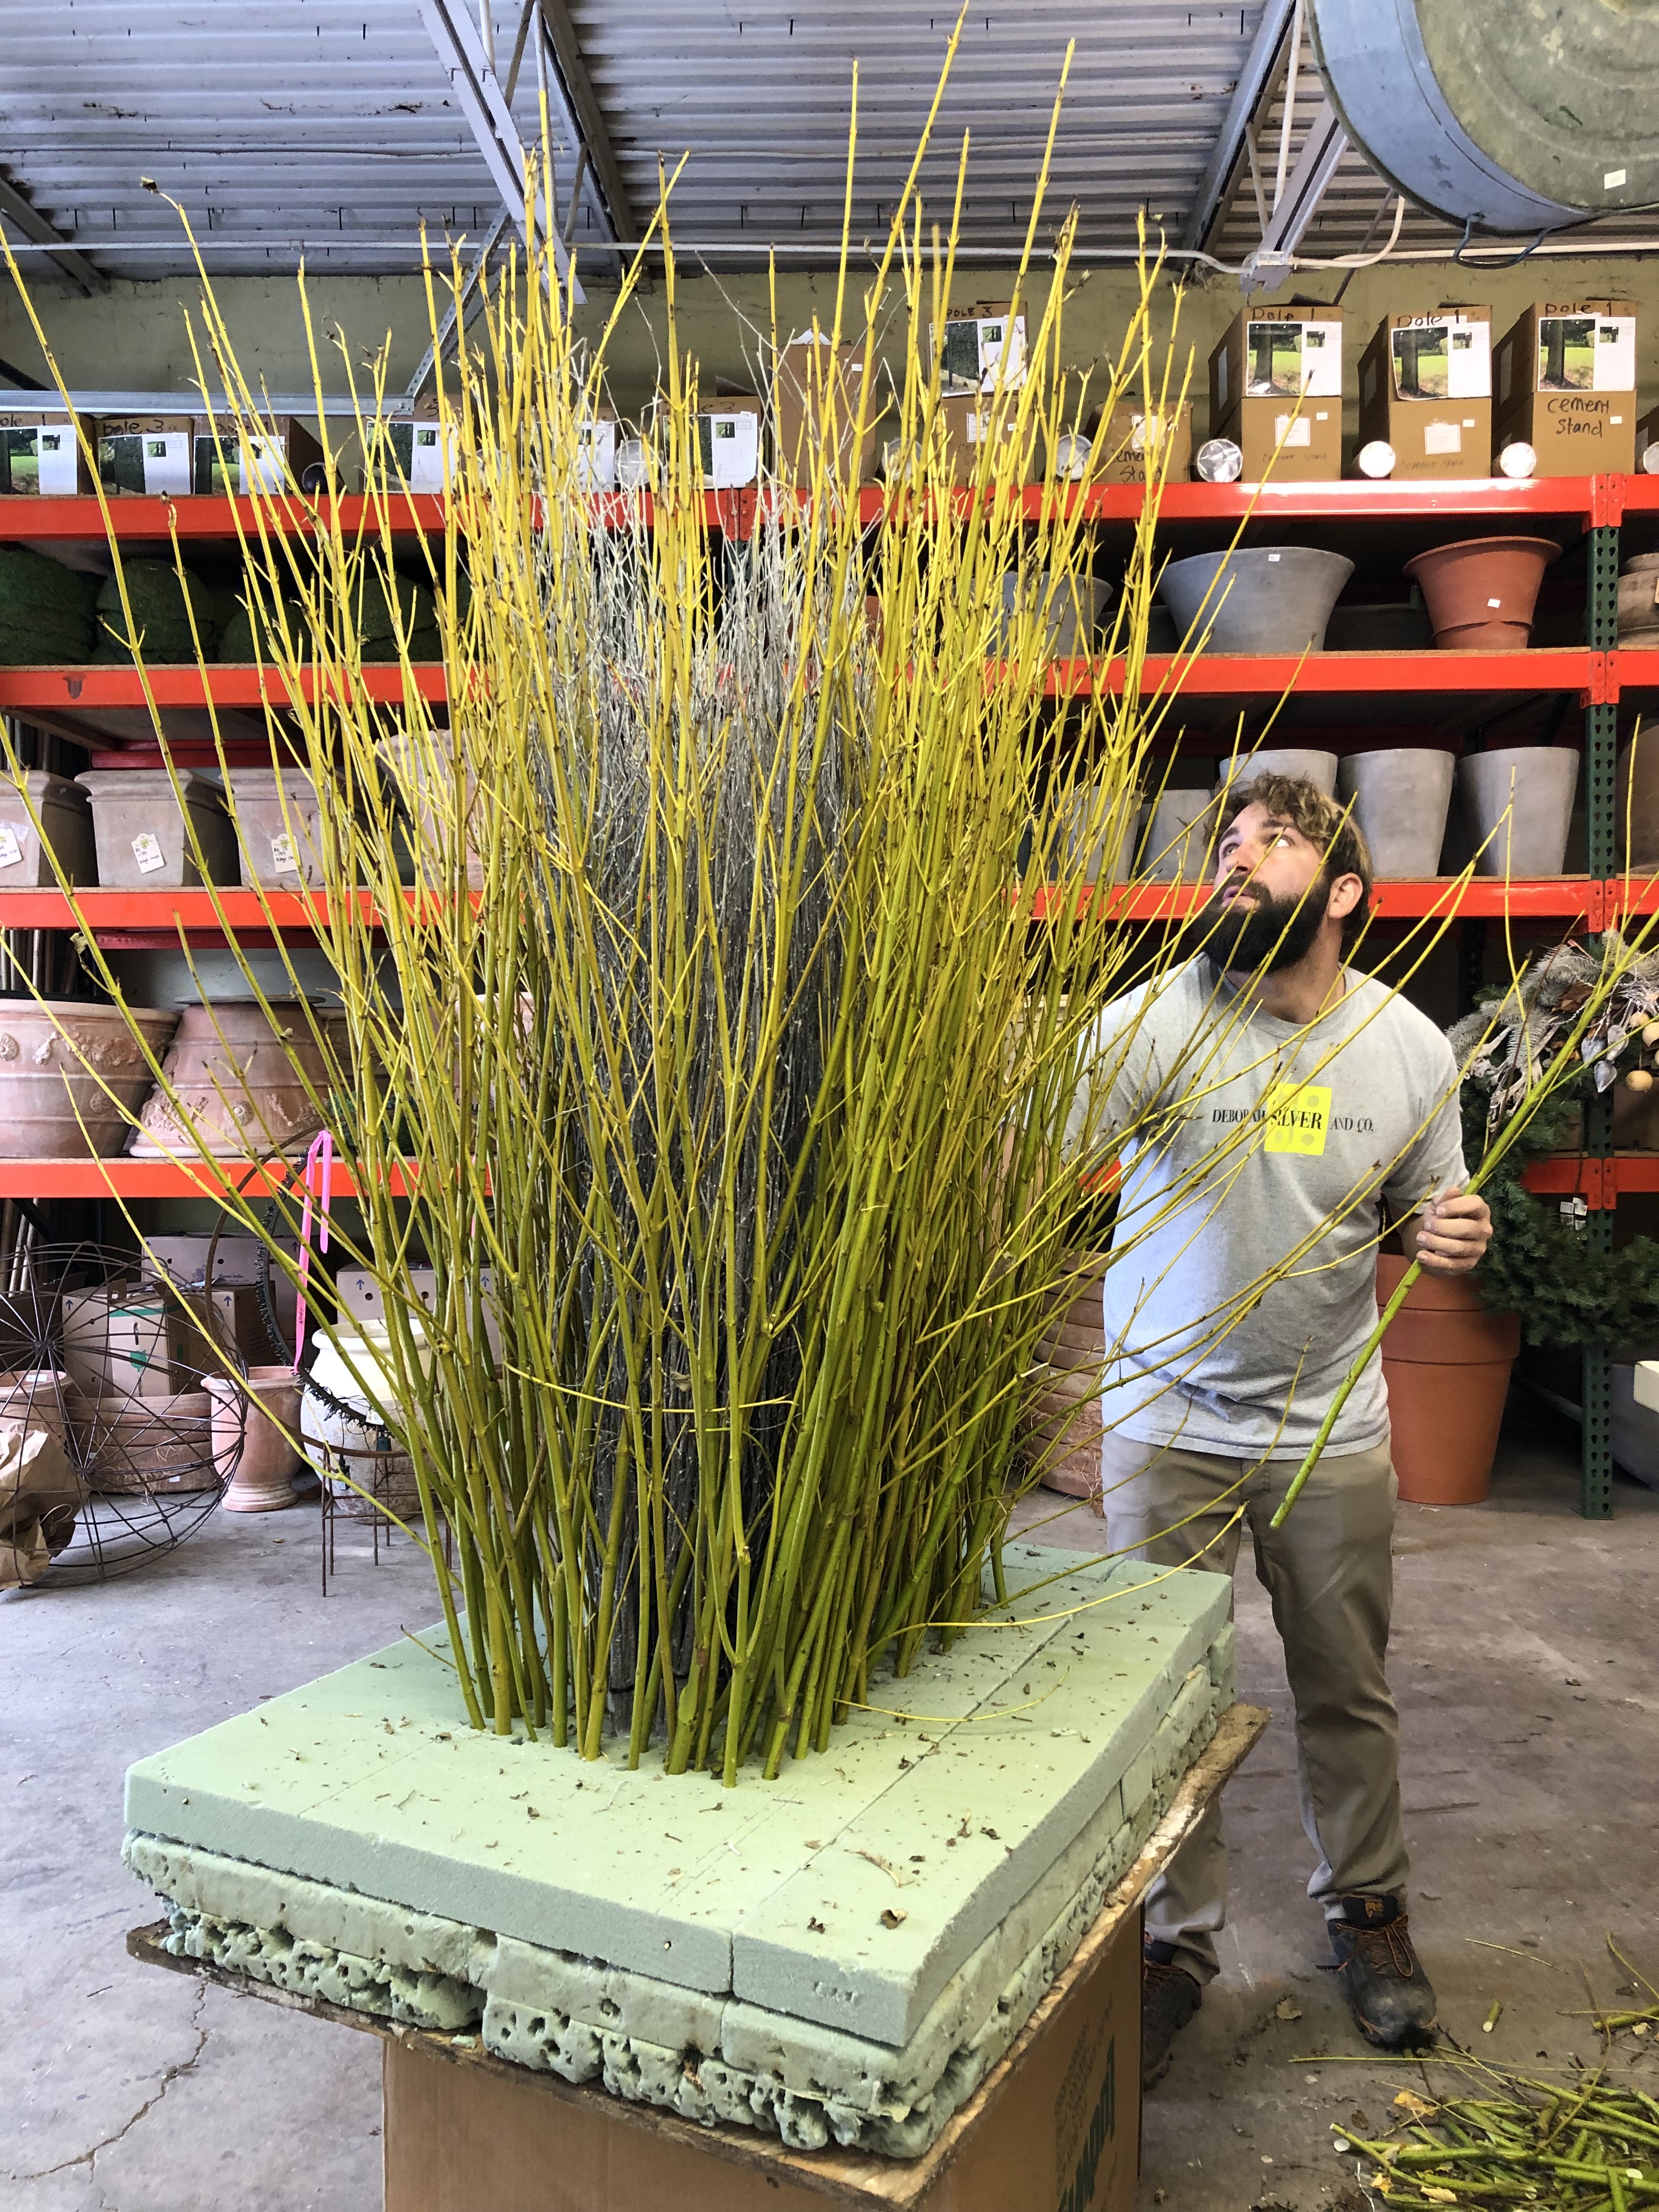
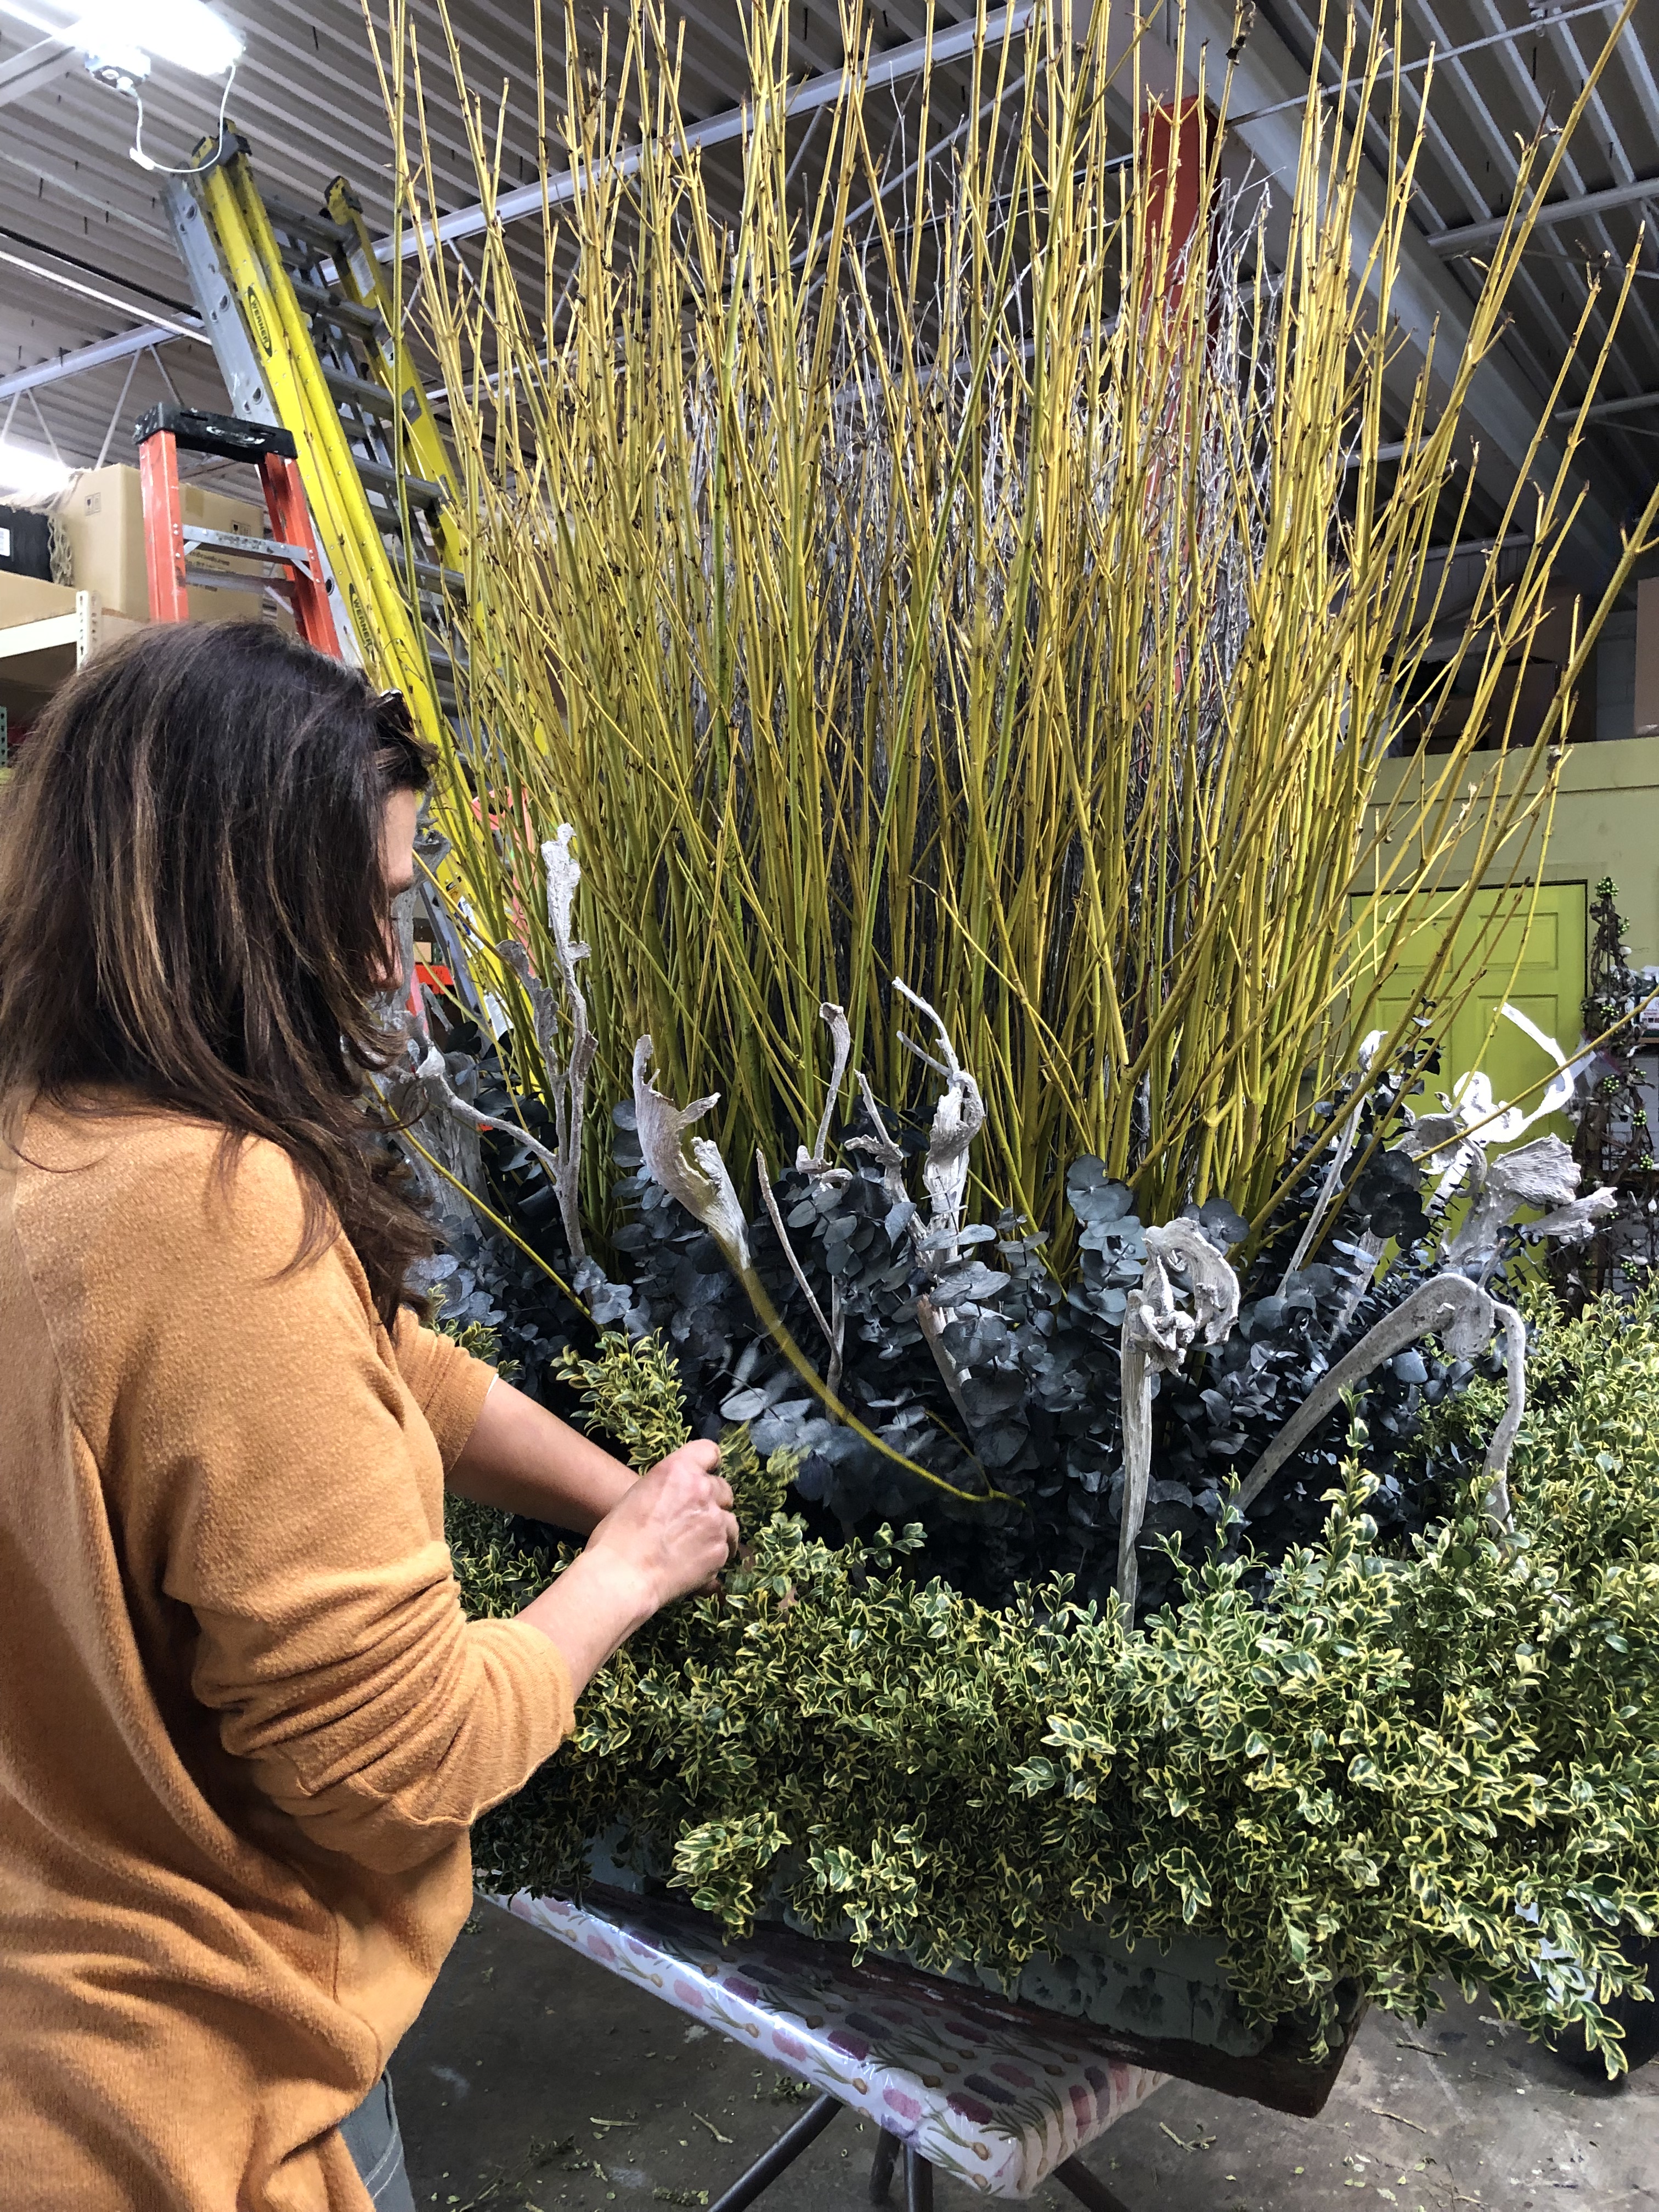
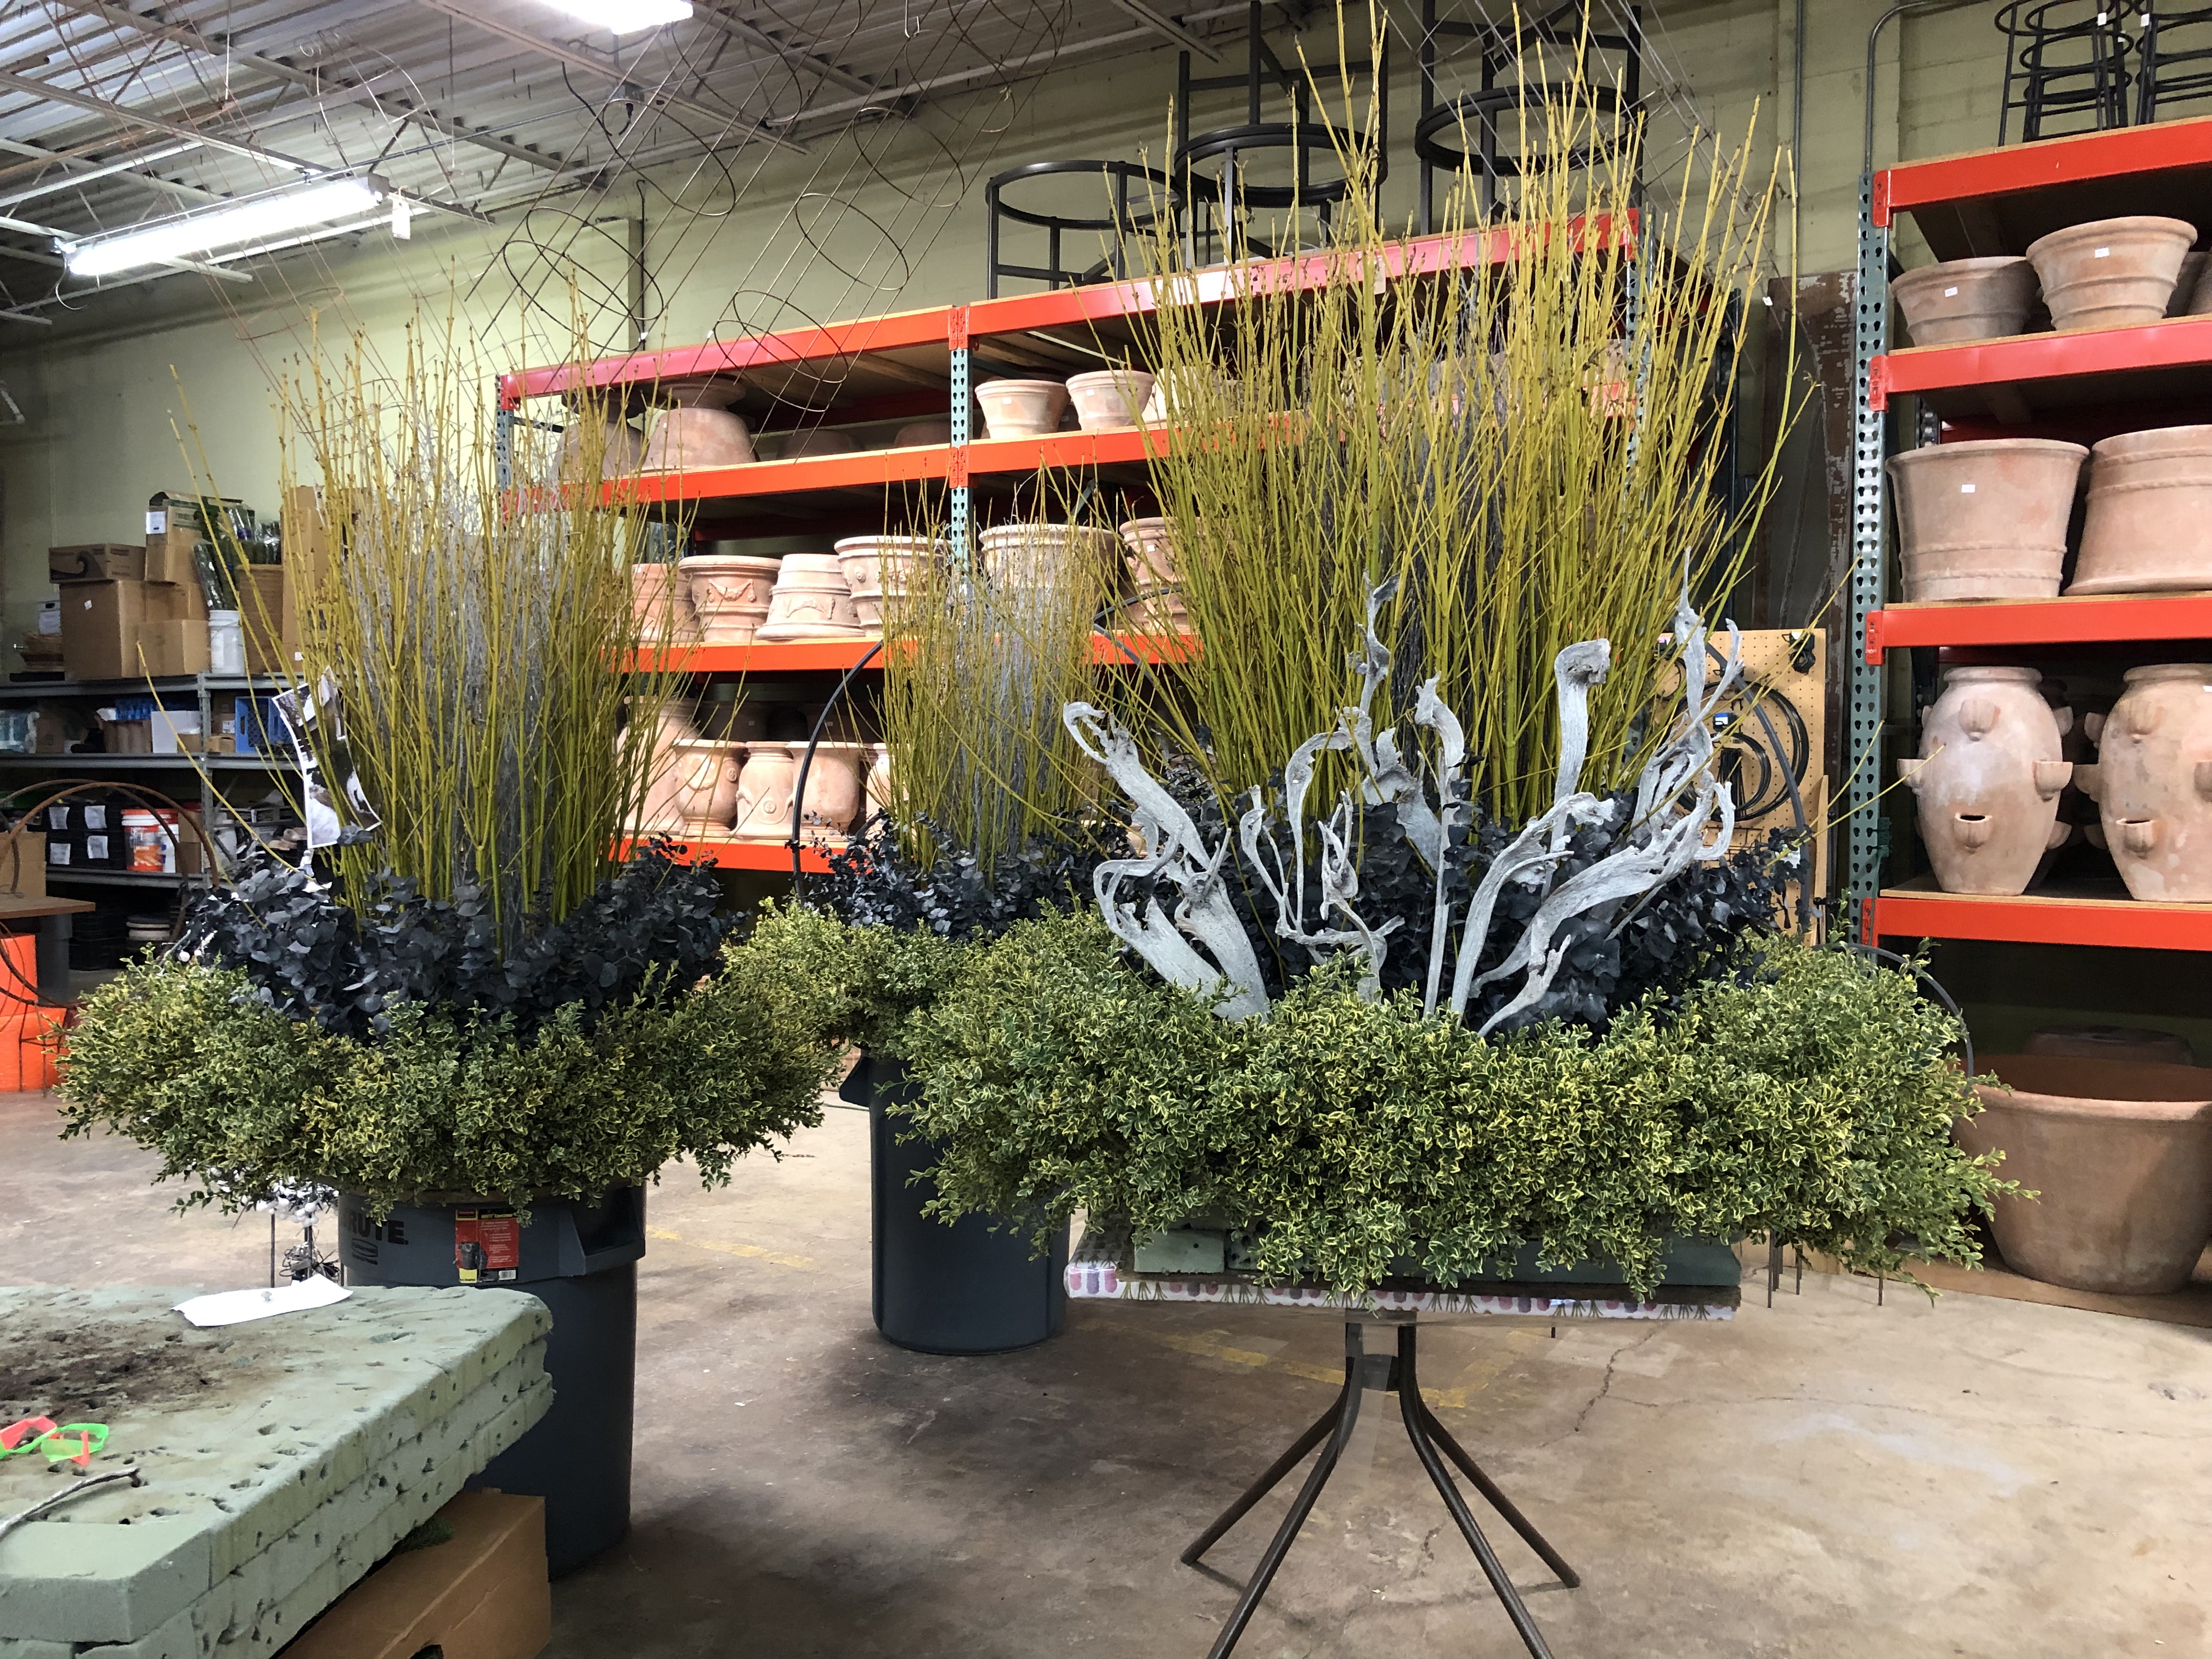
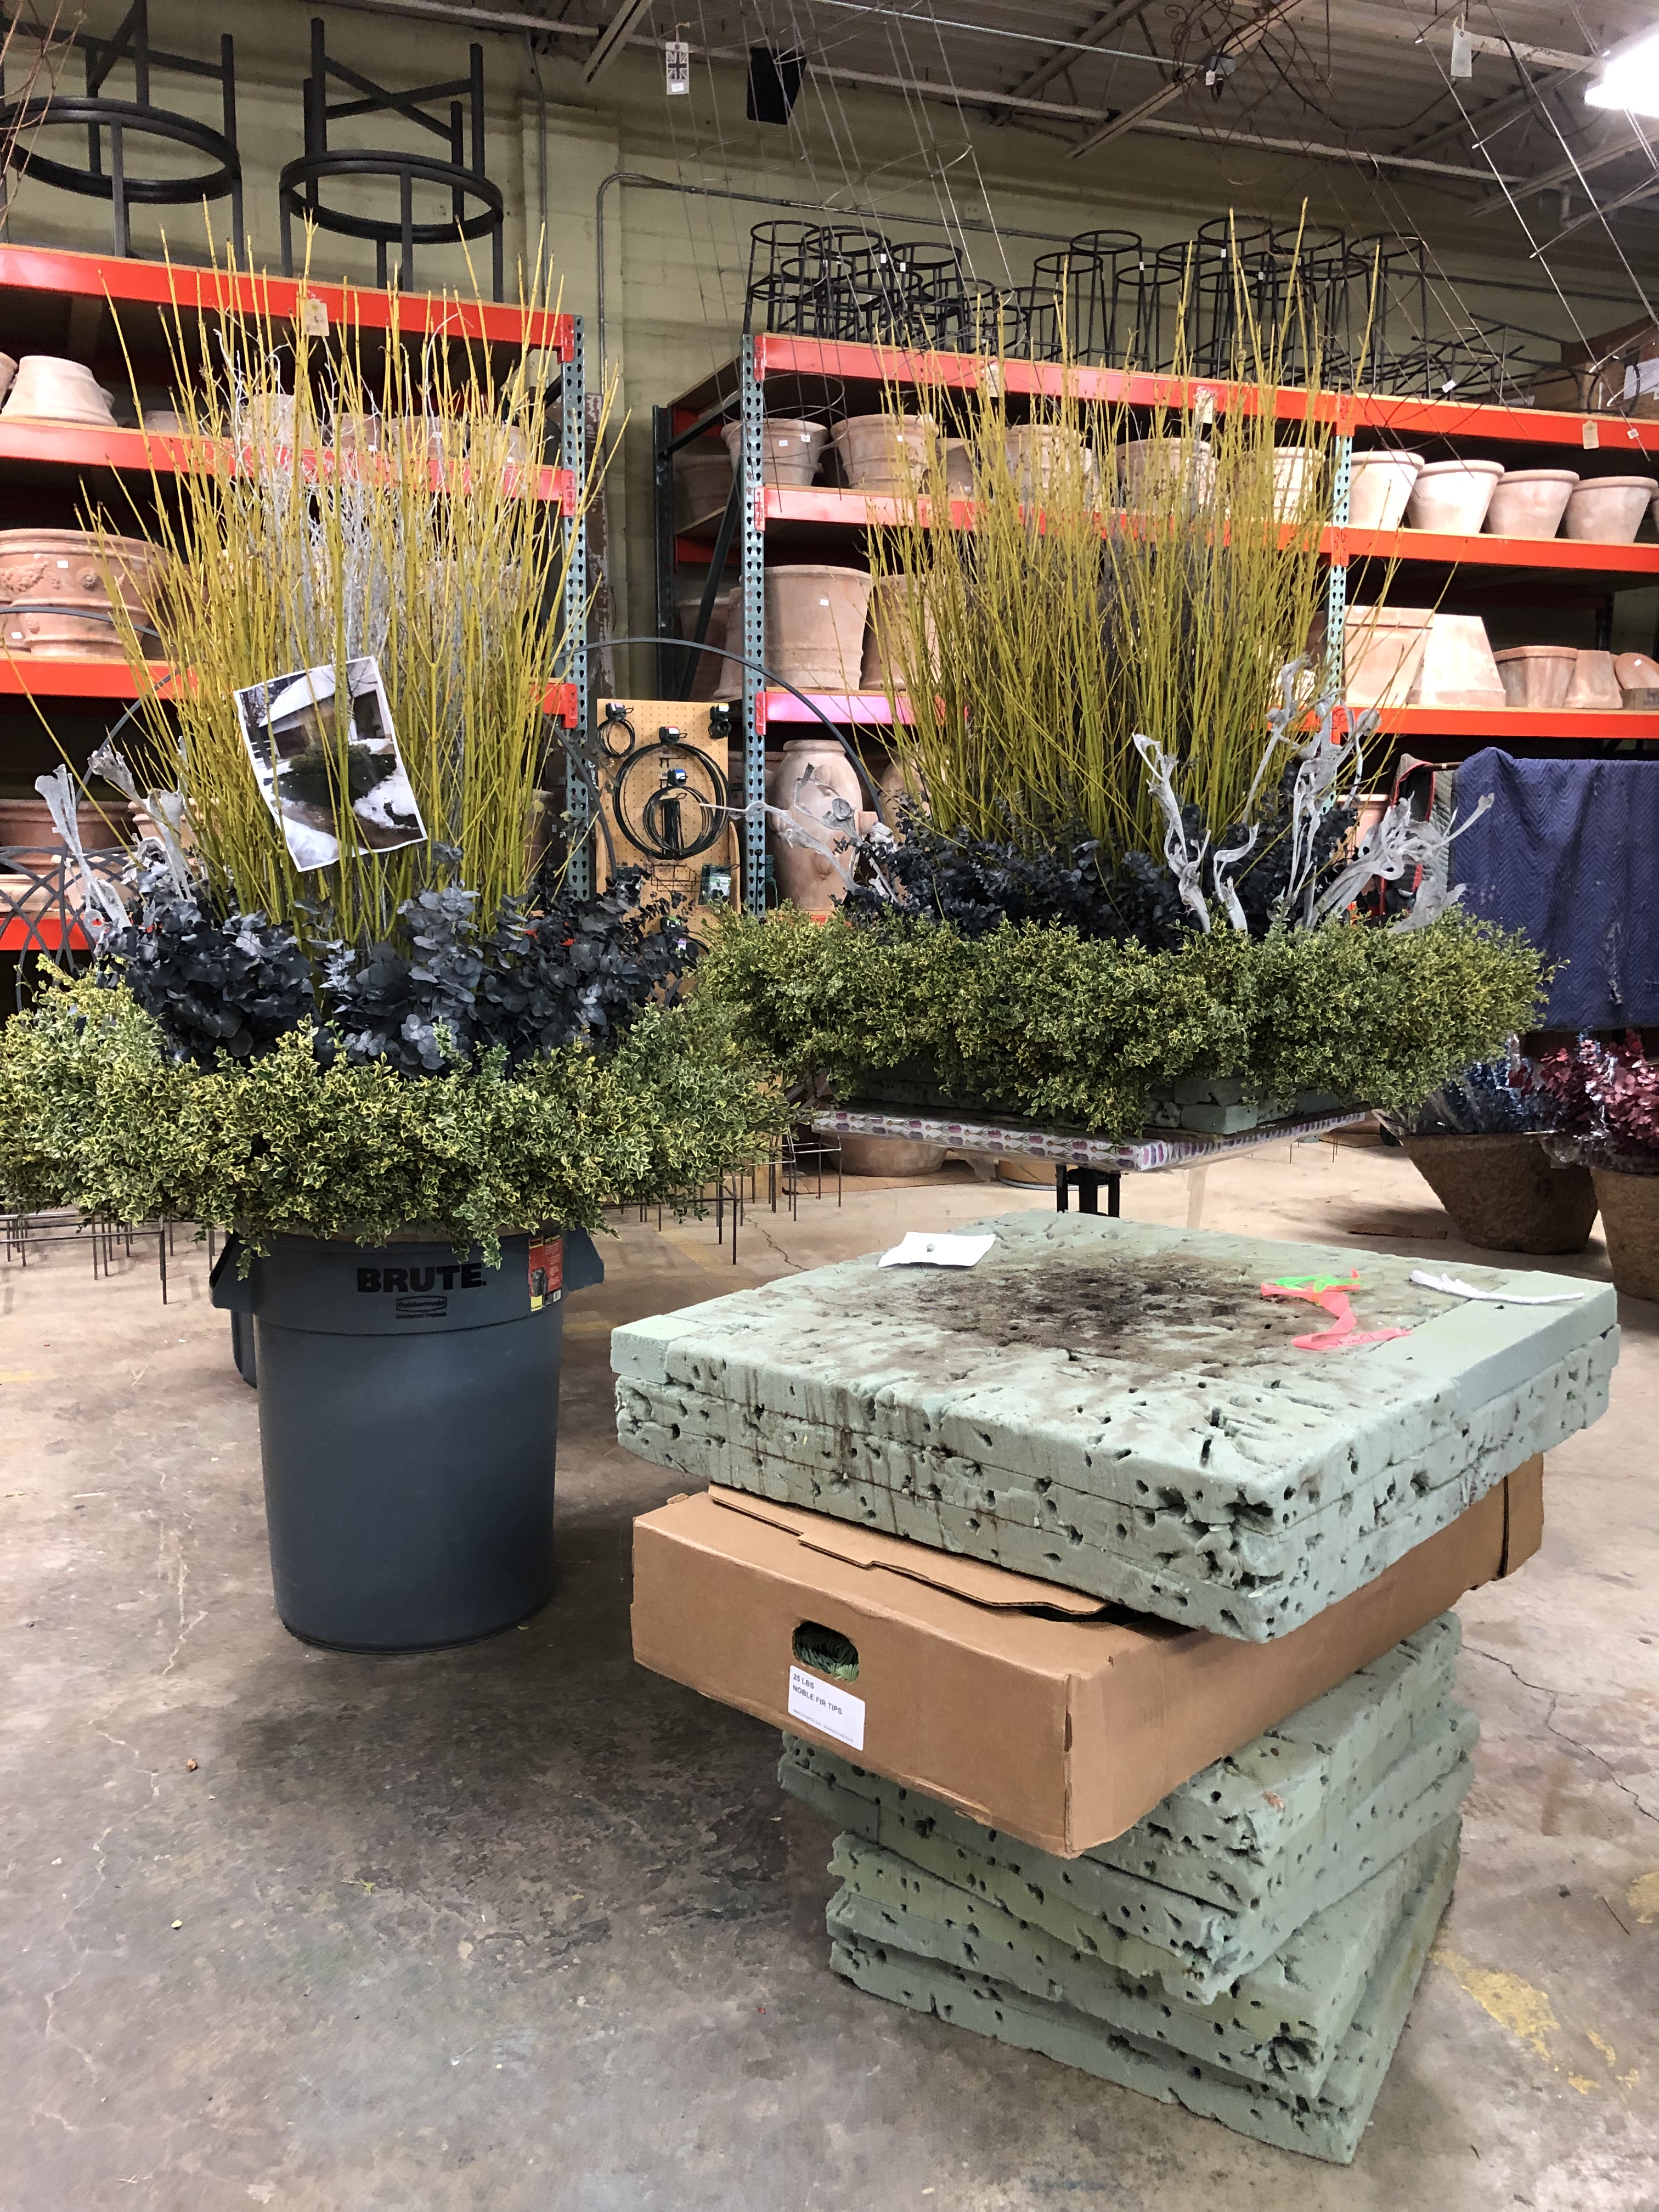
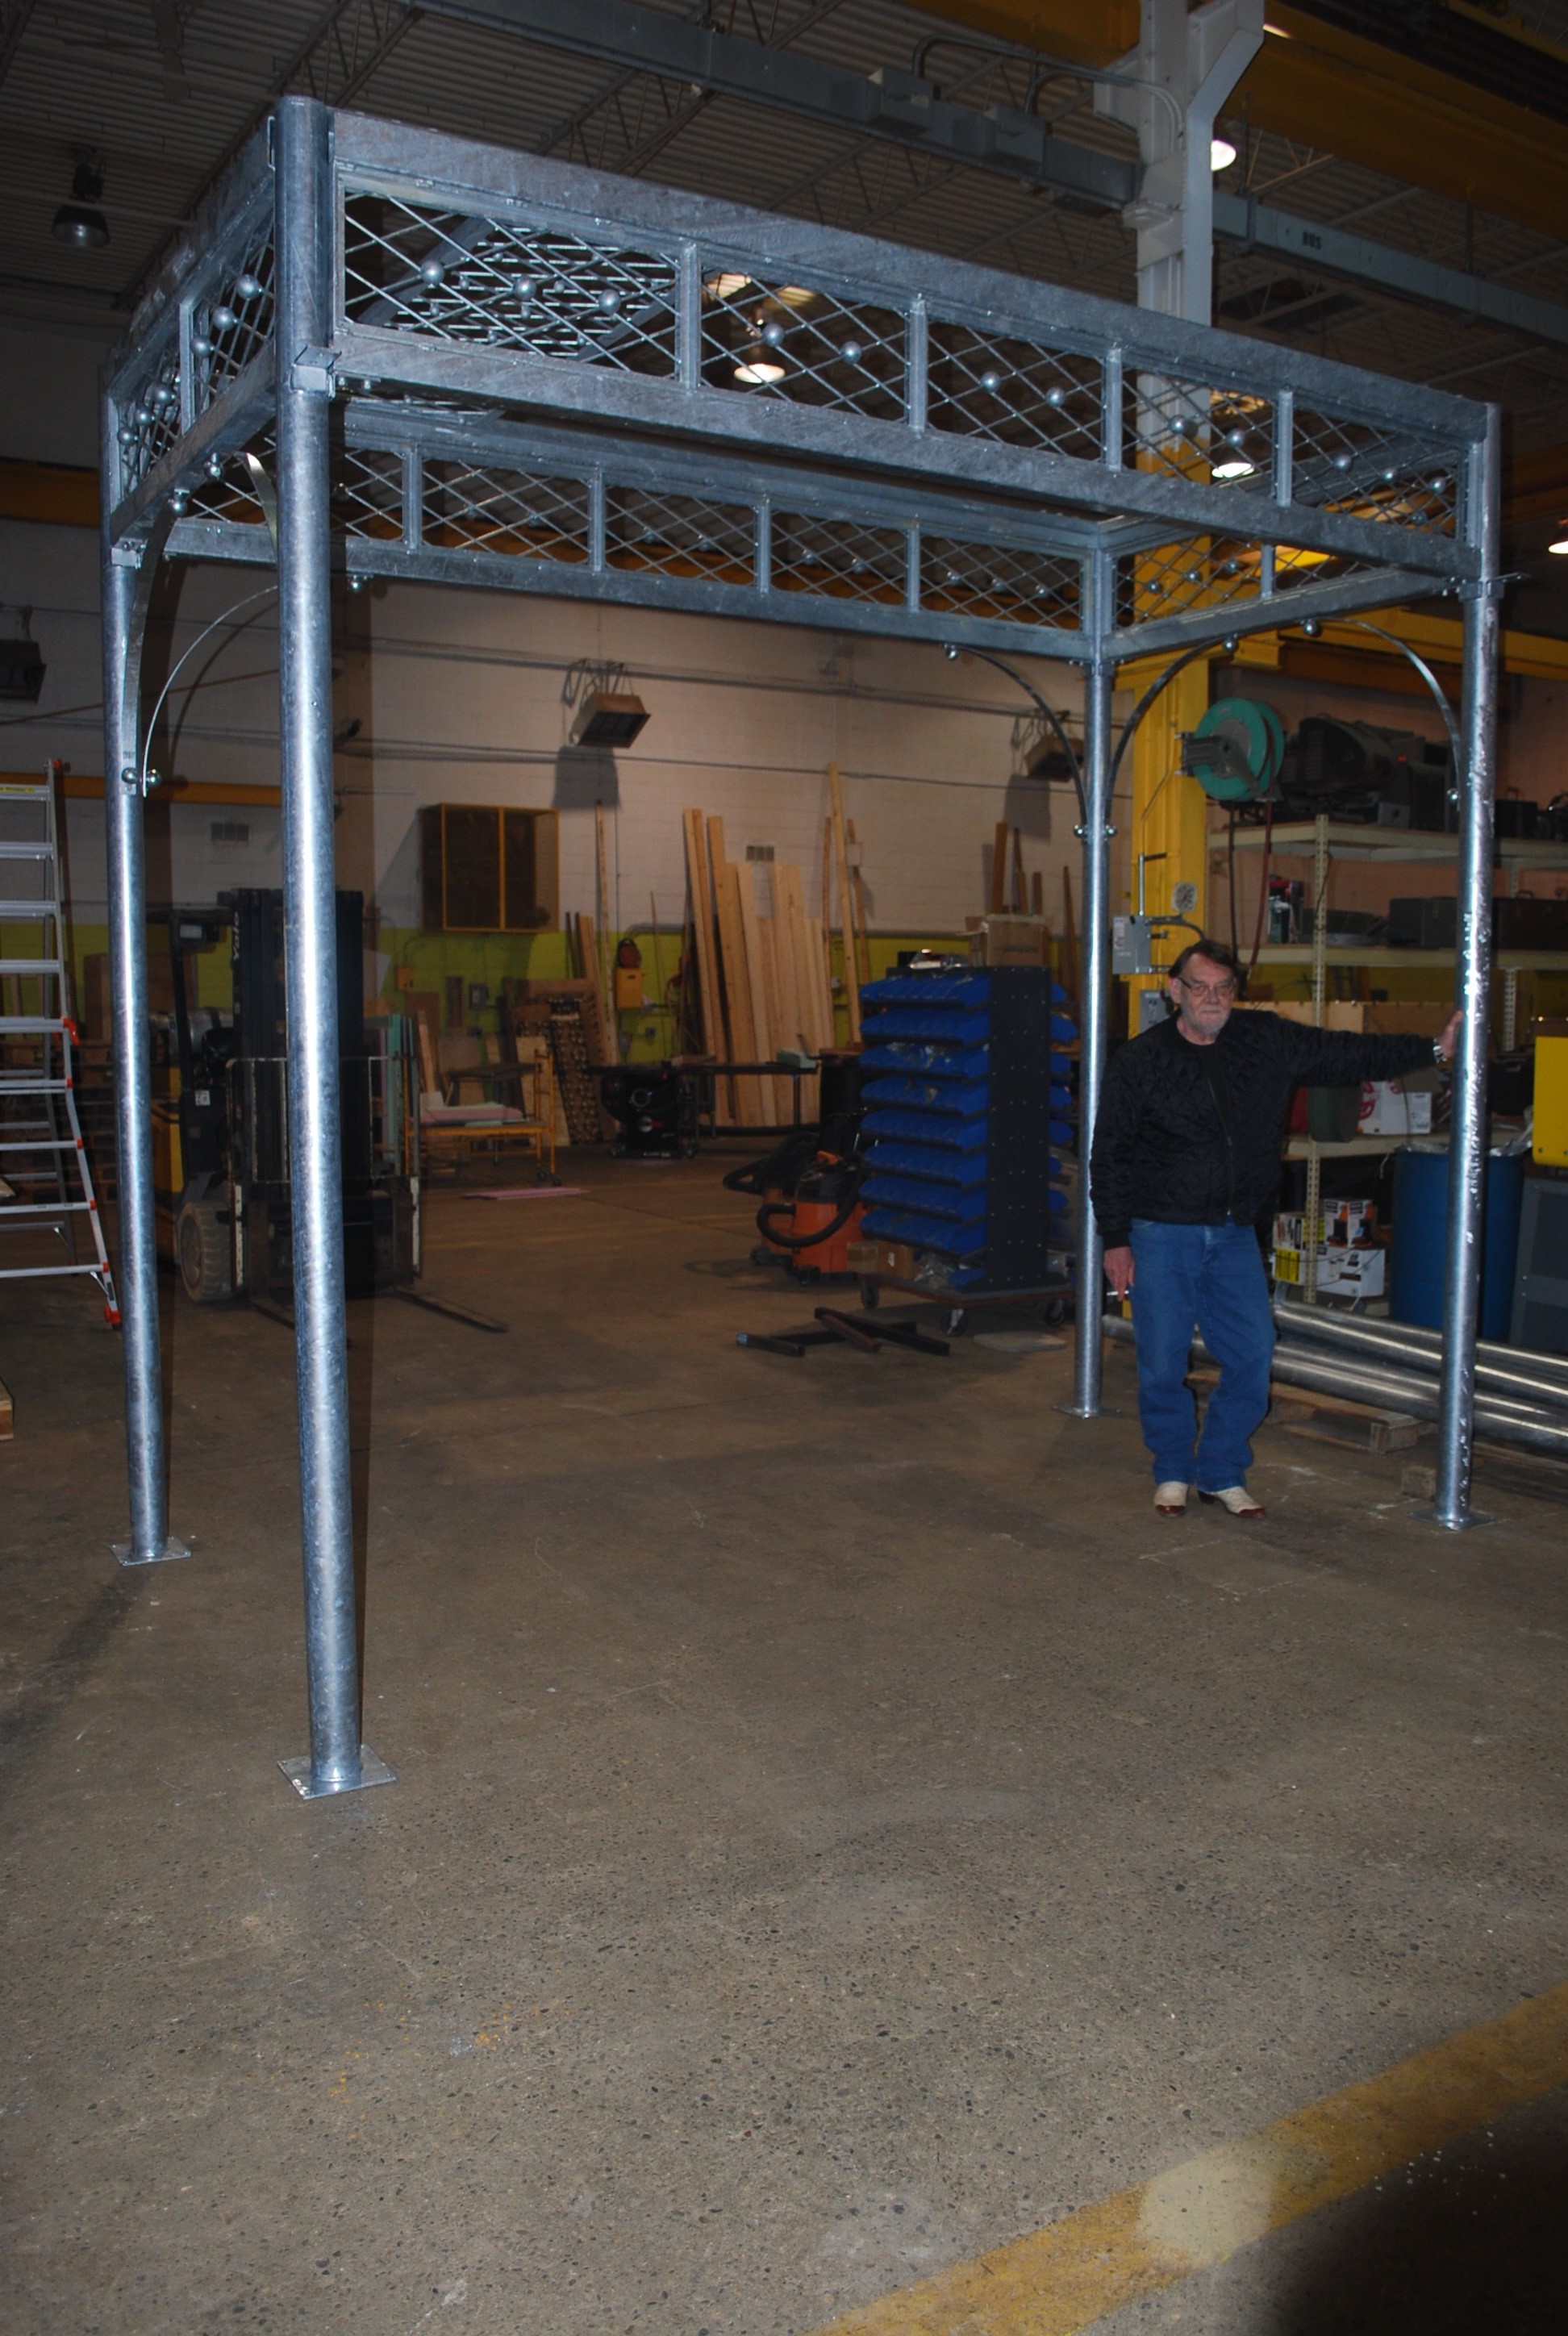
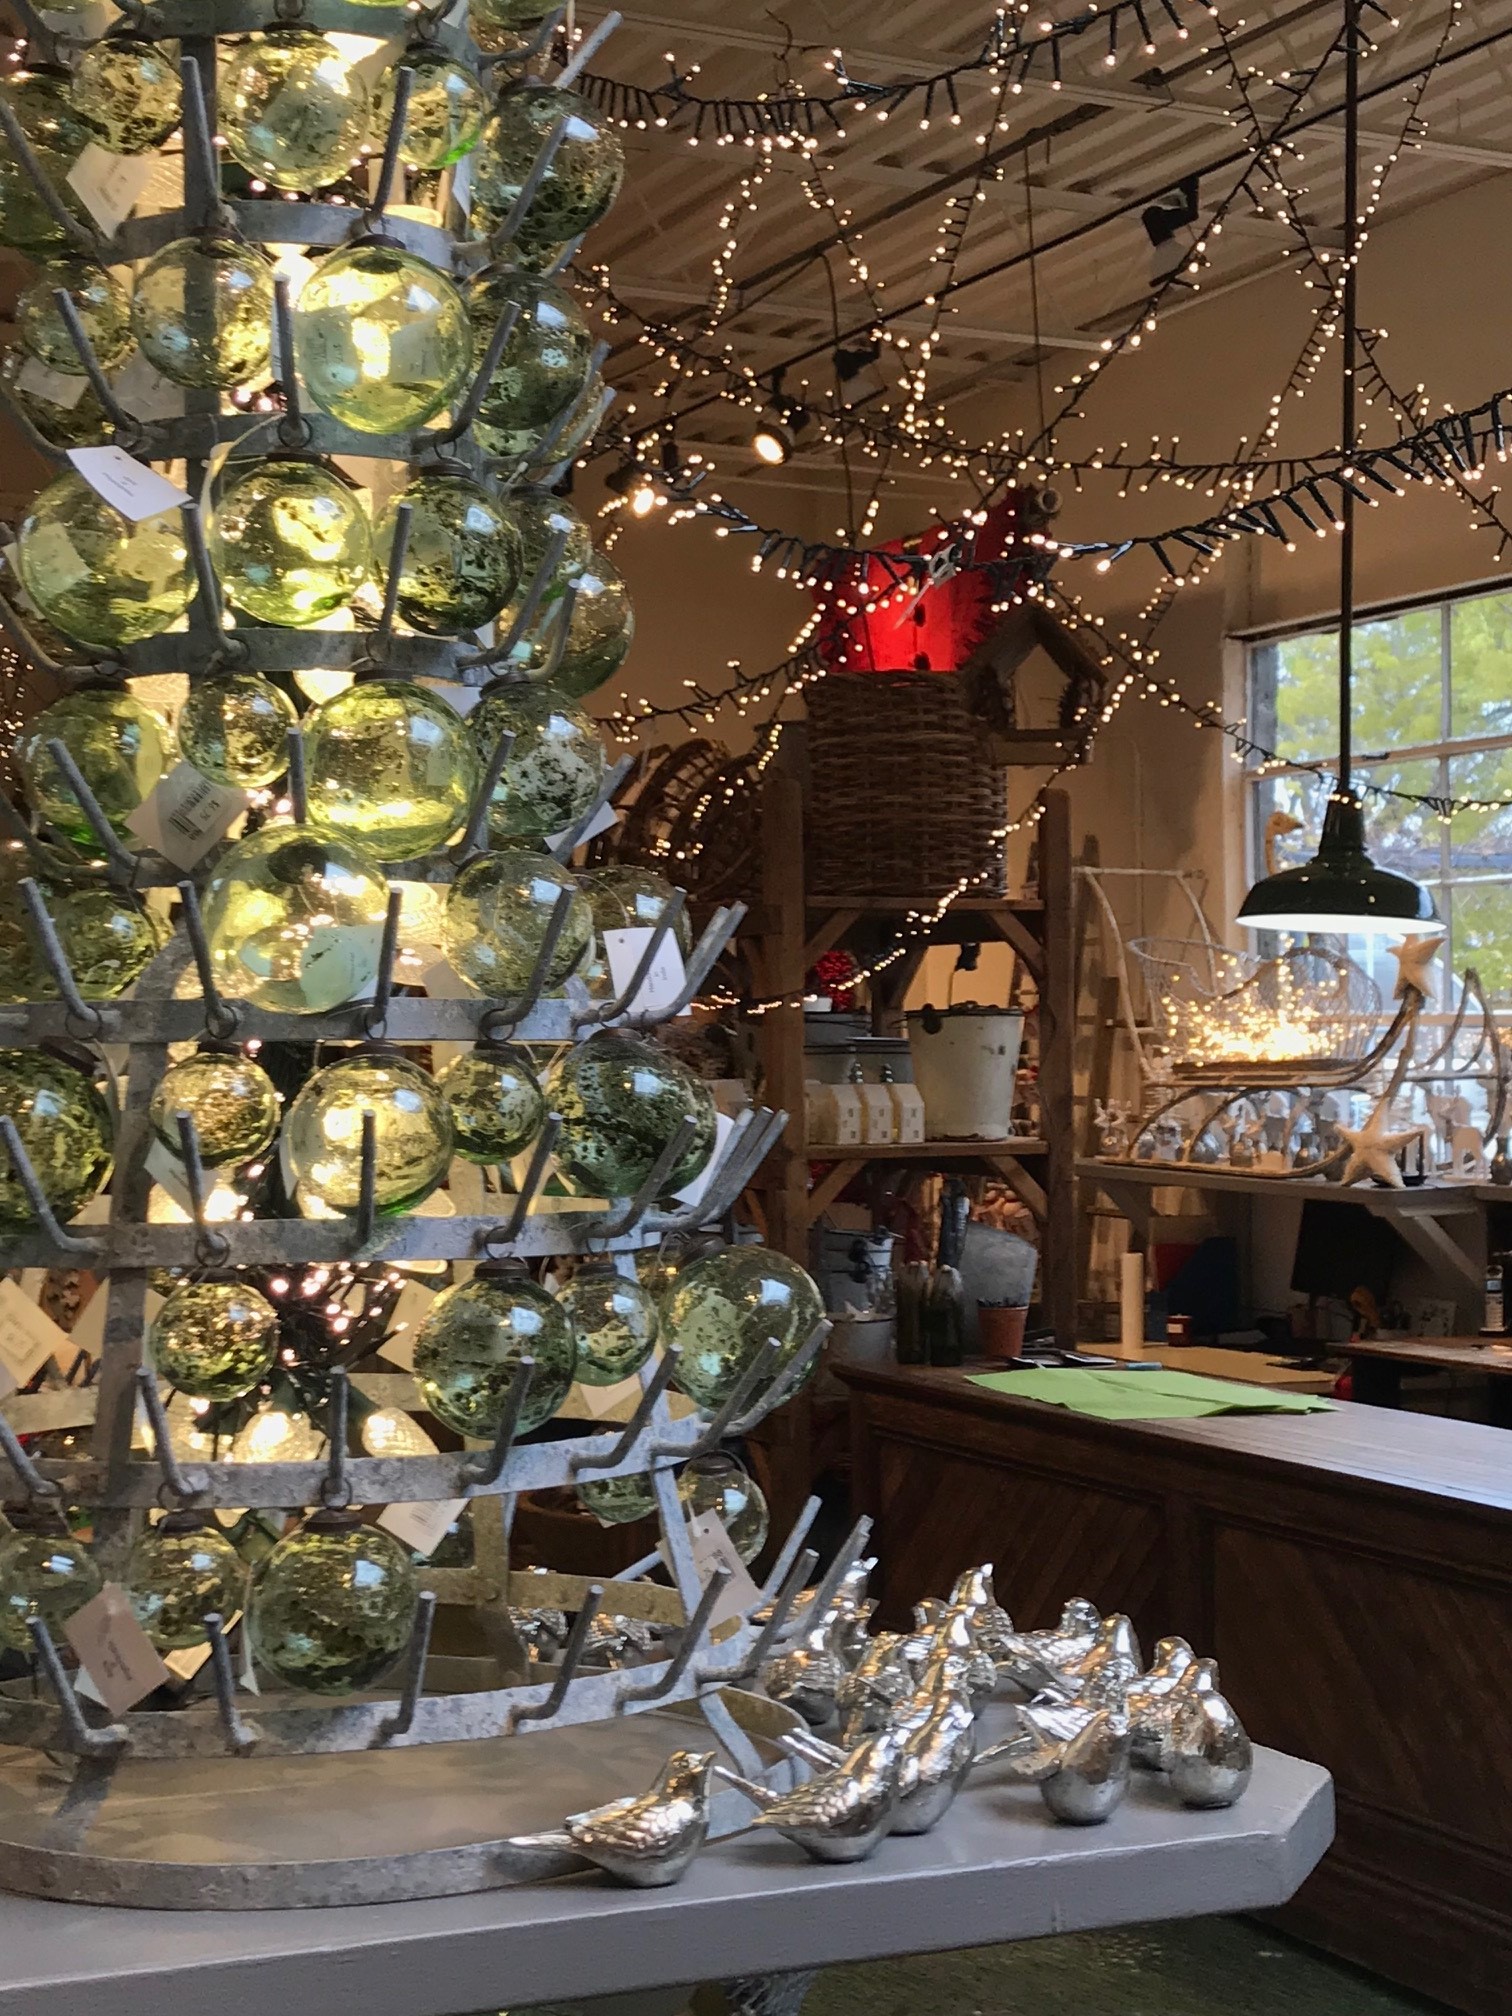
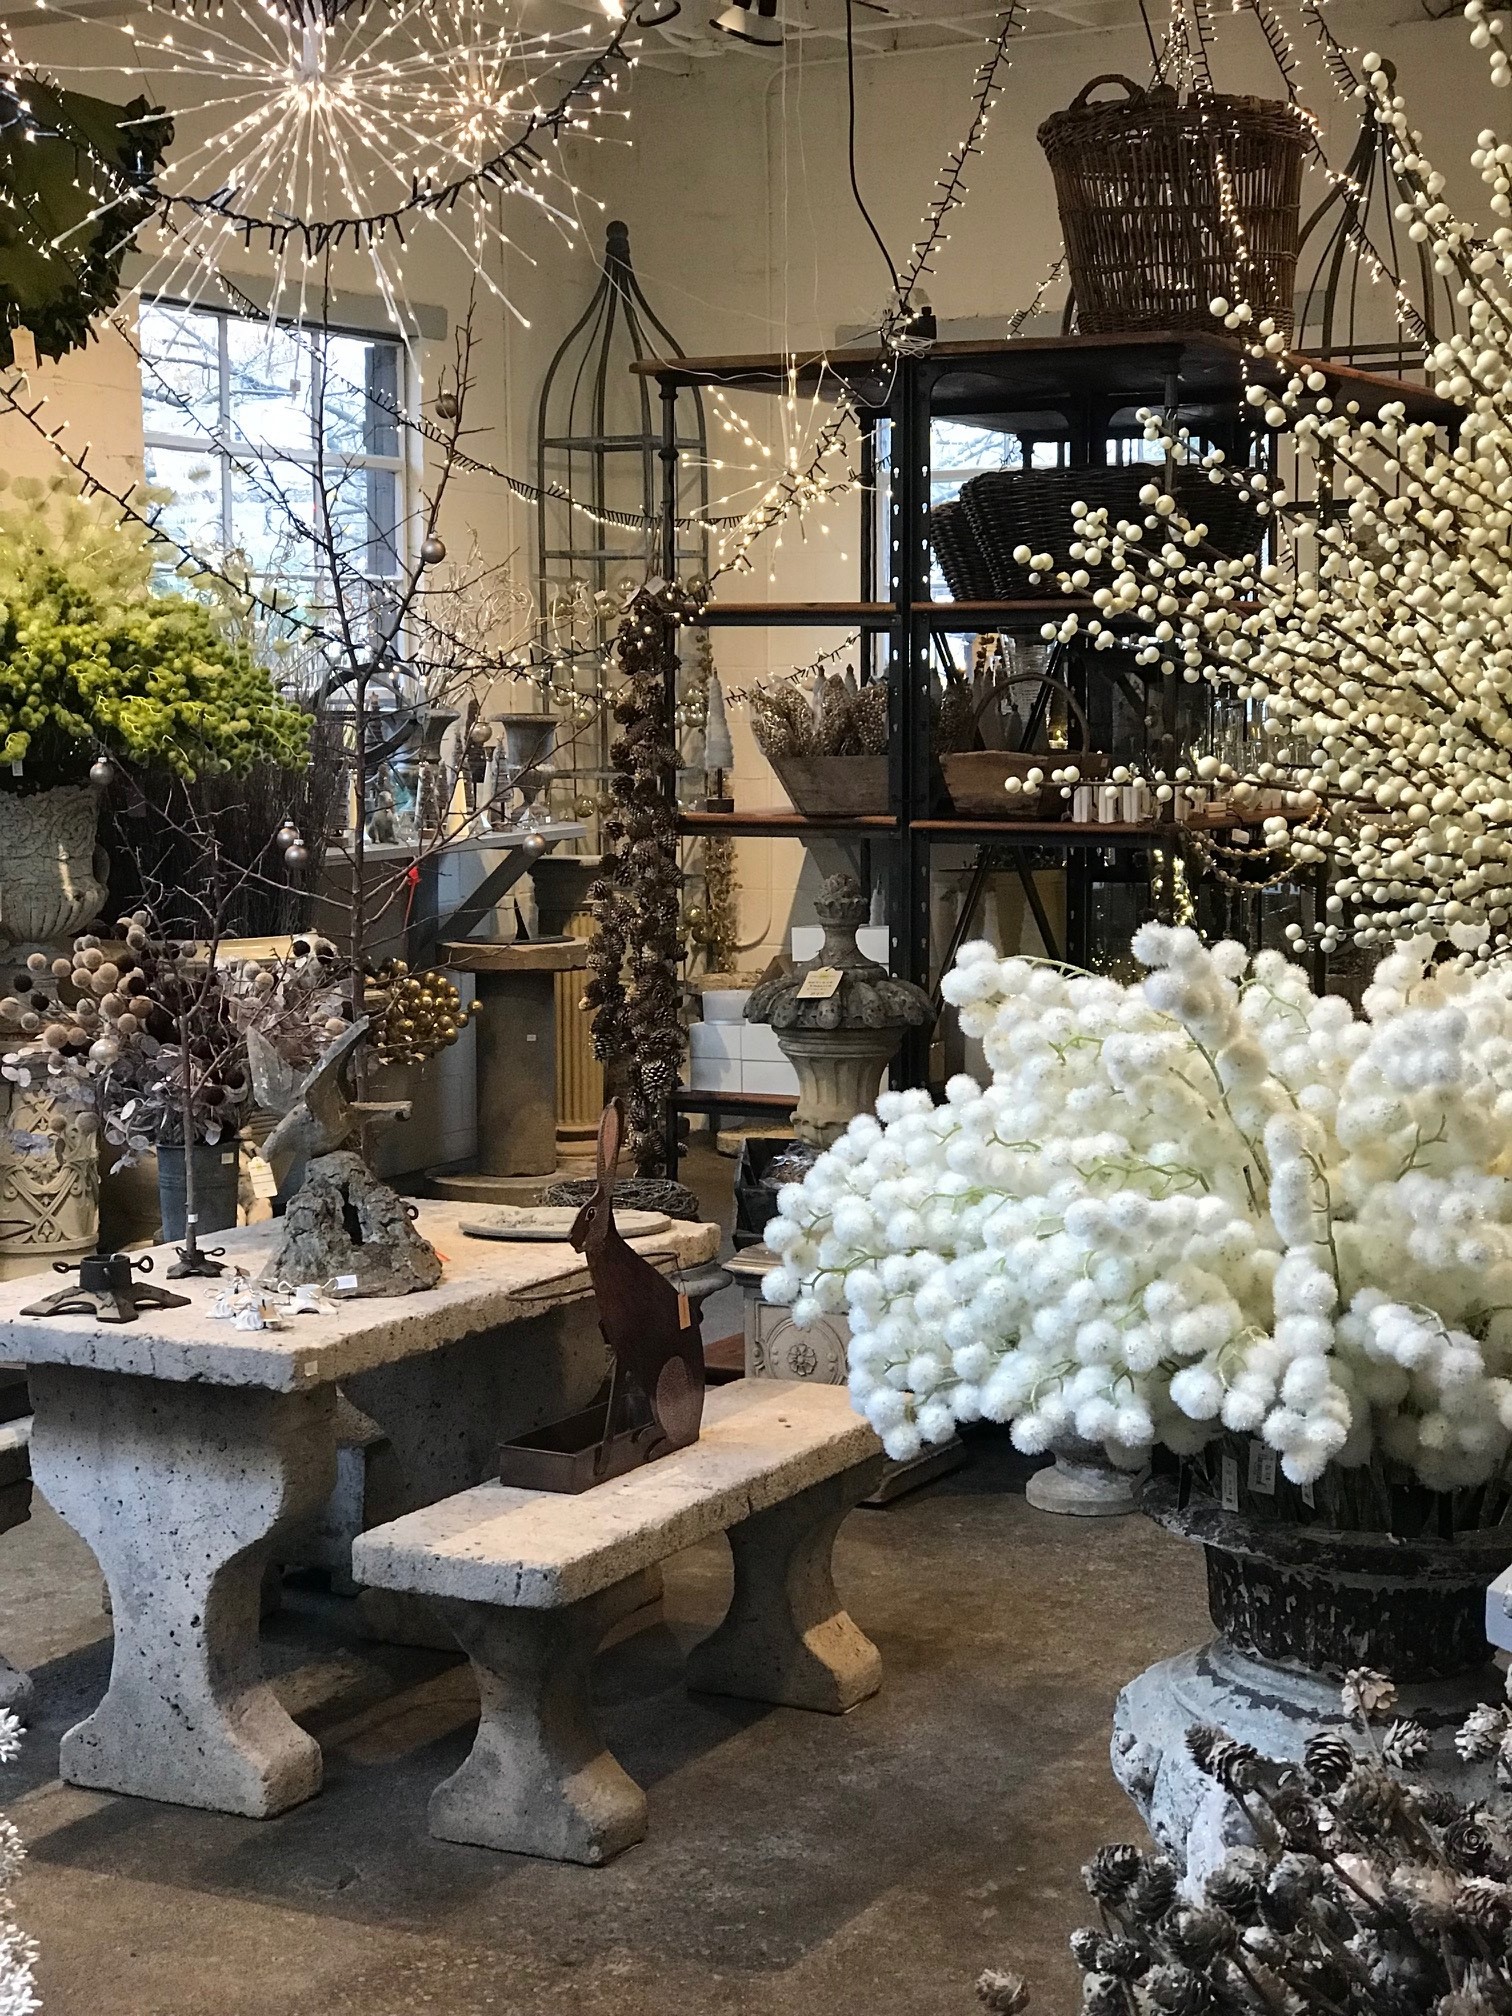
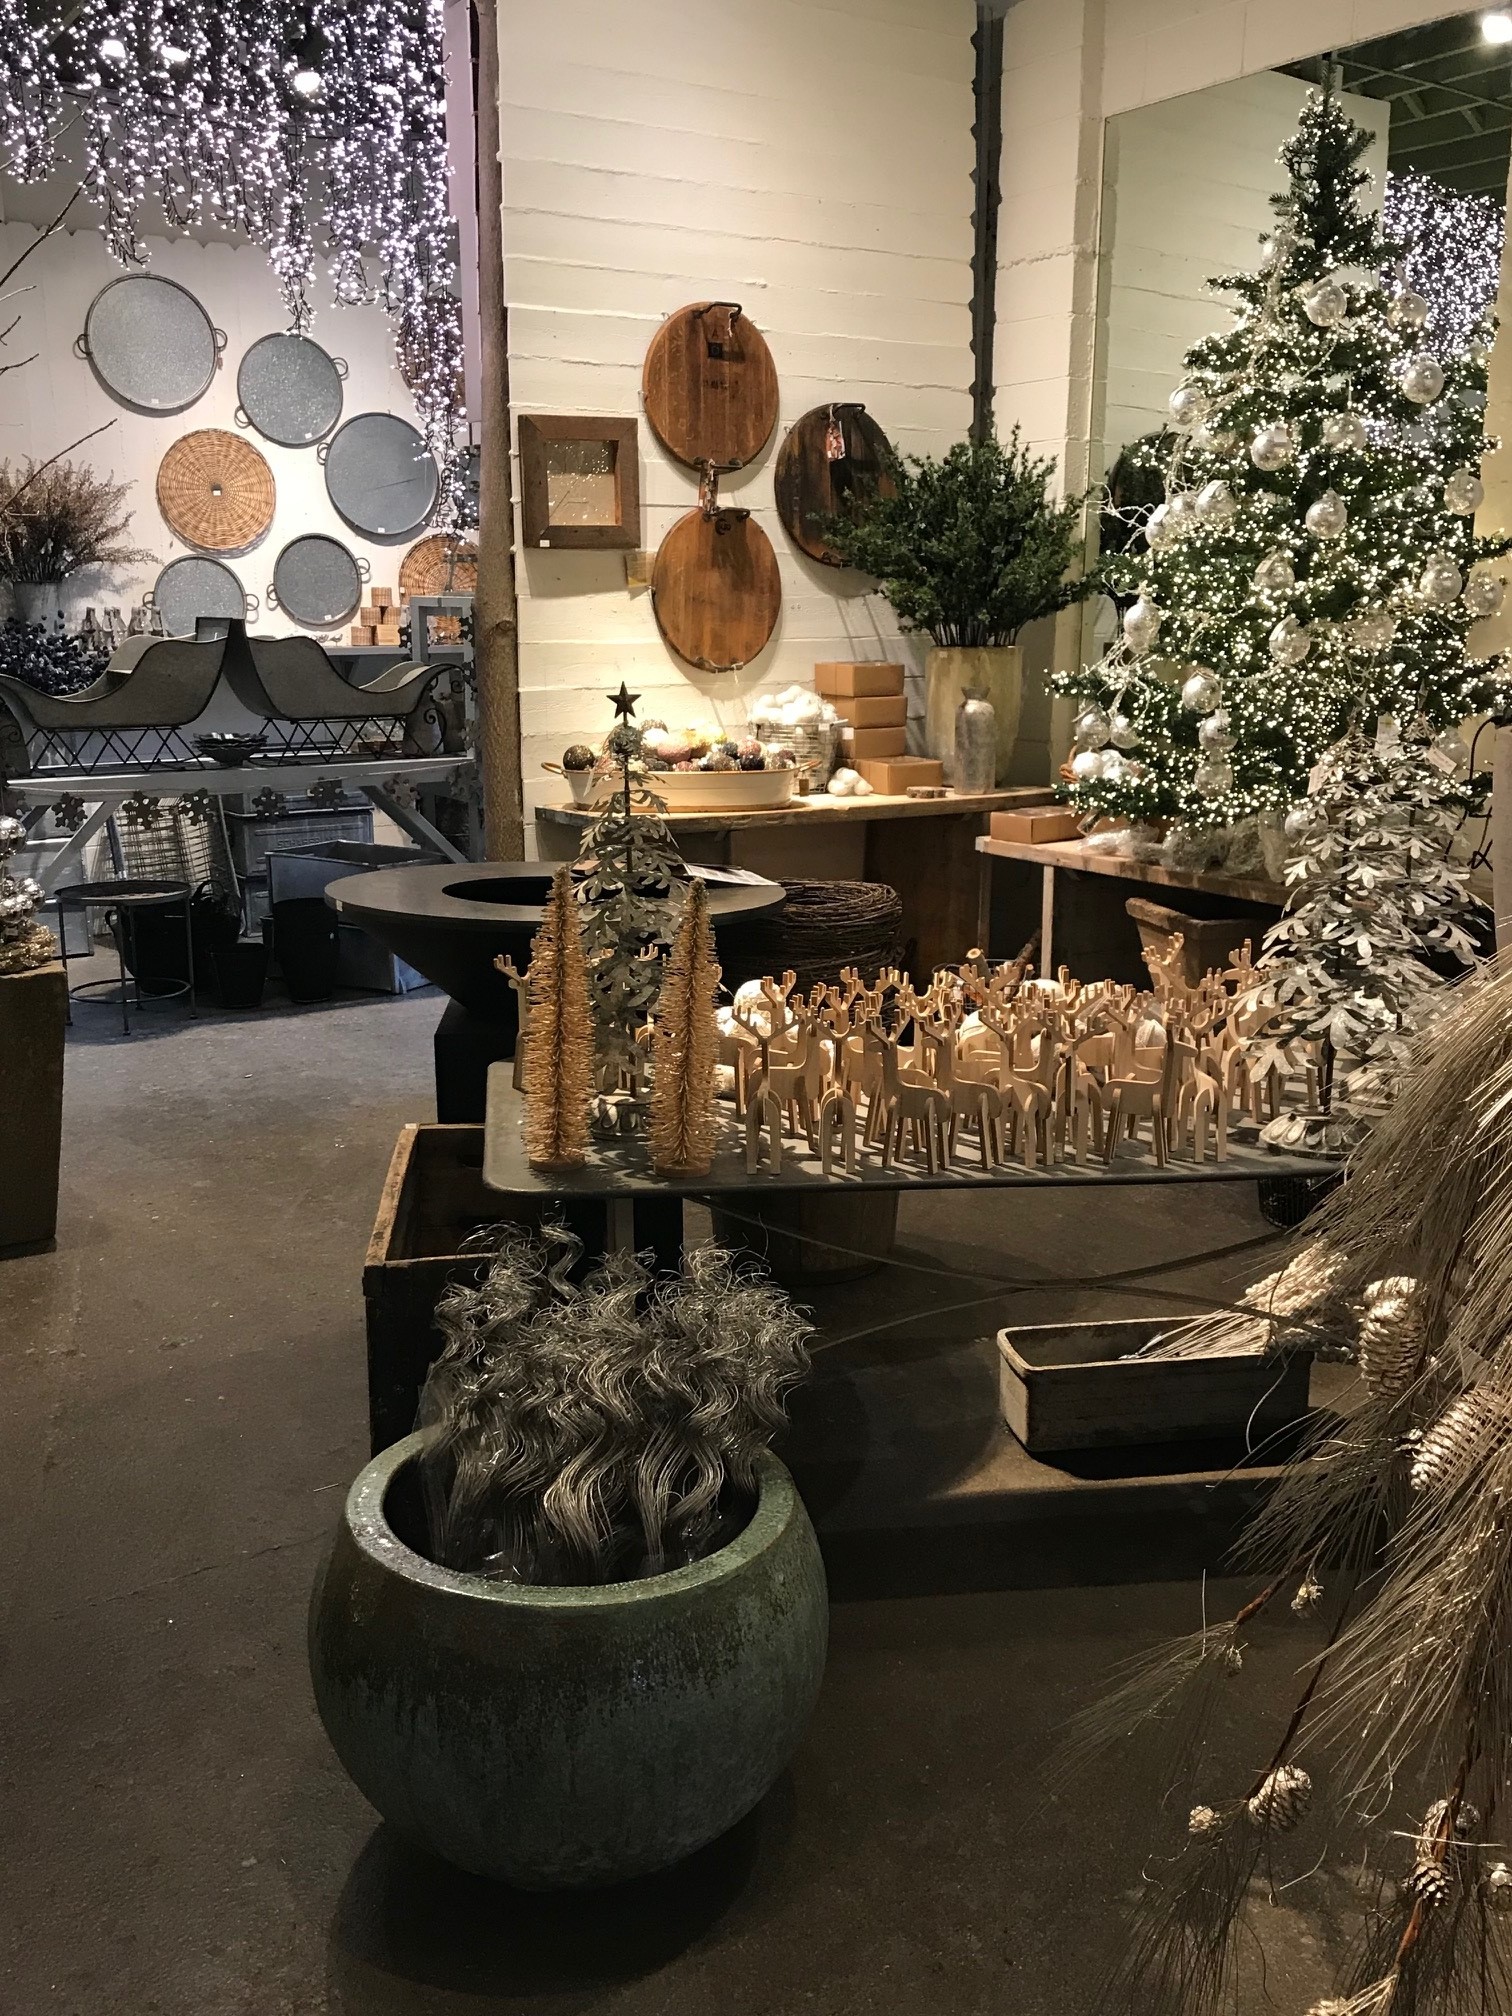
 The following pictures capture the installation of what we constructed in the shop. Keeping that construction mess in the garage is just about the best idea I ever had. Fabricating arrangements outdoors in the freezing cold means the cold has the upper hand. Creating winter arrangements in a warm and wind free space makes for better arrangements. And so much less mess. Sweeping up outdoors in freezing weather outdoors is frustrating.
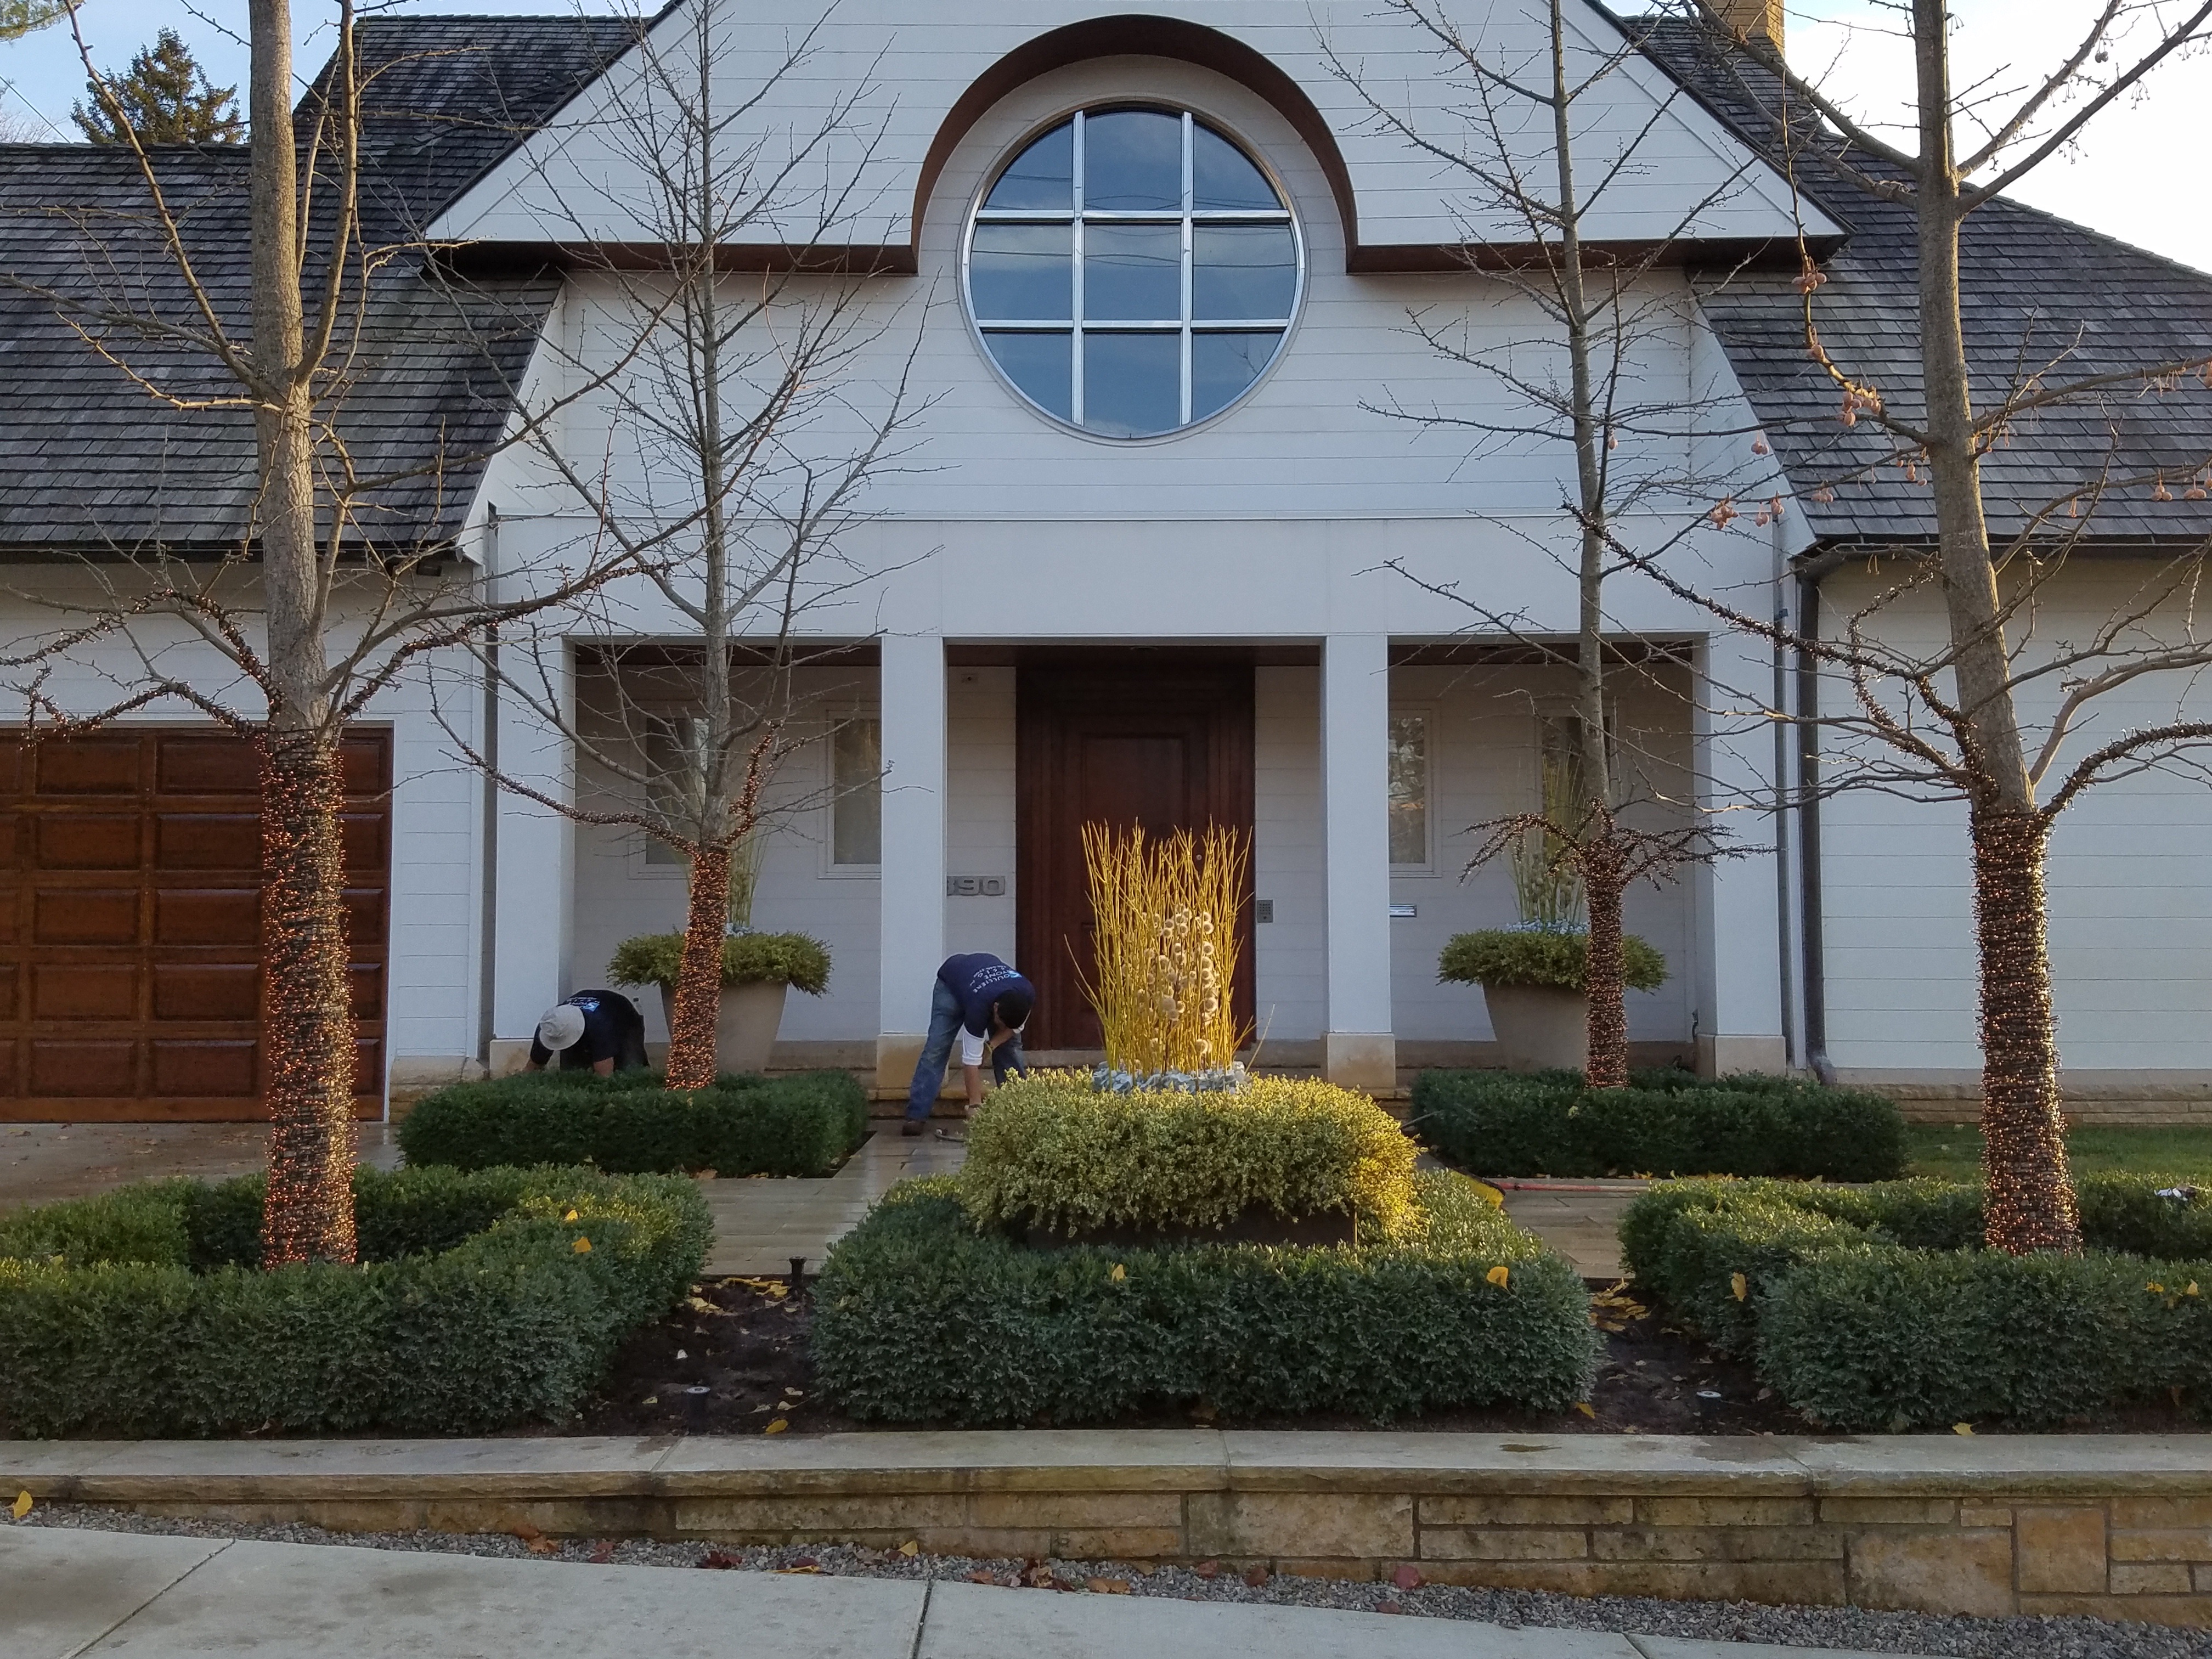
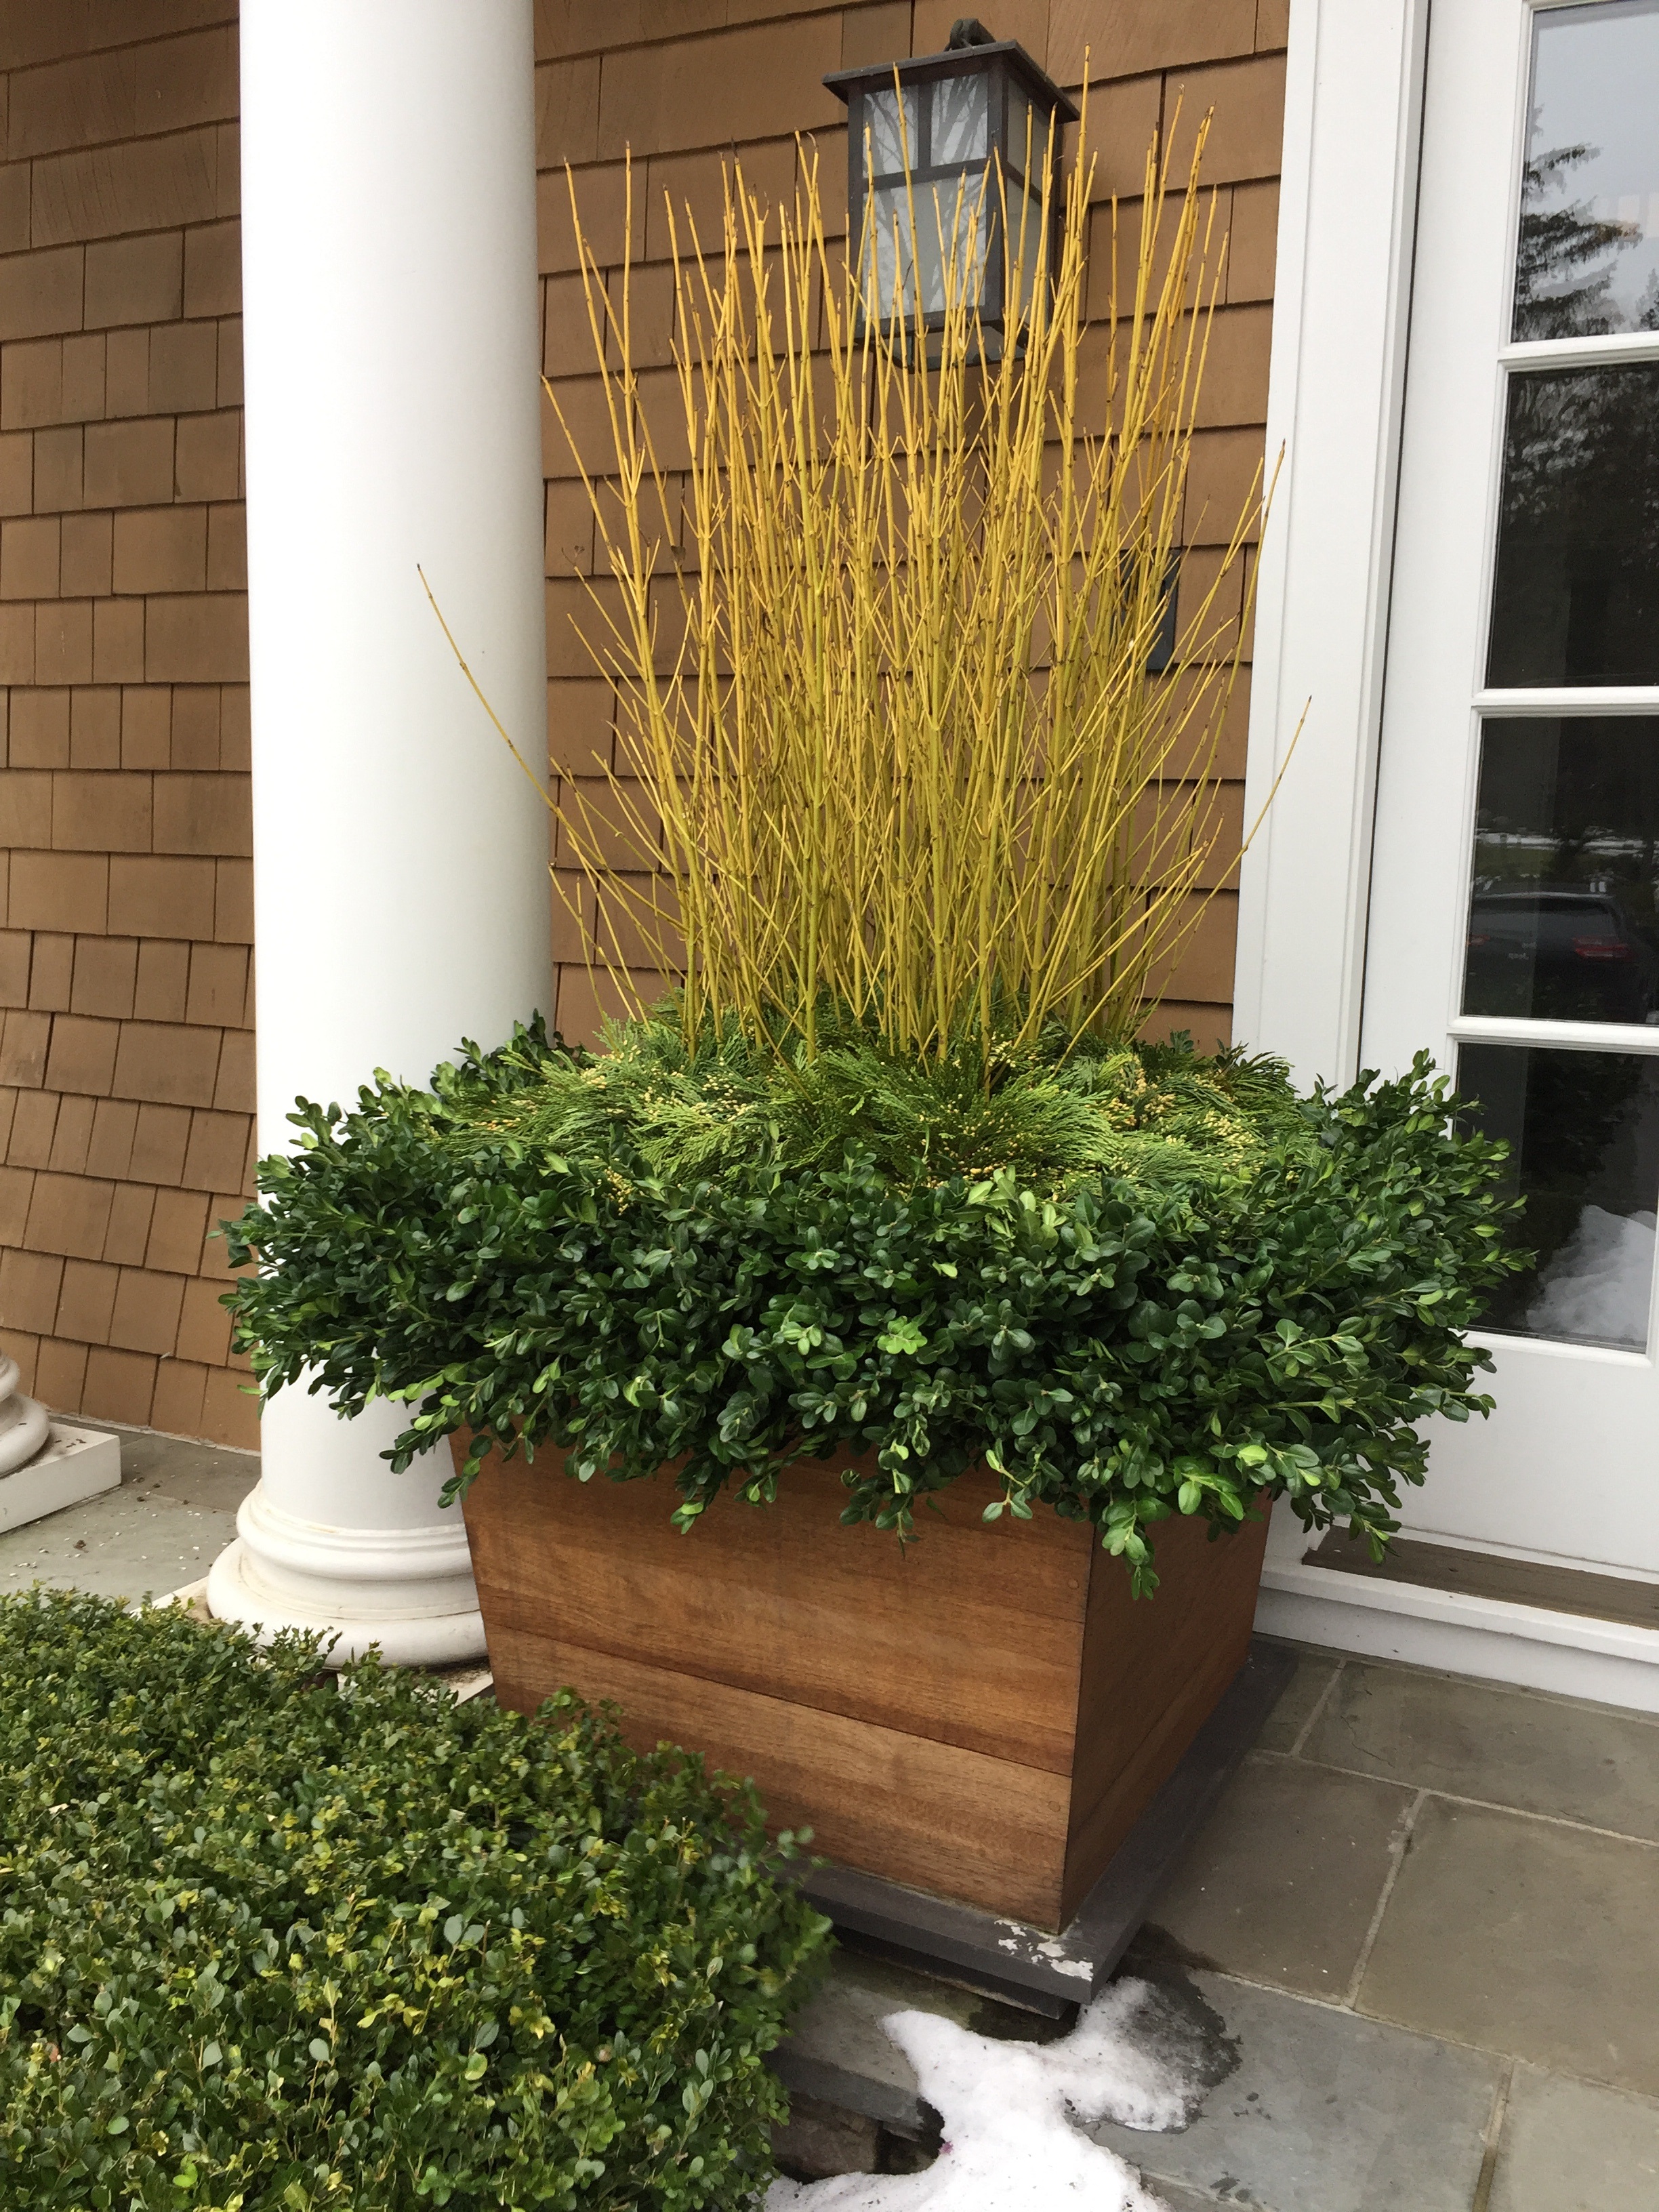
 This front porch is neat and clean. All of the debris inevitable during construction was swept up off our garage floor, and deposited in our dumpster or in our compost pile, before we ever came to install.
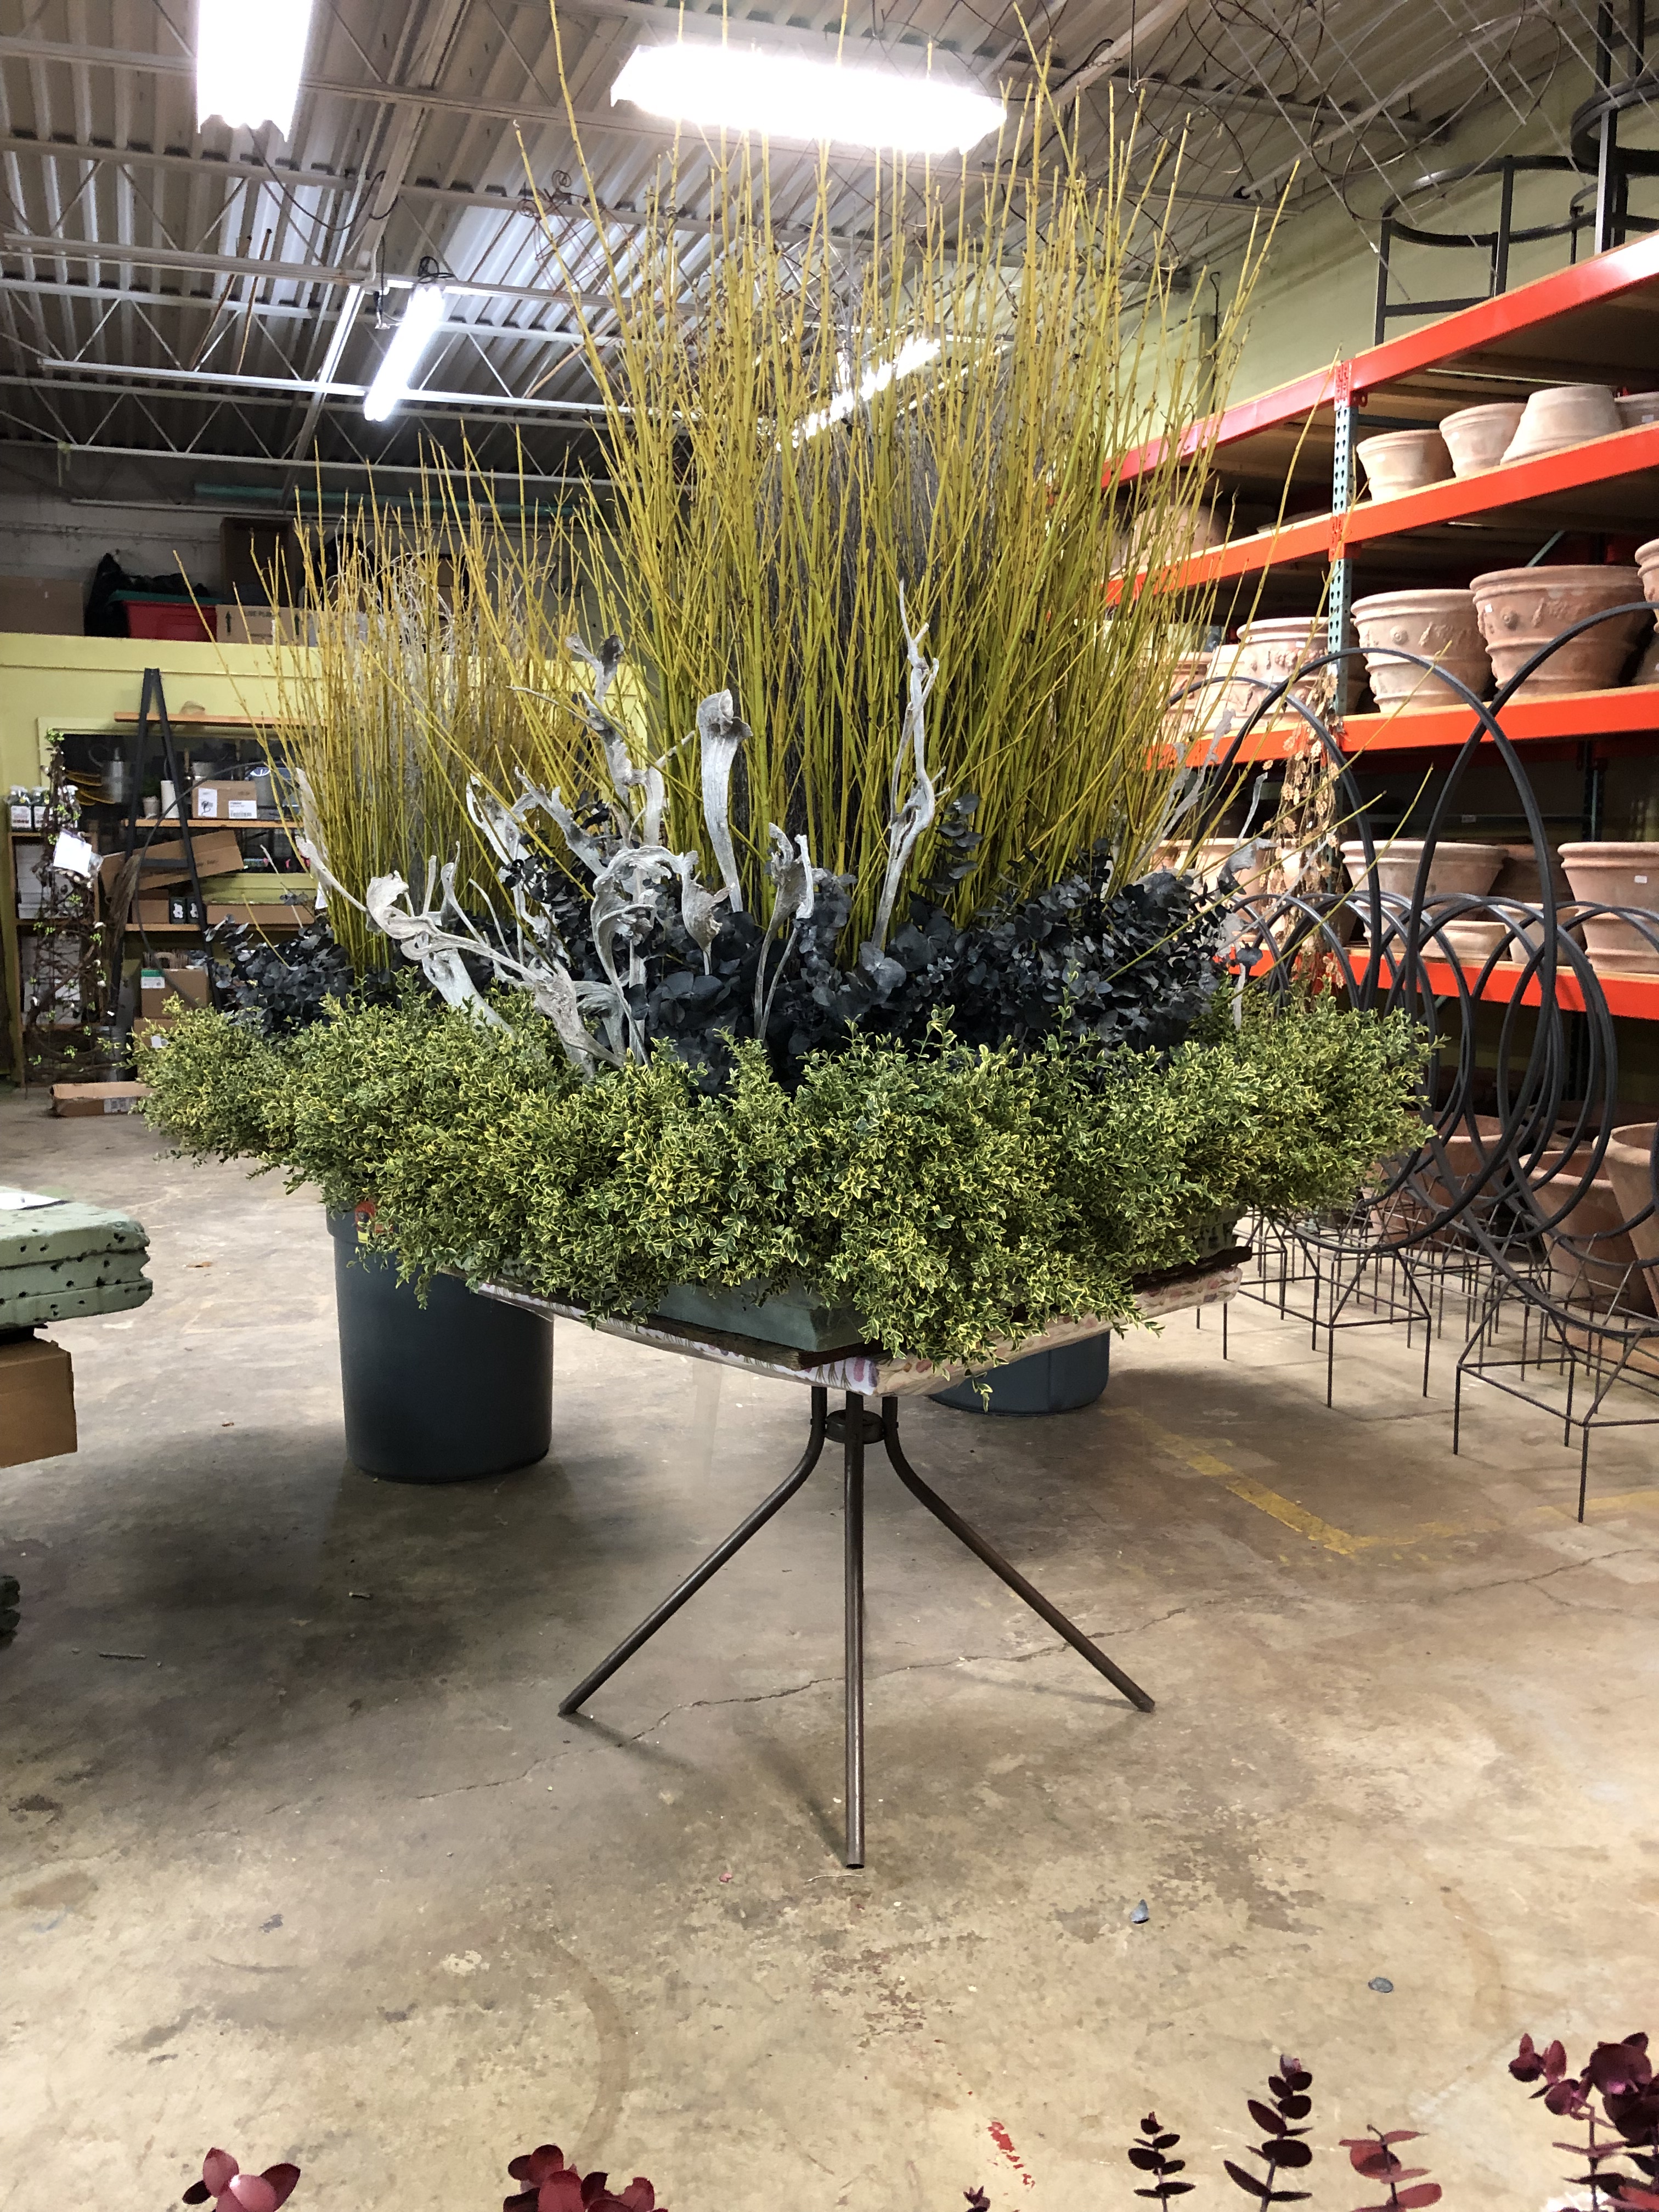
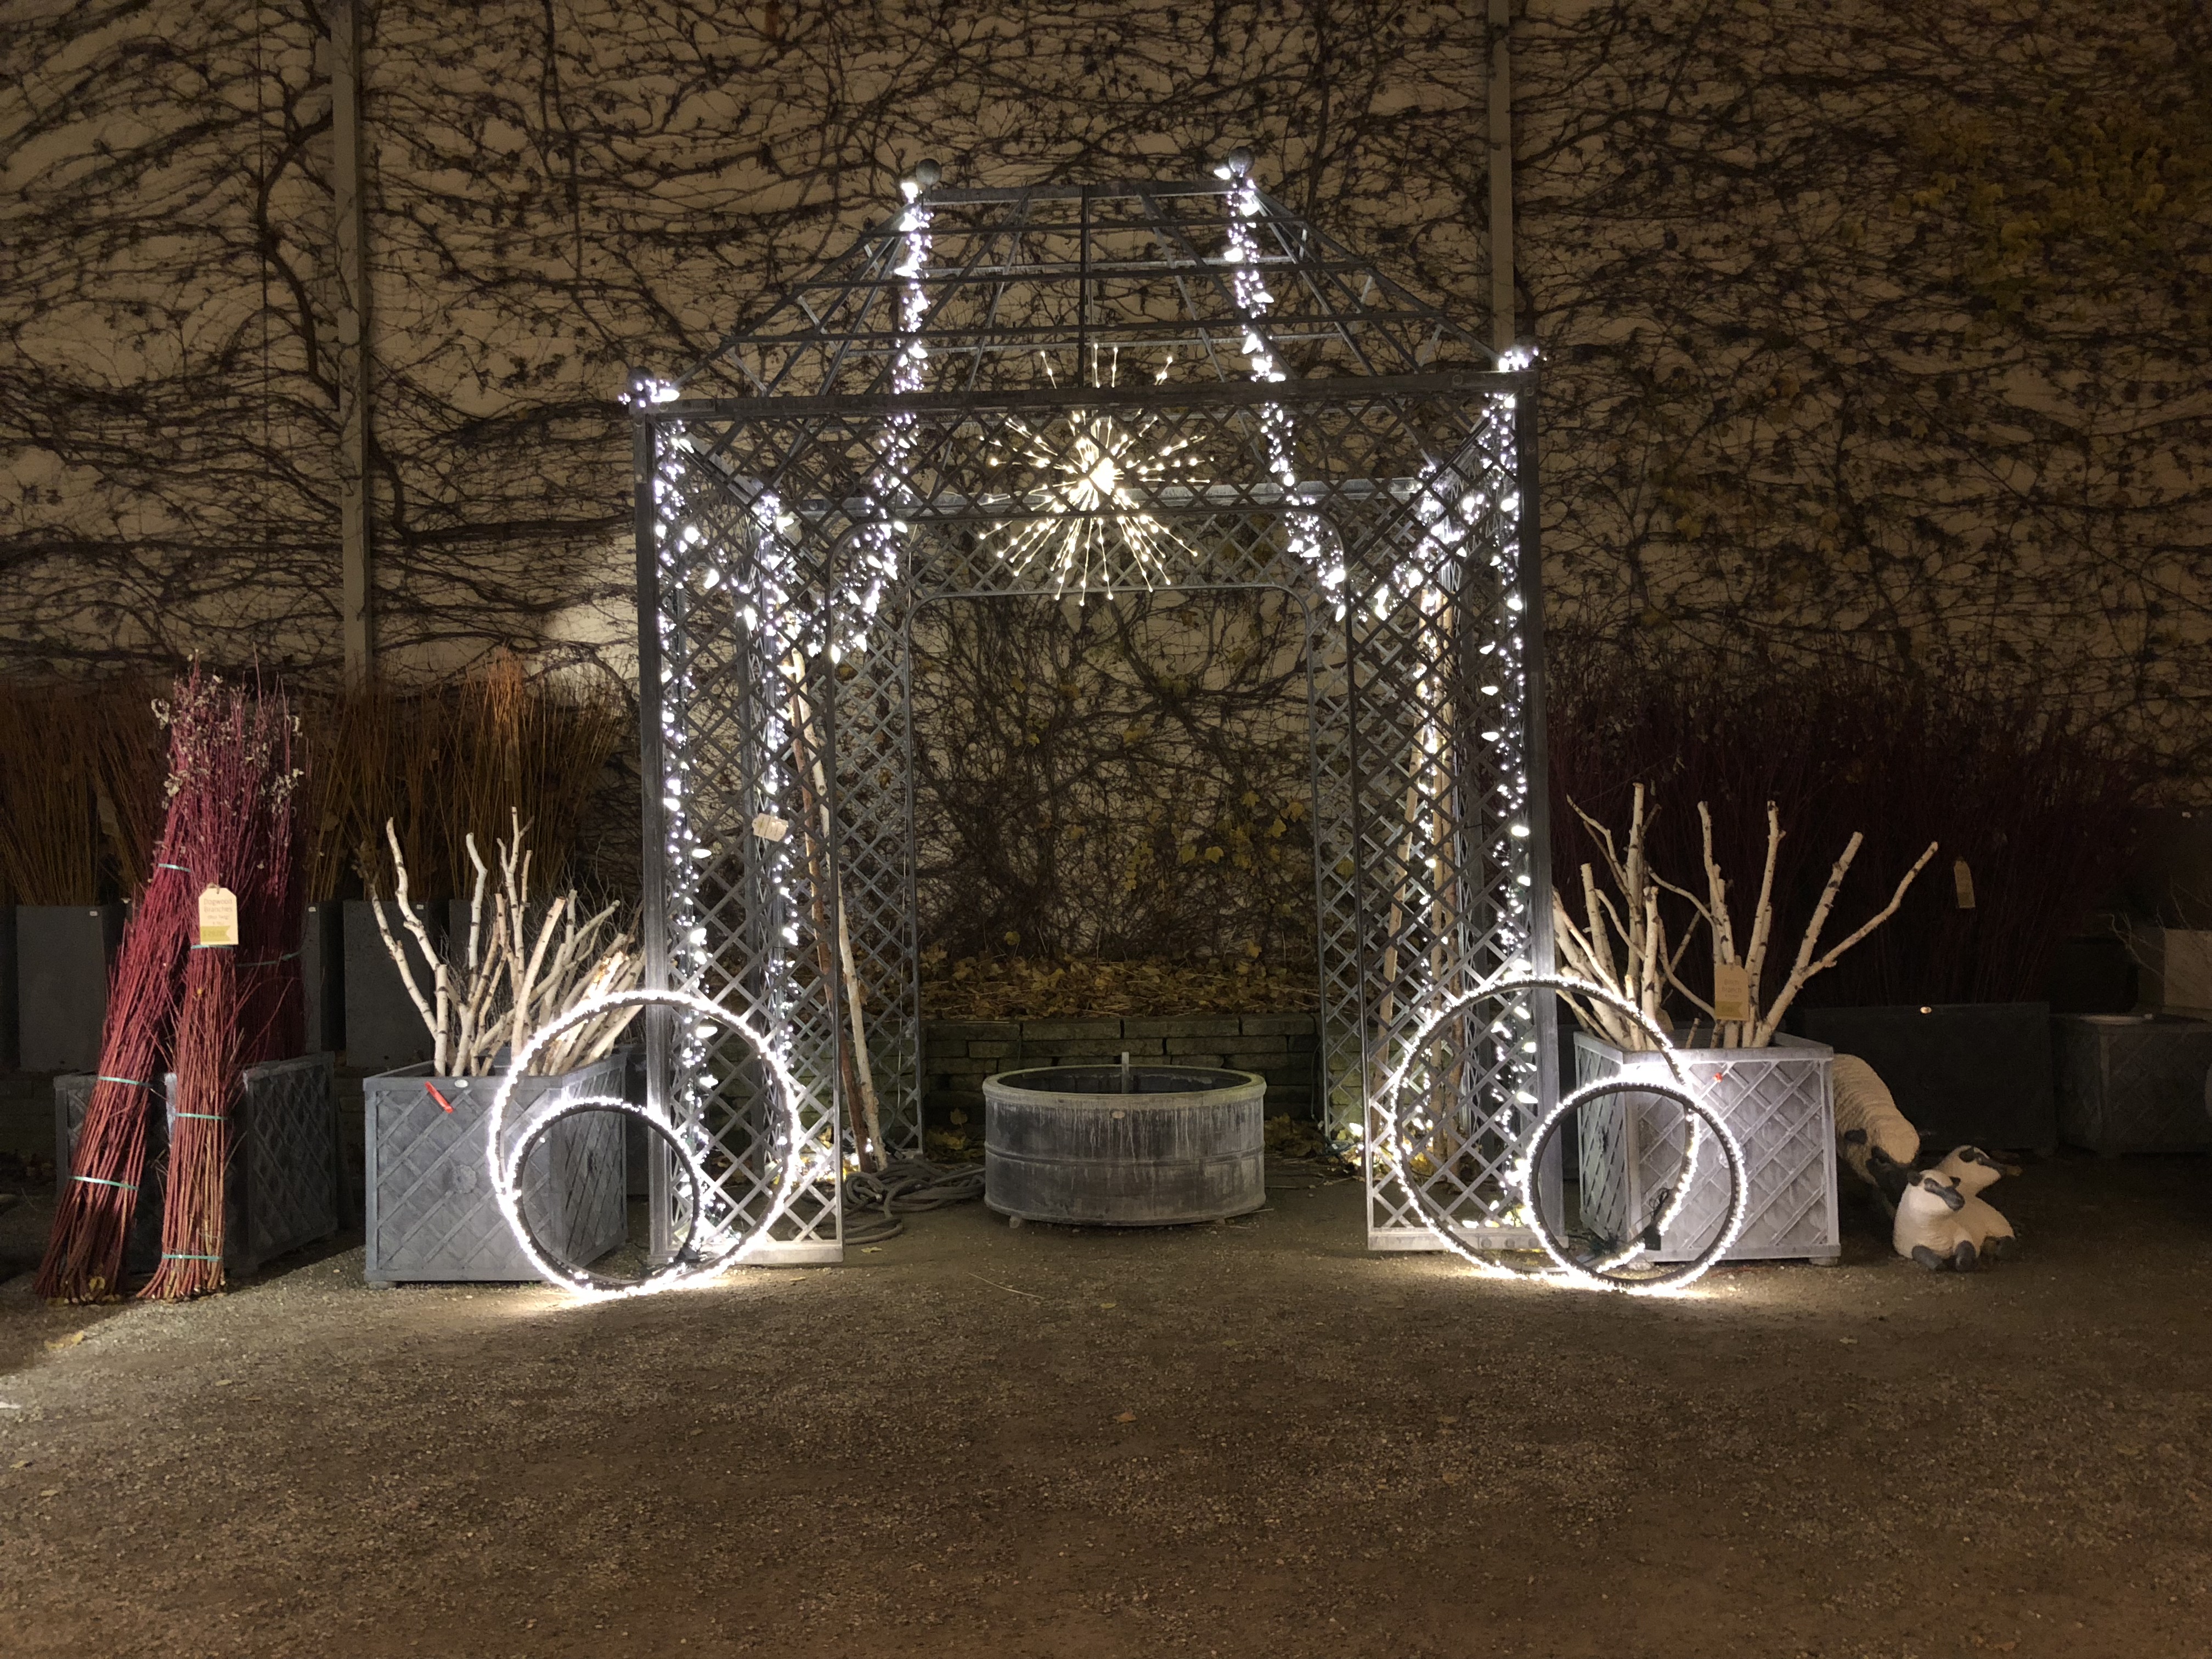
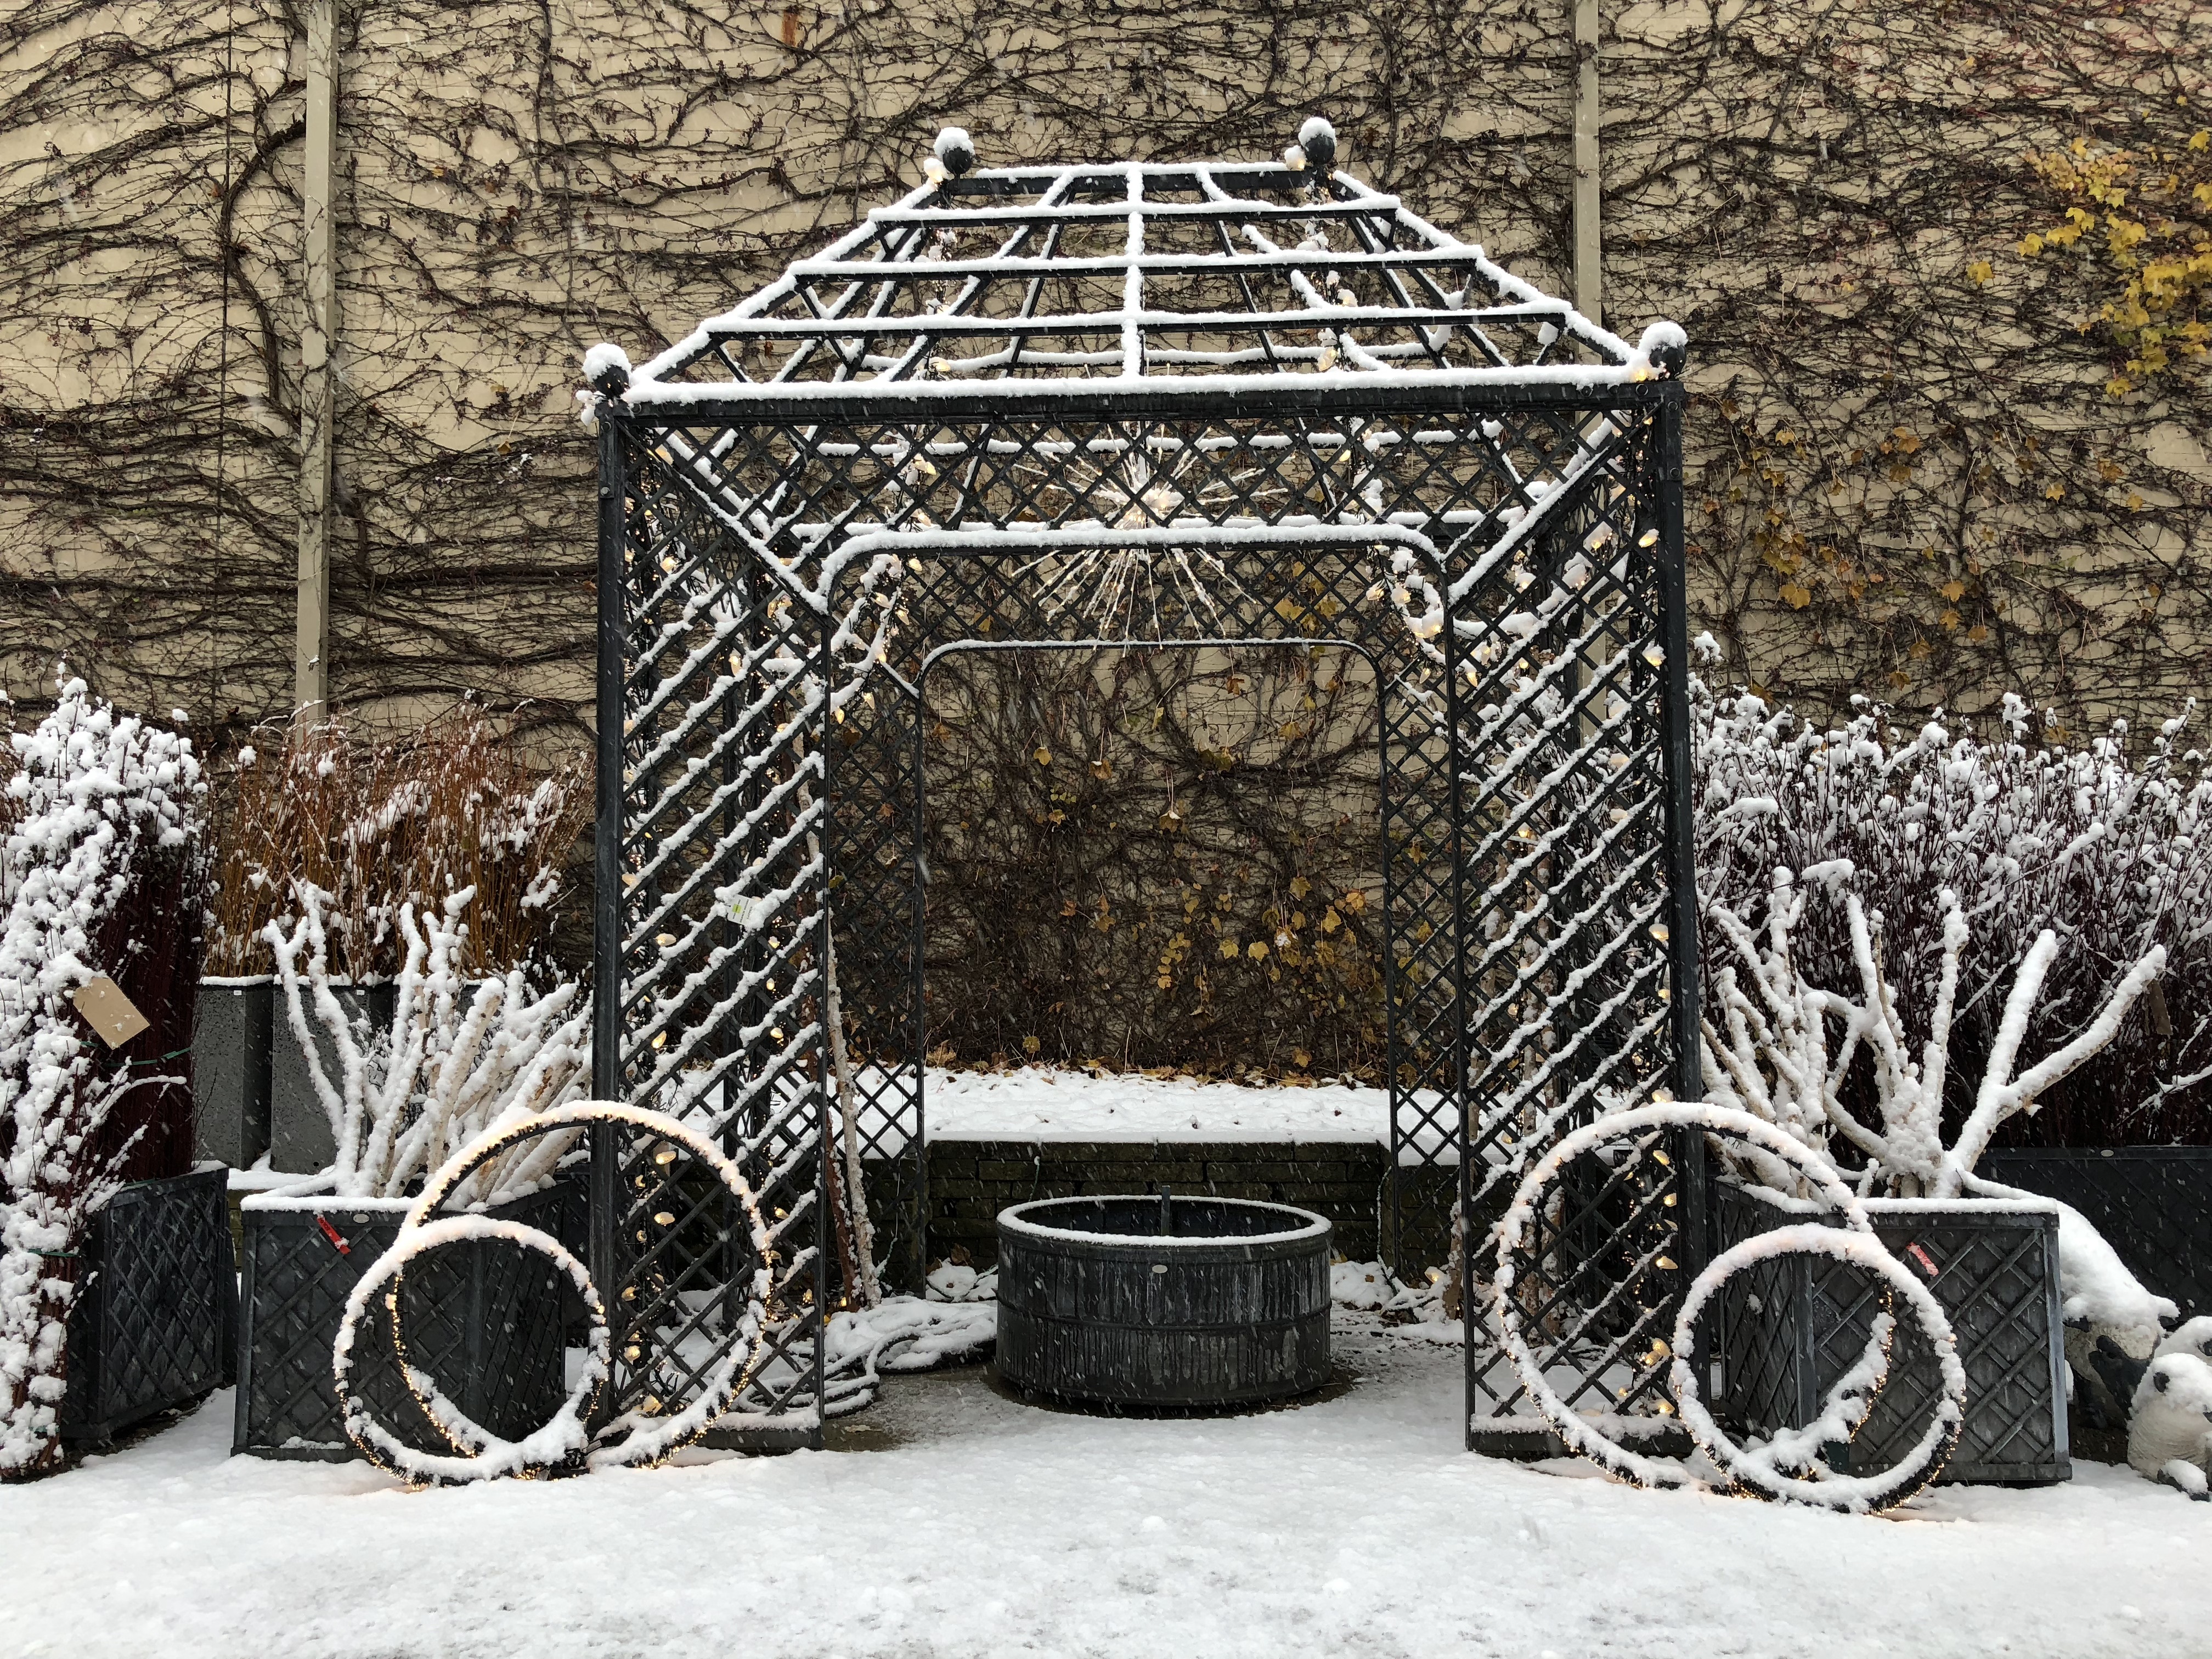
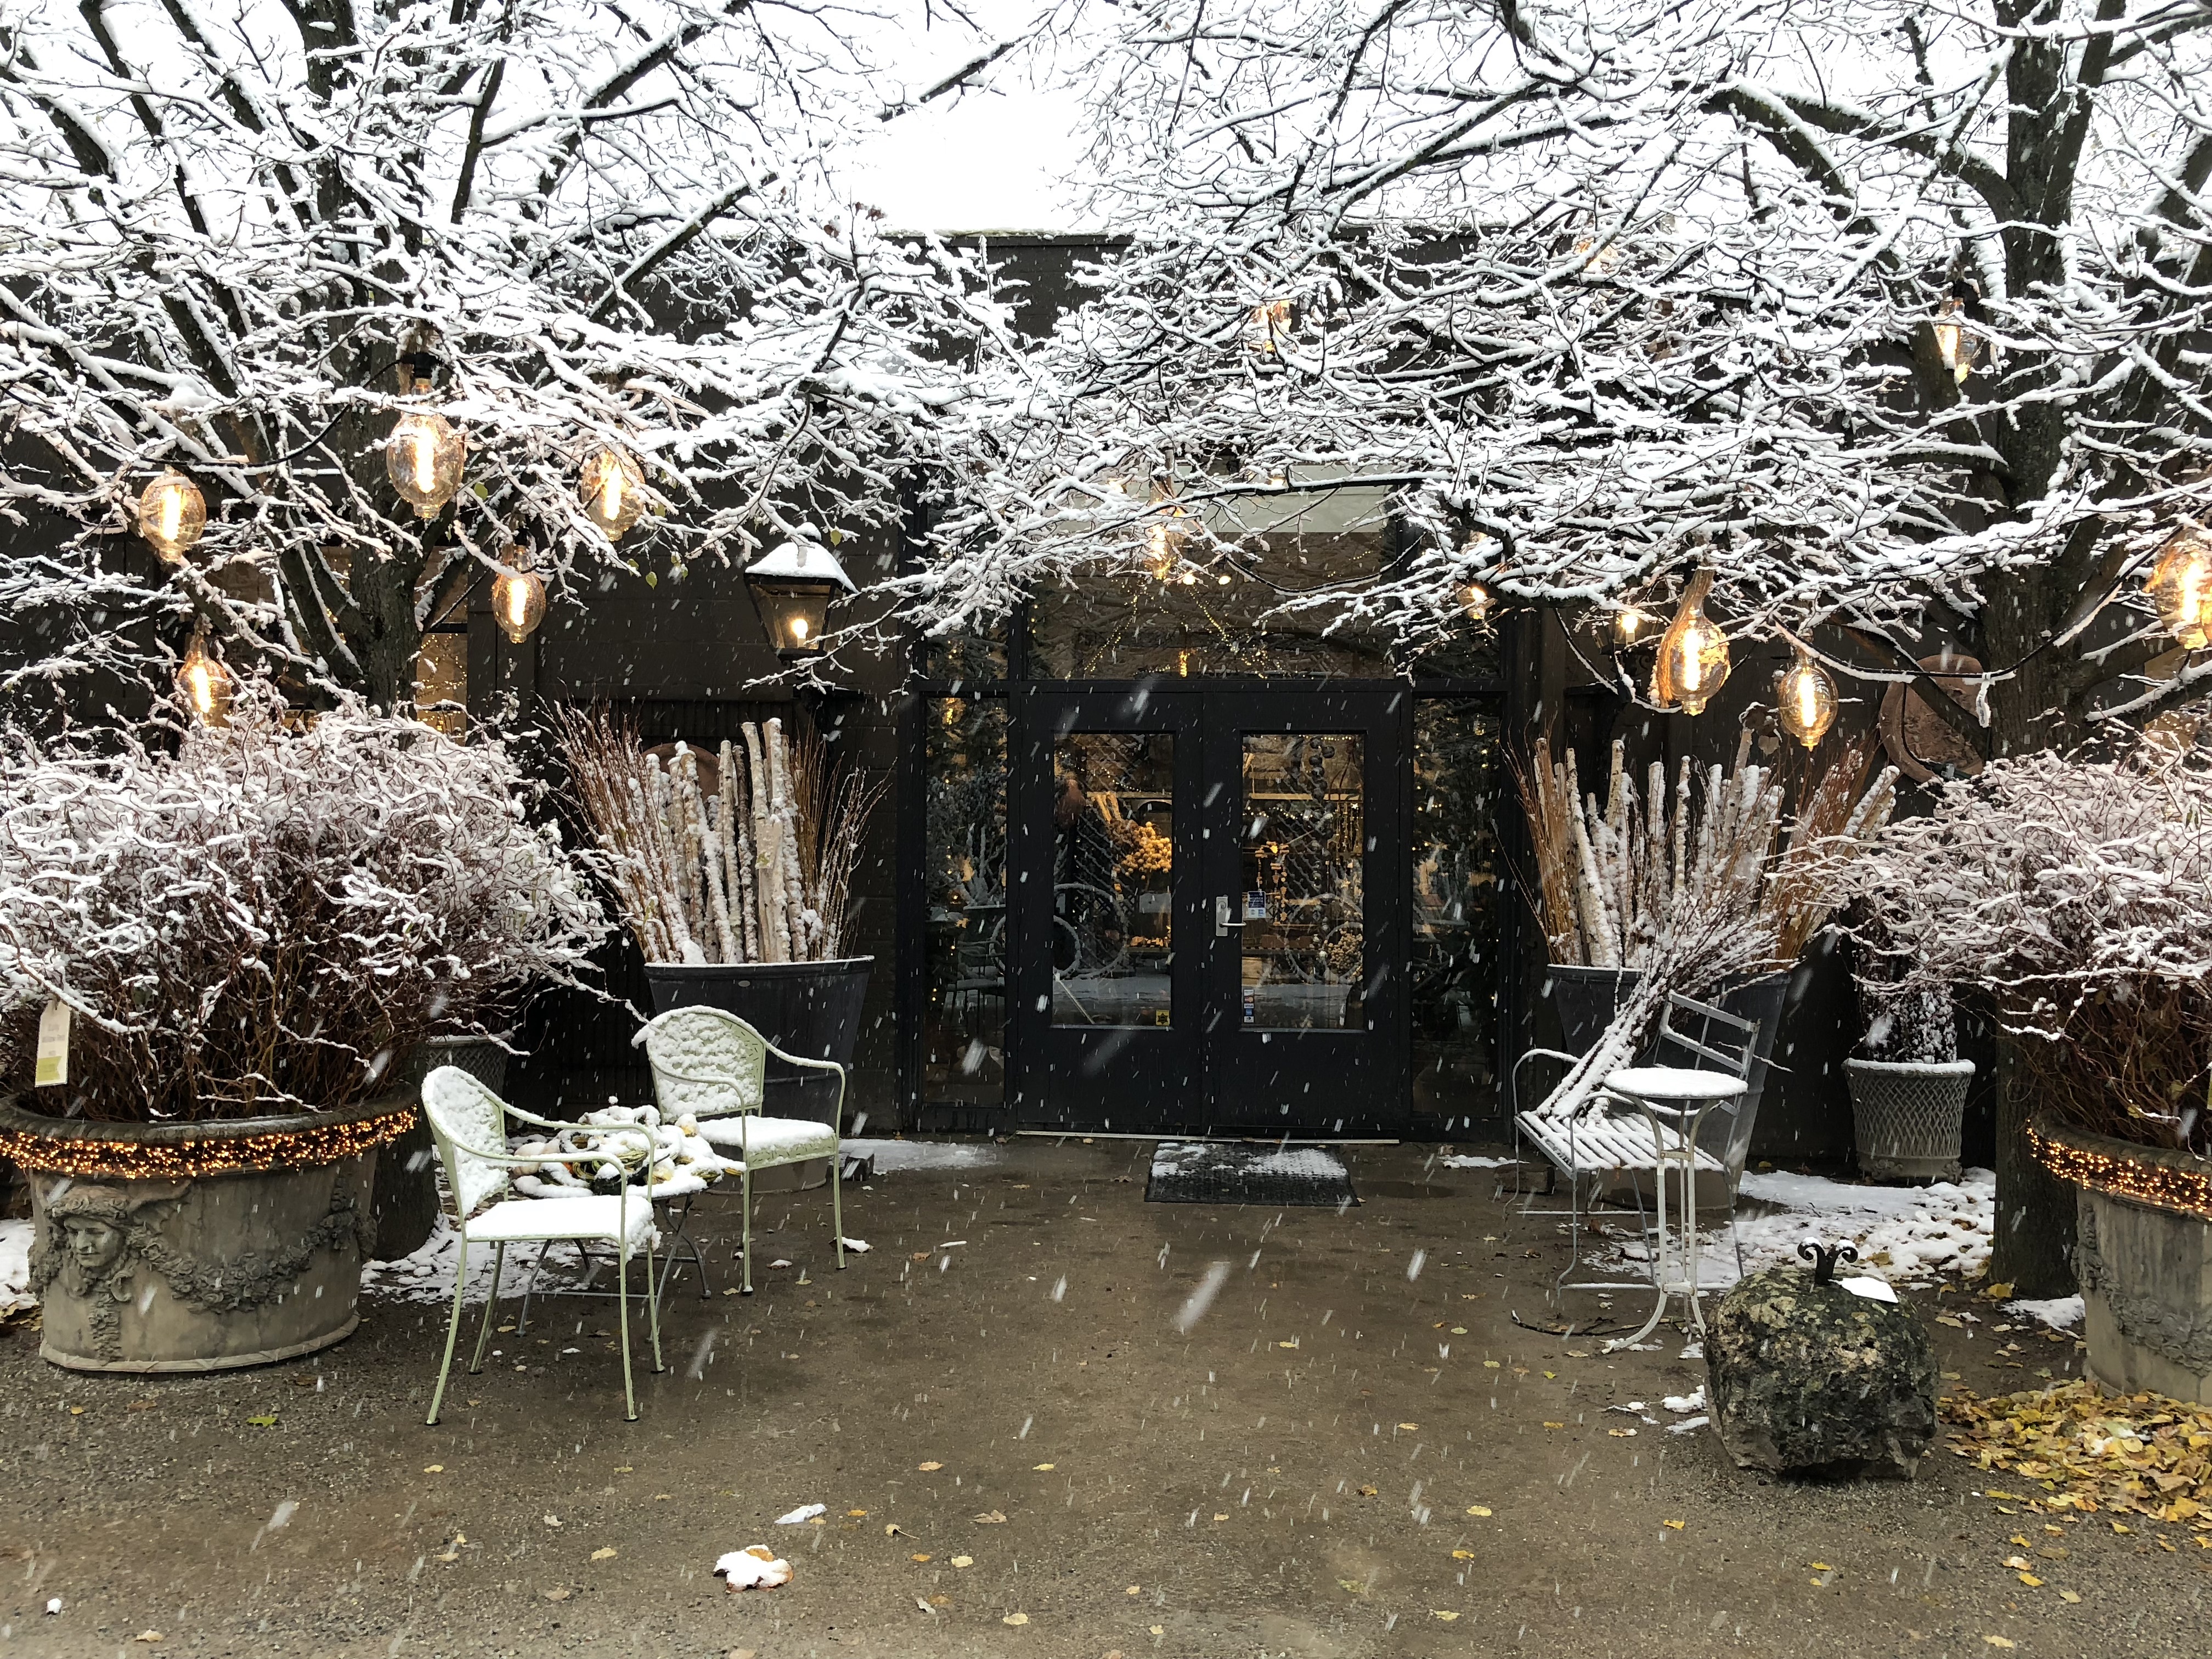
 We design and construct our winter arrangements such that they will still look this good in March of 2019. The winter is very long and tough in Michigan. We have endless snow, wind, and ice. So to follow is our answer. Equal parts beauty and durability.
 Welcome to the winter on its way
 The street view of a front door dressed up for winter.
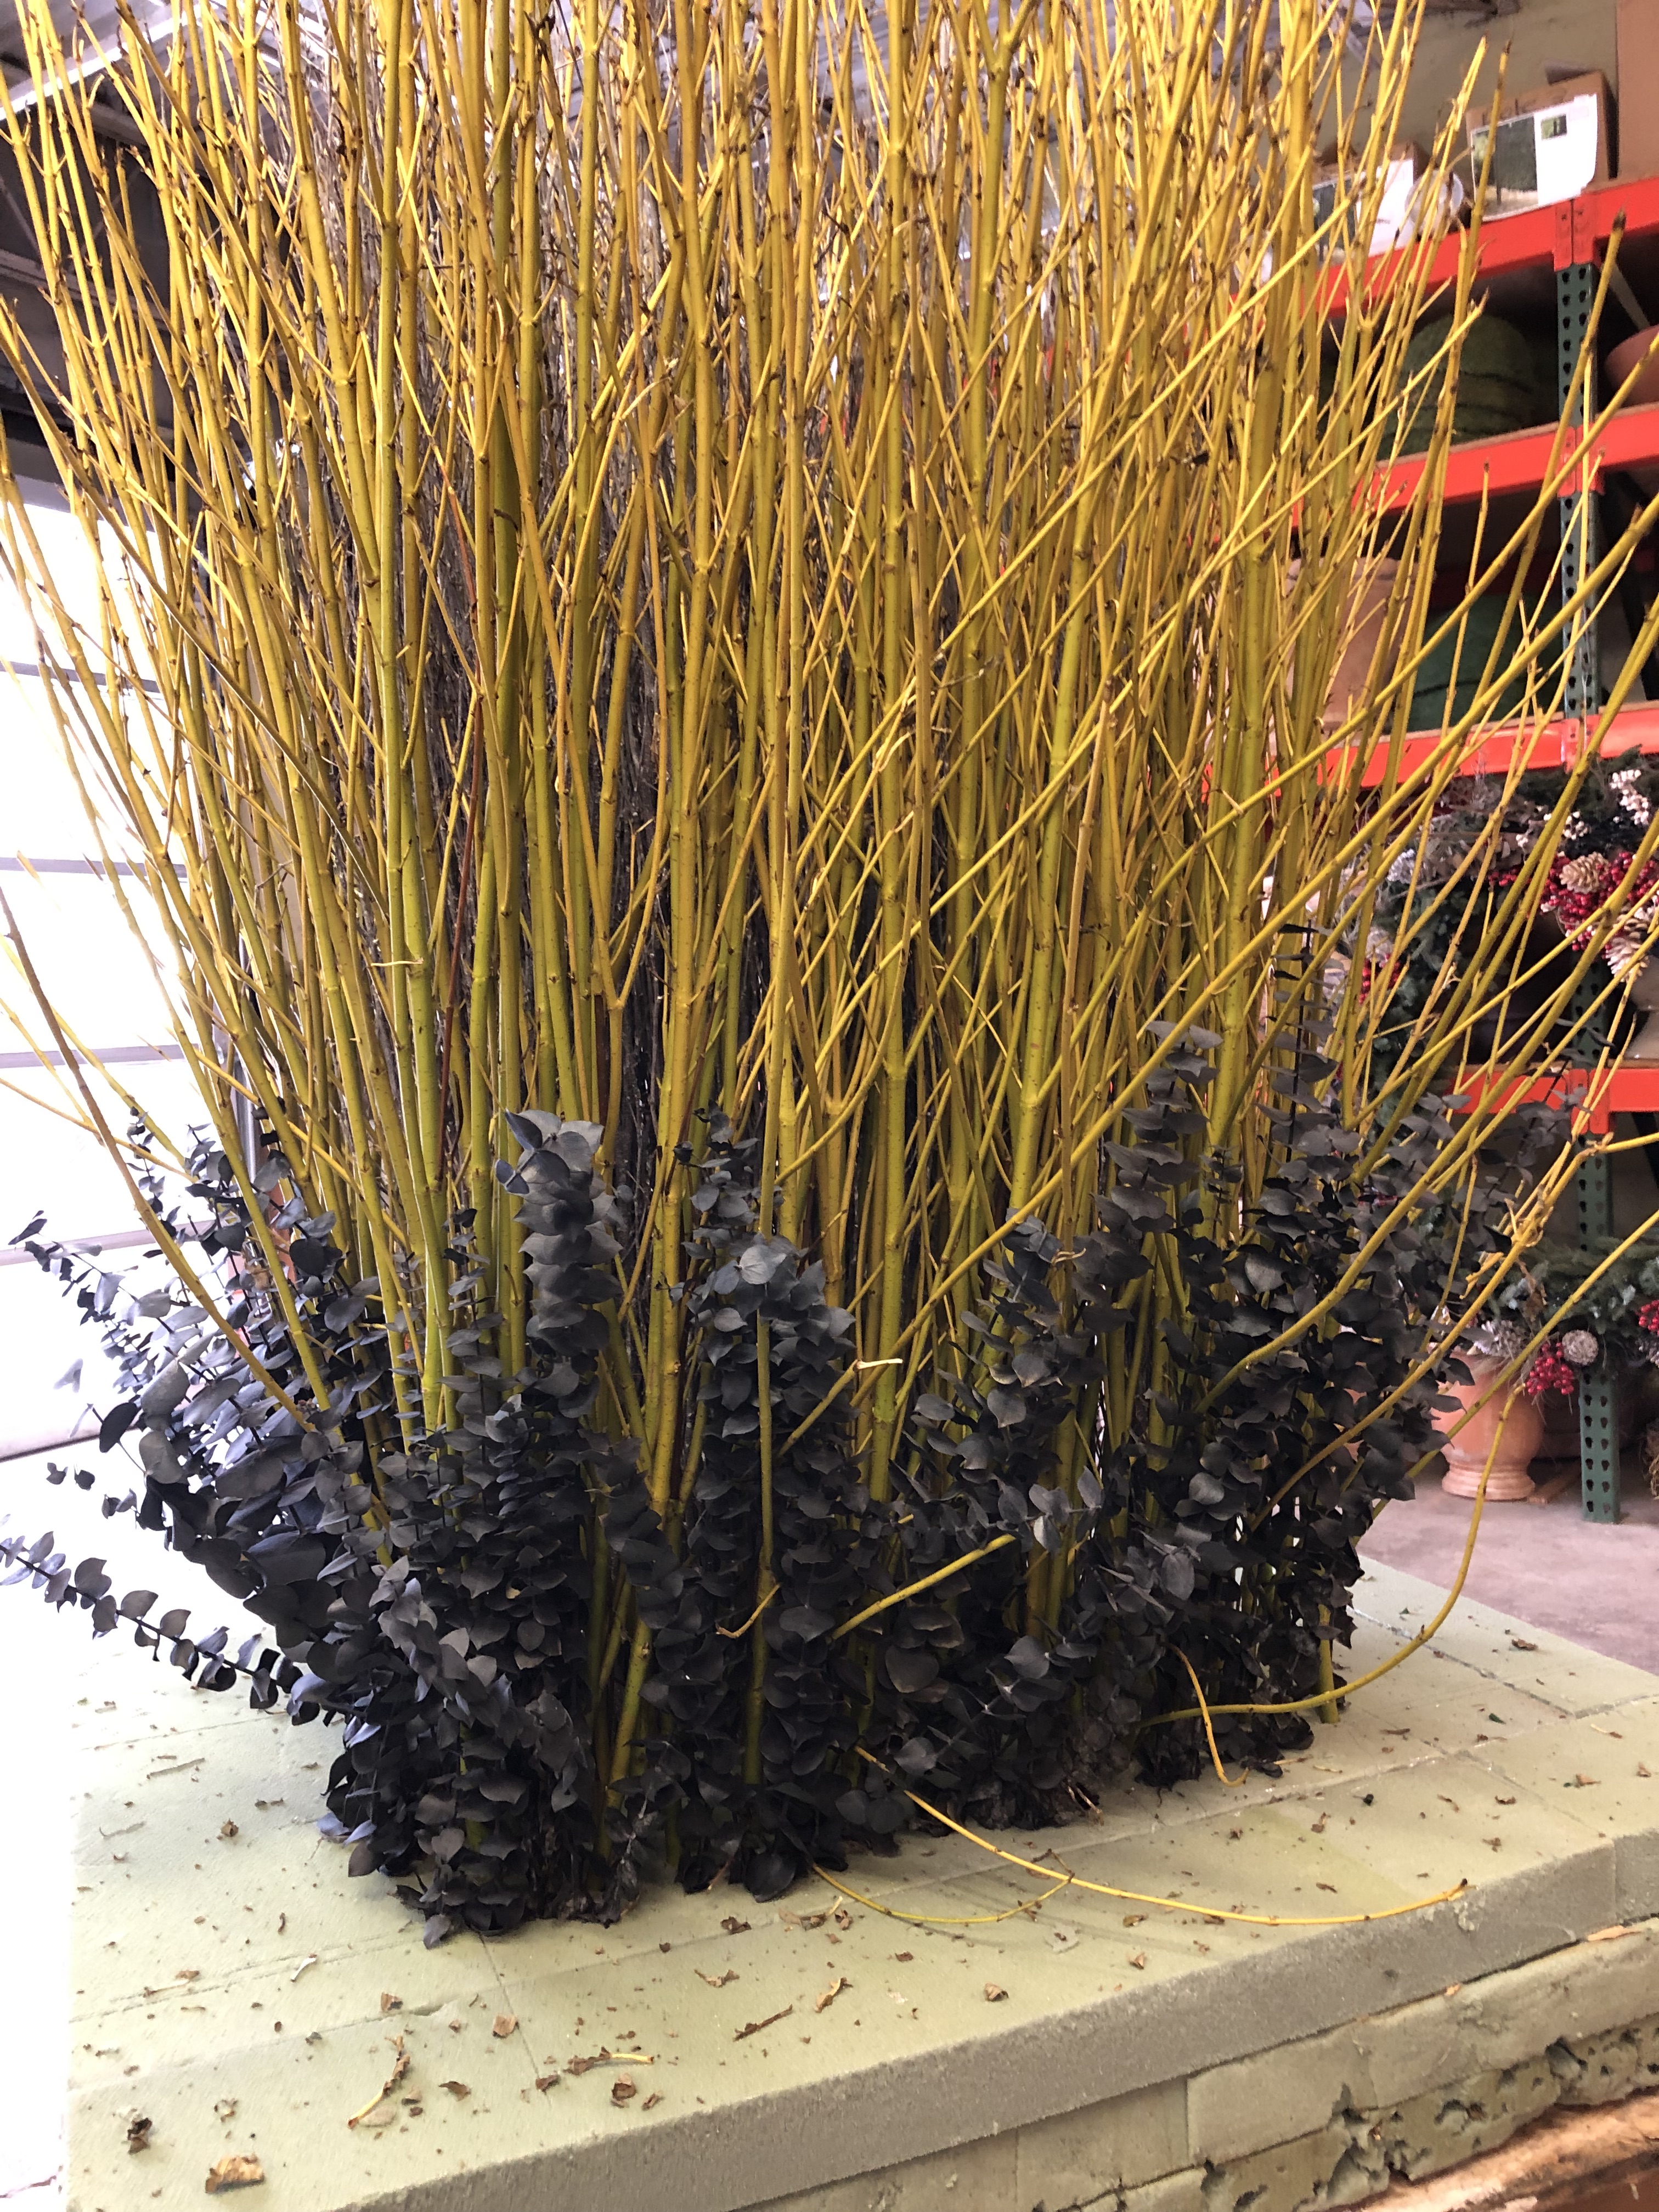
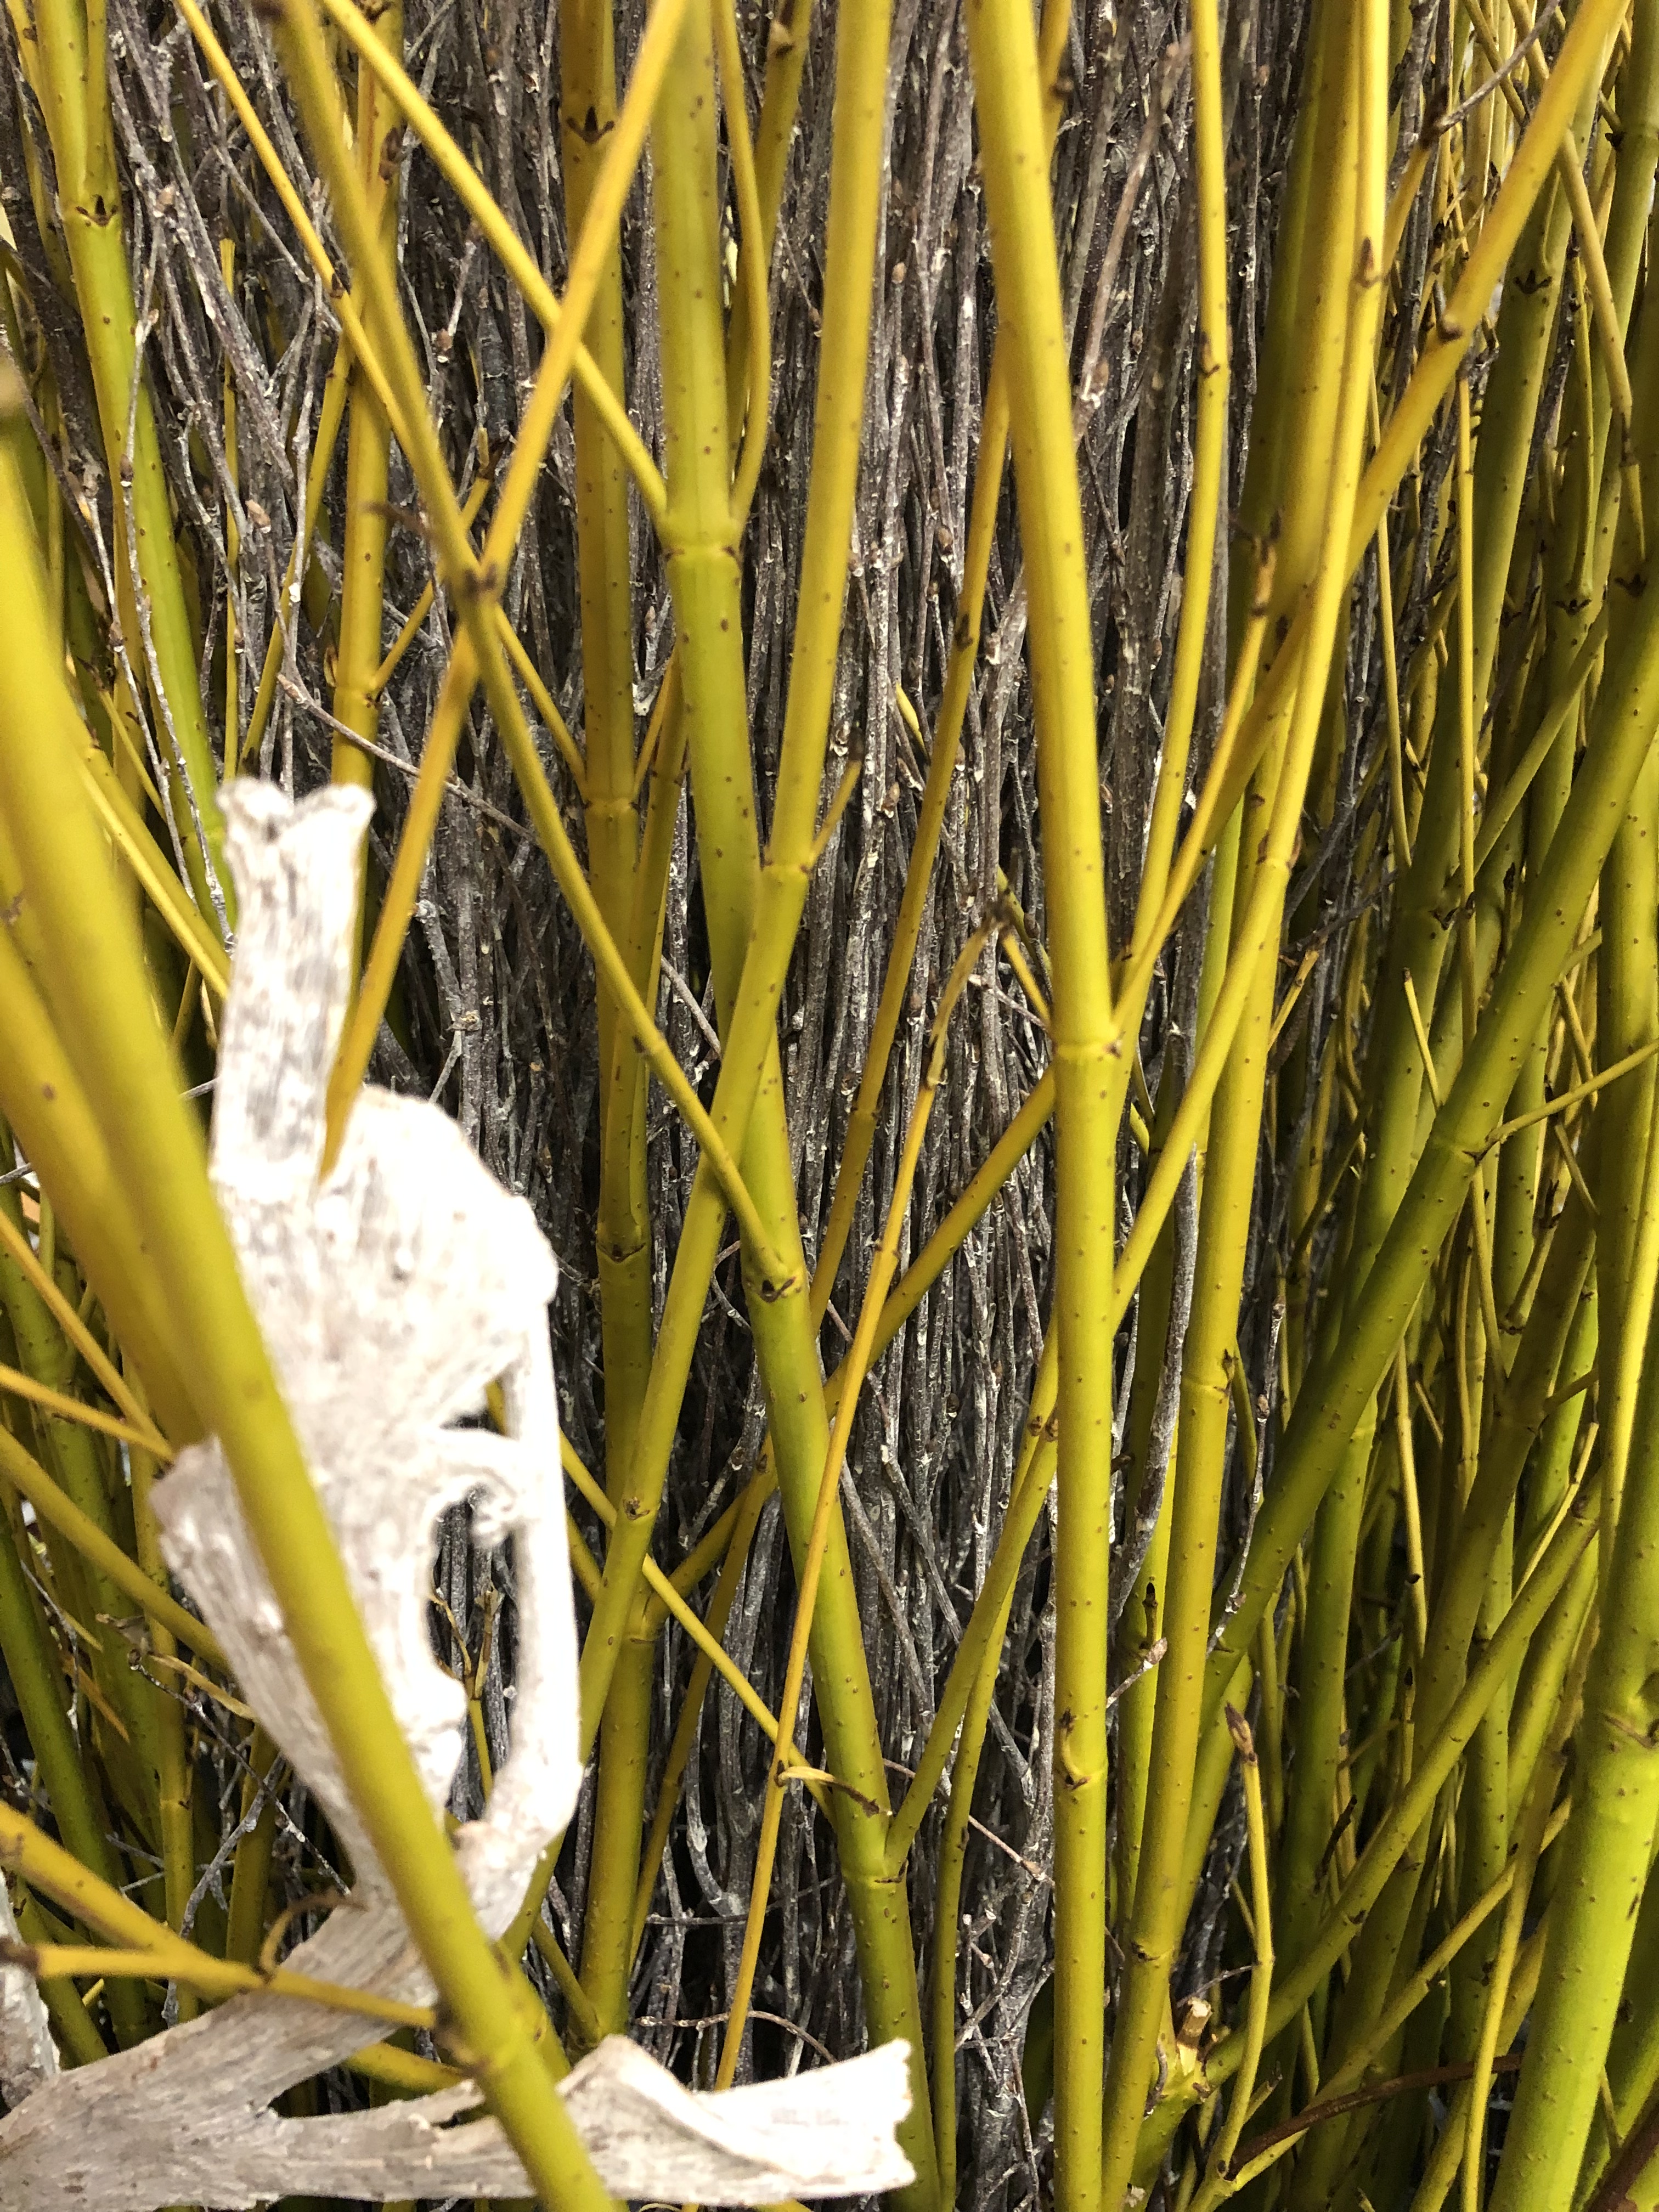
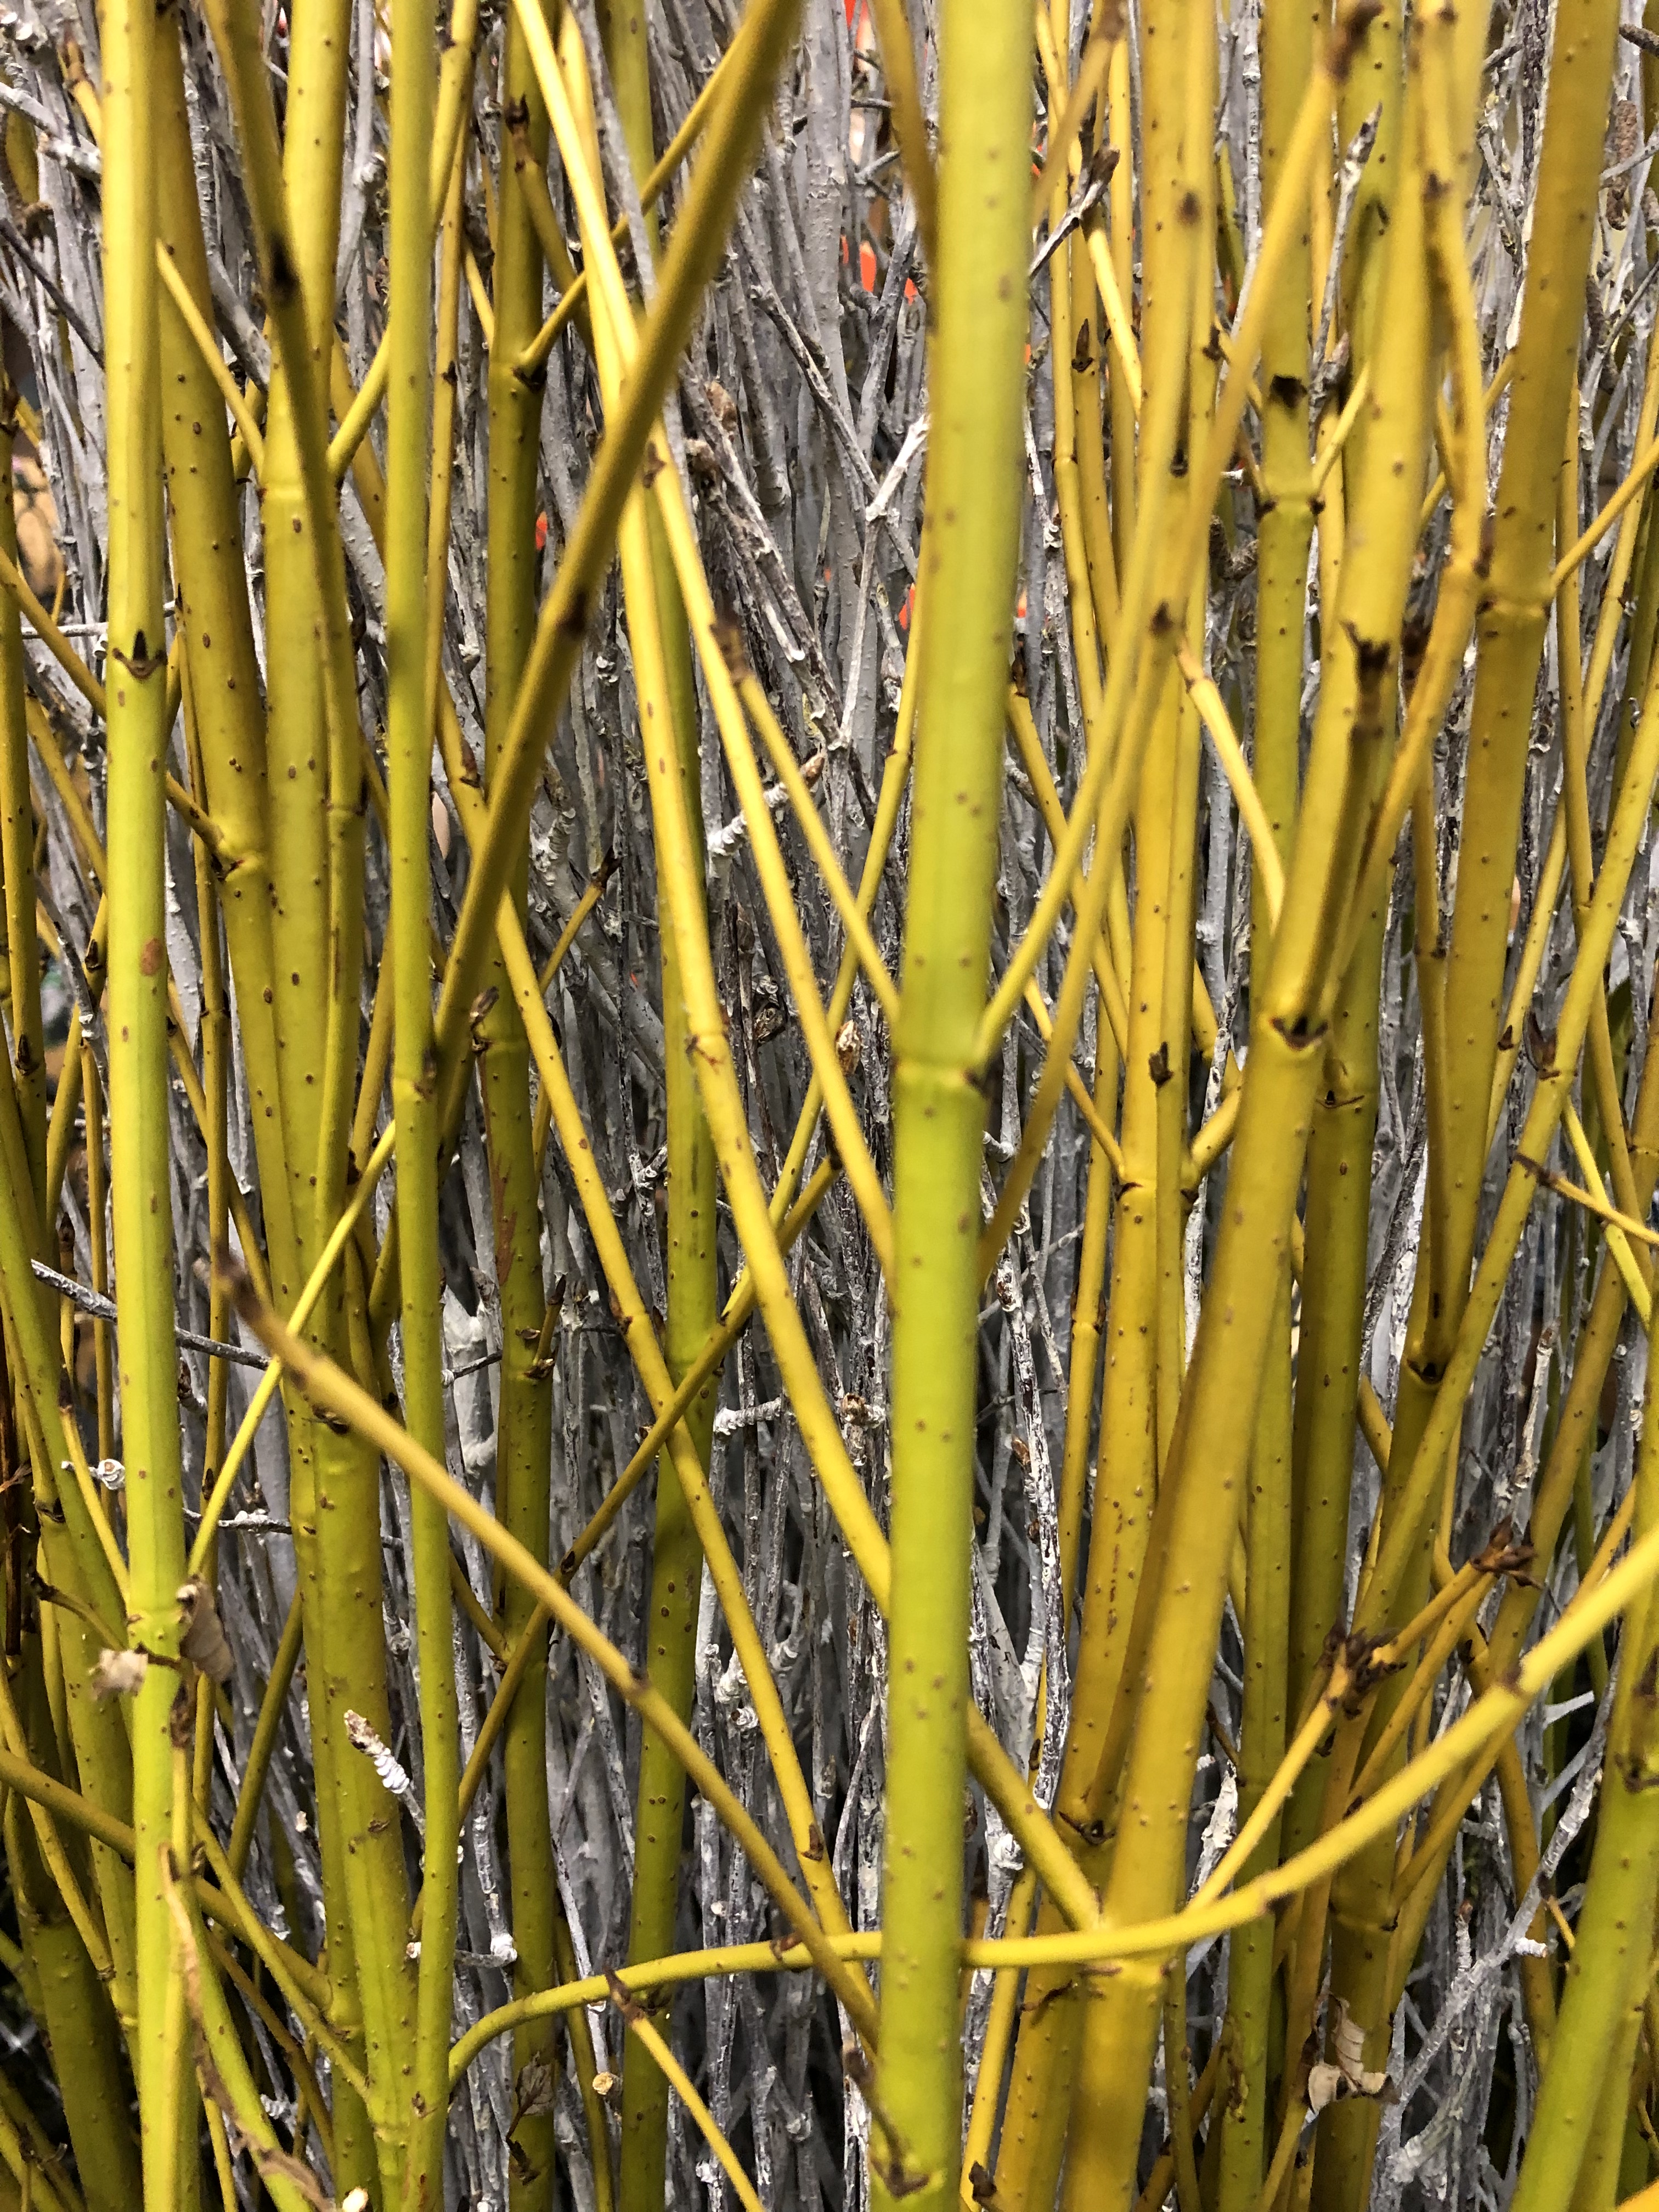
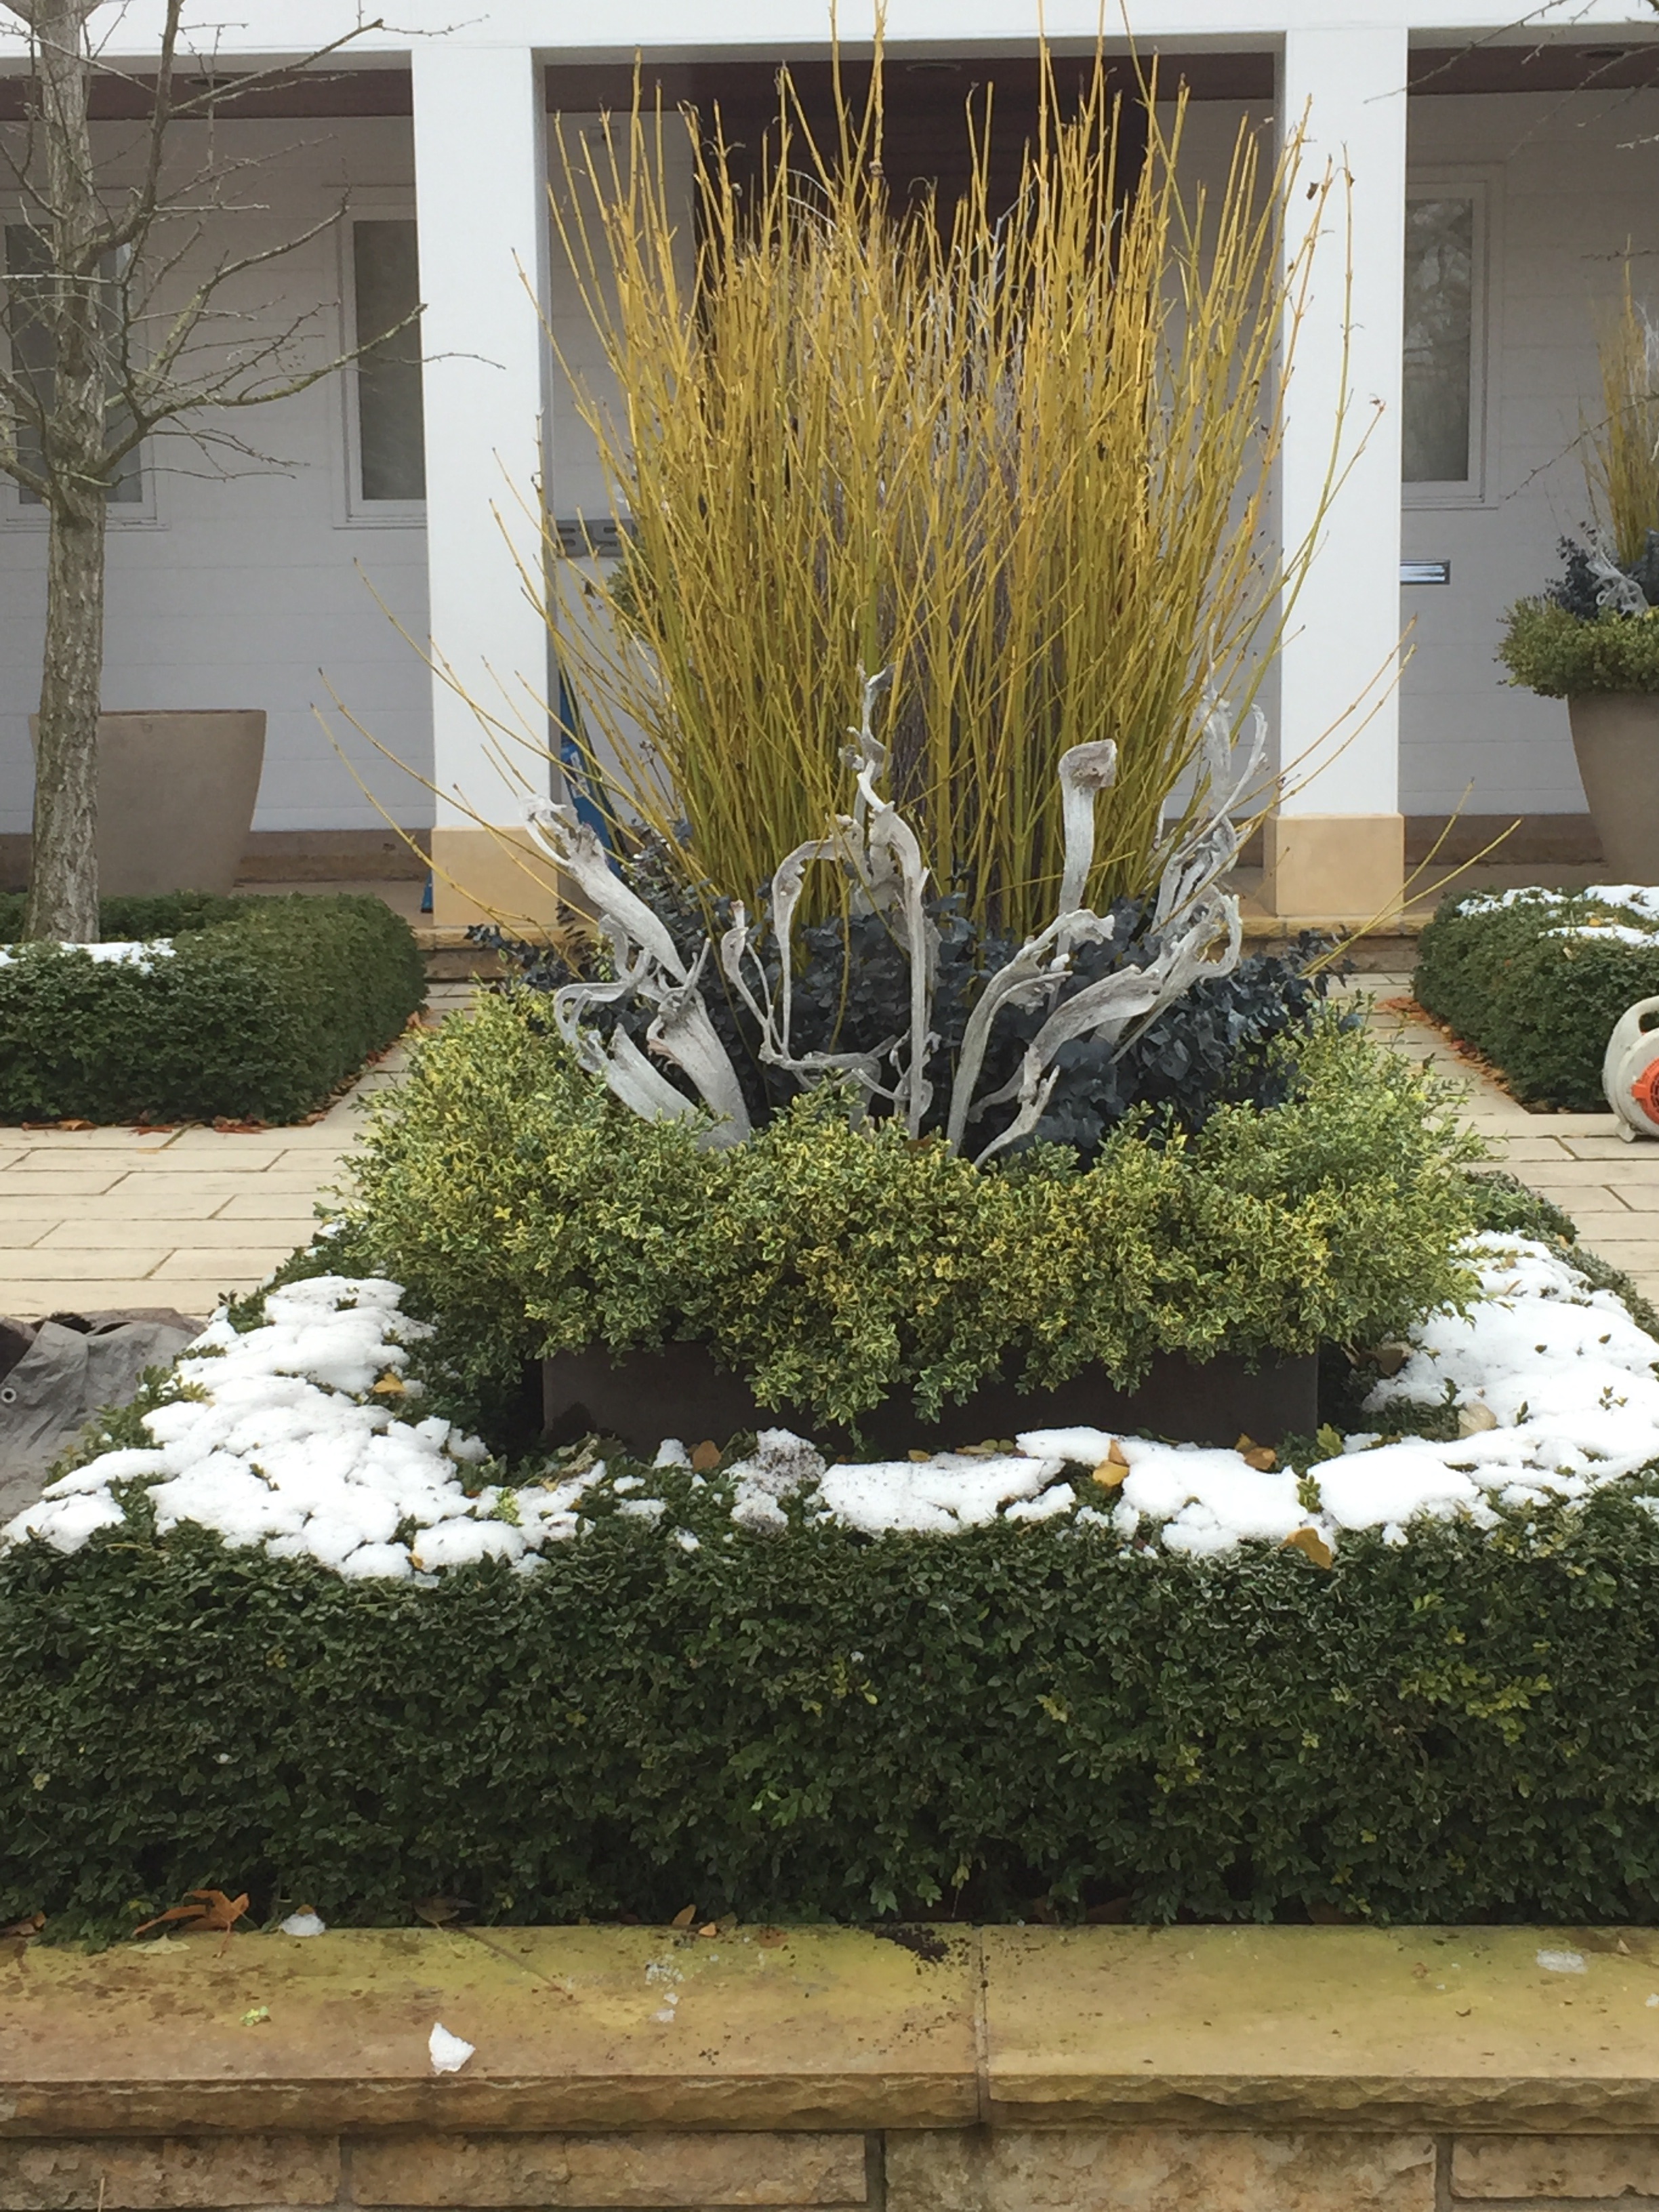
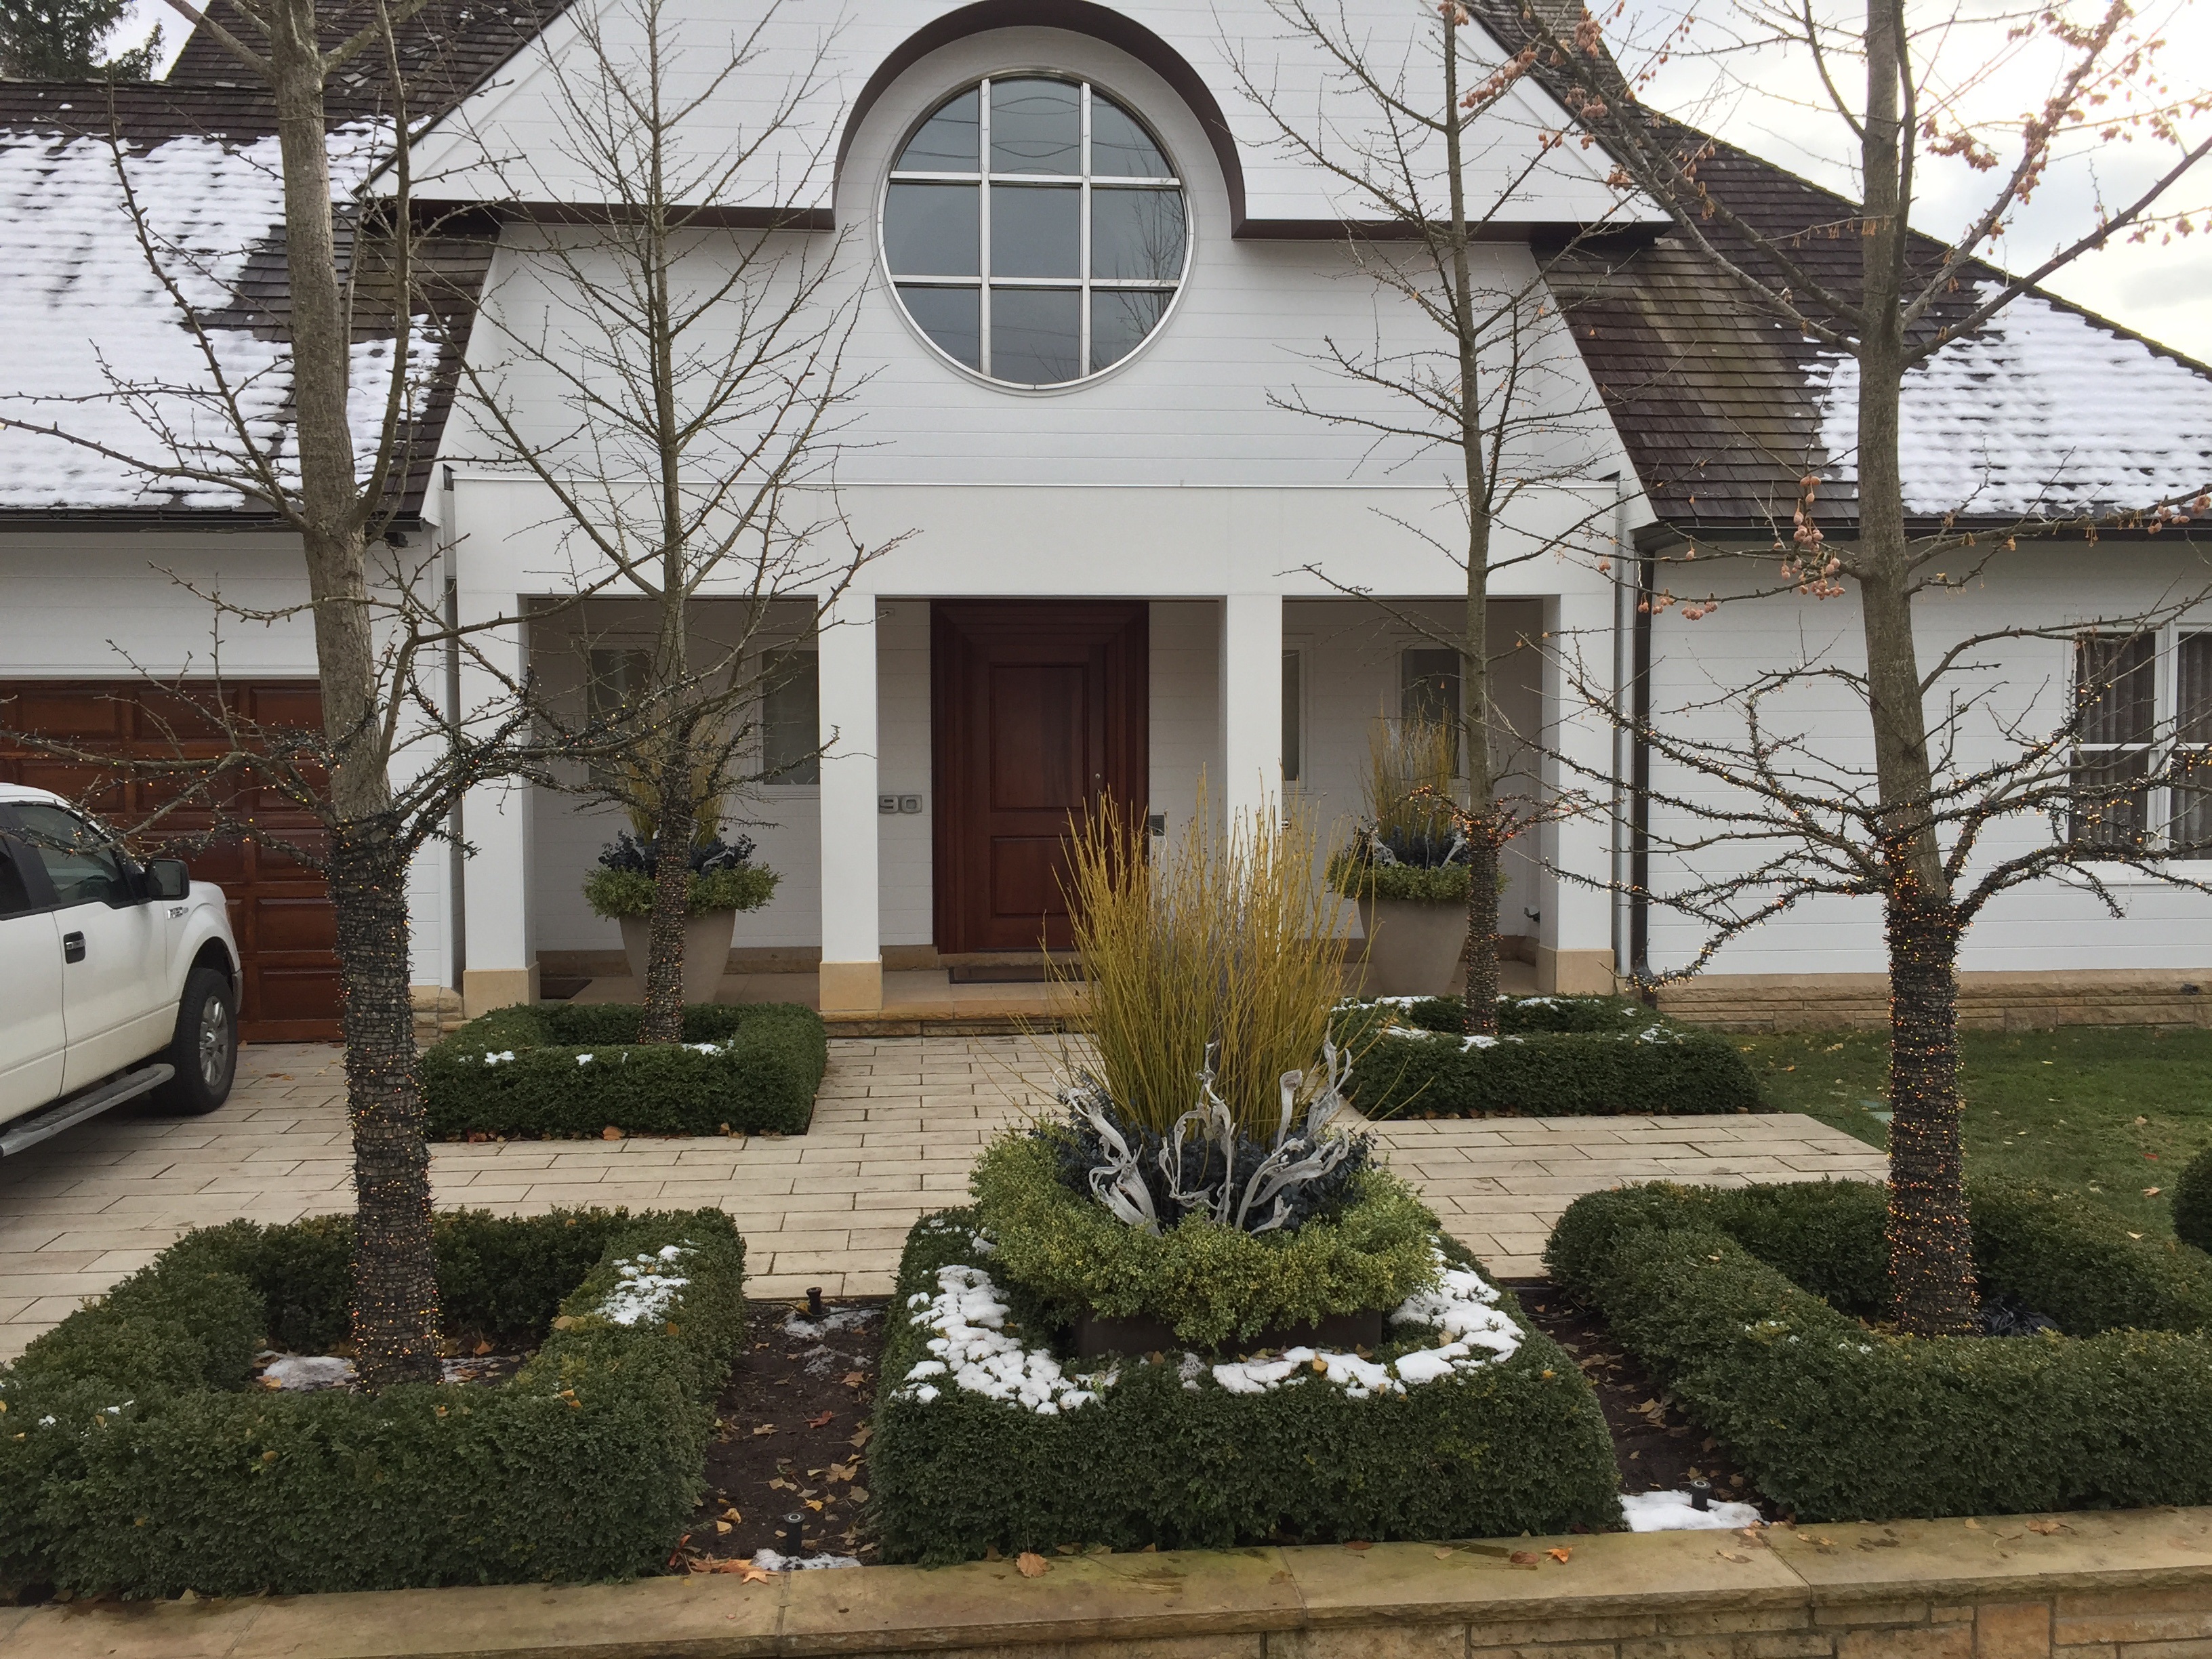
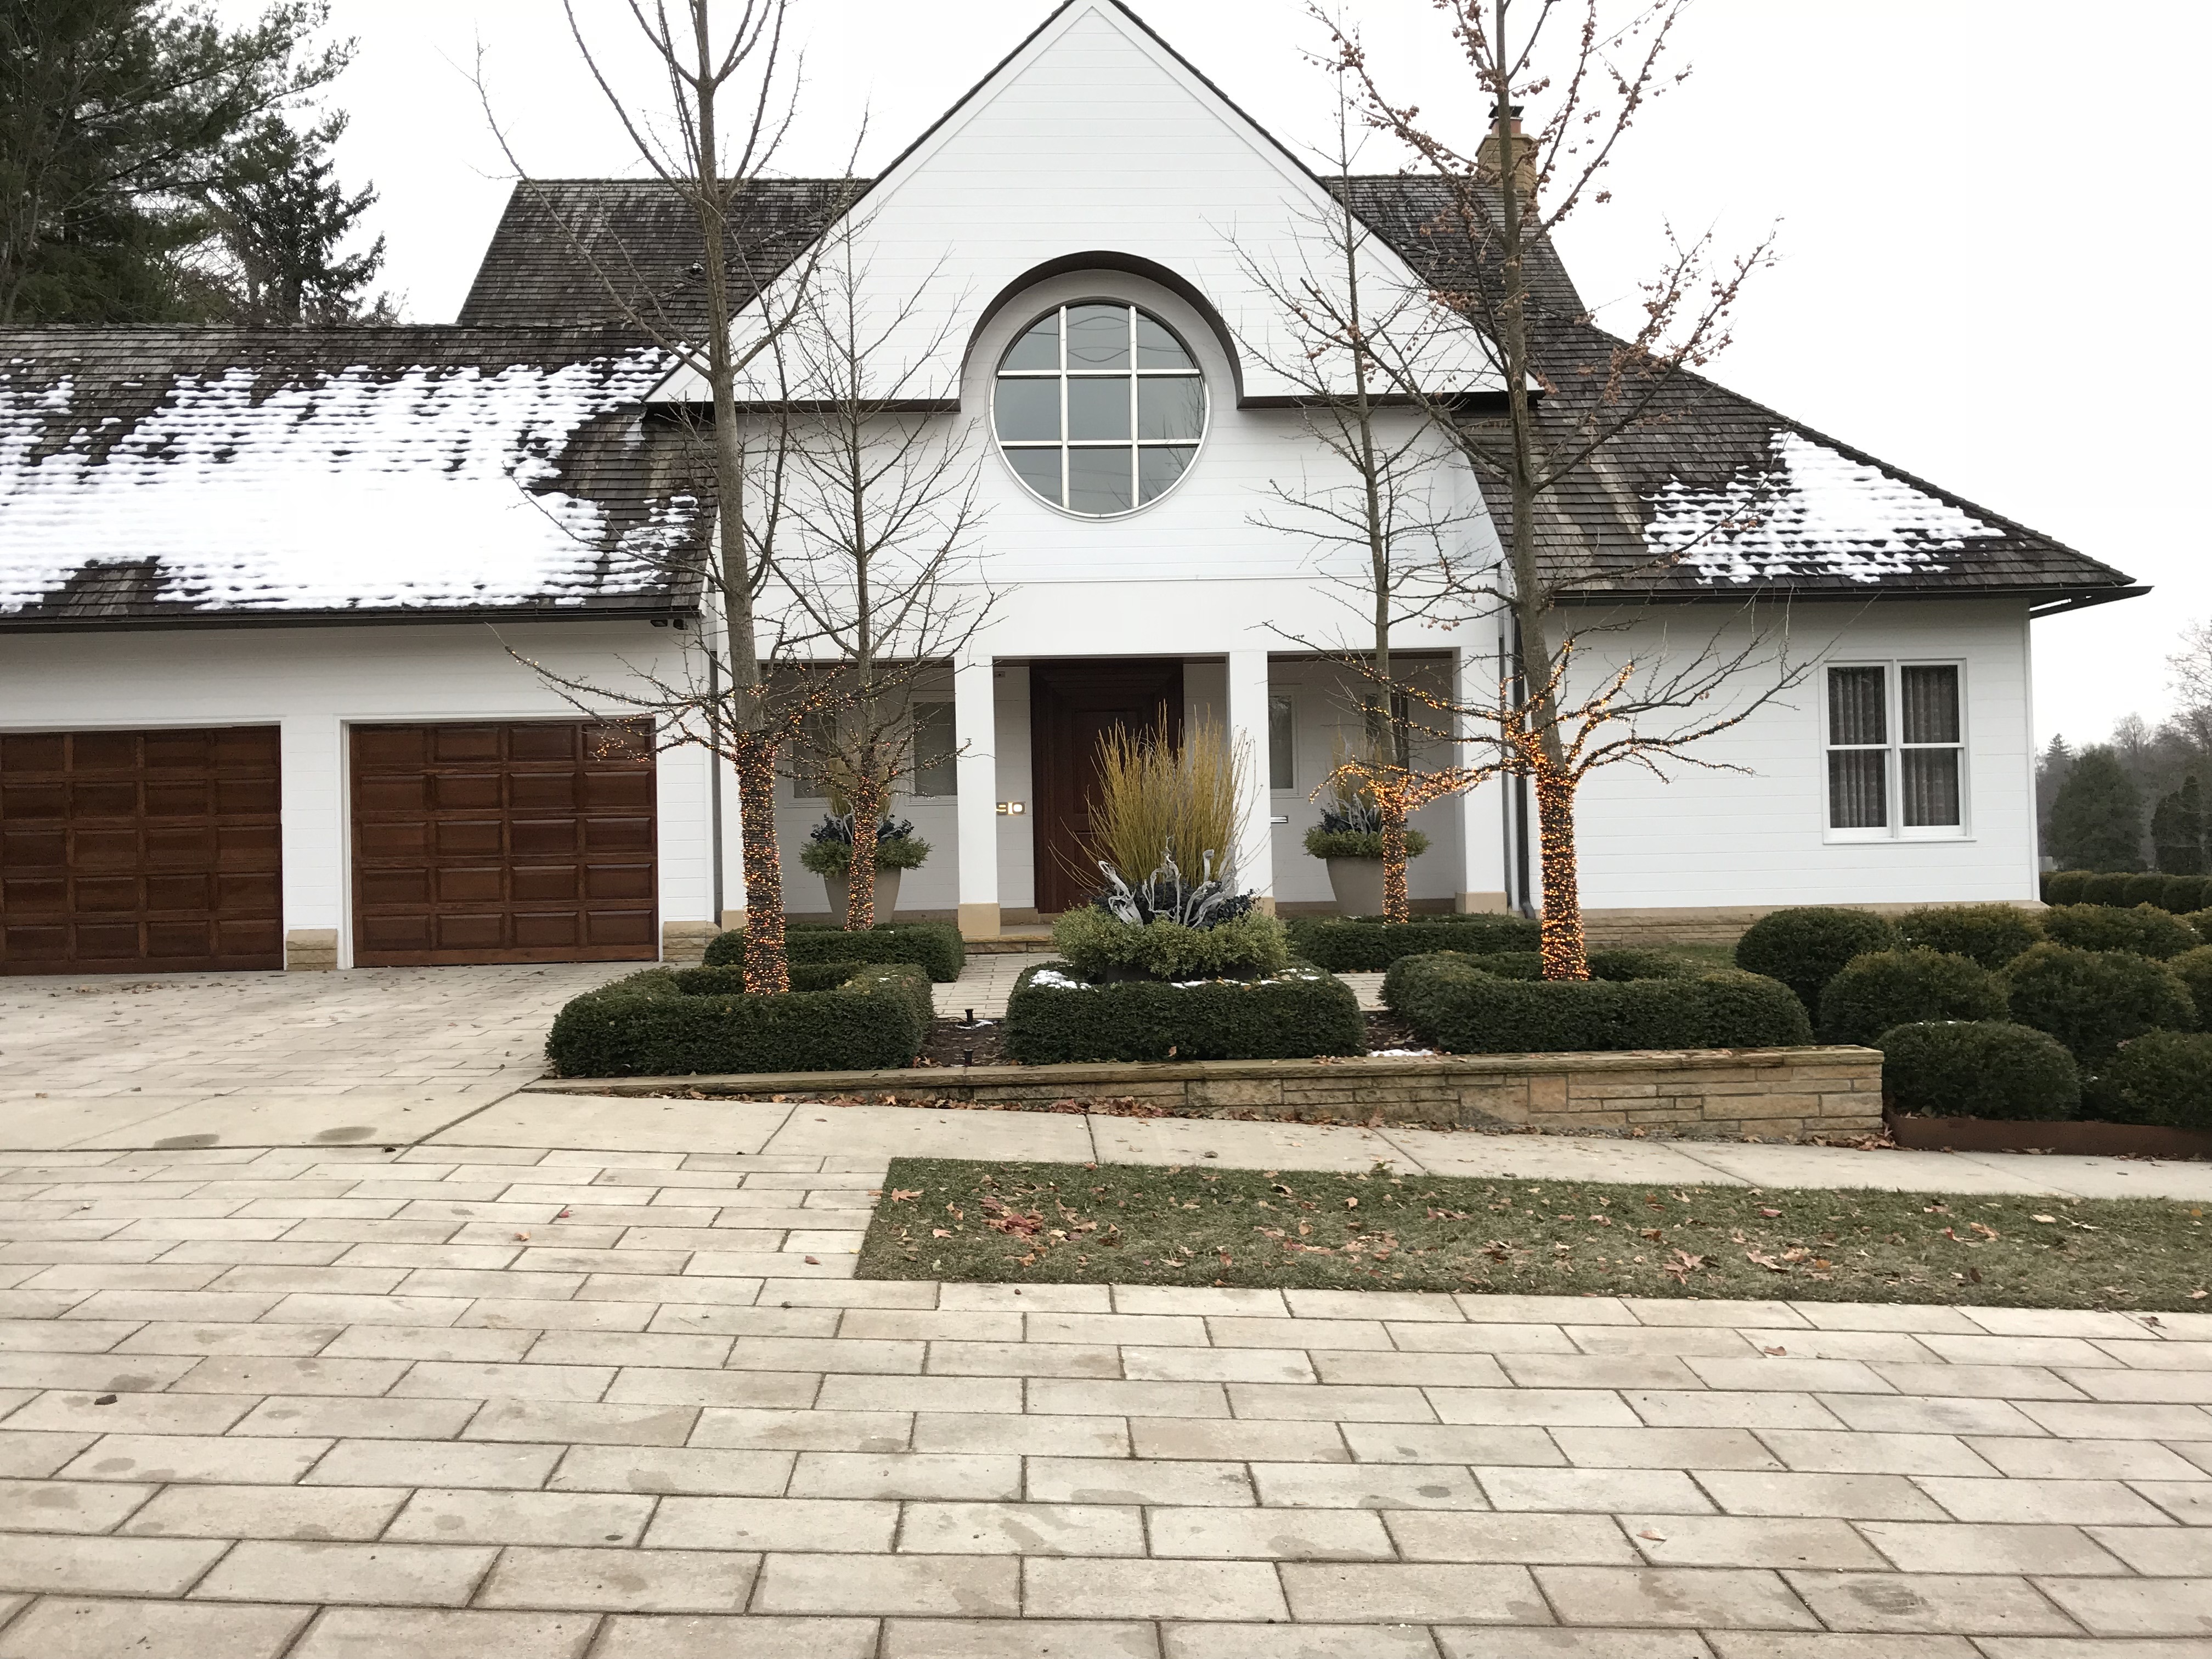
 Yellow twig dogwood is a material I treasure for winter. The low winter light sets those yellow stems on fire. To follow? A look at the yellow twig we have used in winter container arrangements in the past. Enjoy!
 yellow twig stuck one stem at a time
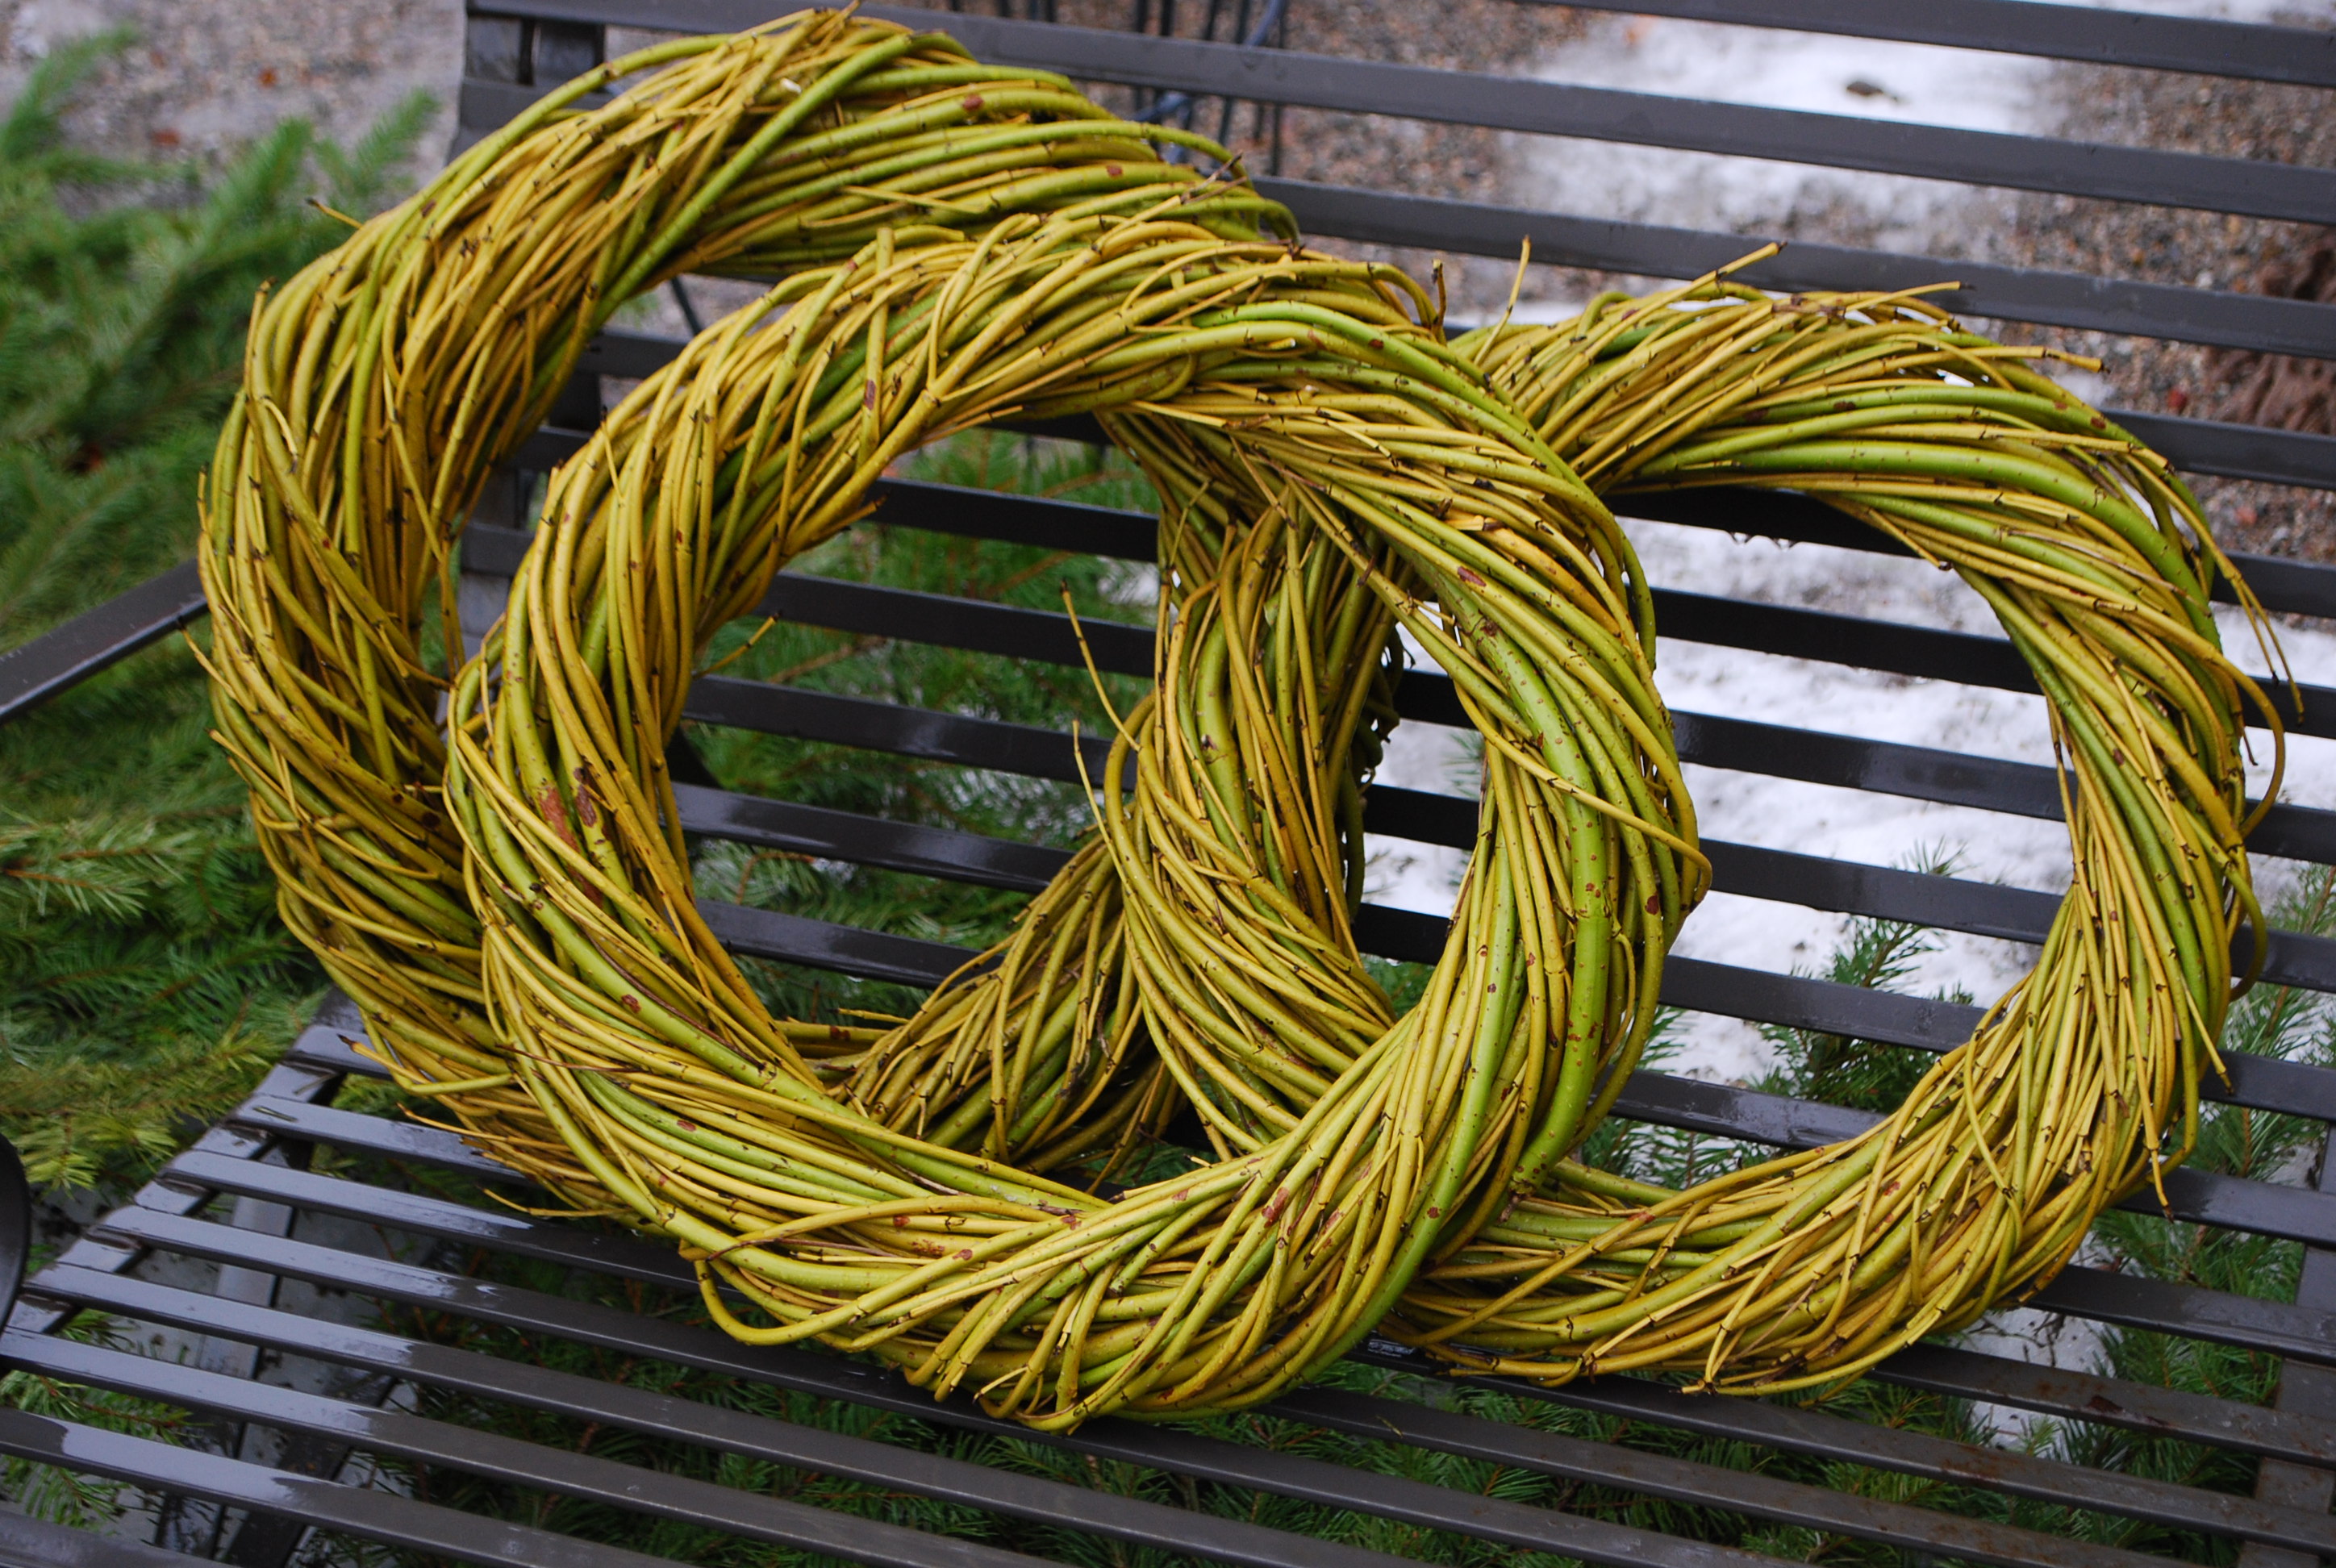 yellow twig wreaths
 yellow twig centerpieces
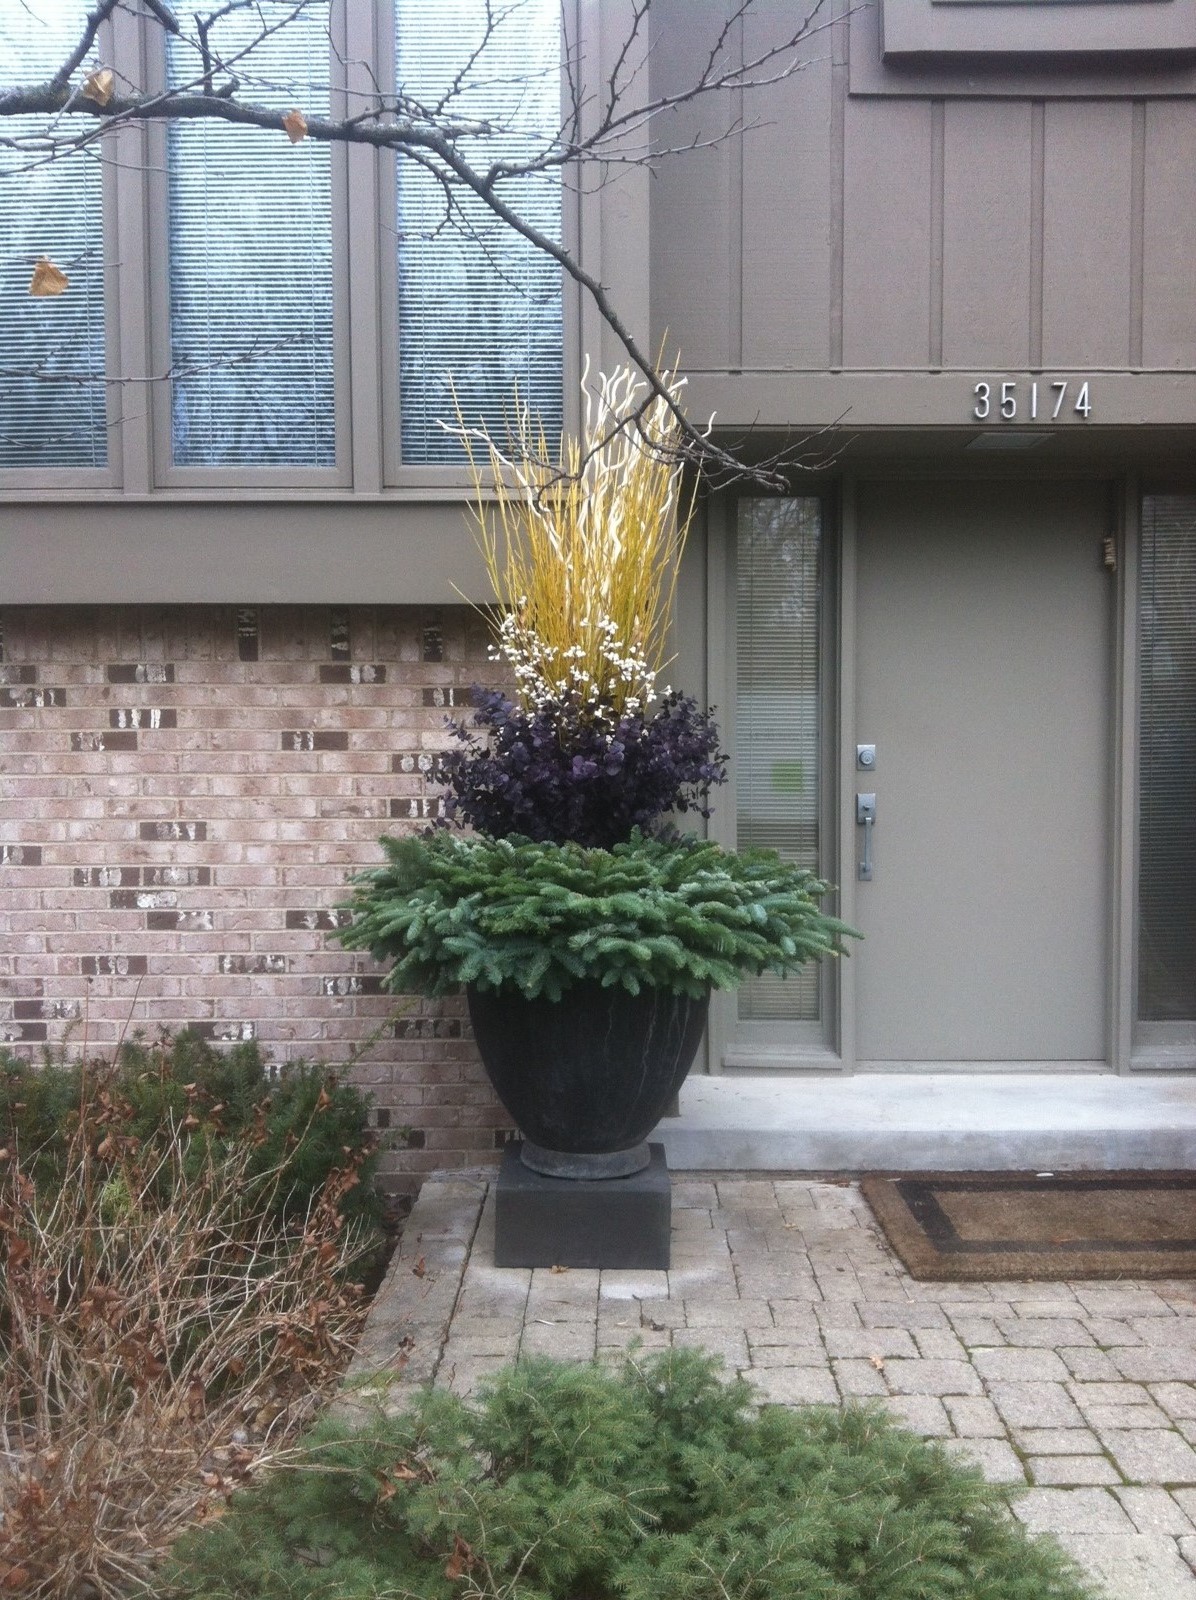
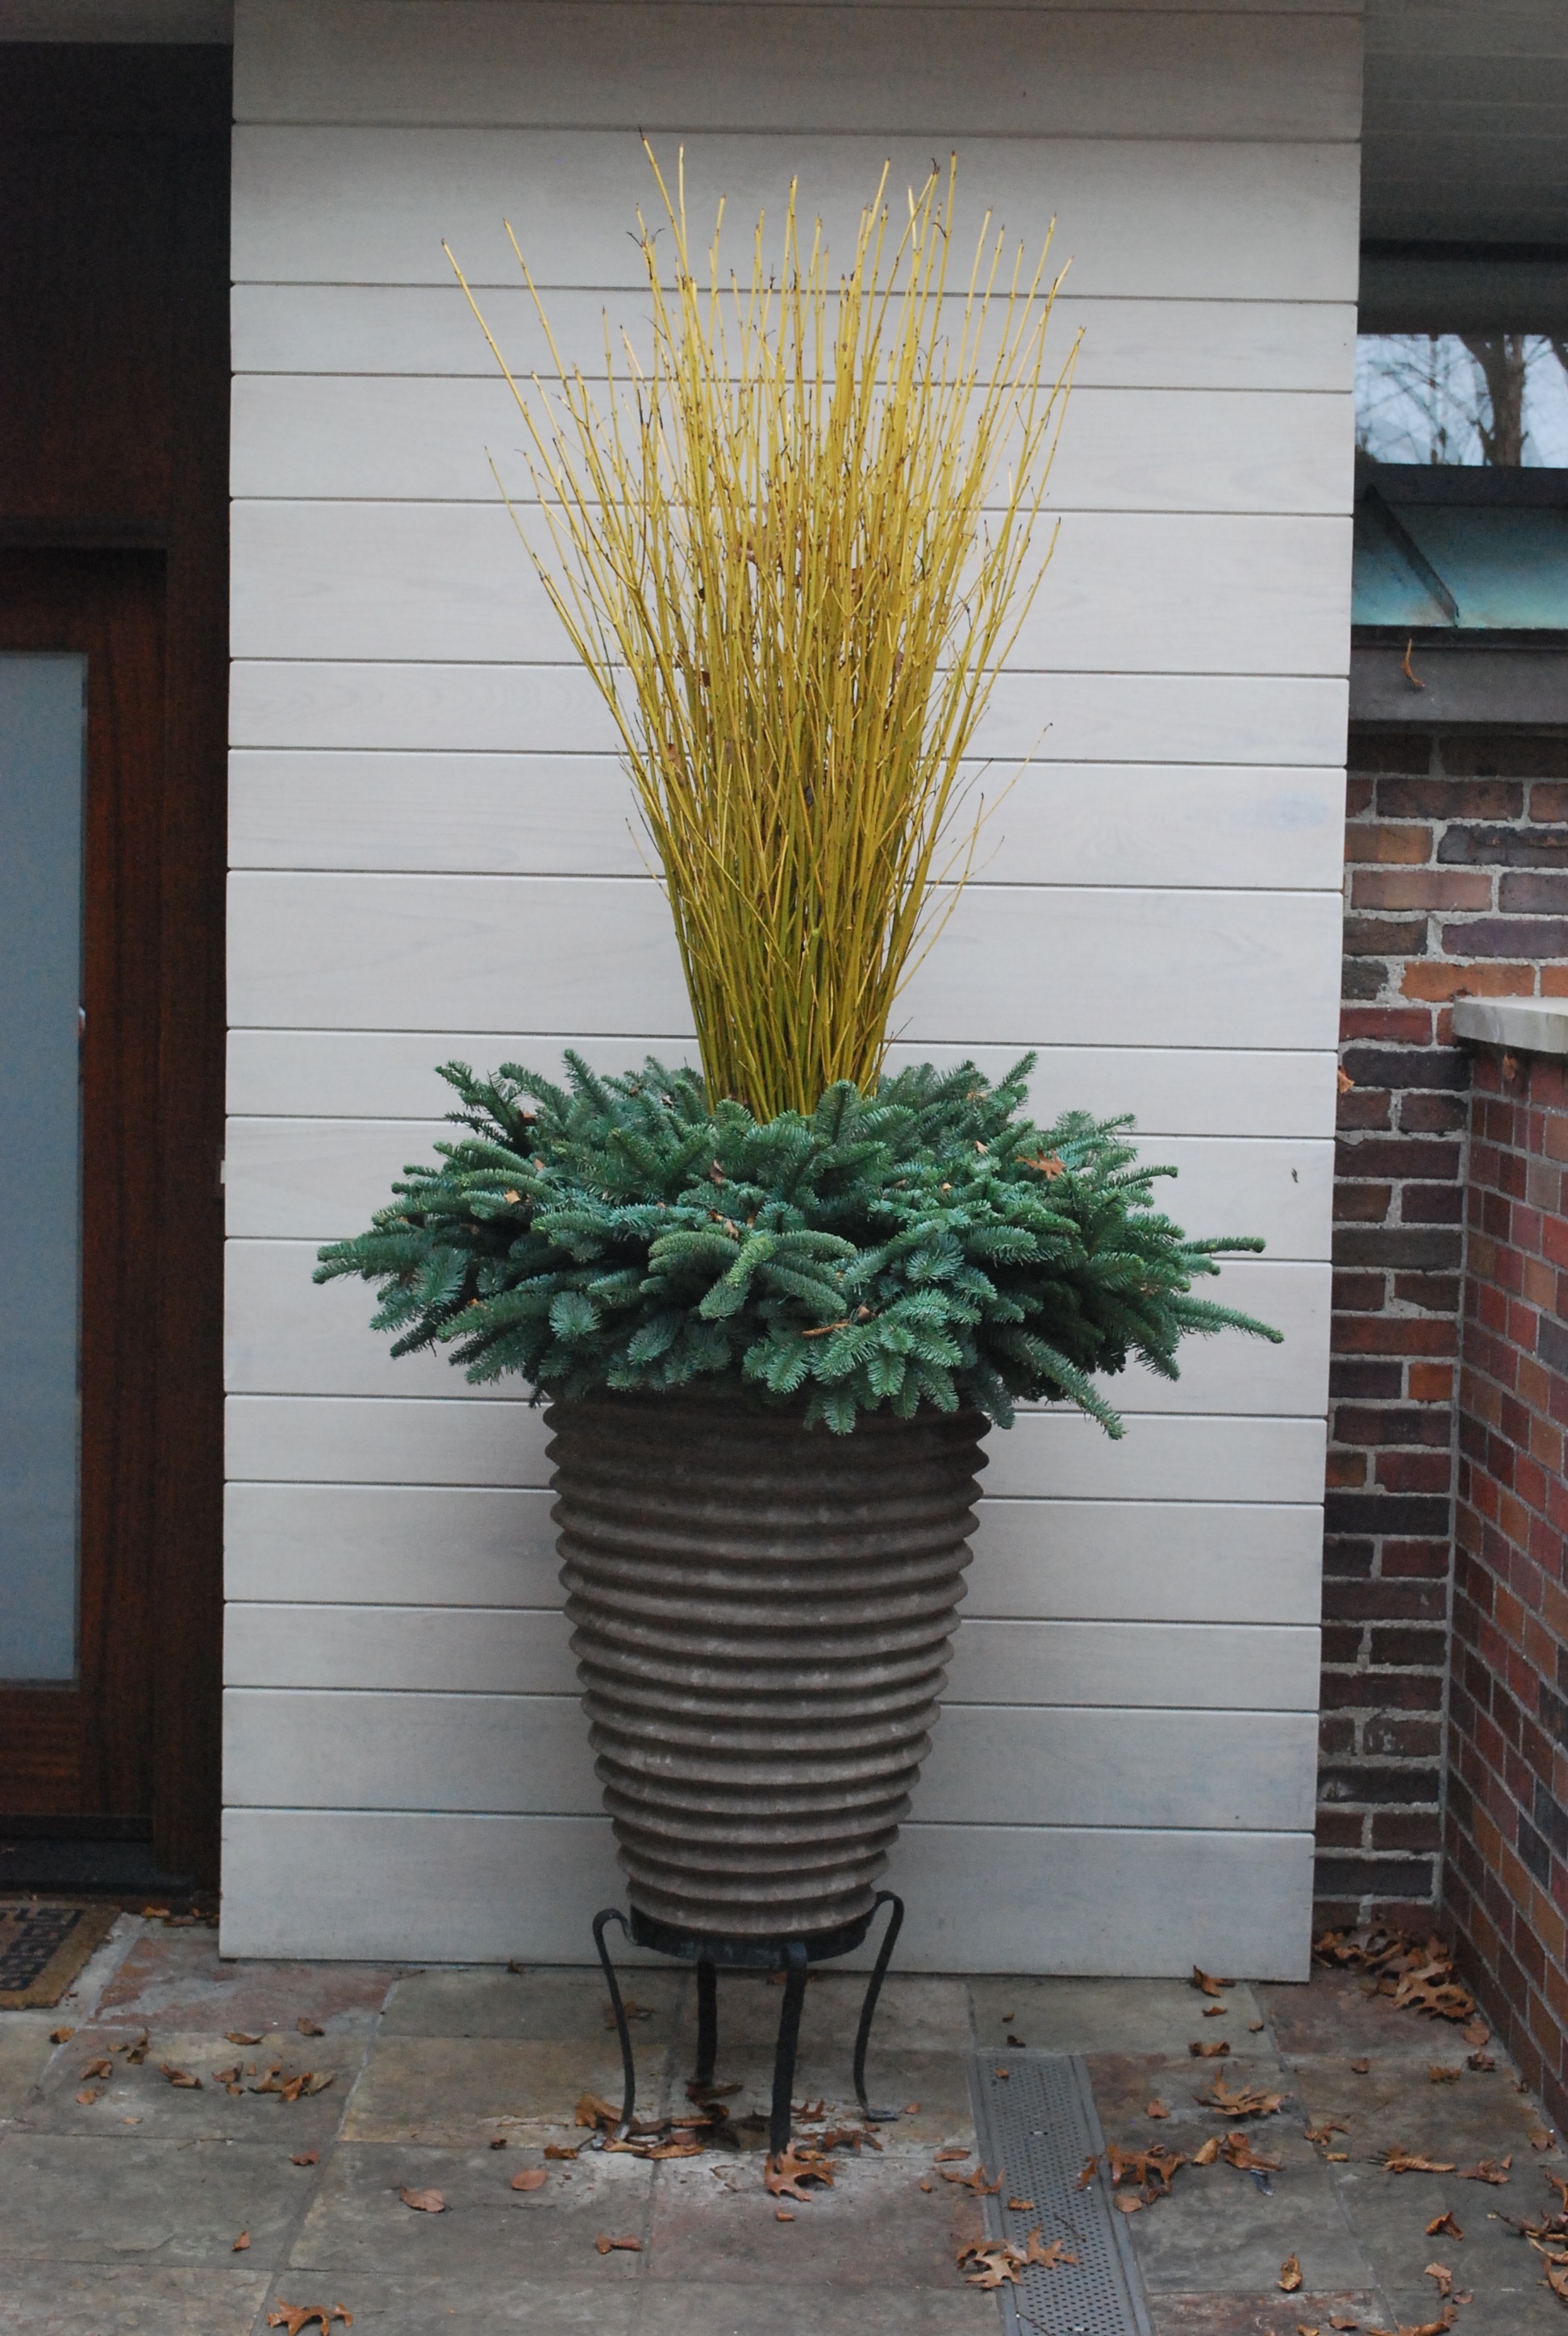
 winter pots
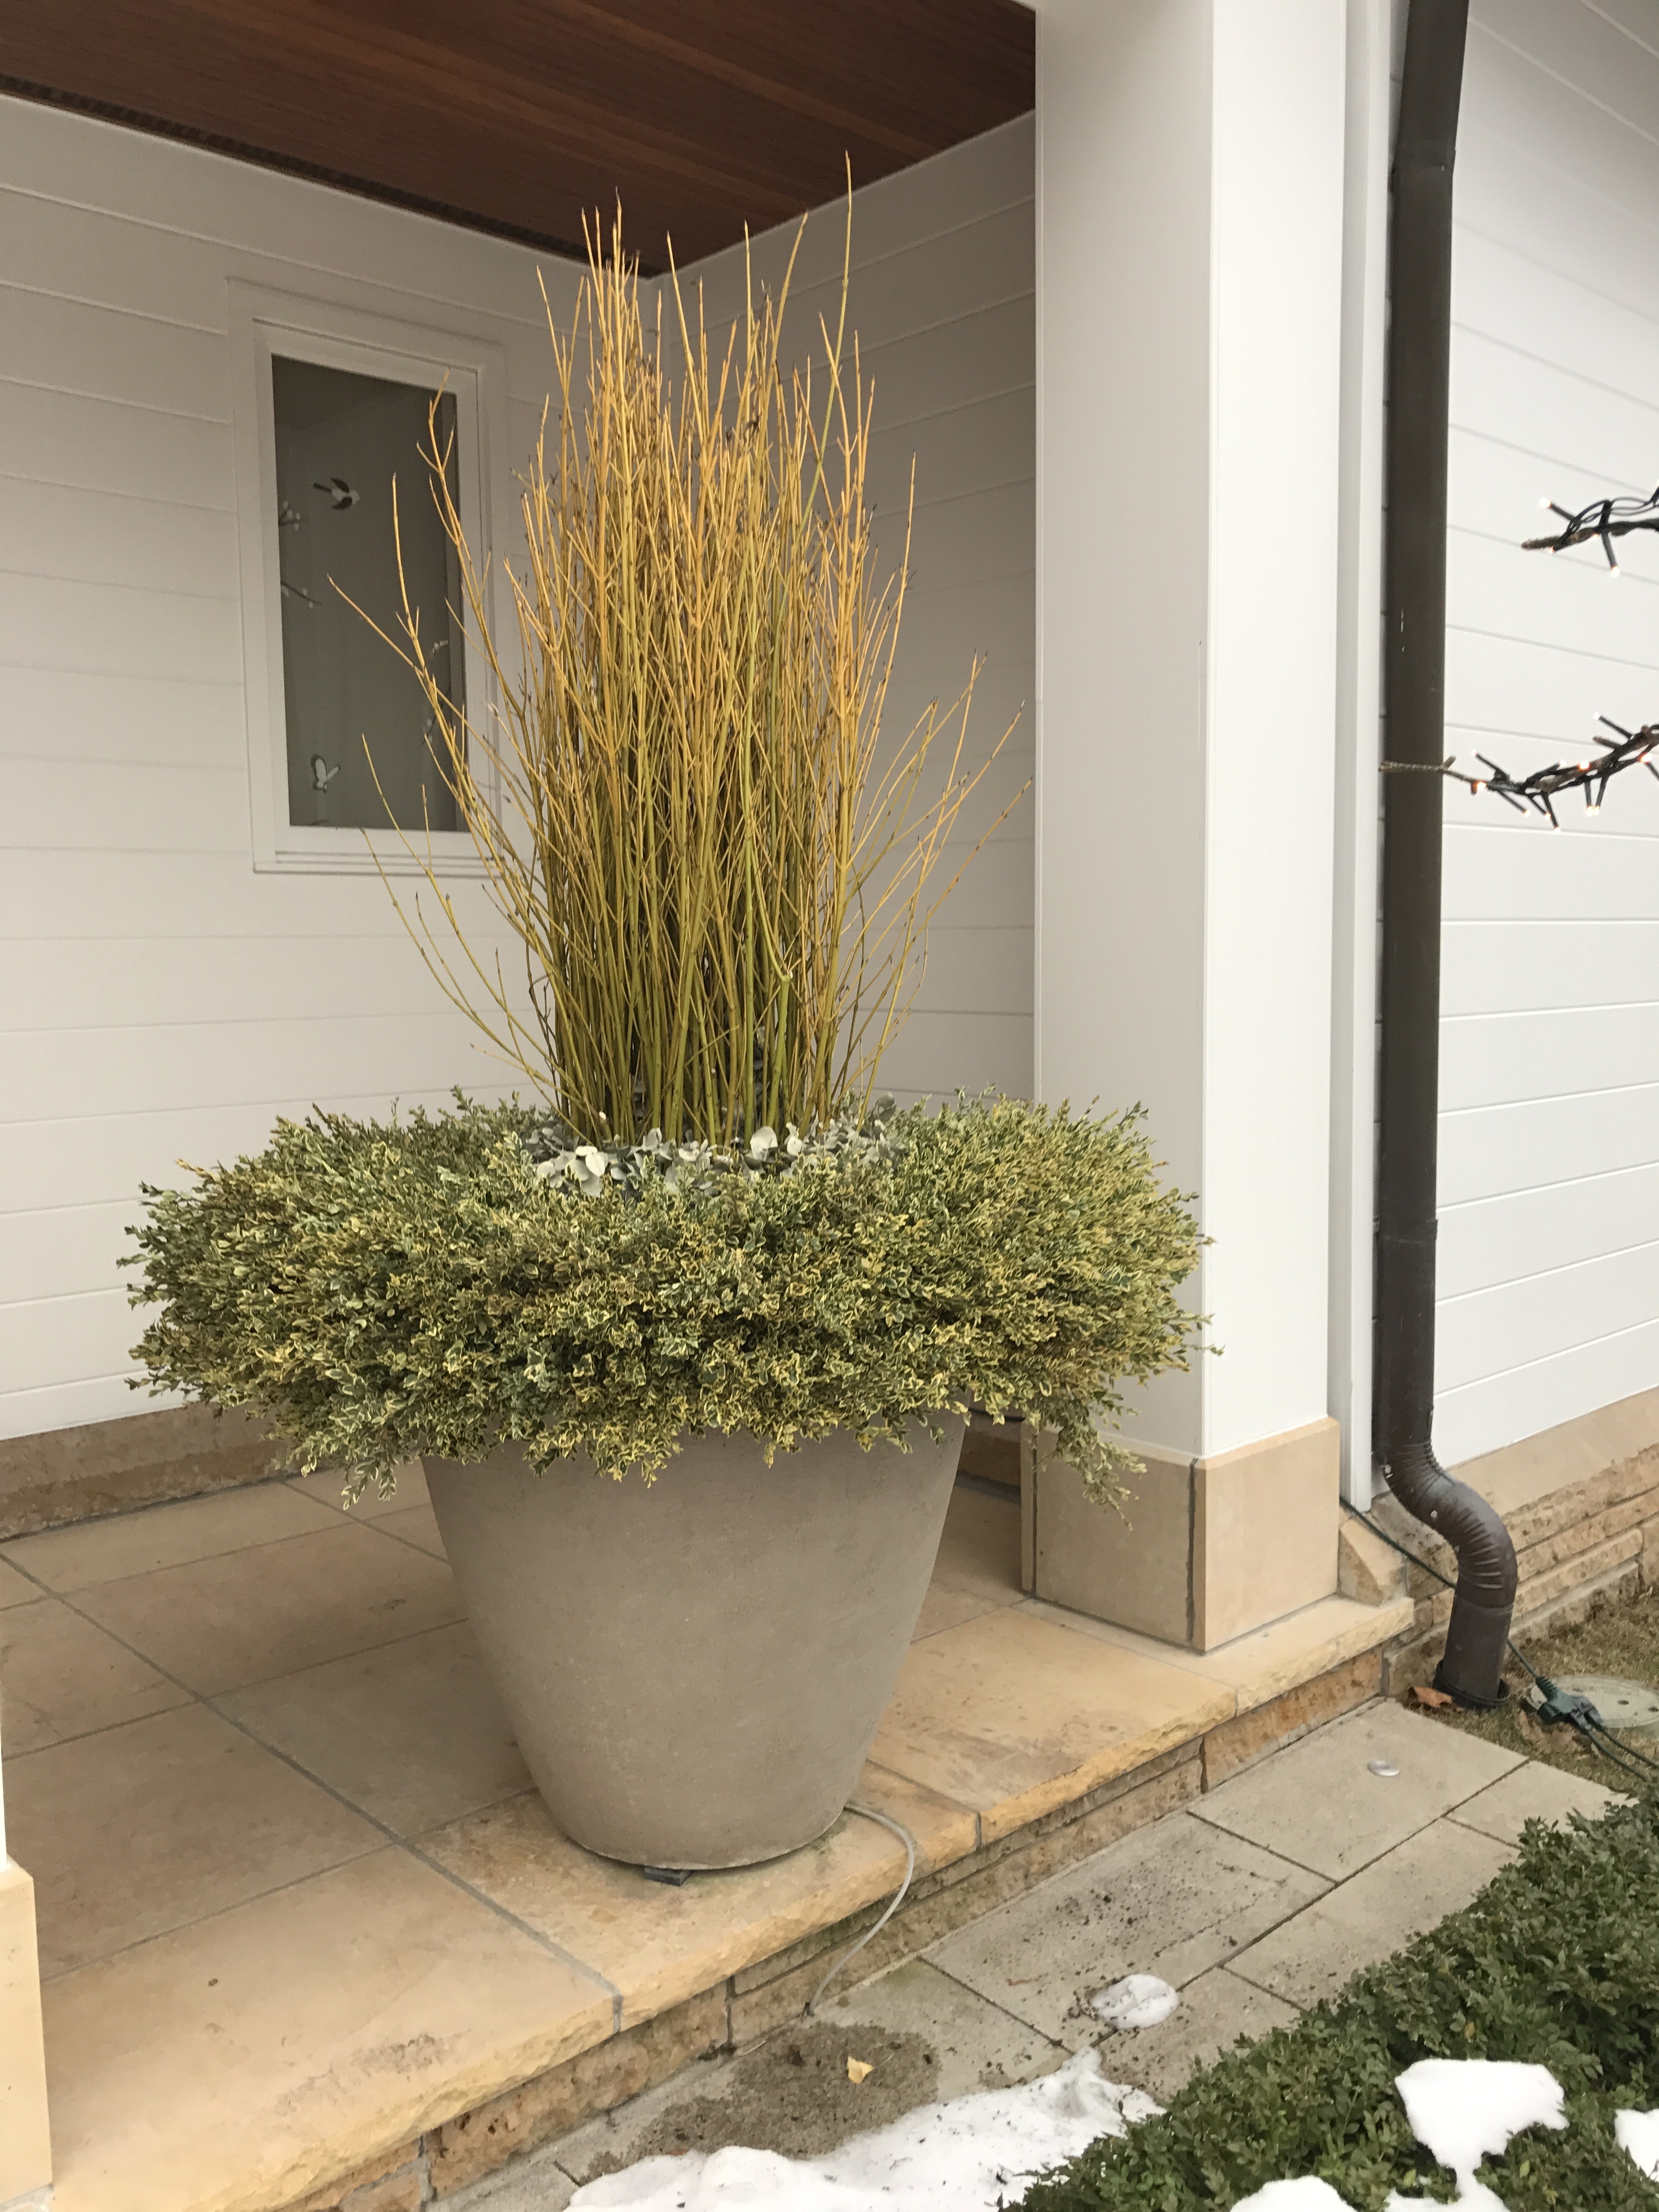
 winter pot
 winter pot
 winter pot
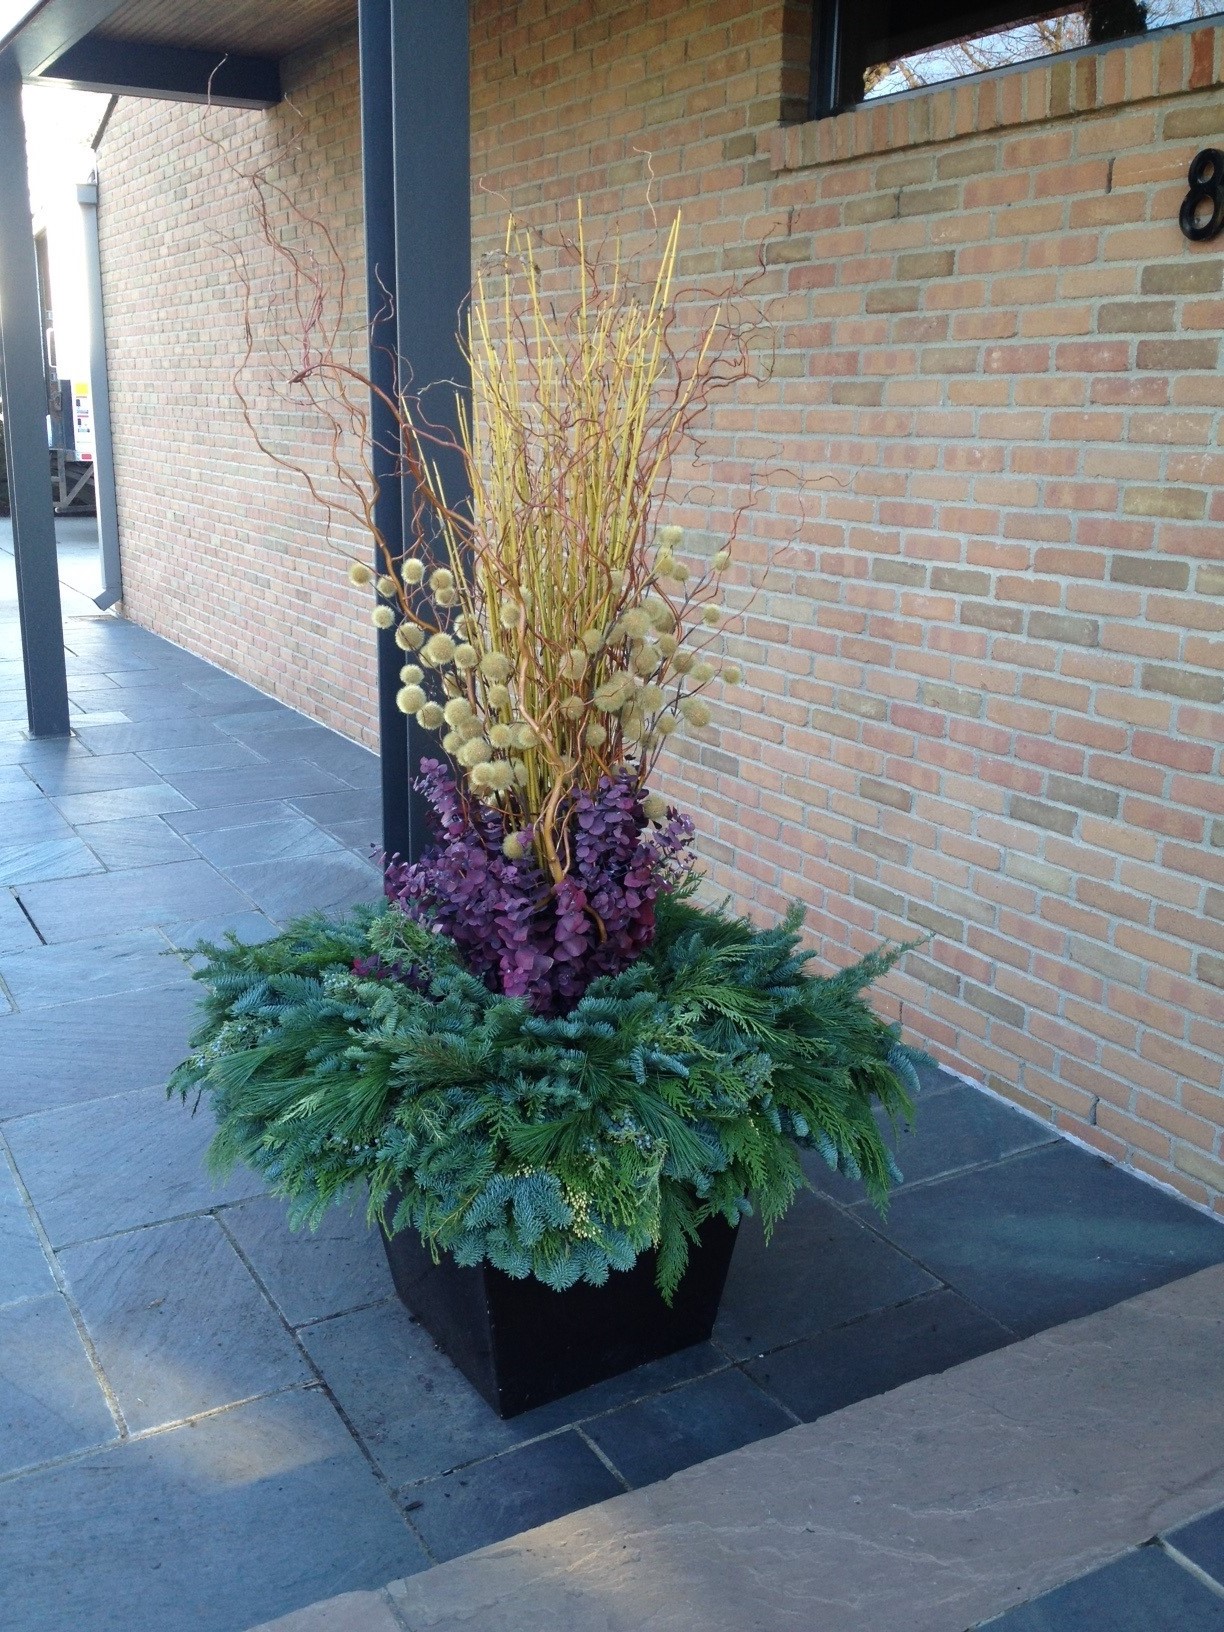
 contemporary winter container arrangement
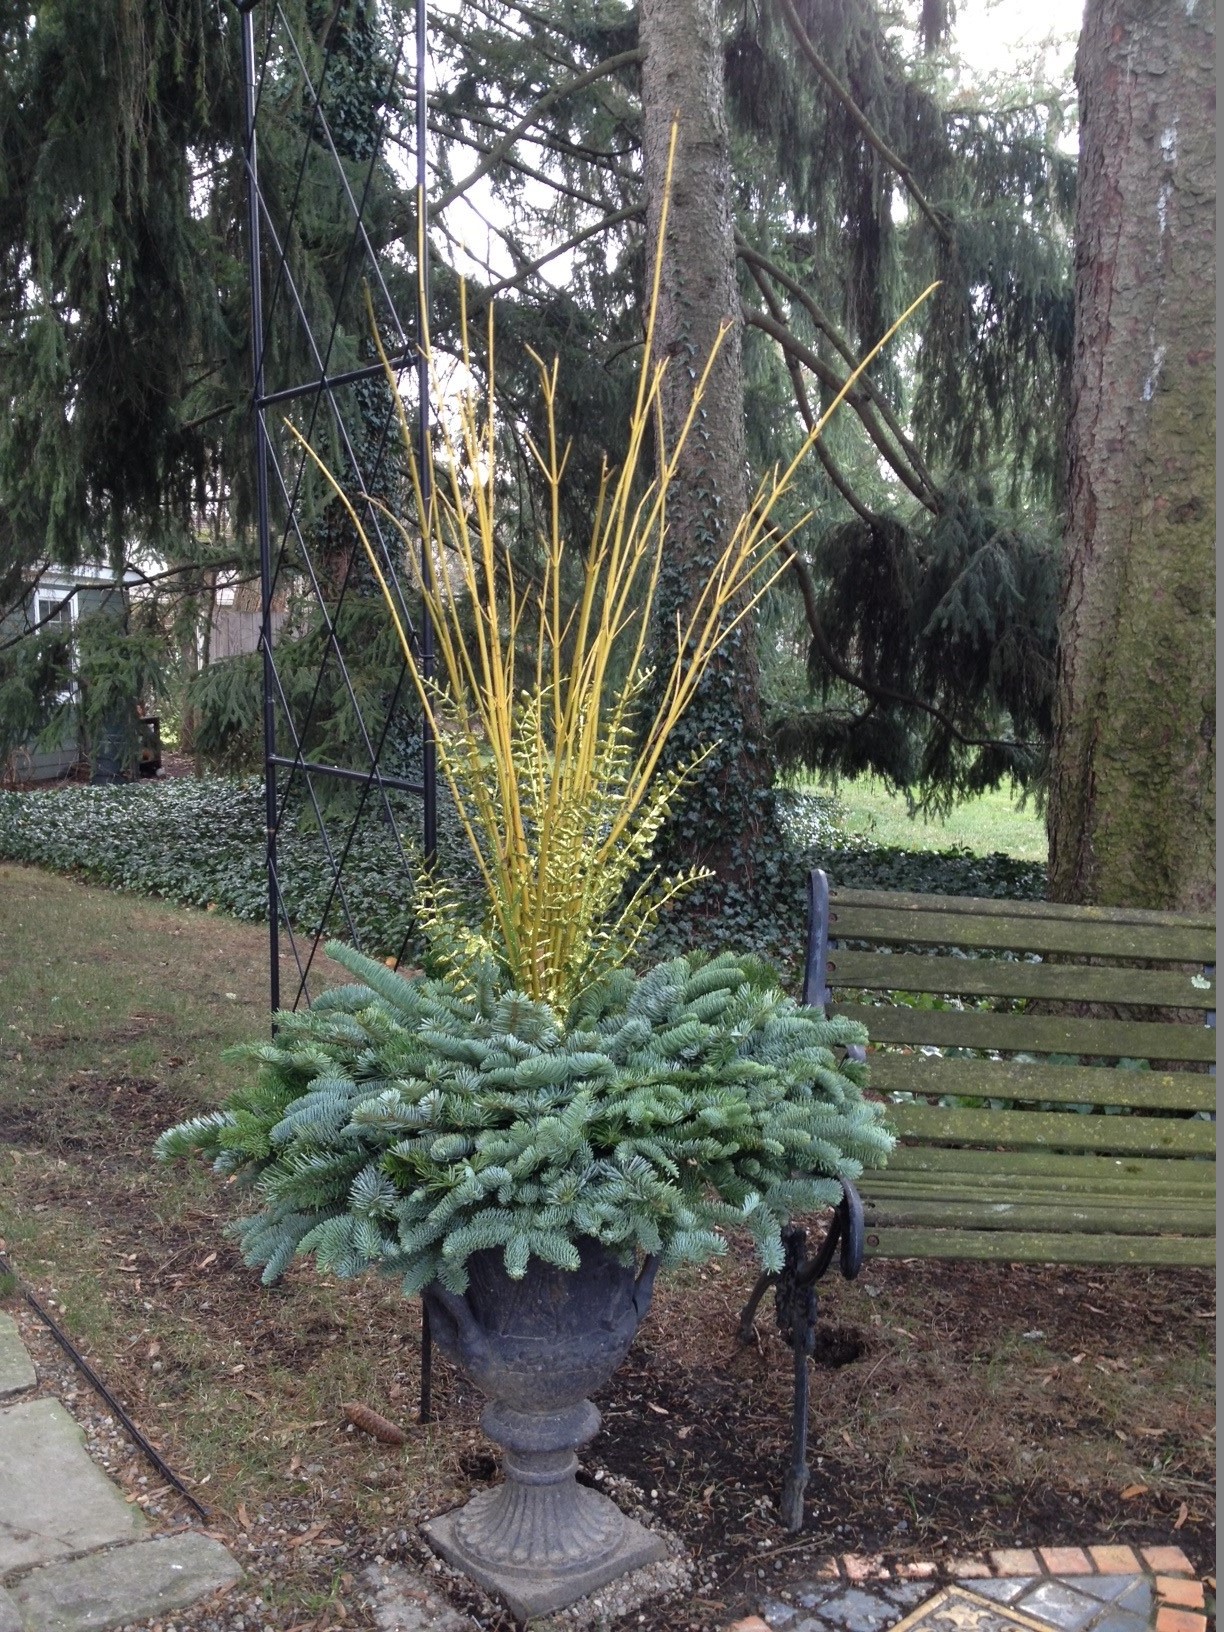 the pot next to the bench
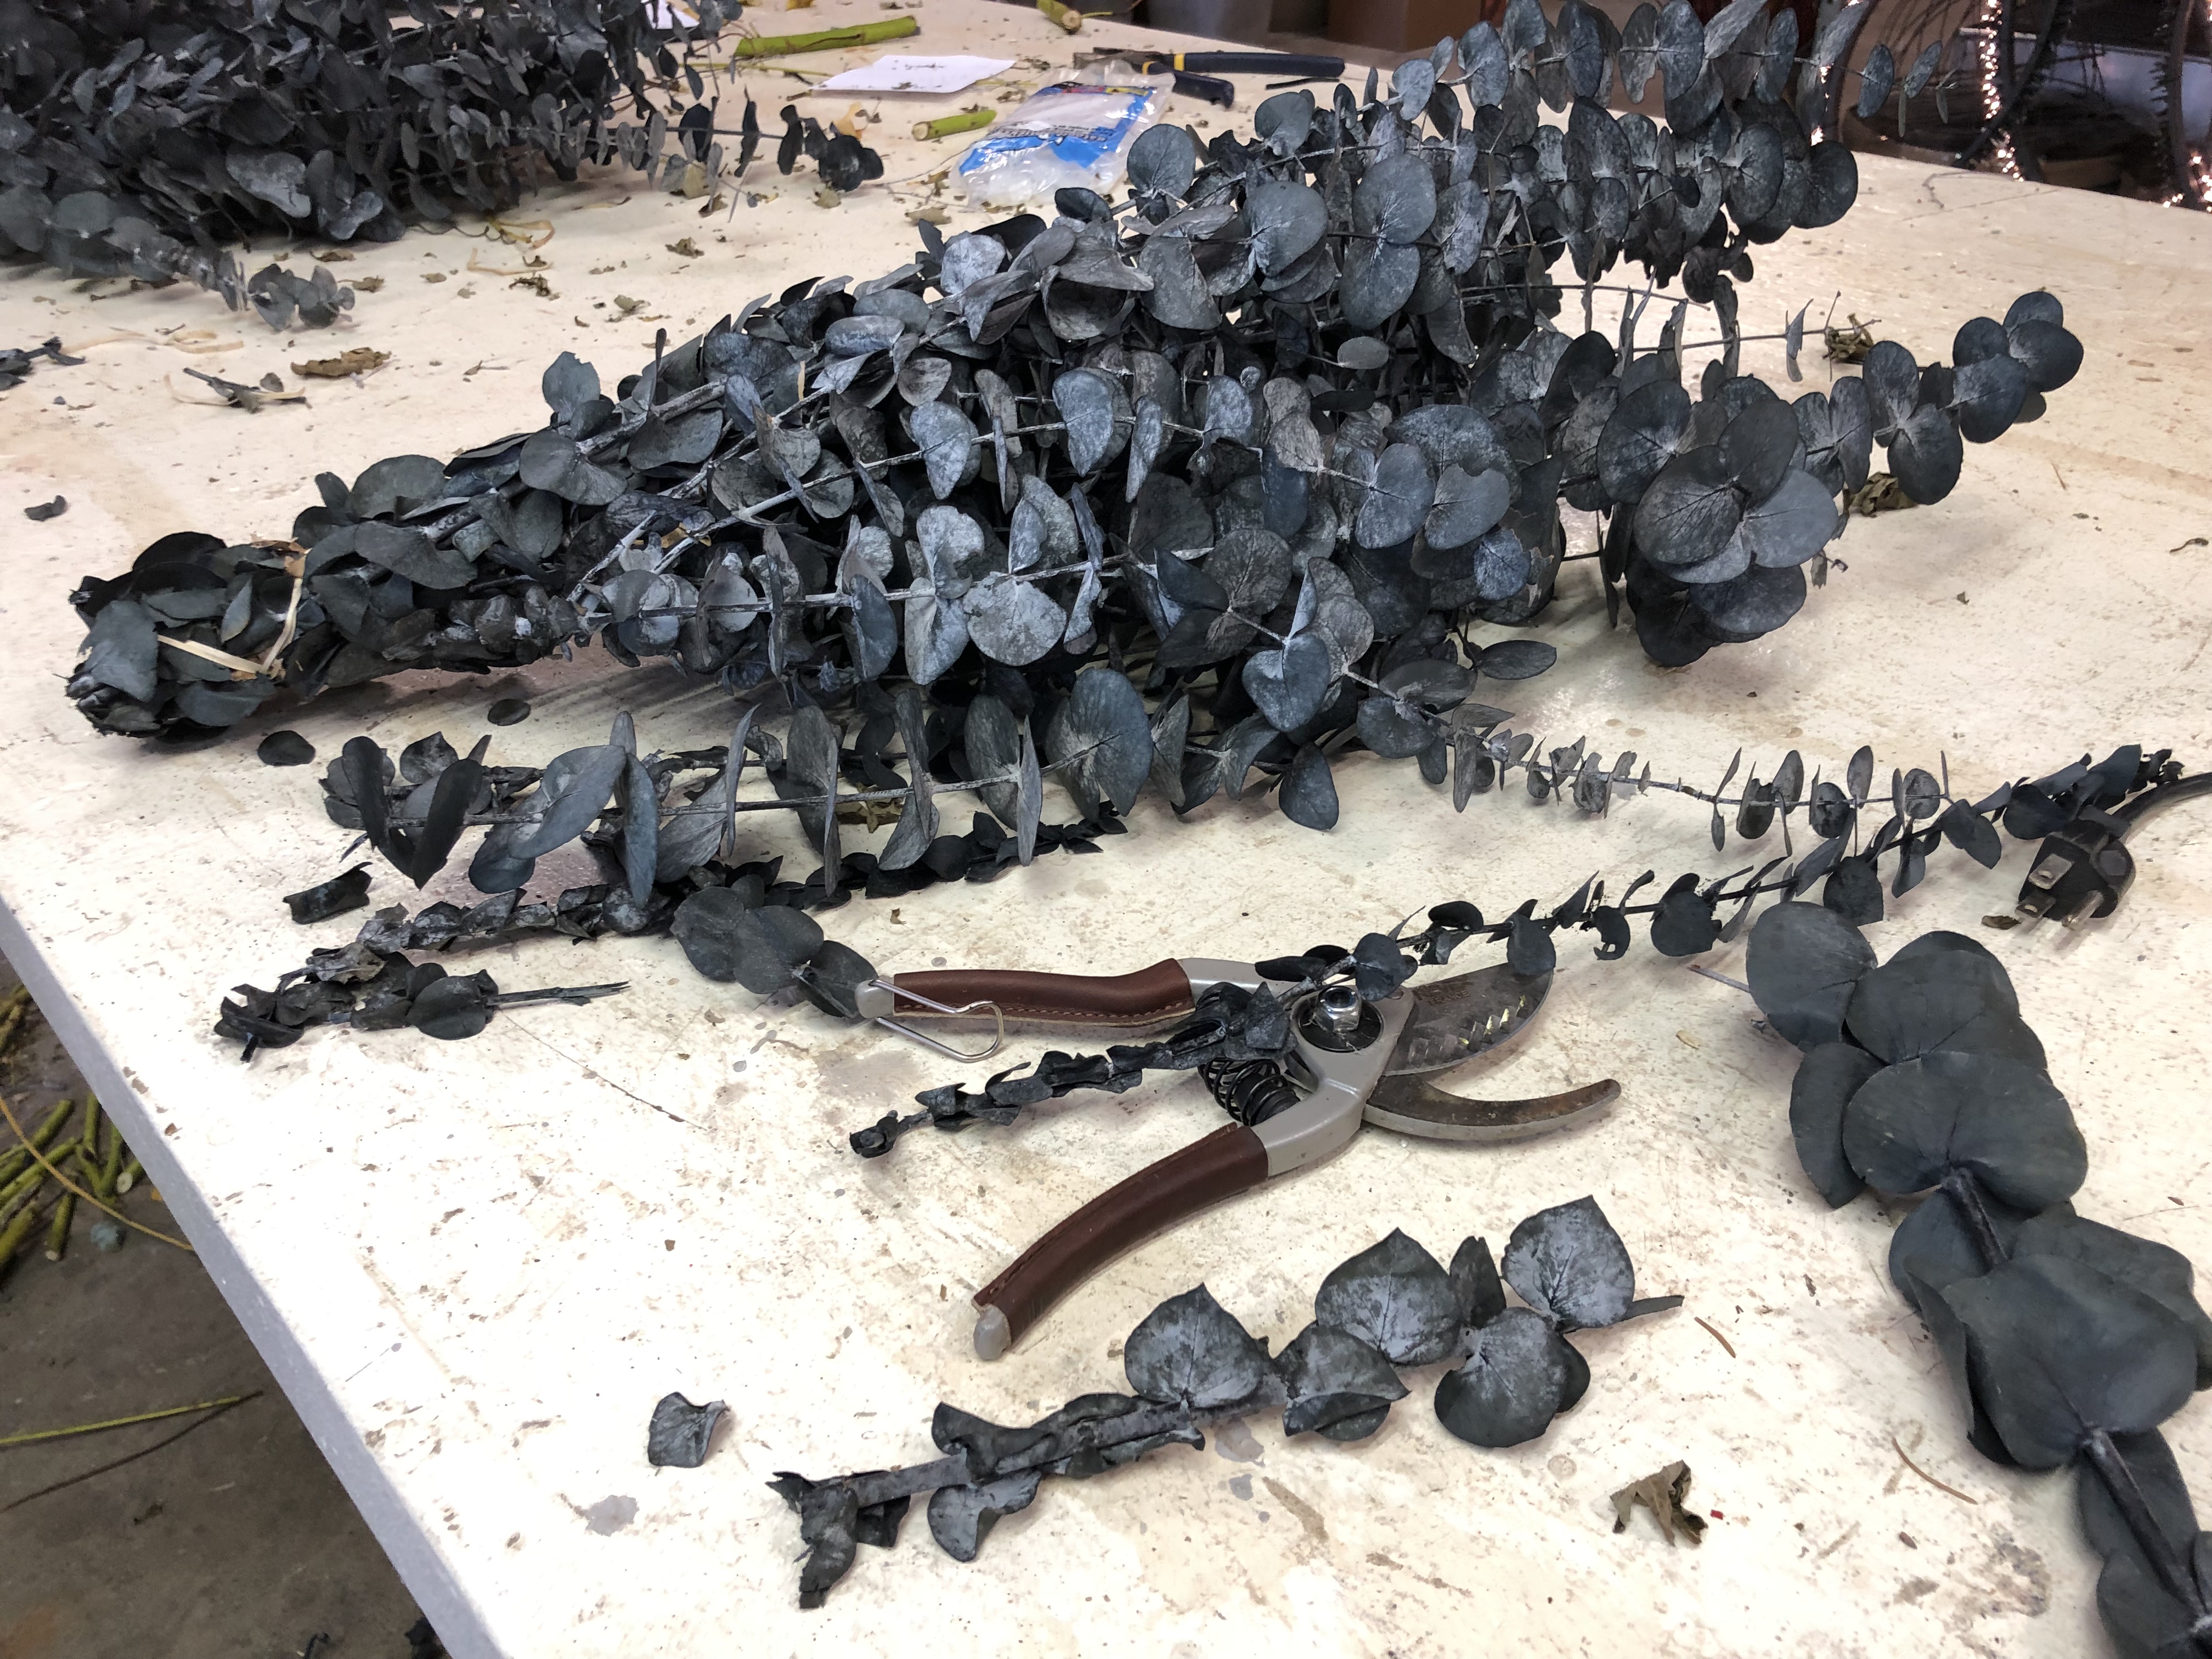
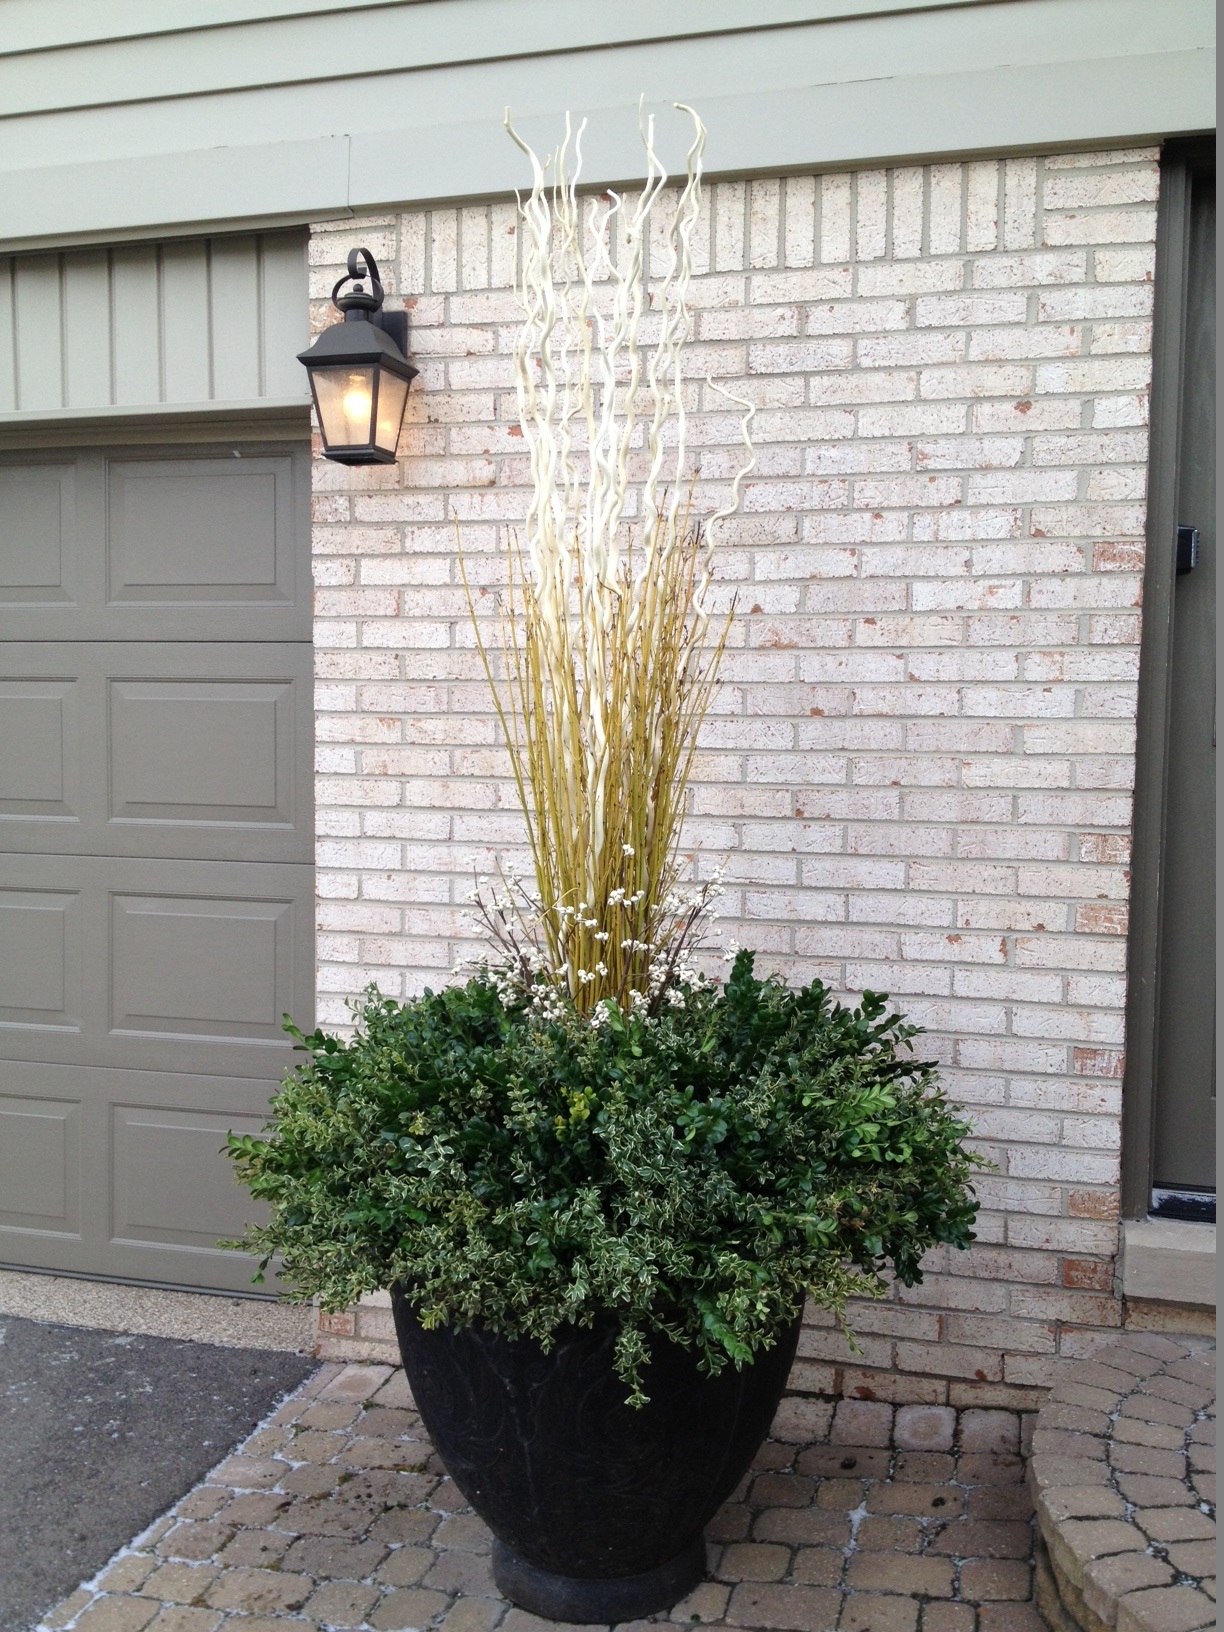 Few gardeners have the room to plant a stand of yellow twig dogwood. I know I don’t. But I love those cut branches of yellow twig dogwood placed in pots for the winter. They indeed make our long winter worth weathering.