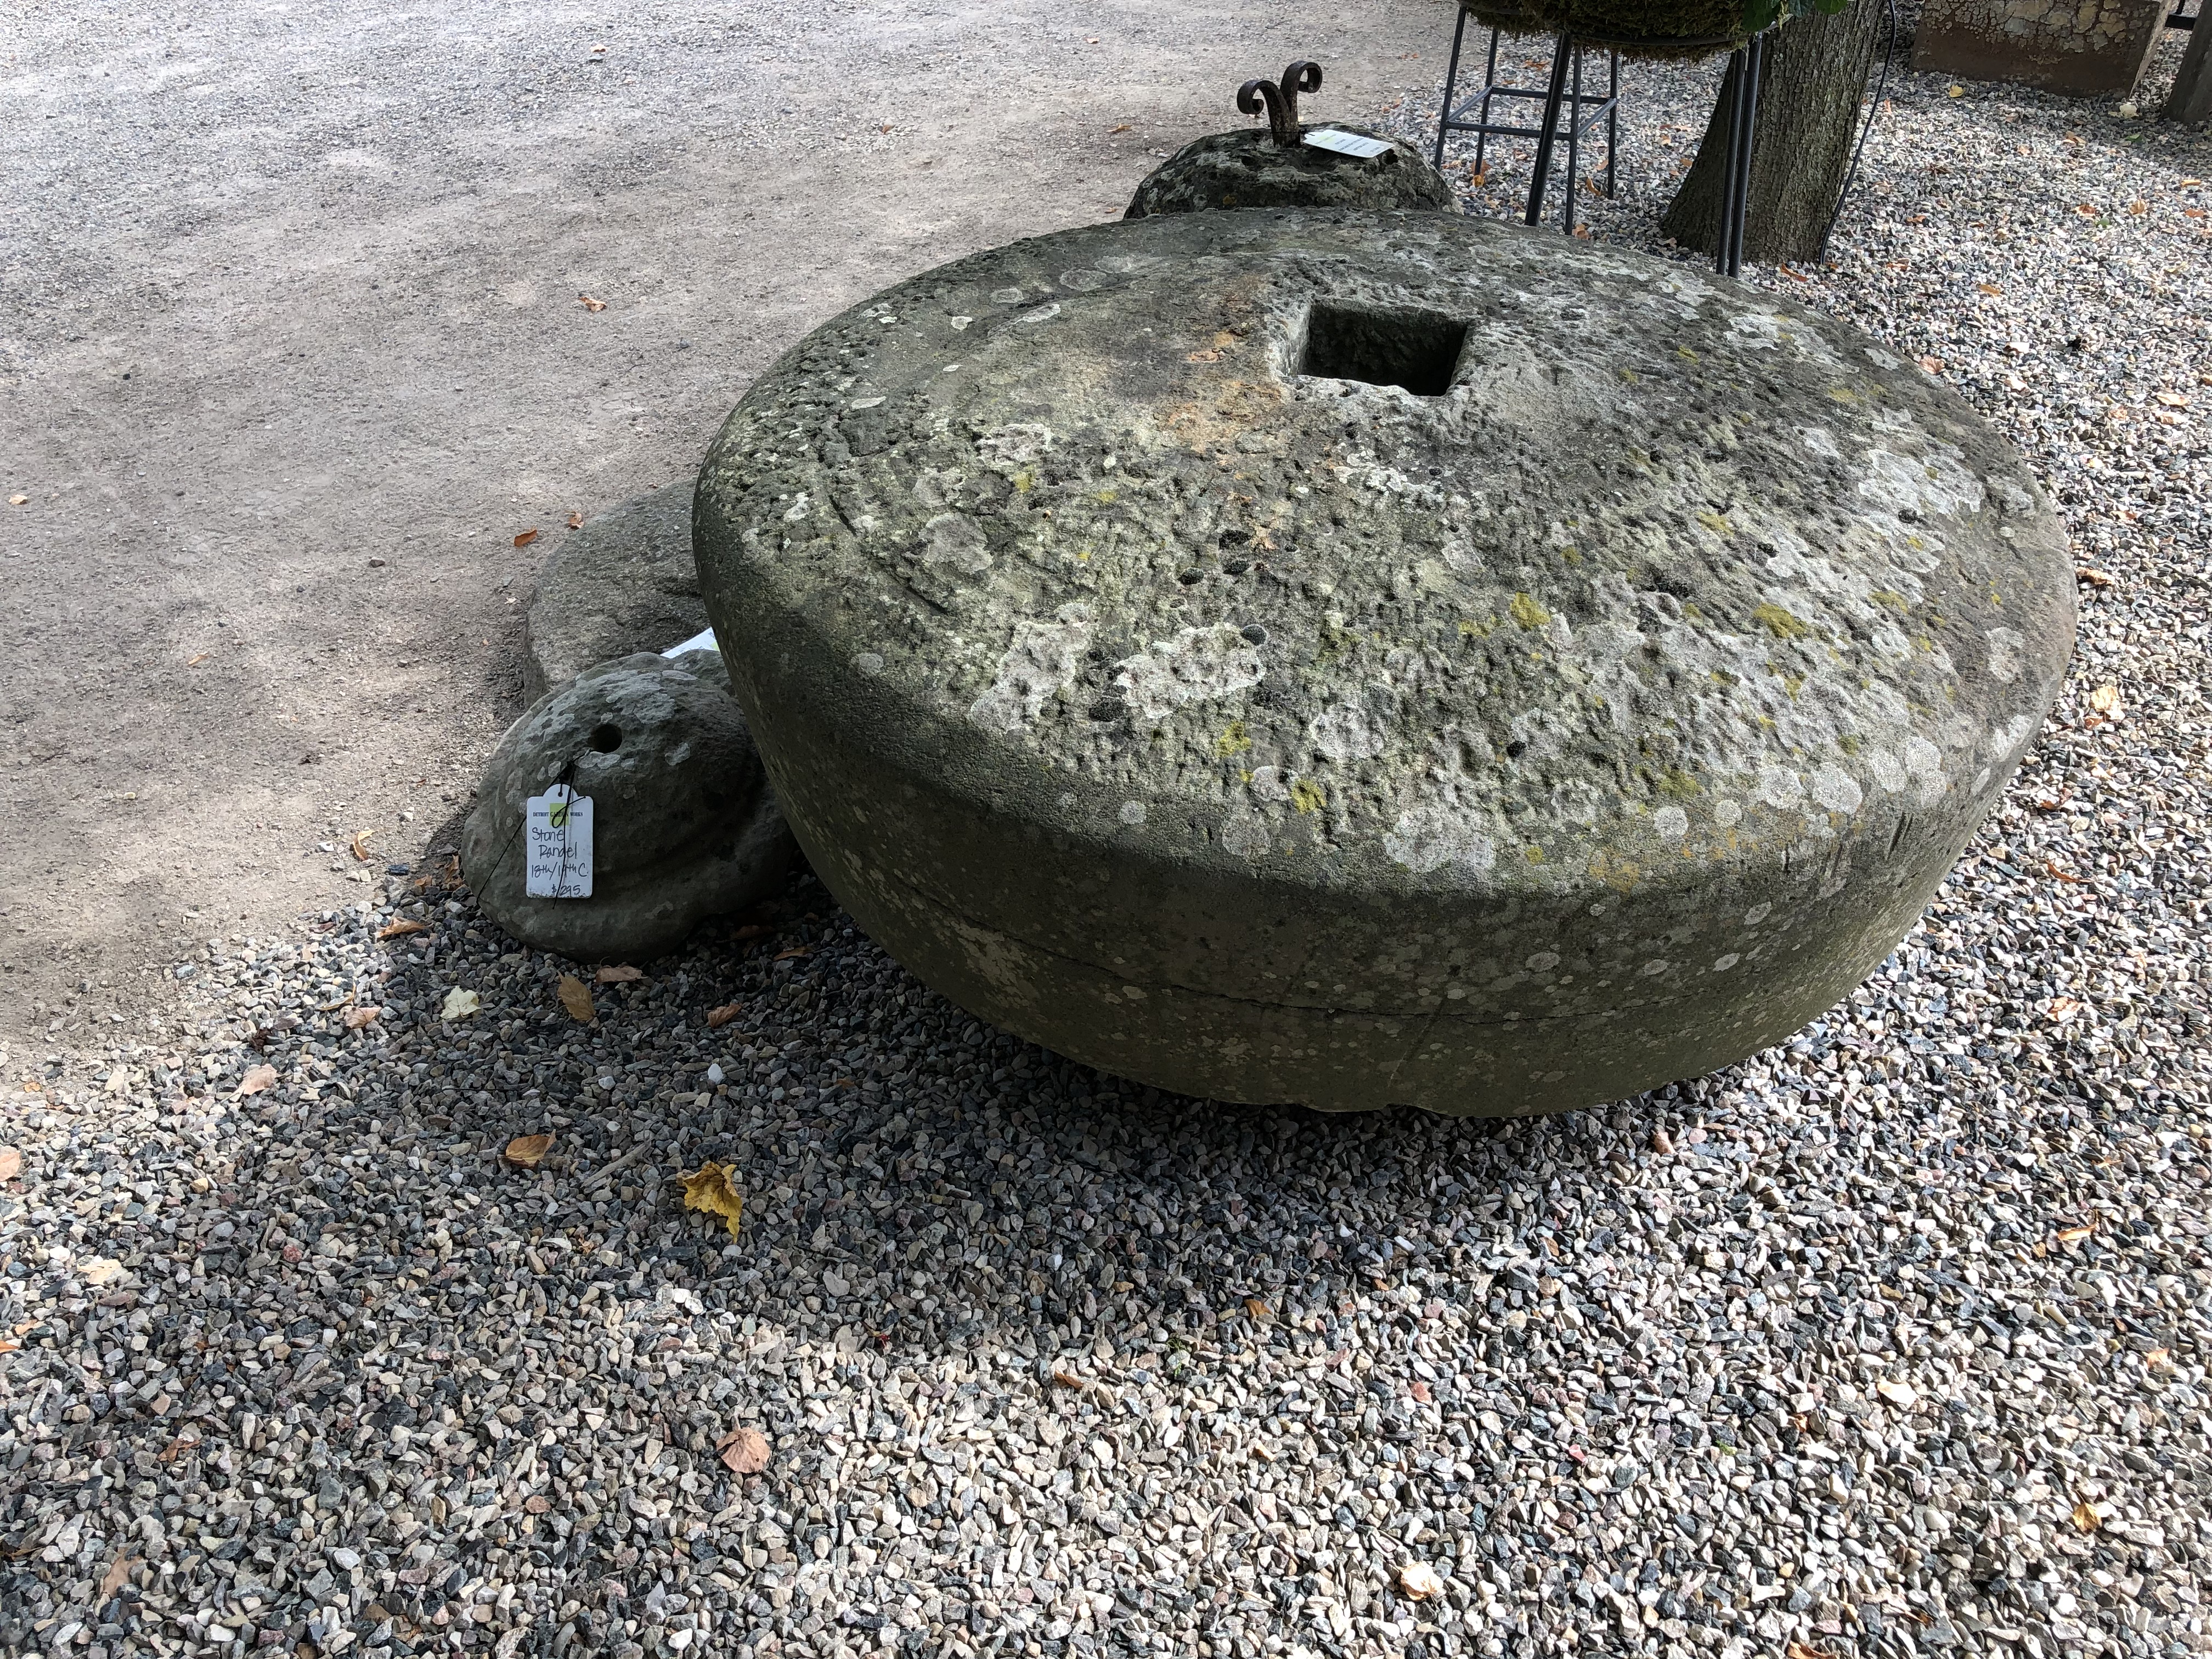
 I have no idea what type of stone this antique English millstone was carved from, but I can attest to the fact that our skid steer could barely lift it. I averted my eyes when I saw the front tires of our loader leave the ground. Stone is incredibly dense, and heavy. If this millstone is granite, you can be sure that the carving process for this solid mass of stone was lengthy and exhausting. Stone is a treasured material in the landscape, as it is a natural material that takes just about forever to degrade. Its surfaces age beautifully. Crushed stone, including crushed granite, is a material much easier to handle and place, and is commonly known as gravel. These small shards of stone have endless applications in the garden, not the least of which involve the base and the top layer for a driveway. A giant granite millstone takes a machine and many people to move. Crushed granite can be dumped and shoveled around wherever you need a hard surface. We have been shoveling.
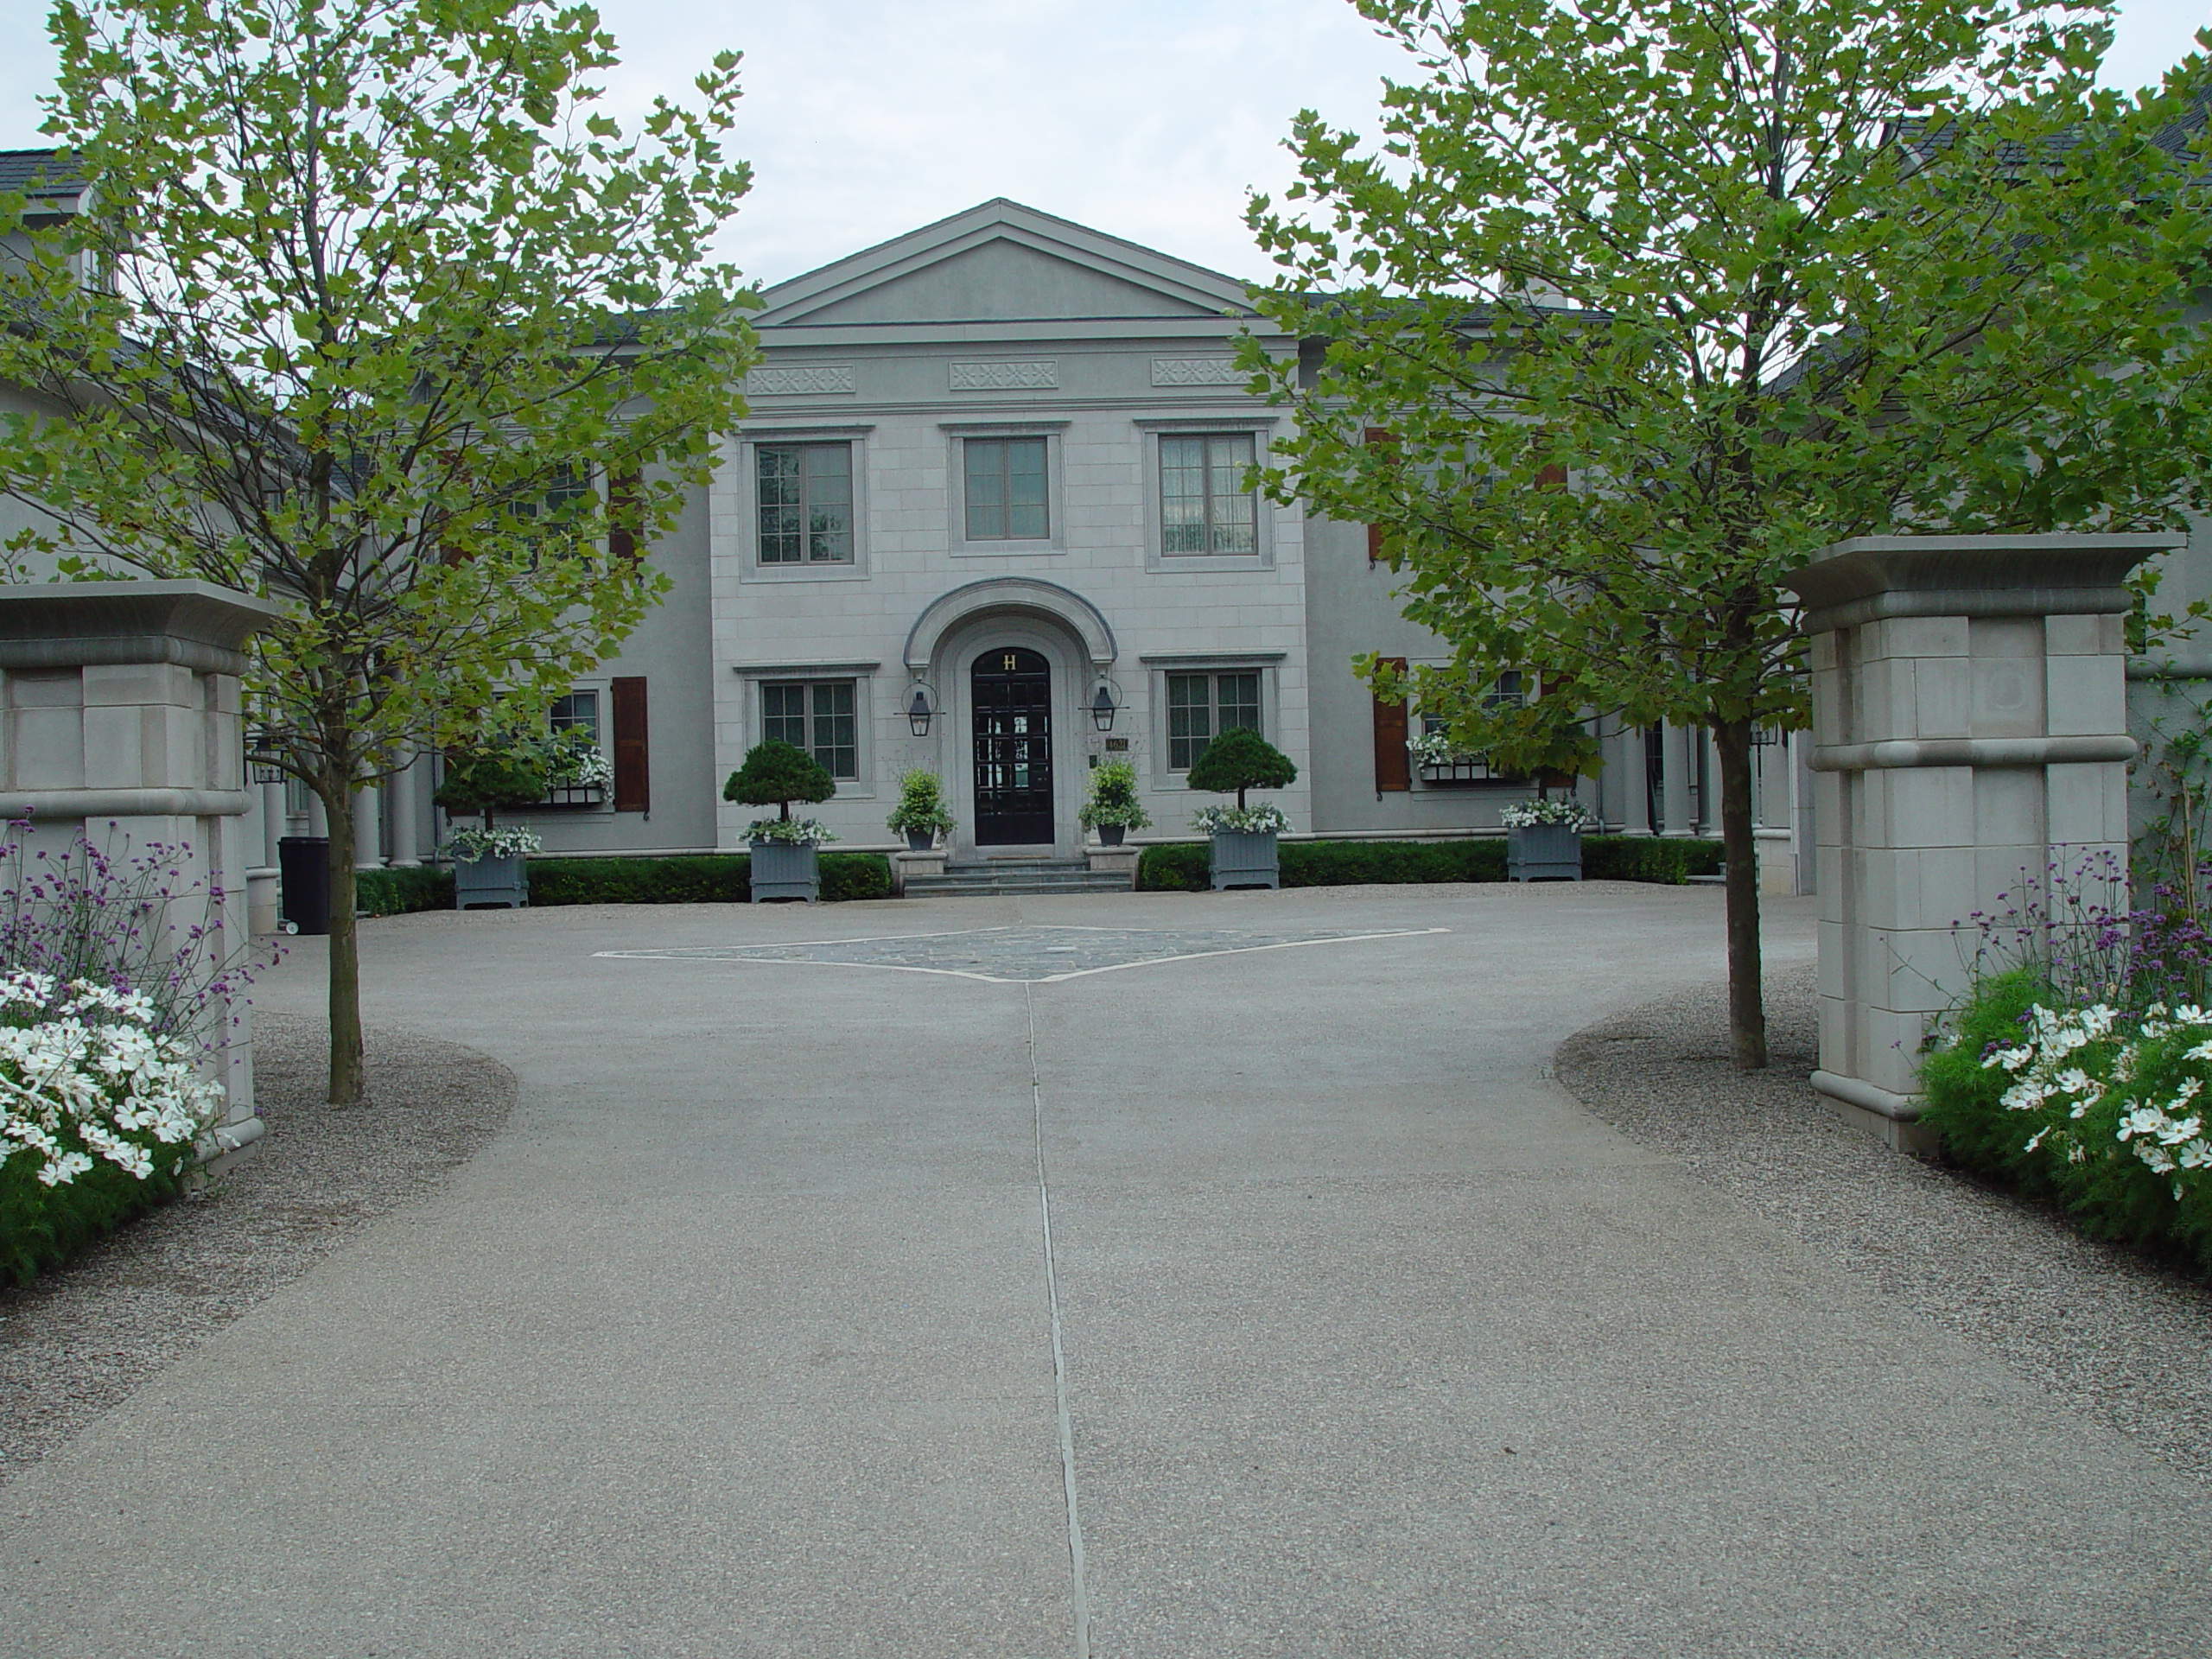
 Our decomposed granite display space and driveway is 24 years old. It has been subject to all manner of insults over the years, not the least of which is a near daily dose of heavy trucks going in and out. Add to that dirt spills from countless container plantings. Our graveled spaces were due for replacement. How so? Decomposed granite comes with fines. As in granite dust. Those fines help to interlock the very small shards of granite, and harden up the surface. But over the years, the foot and vehicular traffic drive the small granite pieces down, and bring up the soil and fines from underneath. Our gravel had become a dust fest on dry days, and a mud fest on wet ones. It was time to replace it. As in dig out the old soil and sand contaminated gravel, and replace it with new stone.
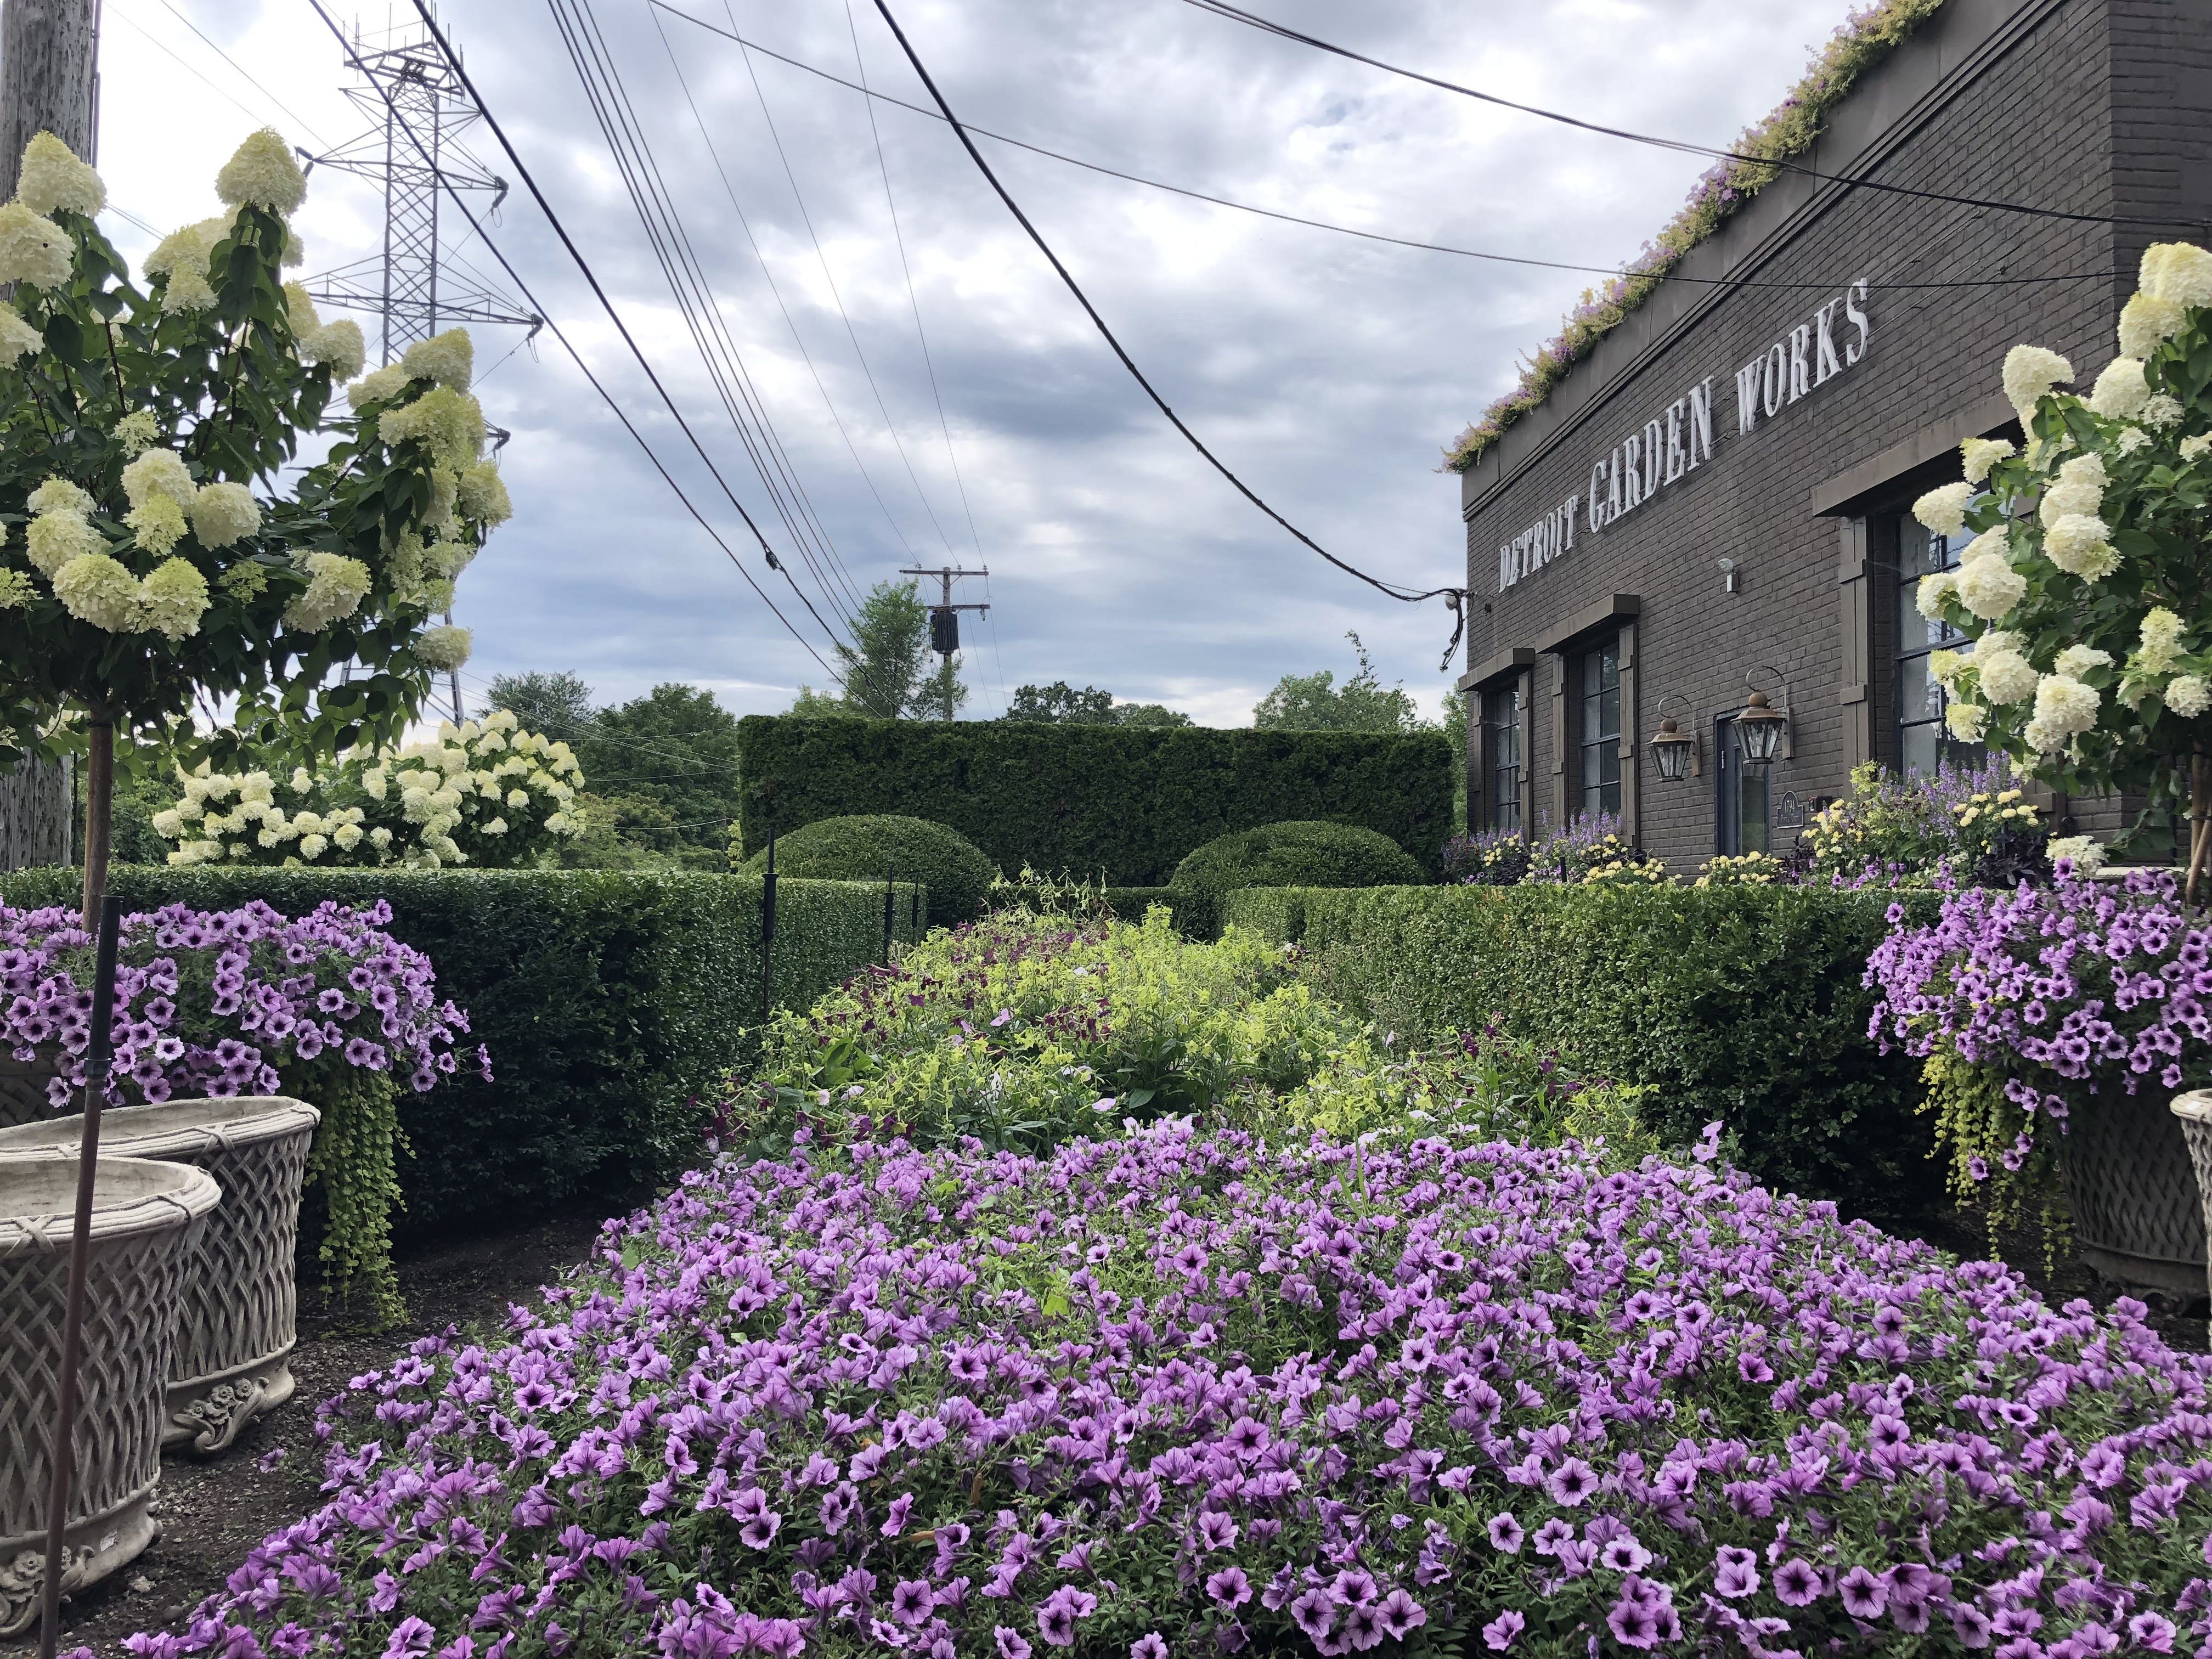
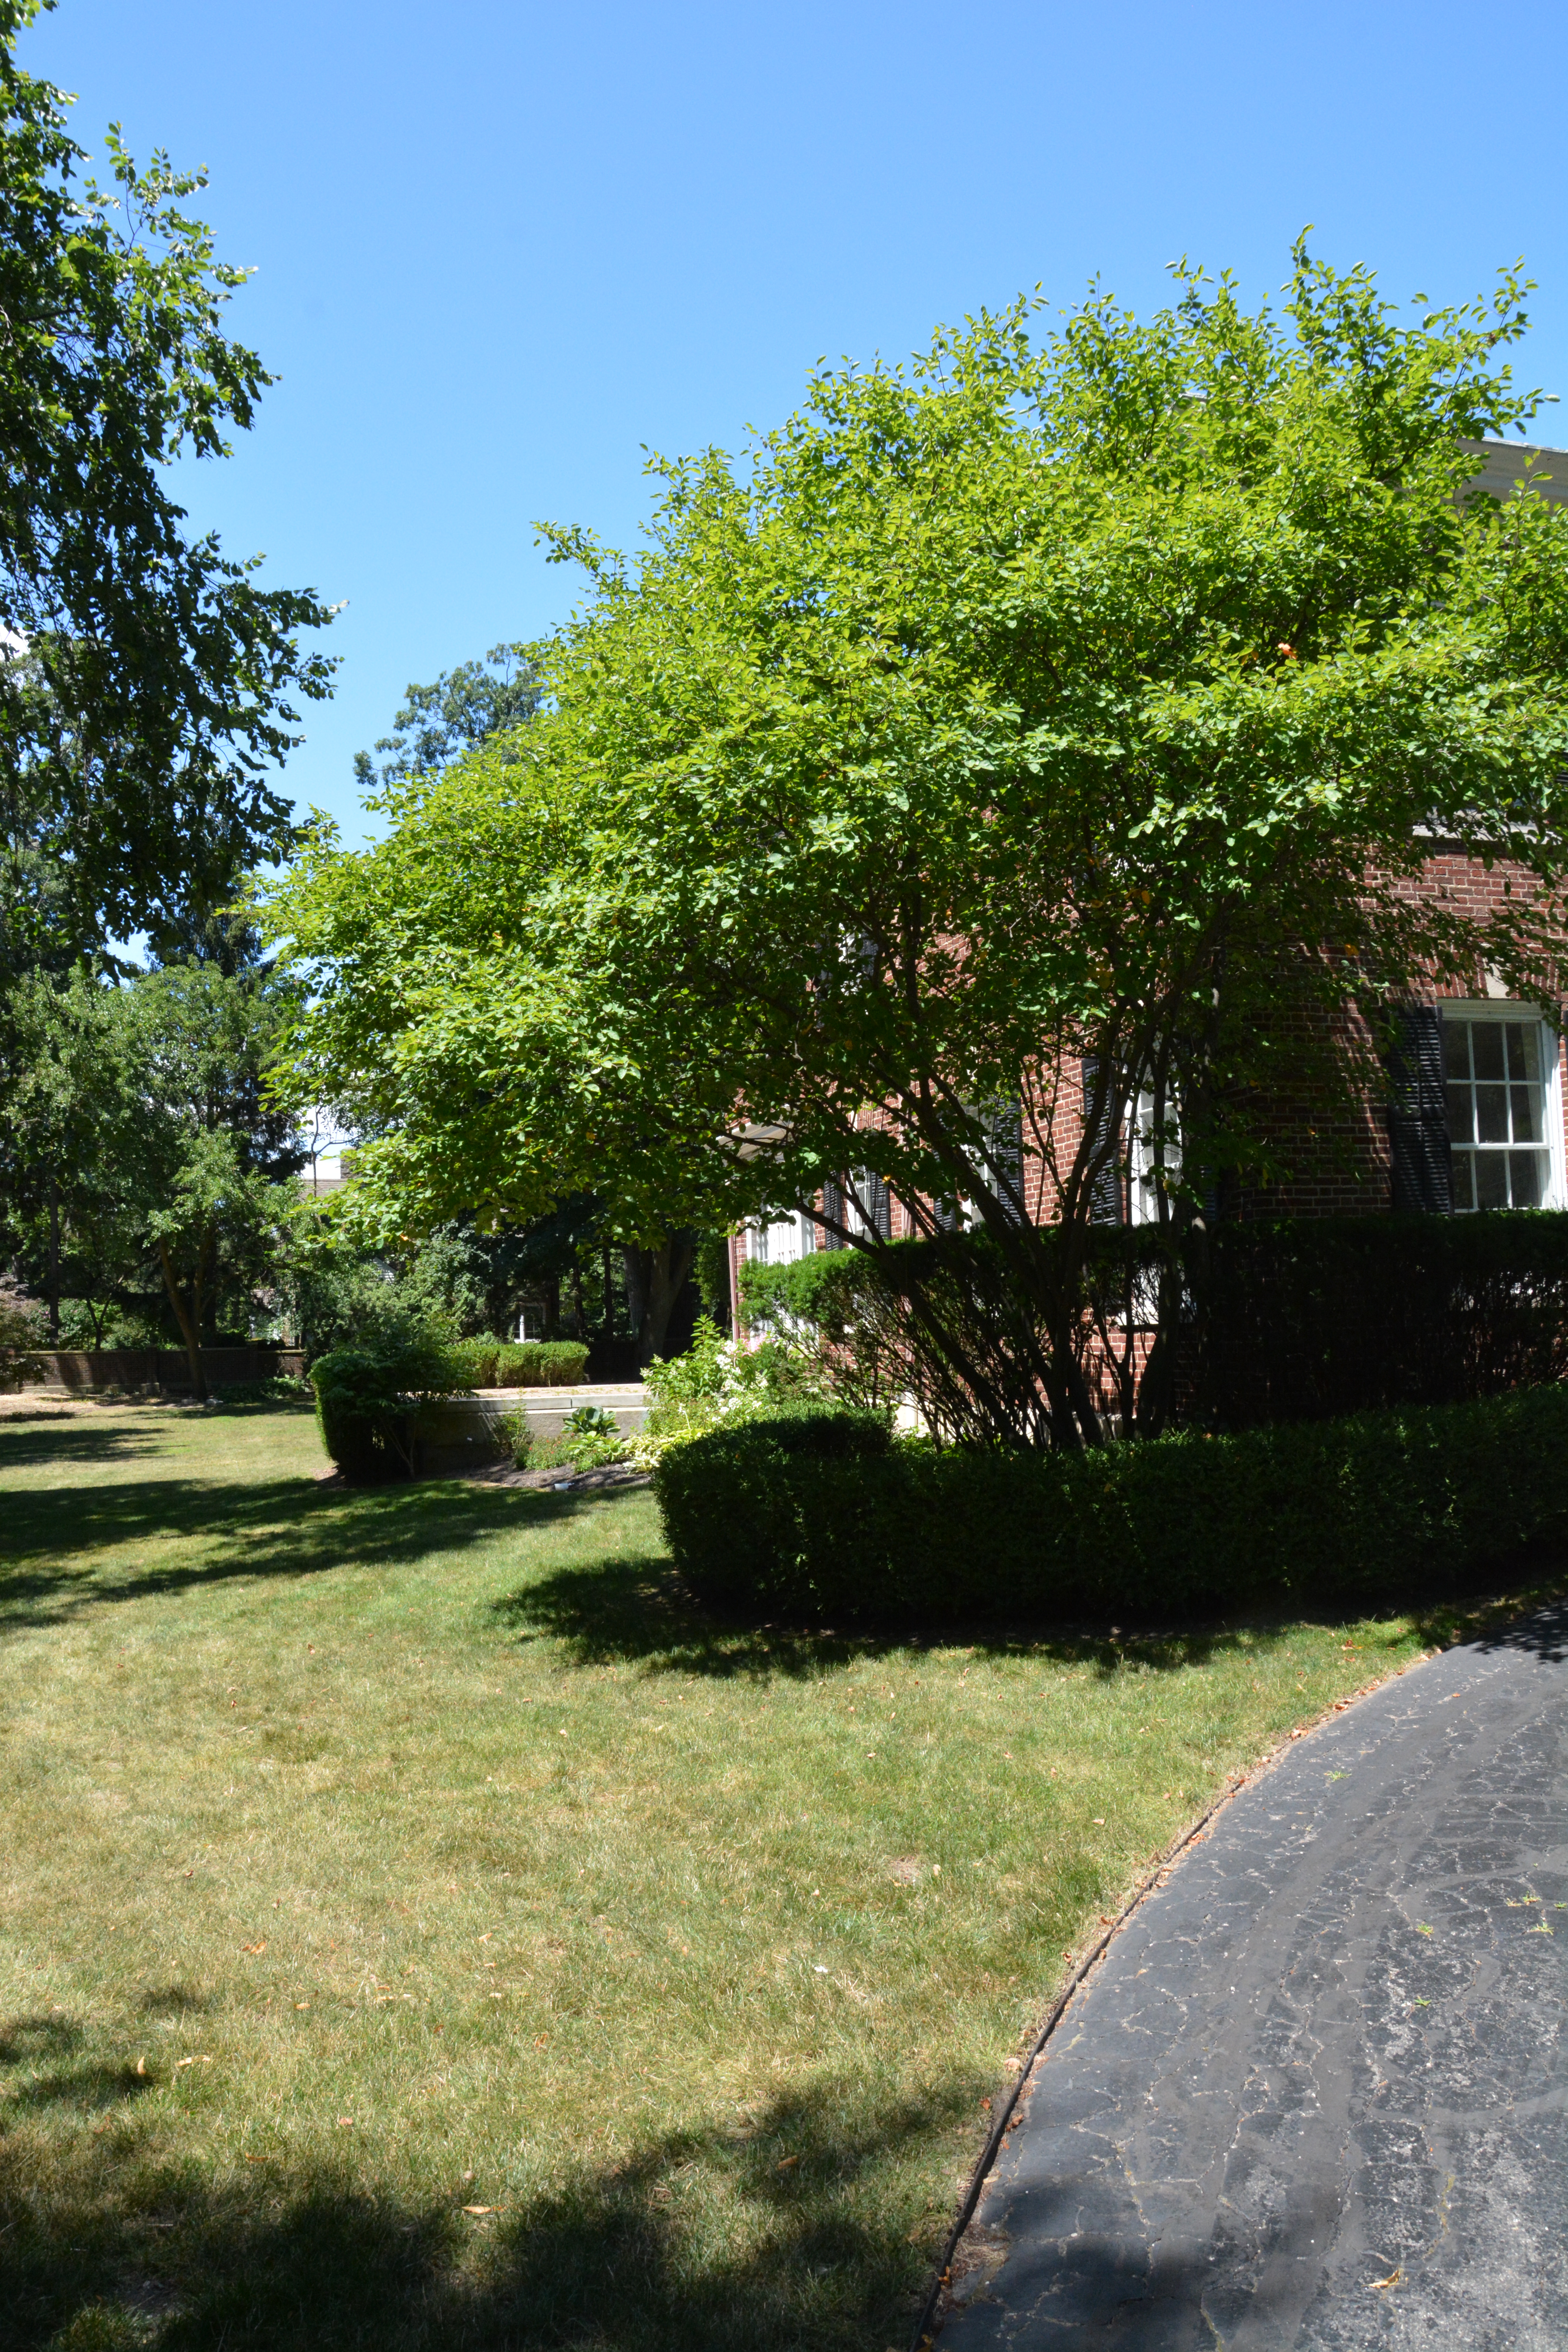
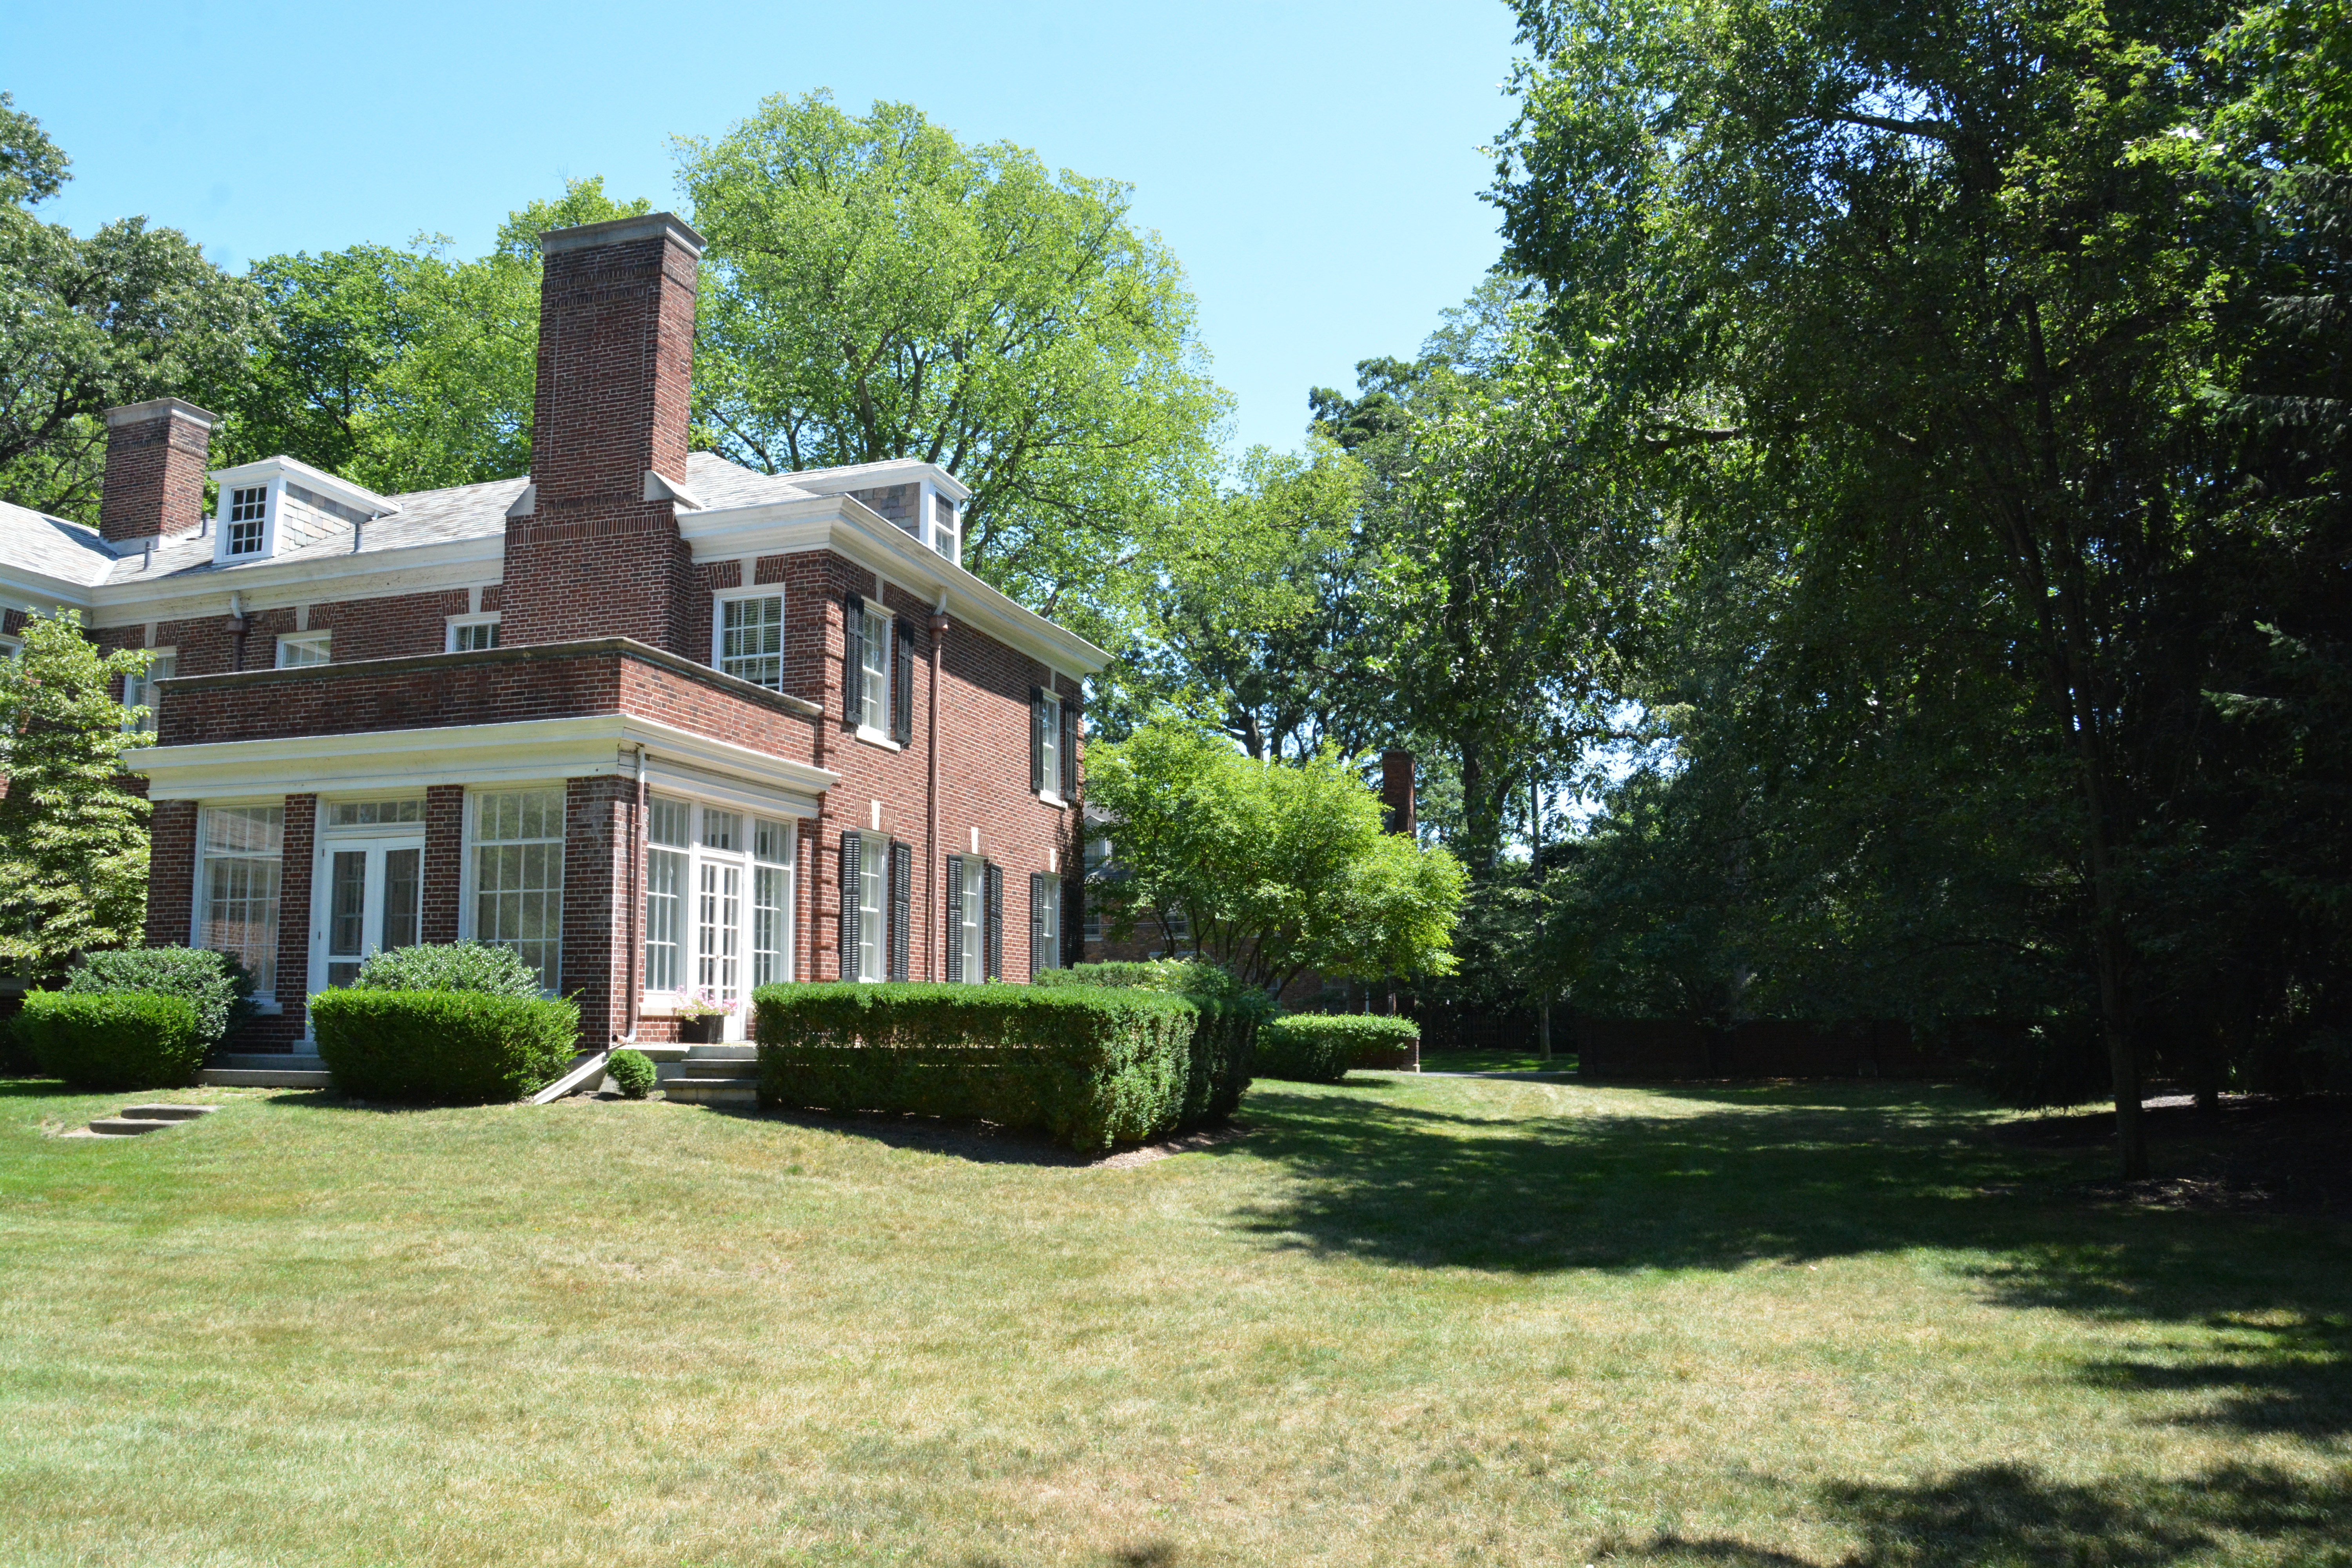
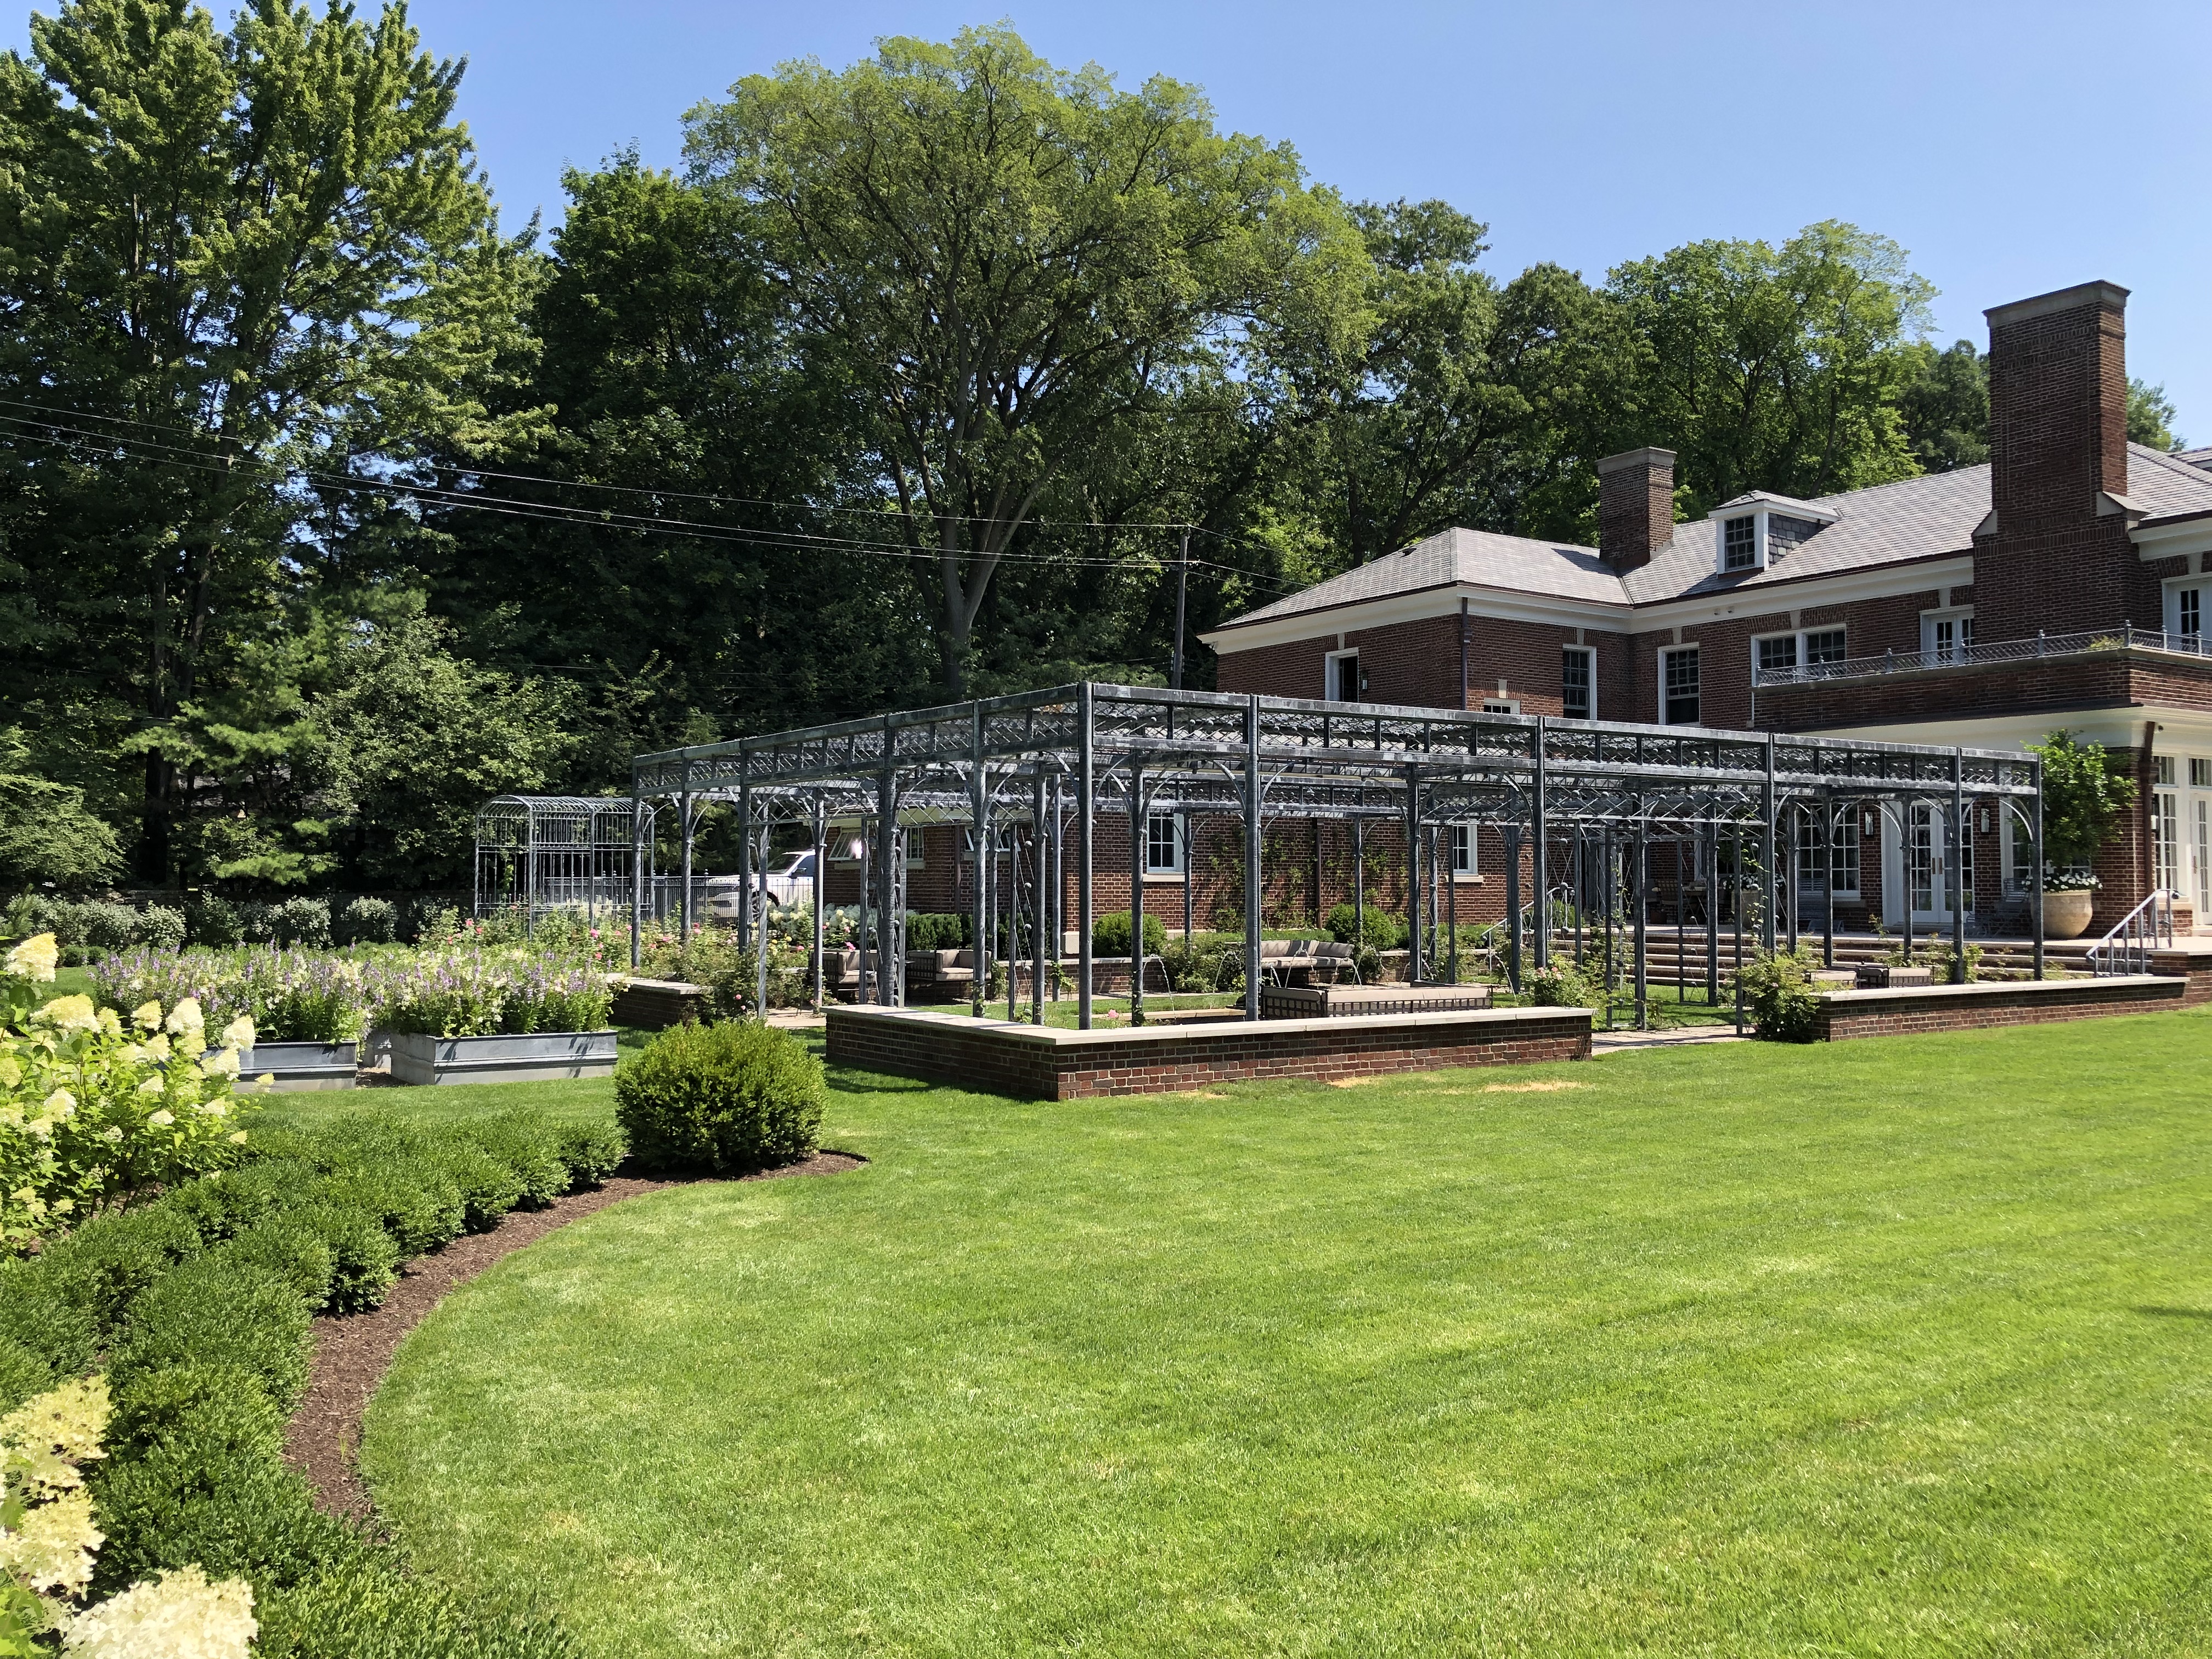
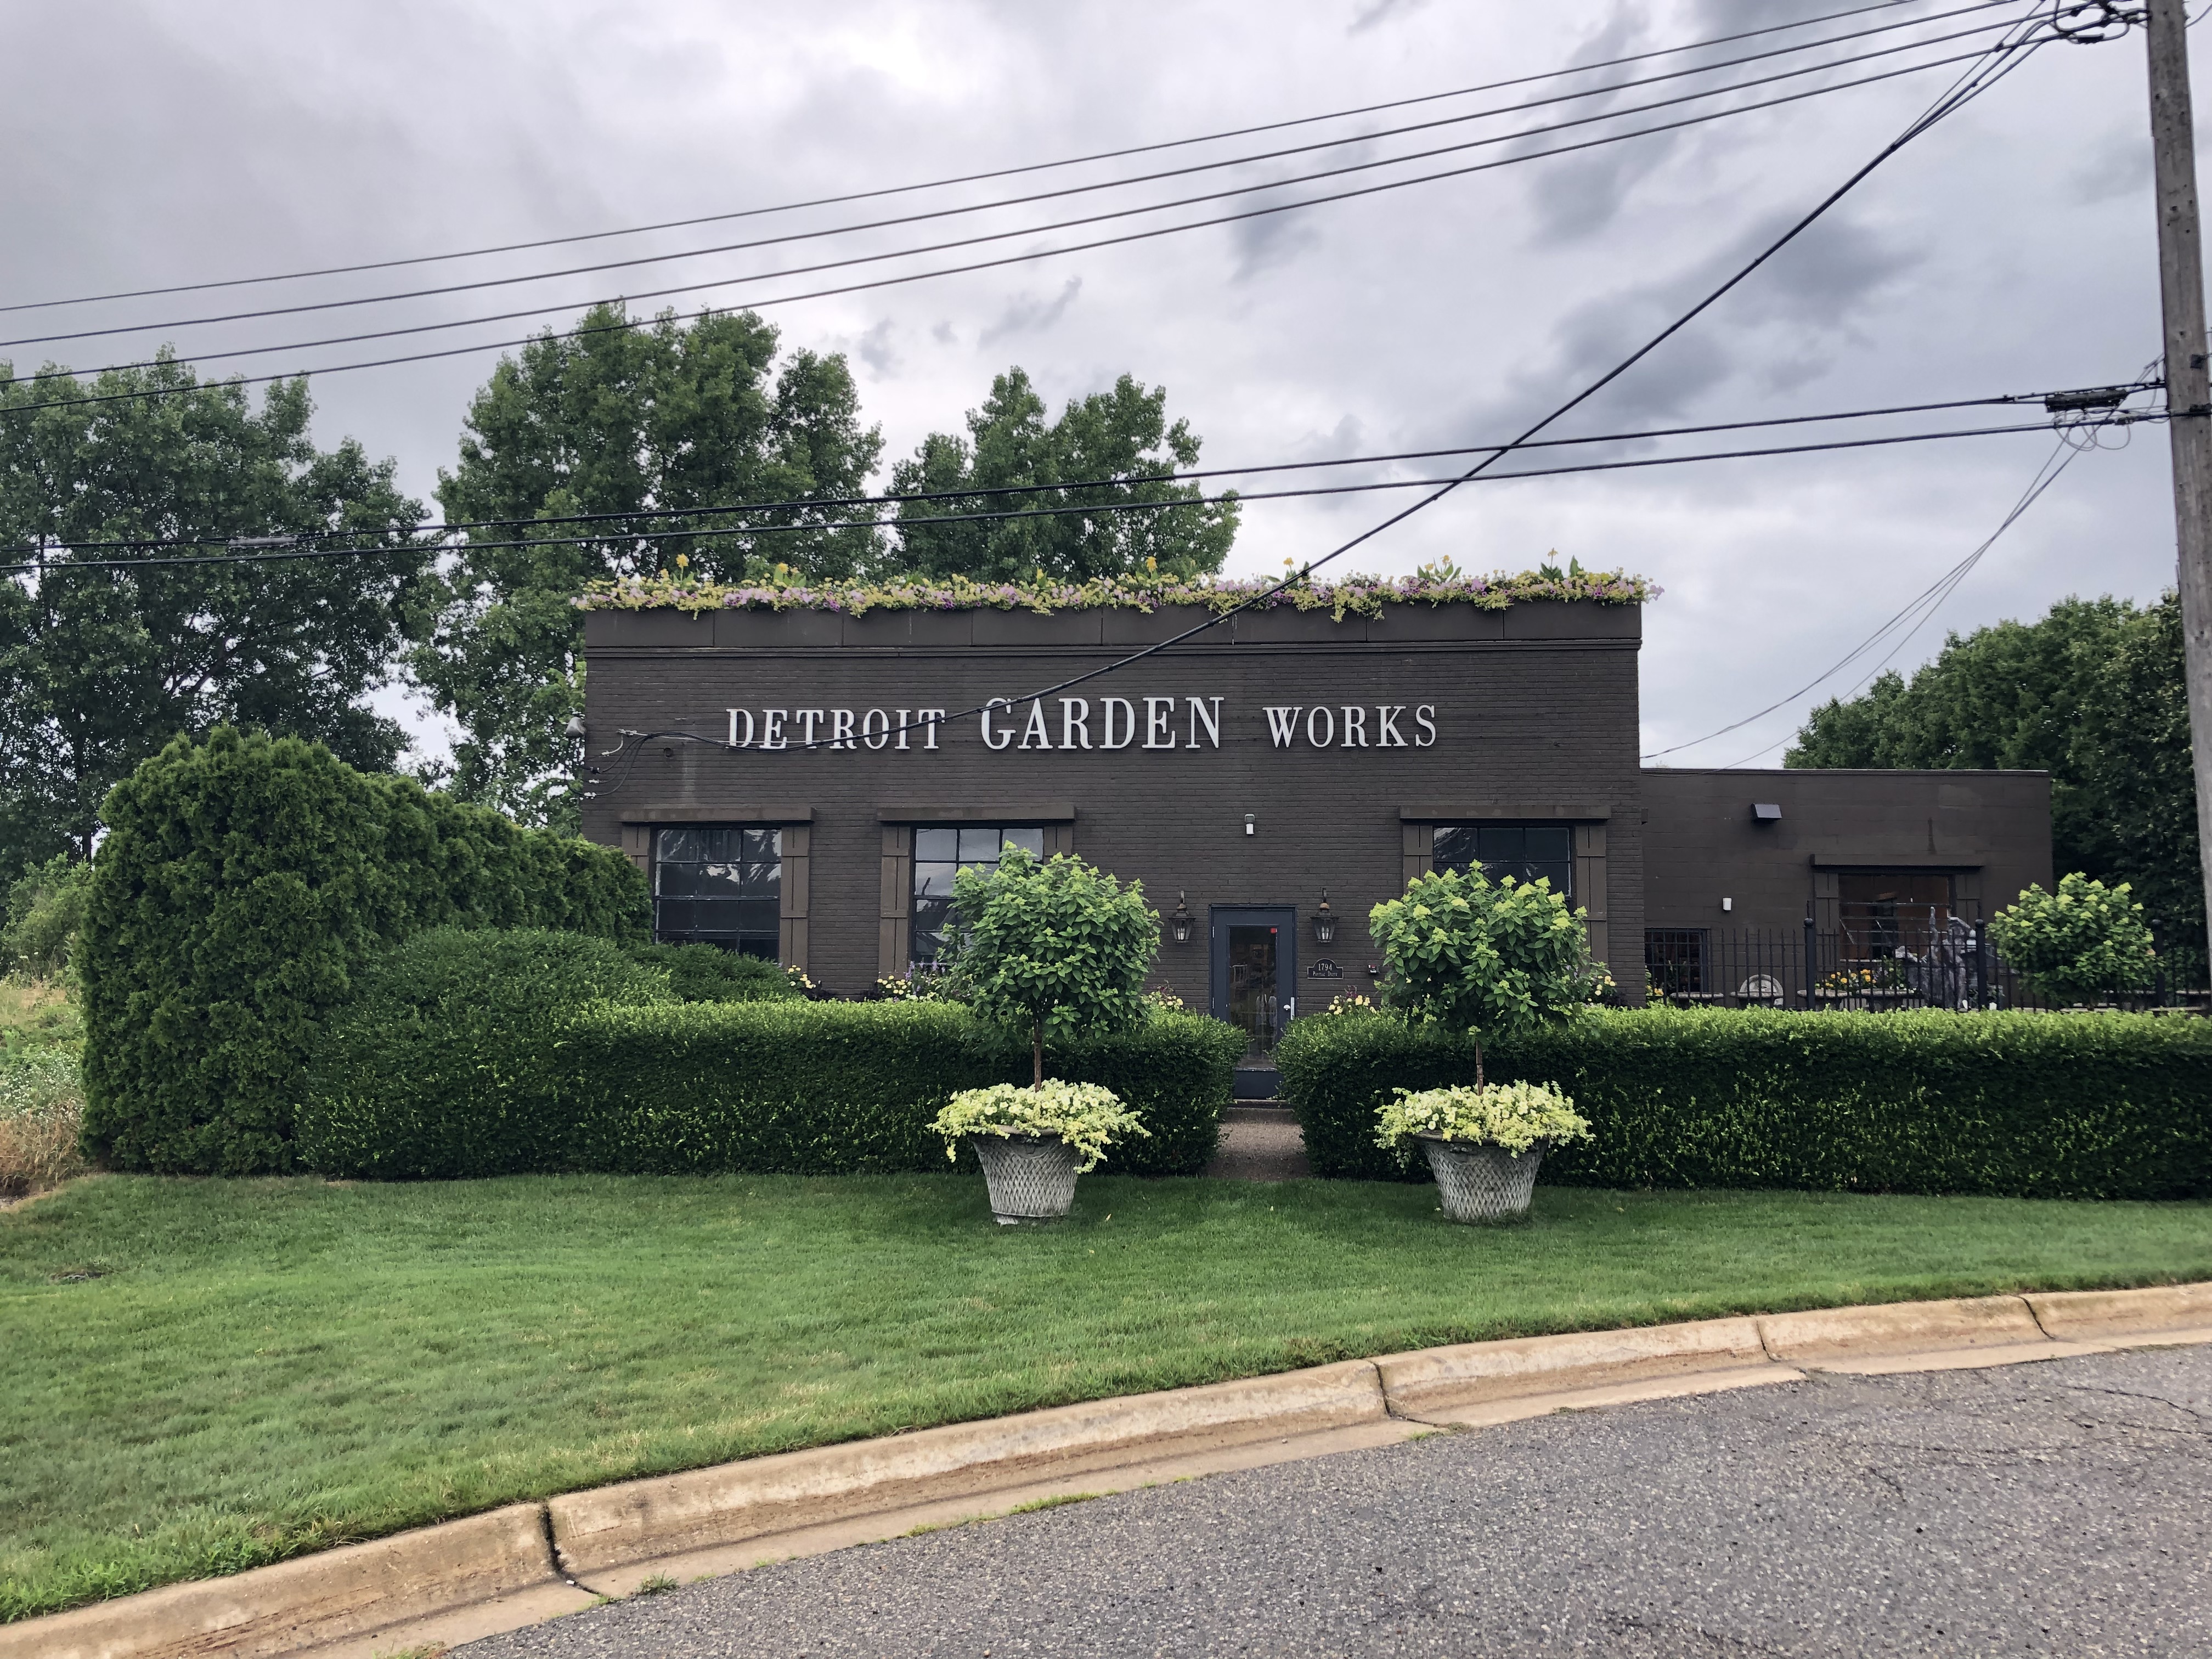
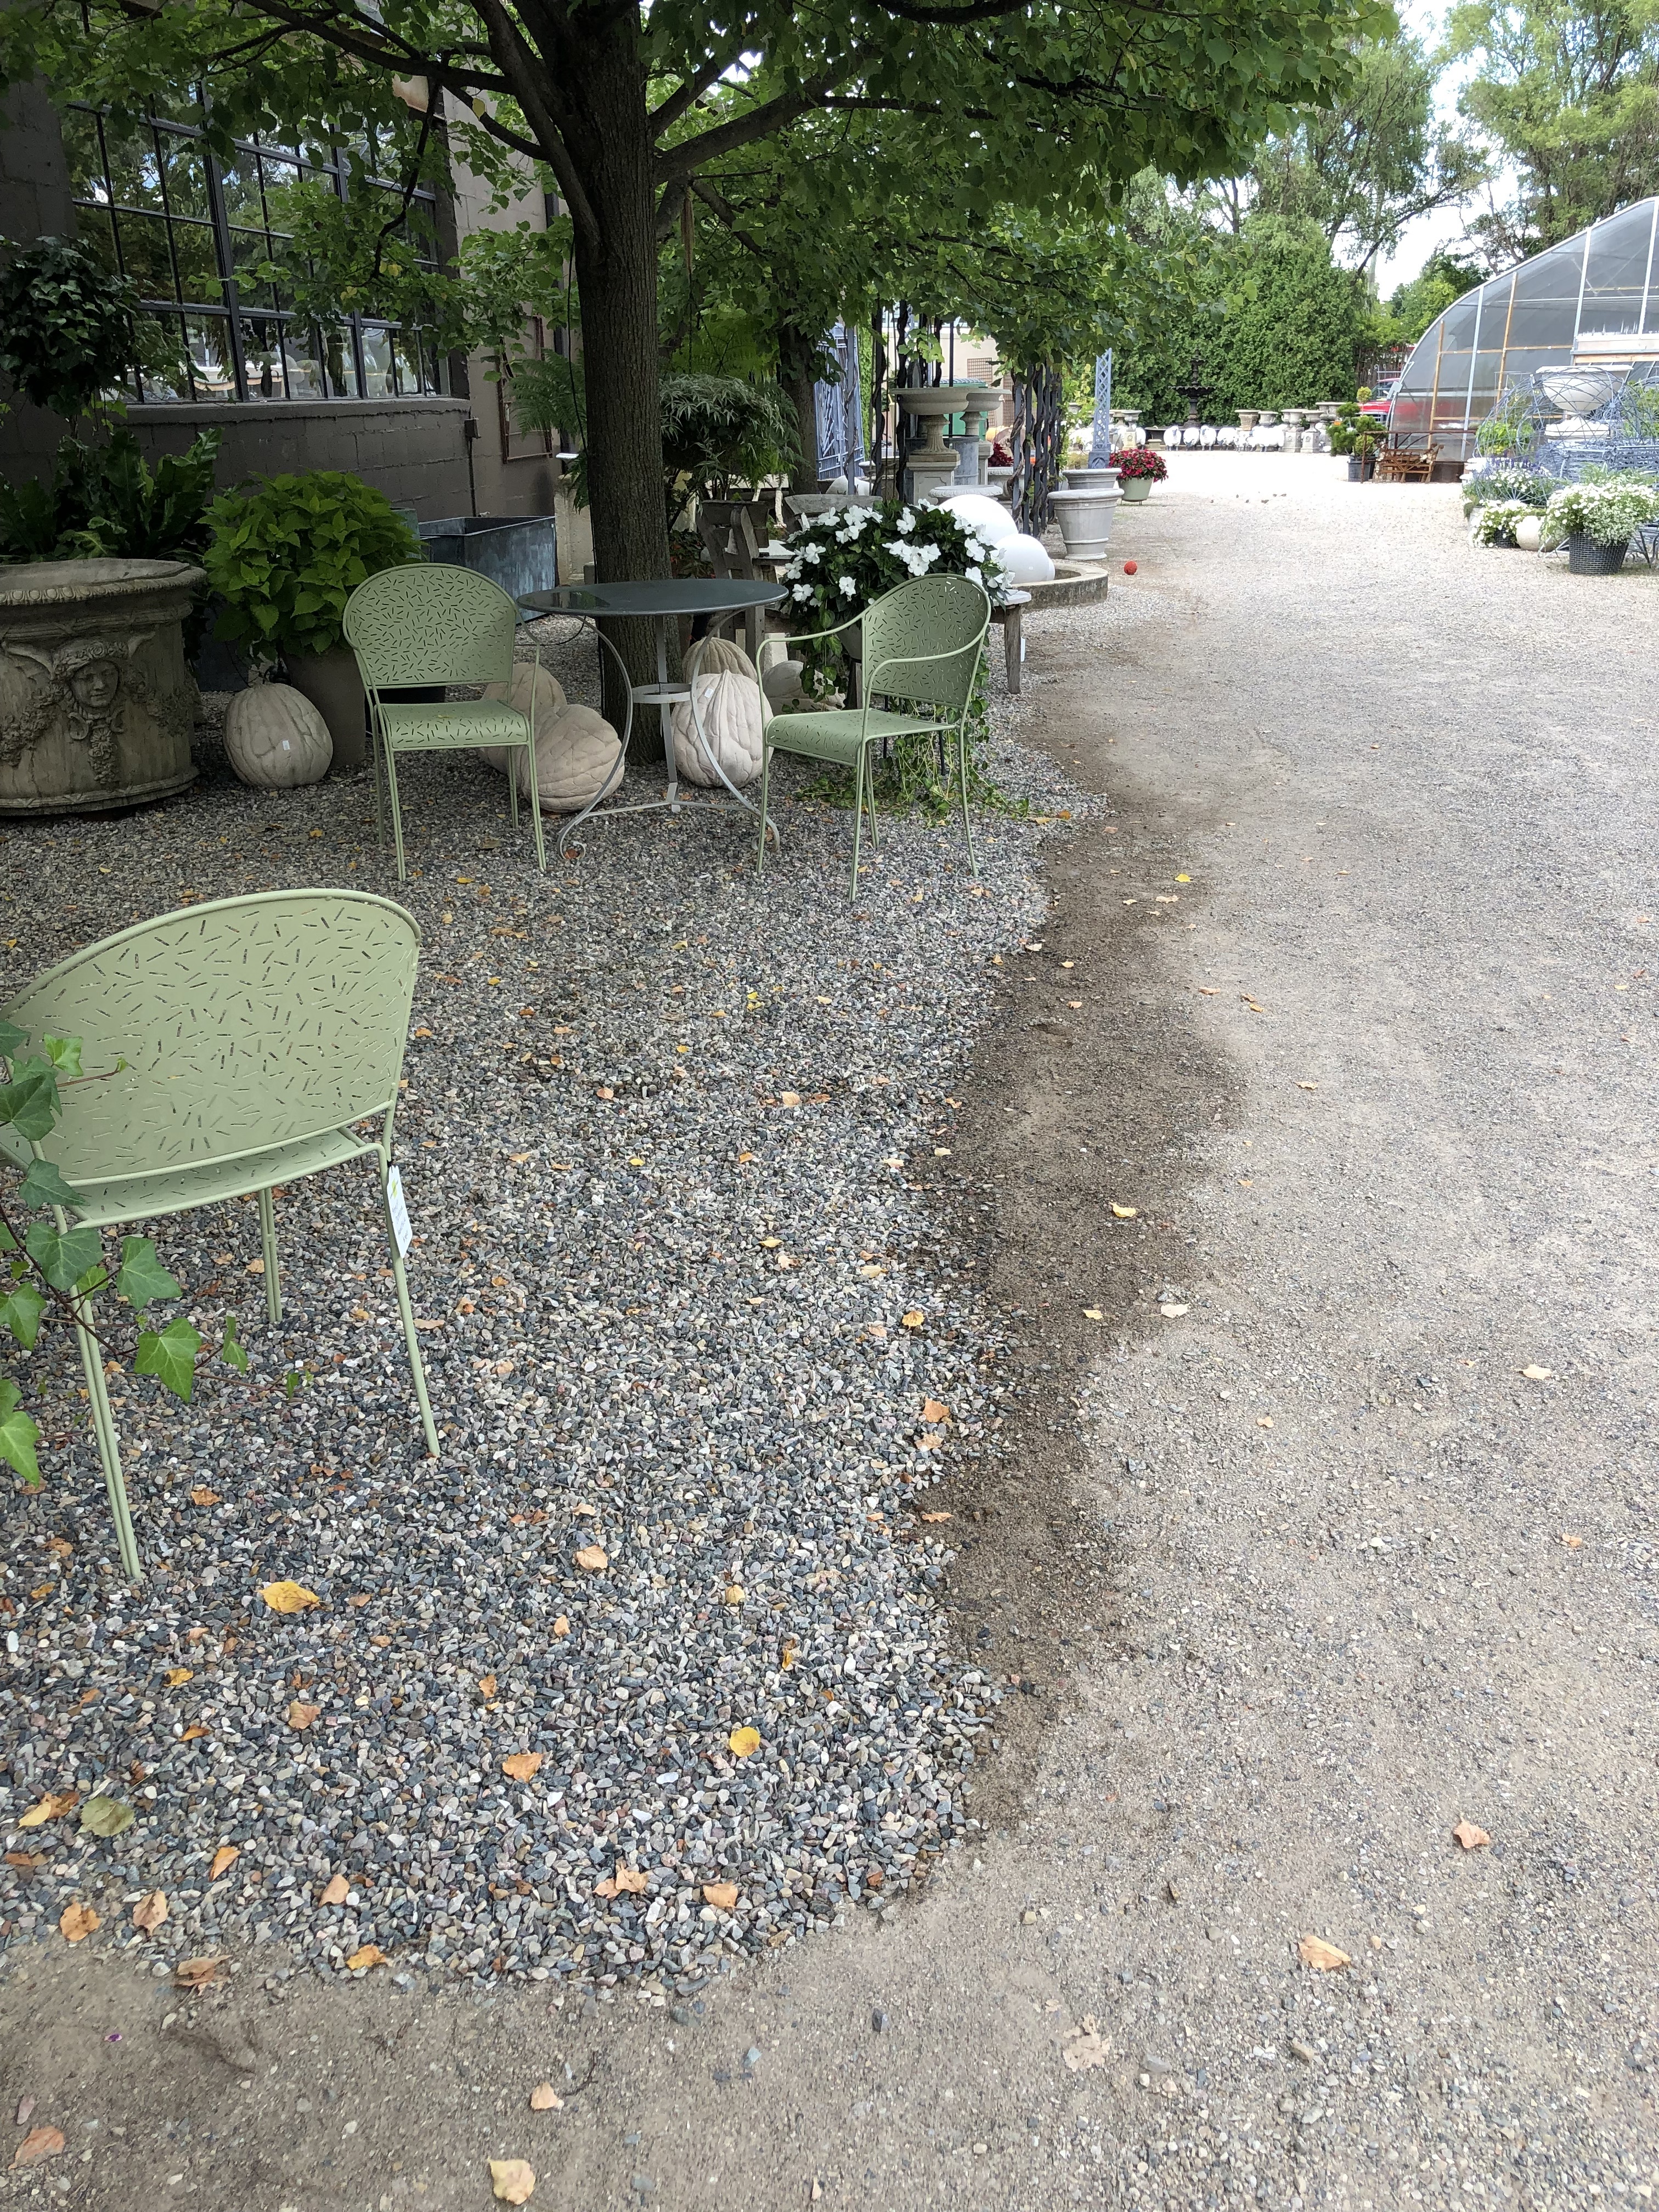
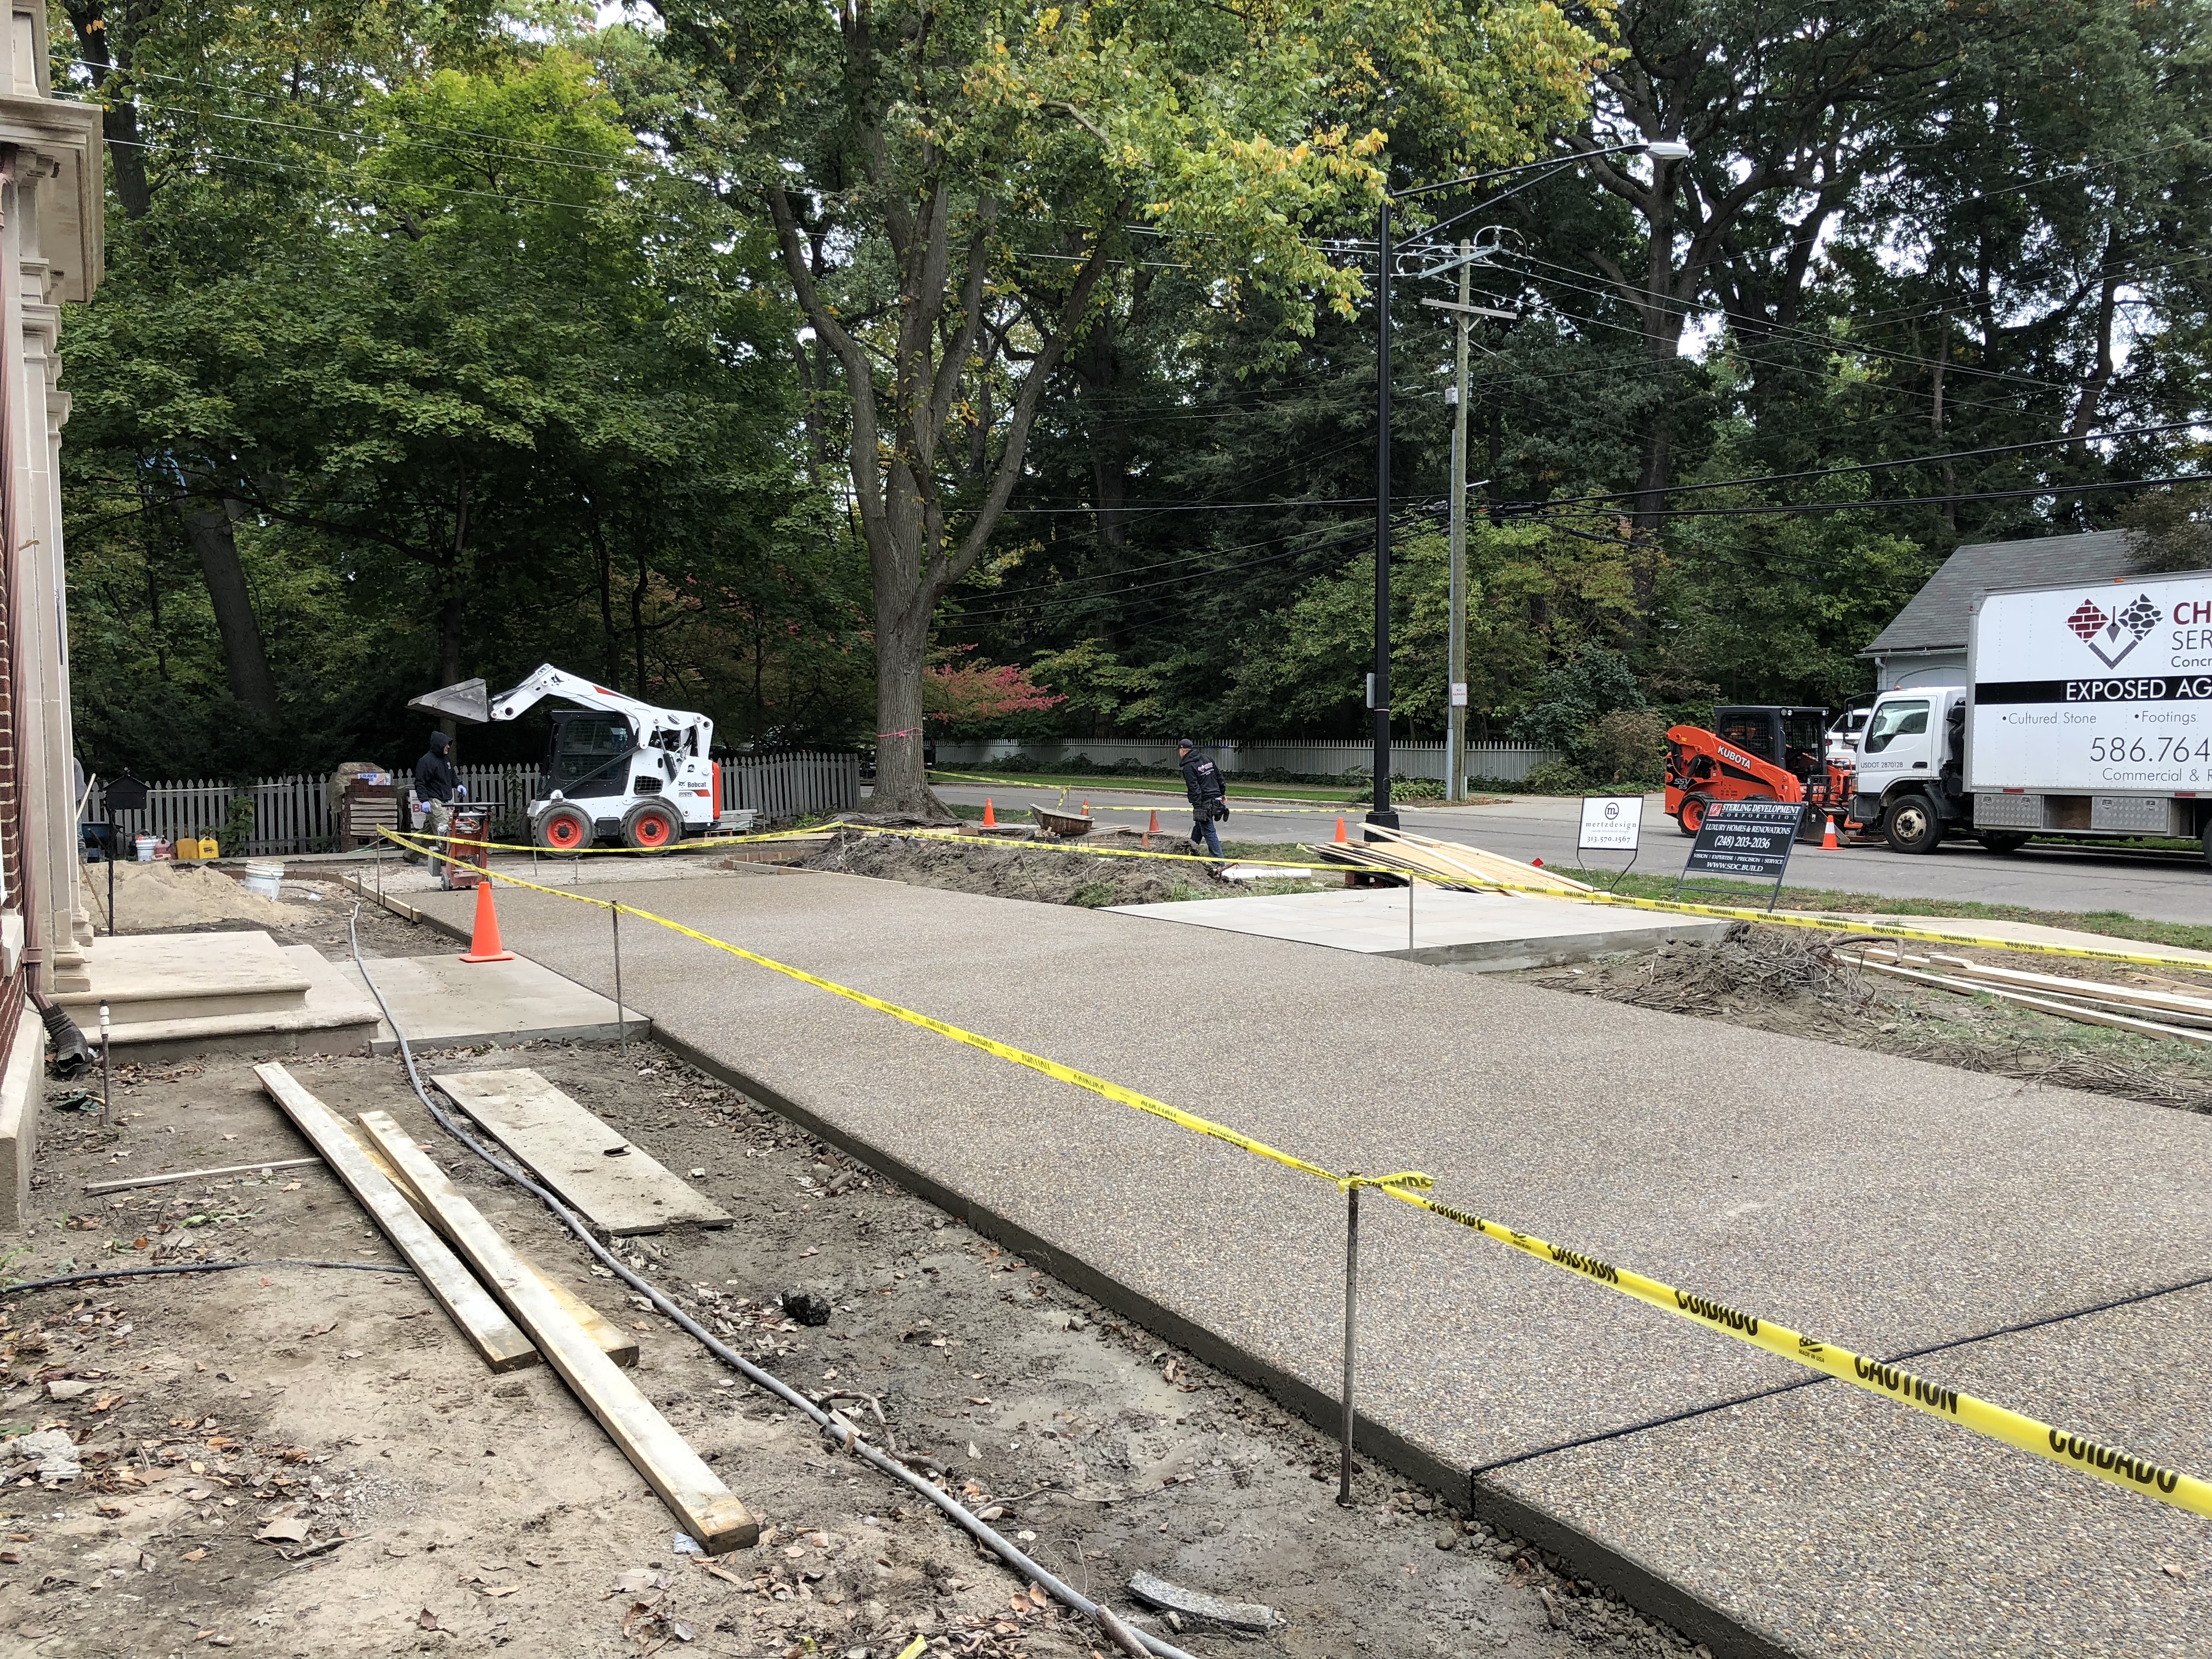
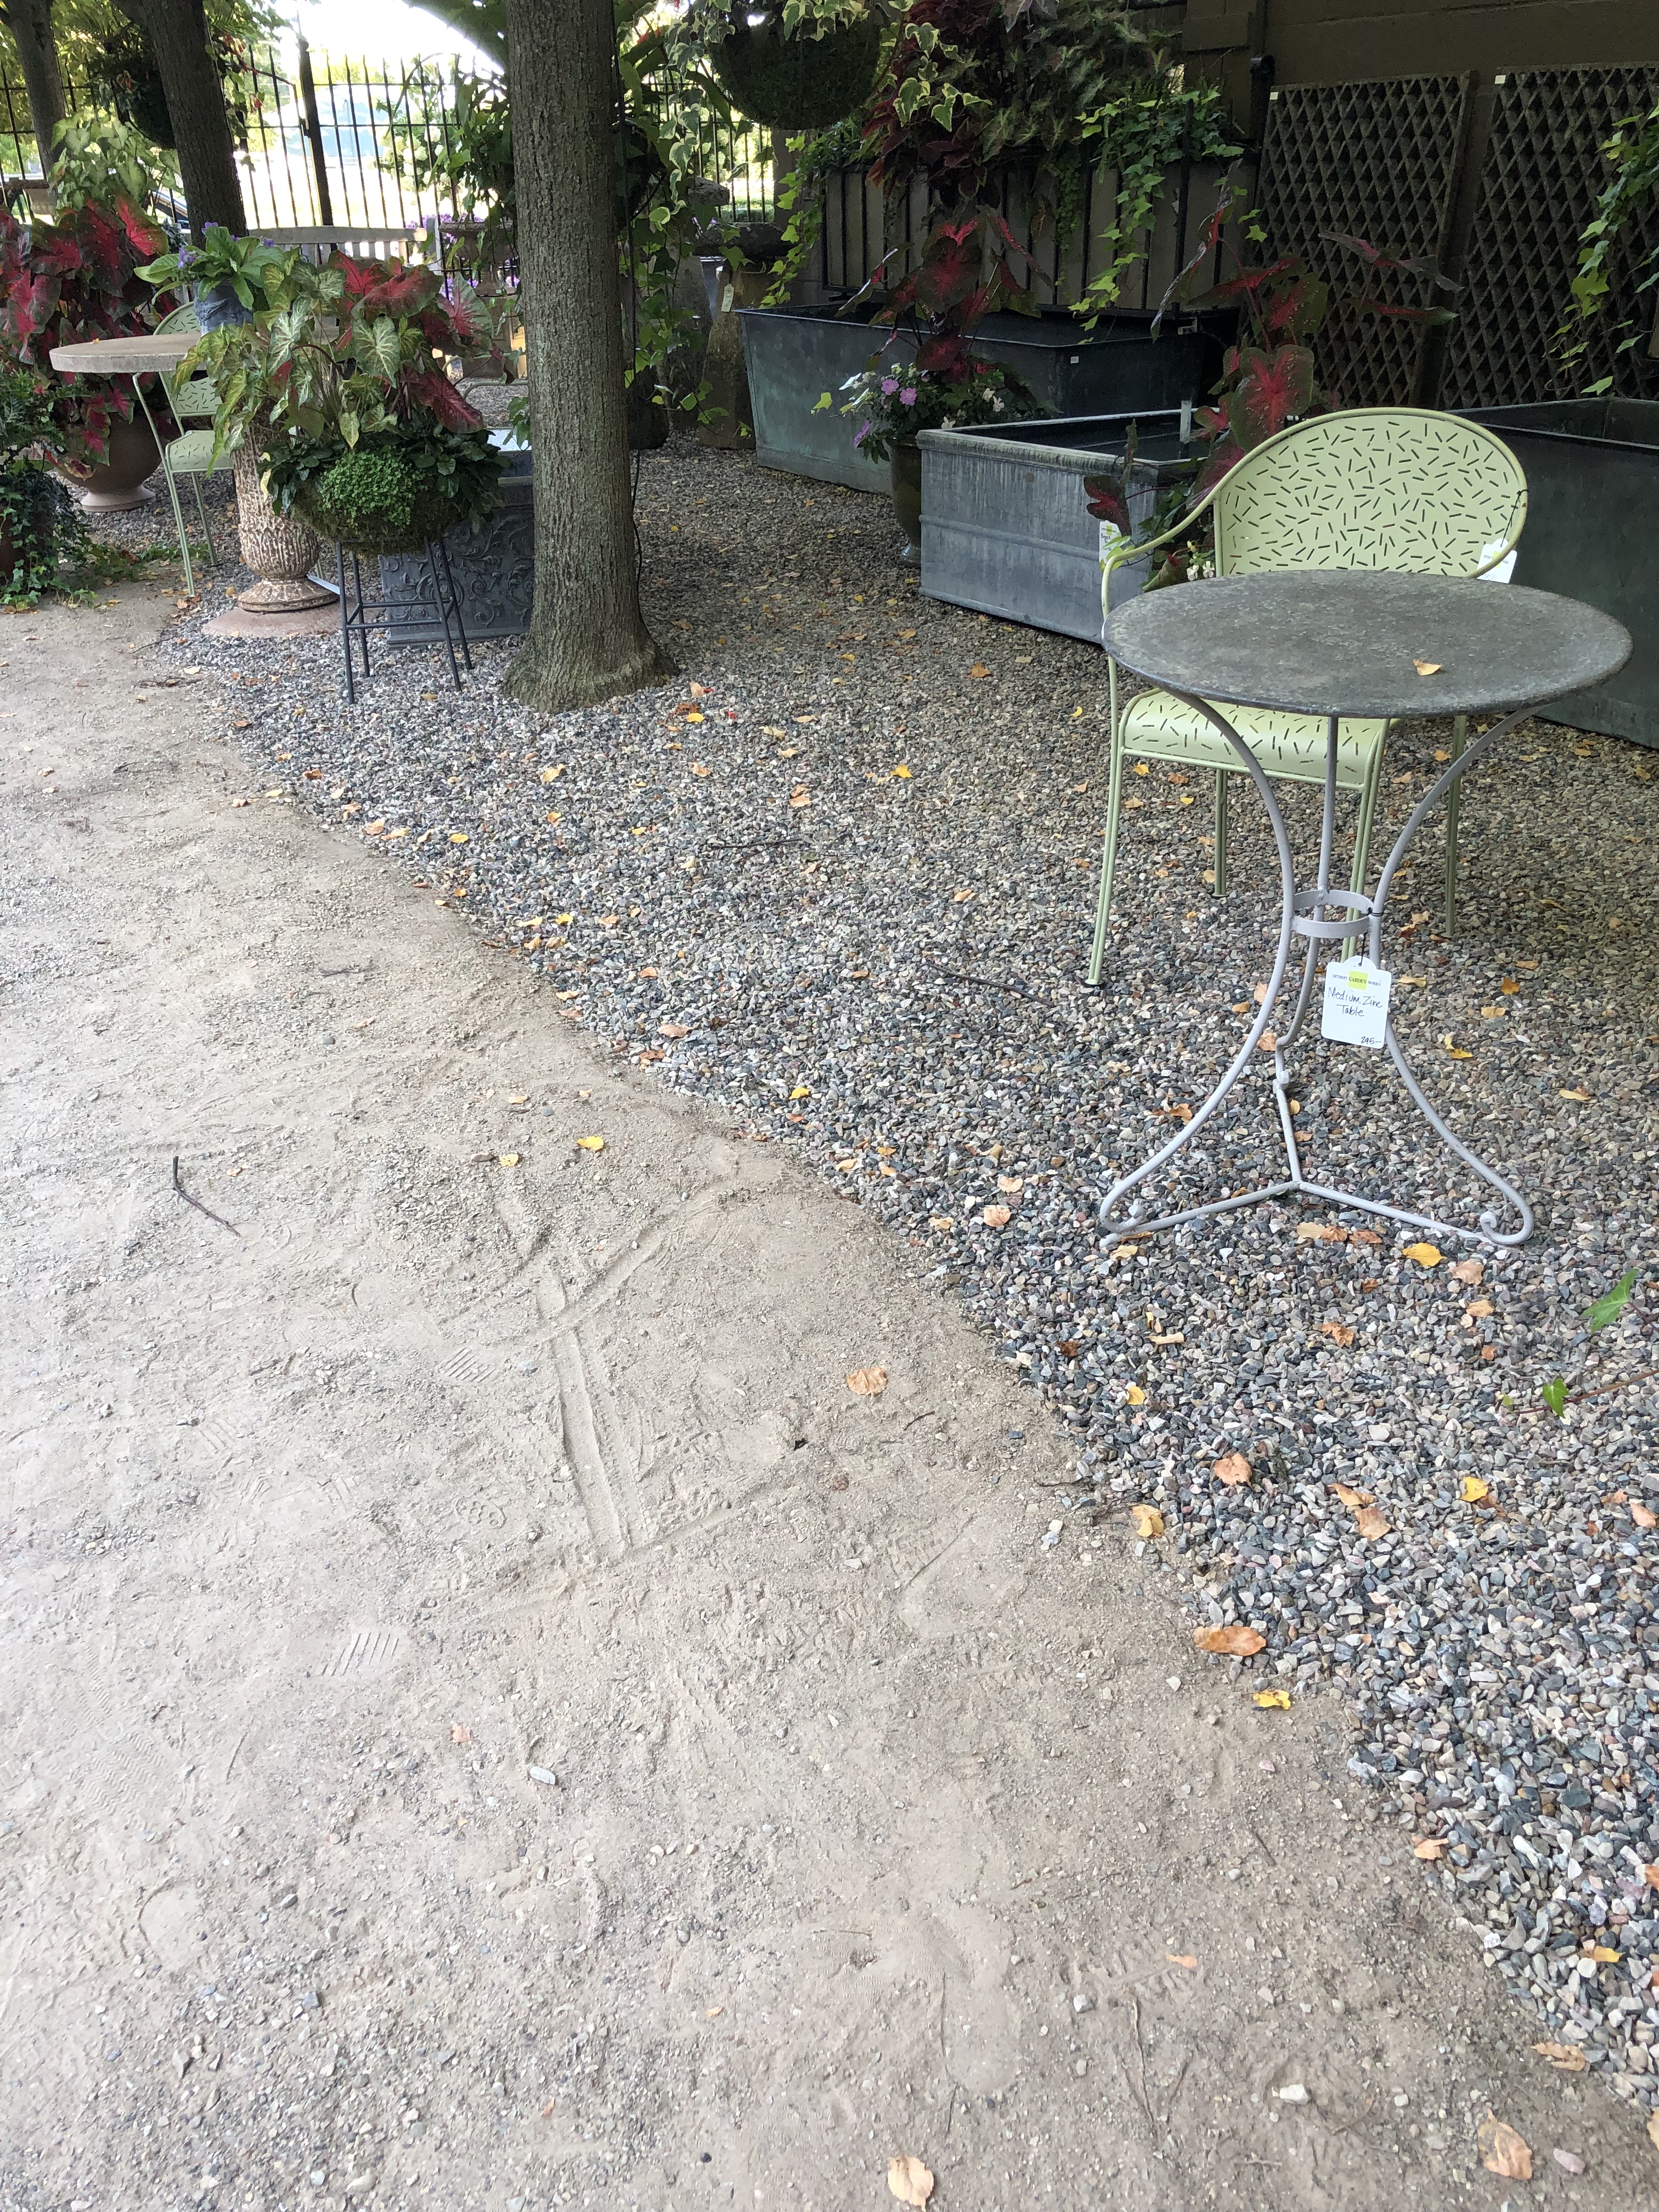 The linden trees adjacent to the building are 24 years old. There would be roots to respect. Buried under our degraded gravel were the electrical lines for the lighting in the trees. This meant that all of the old gravel had to be loosened and dug out by hand, one pick axe and flat shovel full at a time. This was a big job, requiring both of my crews. The photograph above clearly illustrates the new gravel, some 4 inches deep, on the right, and the degraded gravel driveway on the left due for excavation and some new stone.
 Our original driveway, circa 1995, was concrete. We removed all of that, save a two track of concrete to the rear. We eventually removed all of the rest of that concrete, and replaced it with a large scale crushed granite. Those large stones proved difficult to navigate, even in sneakers. They made leveling a pot on a pedestal time consuming. Big rocks are not so easy to navigate or manipulate. Little rock is much more forgiving. Our next go around, we switched to decomposed granite, 3/8ths of an inch and down with fines. This gravel looked like sand when it went down. This miniature gravel with fines put up with our traffic for a good many years. As usual, the more moderate decision – an in between sized crushed stone – would have been better choice. Not too large, and not too small. The 3/8 inch and down granite gravel eventually succumbed to our traffic. I am happy to say, we are getting our chance at installing a granite gravel of moderate size this week.
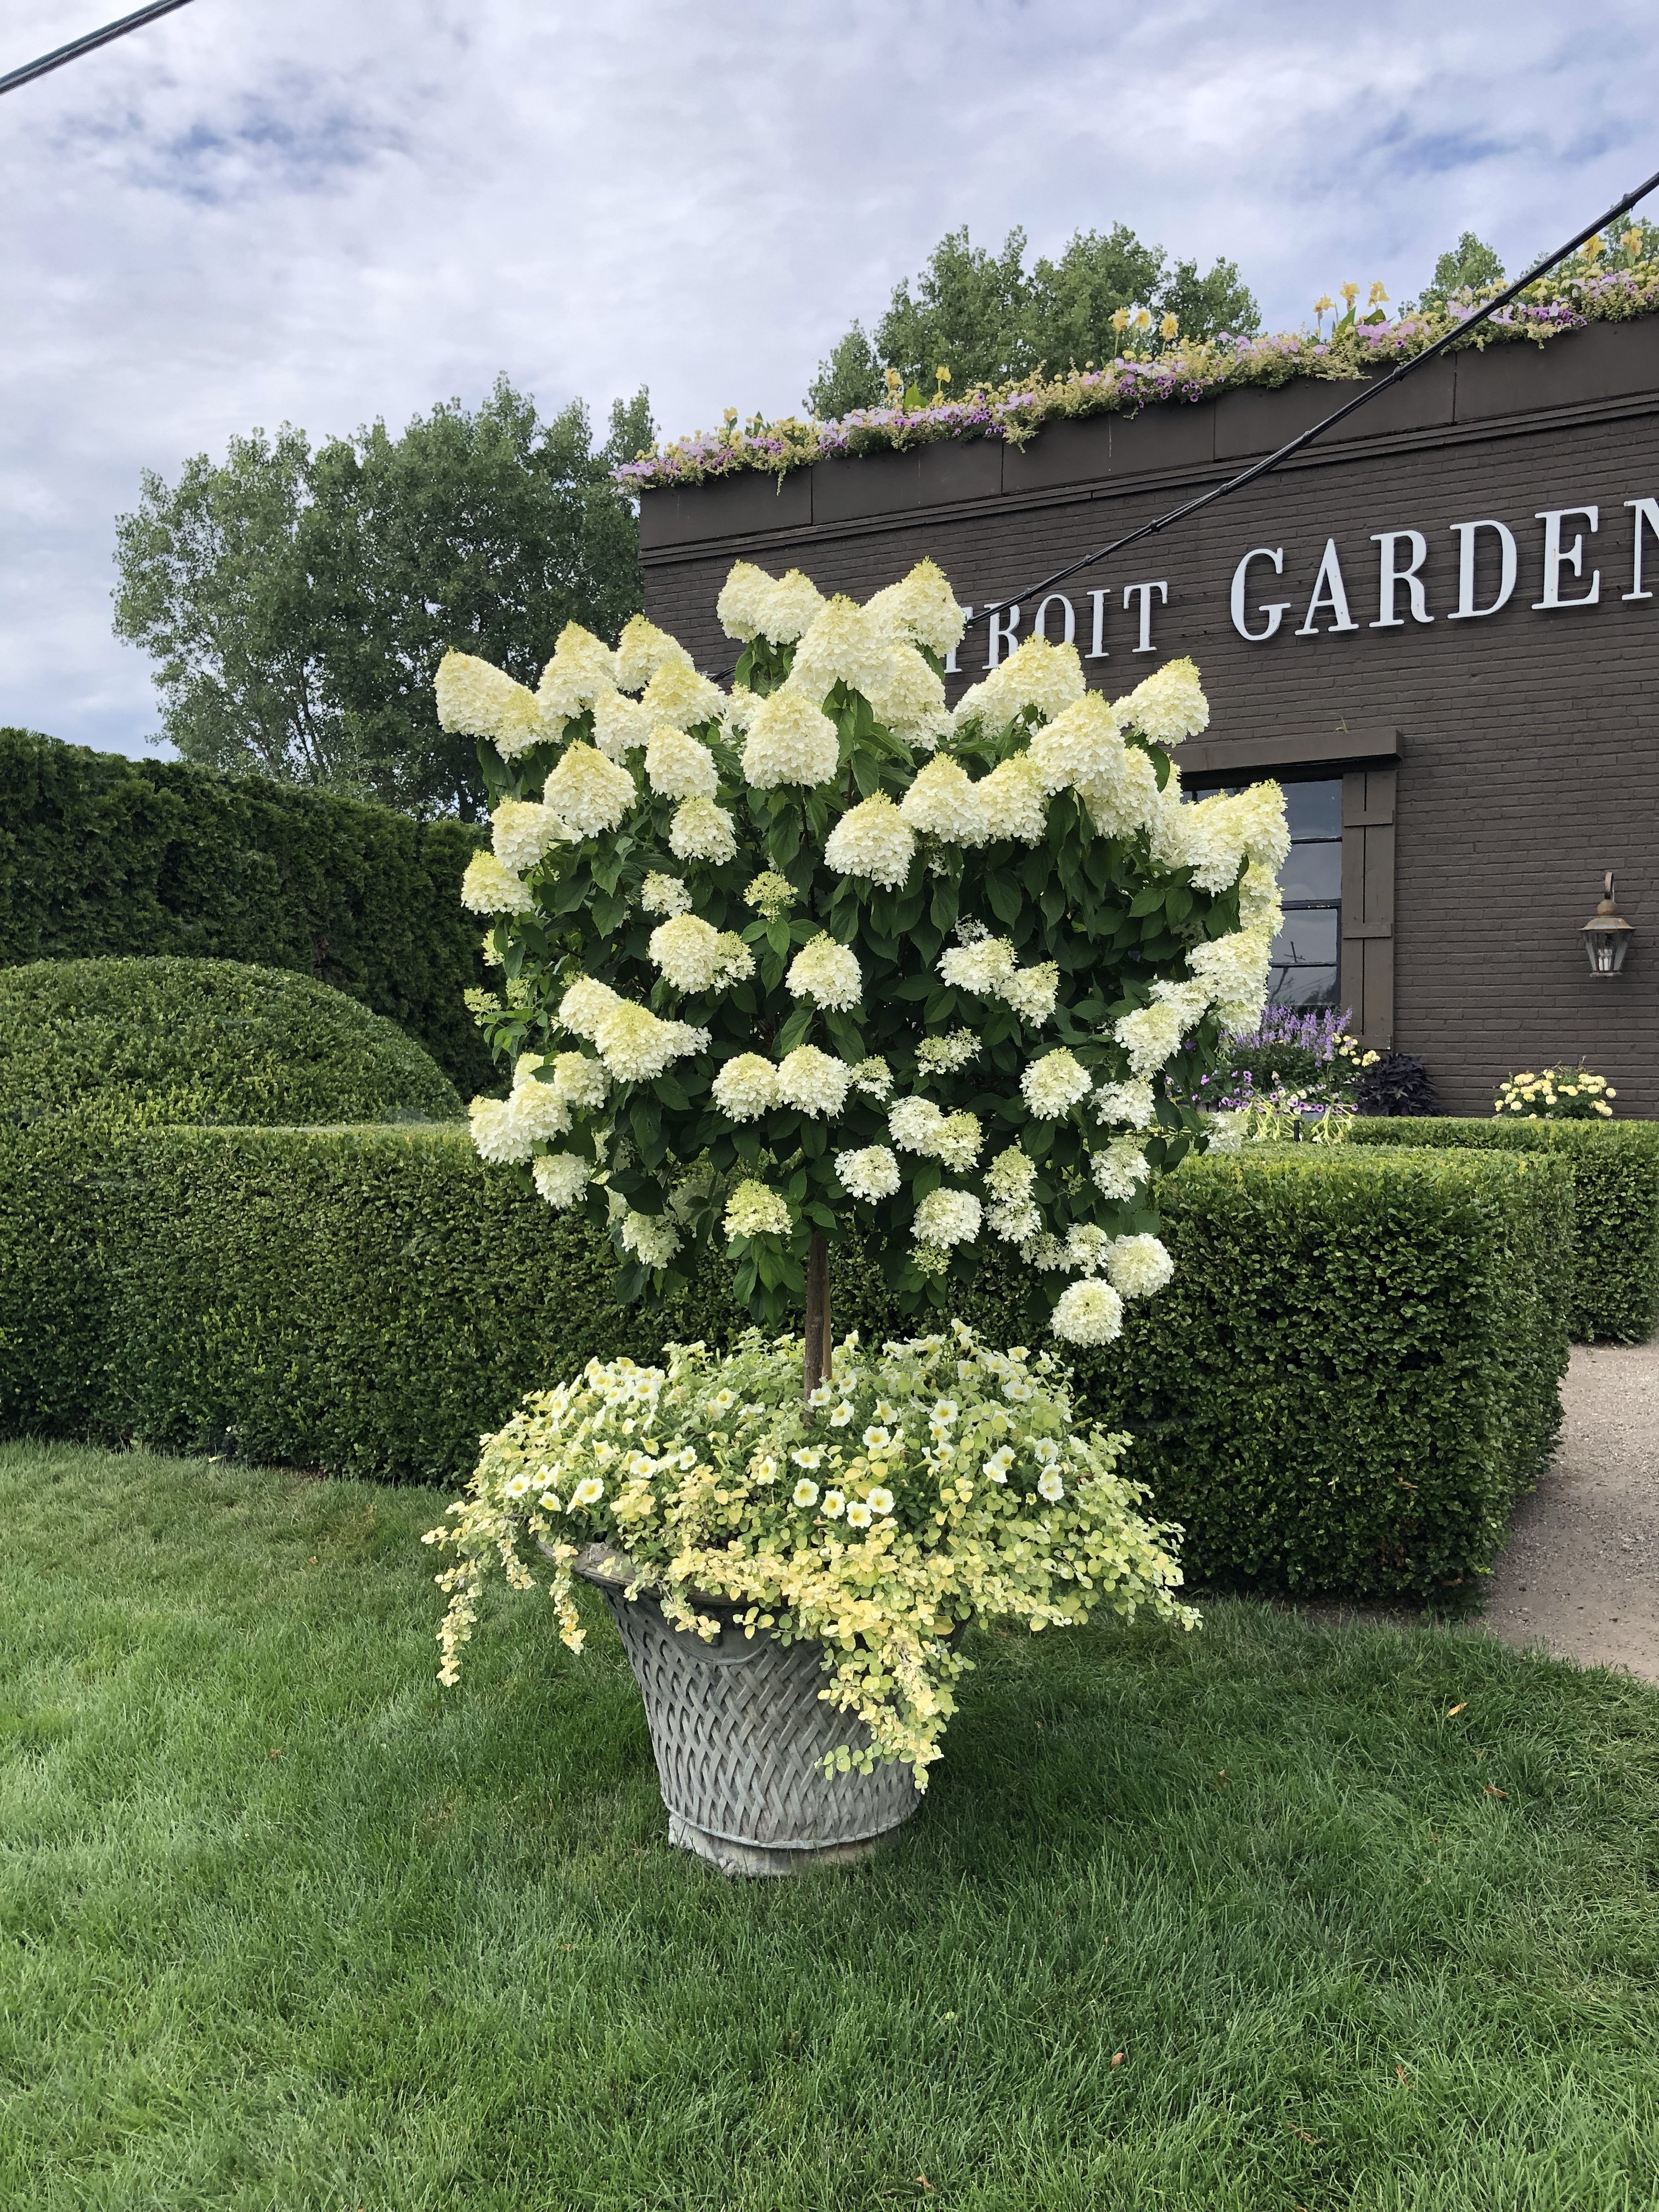
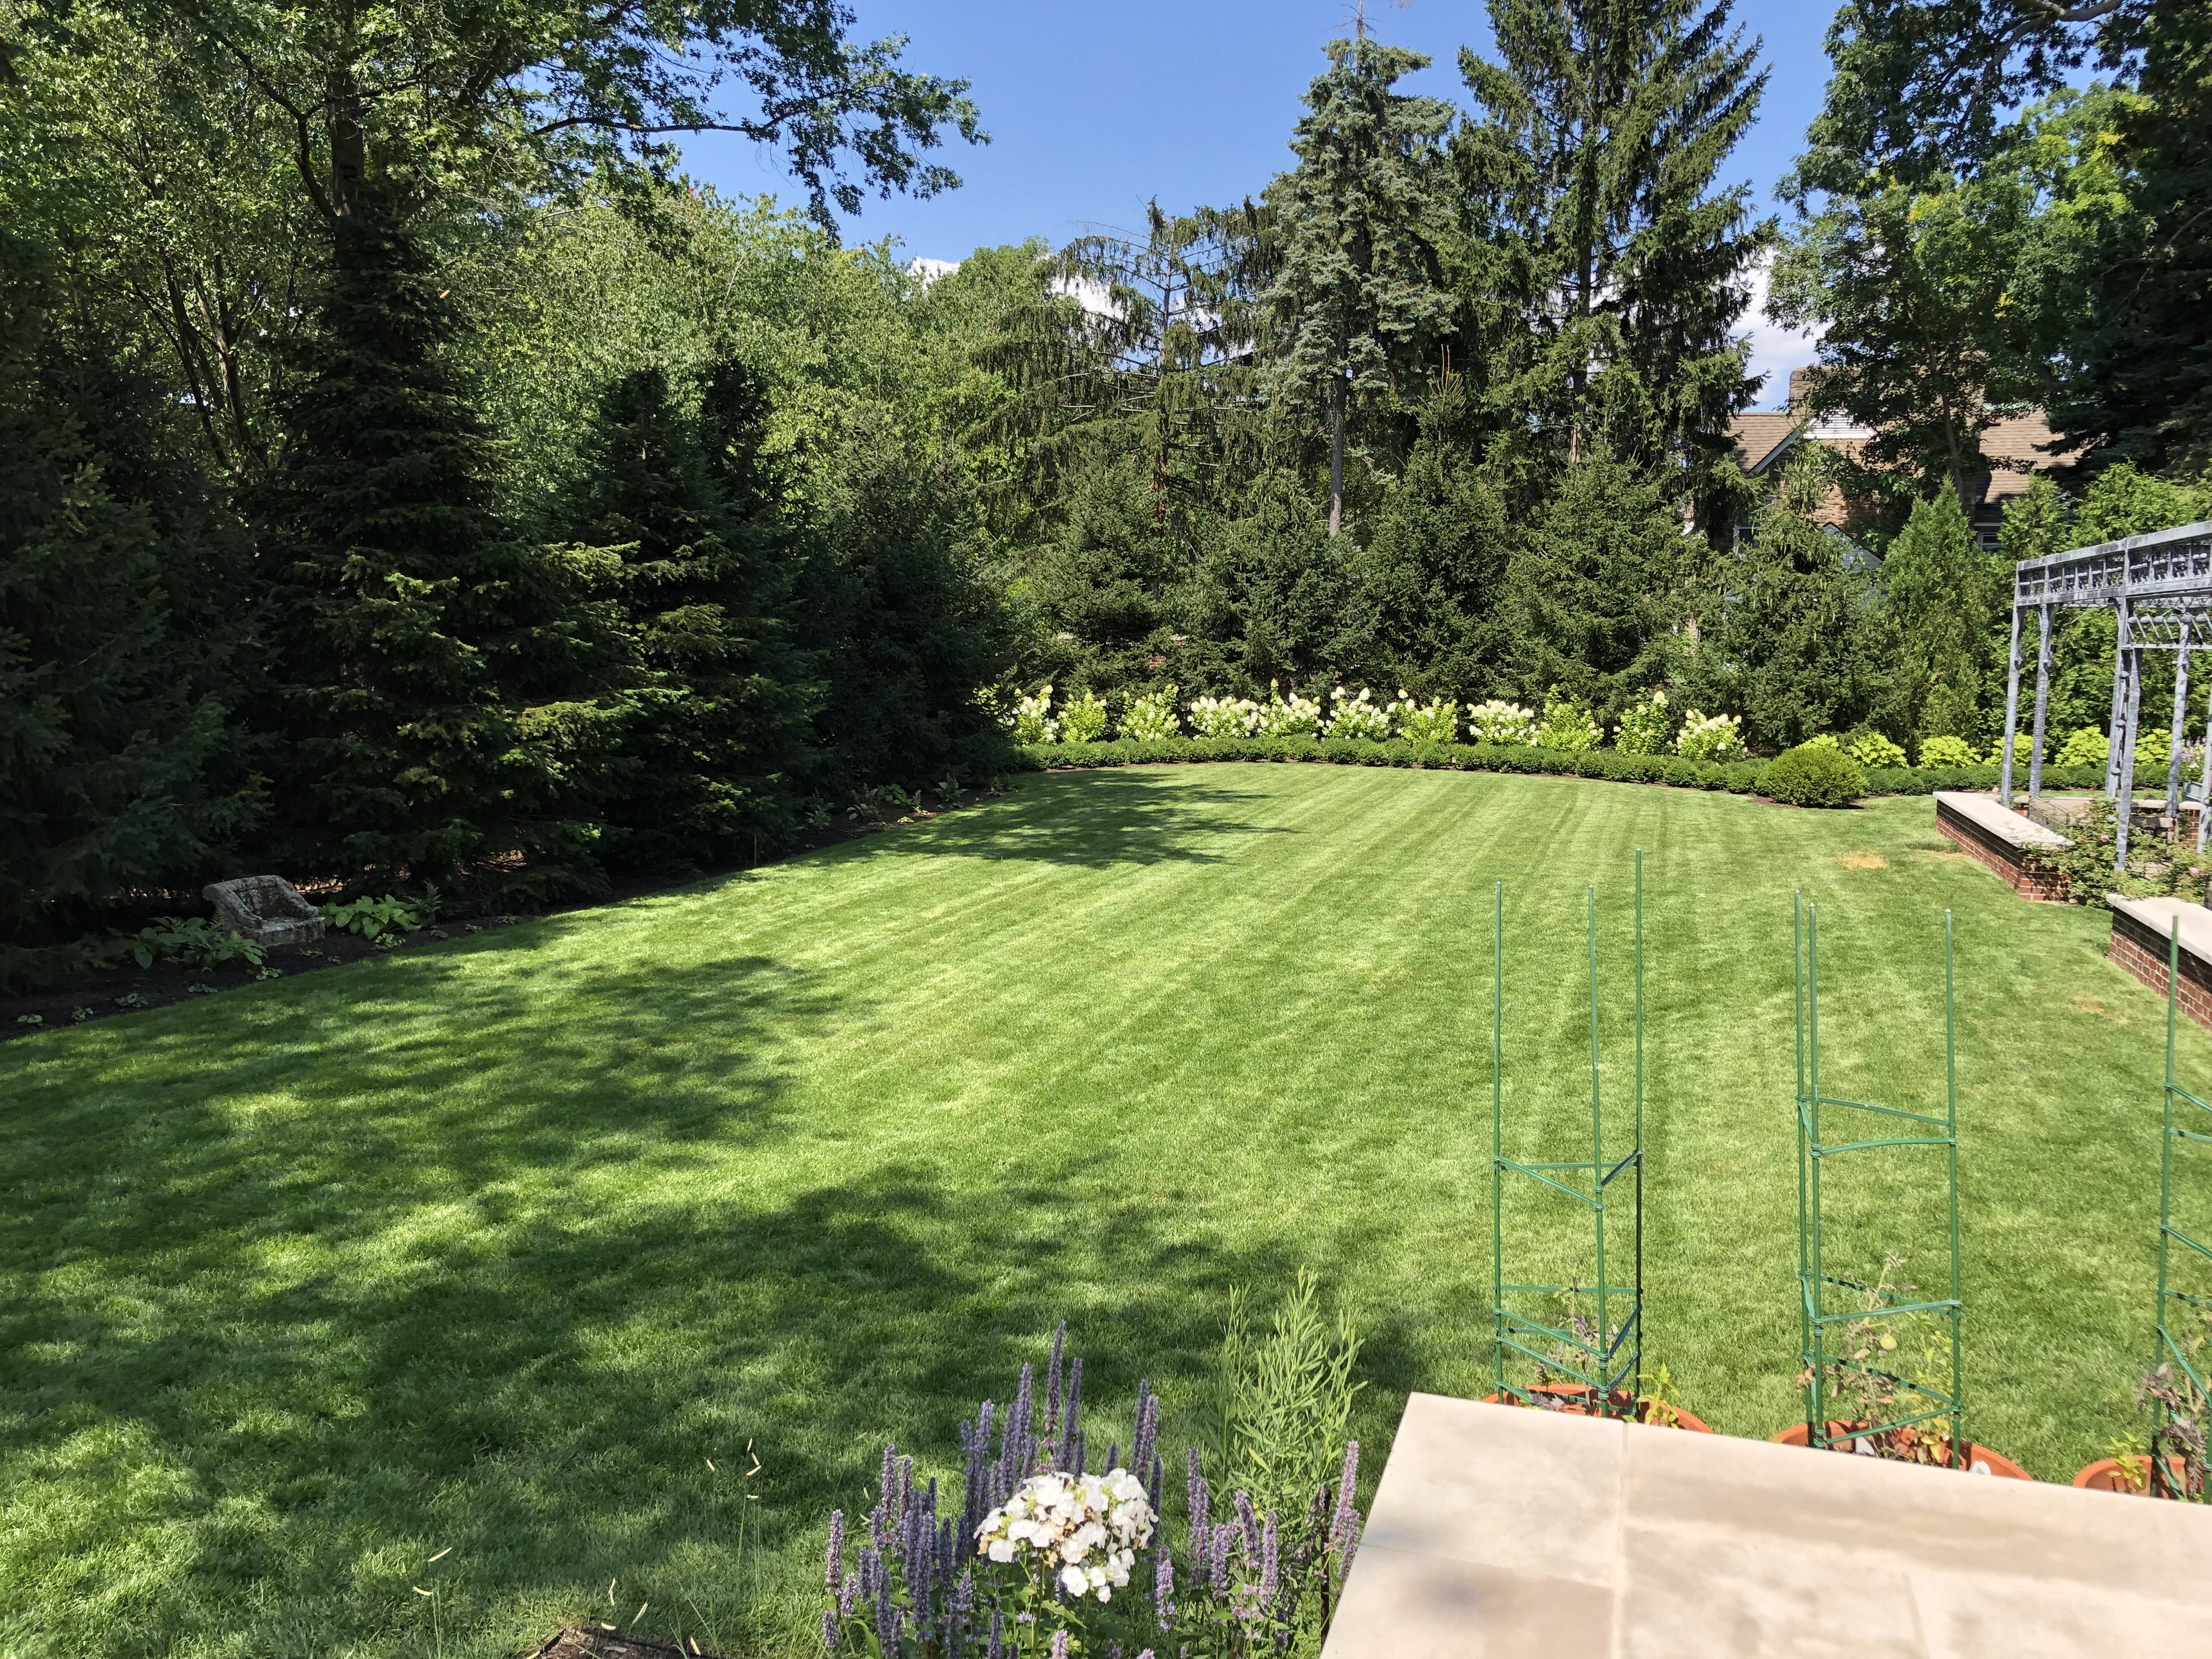
 I have known for a long time that our gravel needed to be taken up, and replaced. Late last week a decision was made to go ahead. We are in between jobs. The weather has cooled off. It was time to jump on this project. I am so pleased with the first signs of the results. Though it has taken lots of work to remove every object from the surface to be redone, putting it all back together has been a pleasure. Luckily, we have a home for that dirt laden gravel at our landscape yard. So we excavate and stockpile the old gravel out front, unload and install the new gravel, pick up the old and dump it at our yard-on our way for the next load of fresh gravel. How do we know when it is level? It is our best guess. Based on many years of experience engineering flat spaces. We’ll know we are close to dead on when the driveway drains properly. The mini gravel had become so compacted that water sat on top. It took hours to trickle water the trees. It is worth it to breach that compacted layer, so water readily gets to the tree roots.
Everything in the landscape needs refreshing. Perennials need dividing. Shrubs need pruning. Soil needs a routine shot of compost. The work of the landscape is never really done. A landscape or garden is either going backward, or going forward. There is no neutral in a garden. Fortunately a job of this magnitude only comes around once in a blue moon, but the transformation is satisfying.
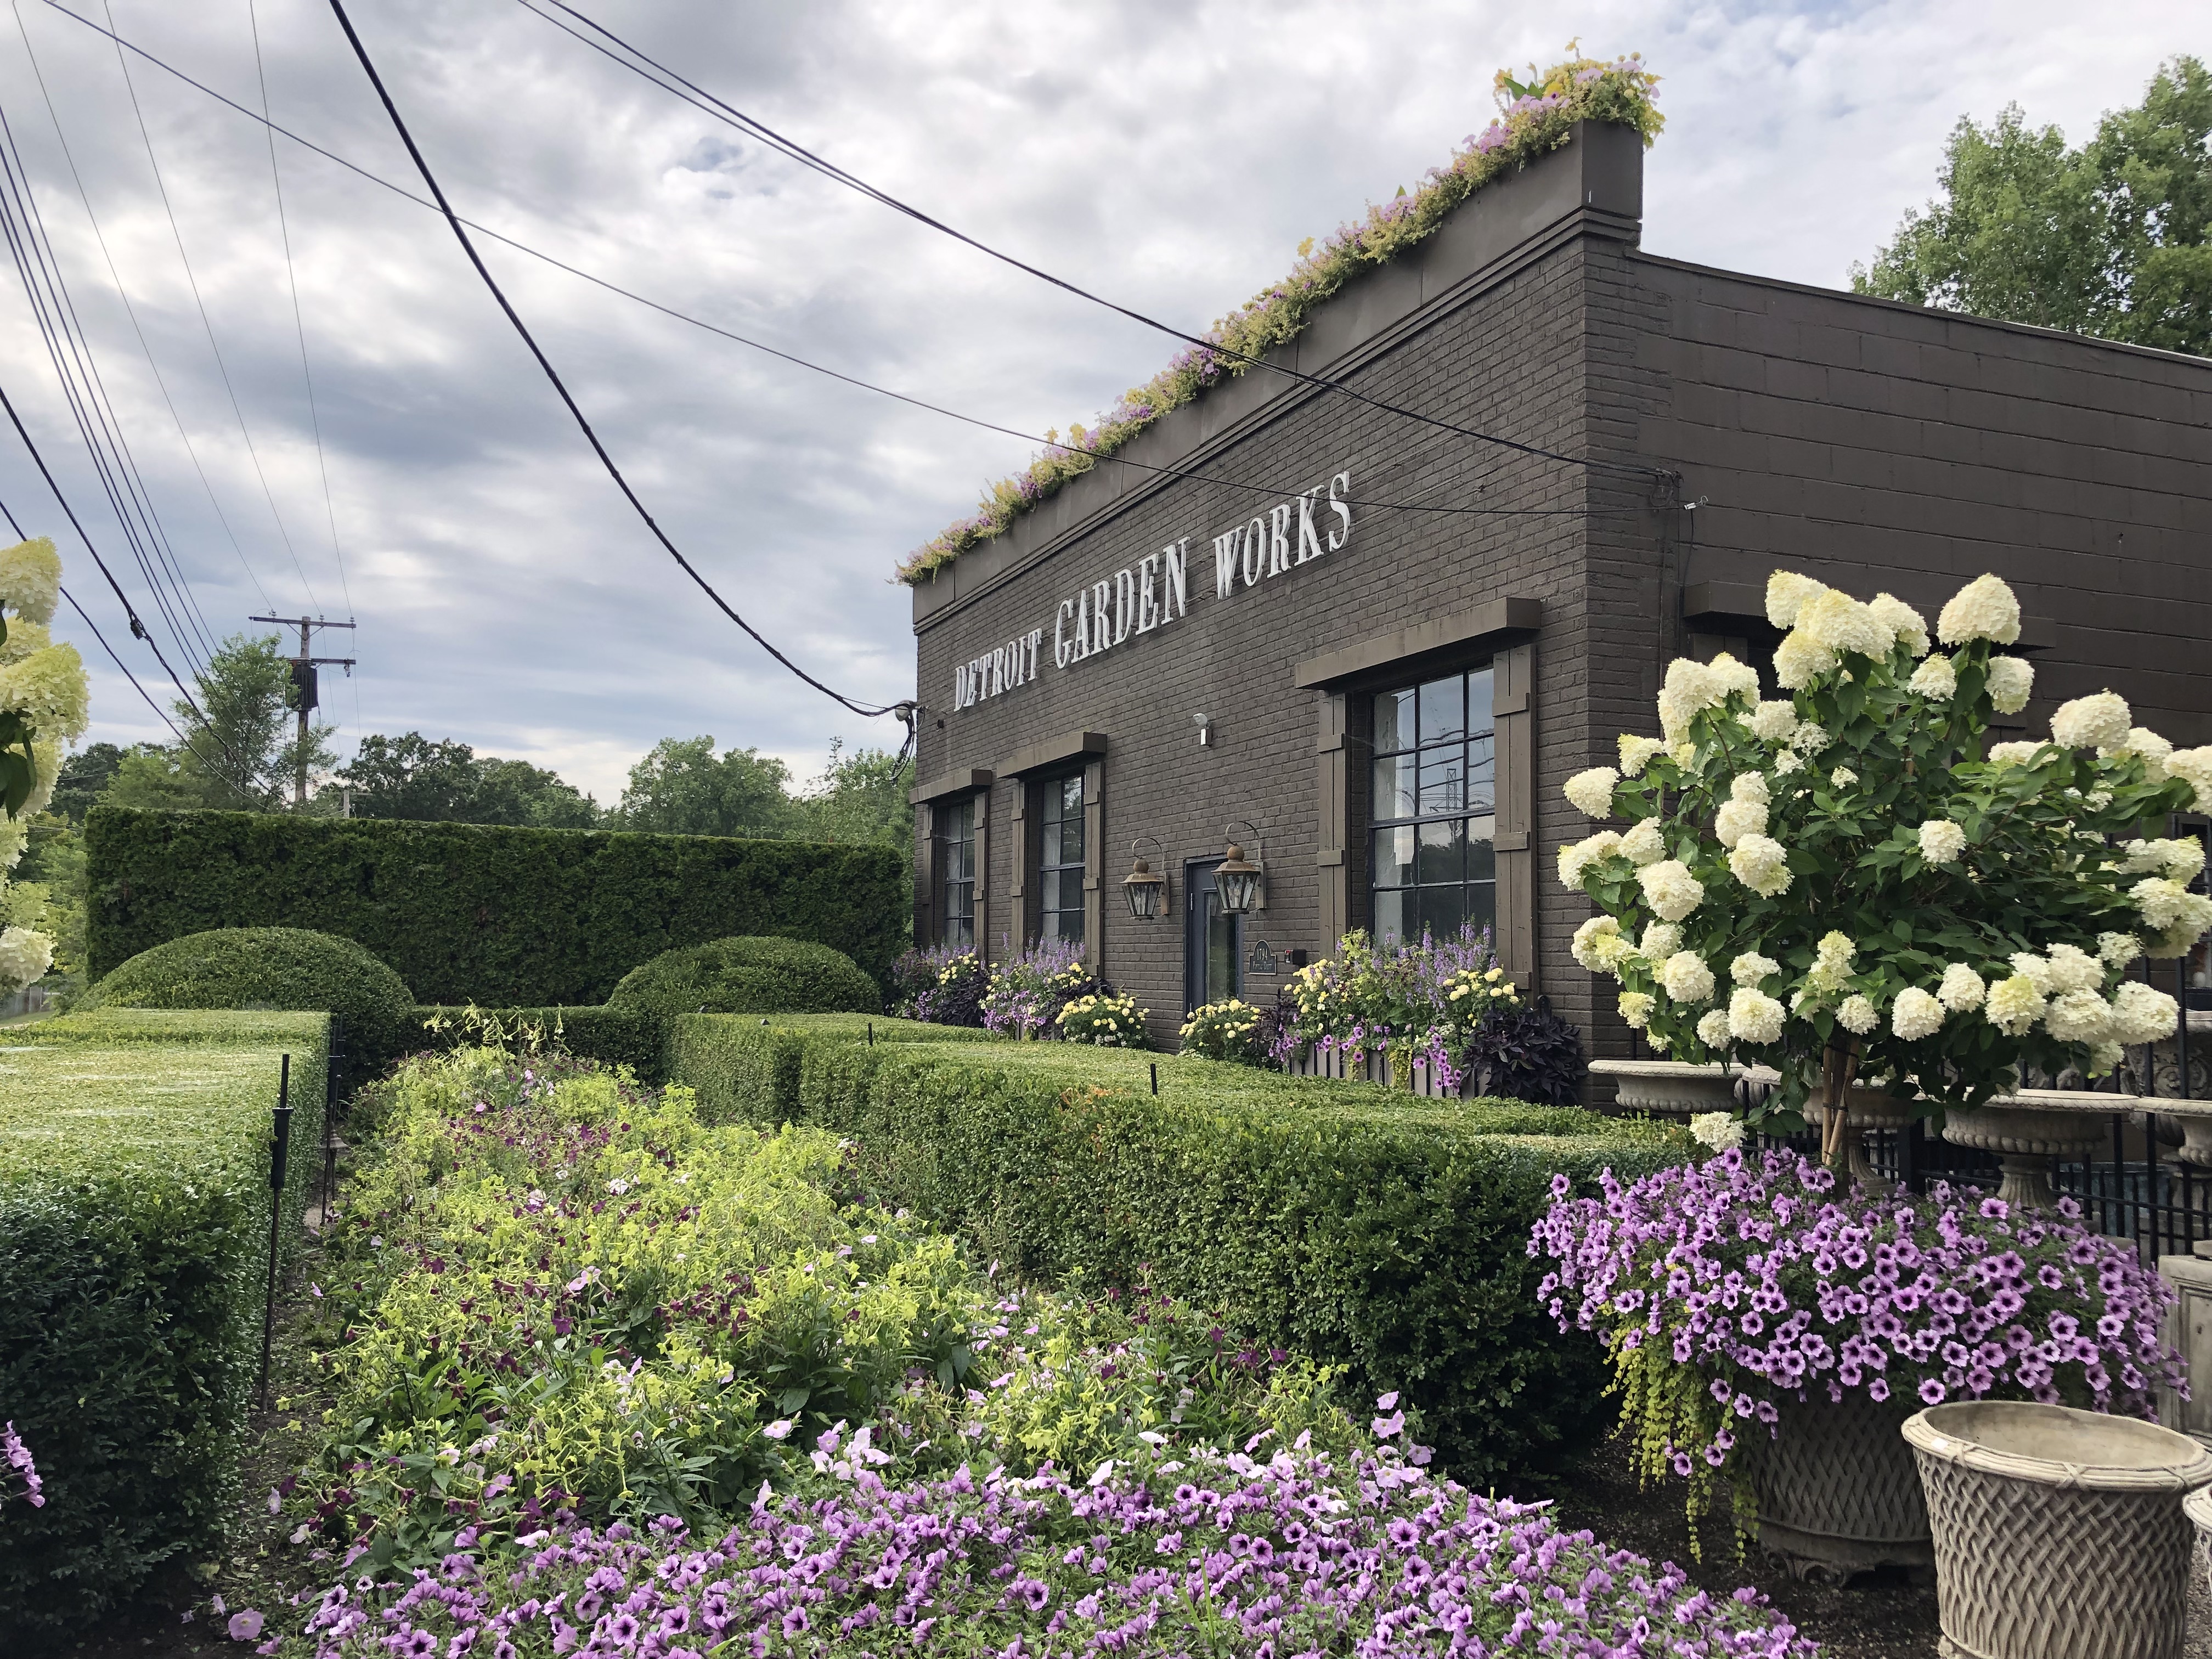
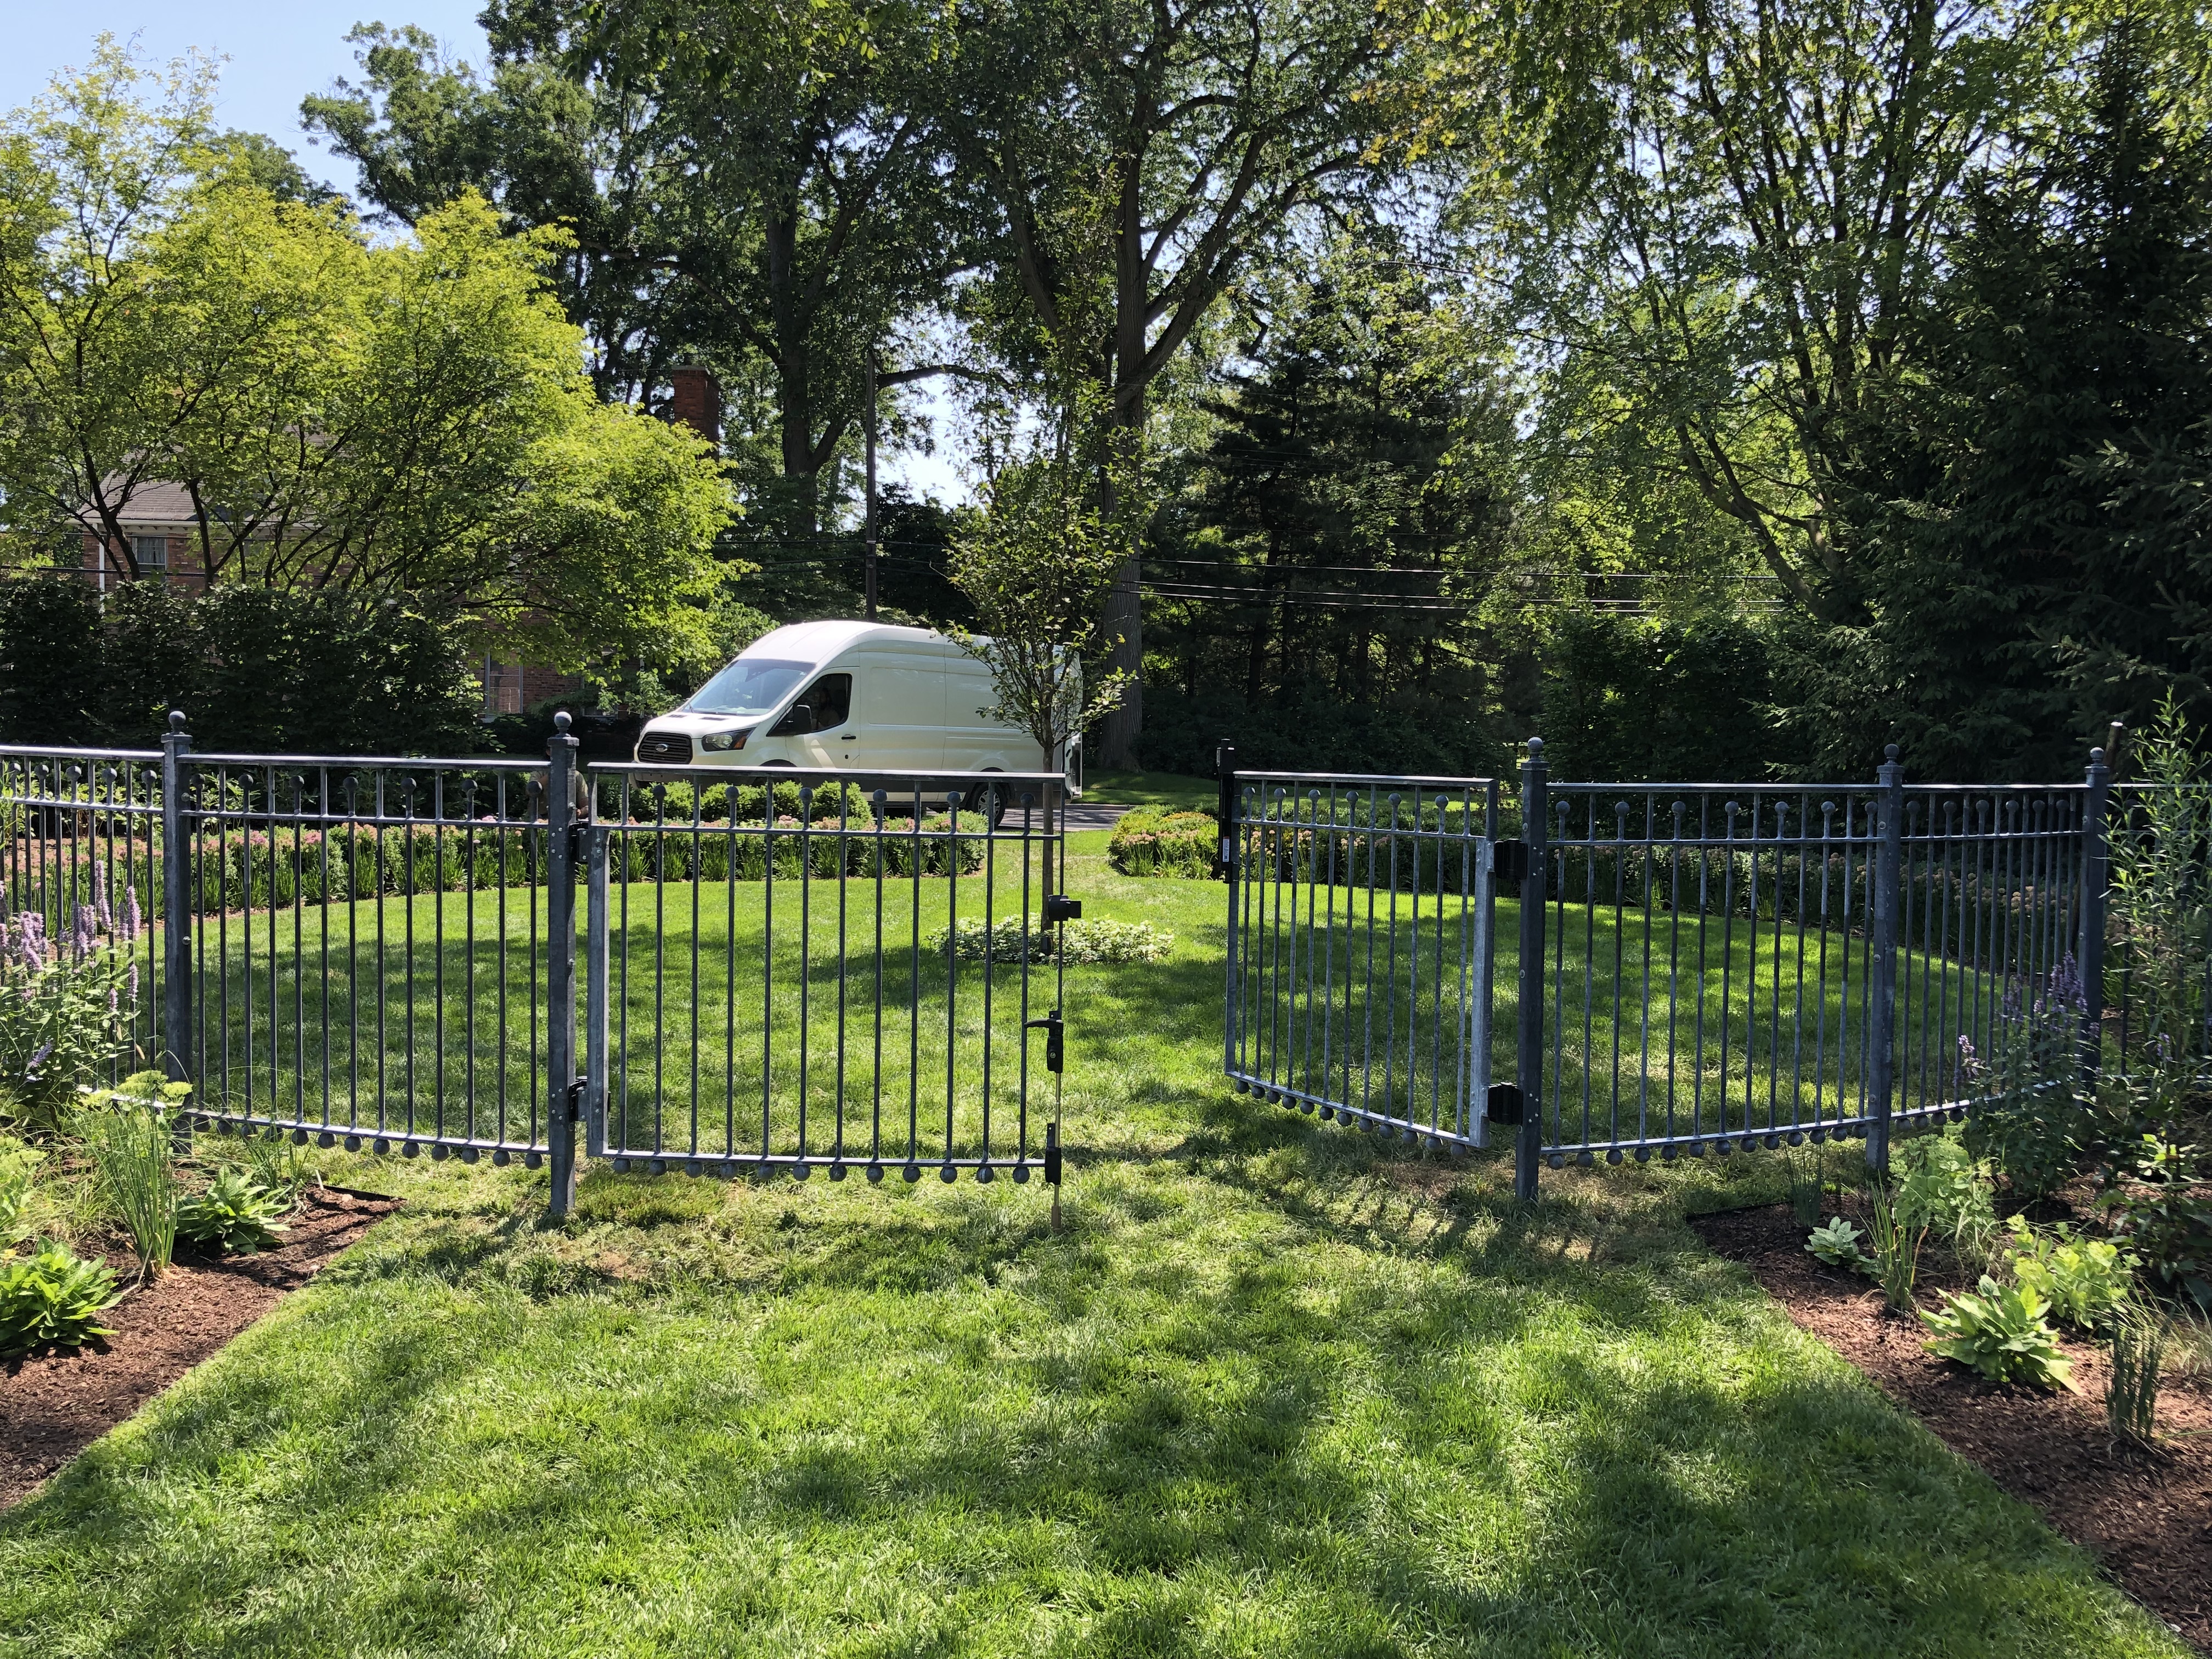
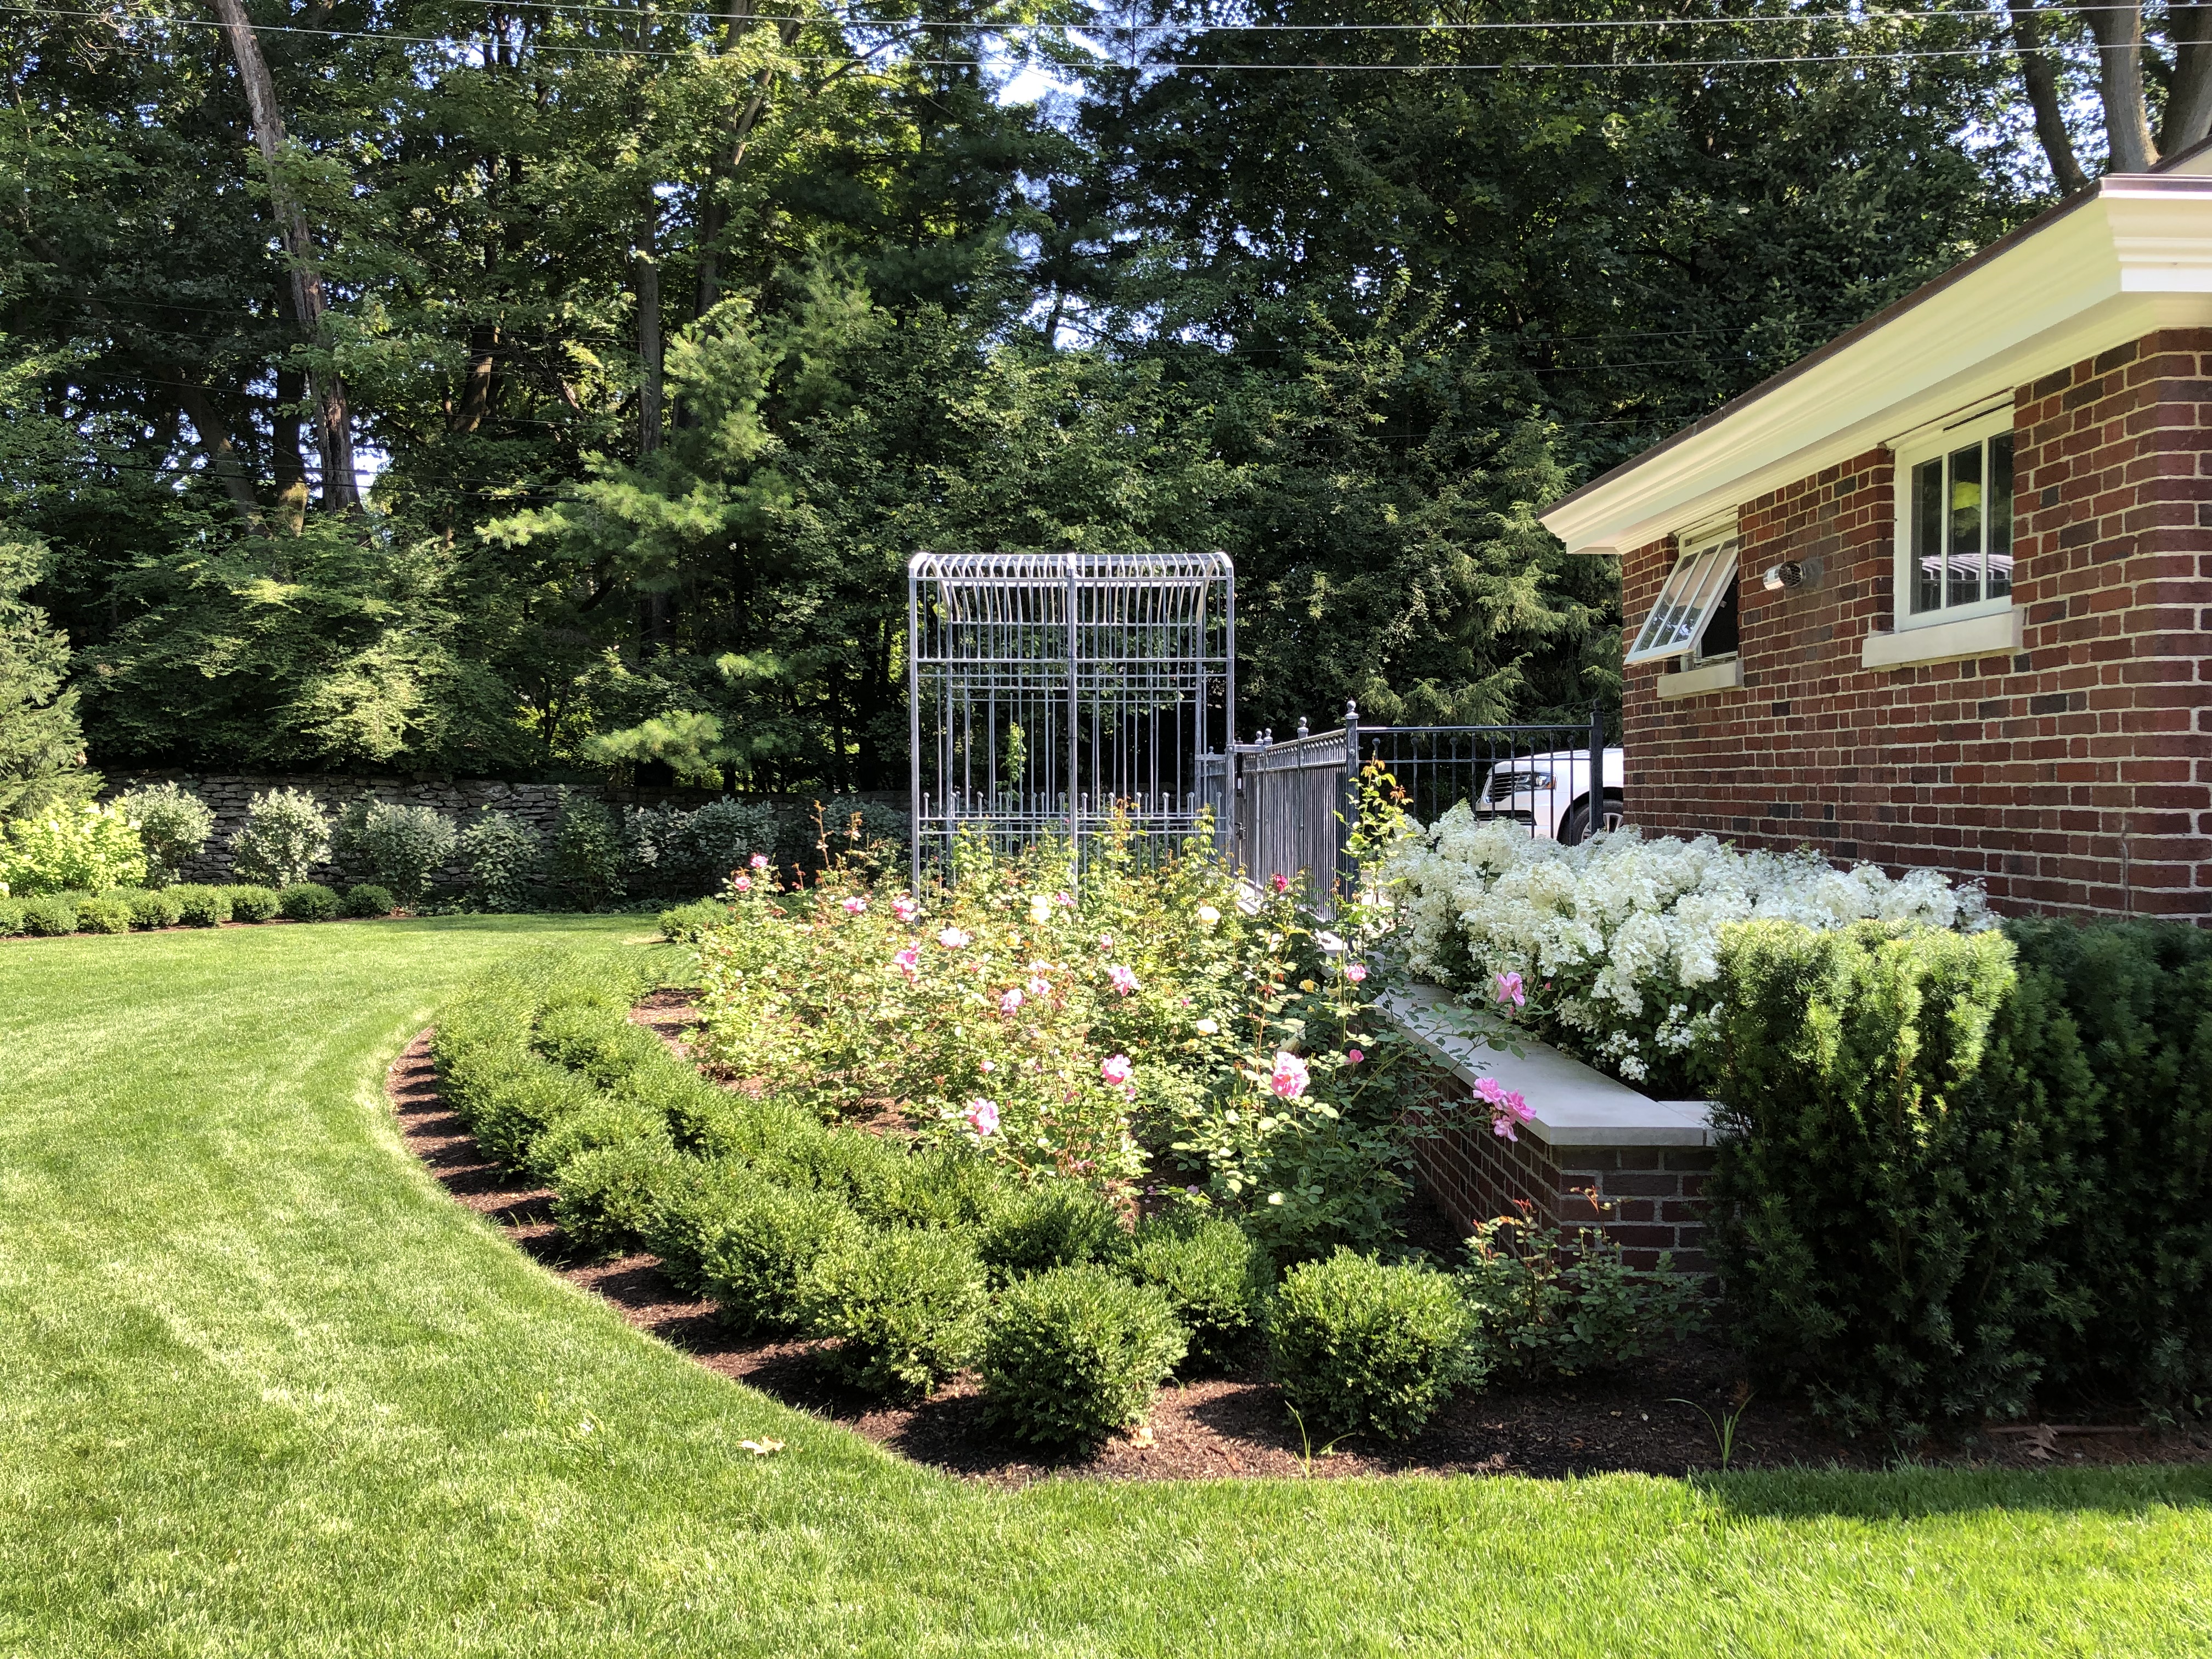
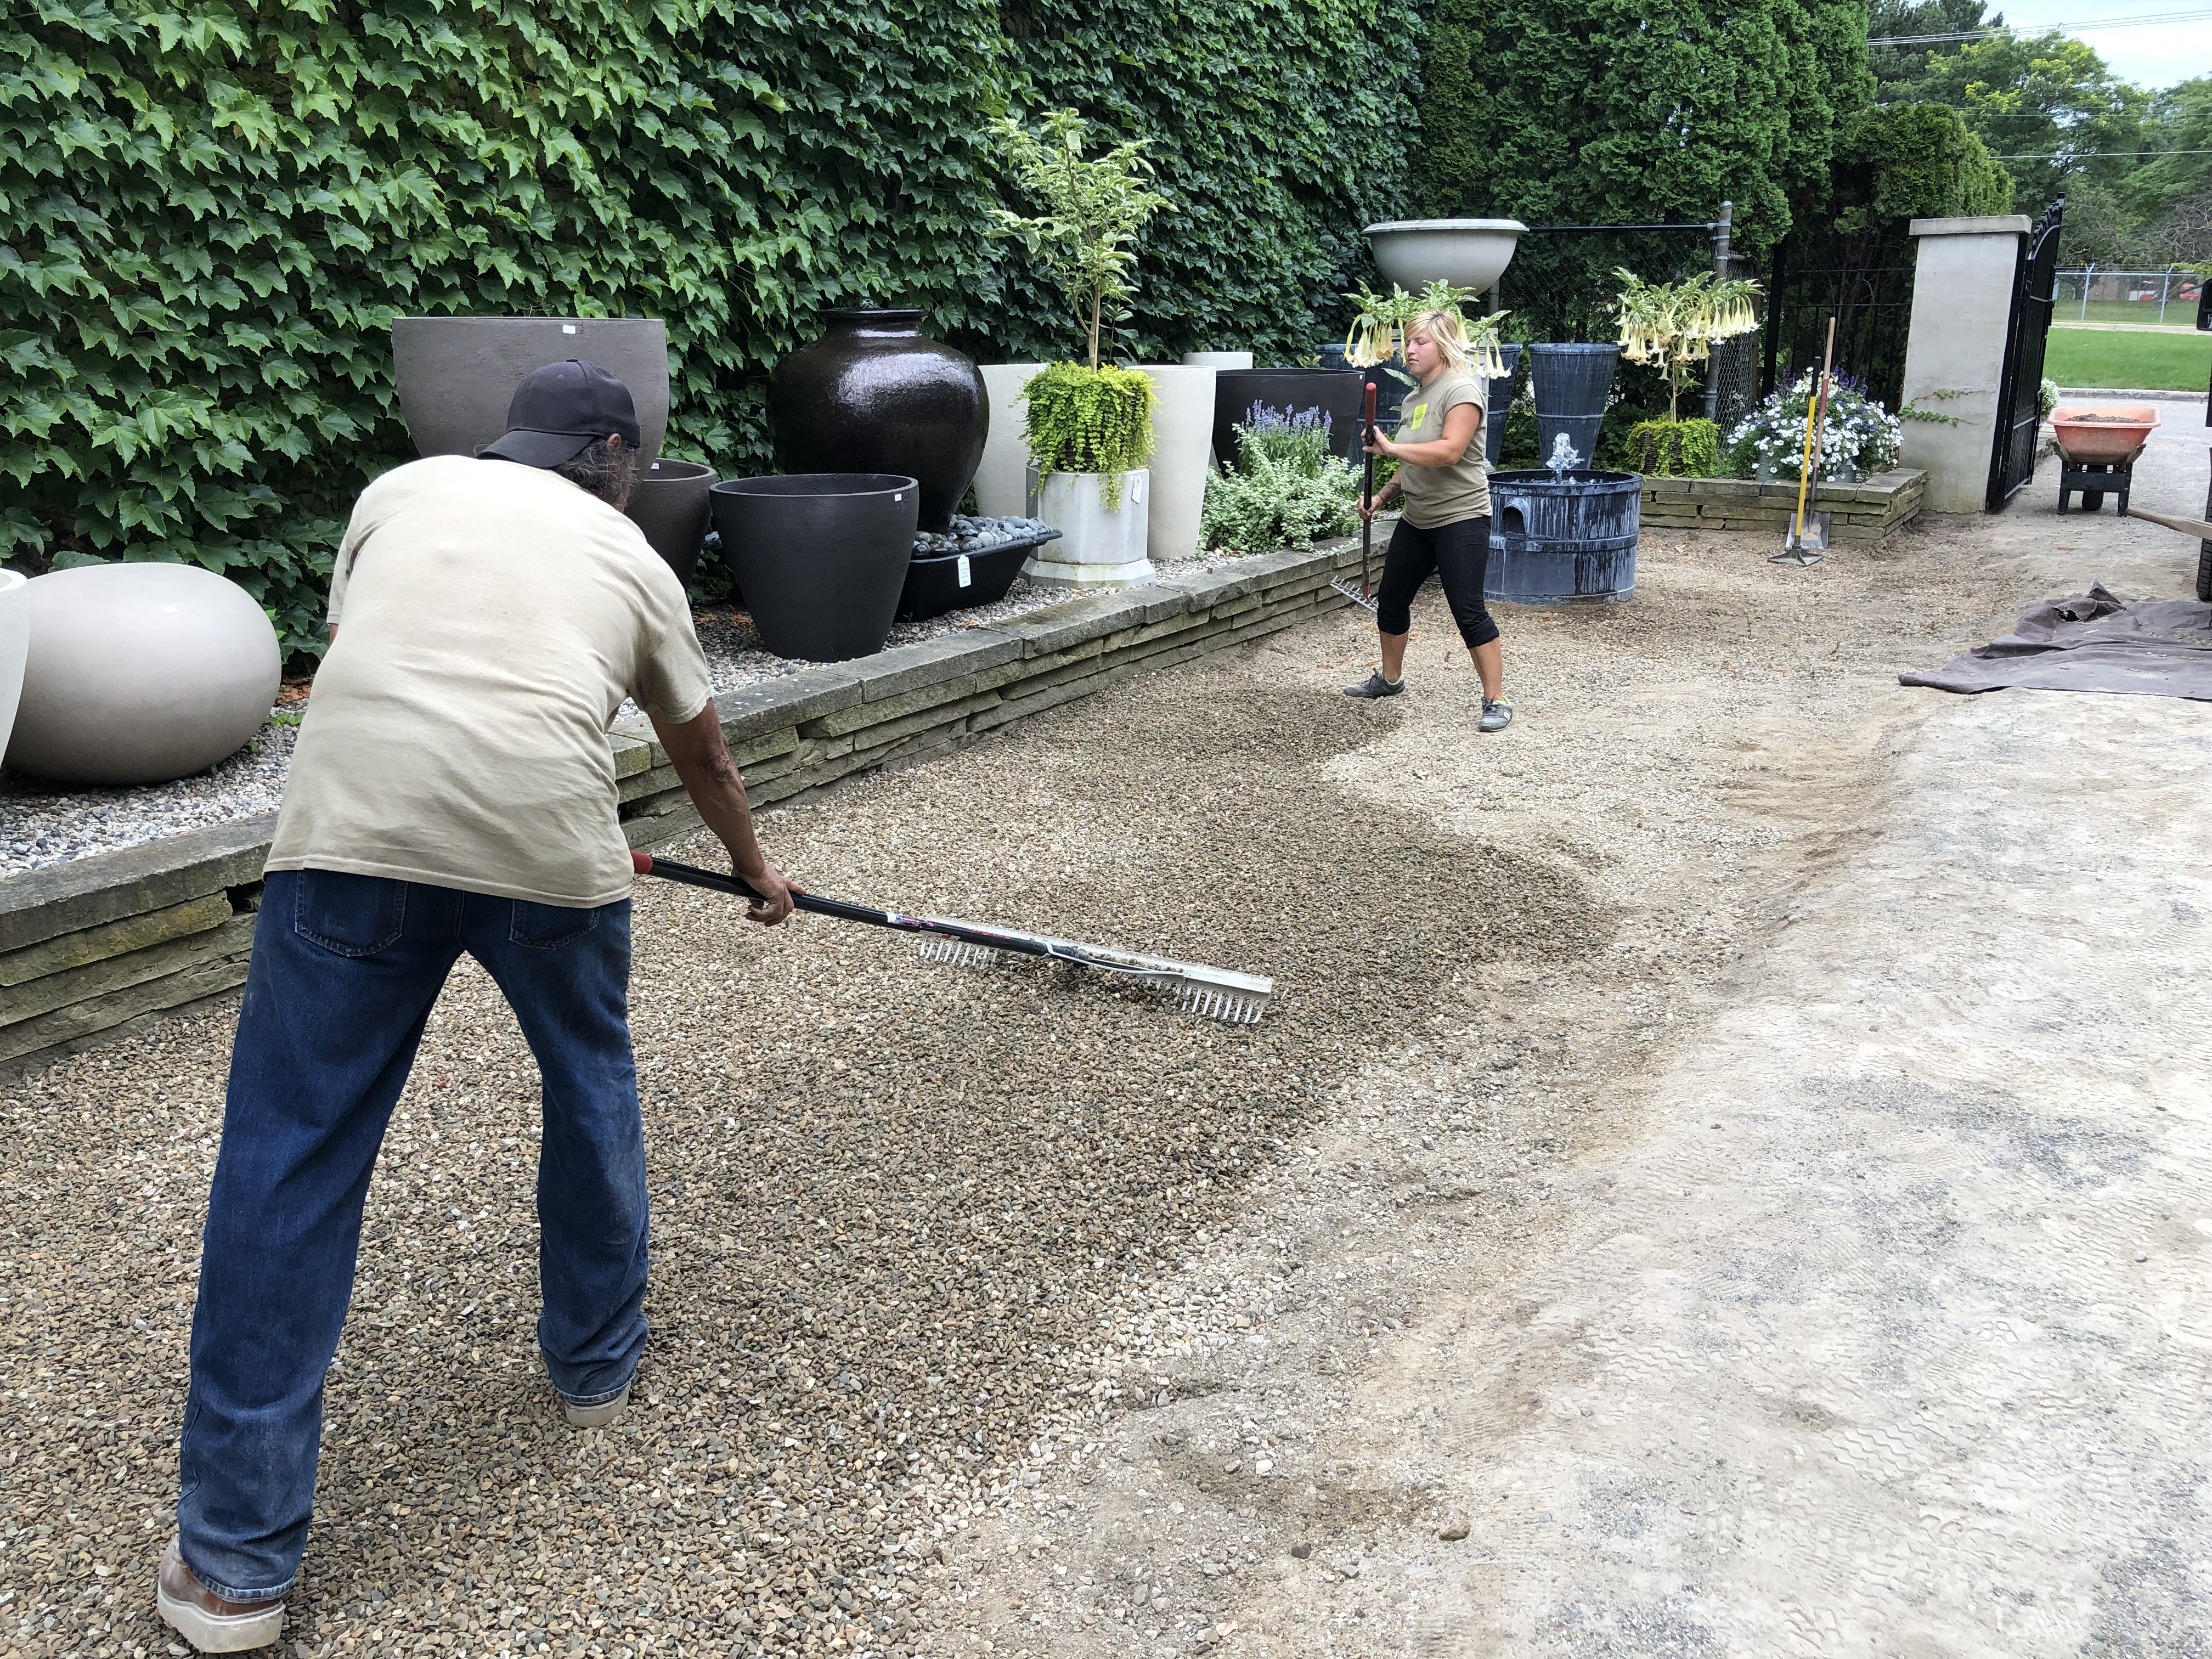 I would guess we have a week left for the finish. We excavate down to the original base layer. On this side of the drive, the lion’s share of the gravel exchange is done by machine. But all of the spreading and grading is done by hand.
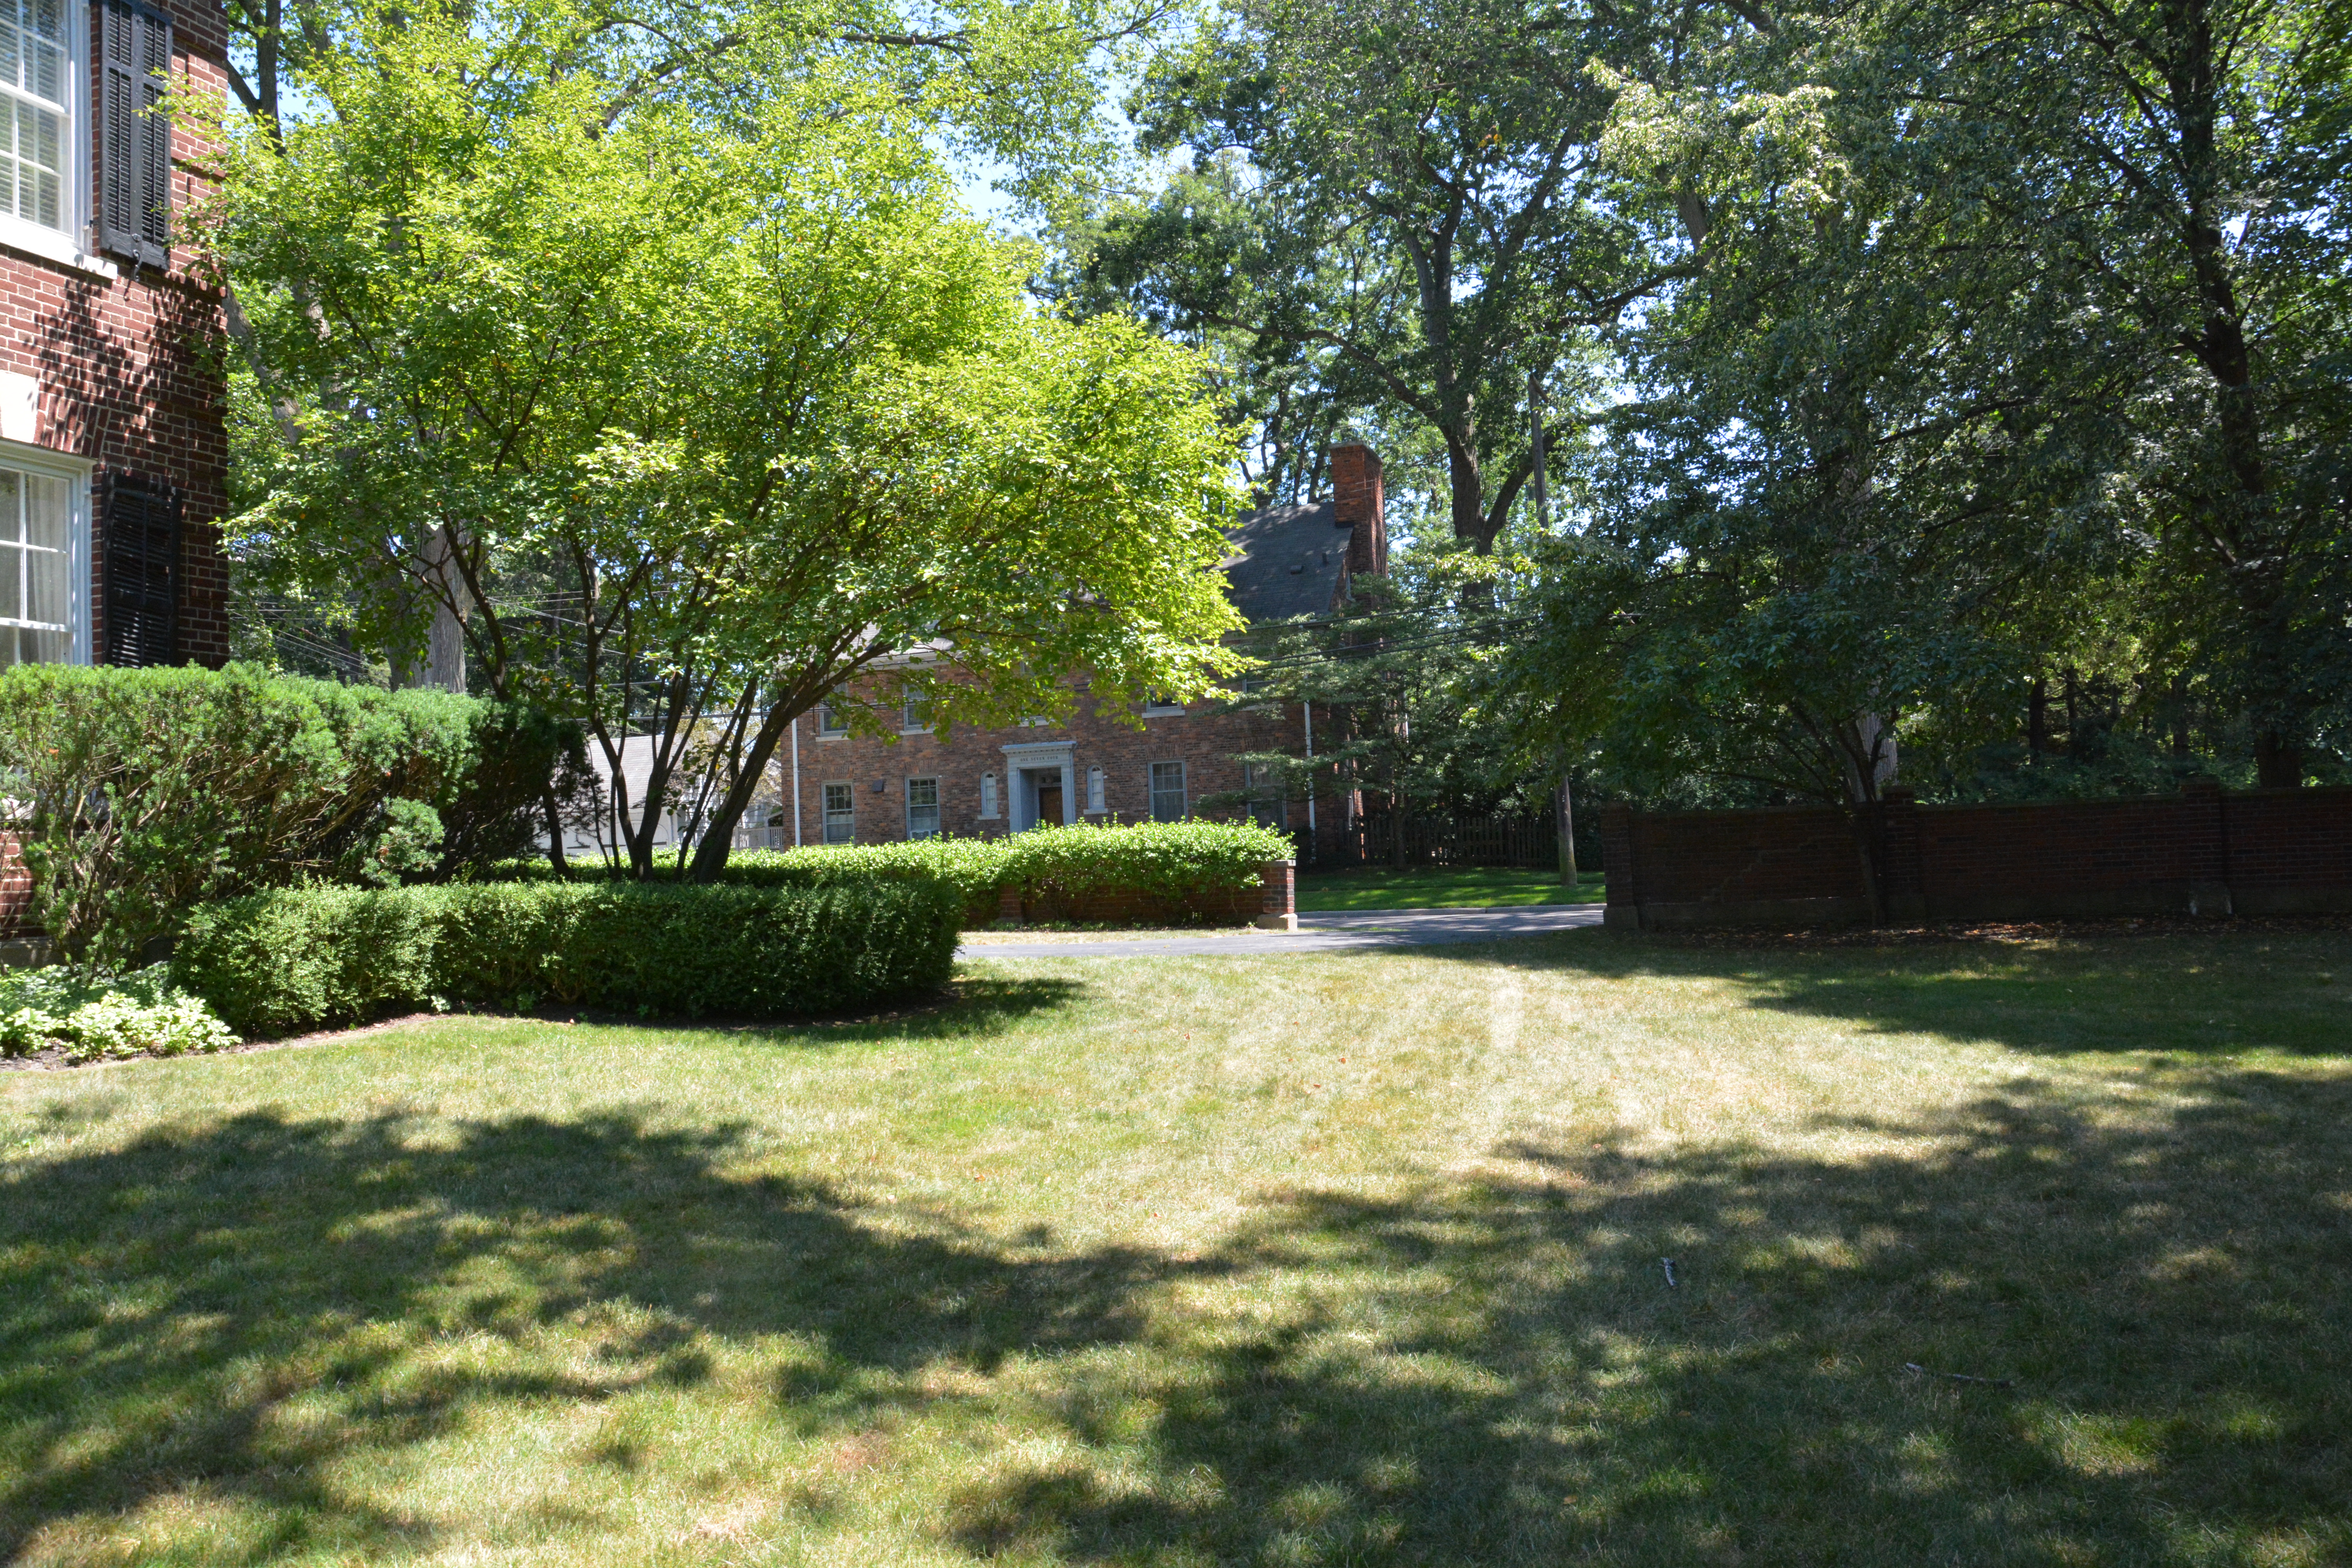
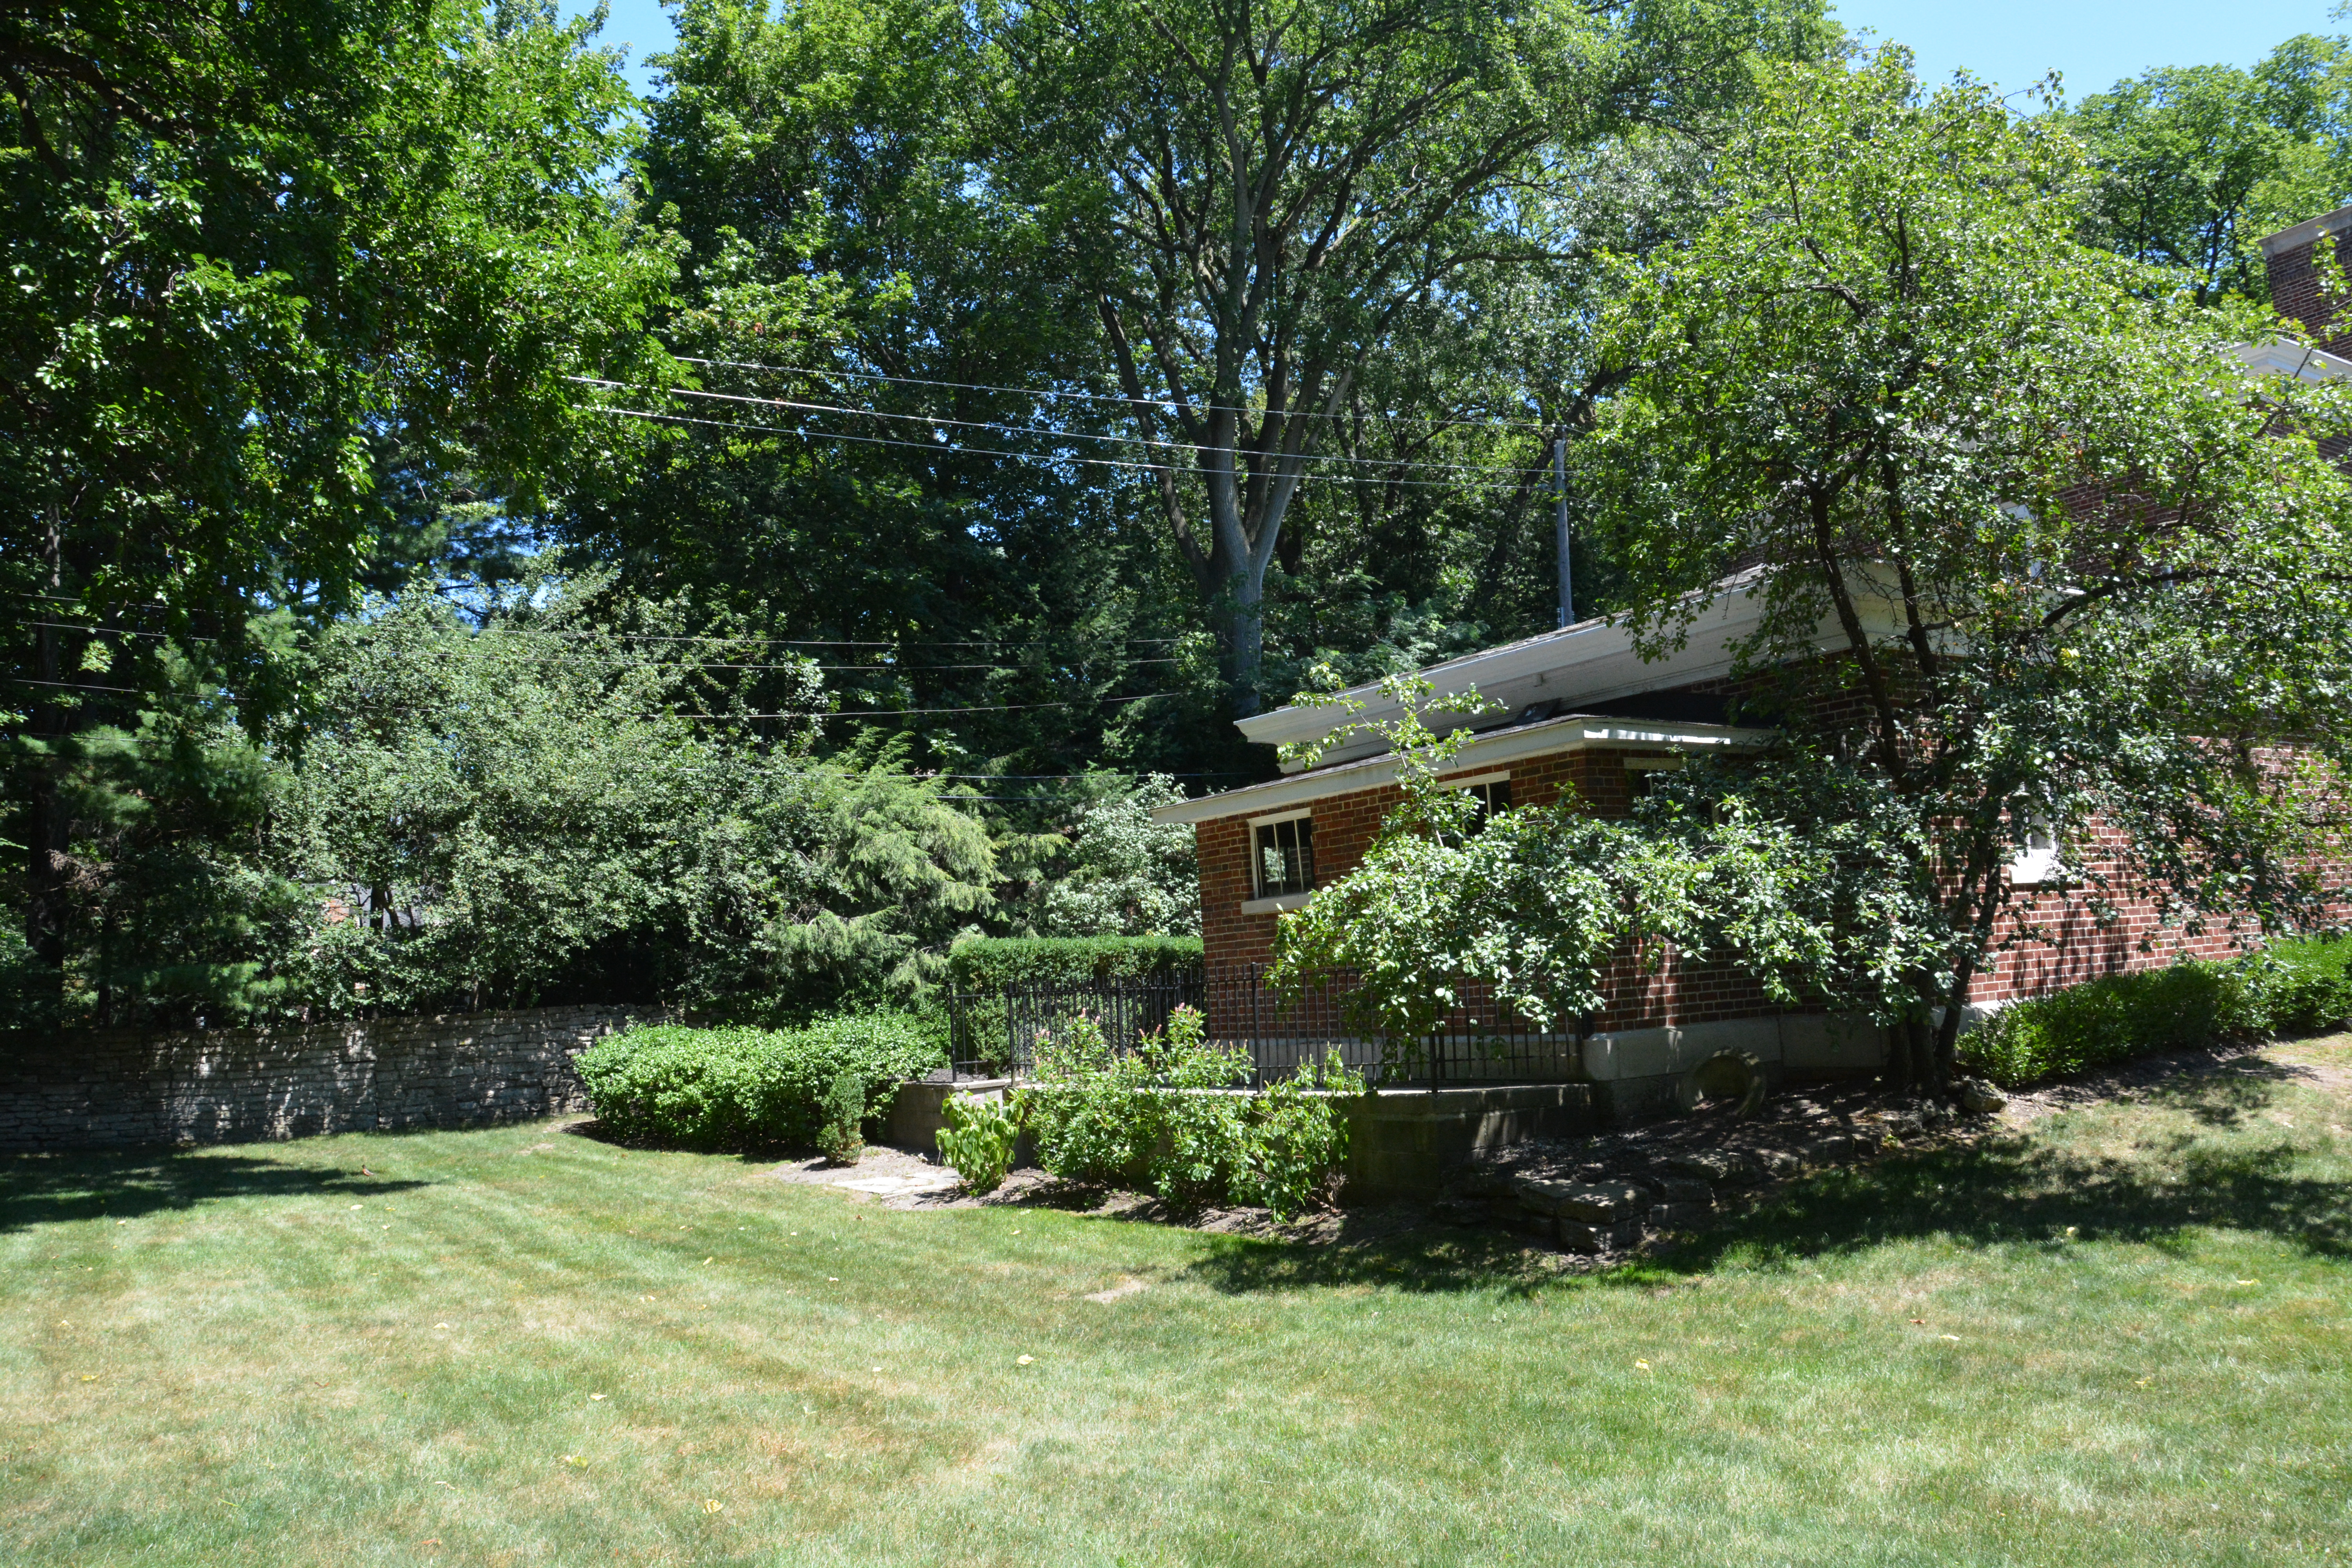
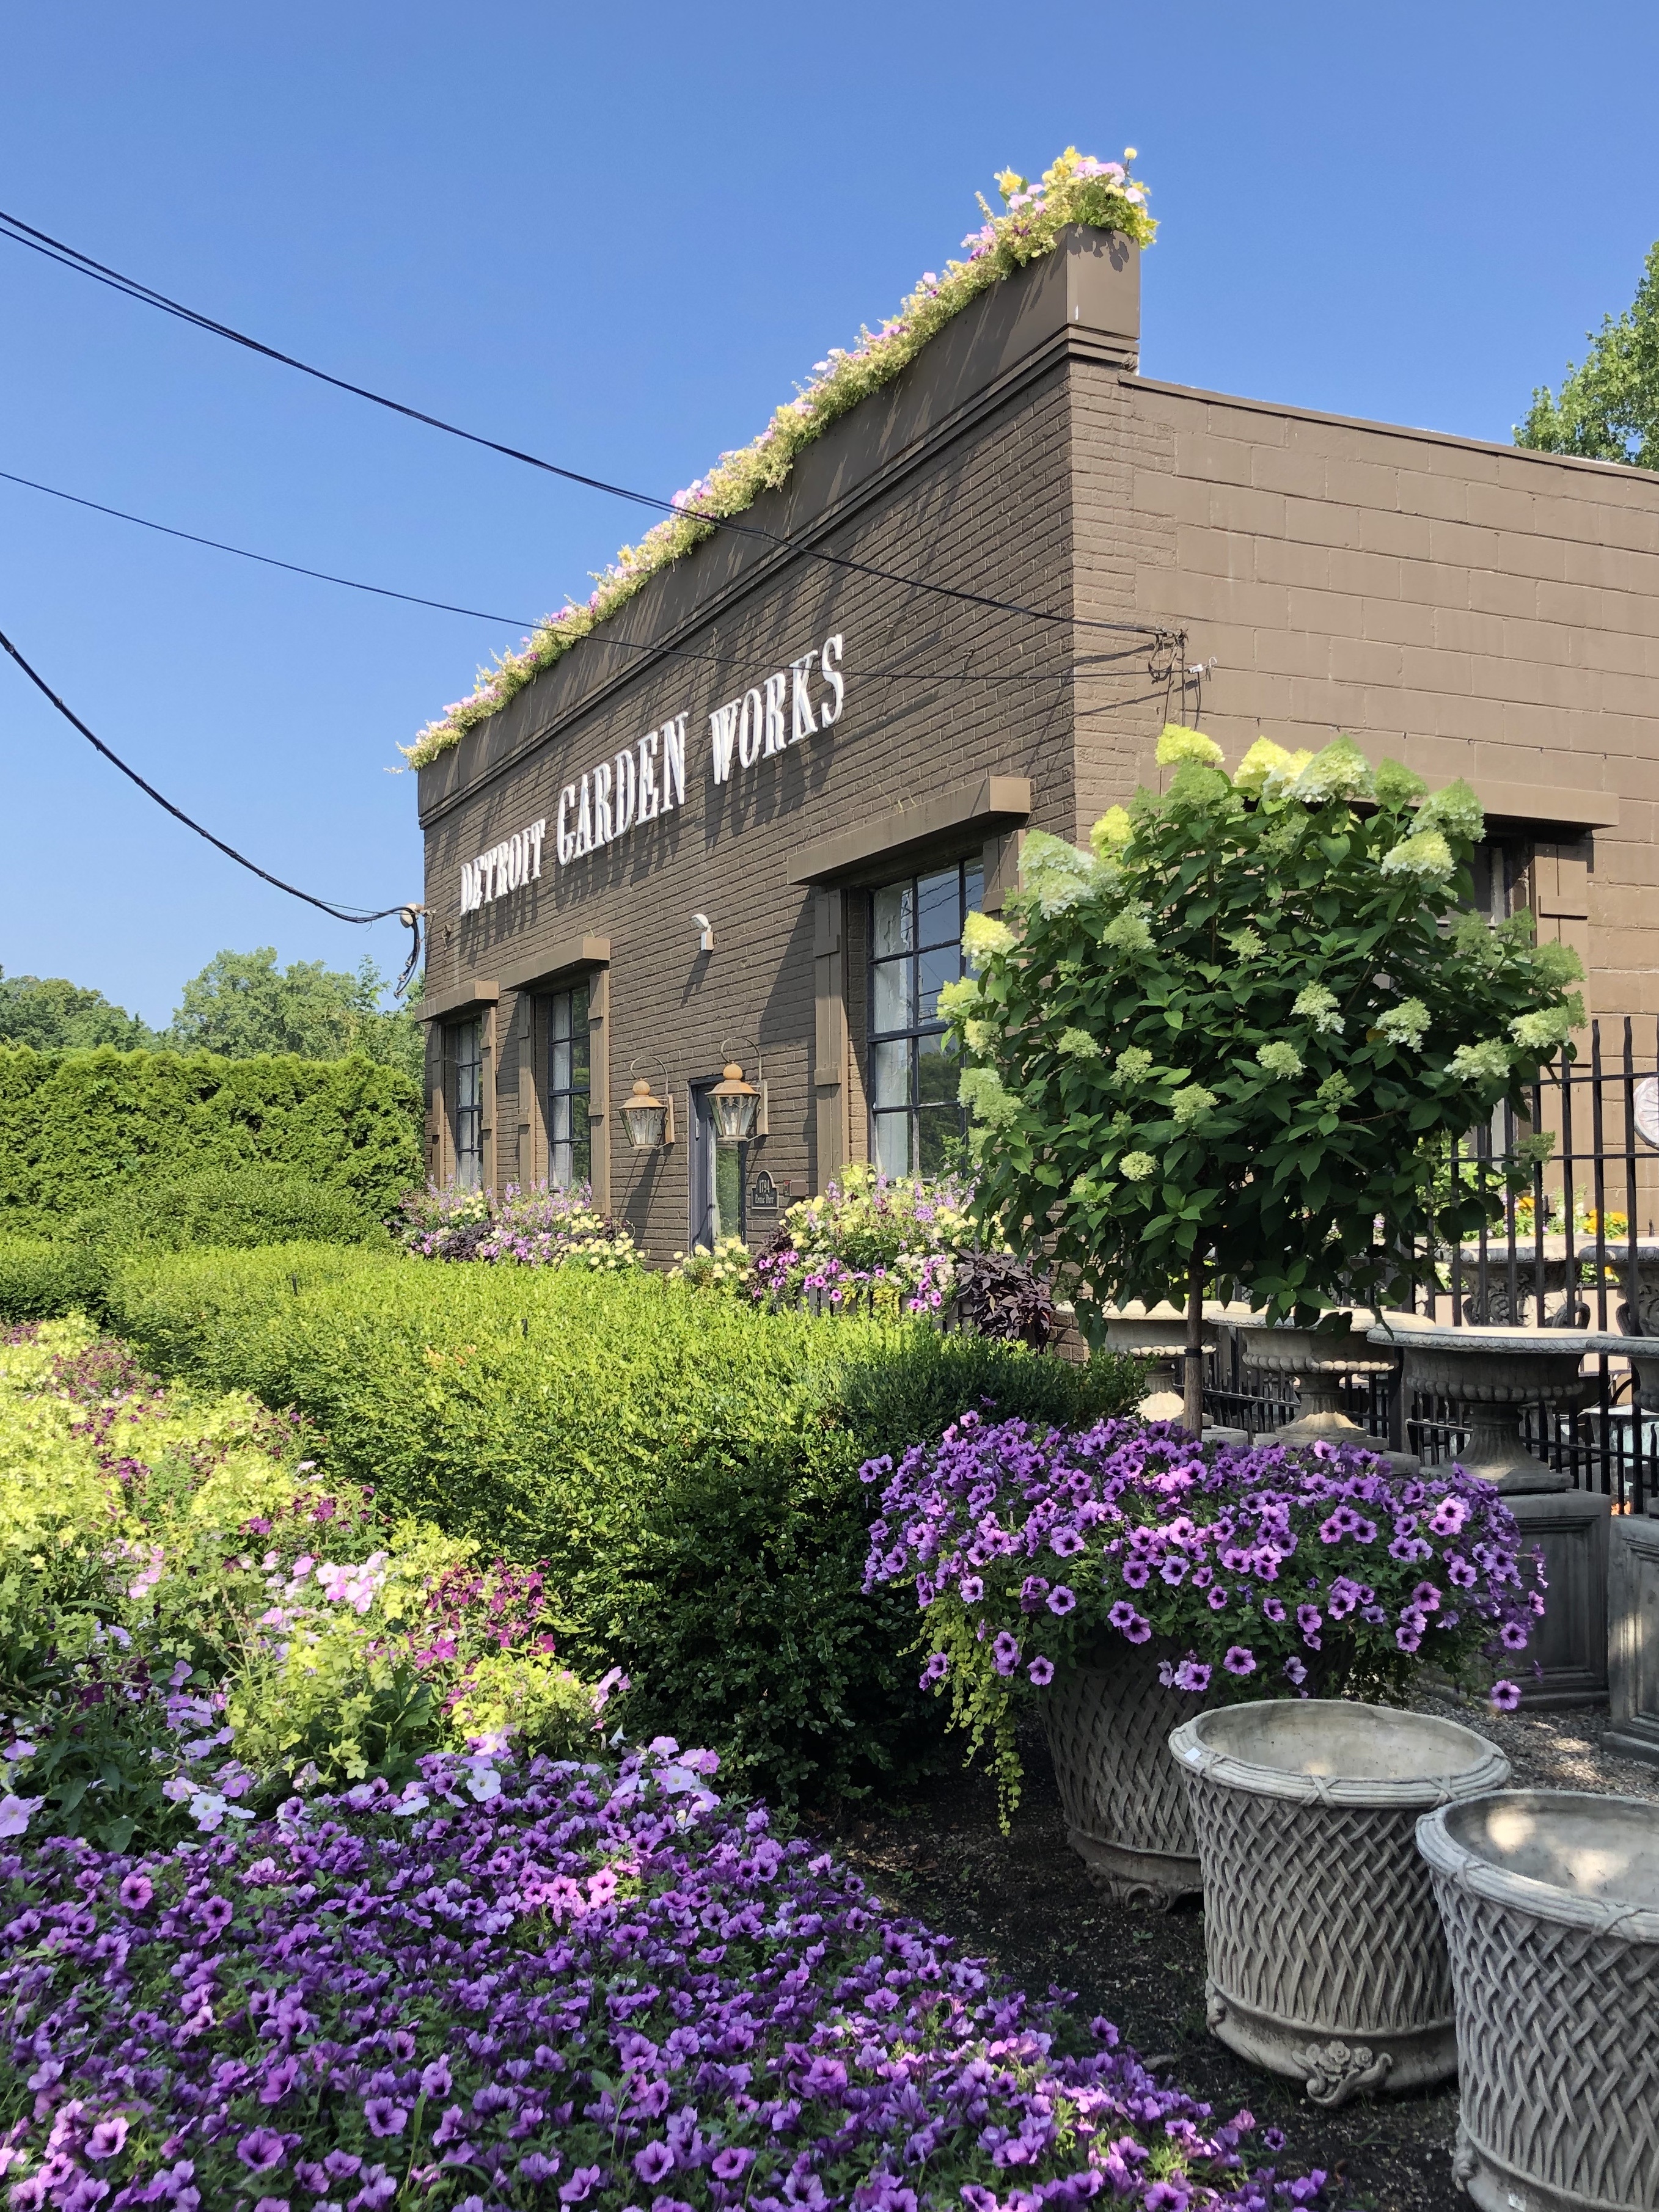
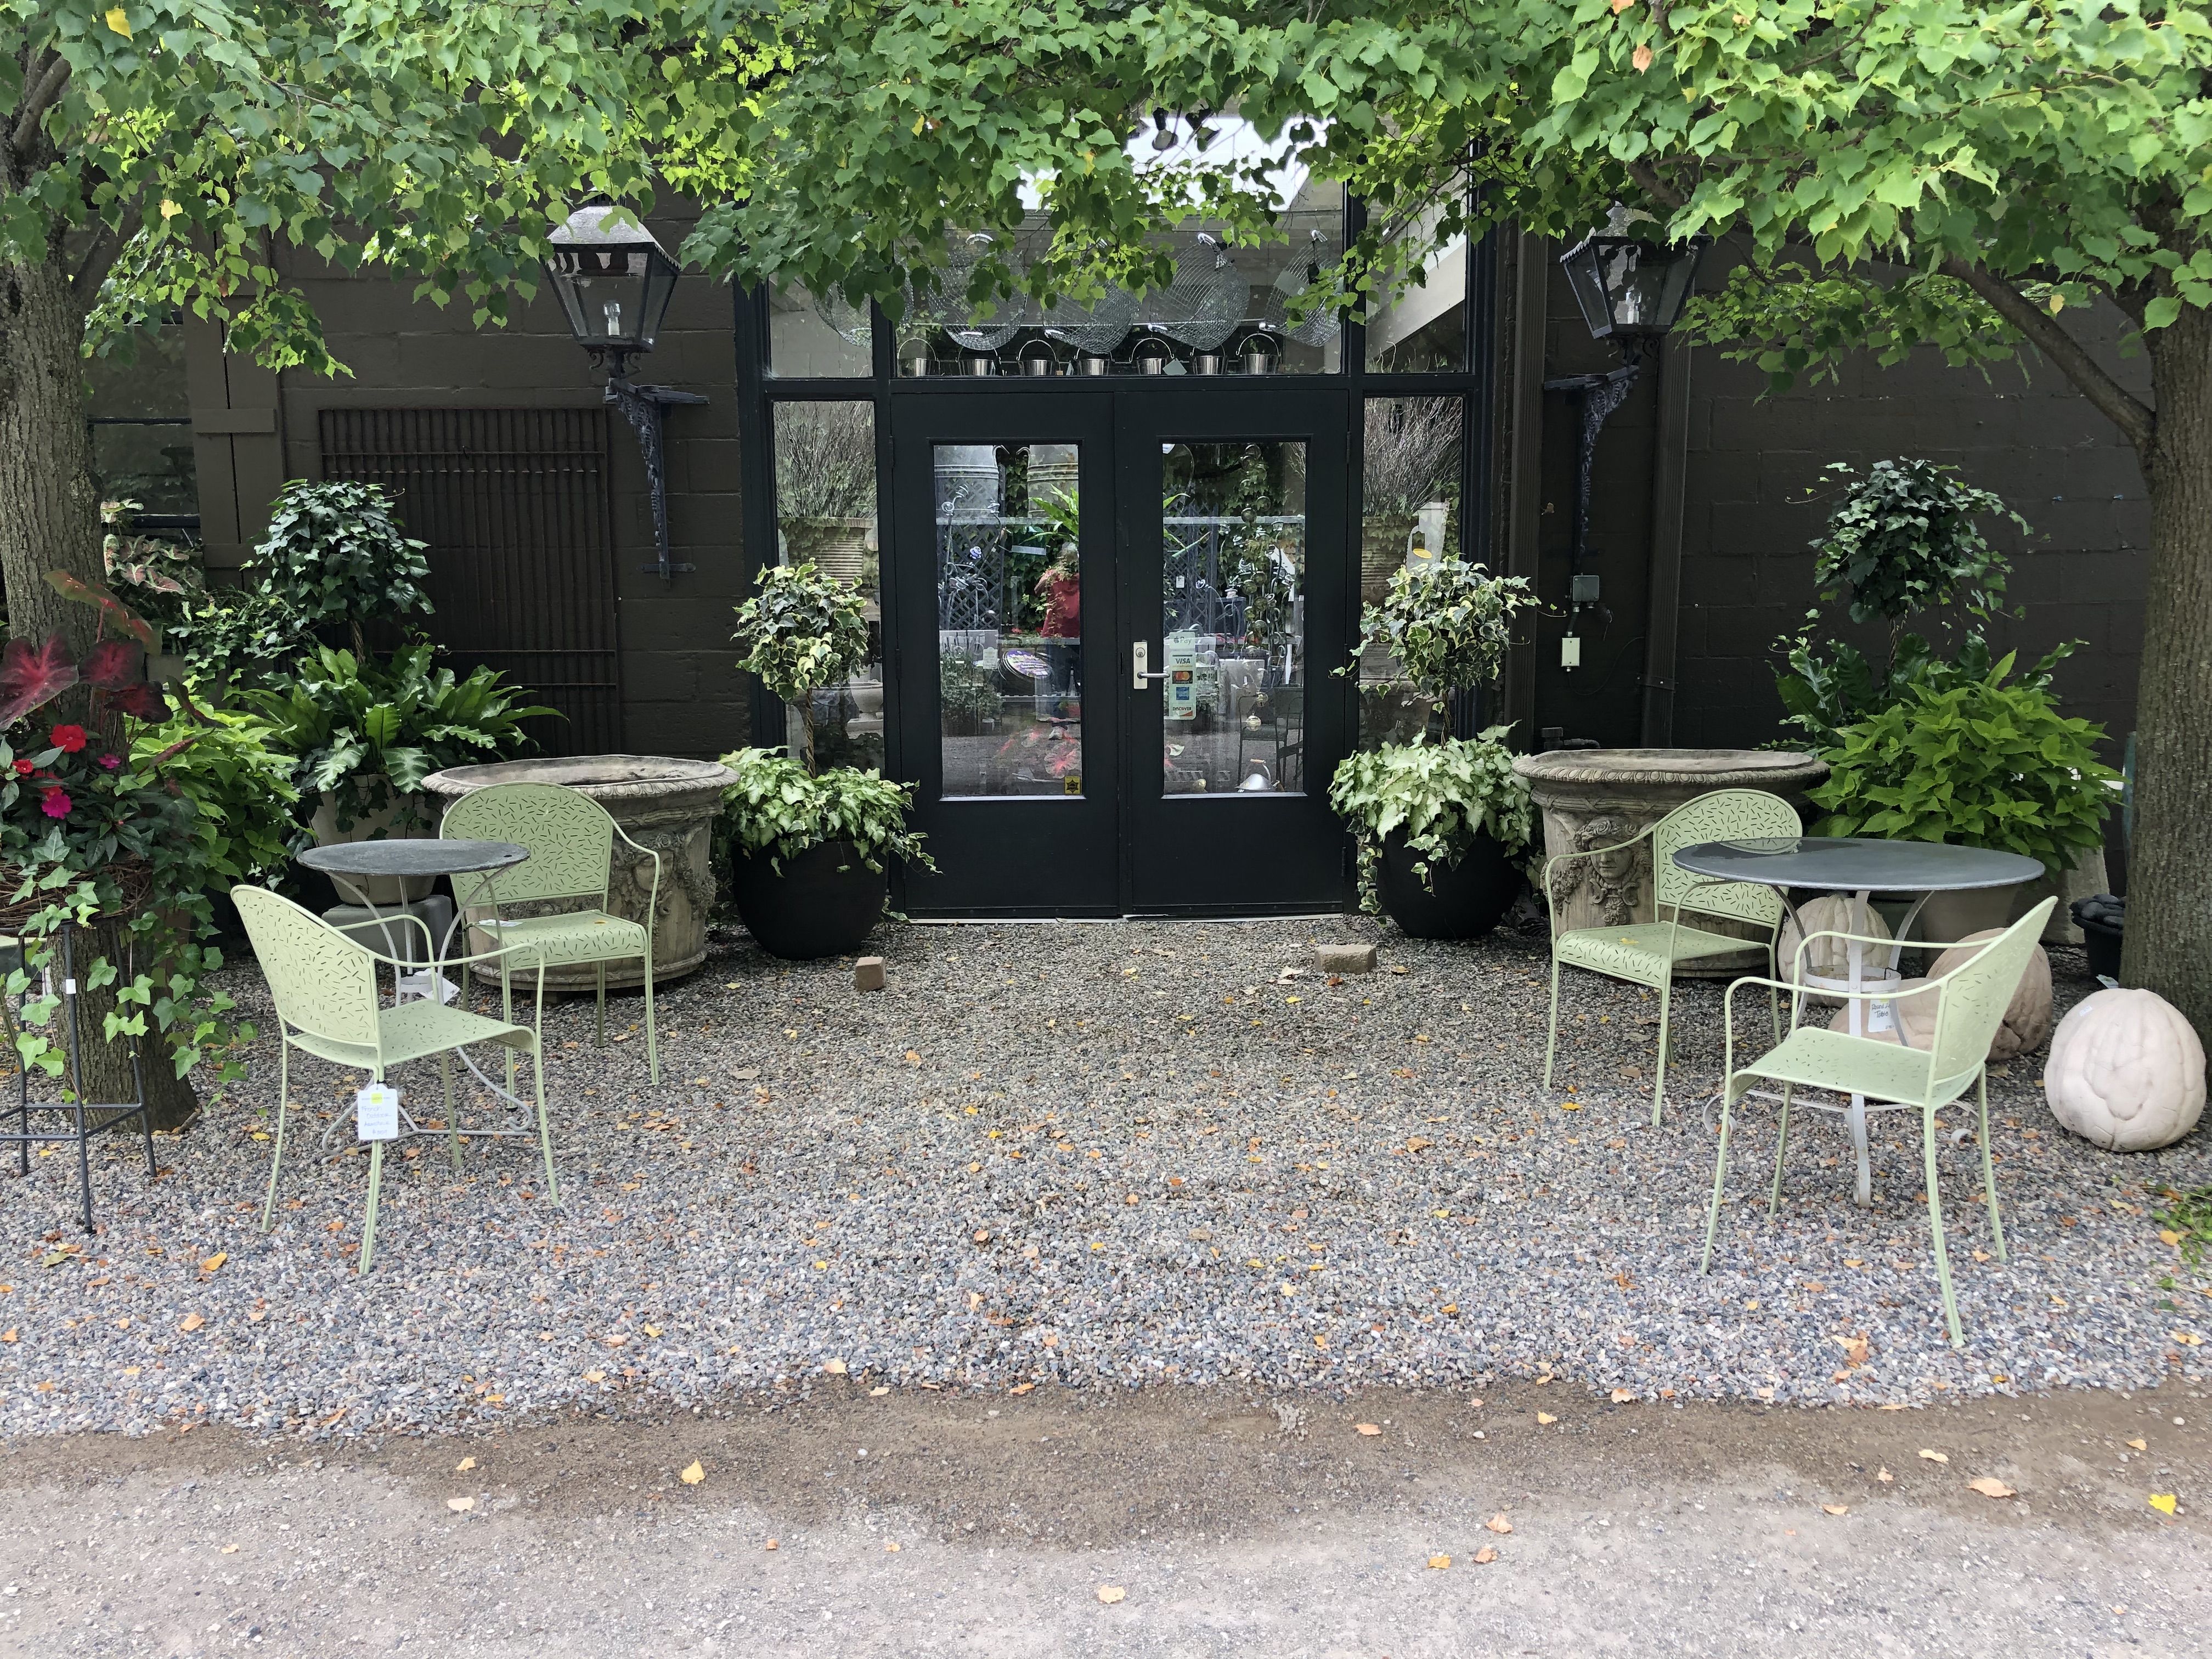
 The center portion of the driveway will be done last. It is hard to spot in this picture, but the crown of the drive is too high. That crown never gets driven over. Water now drains towards the front door. In a very heavy and fast paced rain, water goes under the door and inside. A new permeable gravel driveway will correct that problem.
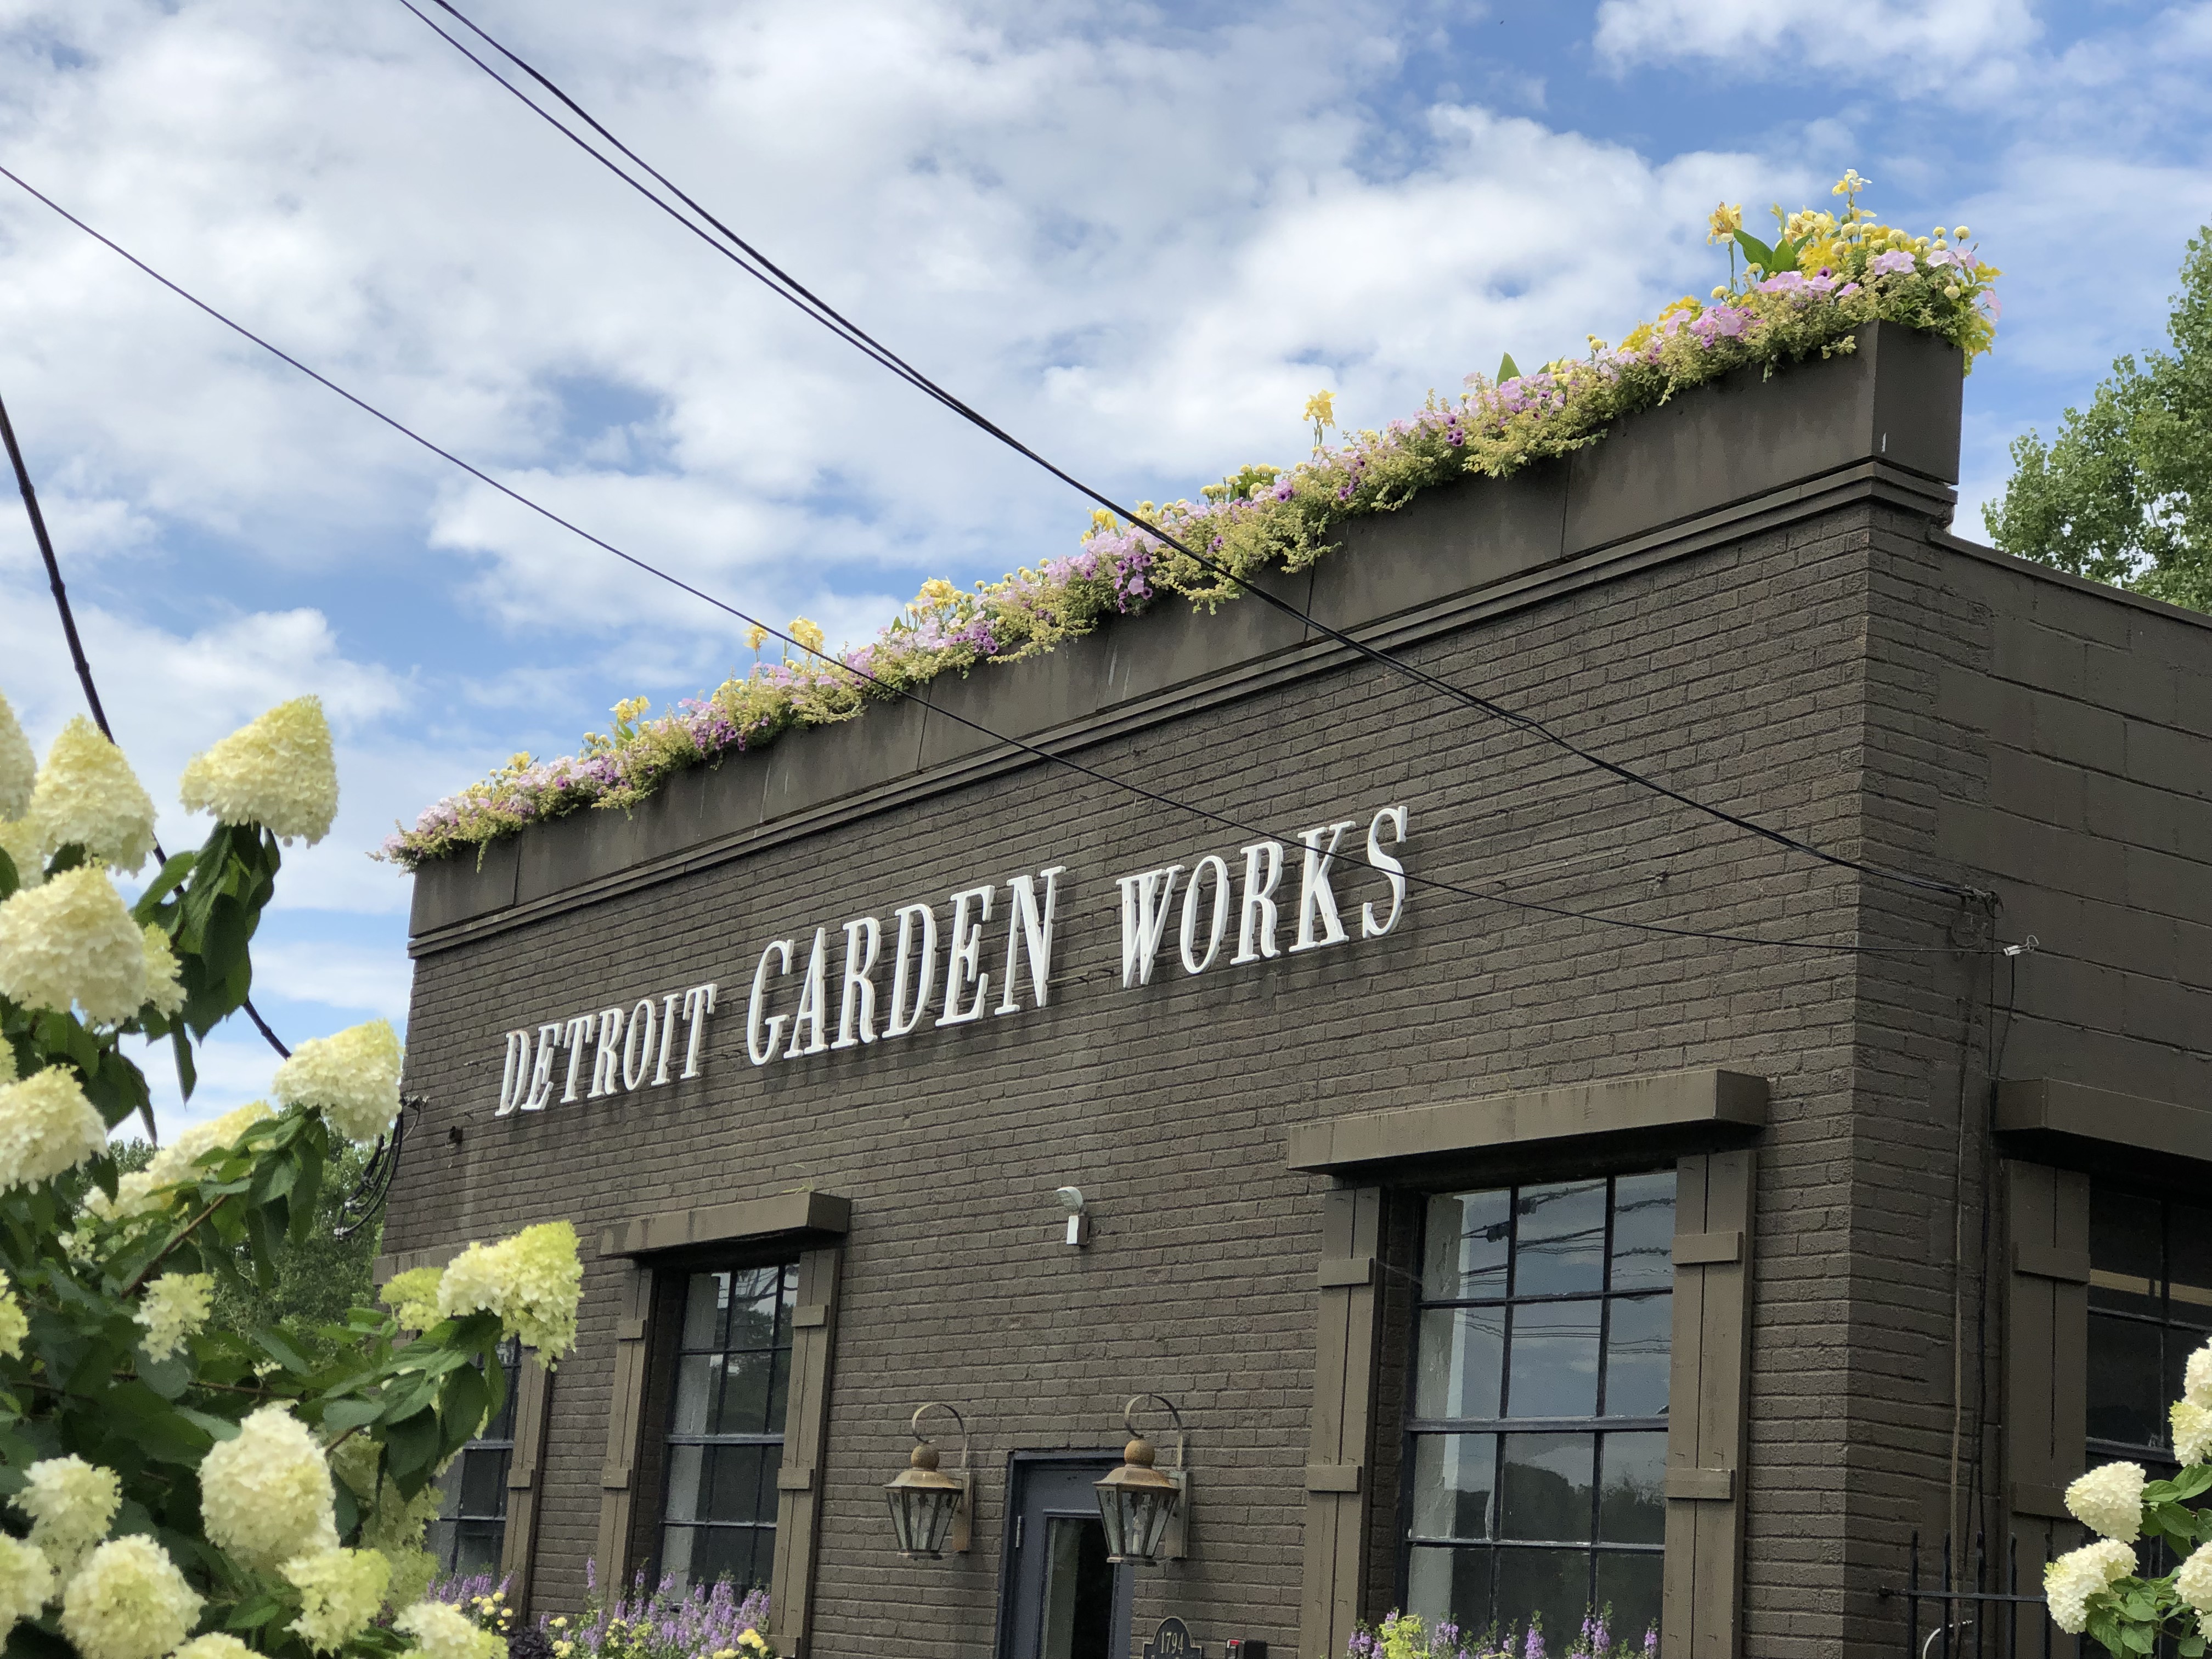
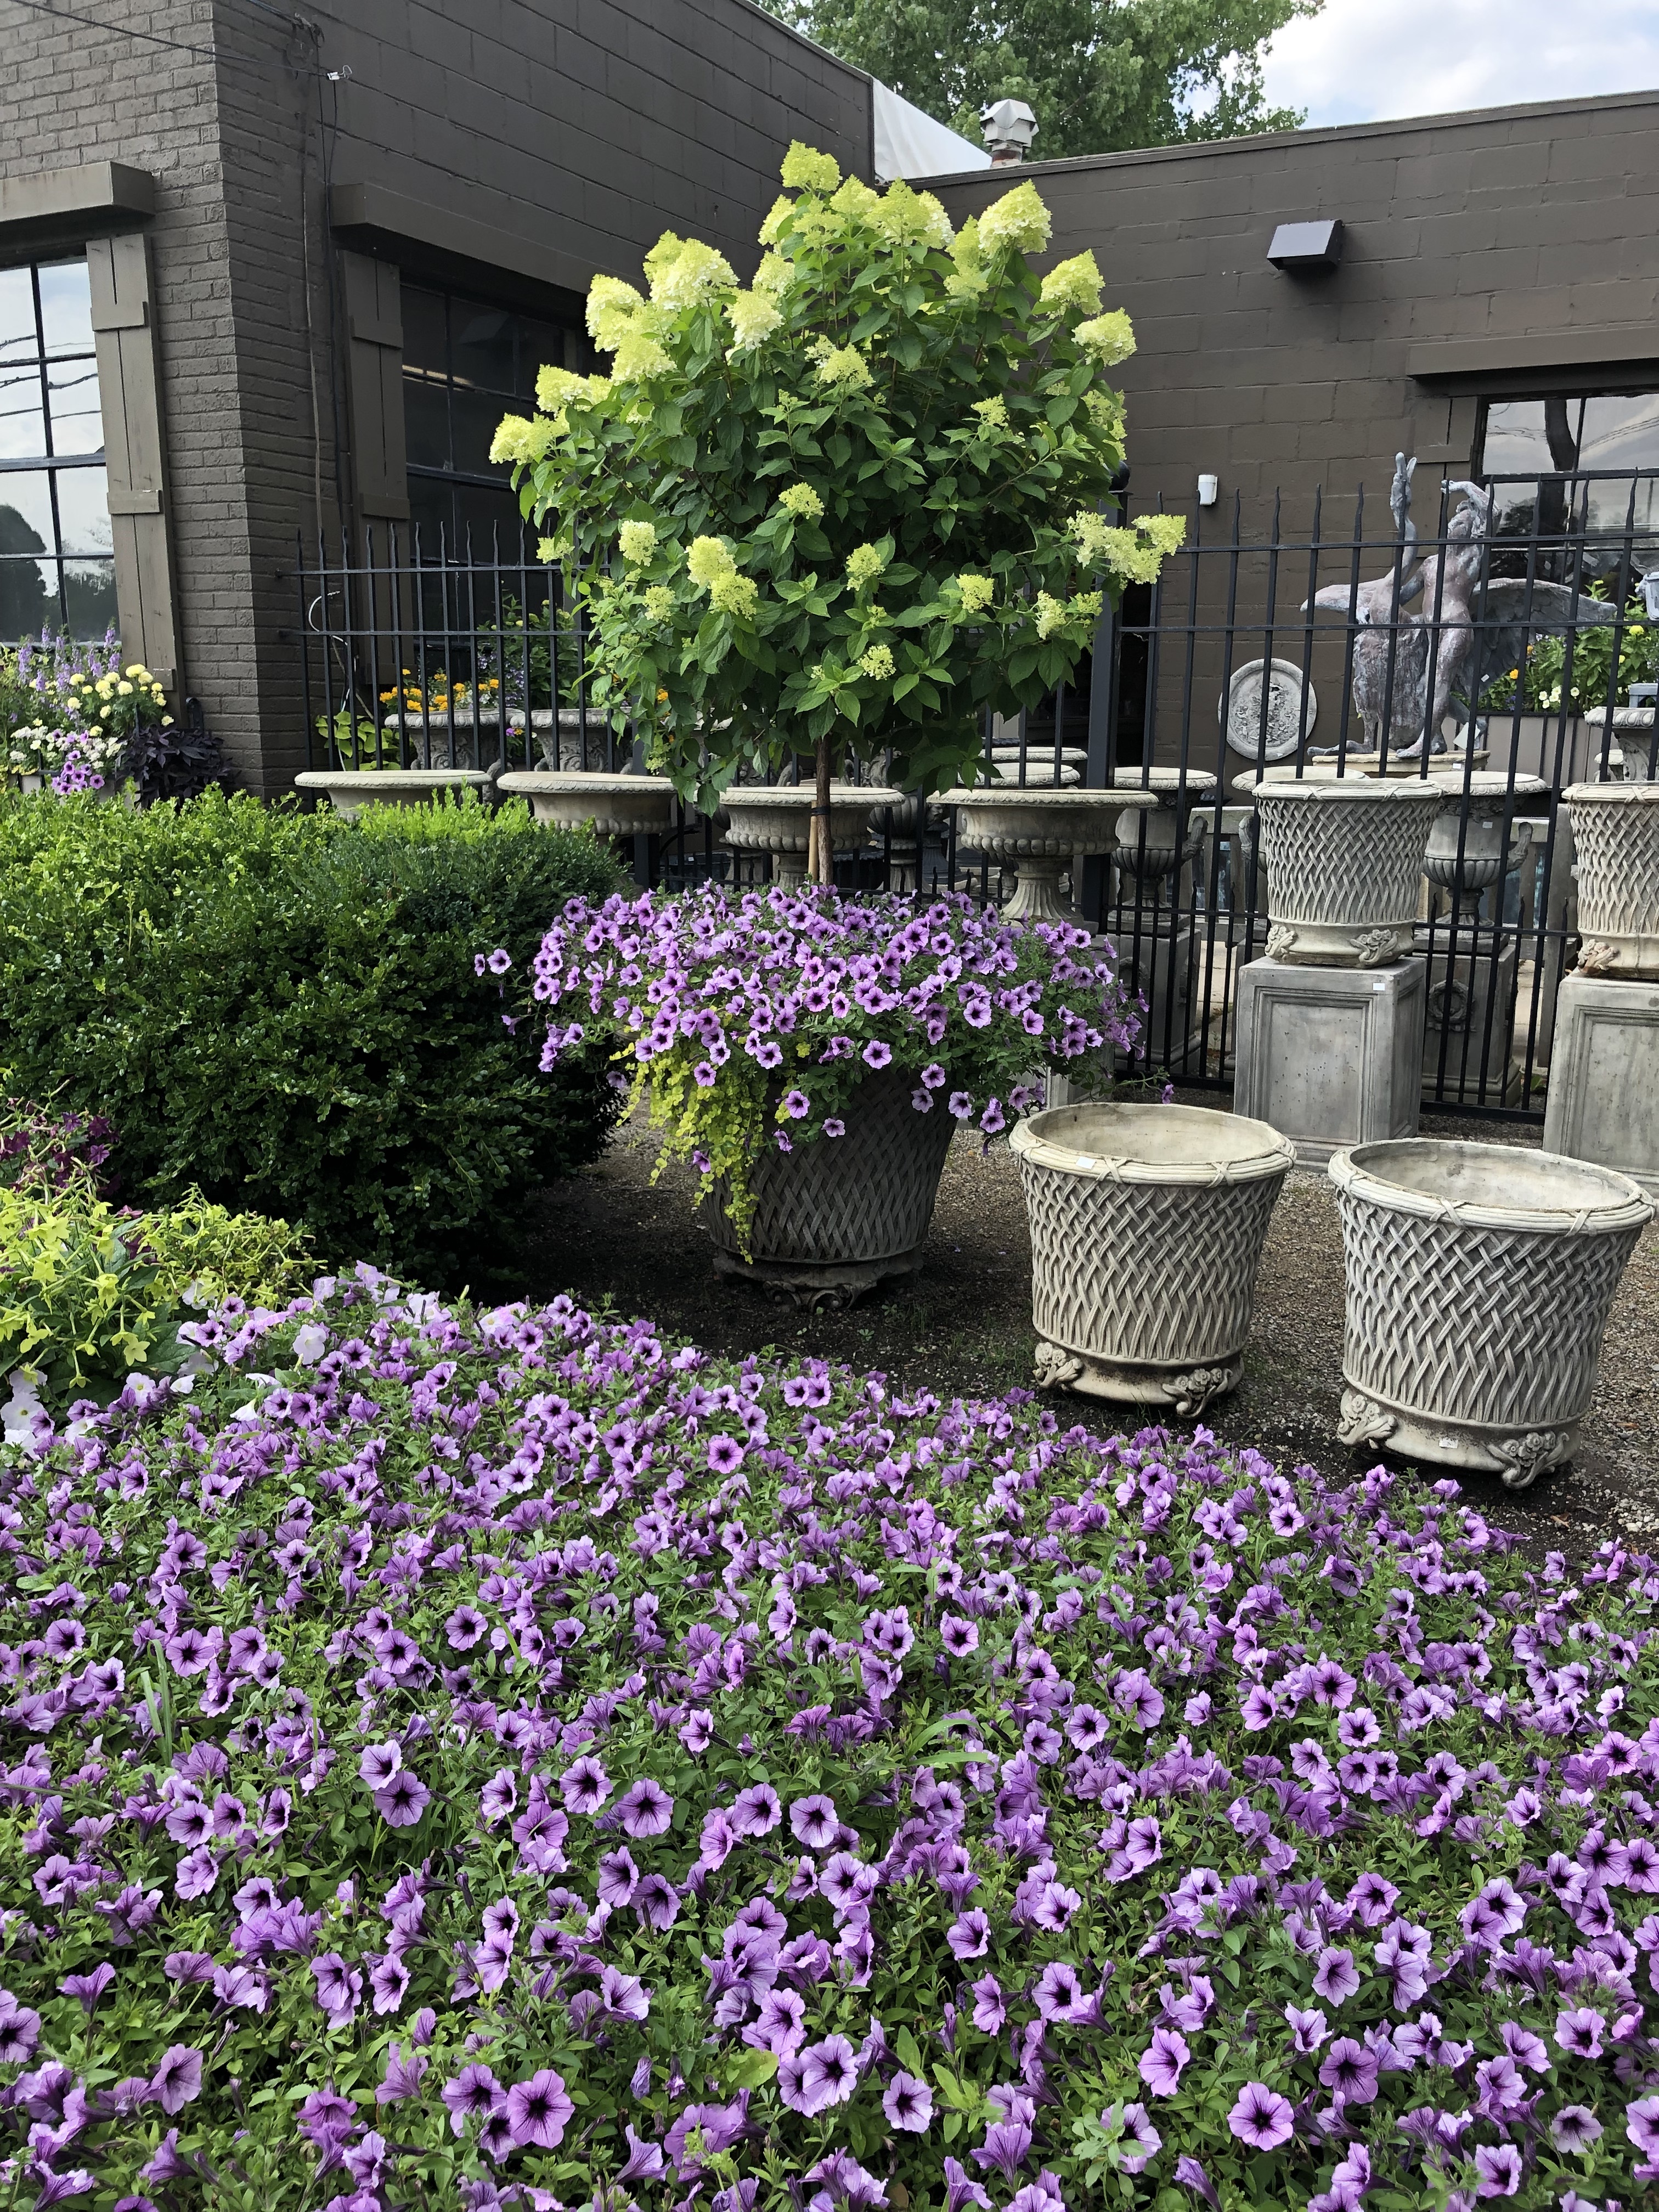
 The new gravel at the shop has a fresh and pleasing texture. It is too big to be tracked inside. It will take a while to interlock and compact, but the crushed granite will eventually provide a stable walking and placement surface. Thinking some gravel will do for a drive, terrace or walkway? My advice is to evaluate the size of the stone that would be appropriate for your project.
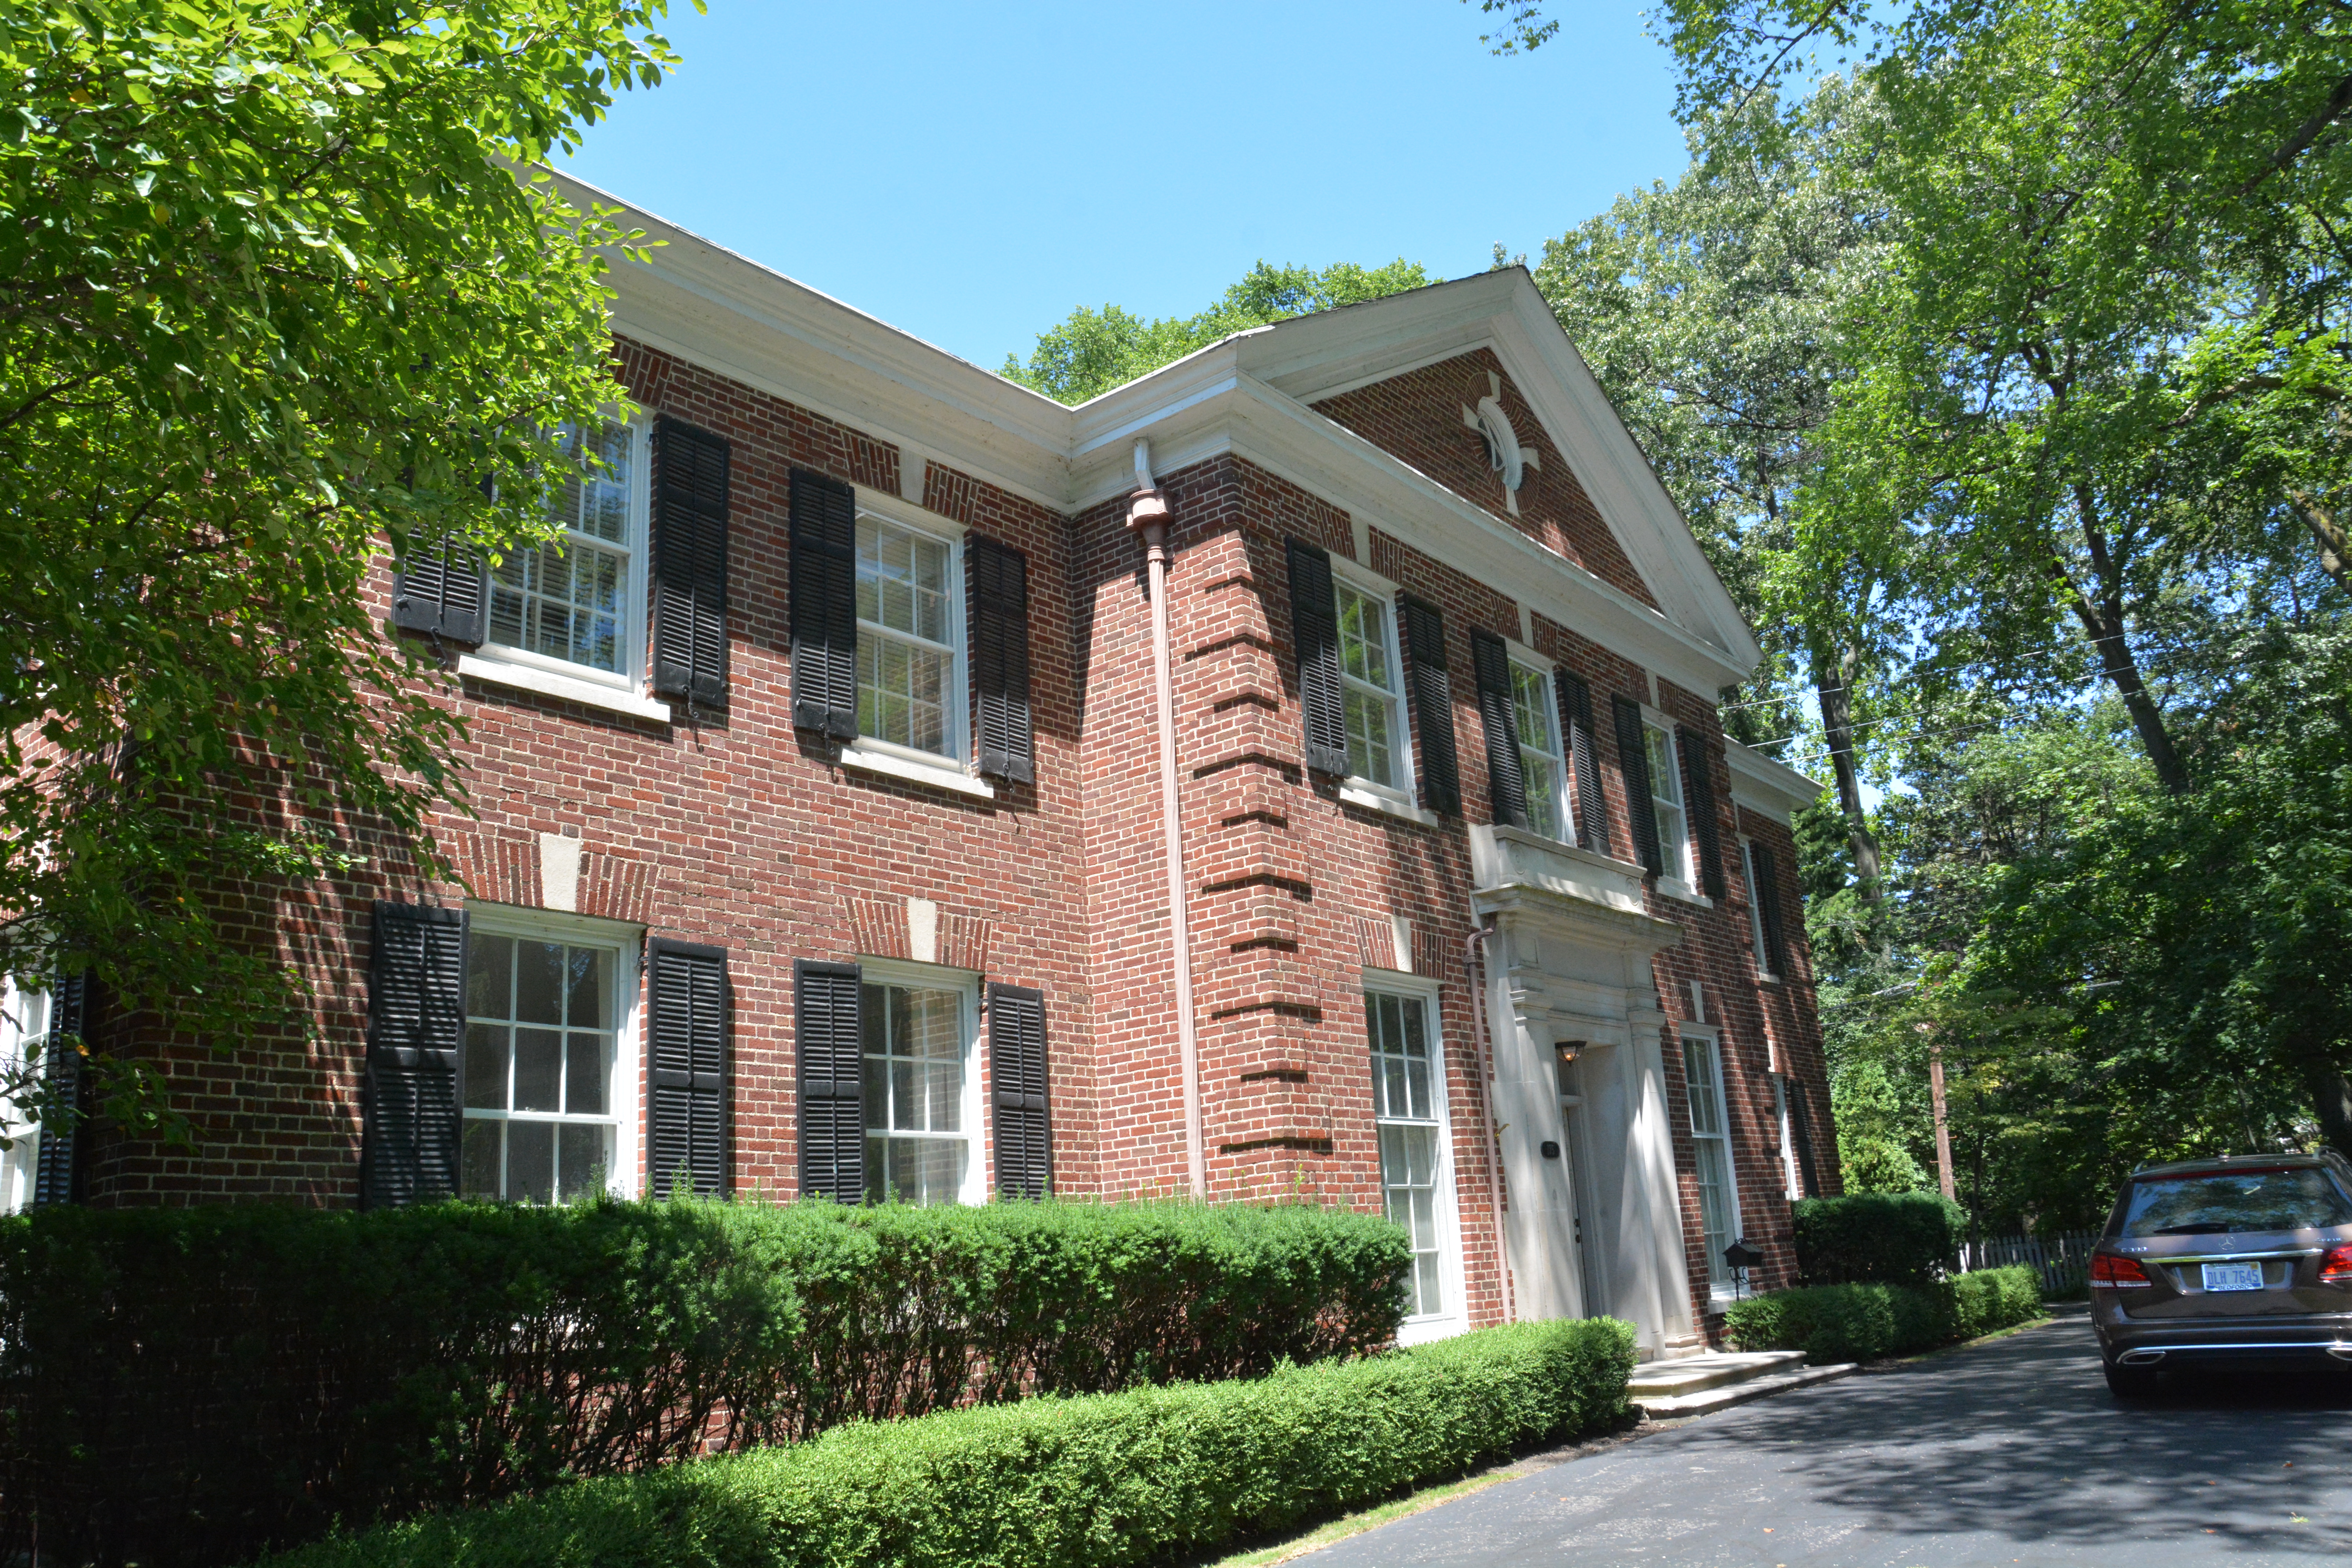
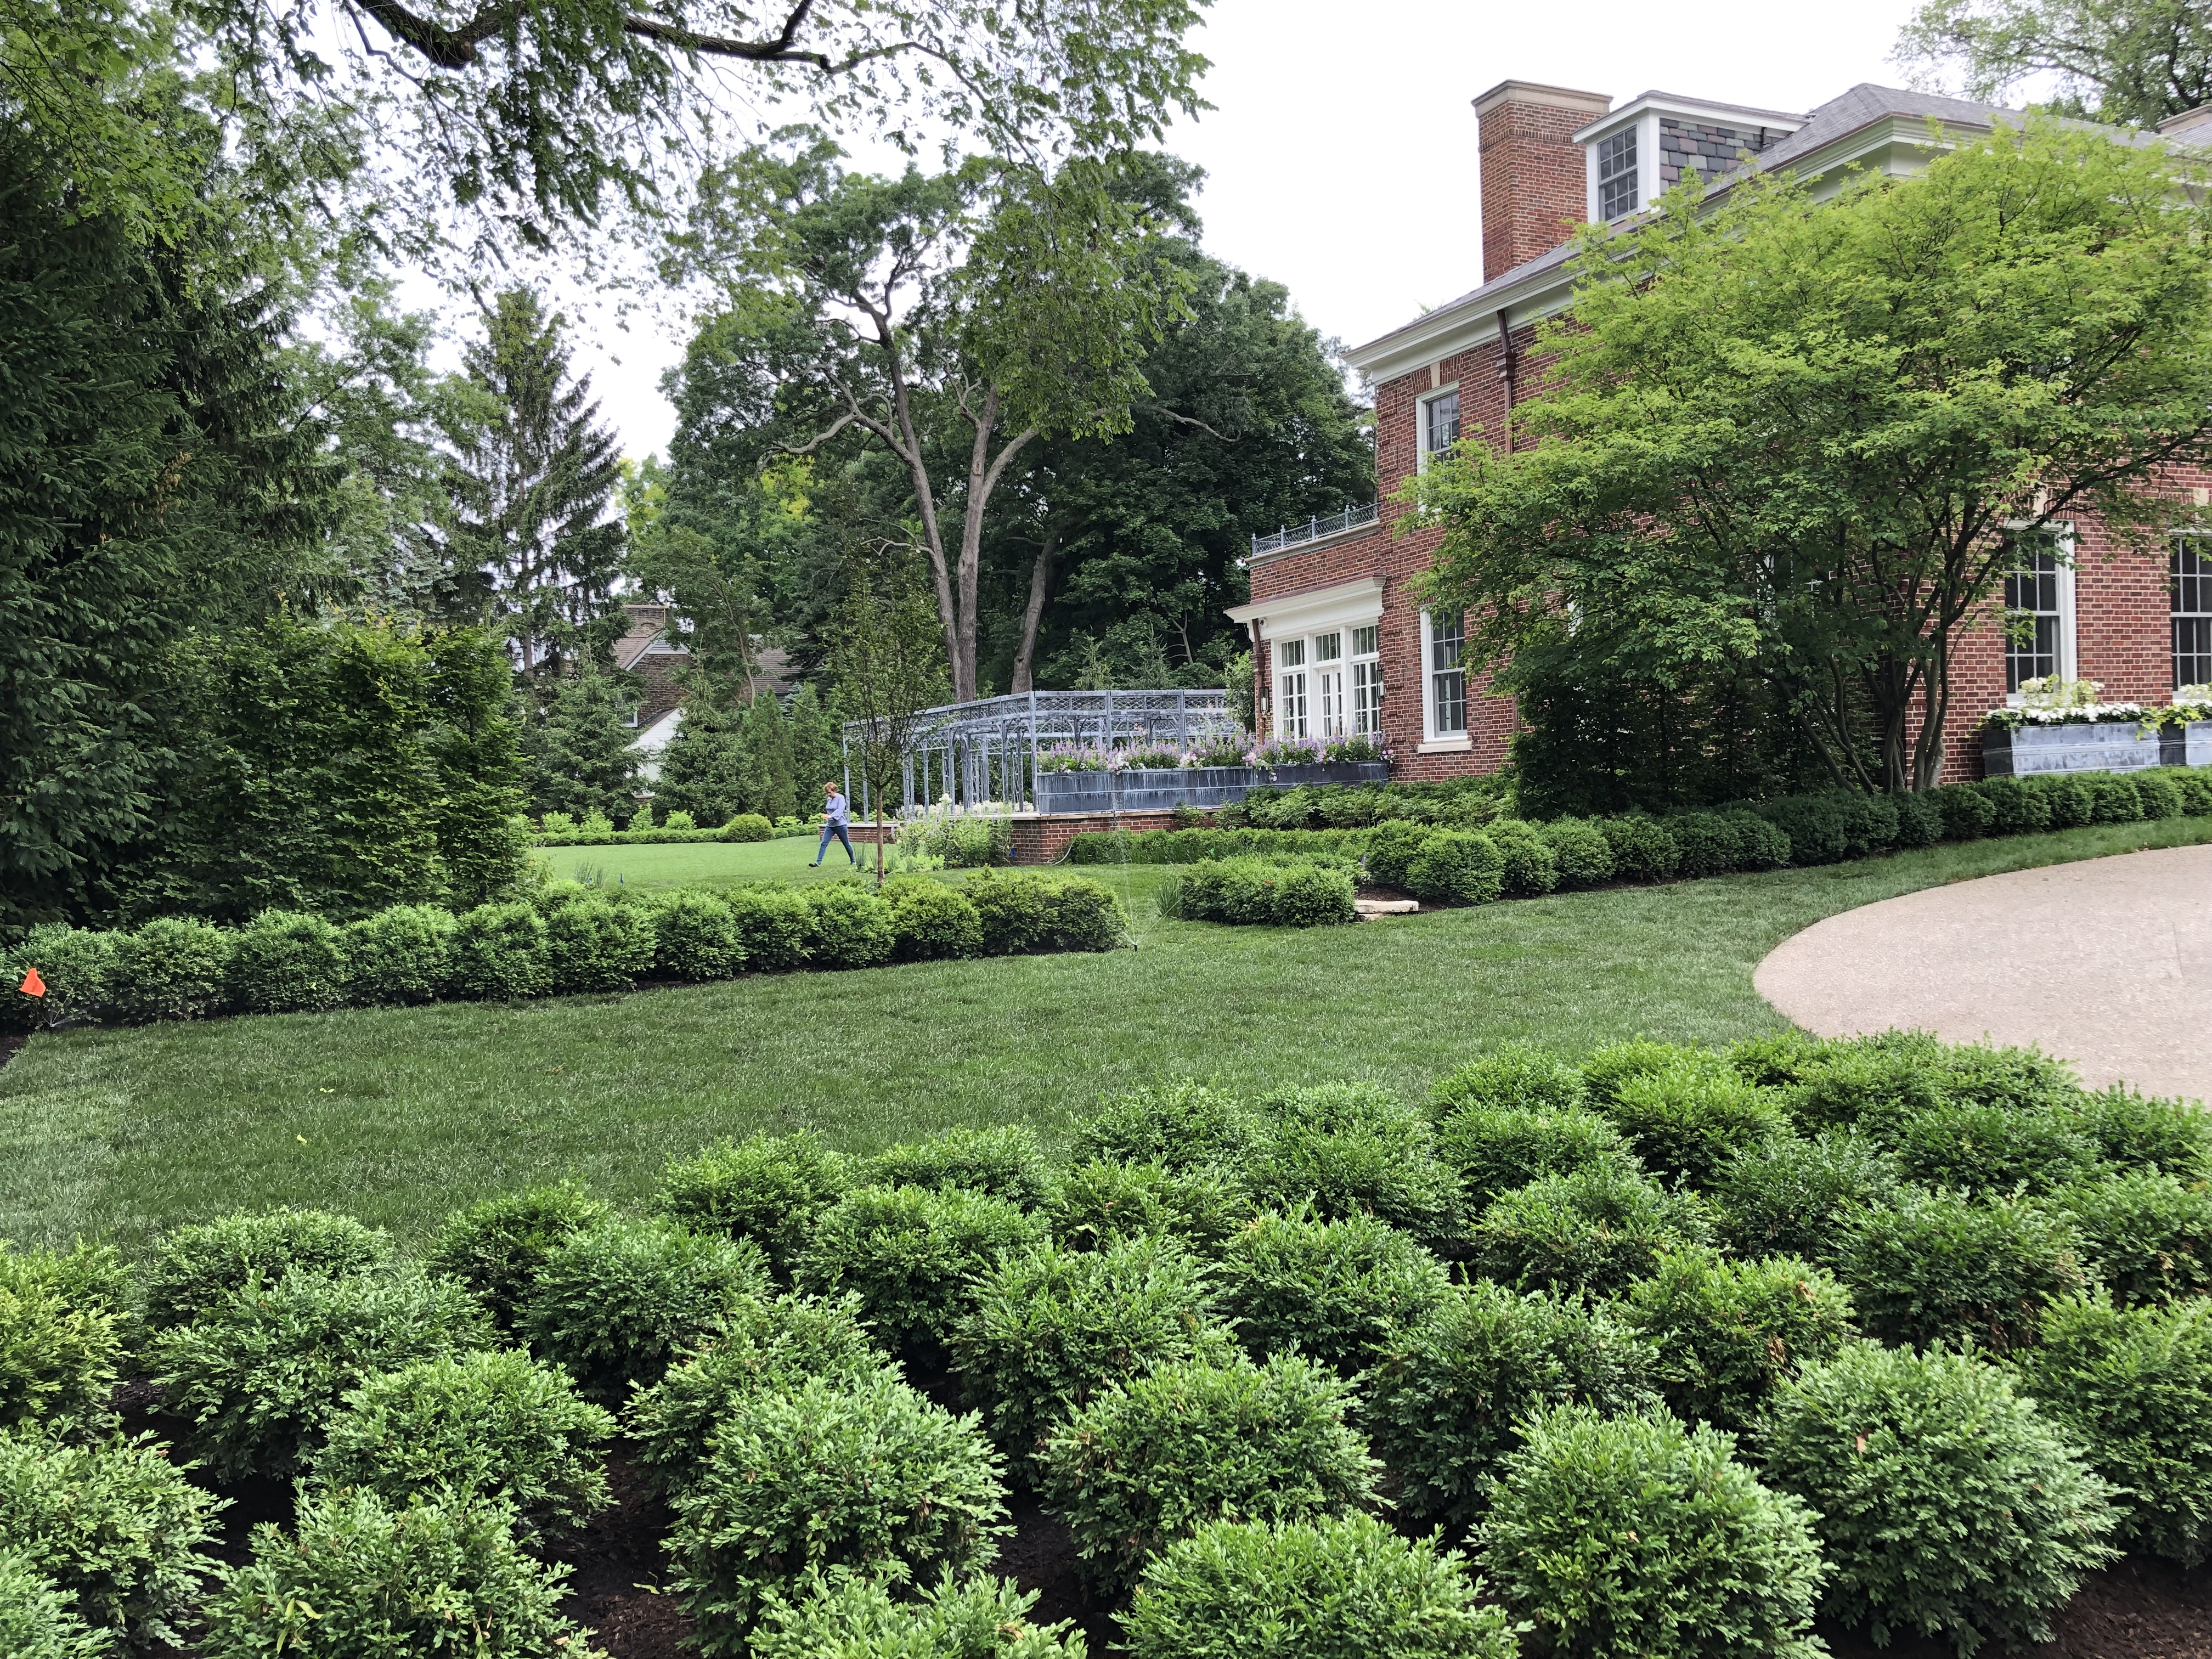
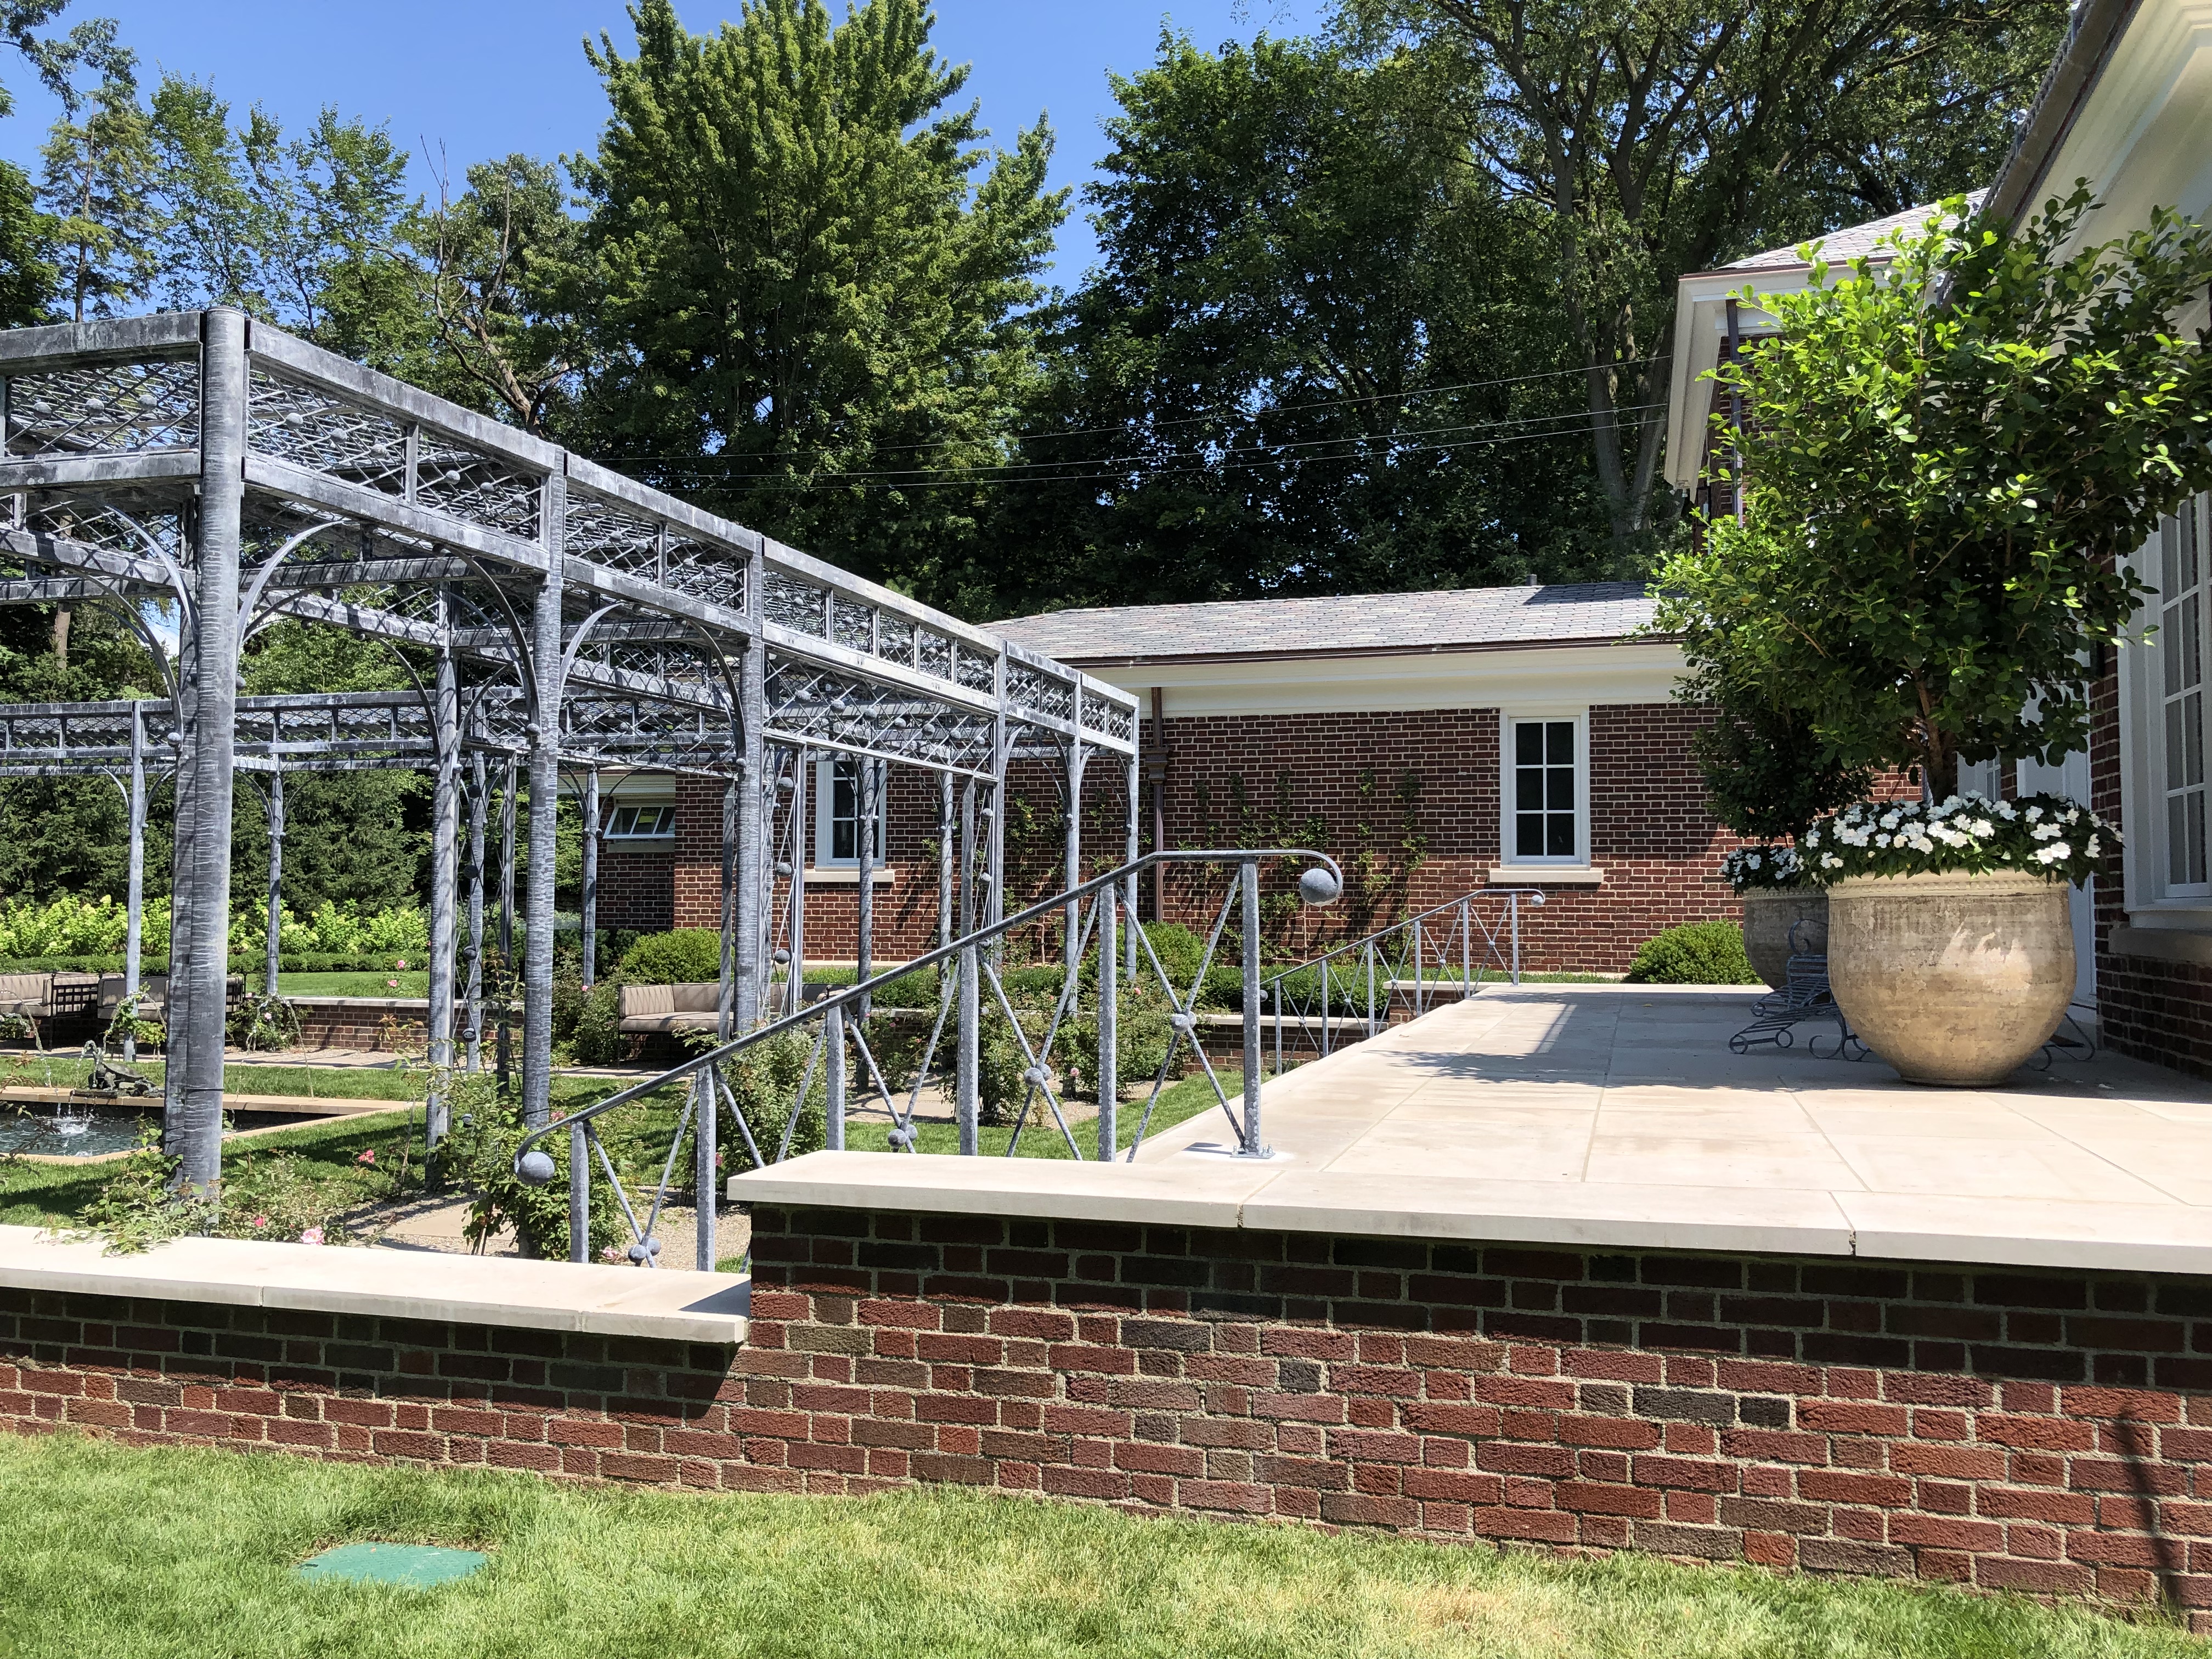
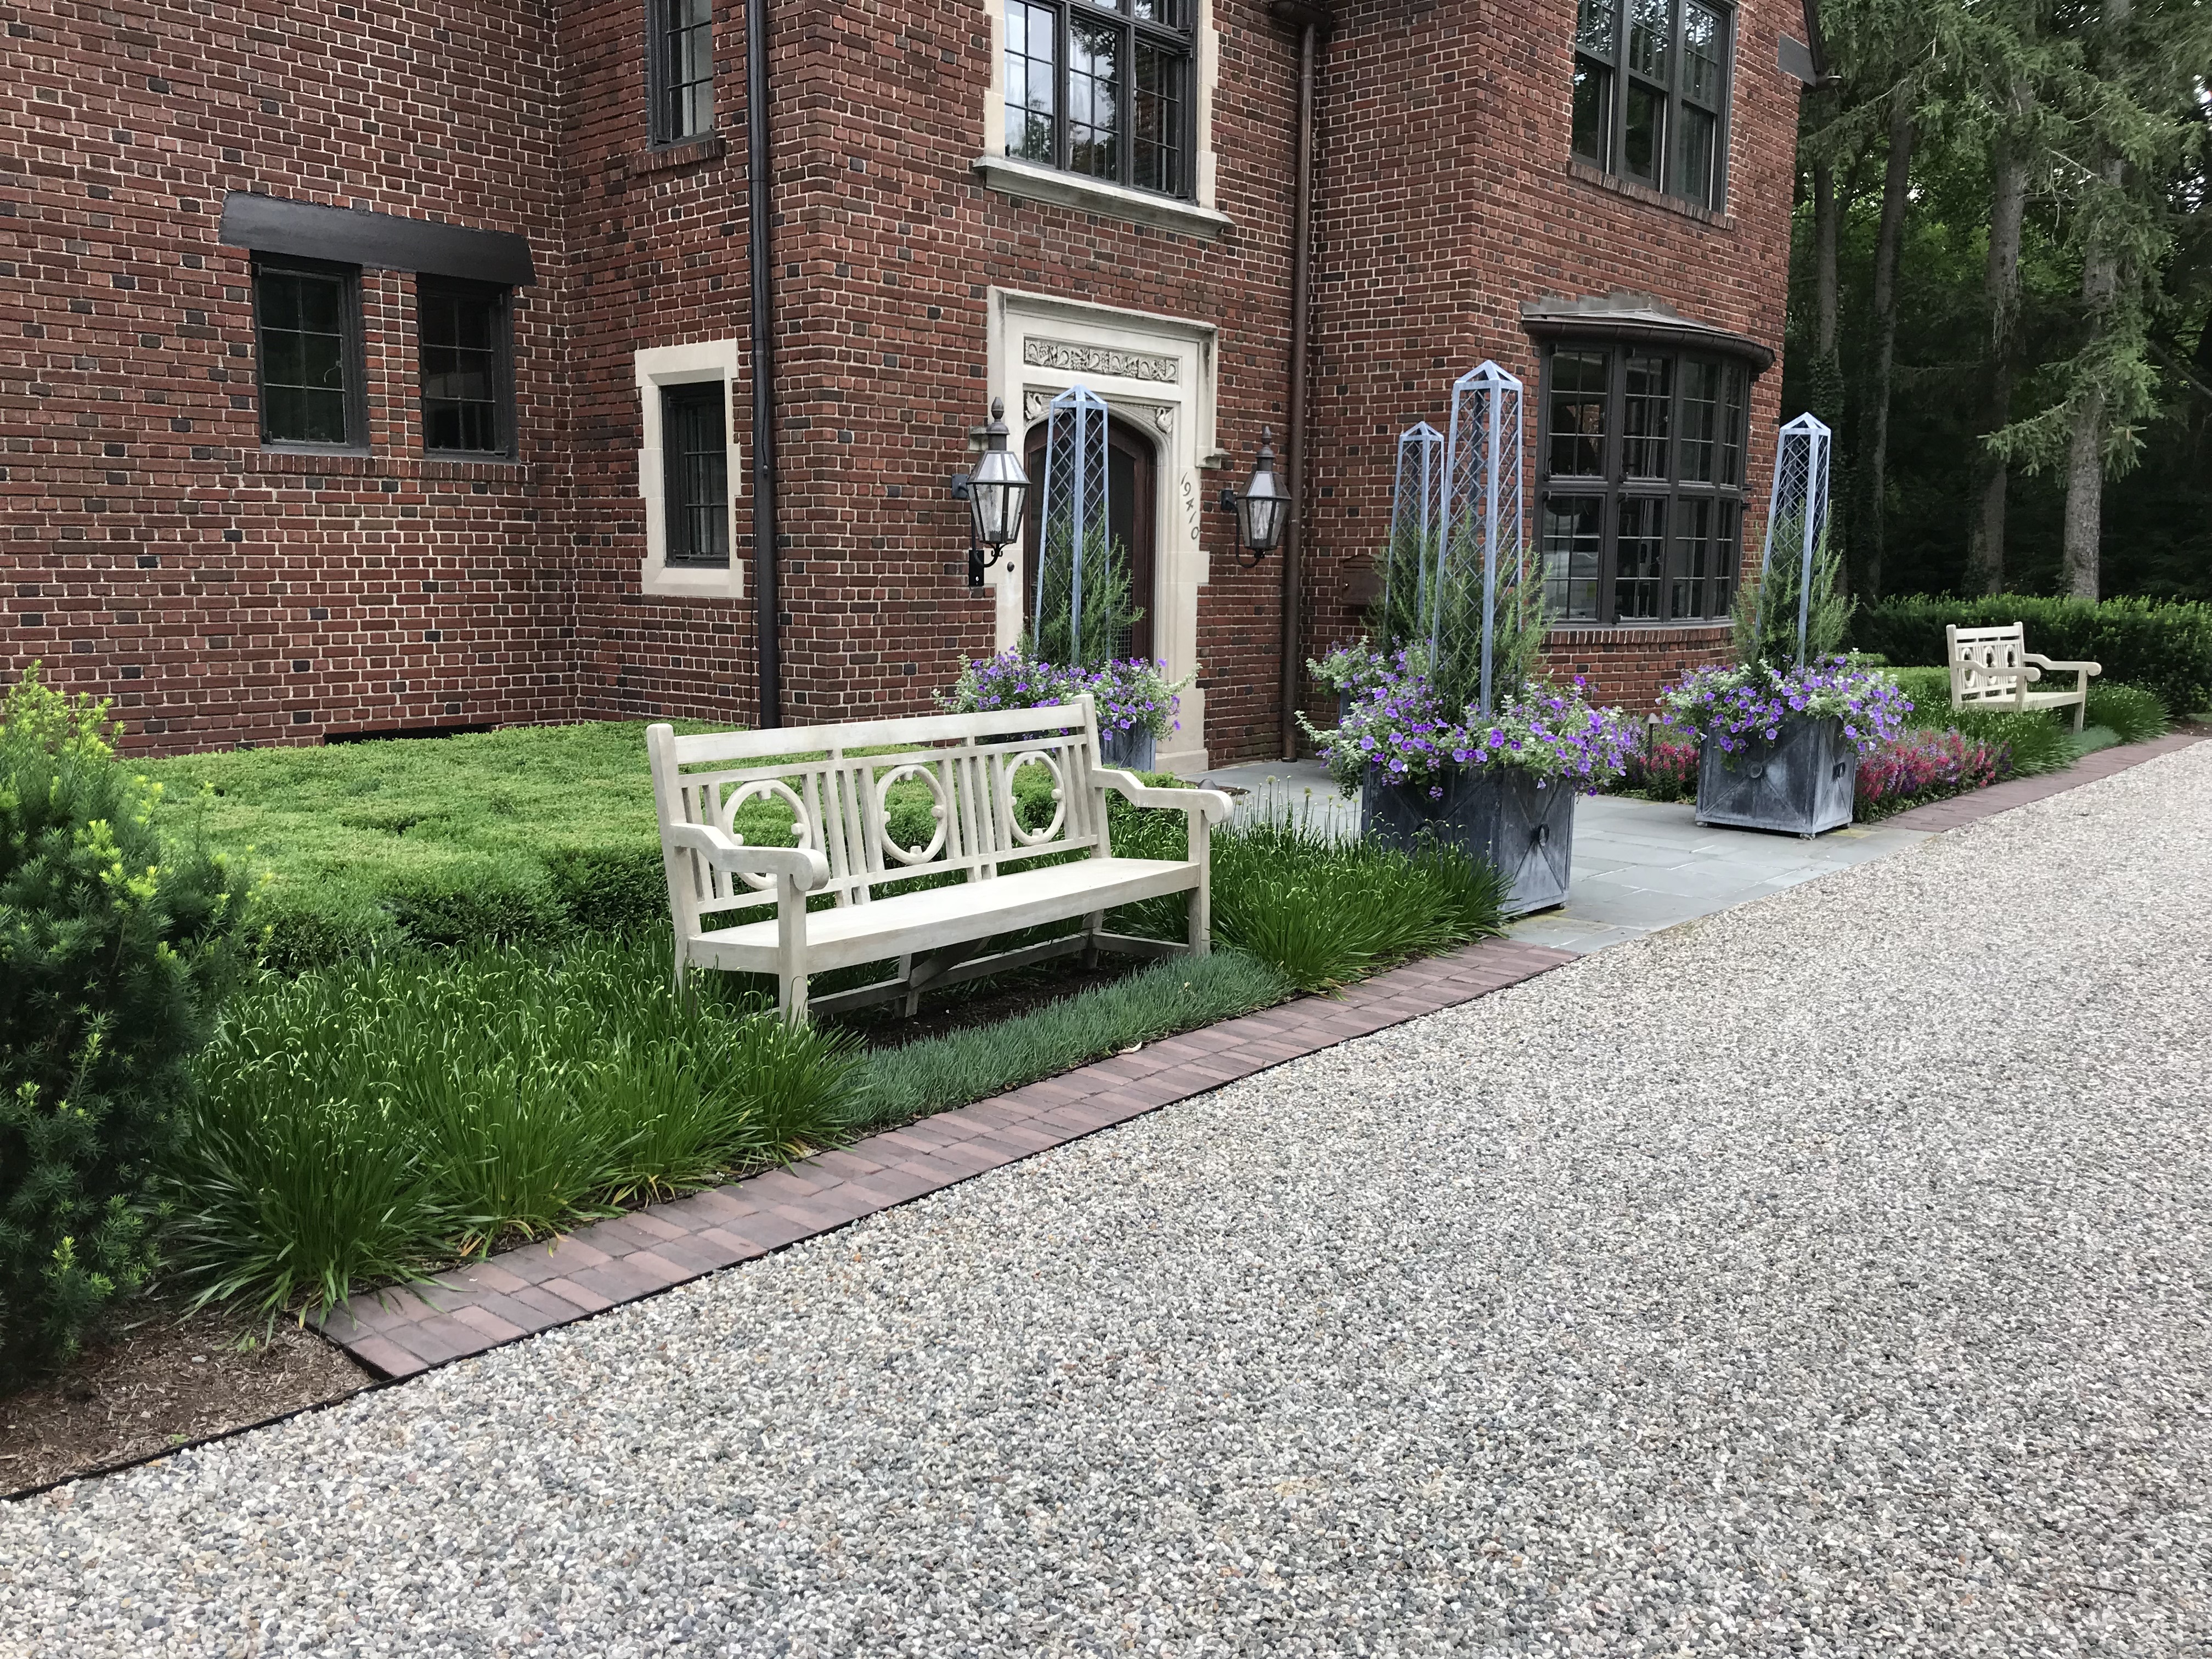
 This gravel driveway has a base layer of 21AA crushed limestone, and a 3″ top layer of the same medium crushed granite we are using at the shop. The drive is a firm surface that shows no evidence of vehicular traffic, yet is is permeable to rain.
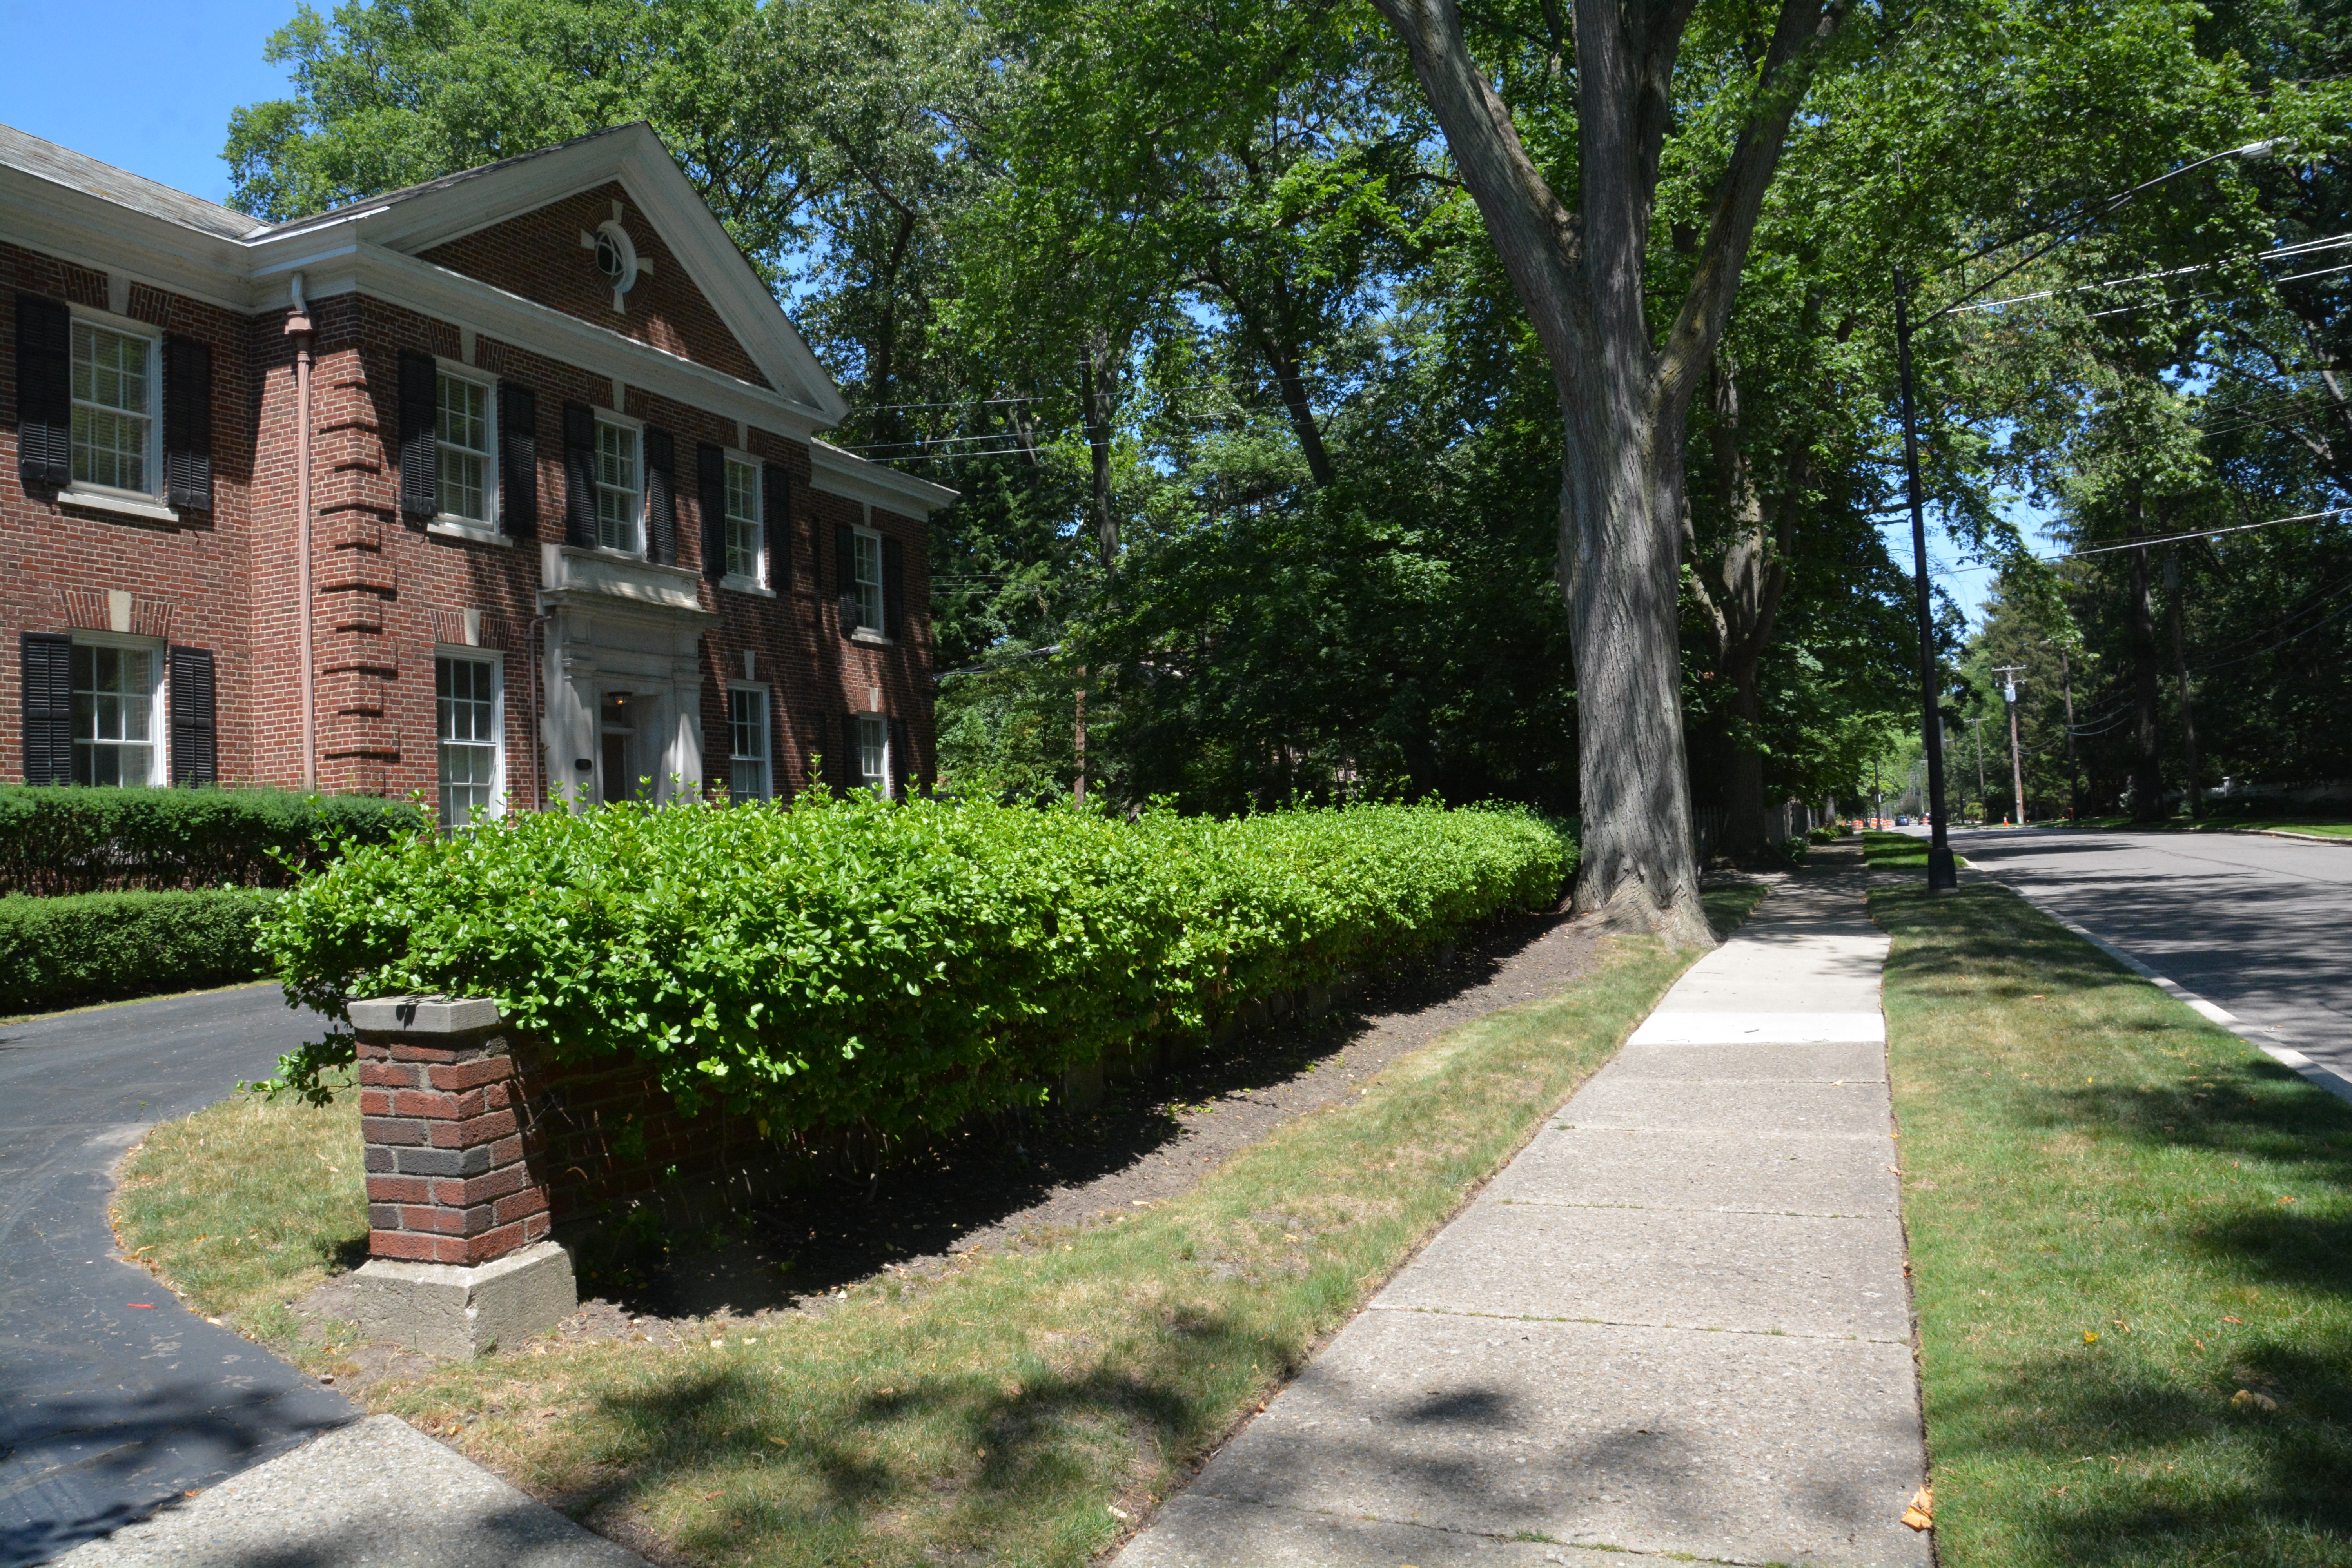
 gravel driveway
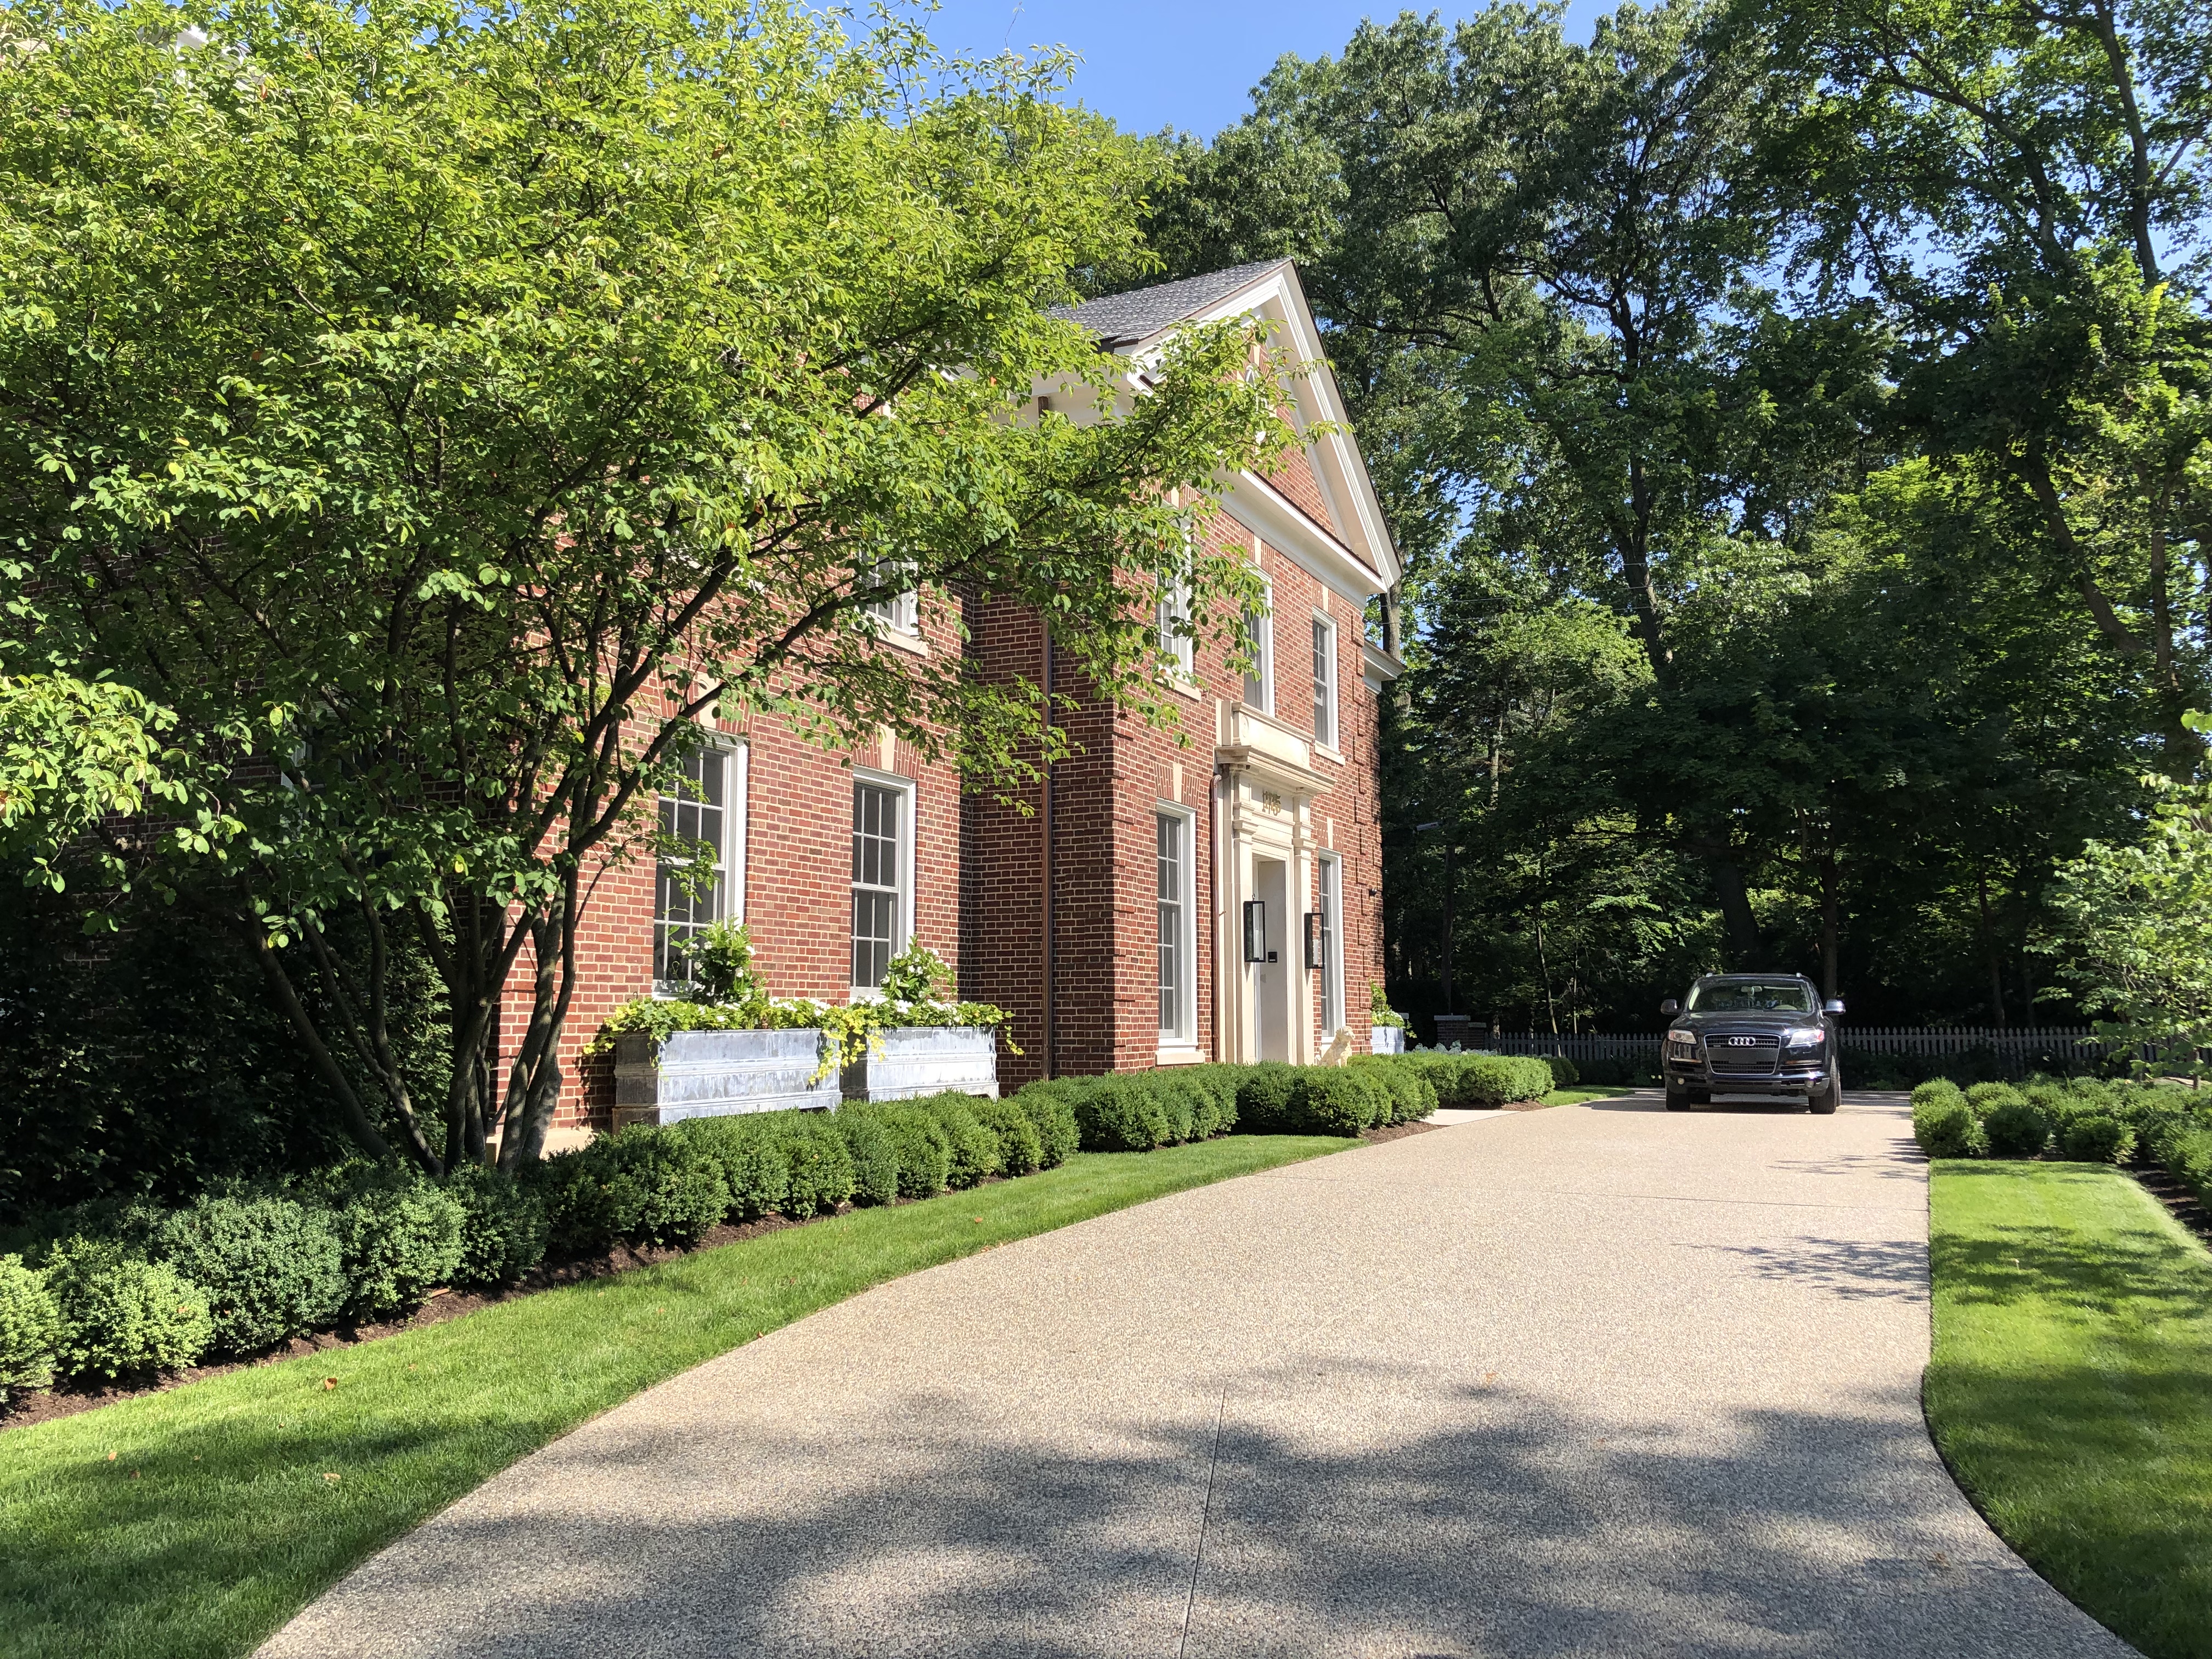
 exposed aggregate concrete drive with graveled edges
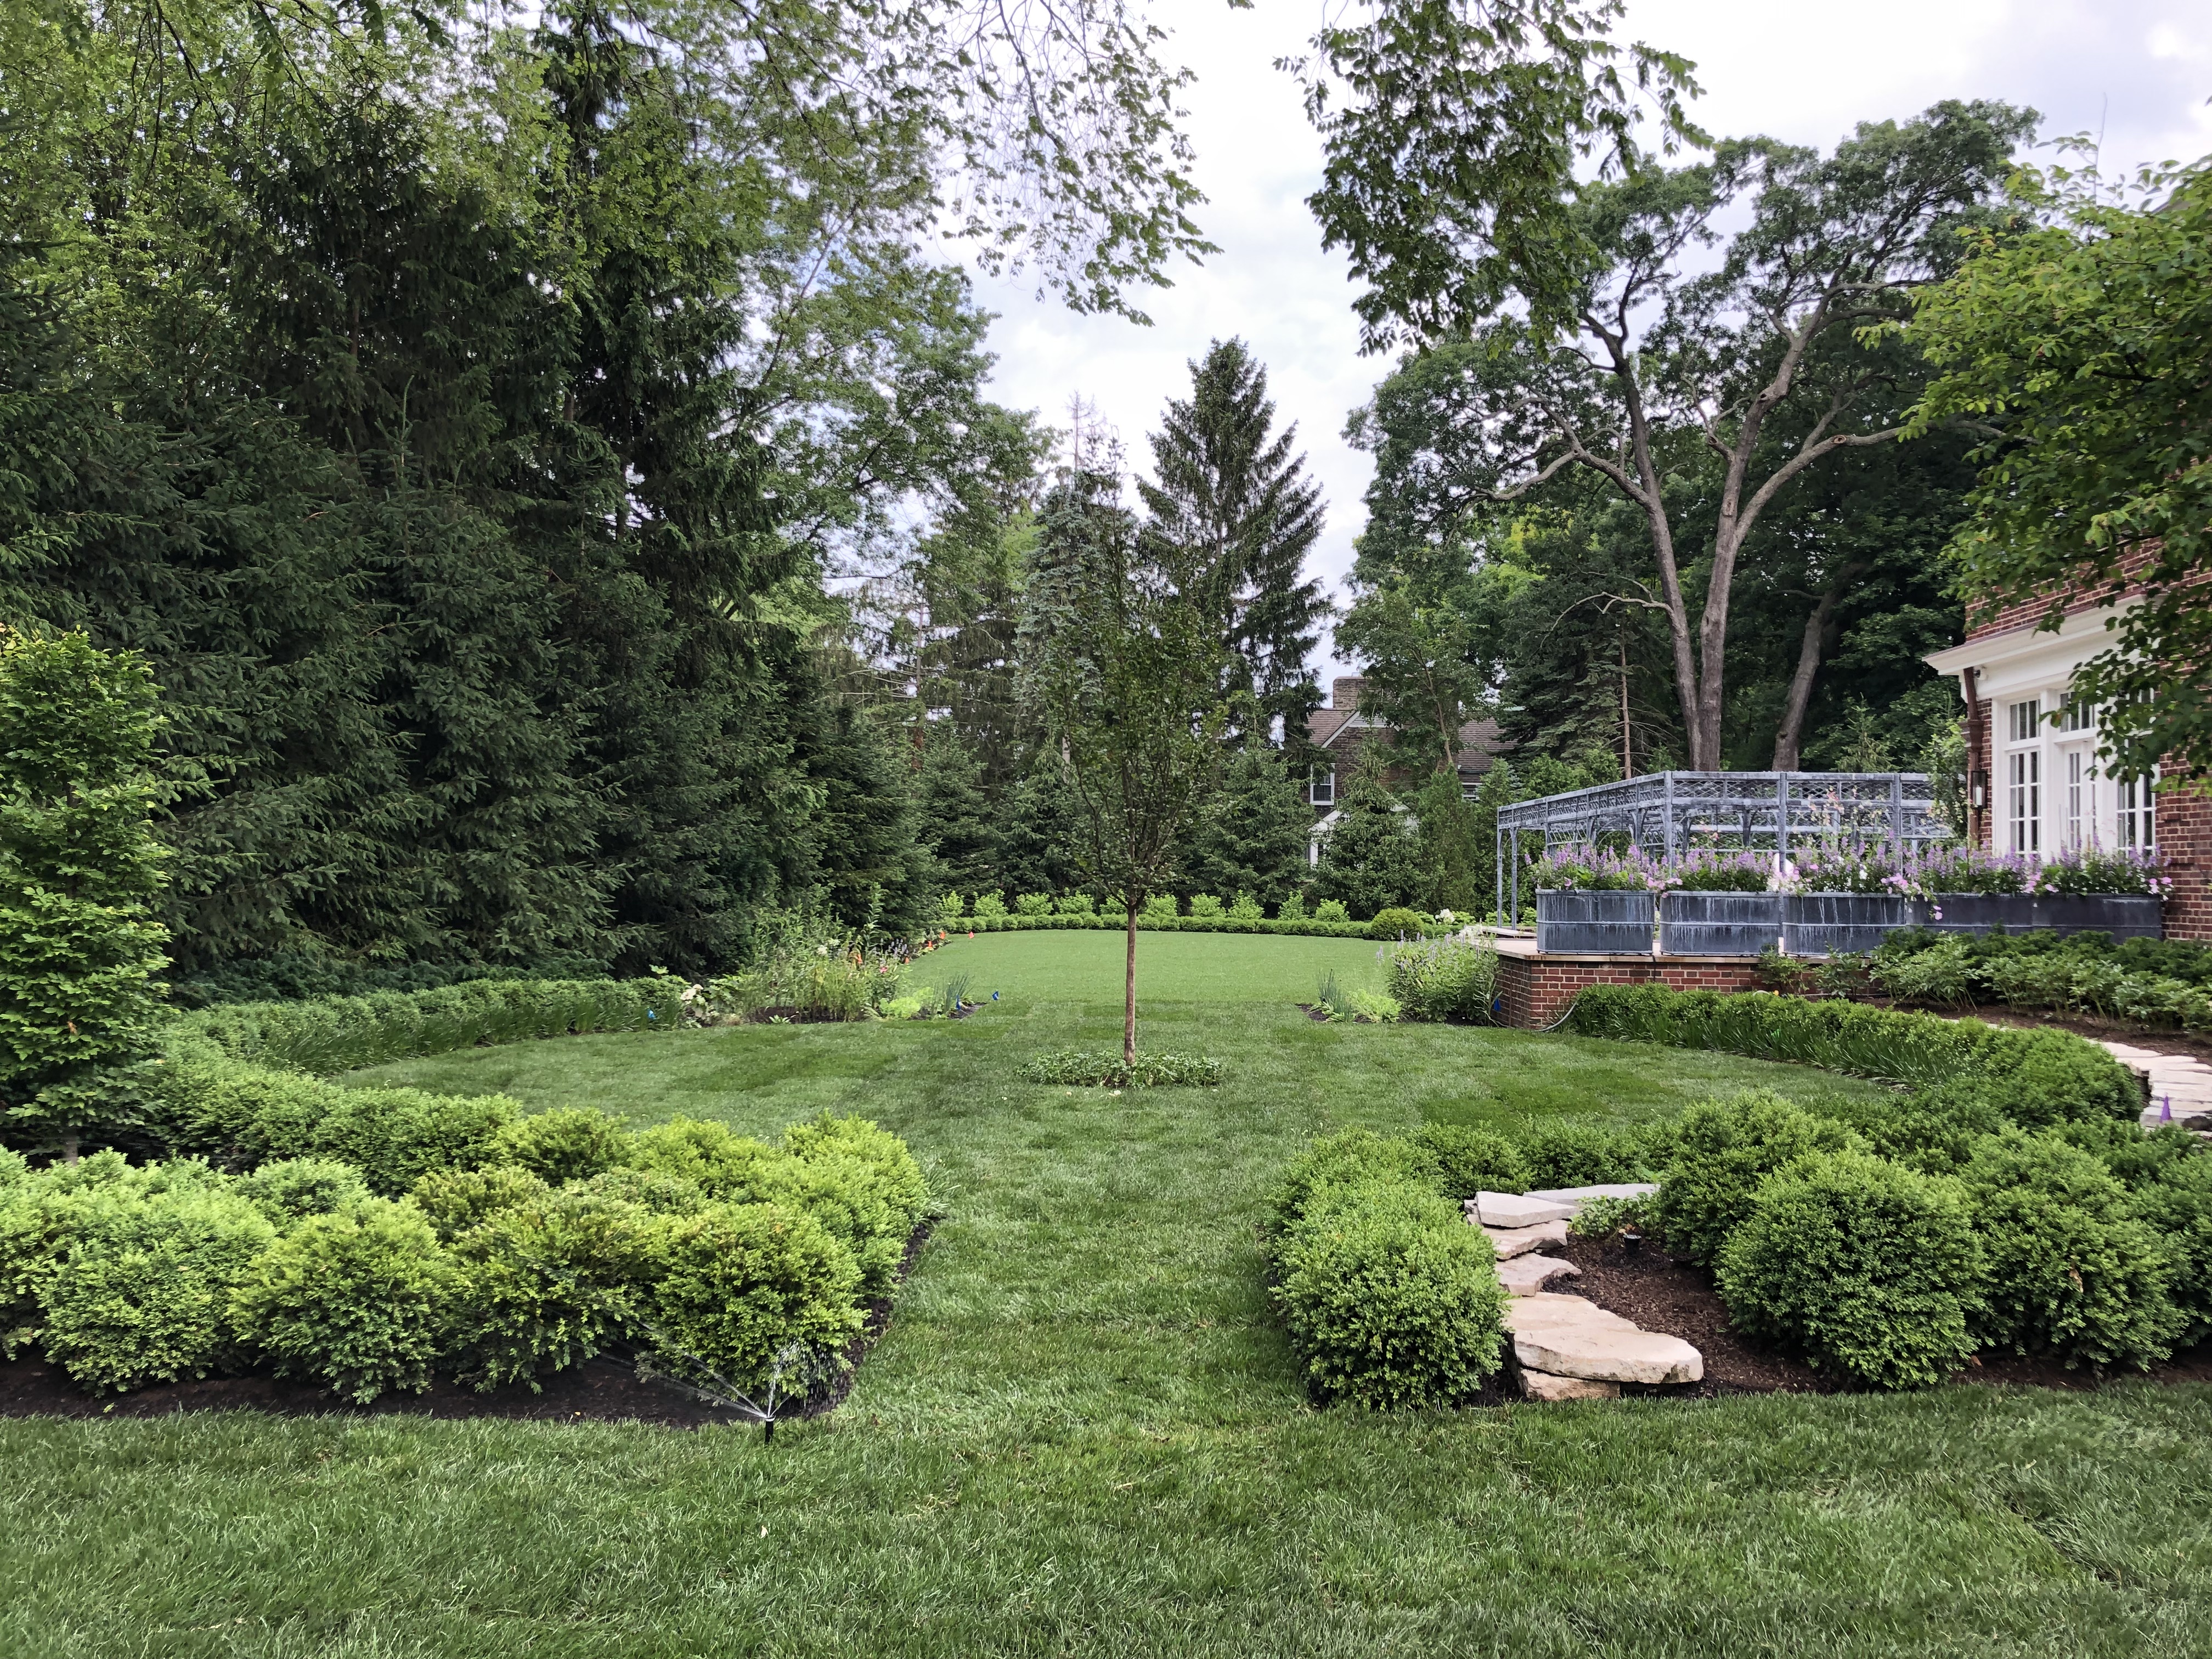
 For those who would rather not deal with the maintenance of gravel, an exposed aggregate concrete surface provides the look of without the maintenance required of a paving material that moves. Aggregate concrete is a several part process that requires a highly skilled installation.
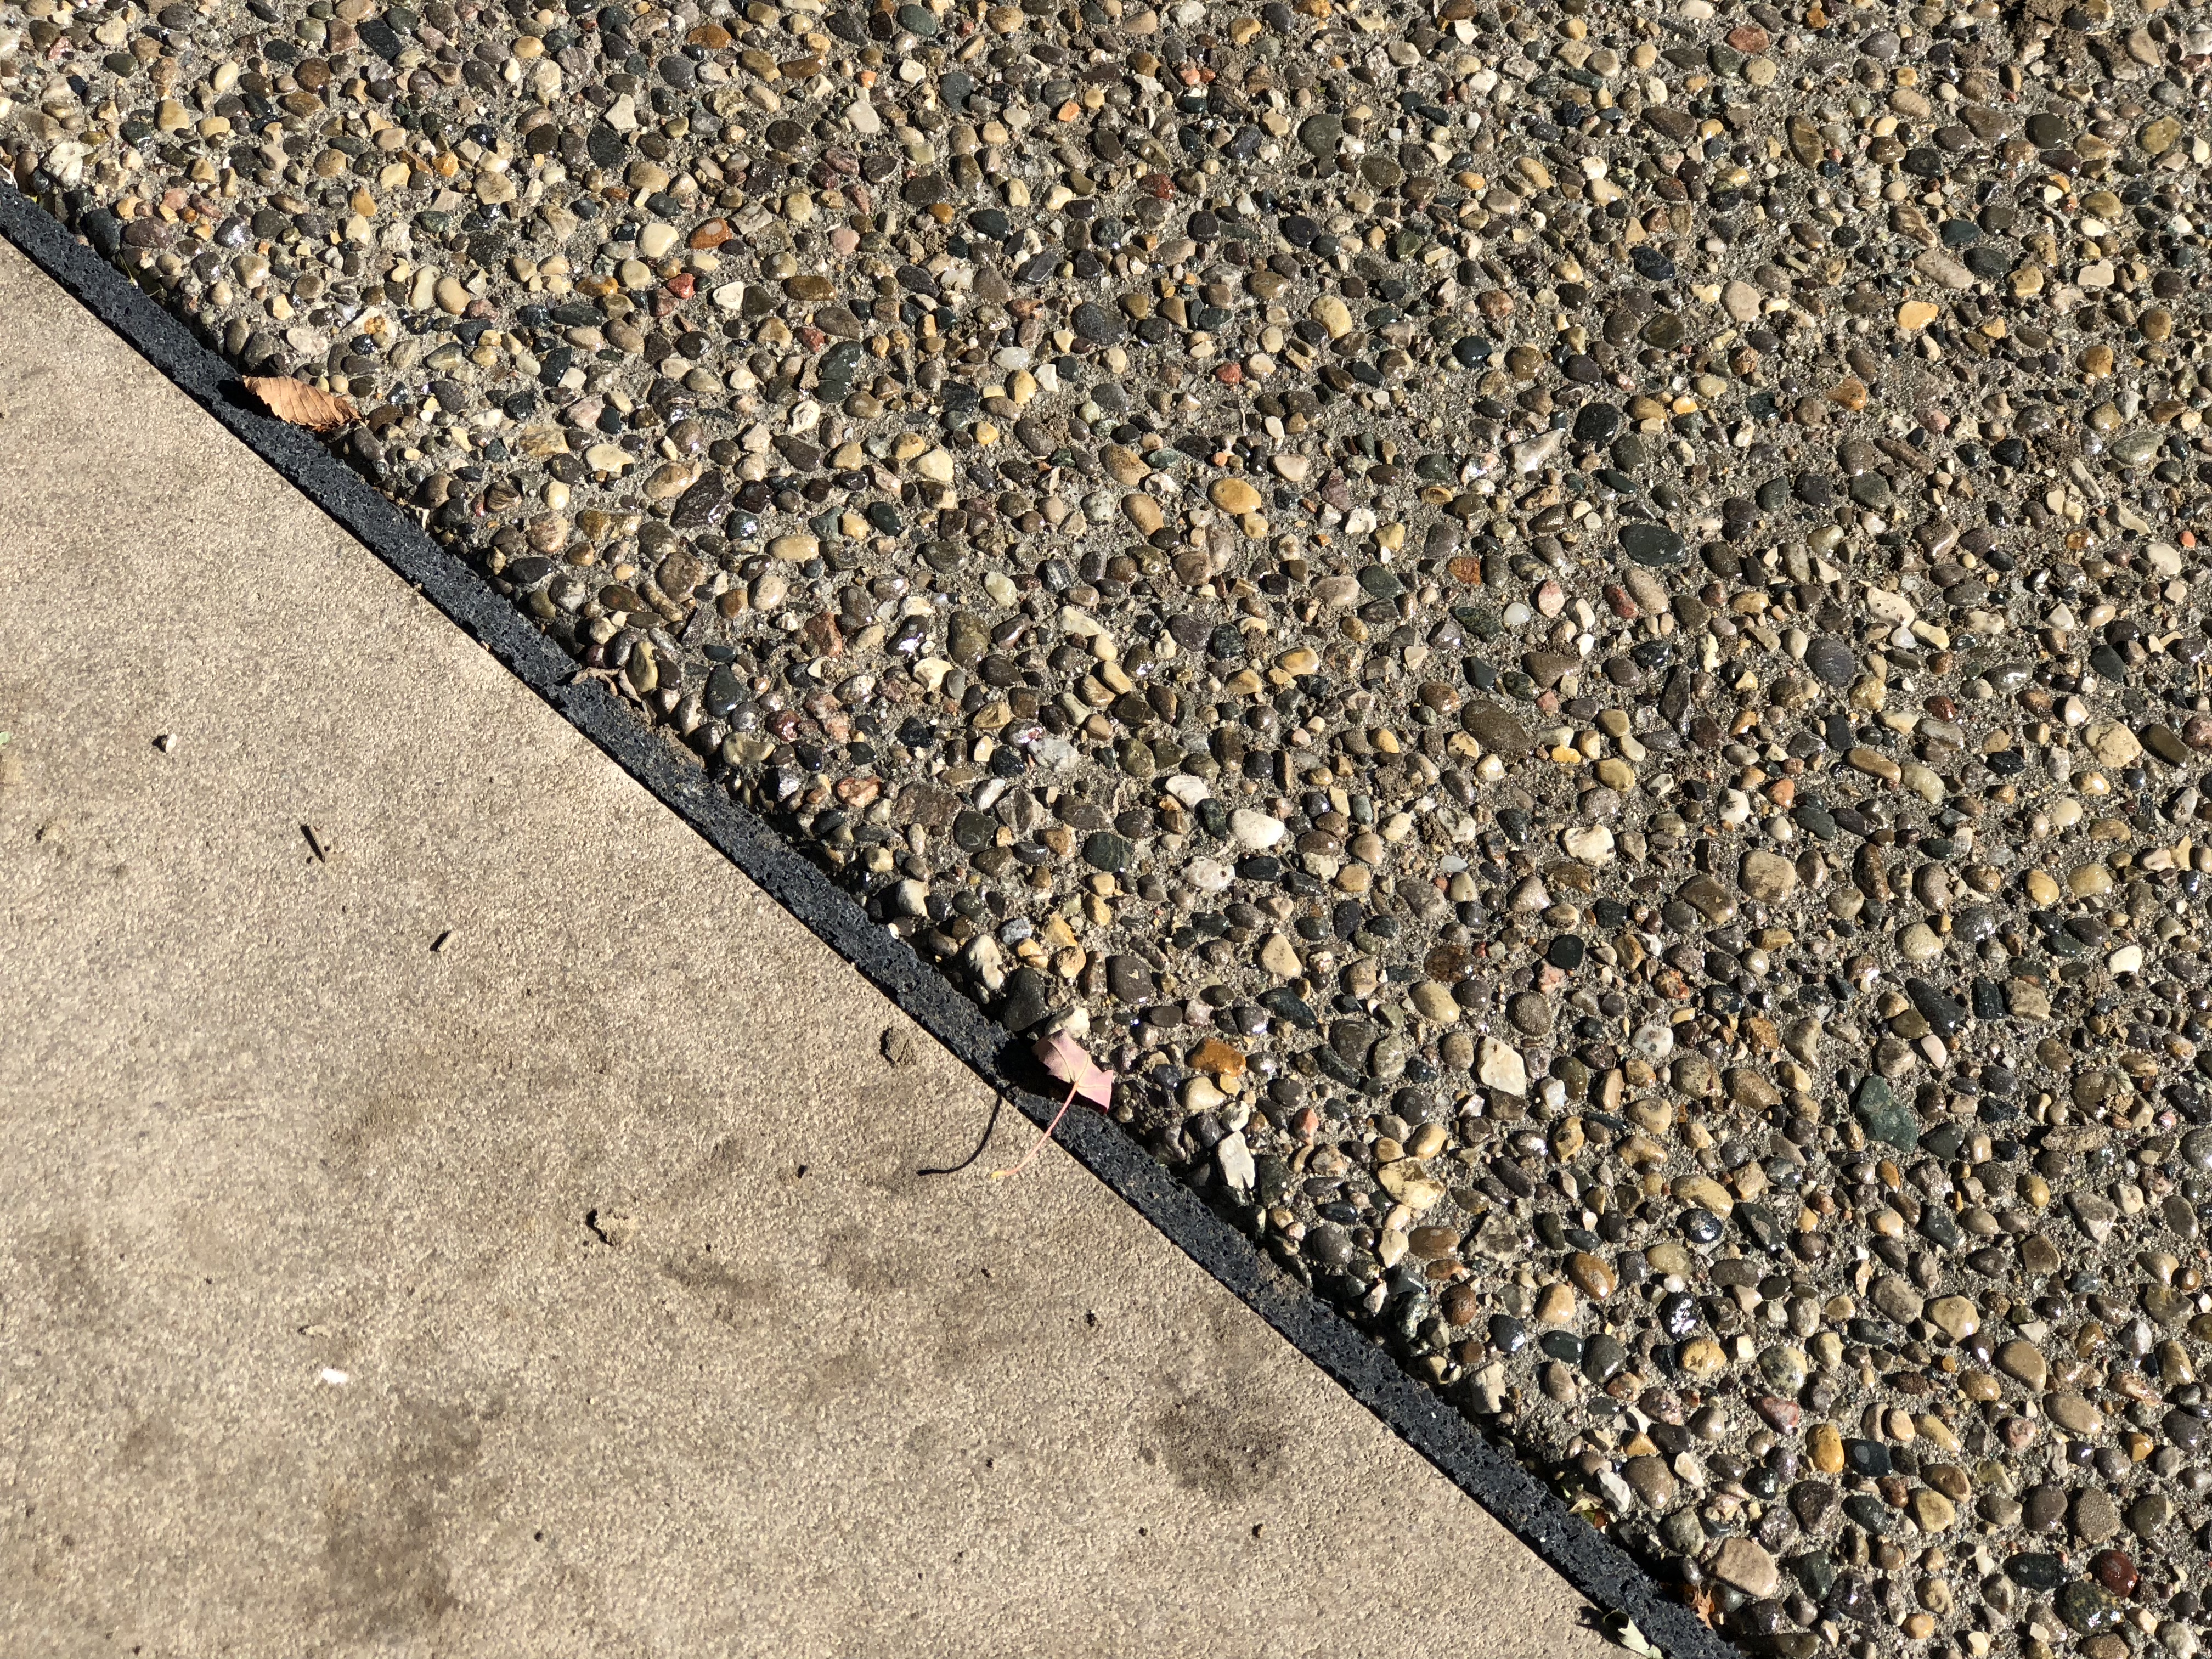 This driveway was beautifully done, and should provide many years of maintenance free service.
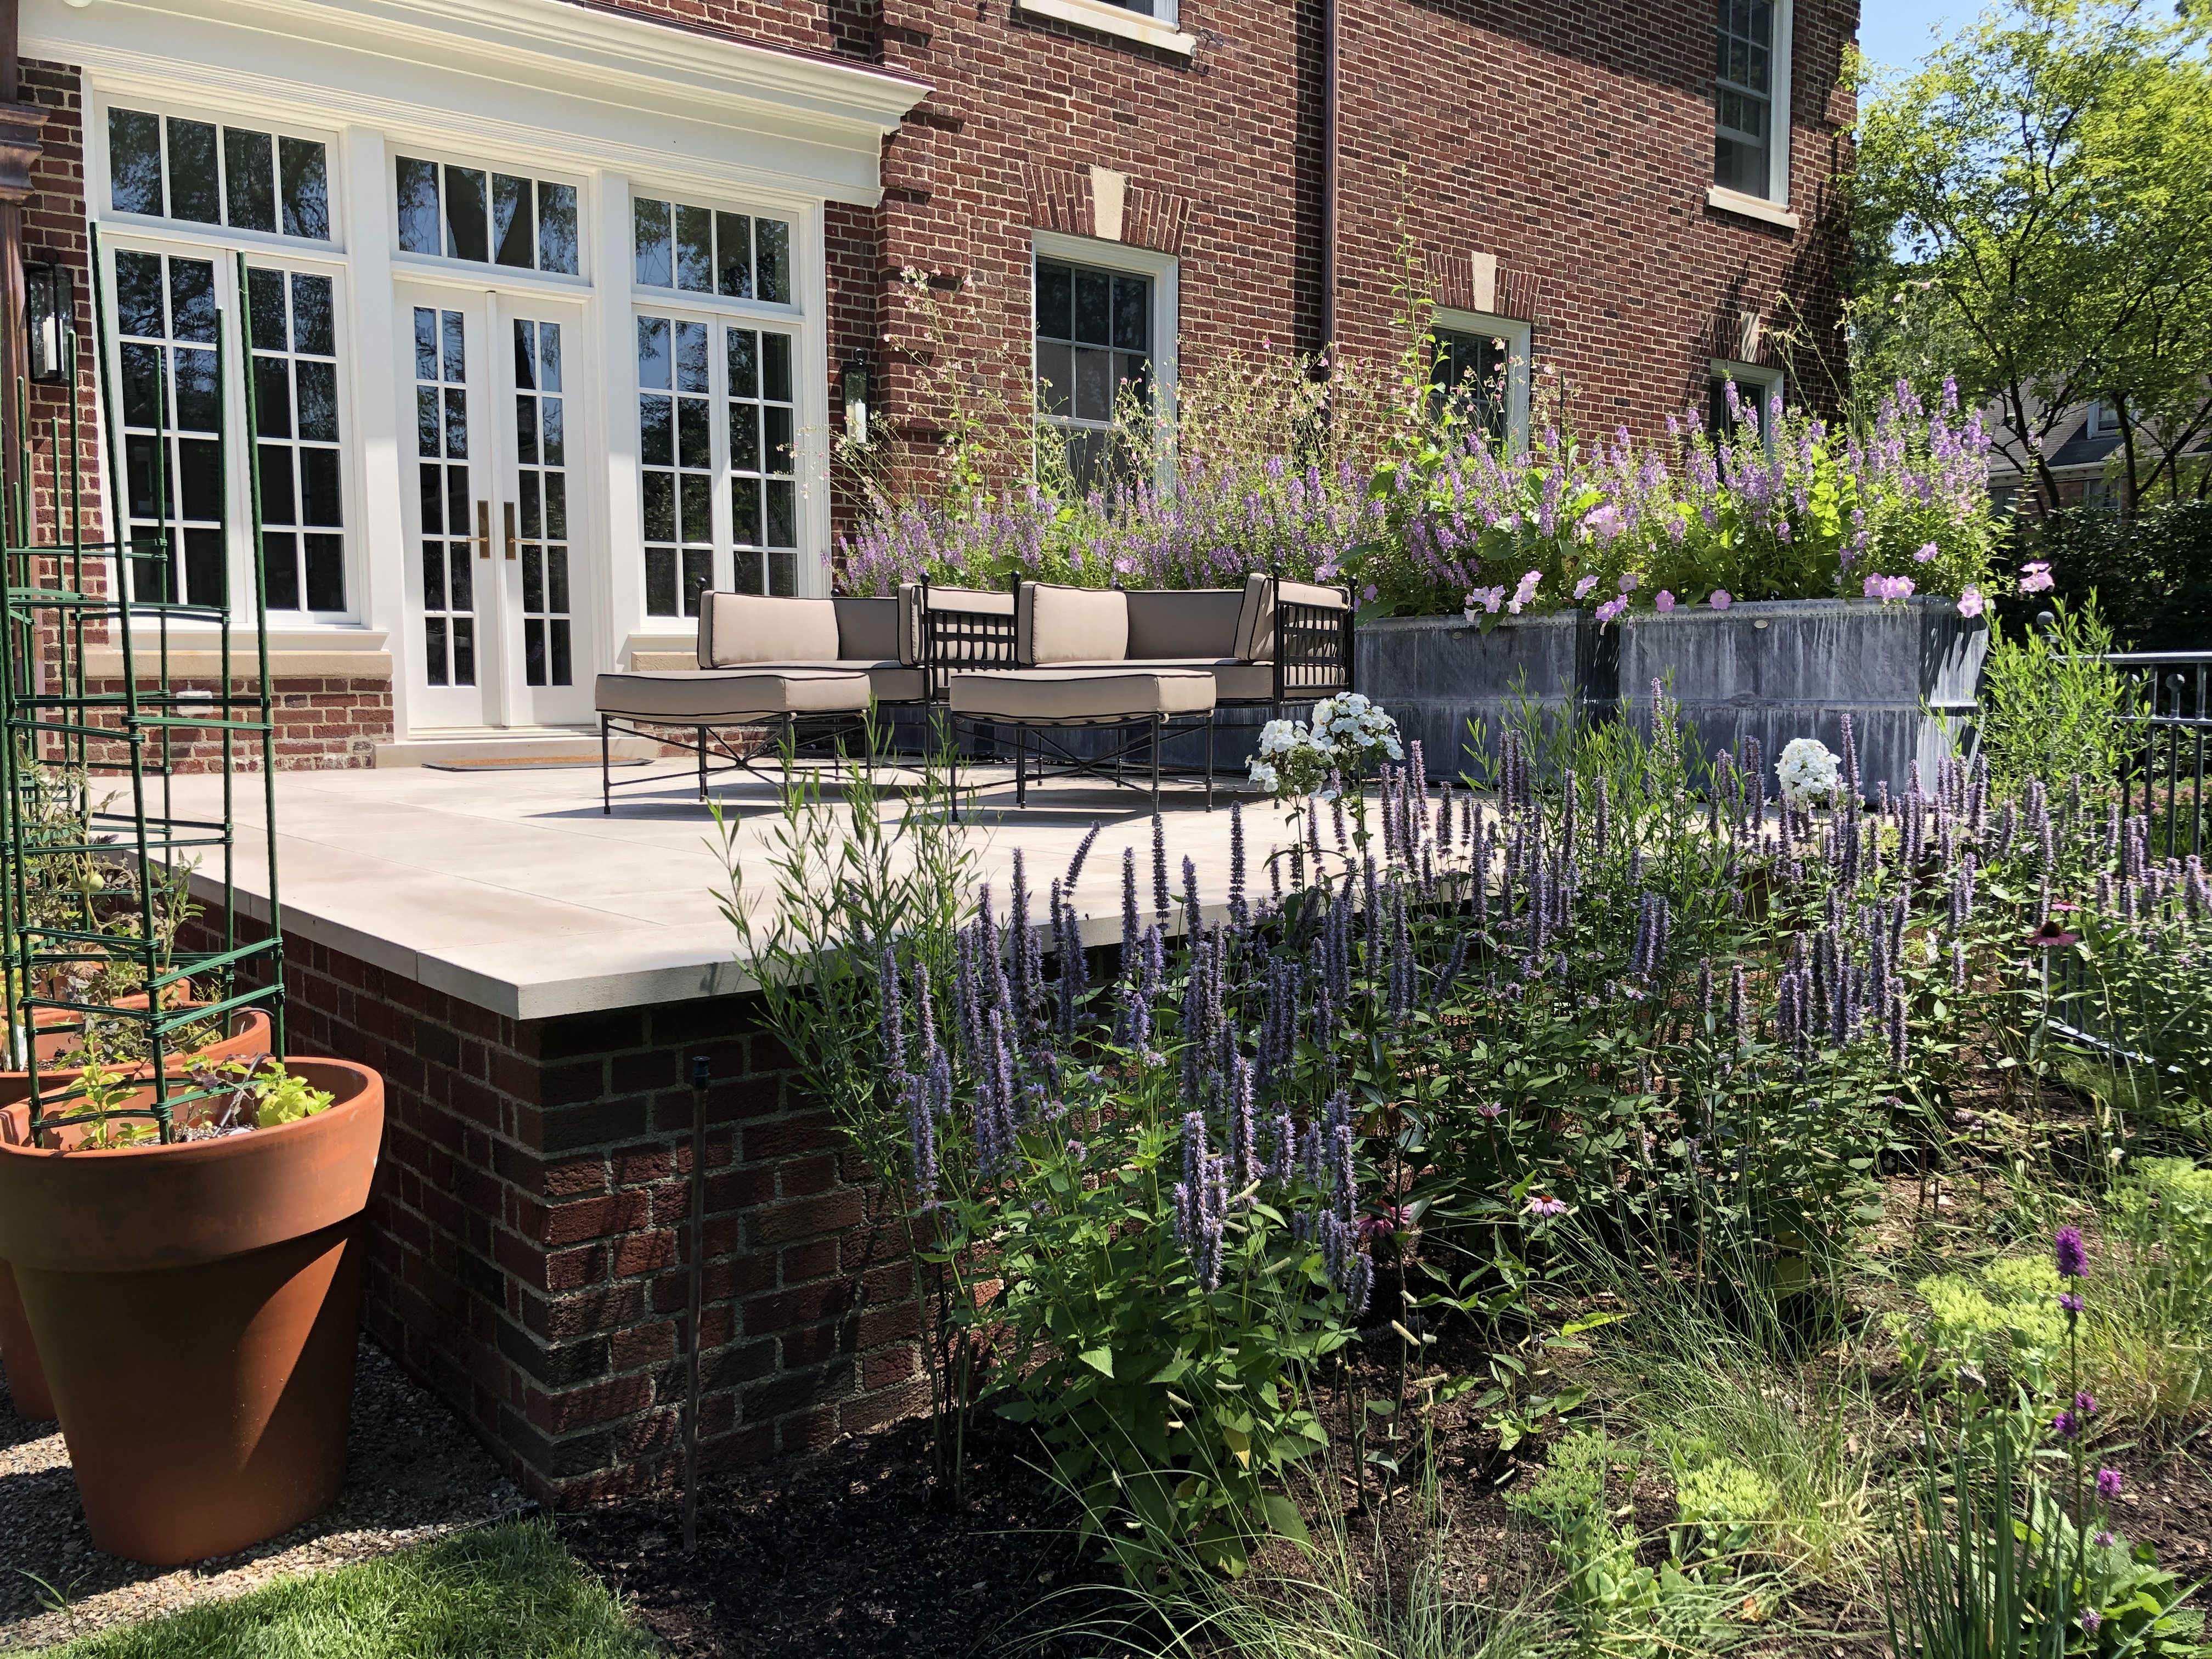
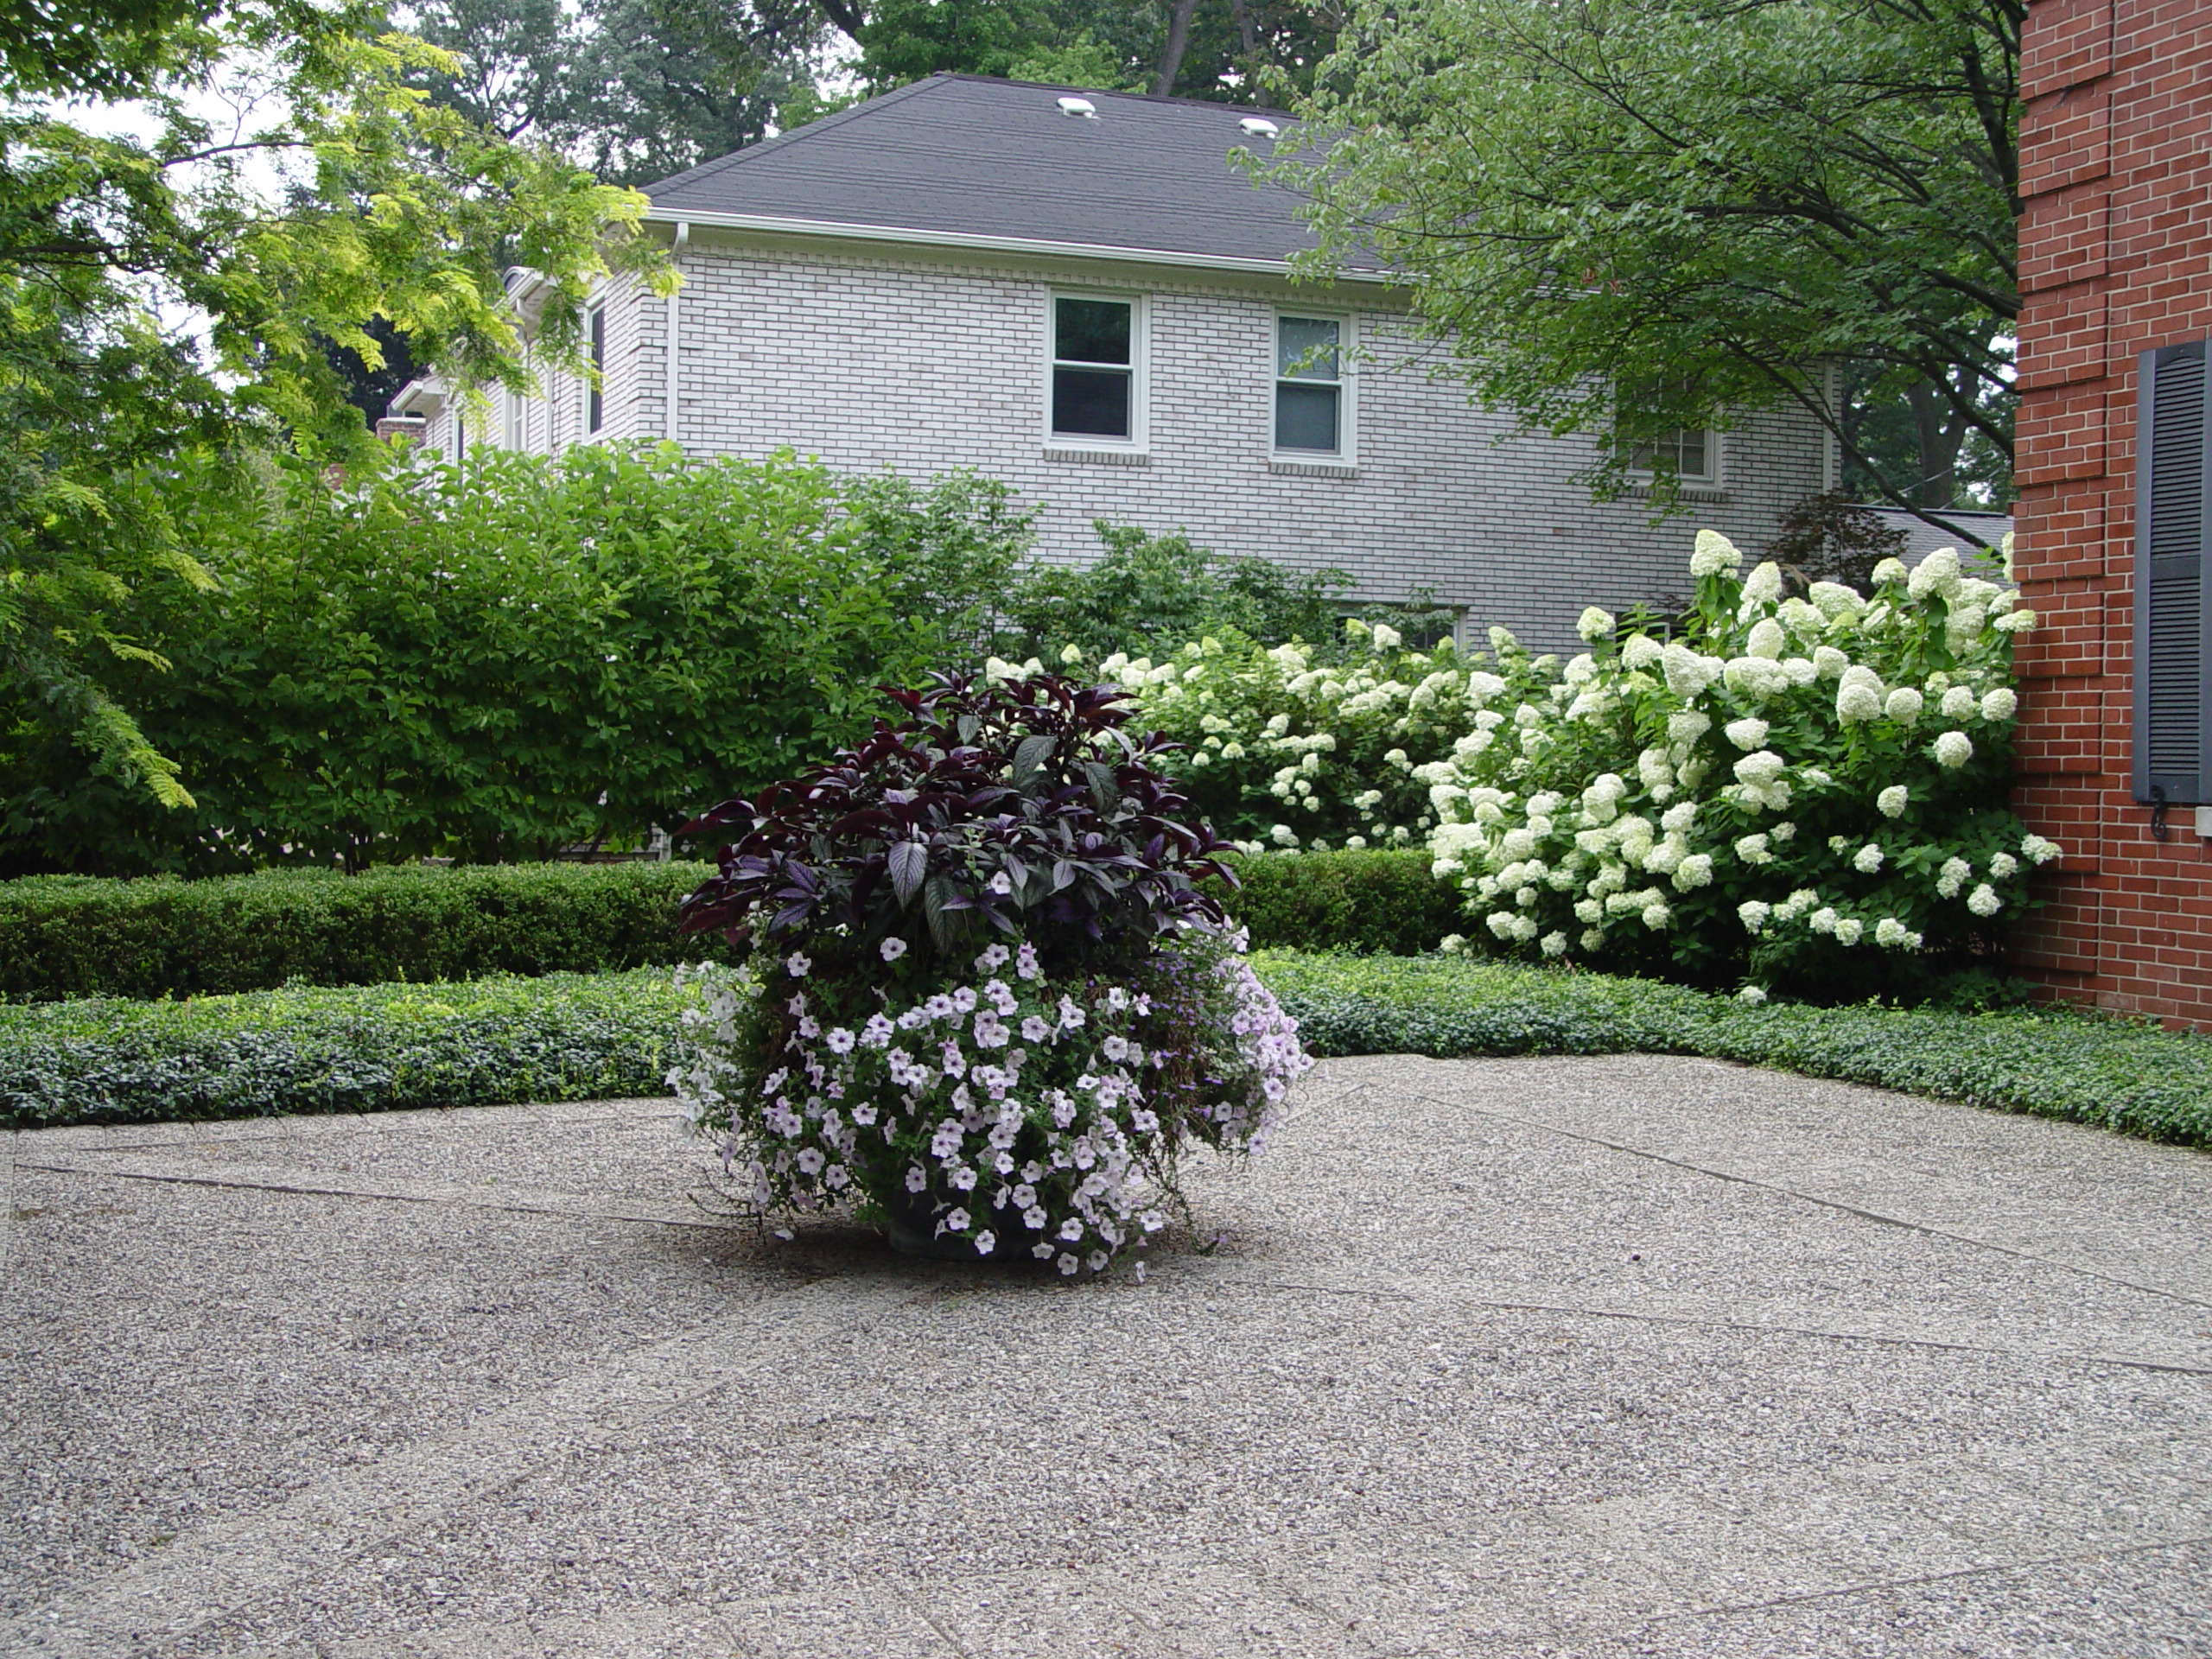 gravel terrace with exposed aggregate detail
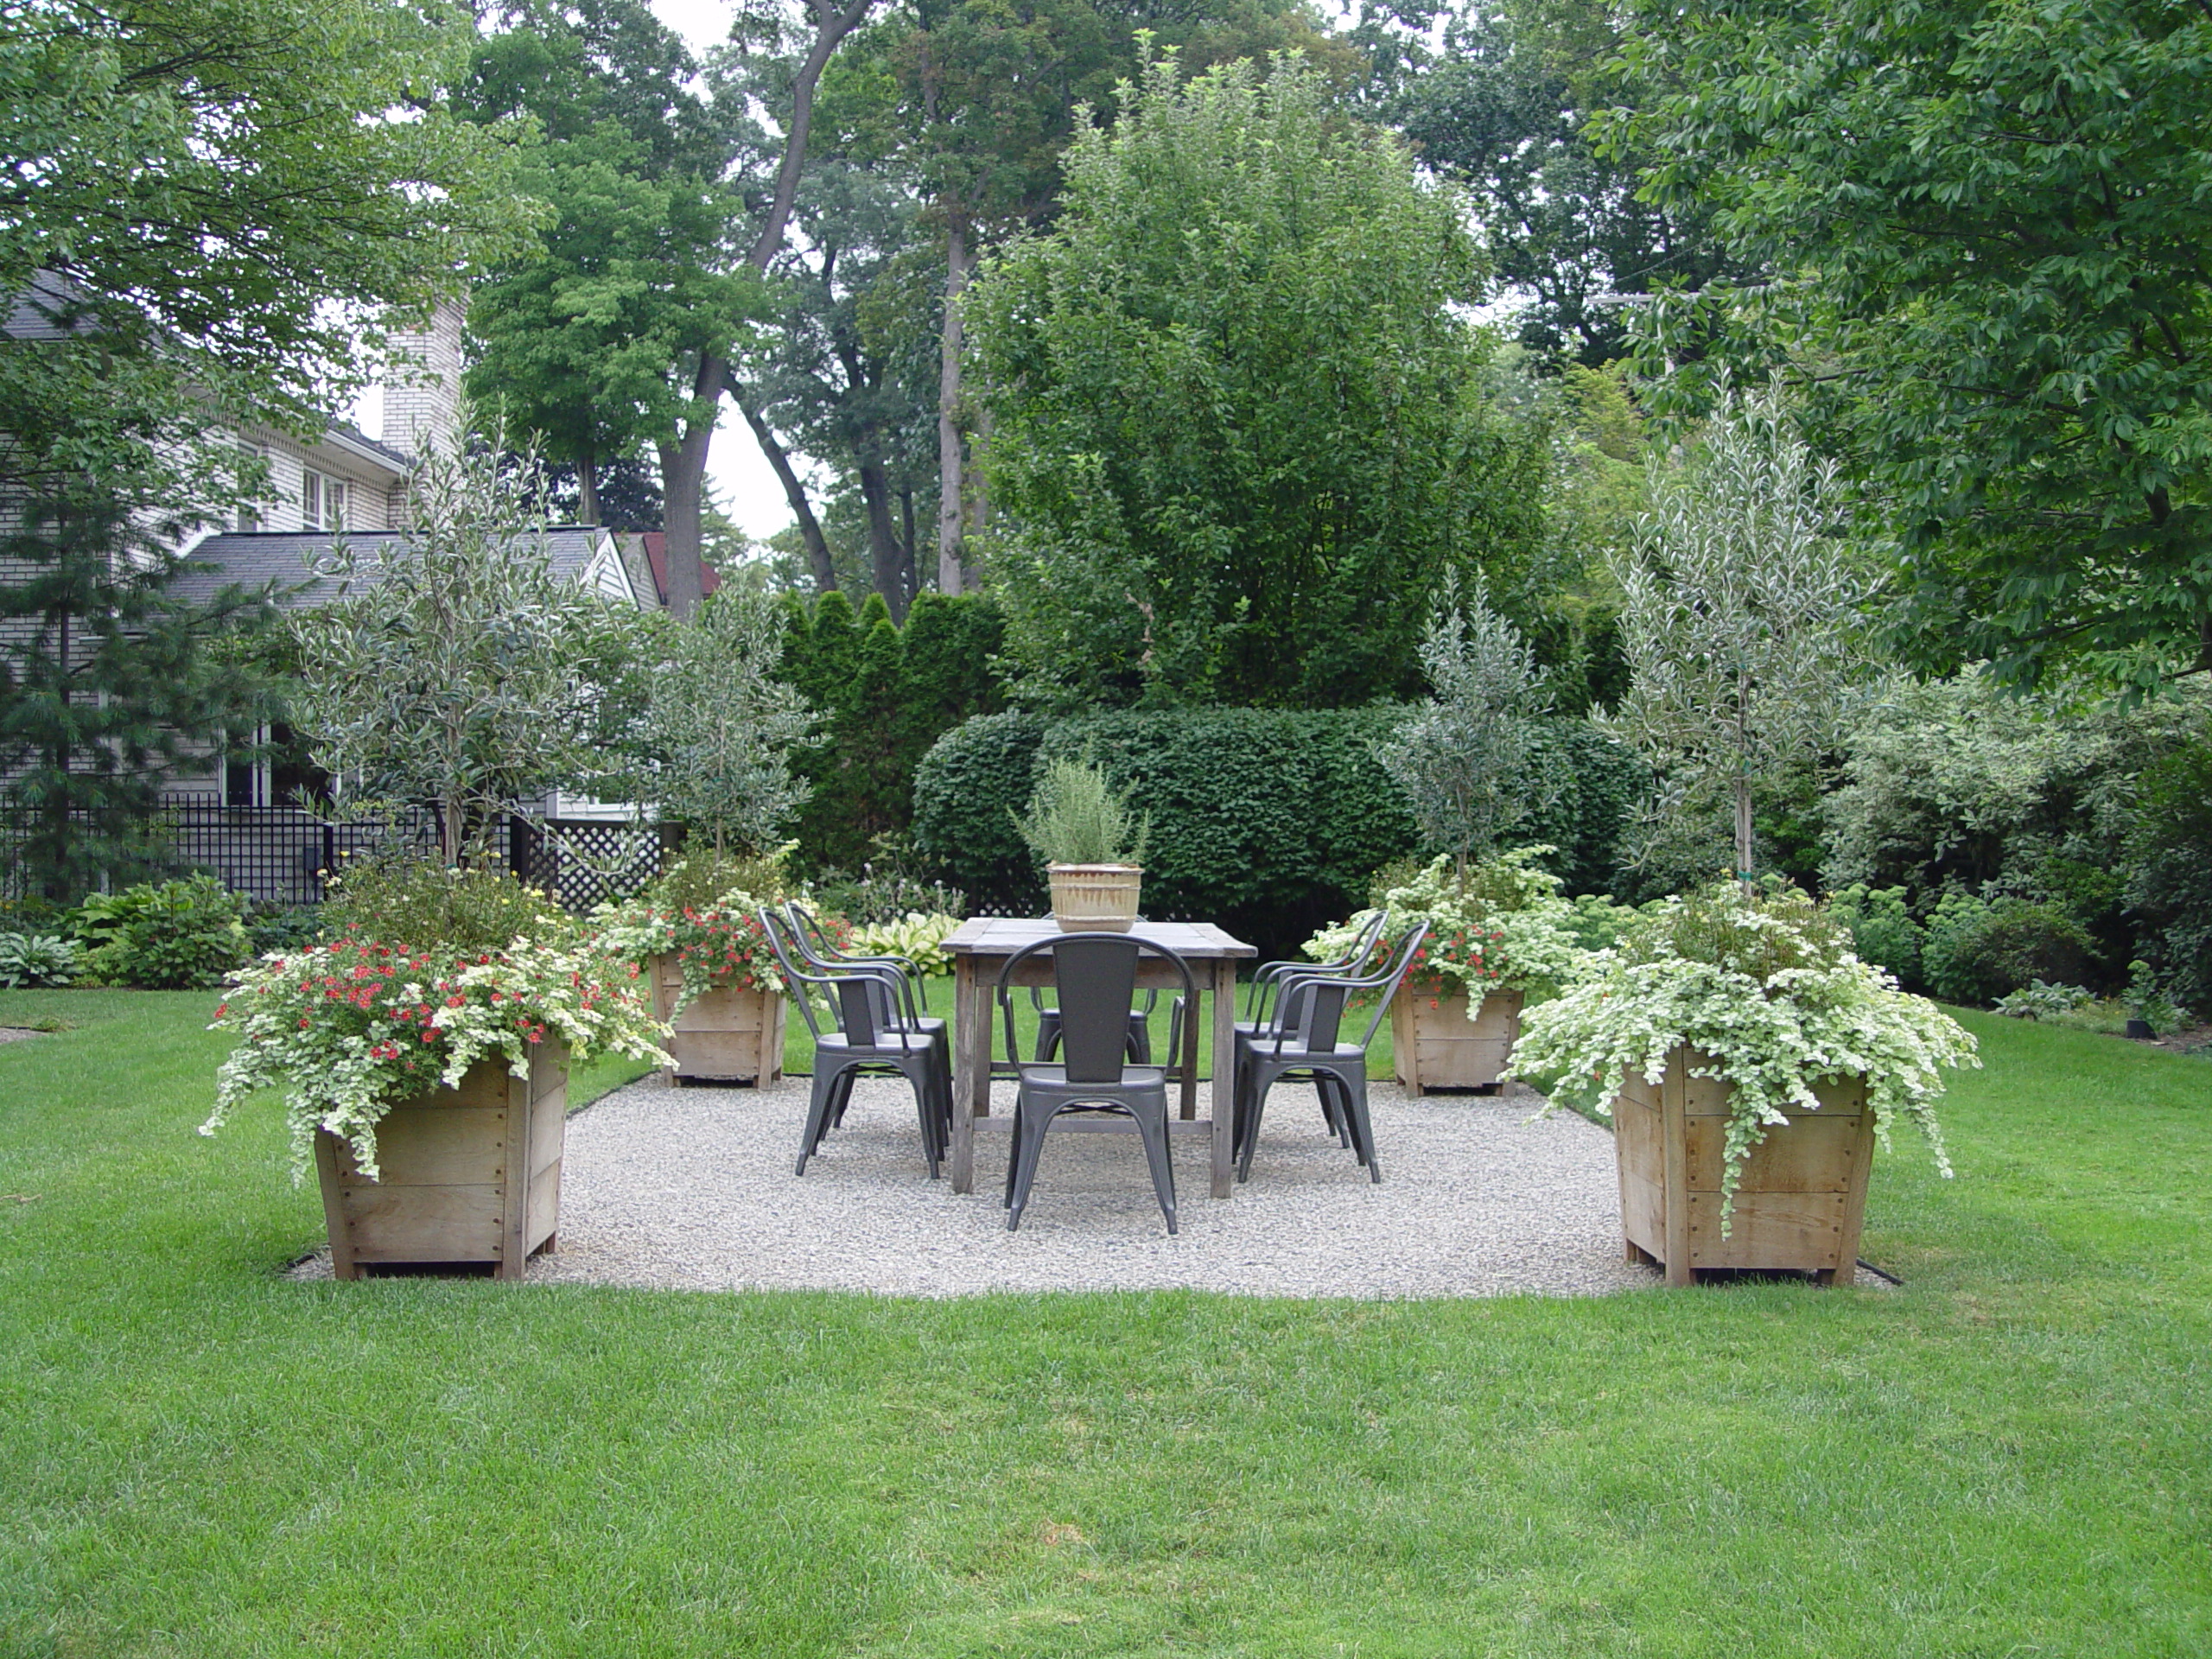 decomposed granite terrace contained by aluminum edger strip
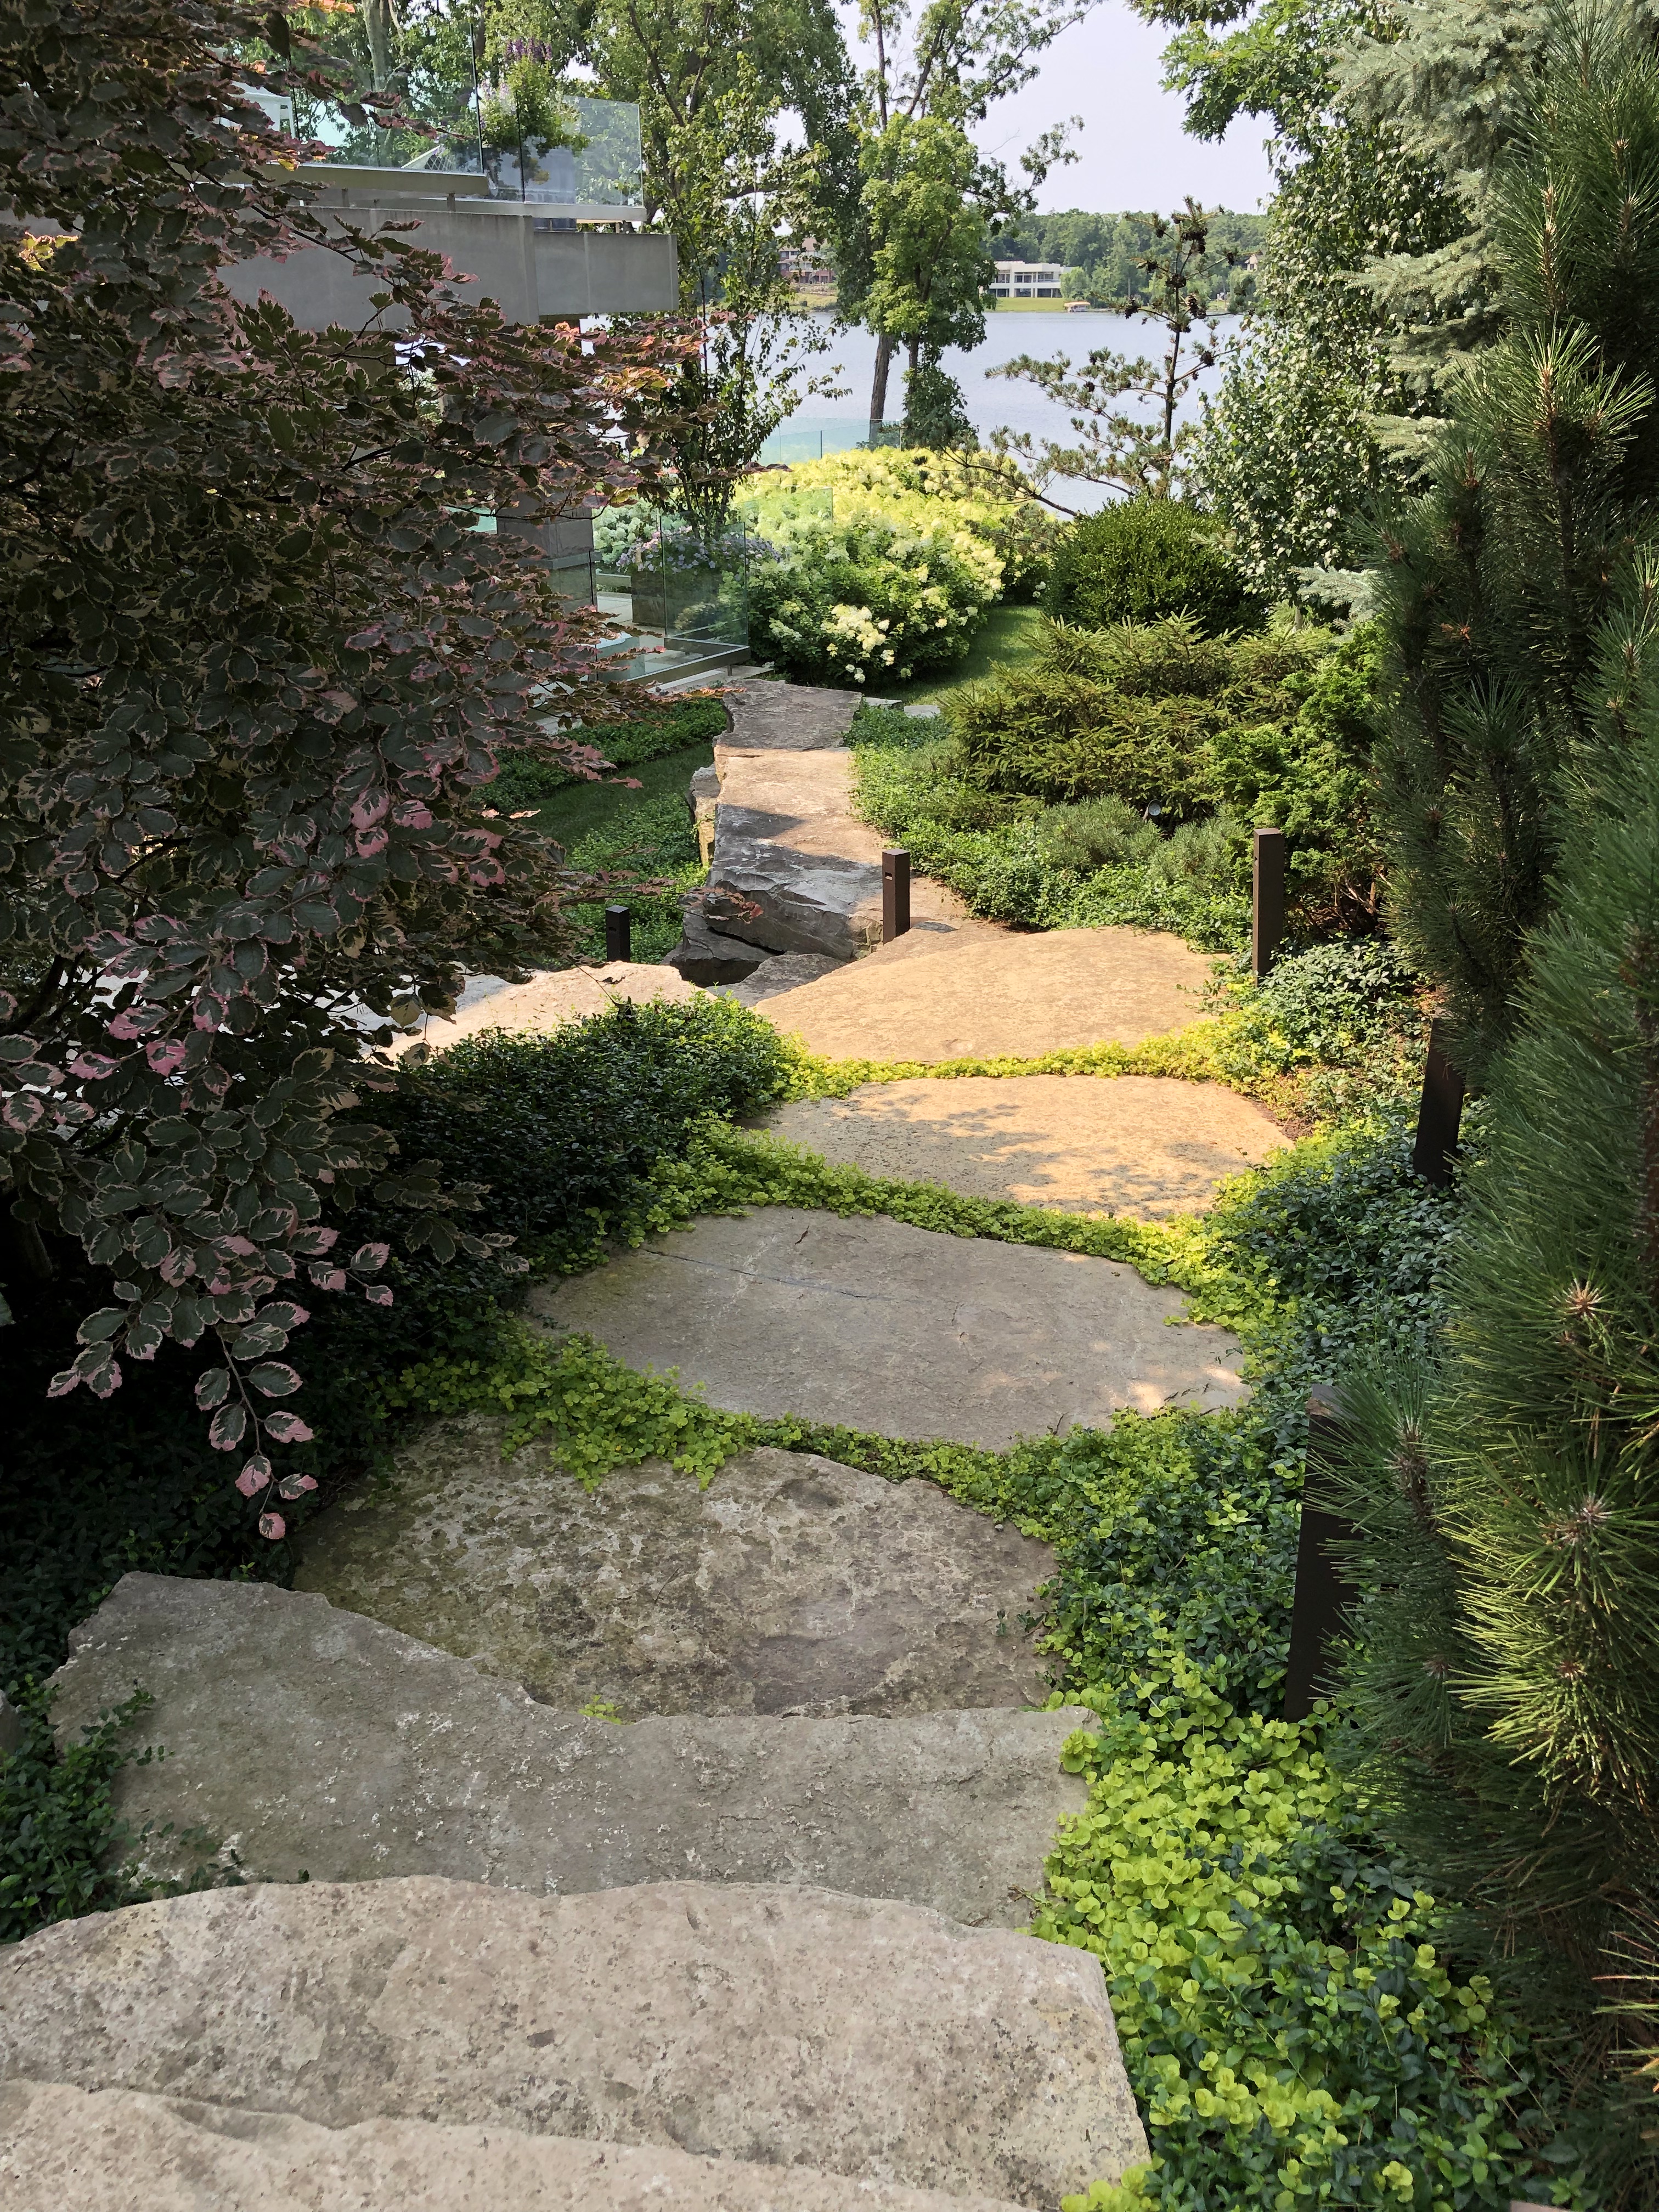
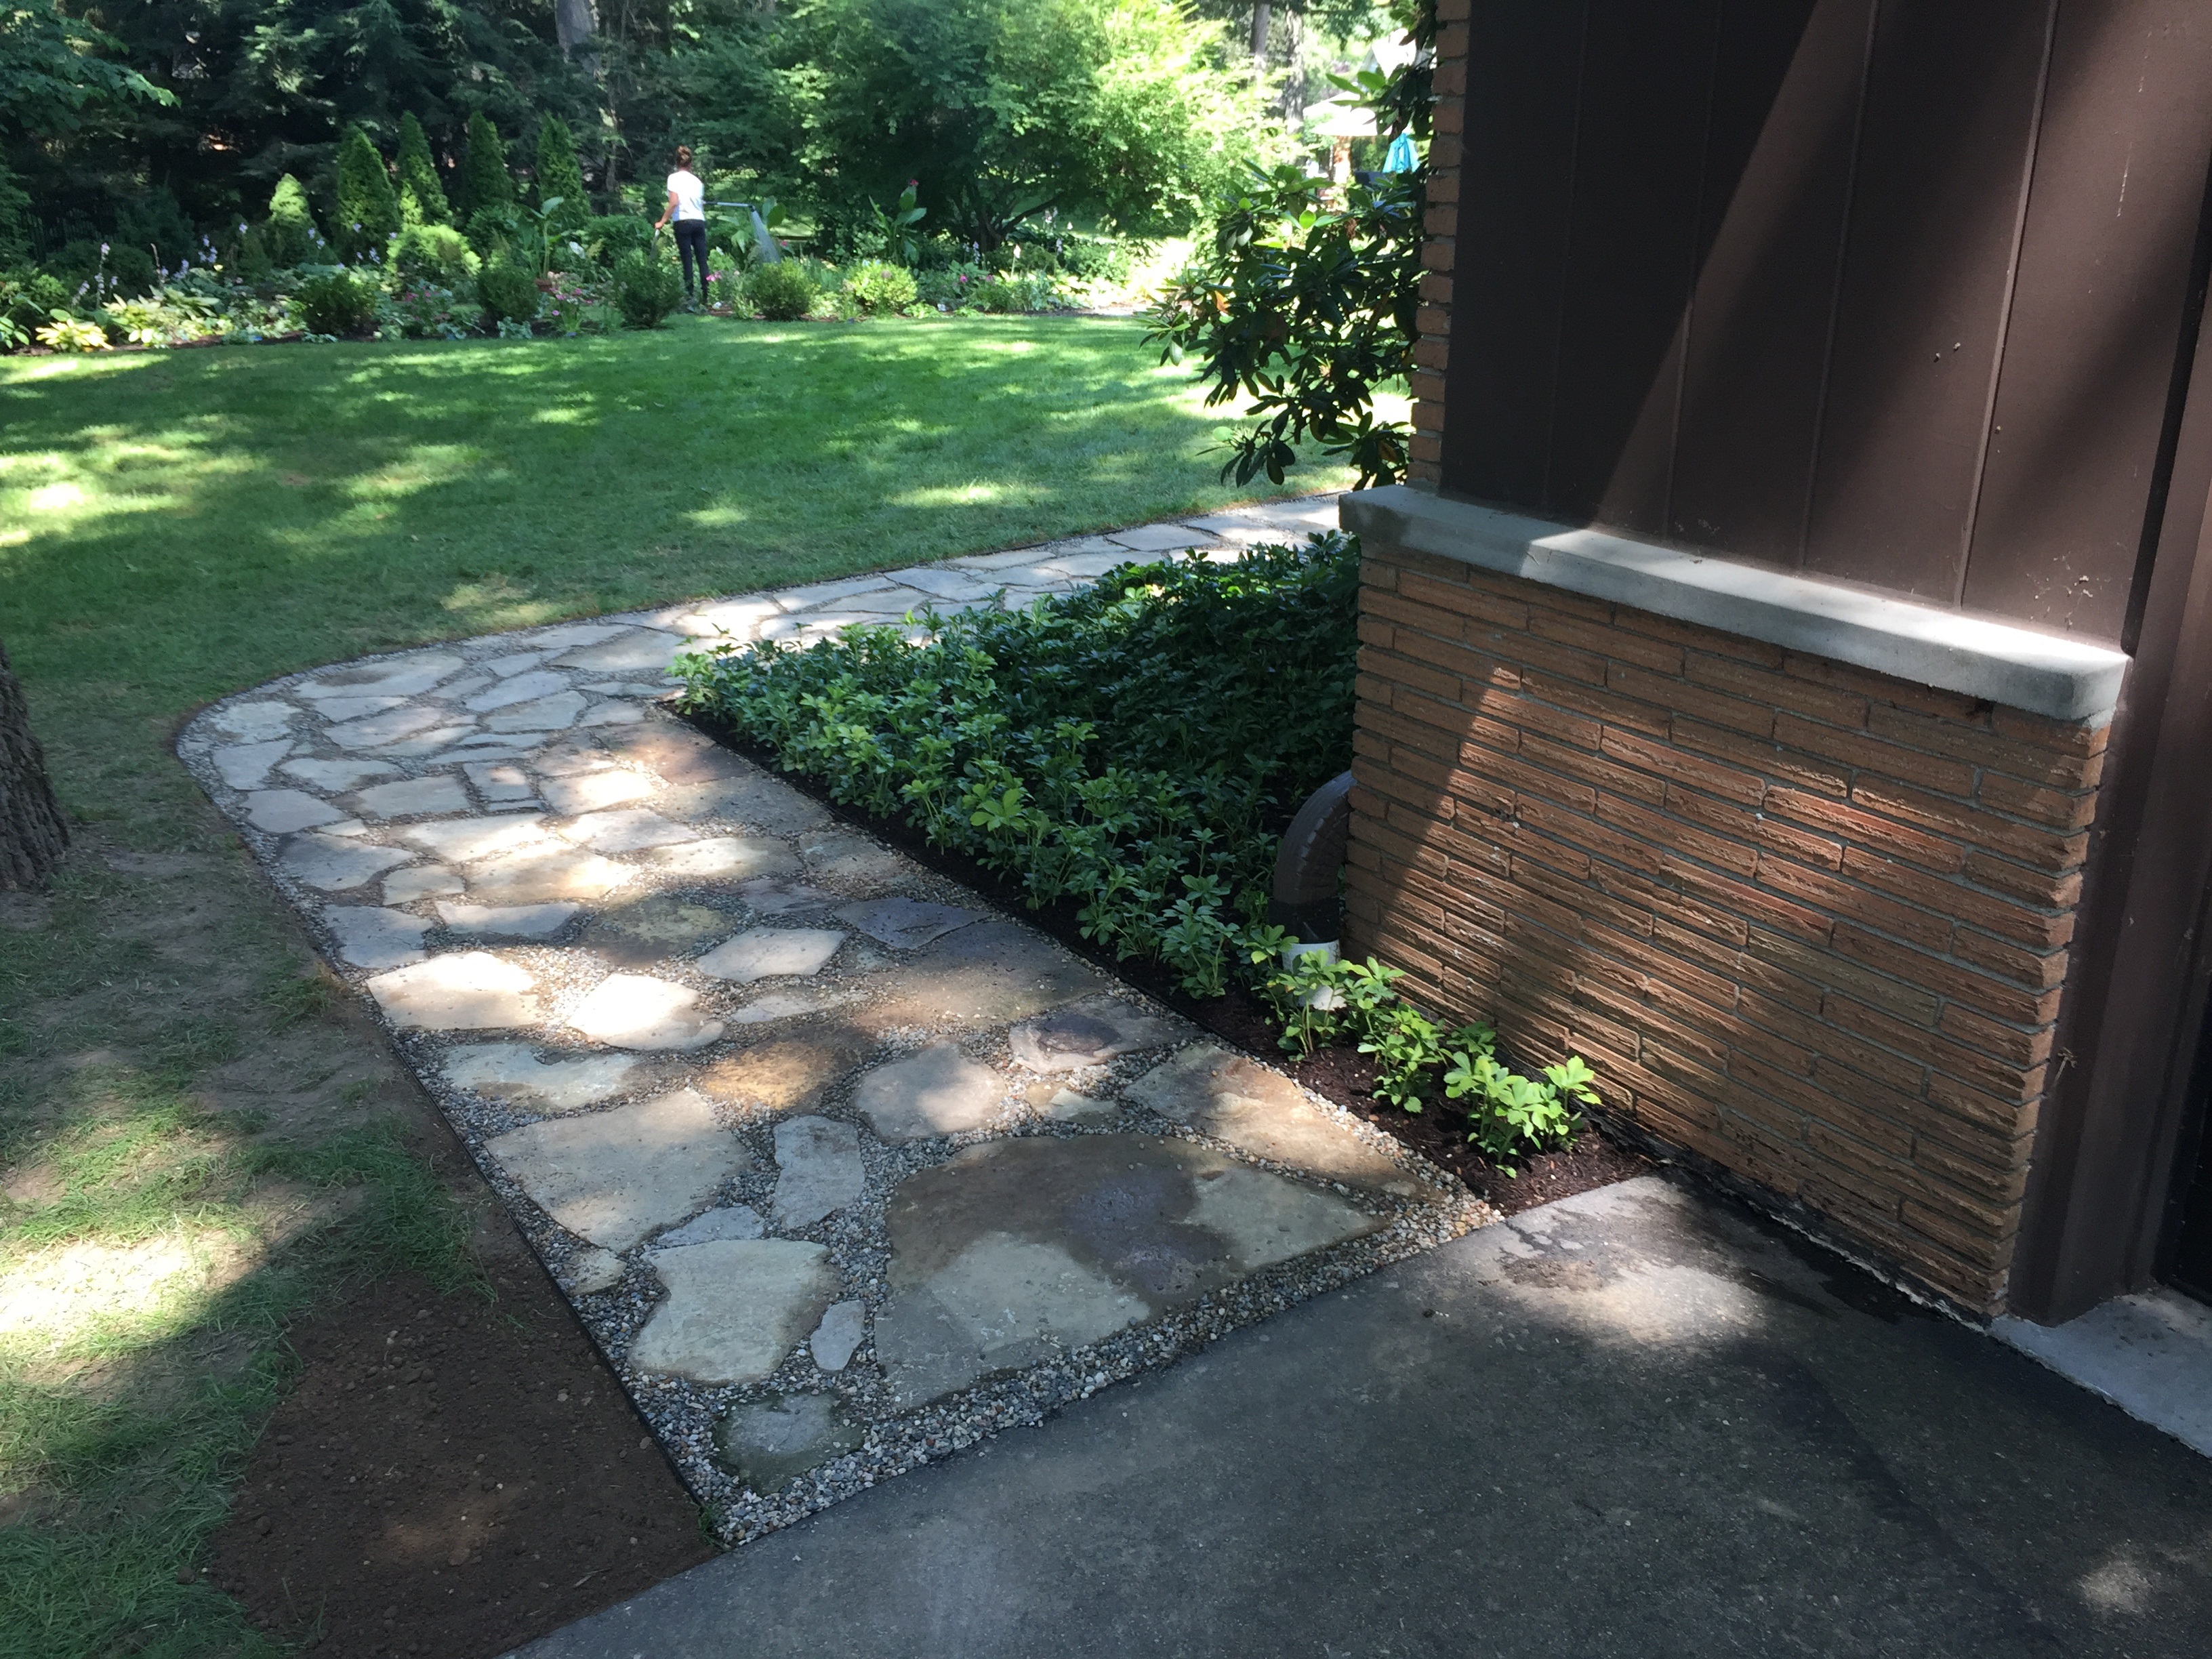 flagstone walkway with decomposed granite joints
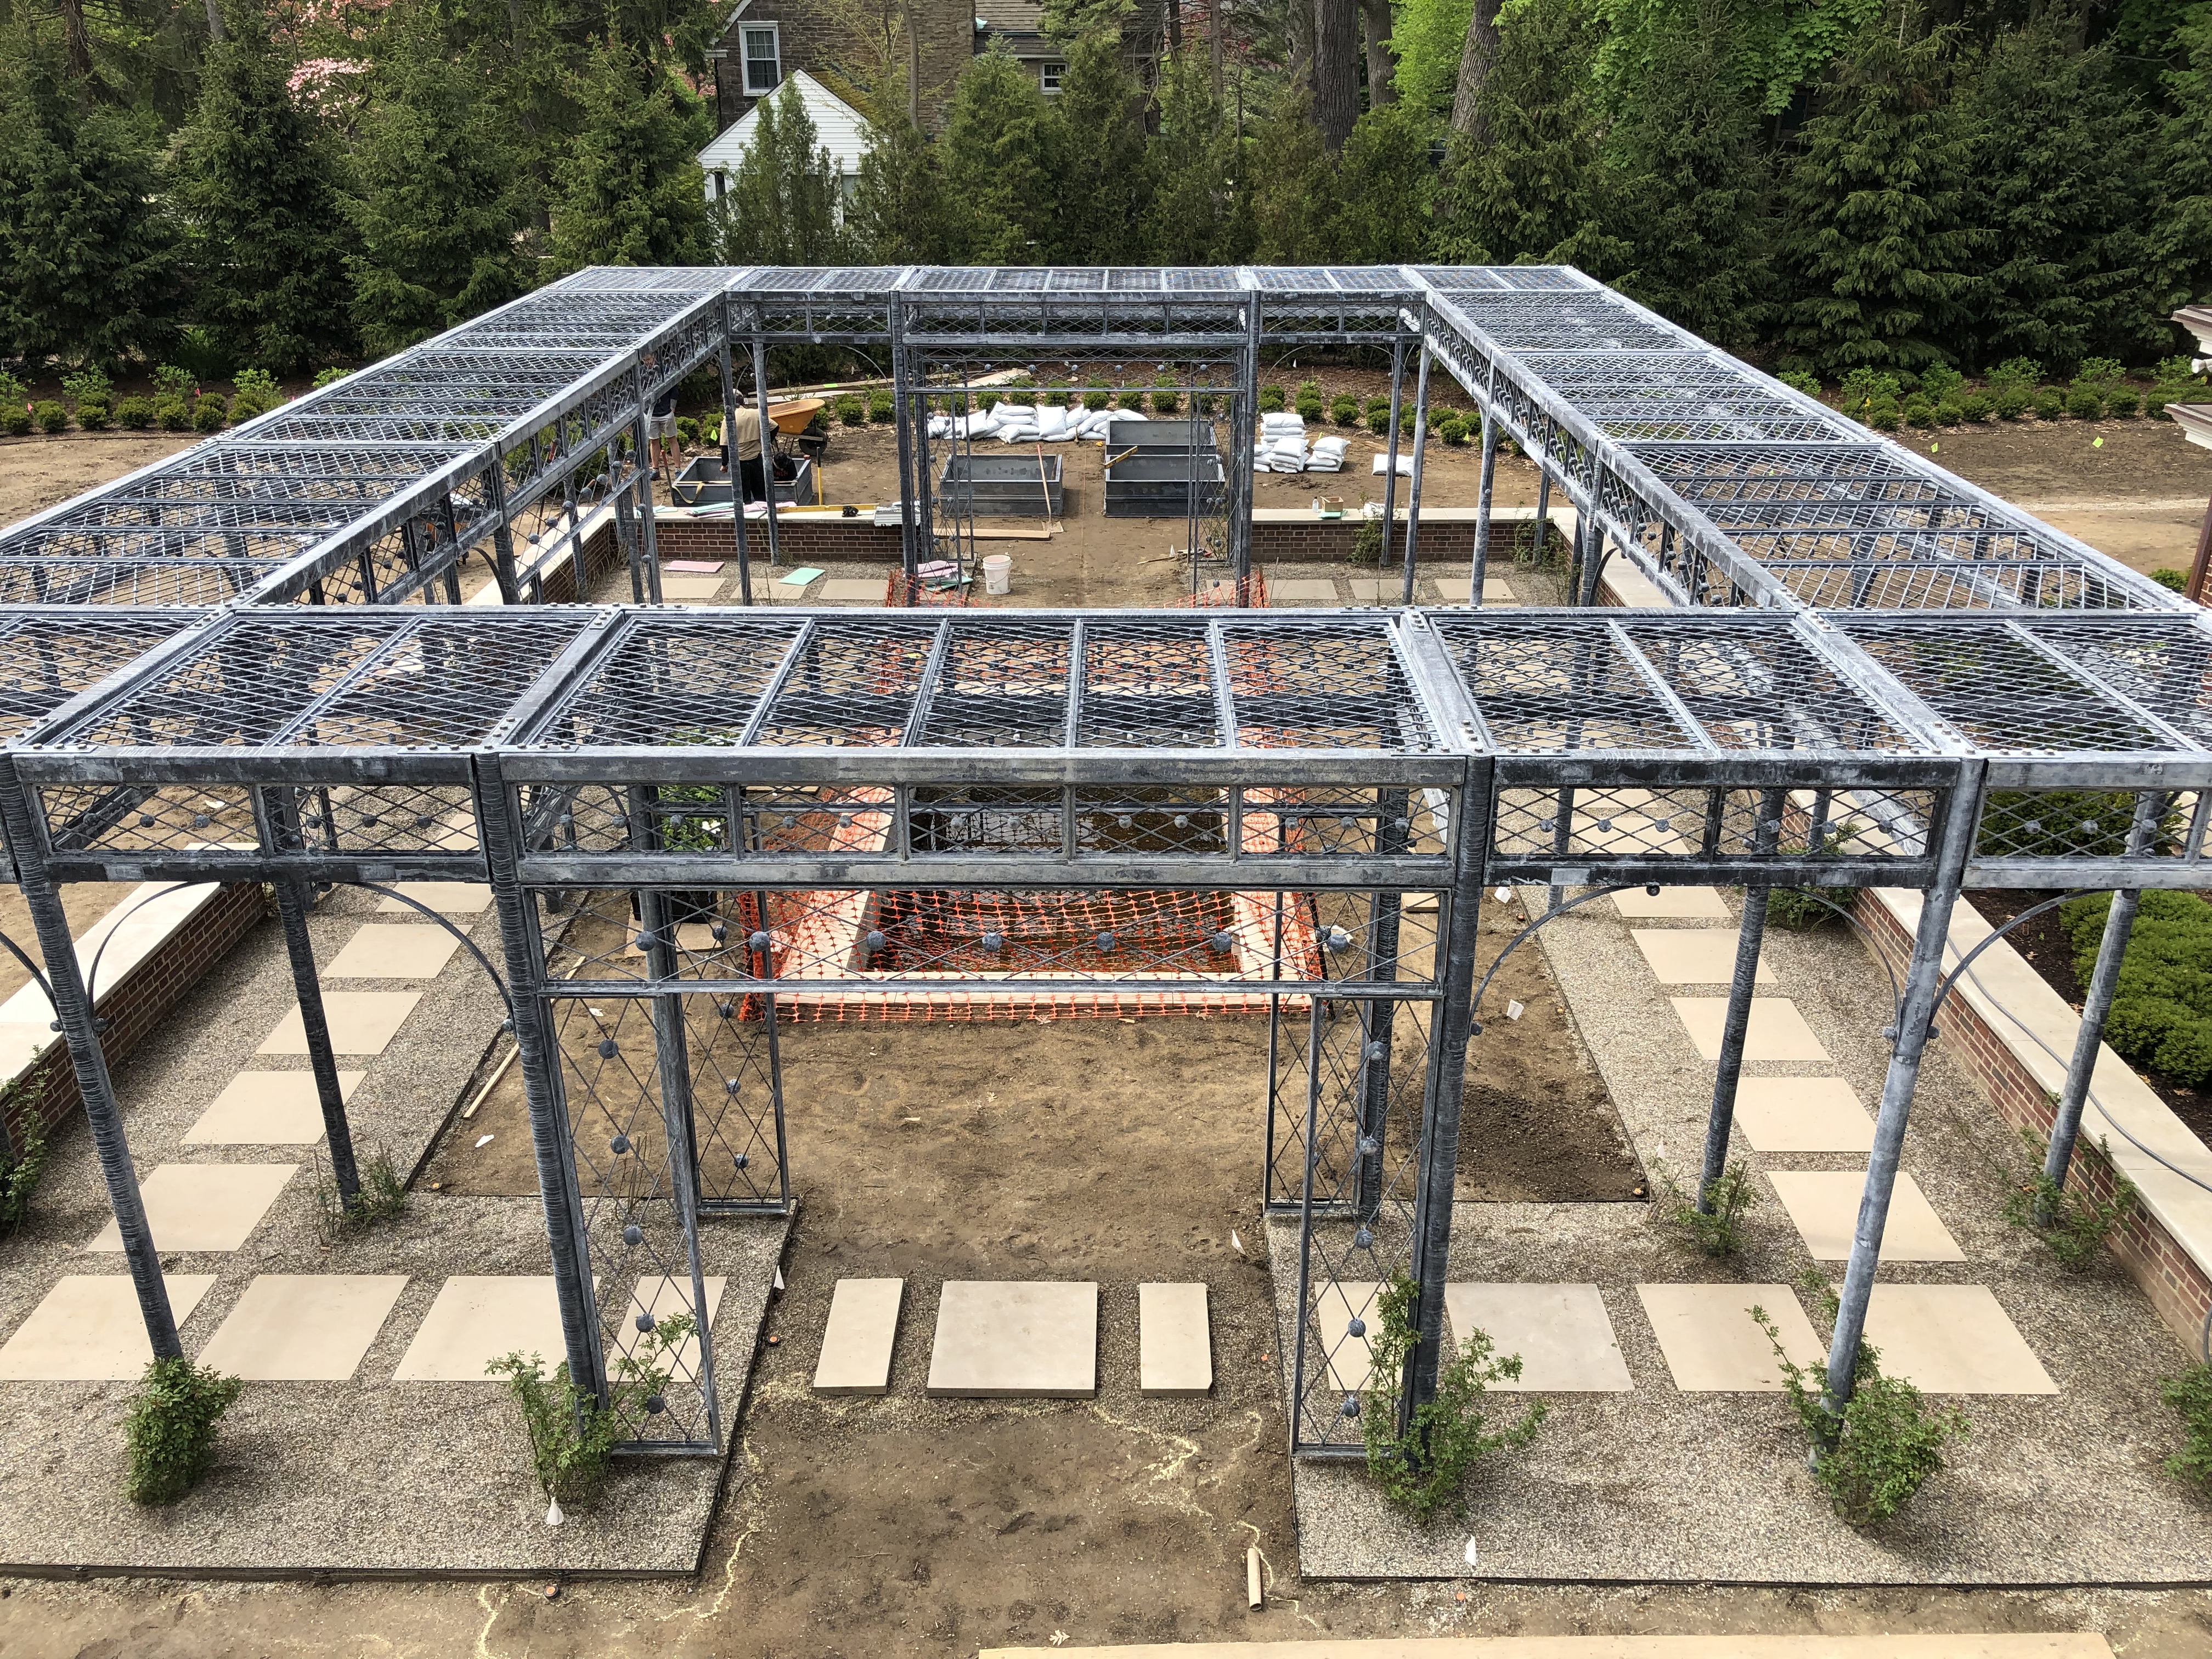
 concrete paver squares set in decomposed granite
 limestone pavers with medium crushed granite
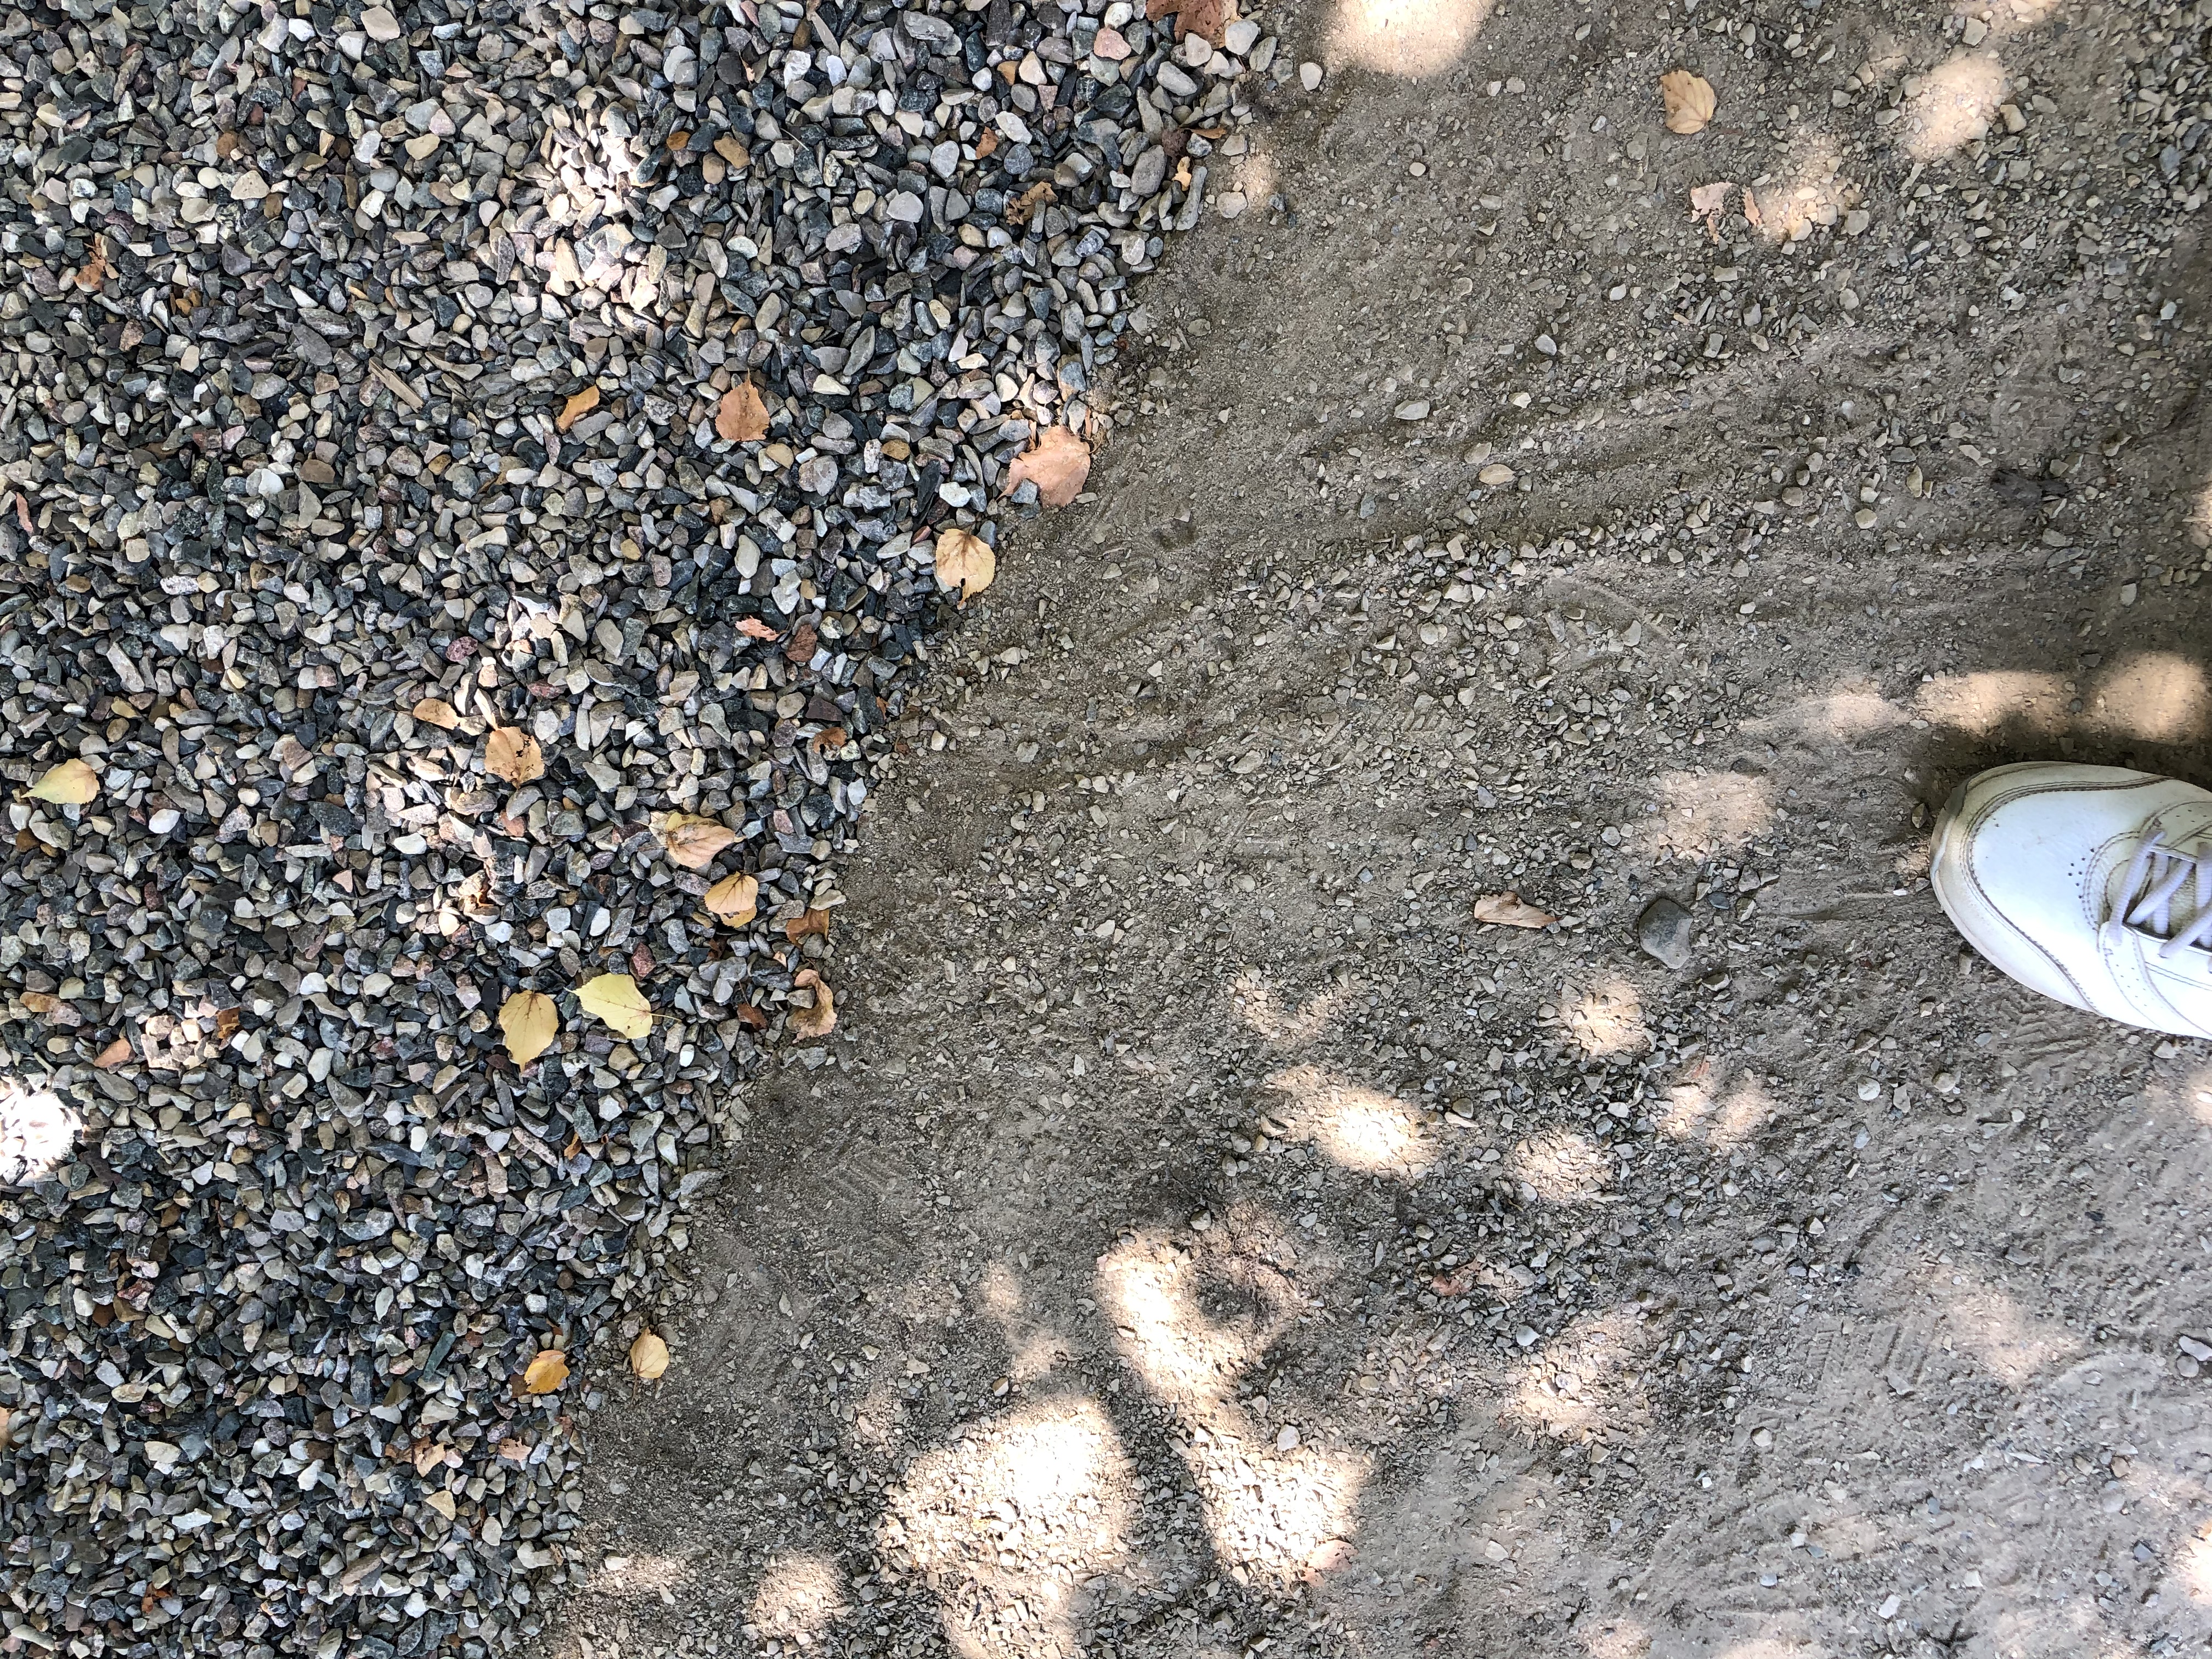 dramatic, the difference. Interested further in rock sizes? The link below has pictures and descriptions.