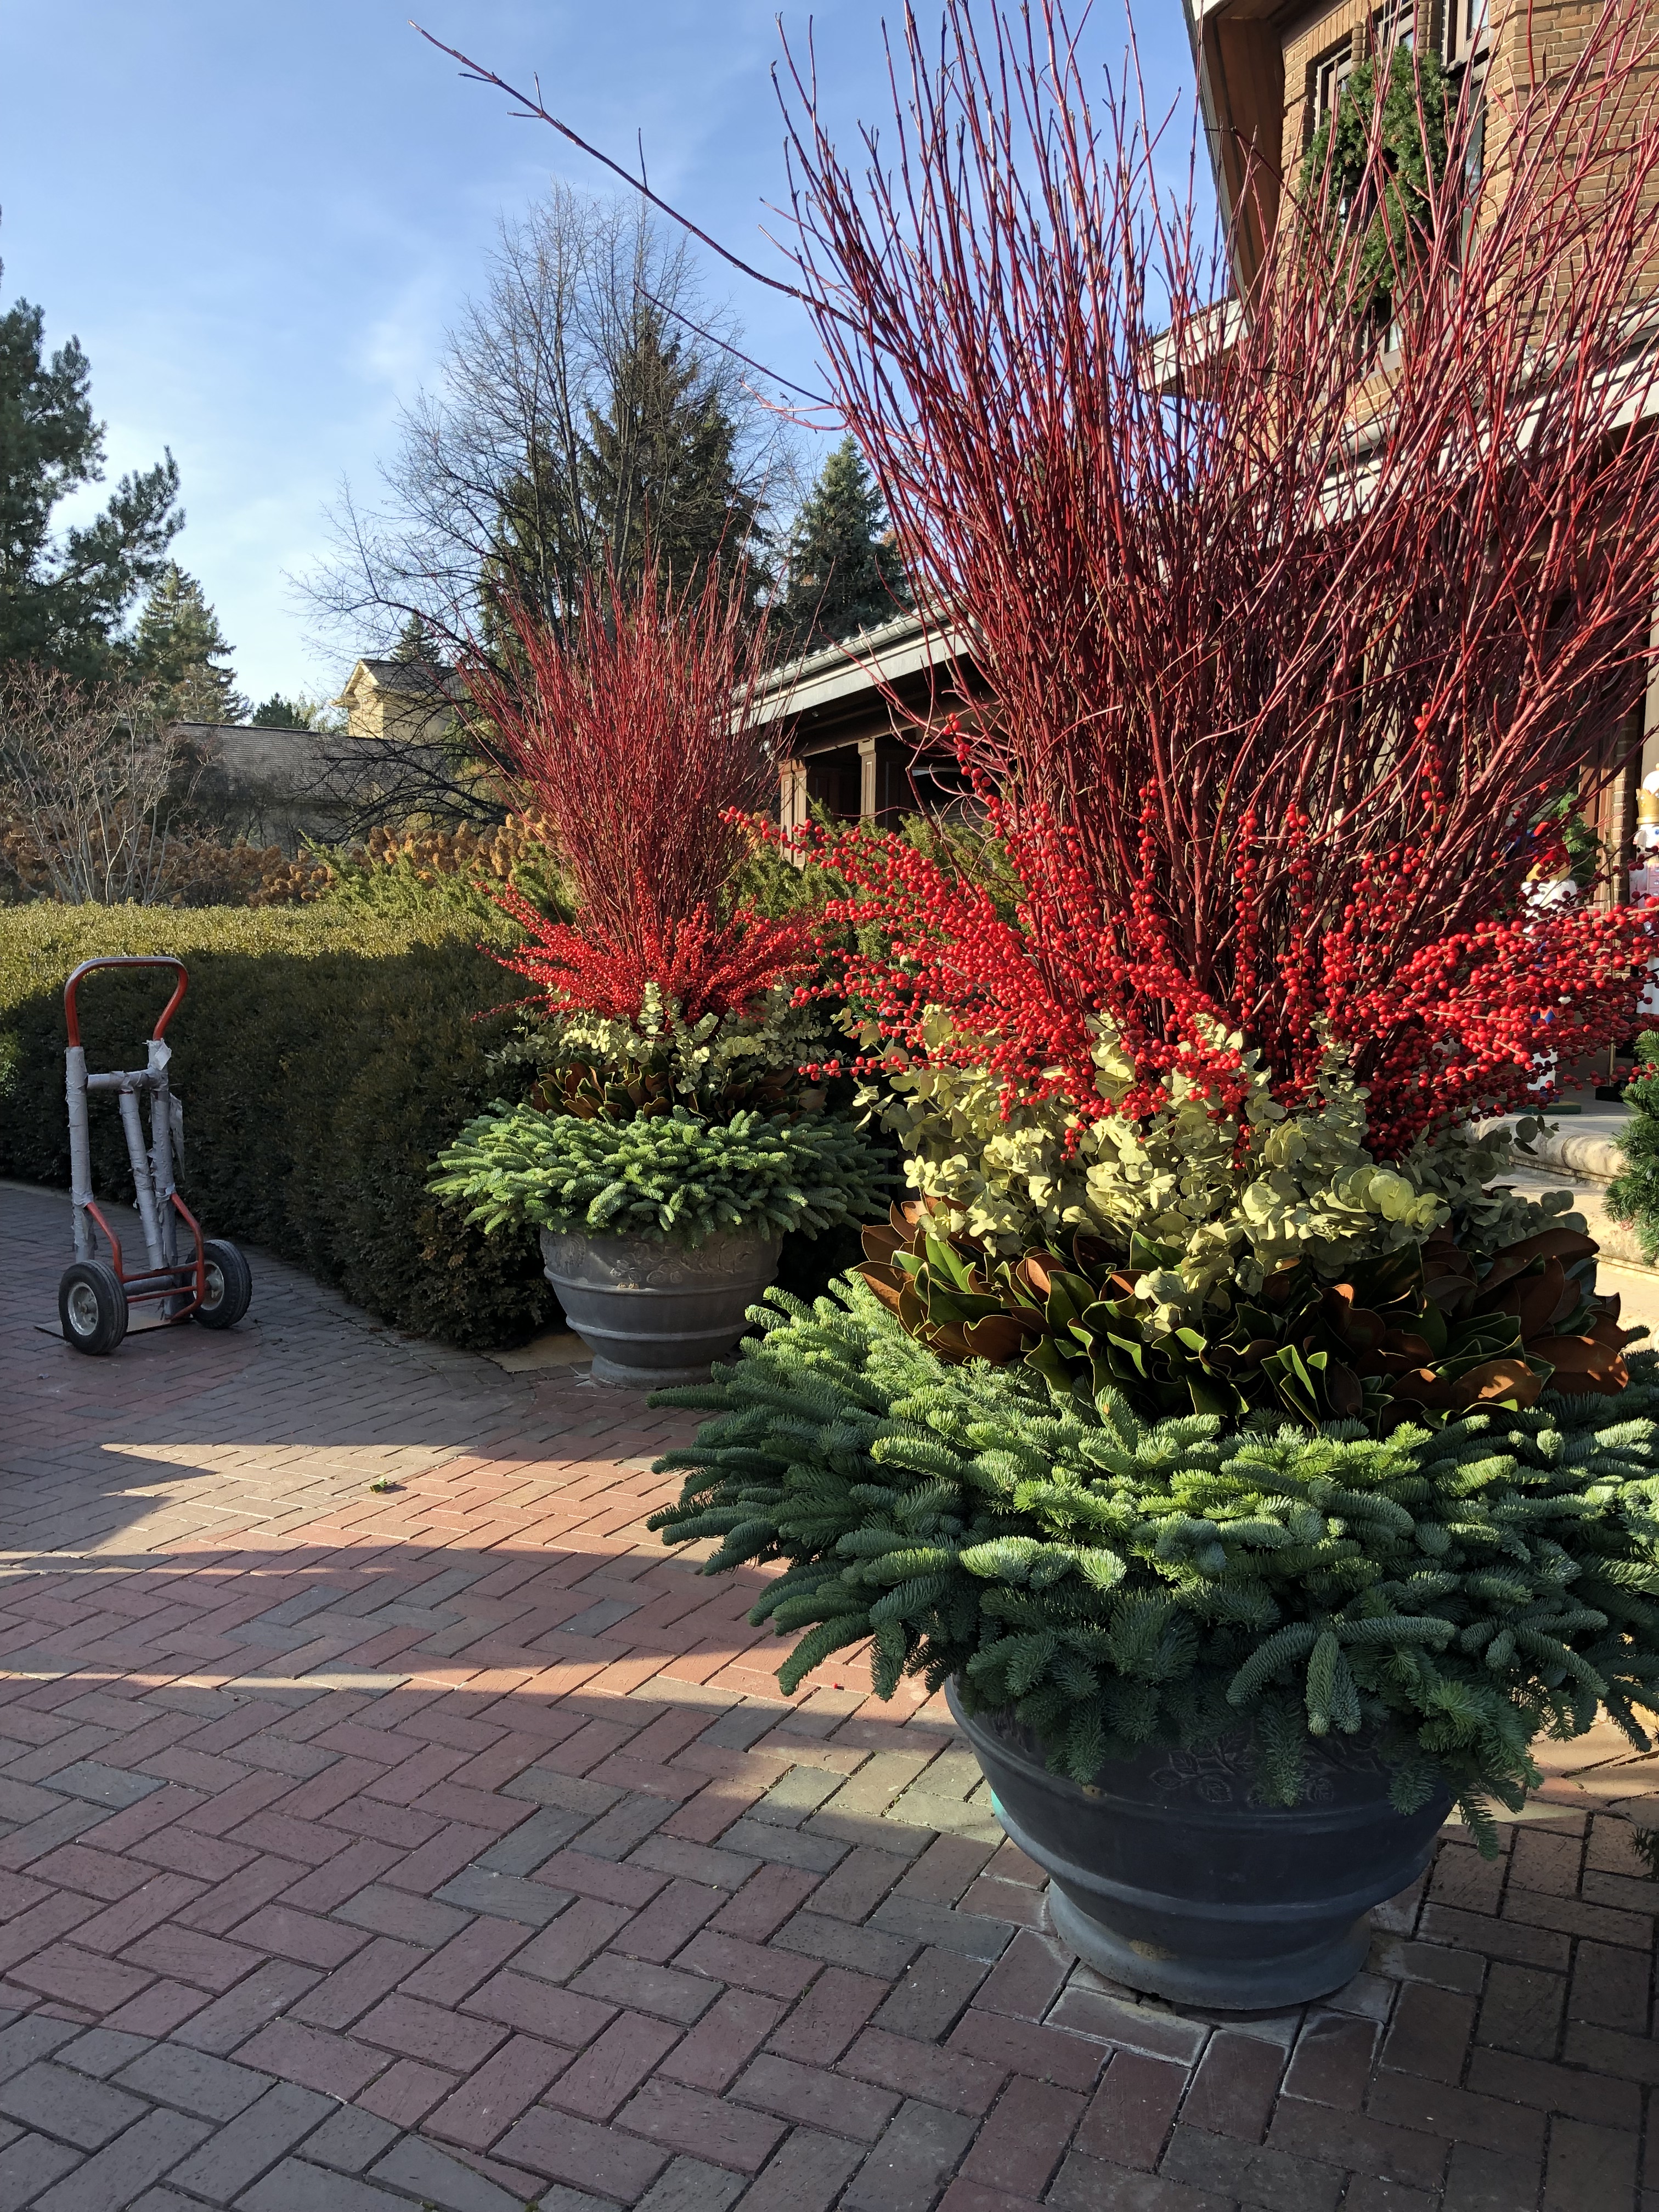
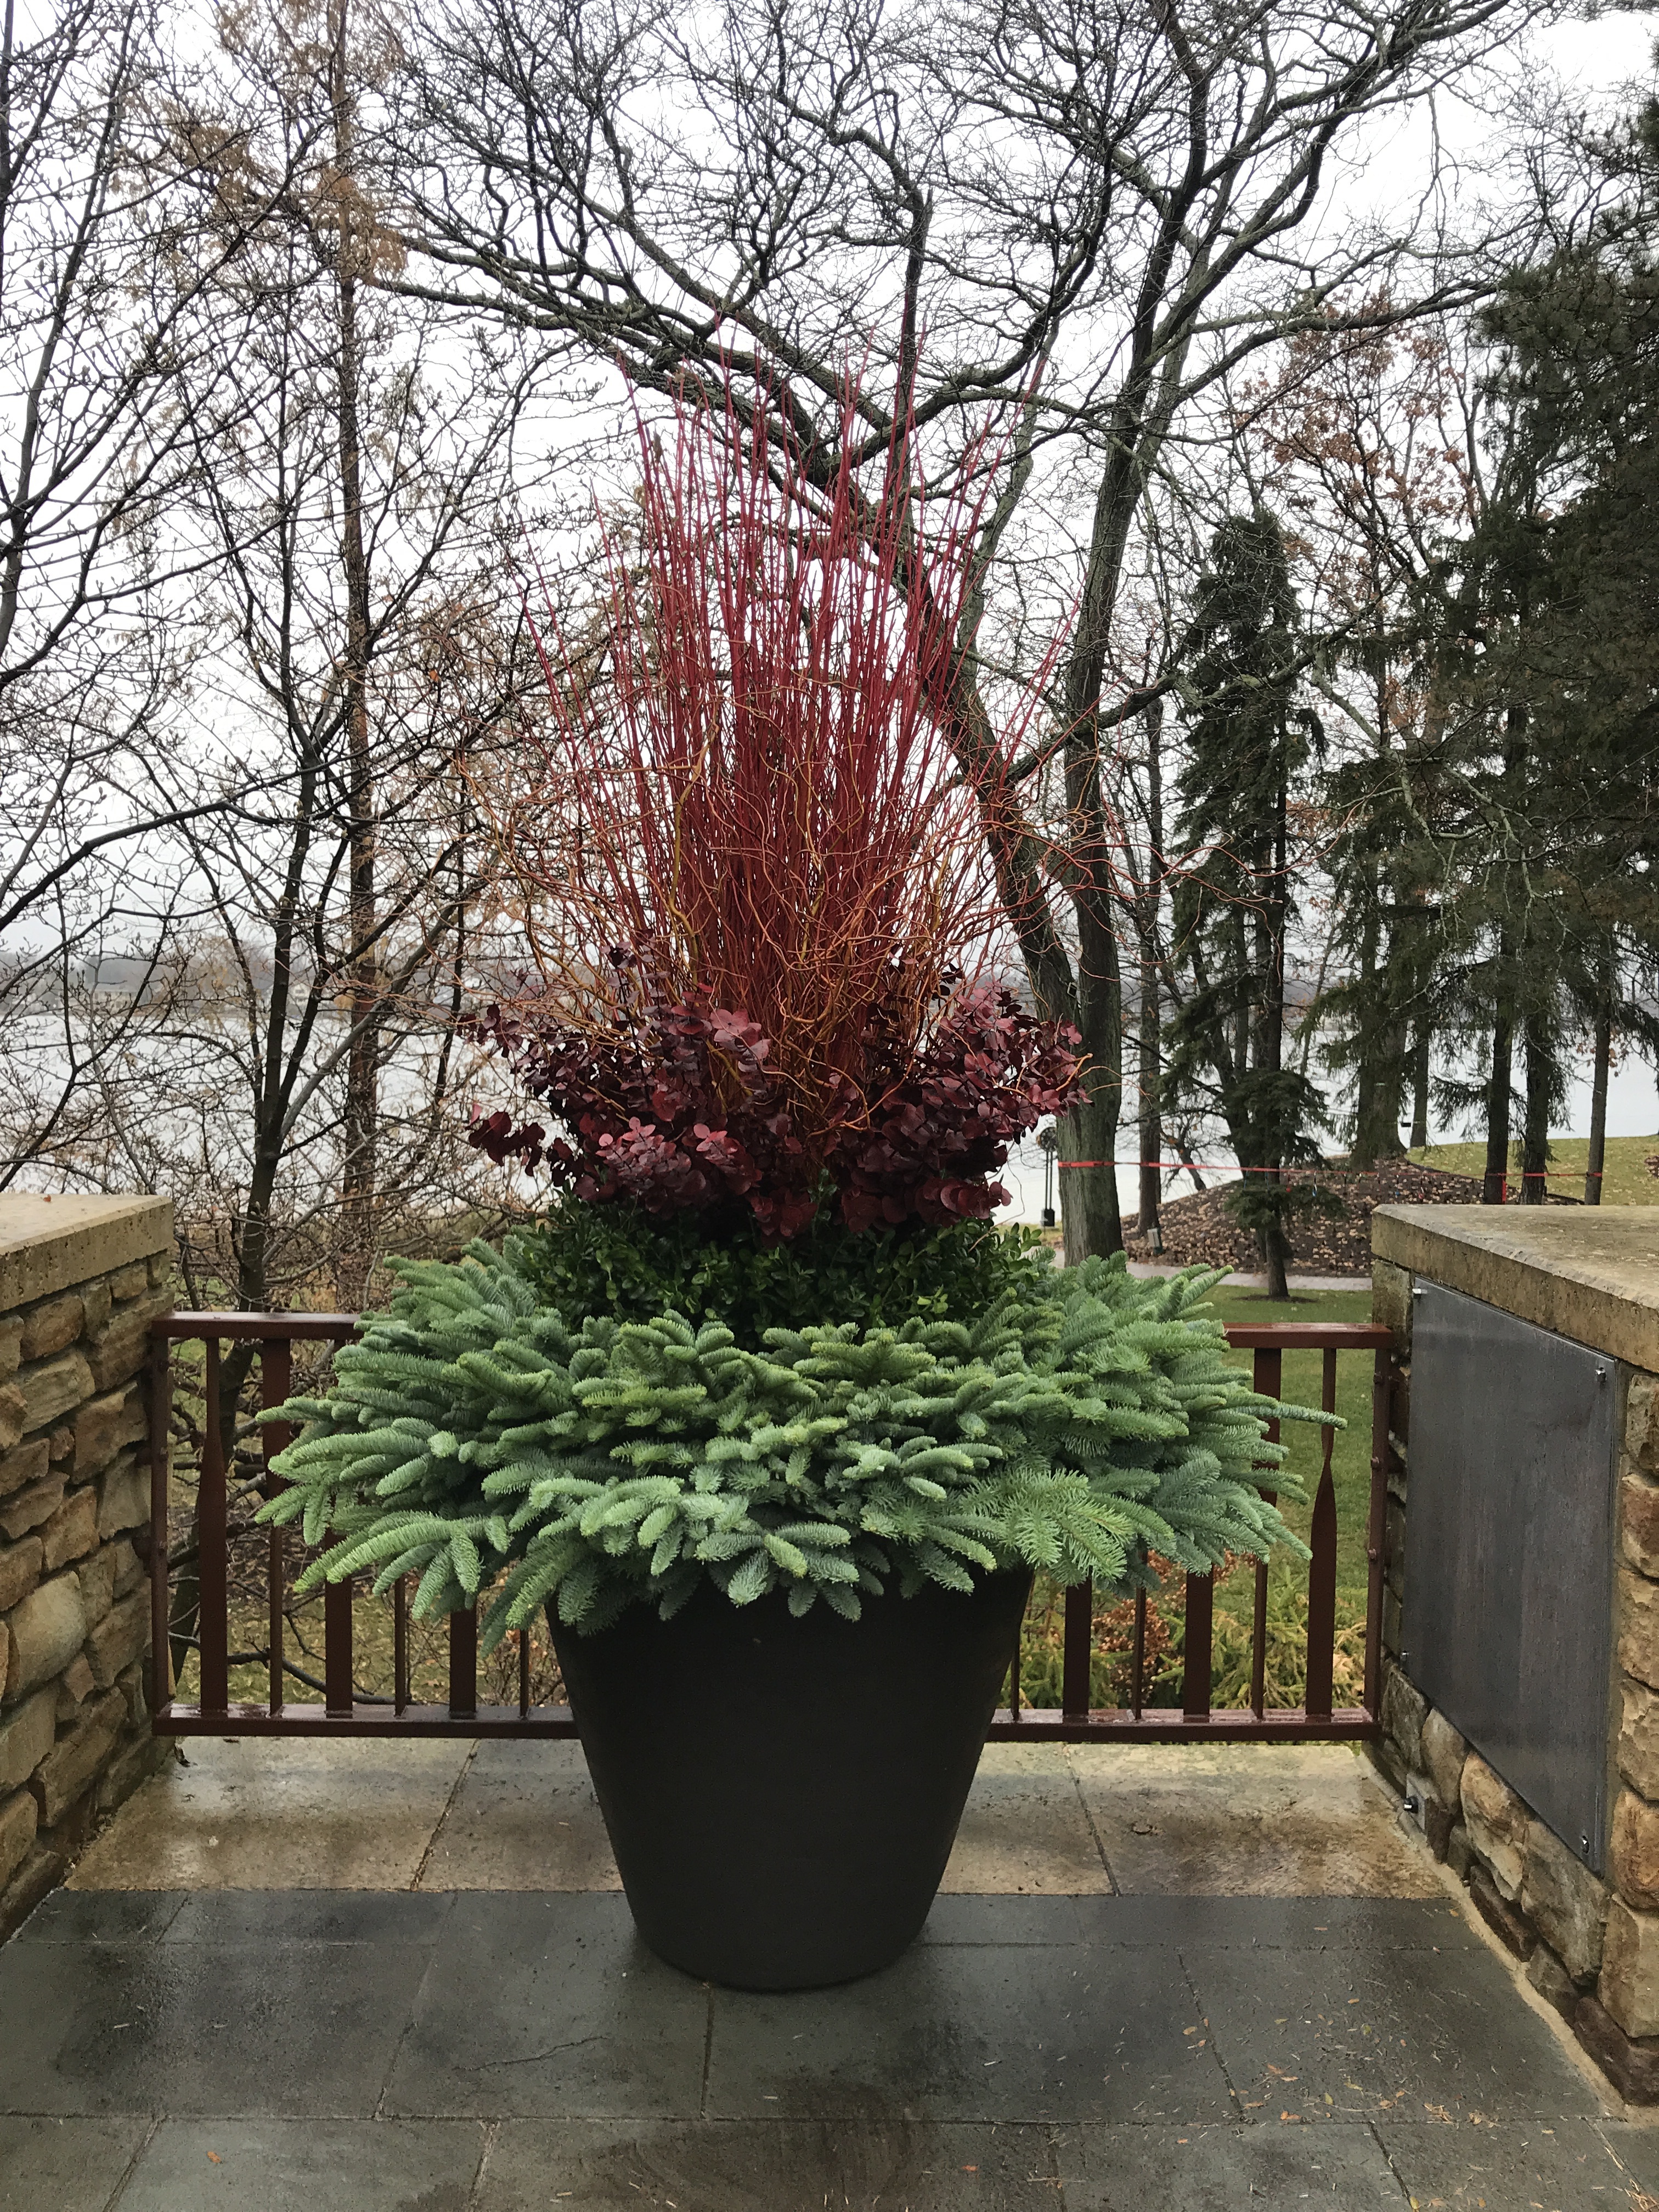
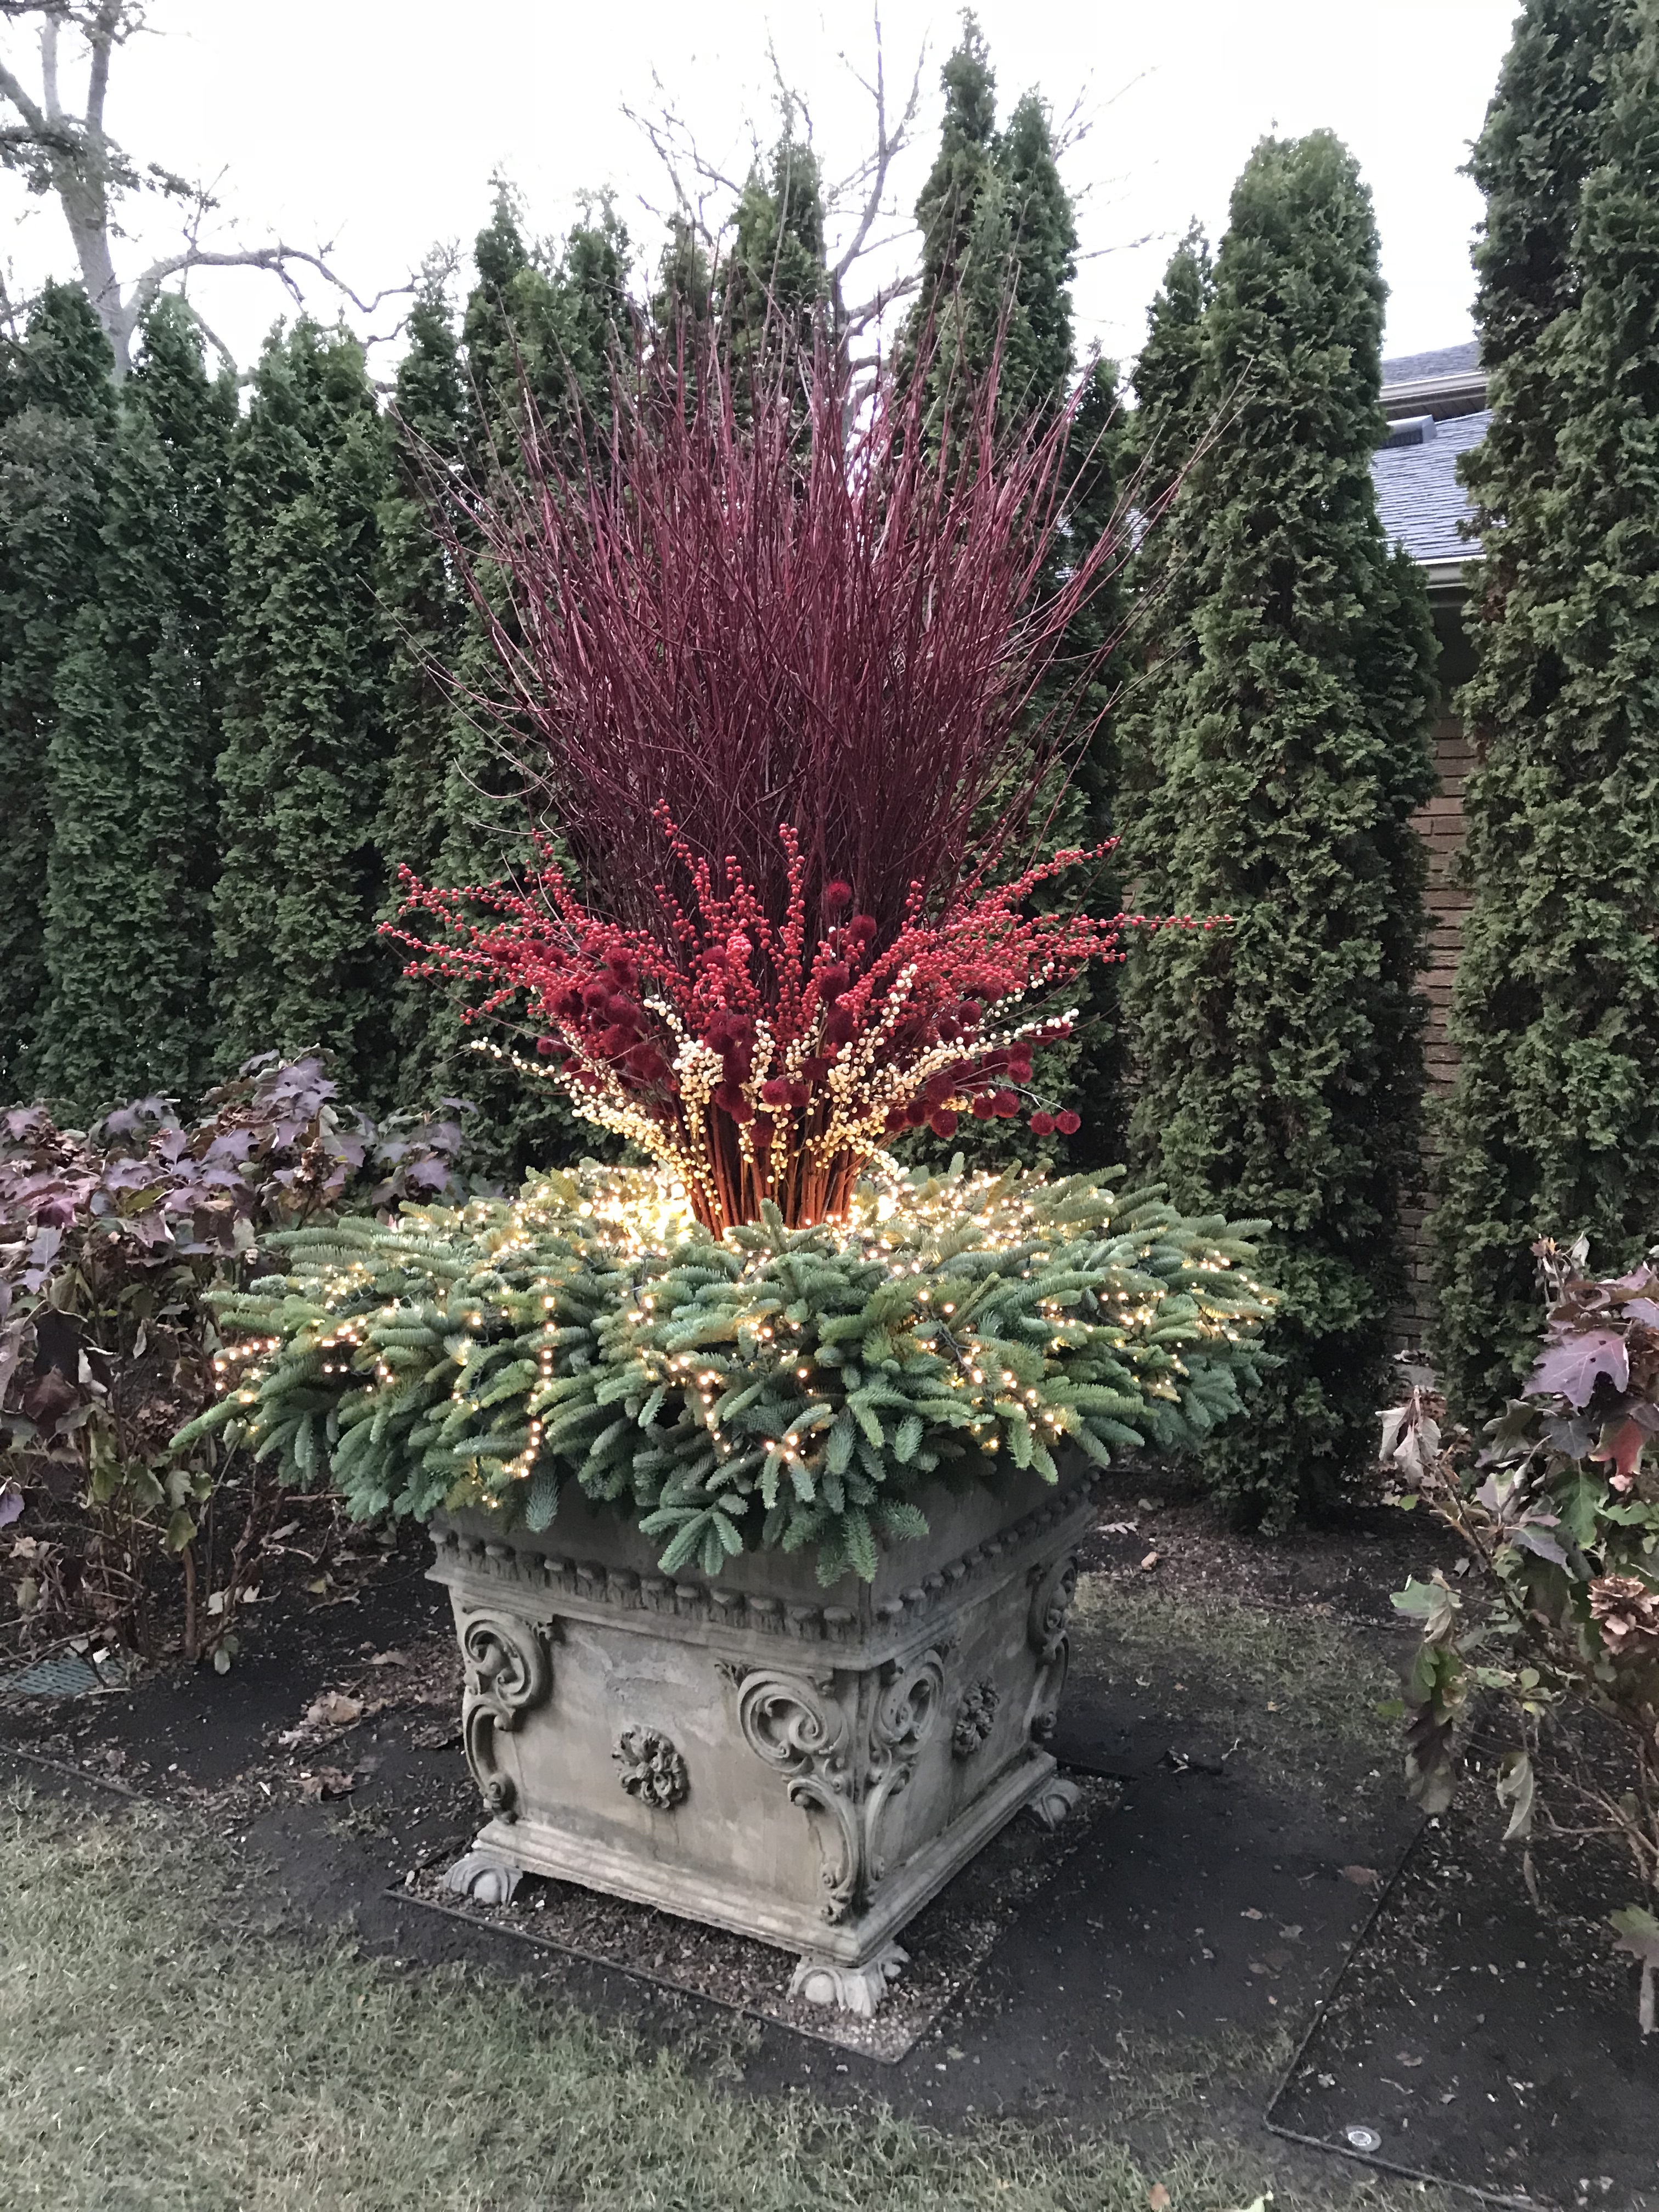
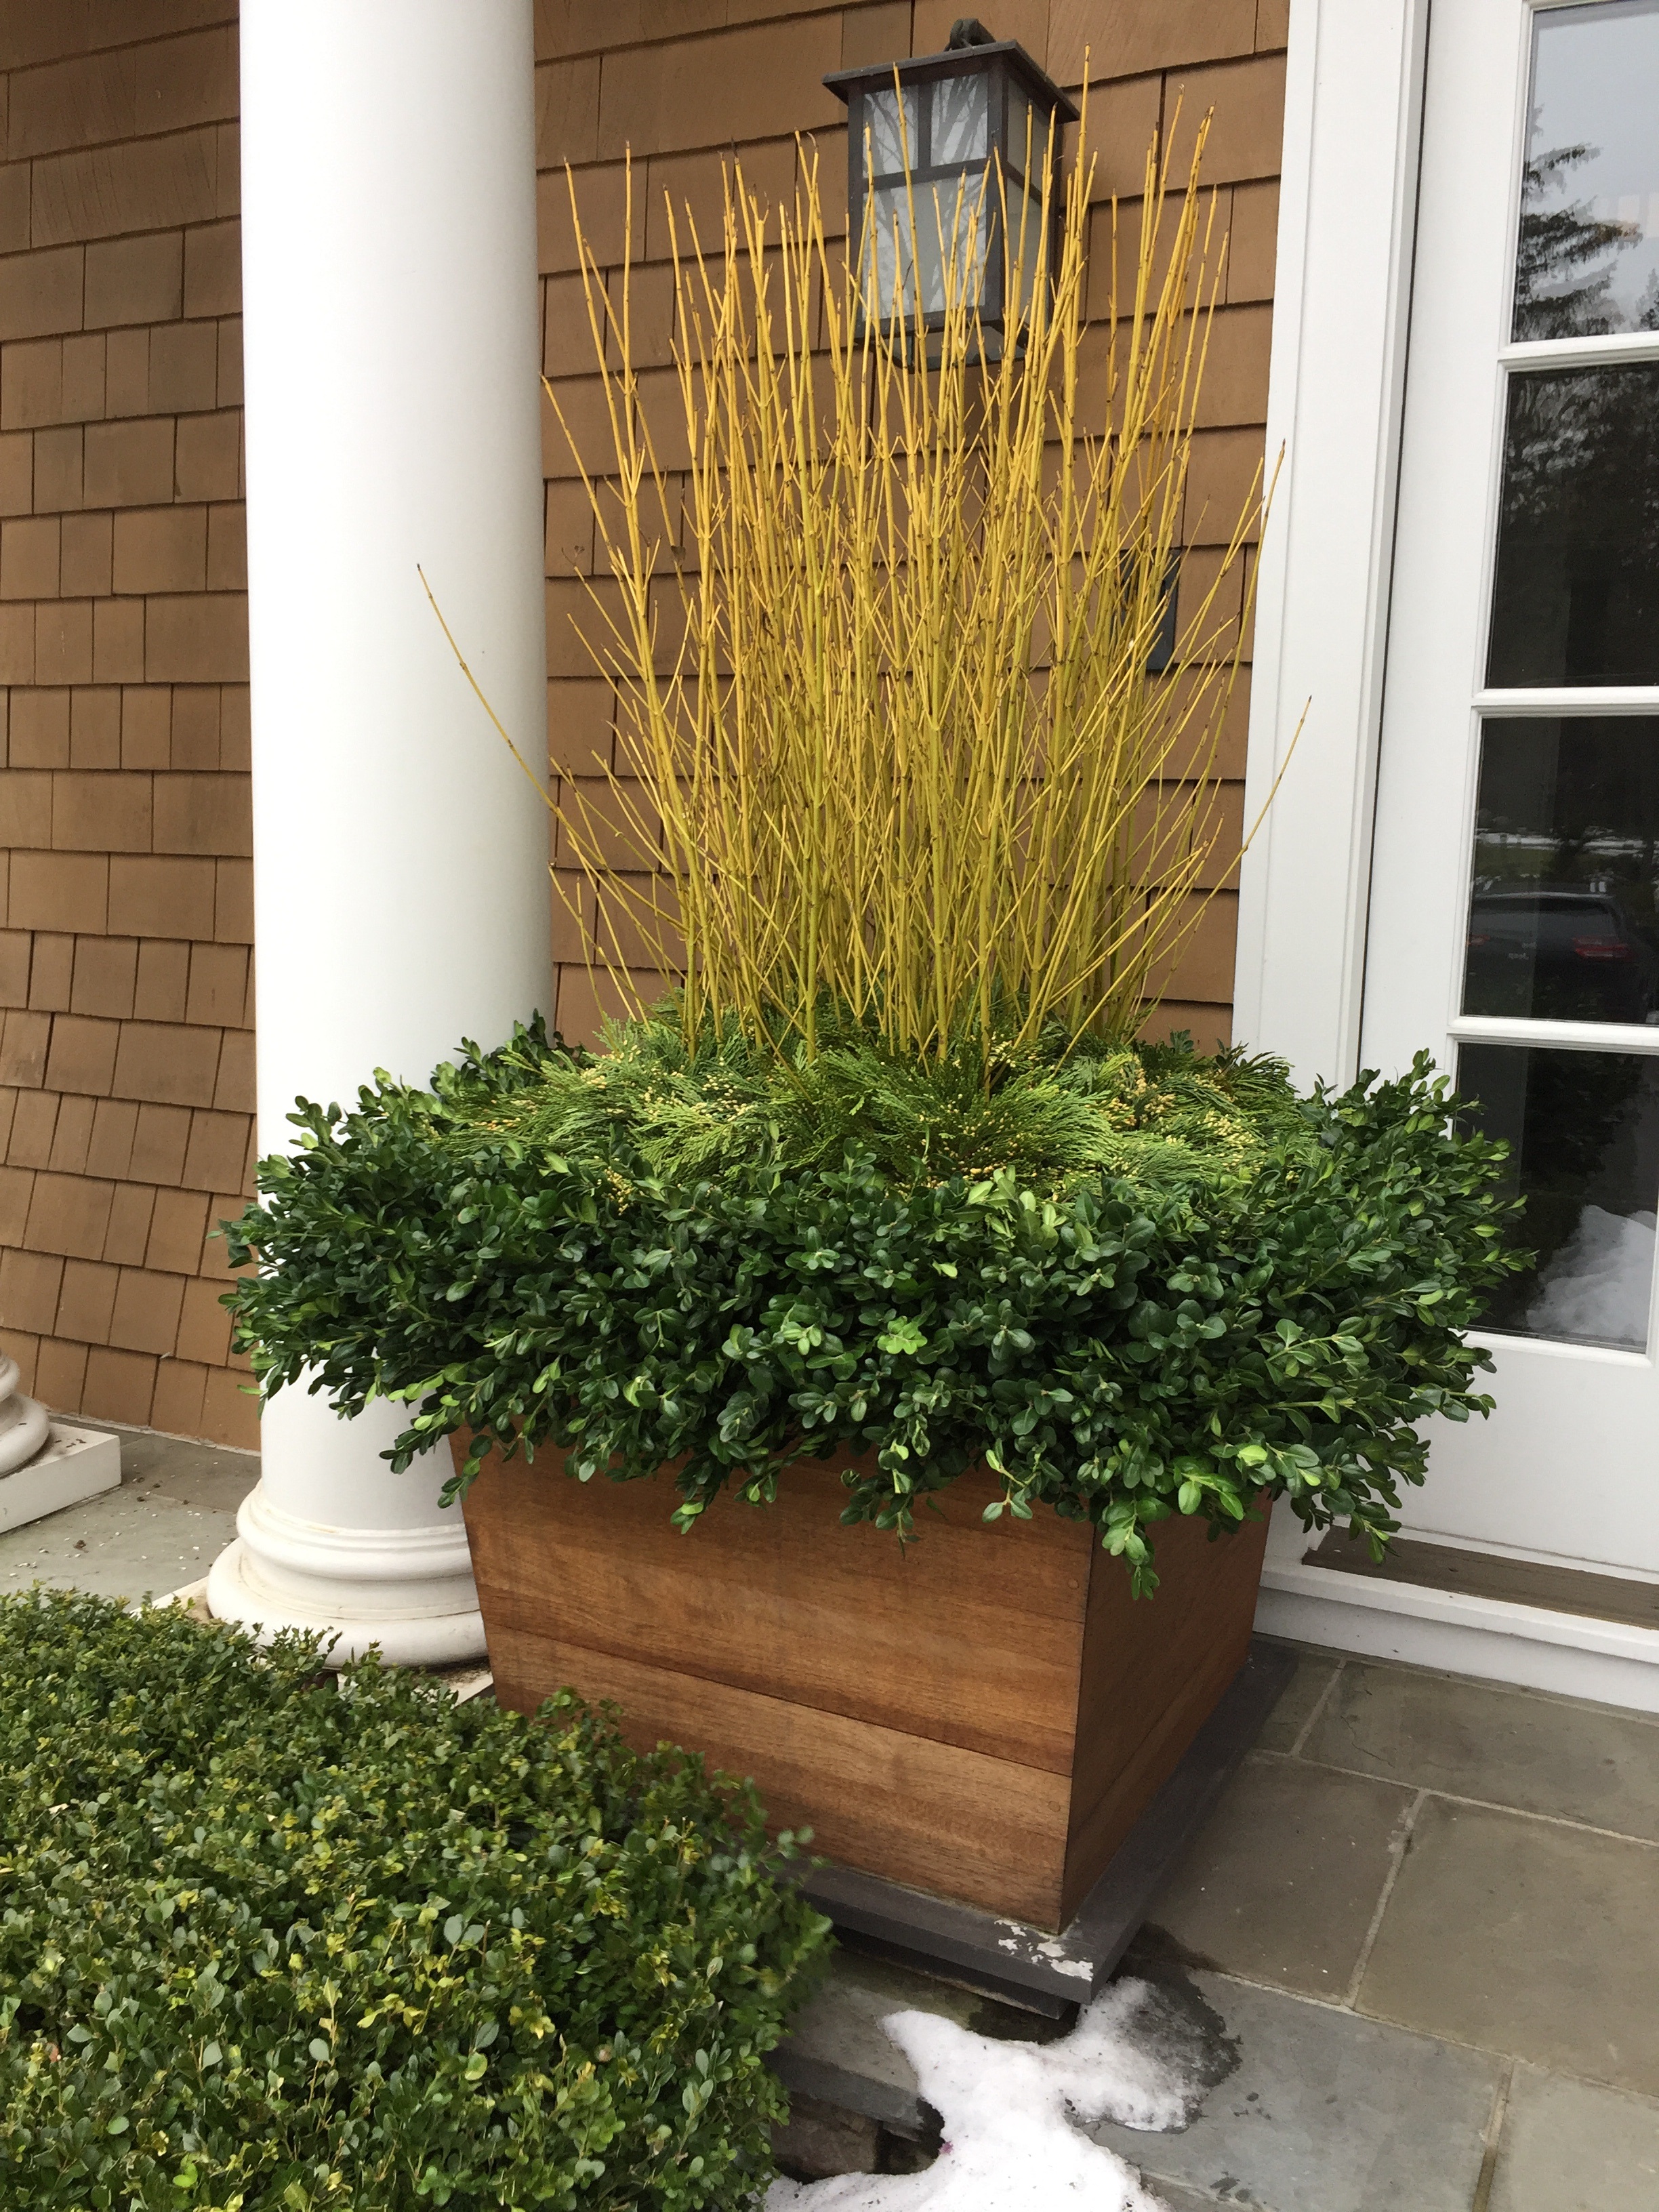
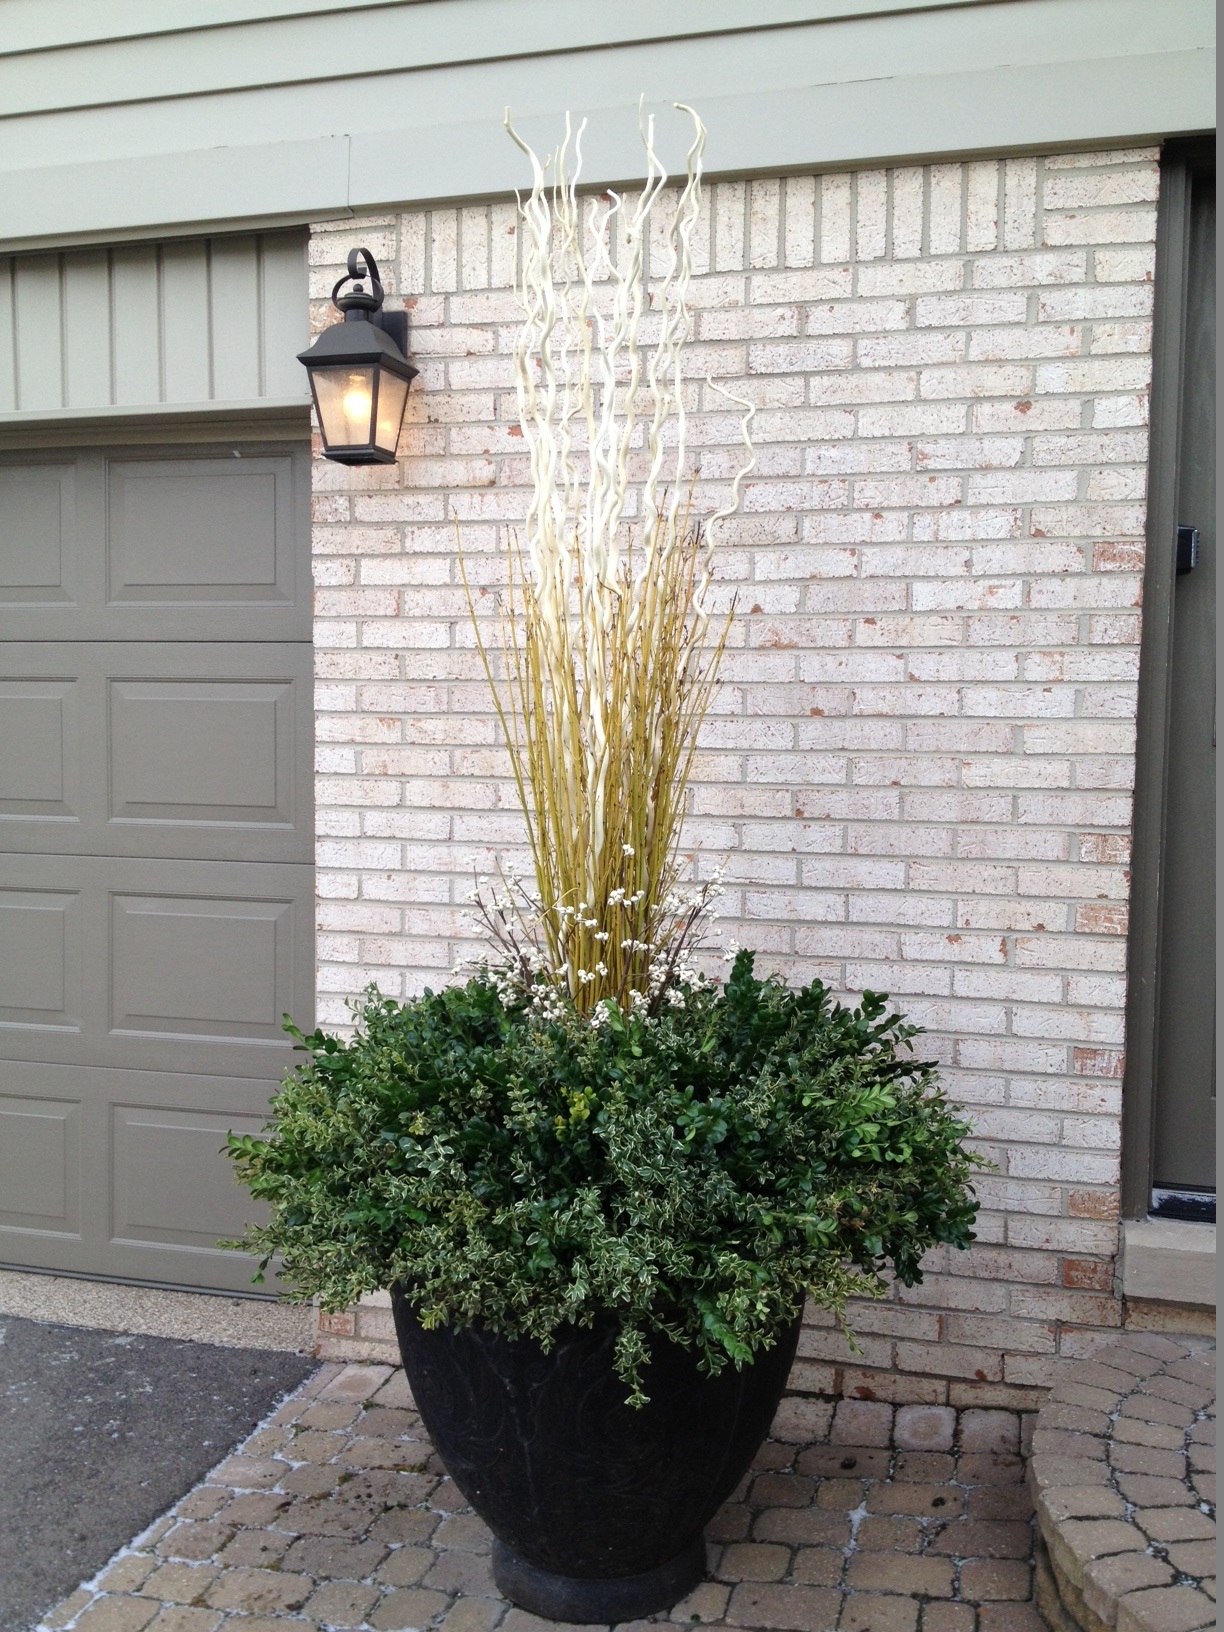
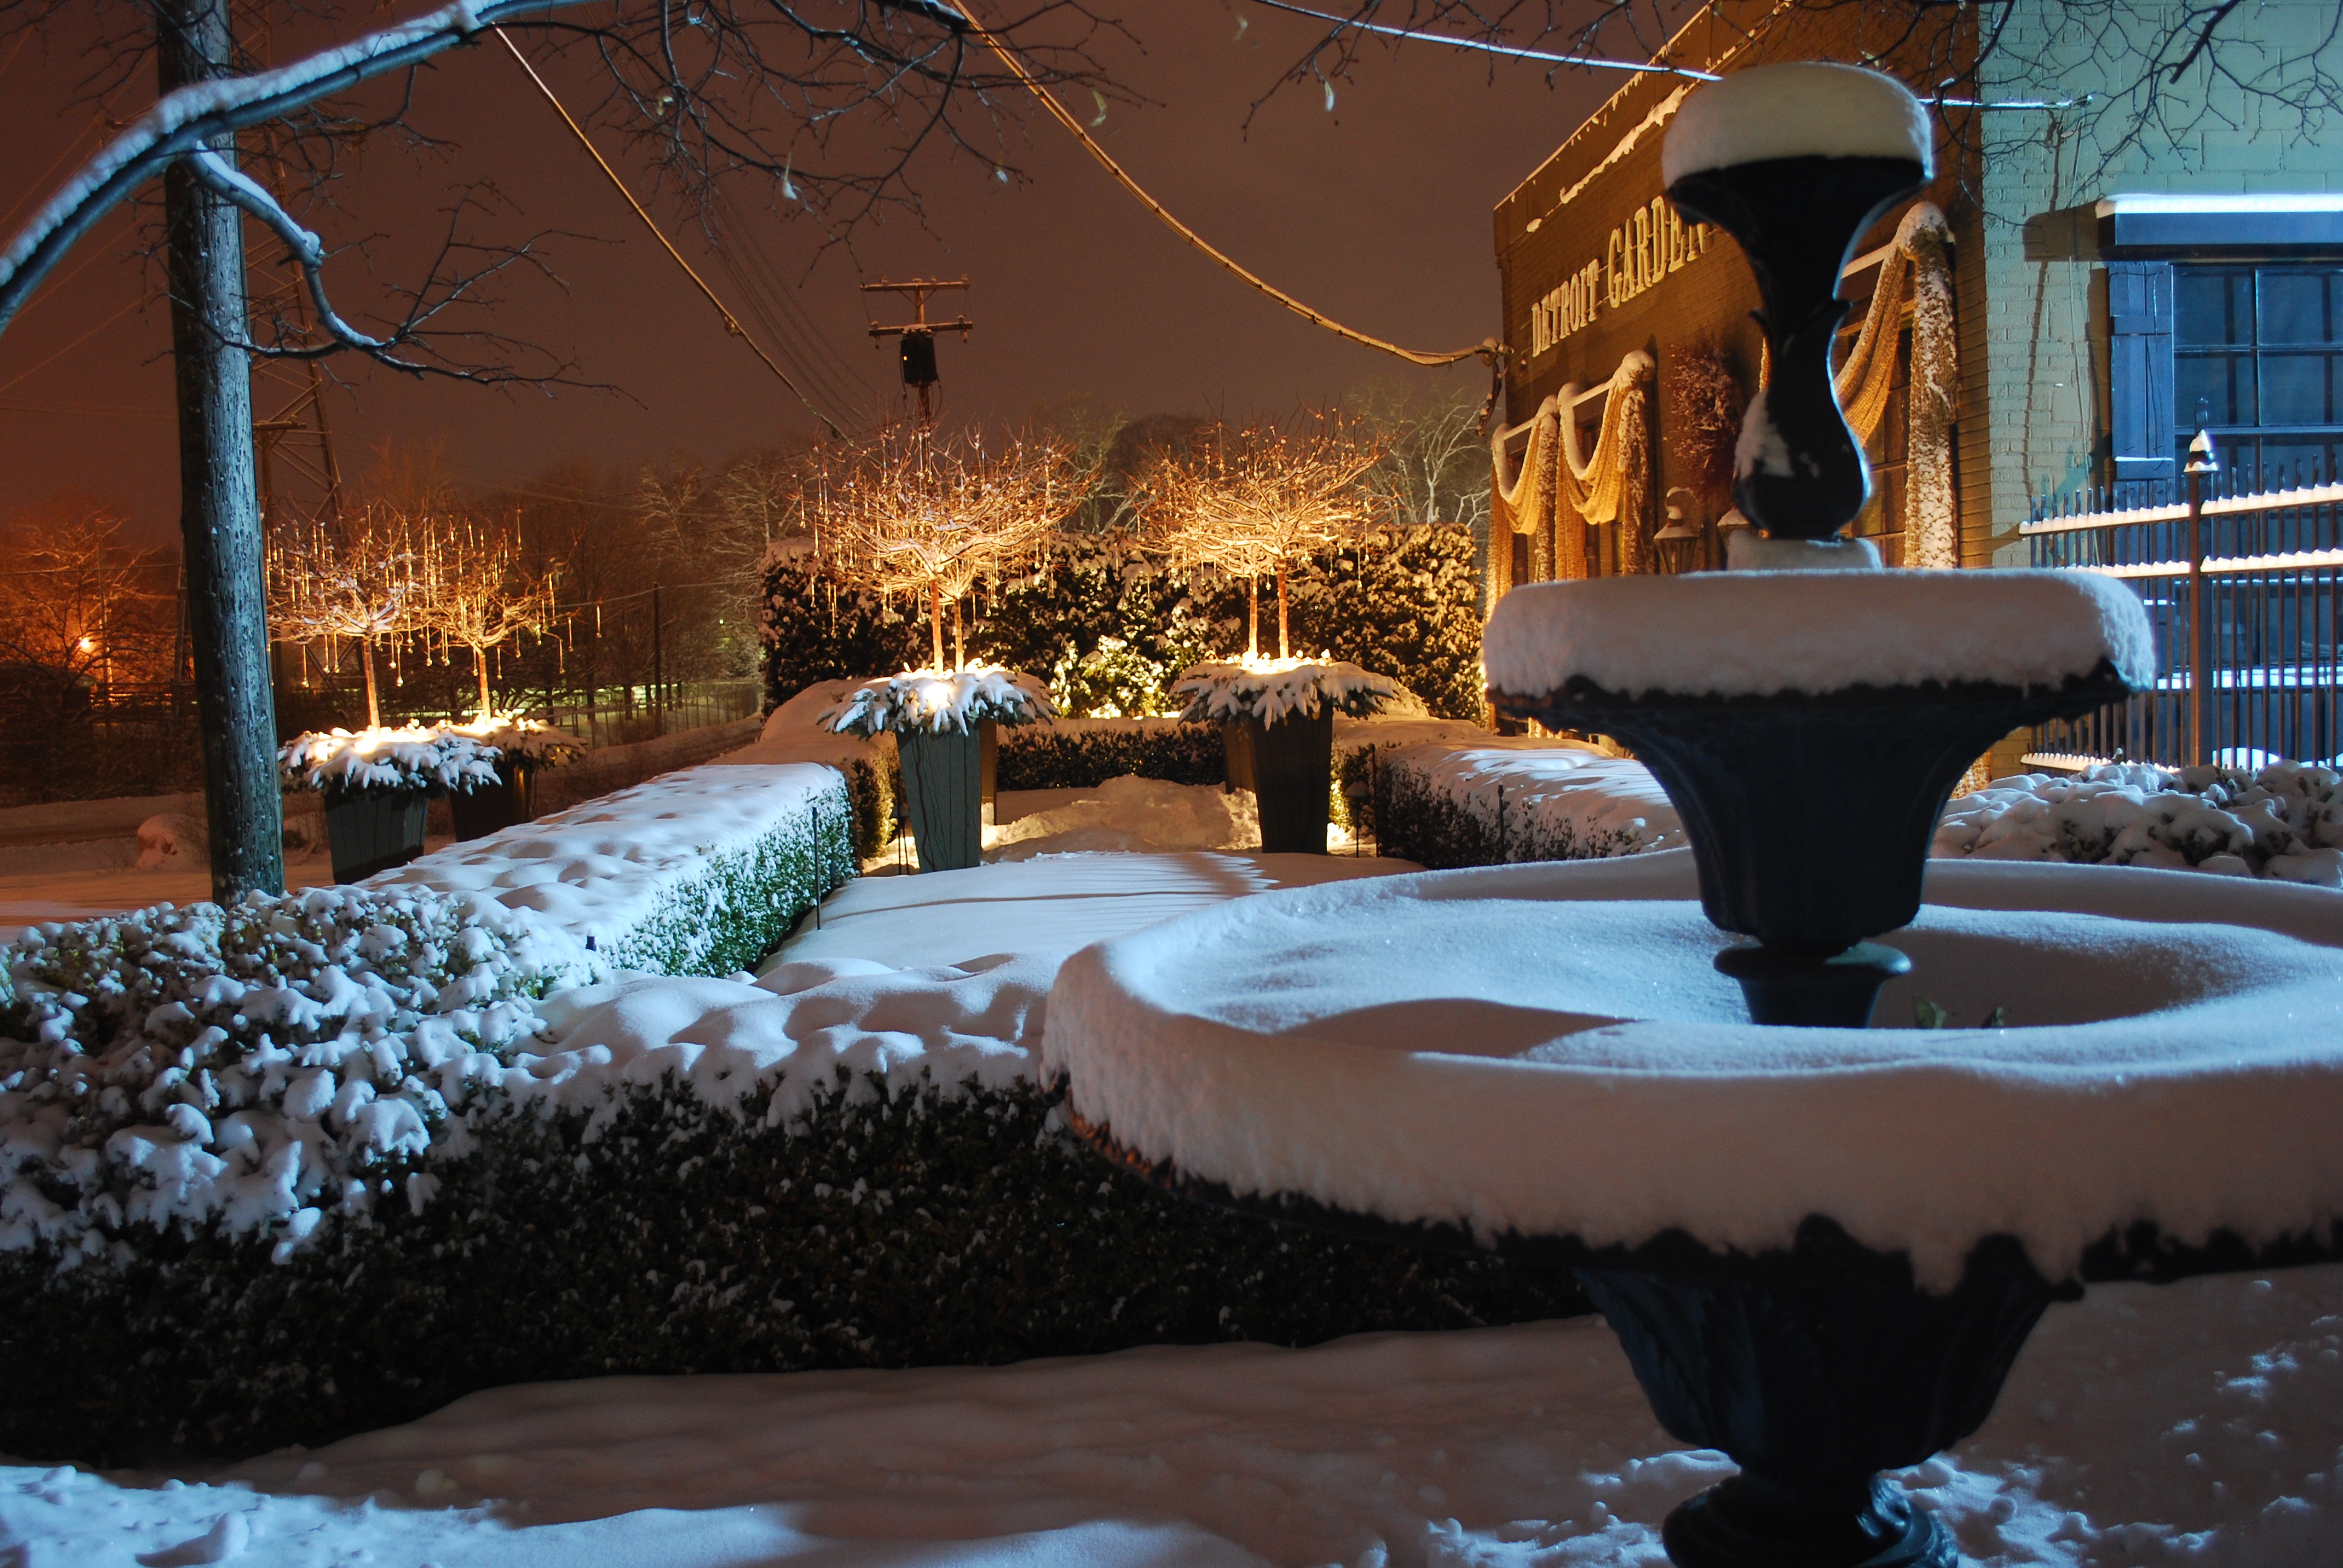
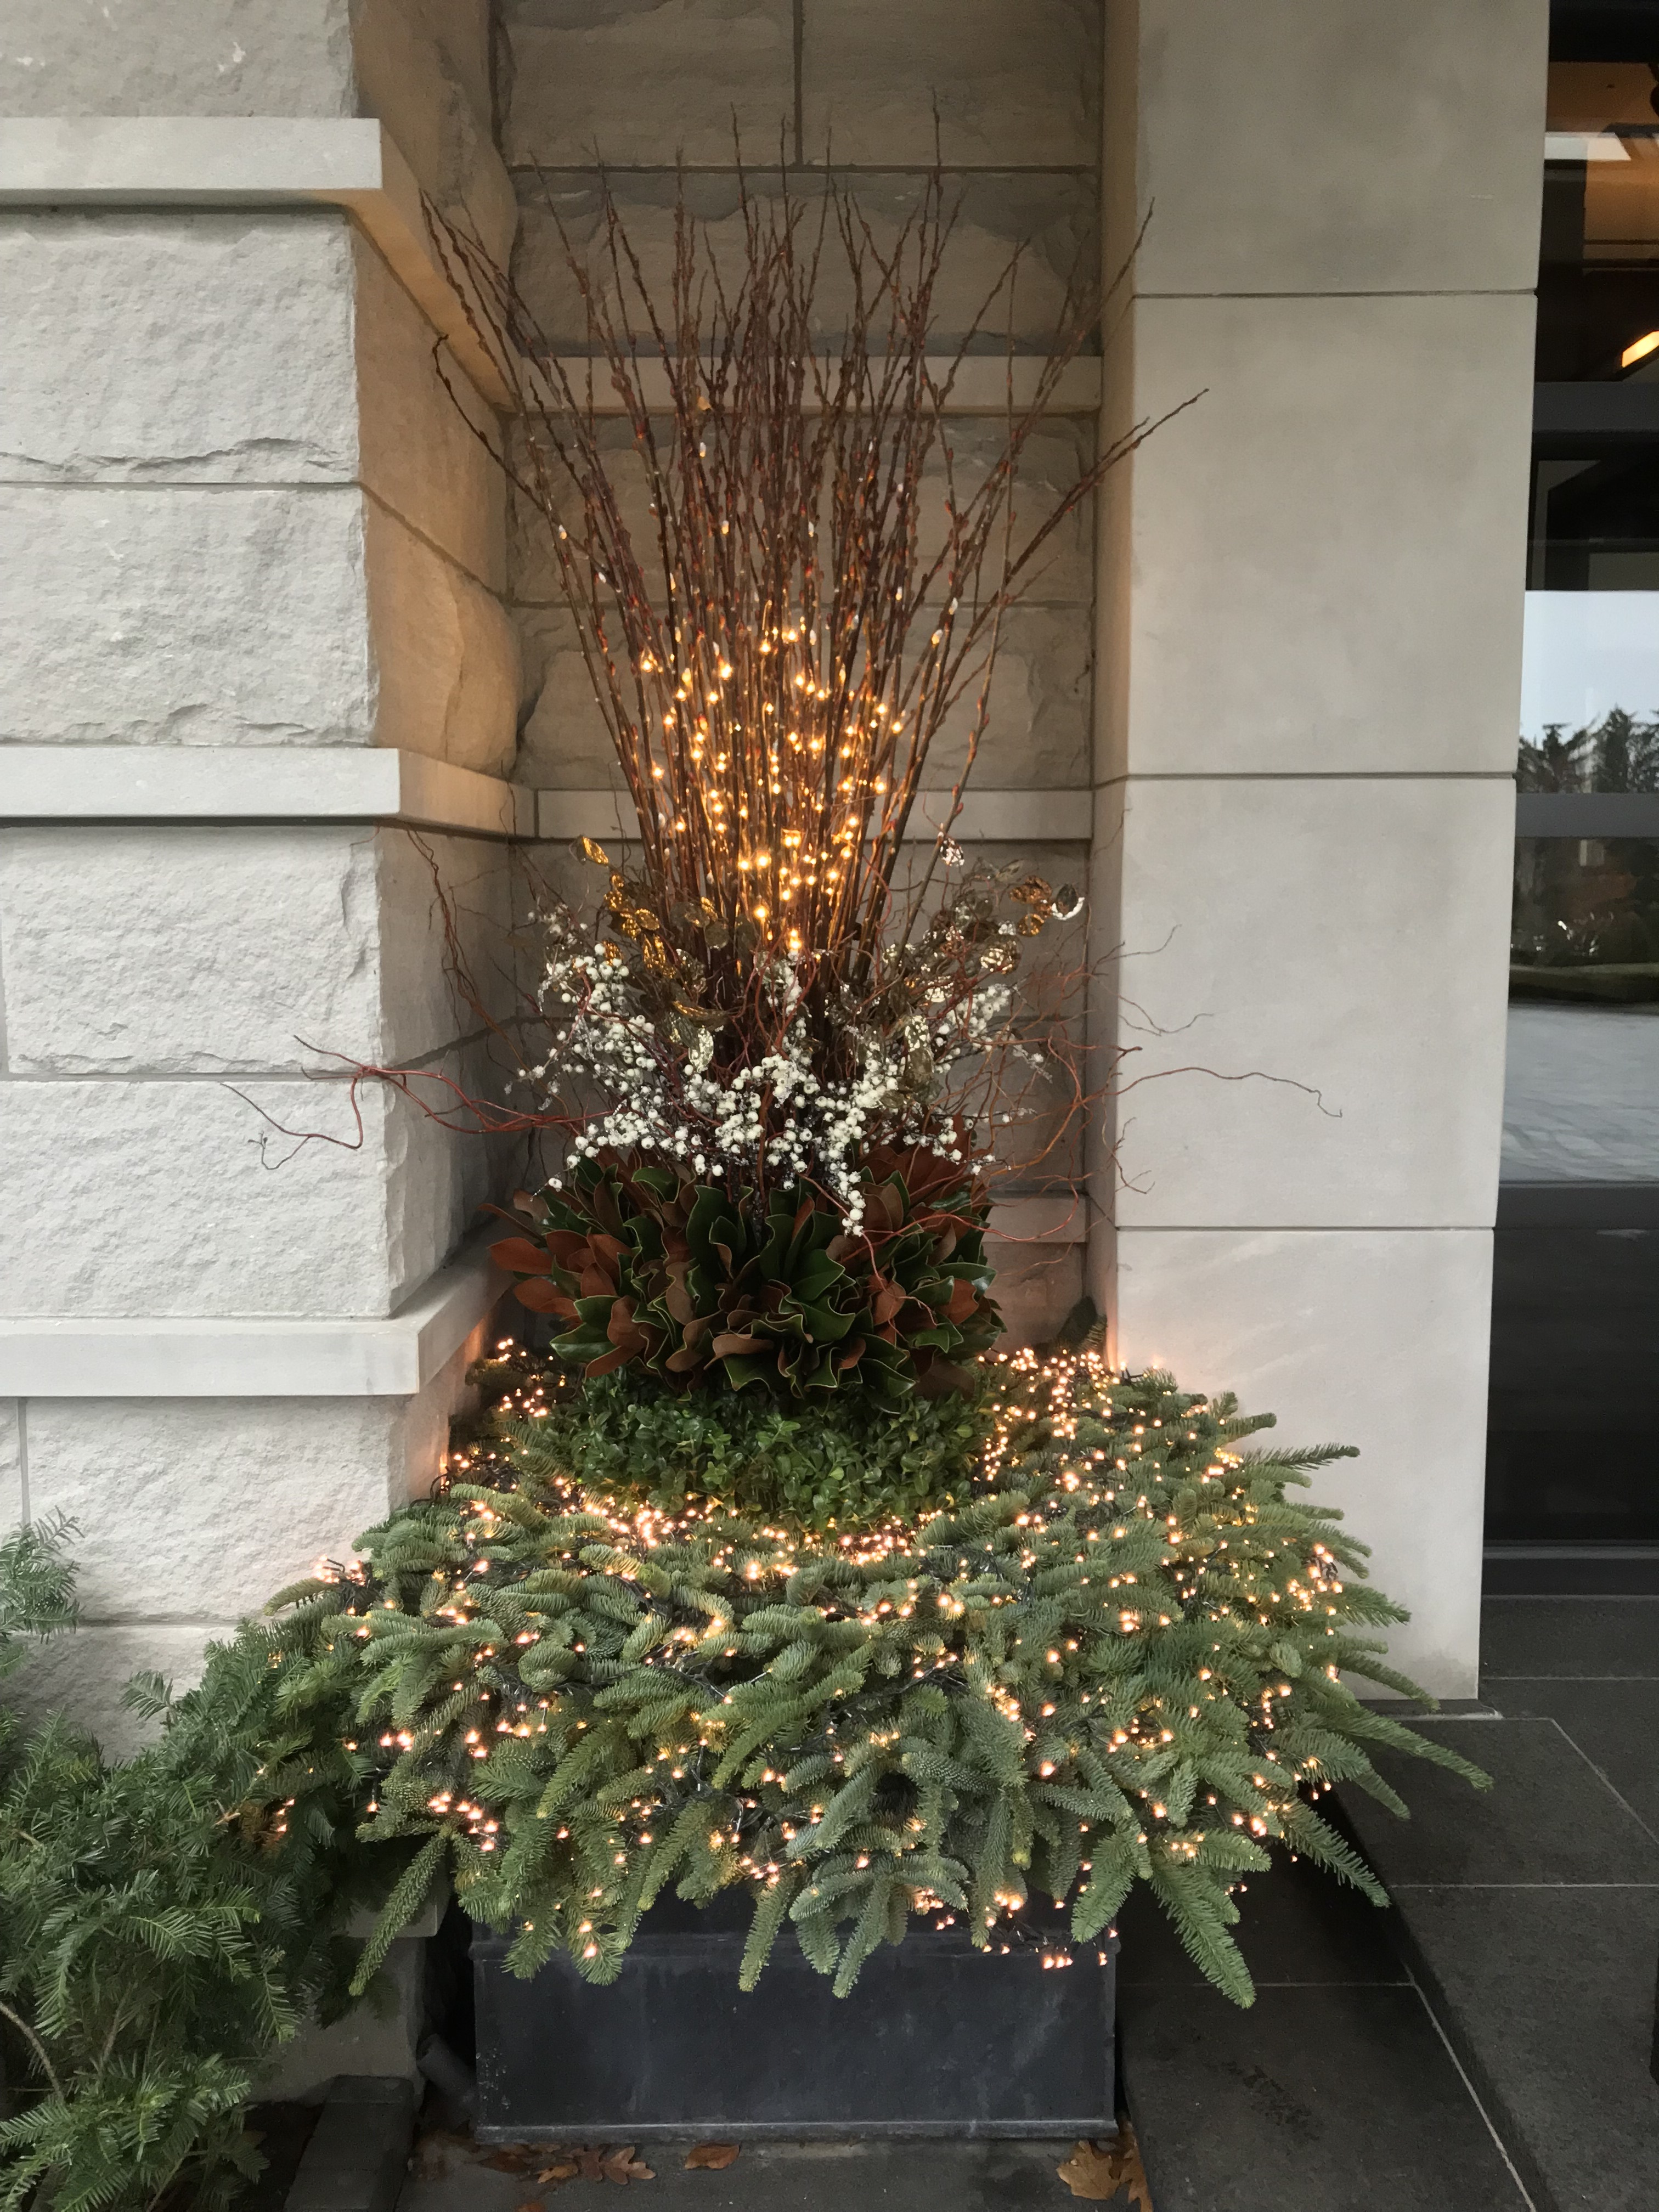
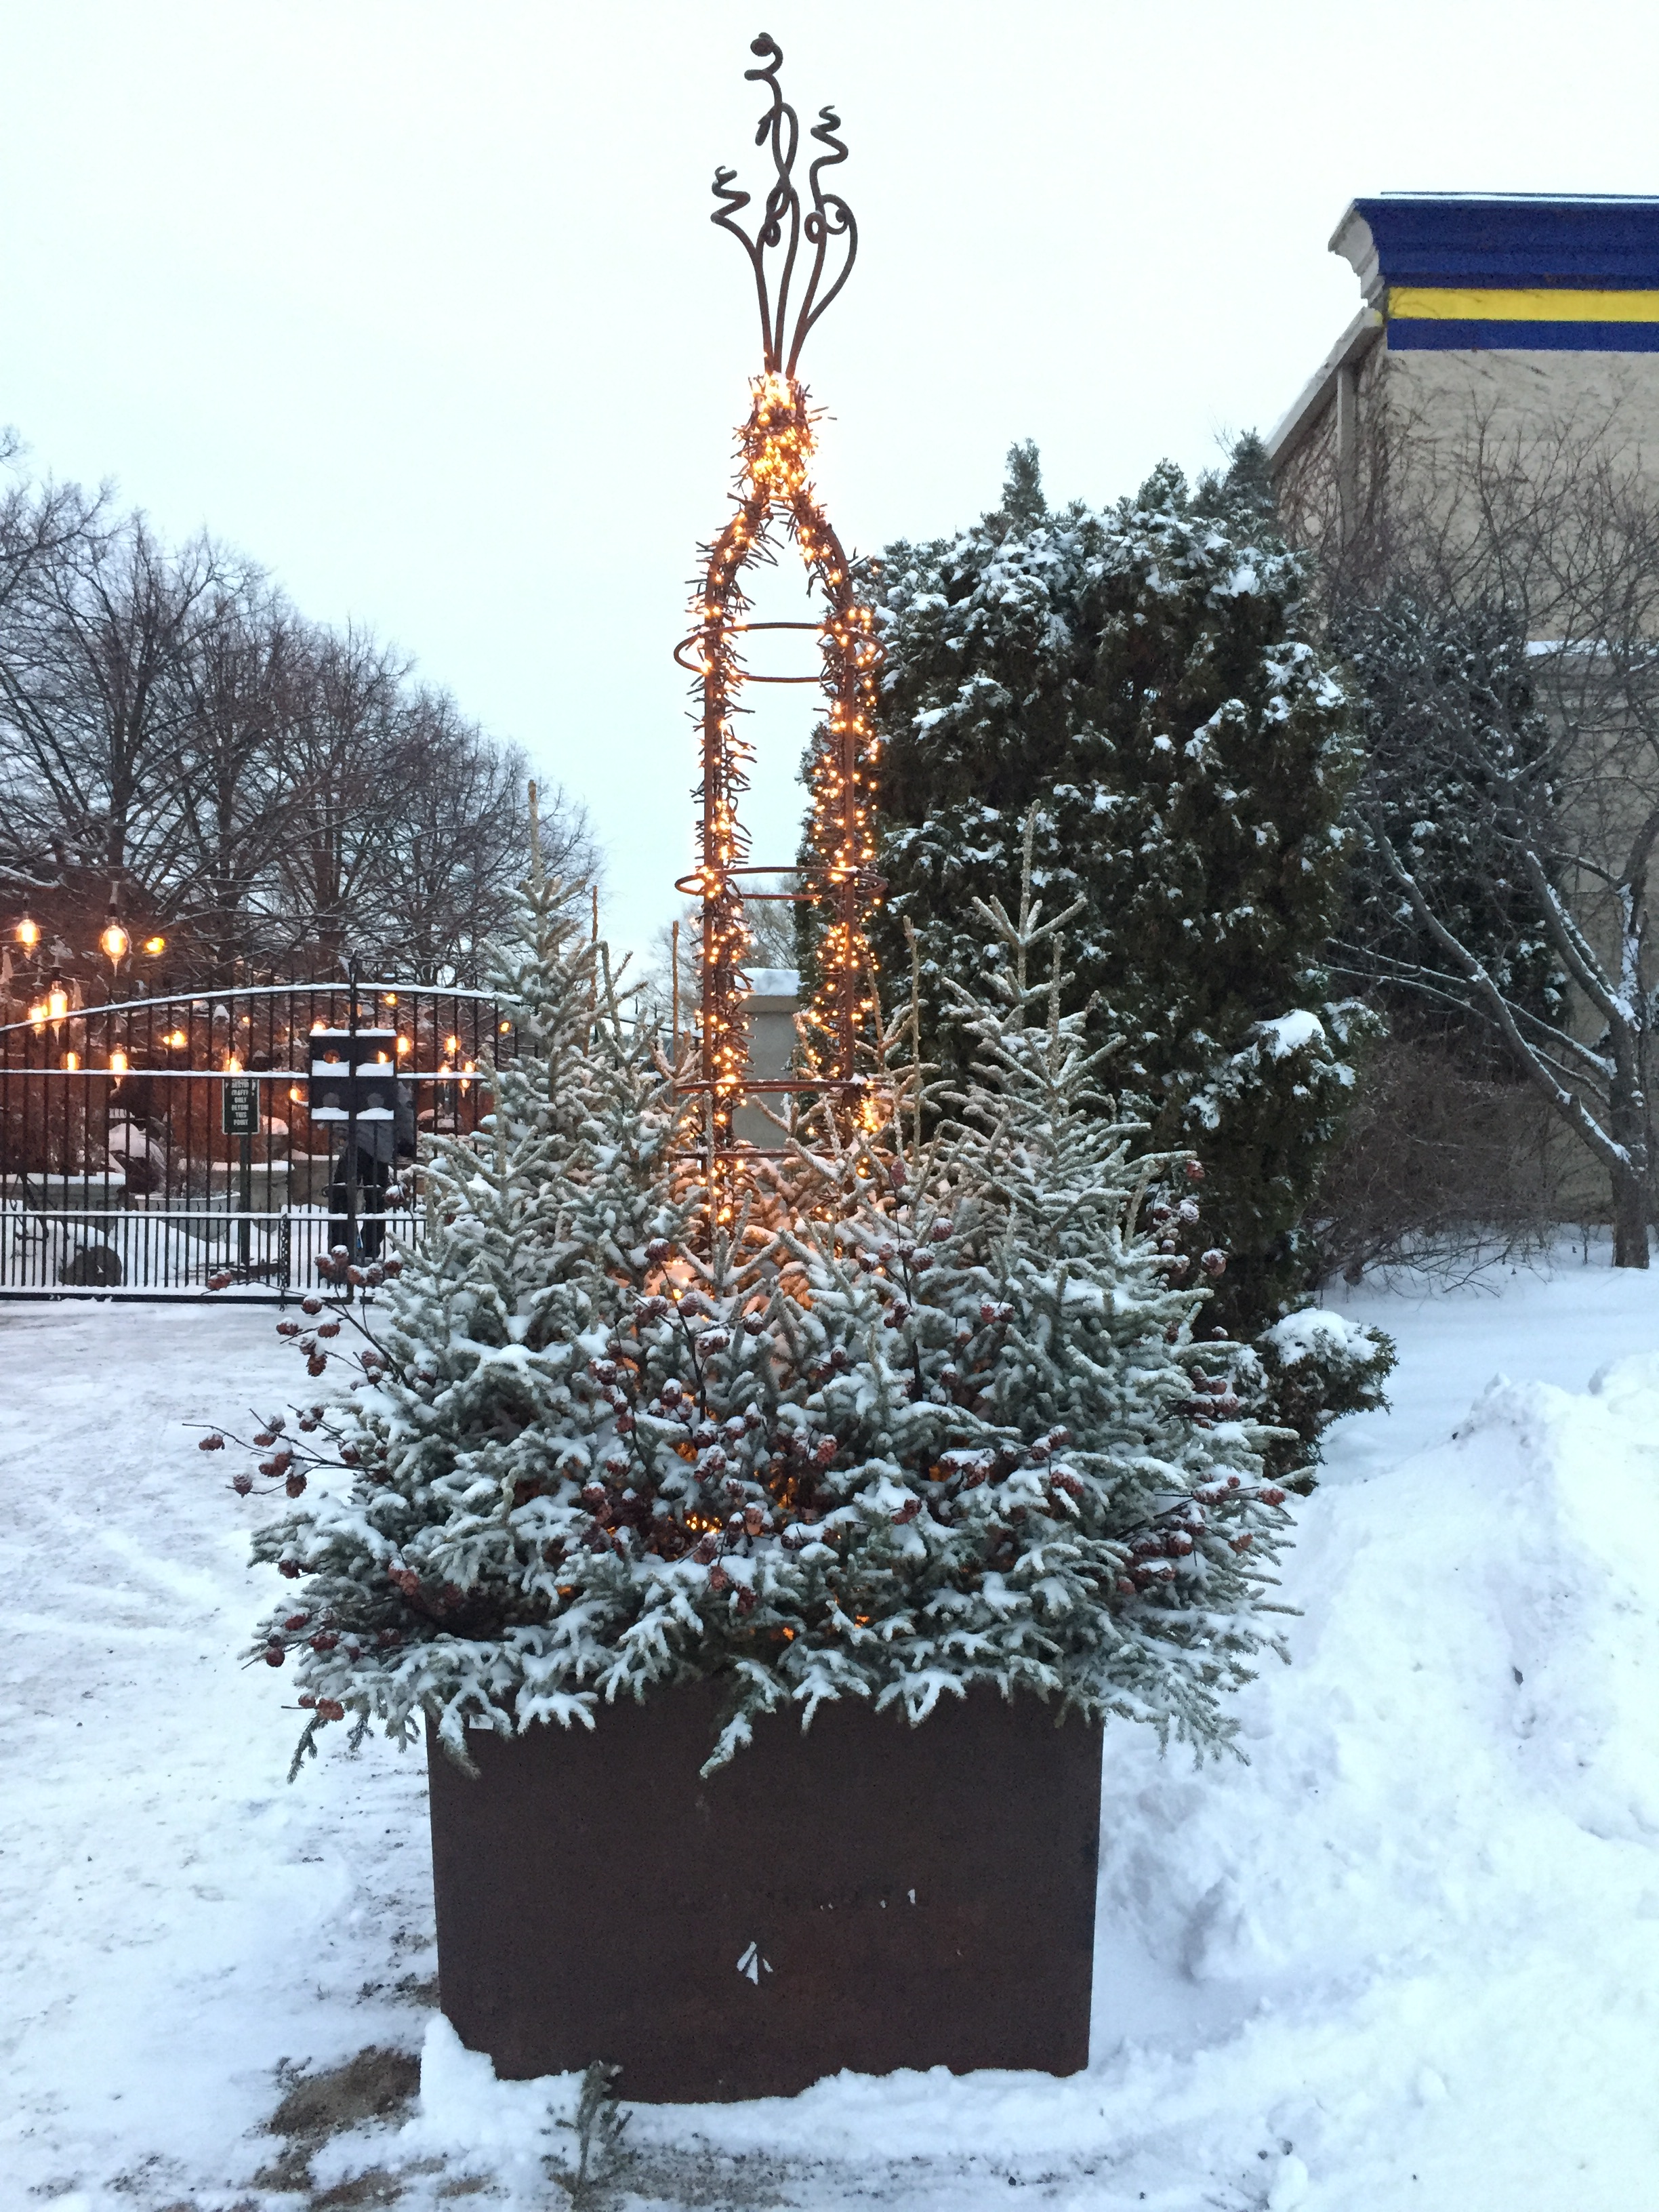
Designing and installing containers for the winter season is very different than planting containers in any other season. Notably, nothing grows in a winter container. Though most of our materials are naturally growing materials, they are rootless. Cut branches, greens, berries and seed pods will be the same size, and occupy the same space in March as they did the day they were arranged the previous November or December. There needs to be enough materials to create an arrangement proportional to the container. A decent sized pot planted with a single coleus in May could be glorious by September, but winter pots need to be glorious the moment they are finished. Pots stuffed to overflowing with winter materials are also better able to handle our winter weather. Rob’s winter container pictured above maintains its shape and size despite the snow. A second crucial difference is the light. Summer days are long and mostly sunny. Winter days are gloomy, and dark after 4:30 pm. Designing a winter pot that addresses the darkness can be enjoyed 24 hours a day. Barely visible above is the firepower in the bottom of this container that will transform this winter arrangement once the day goes dark.
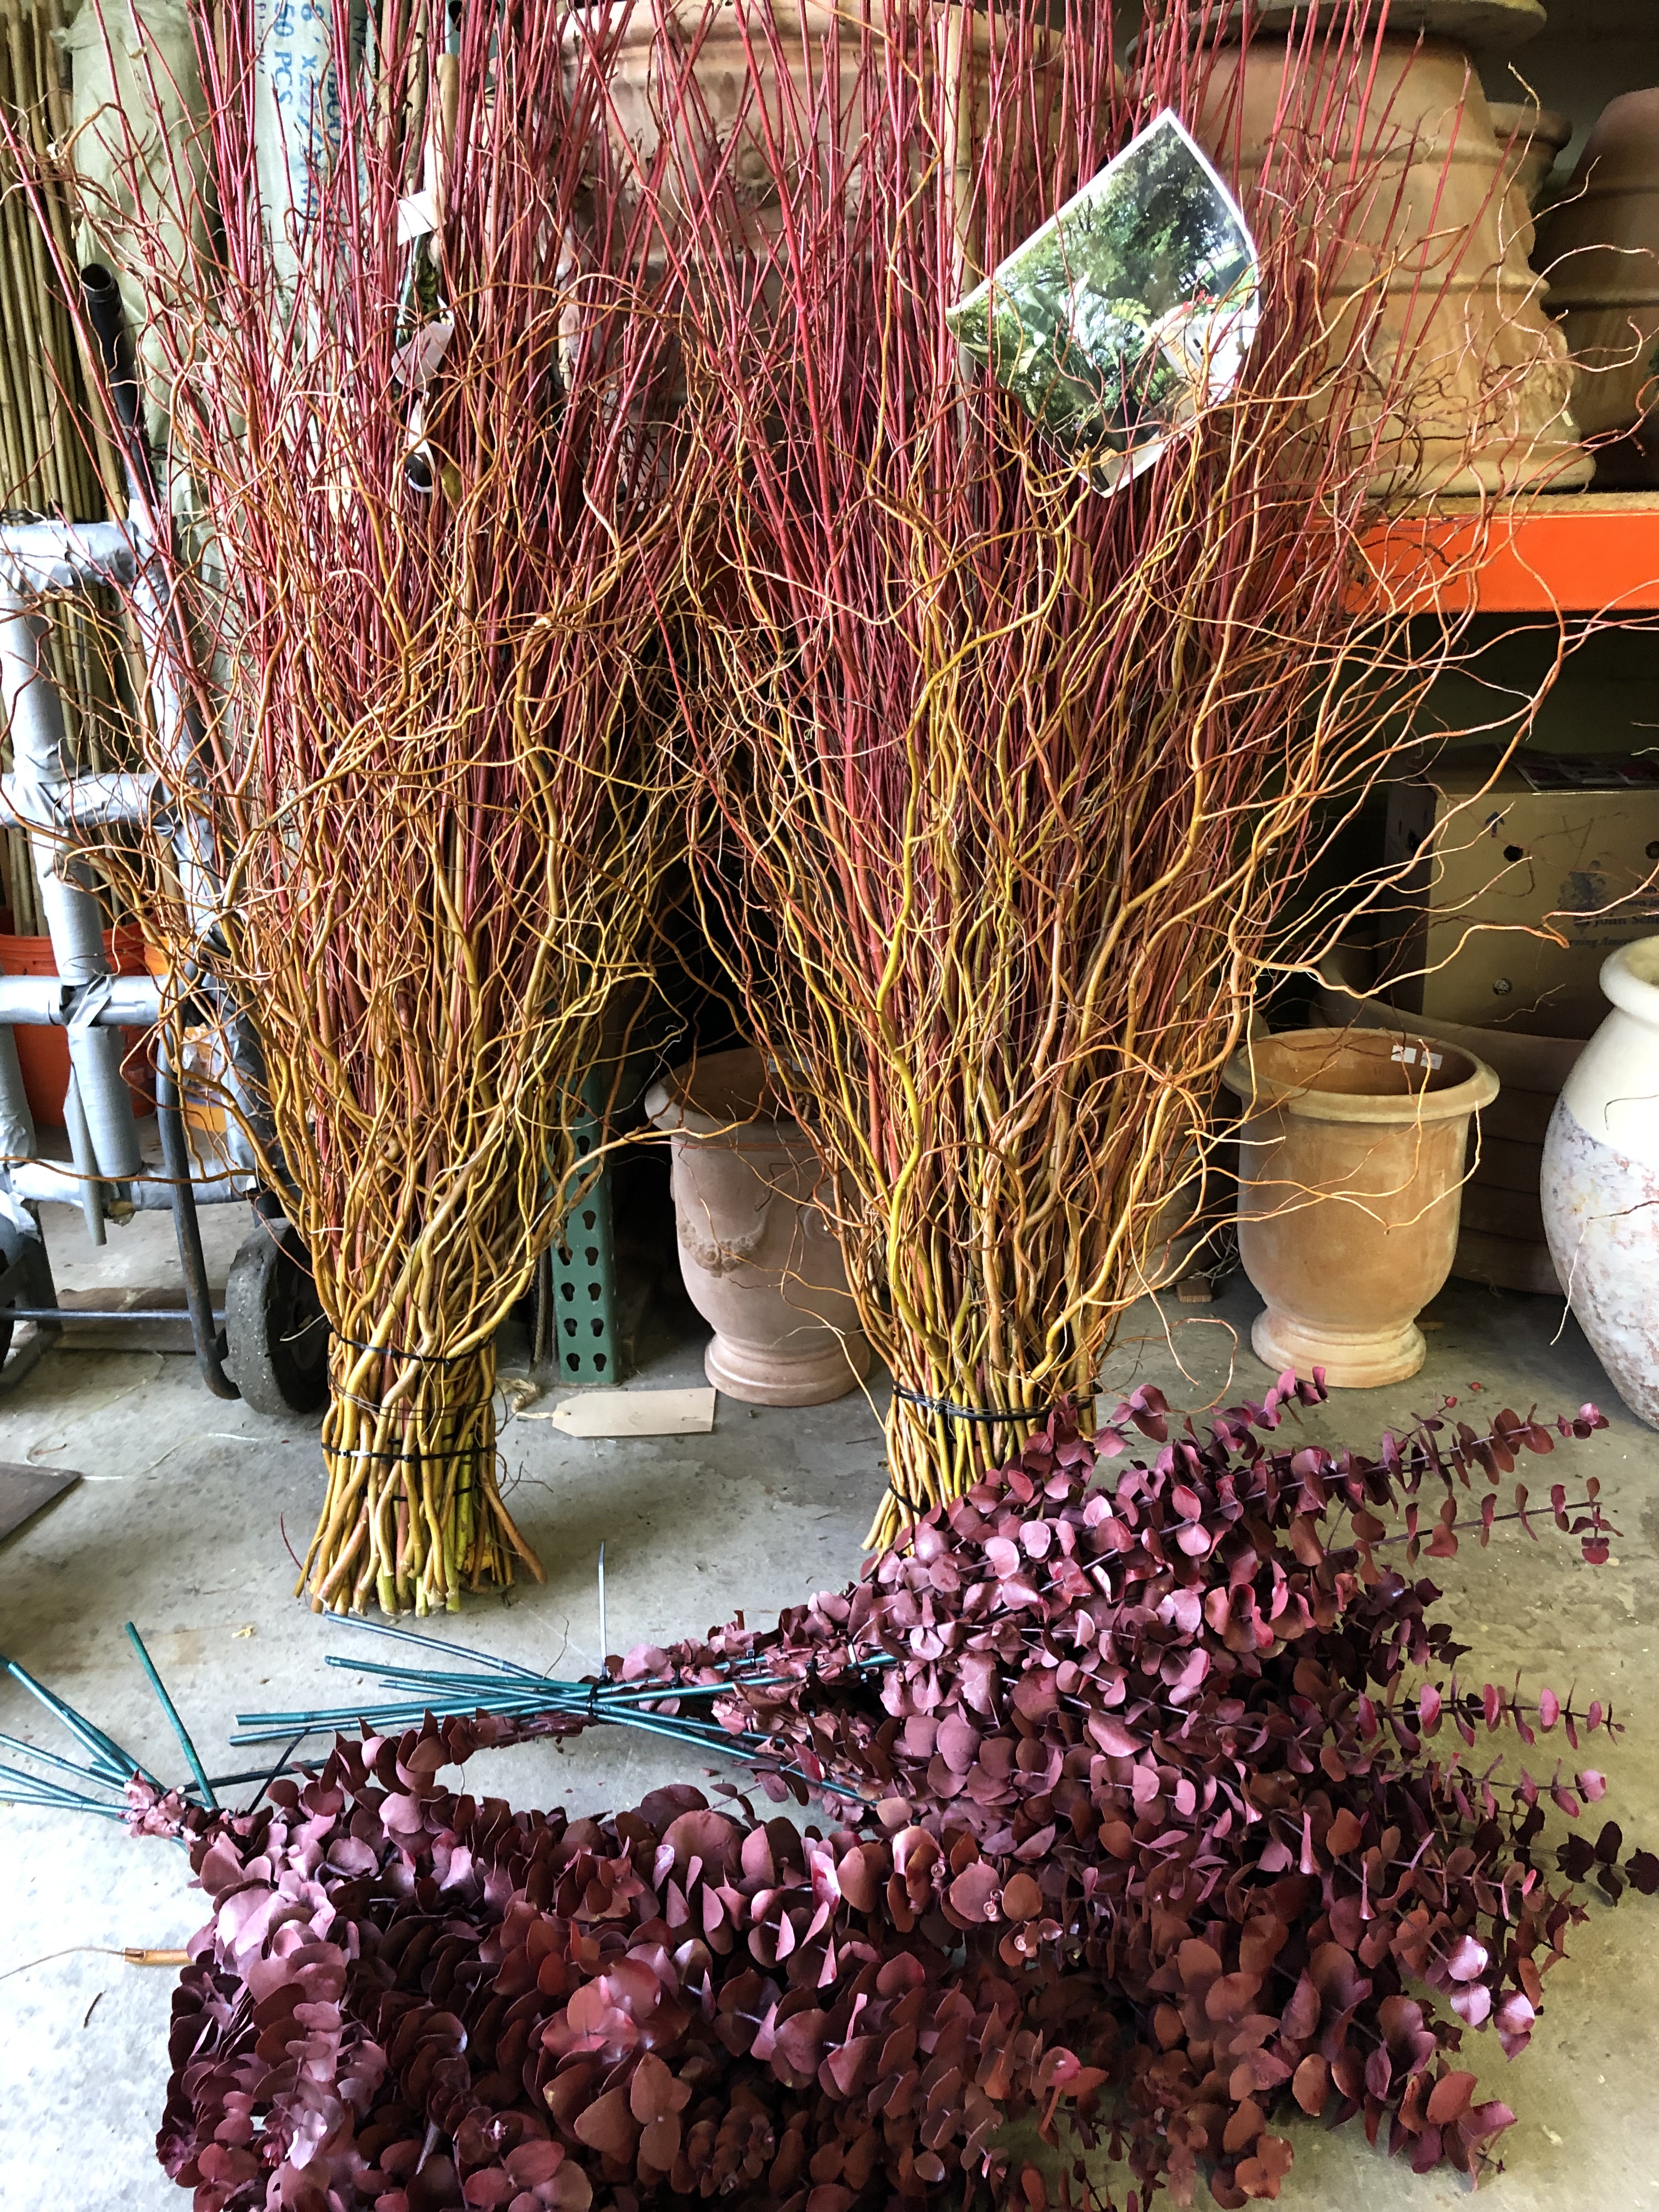
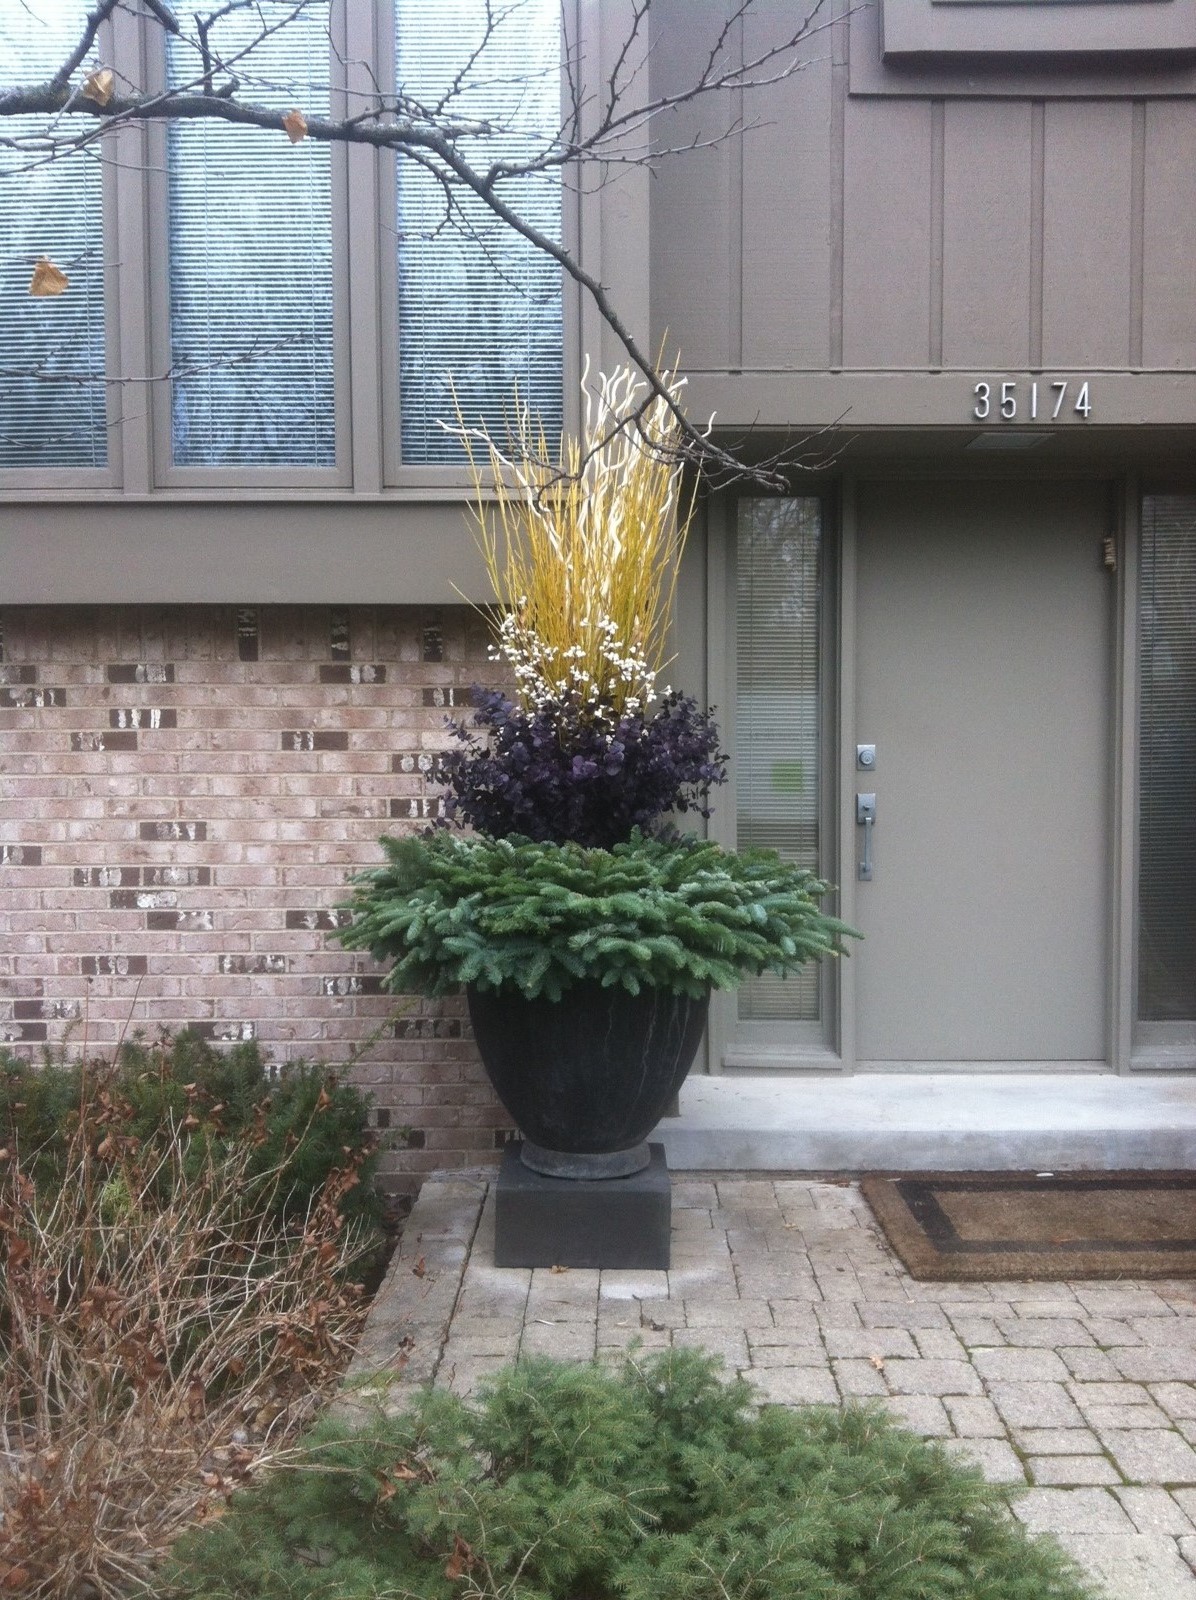
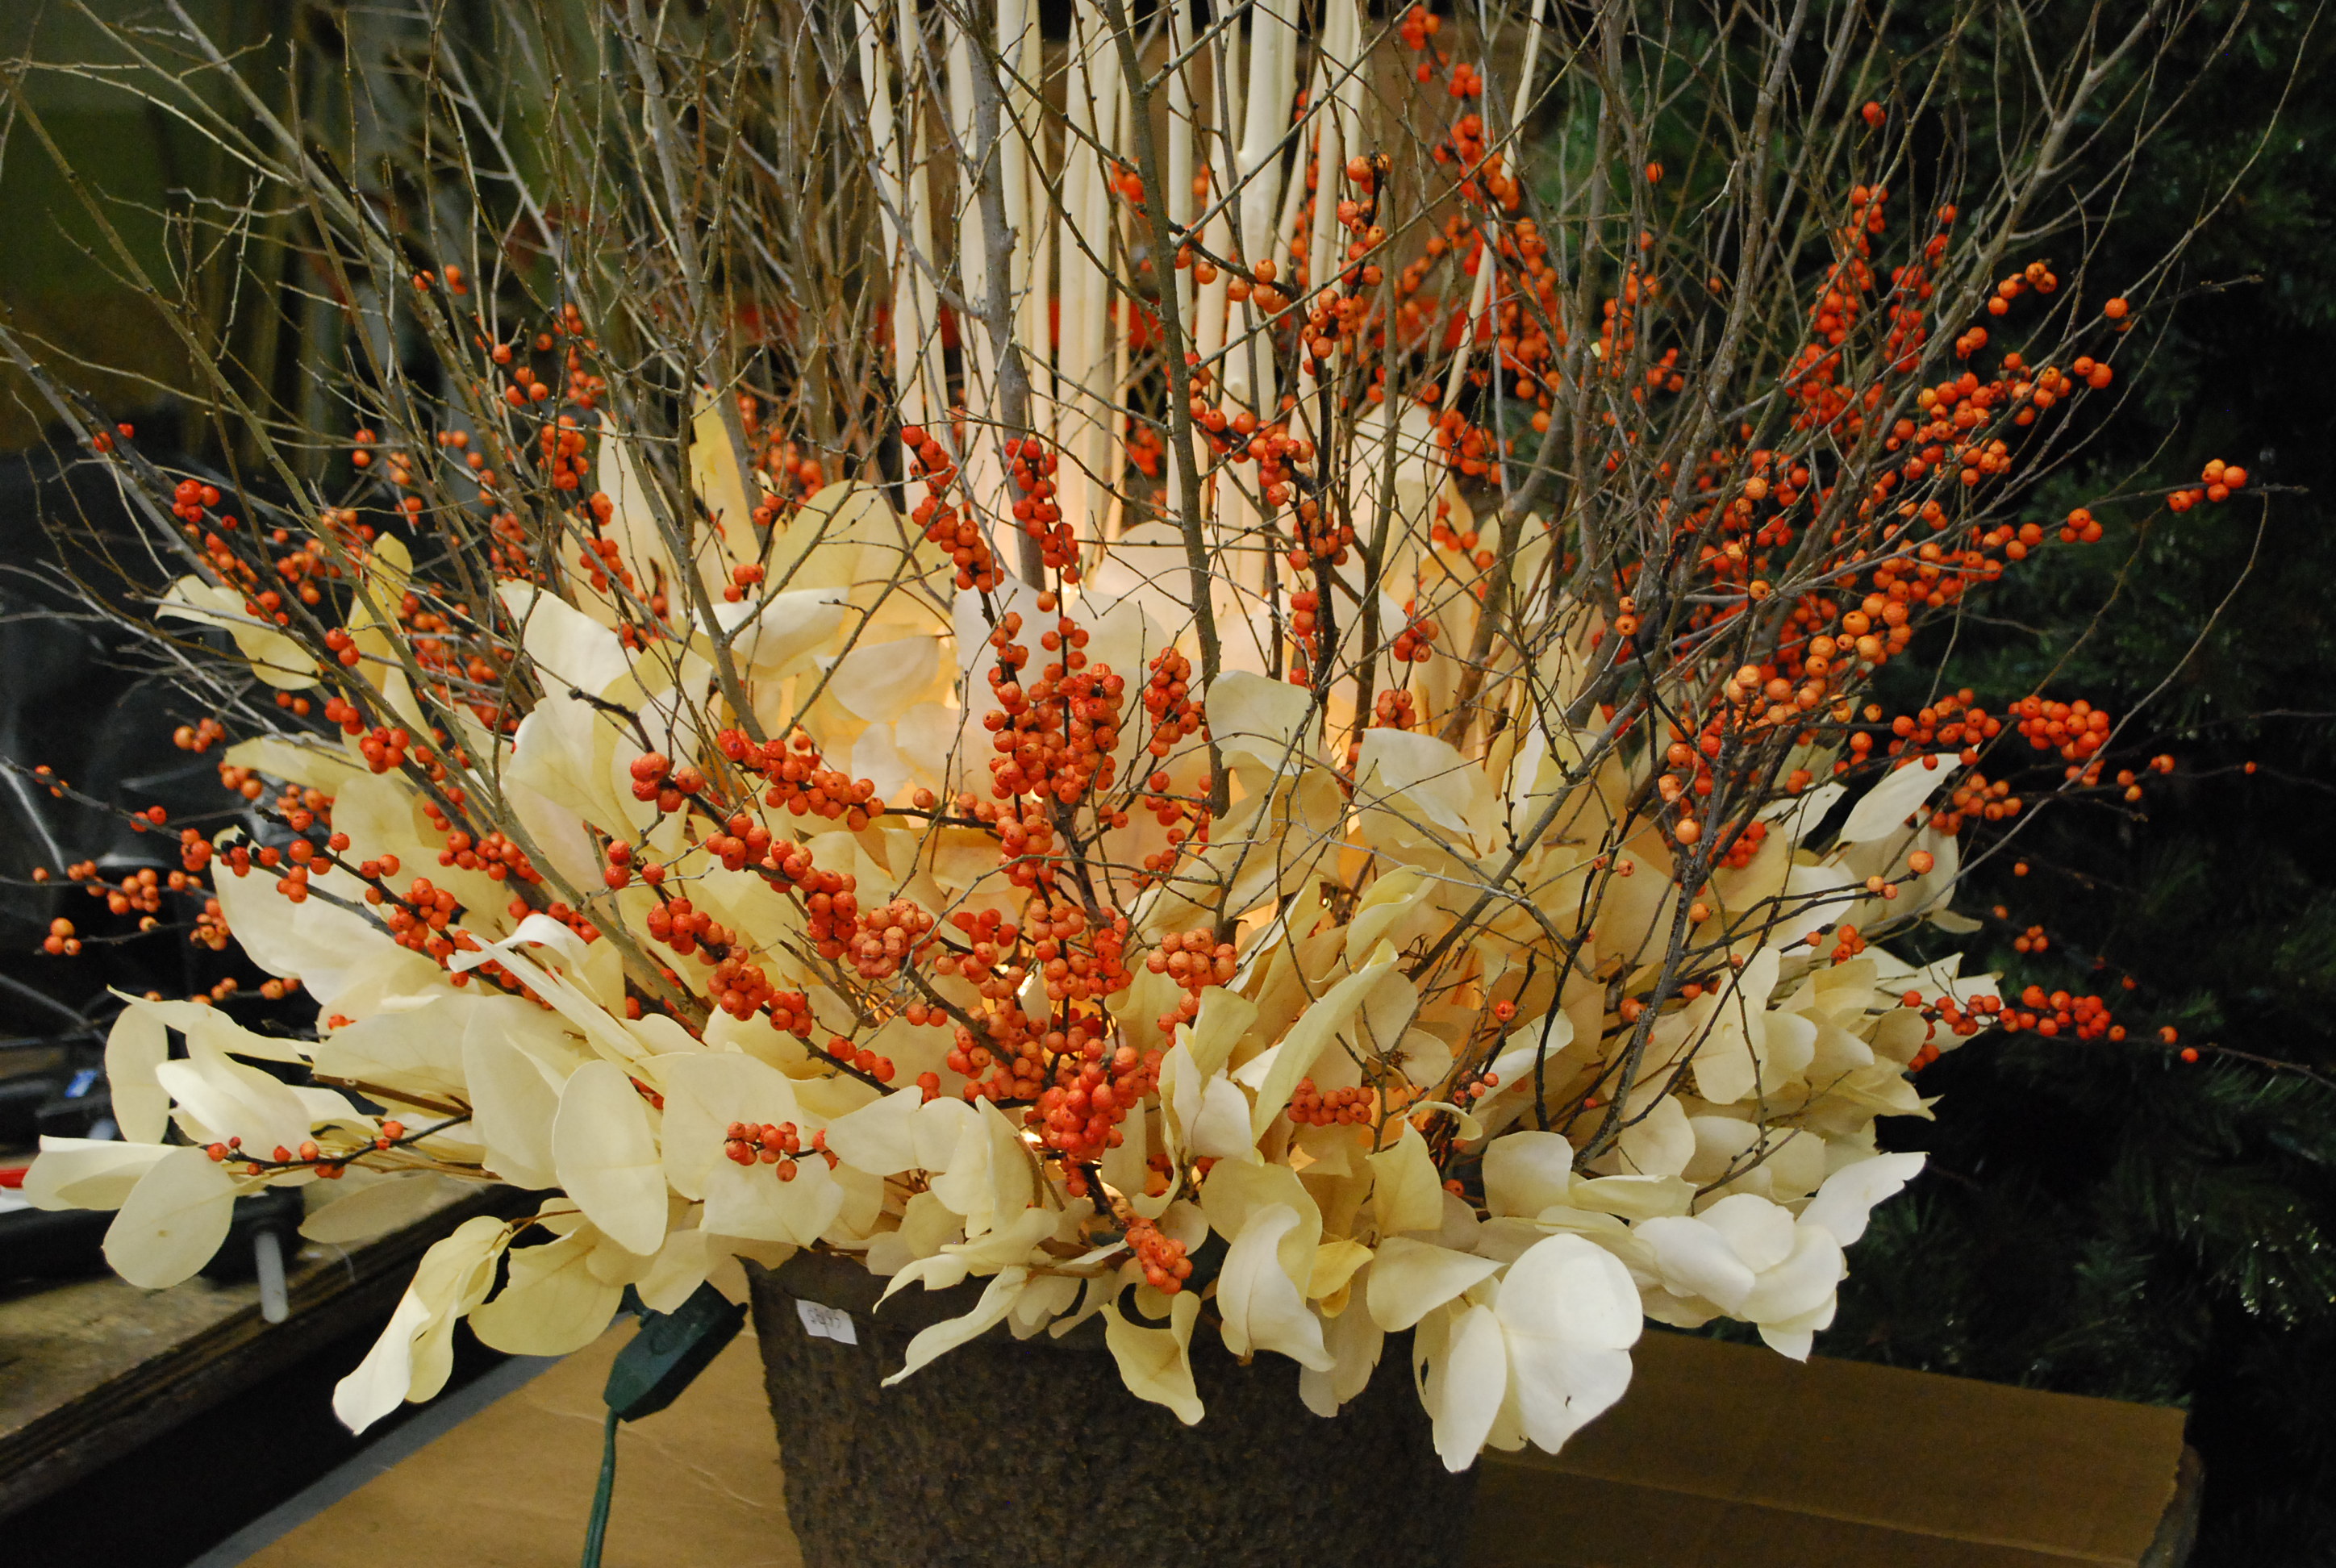
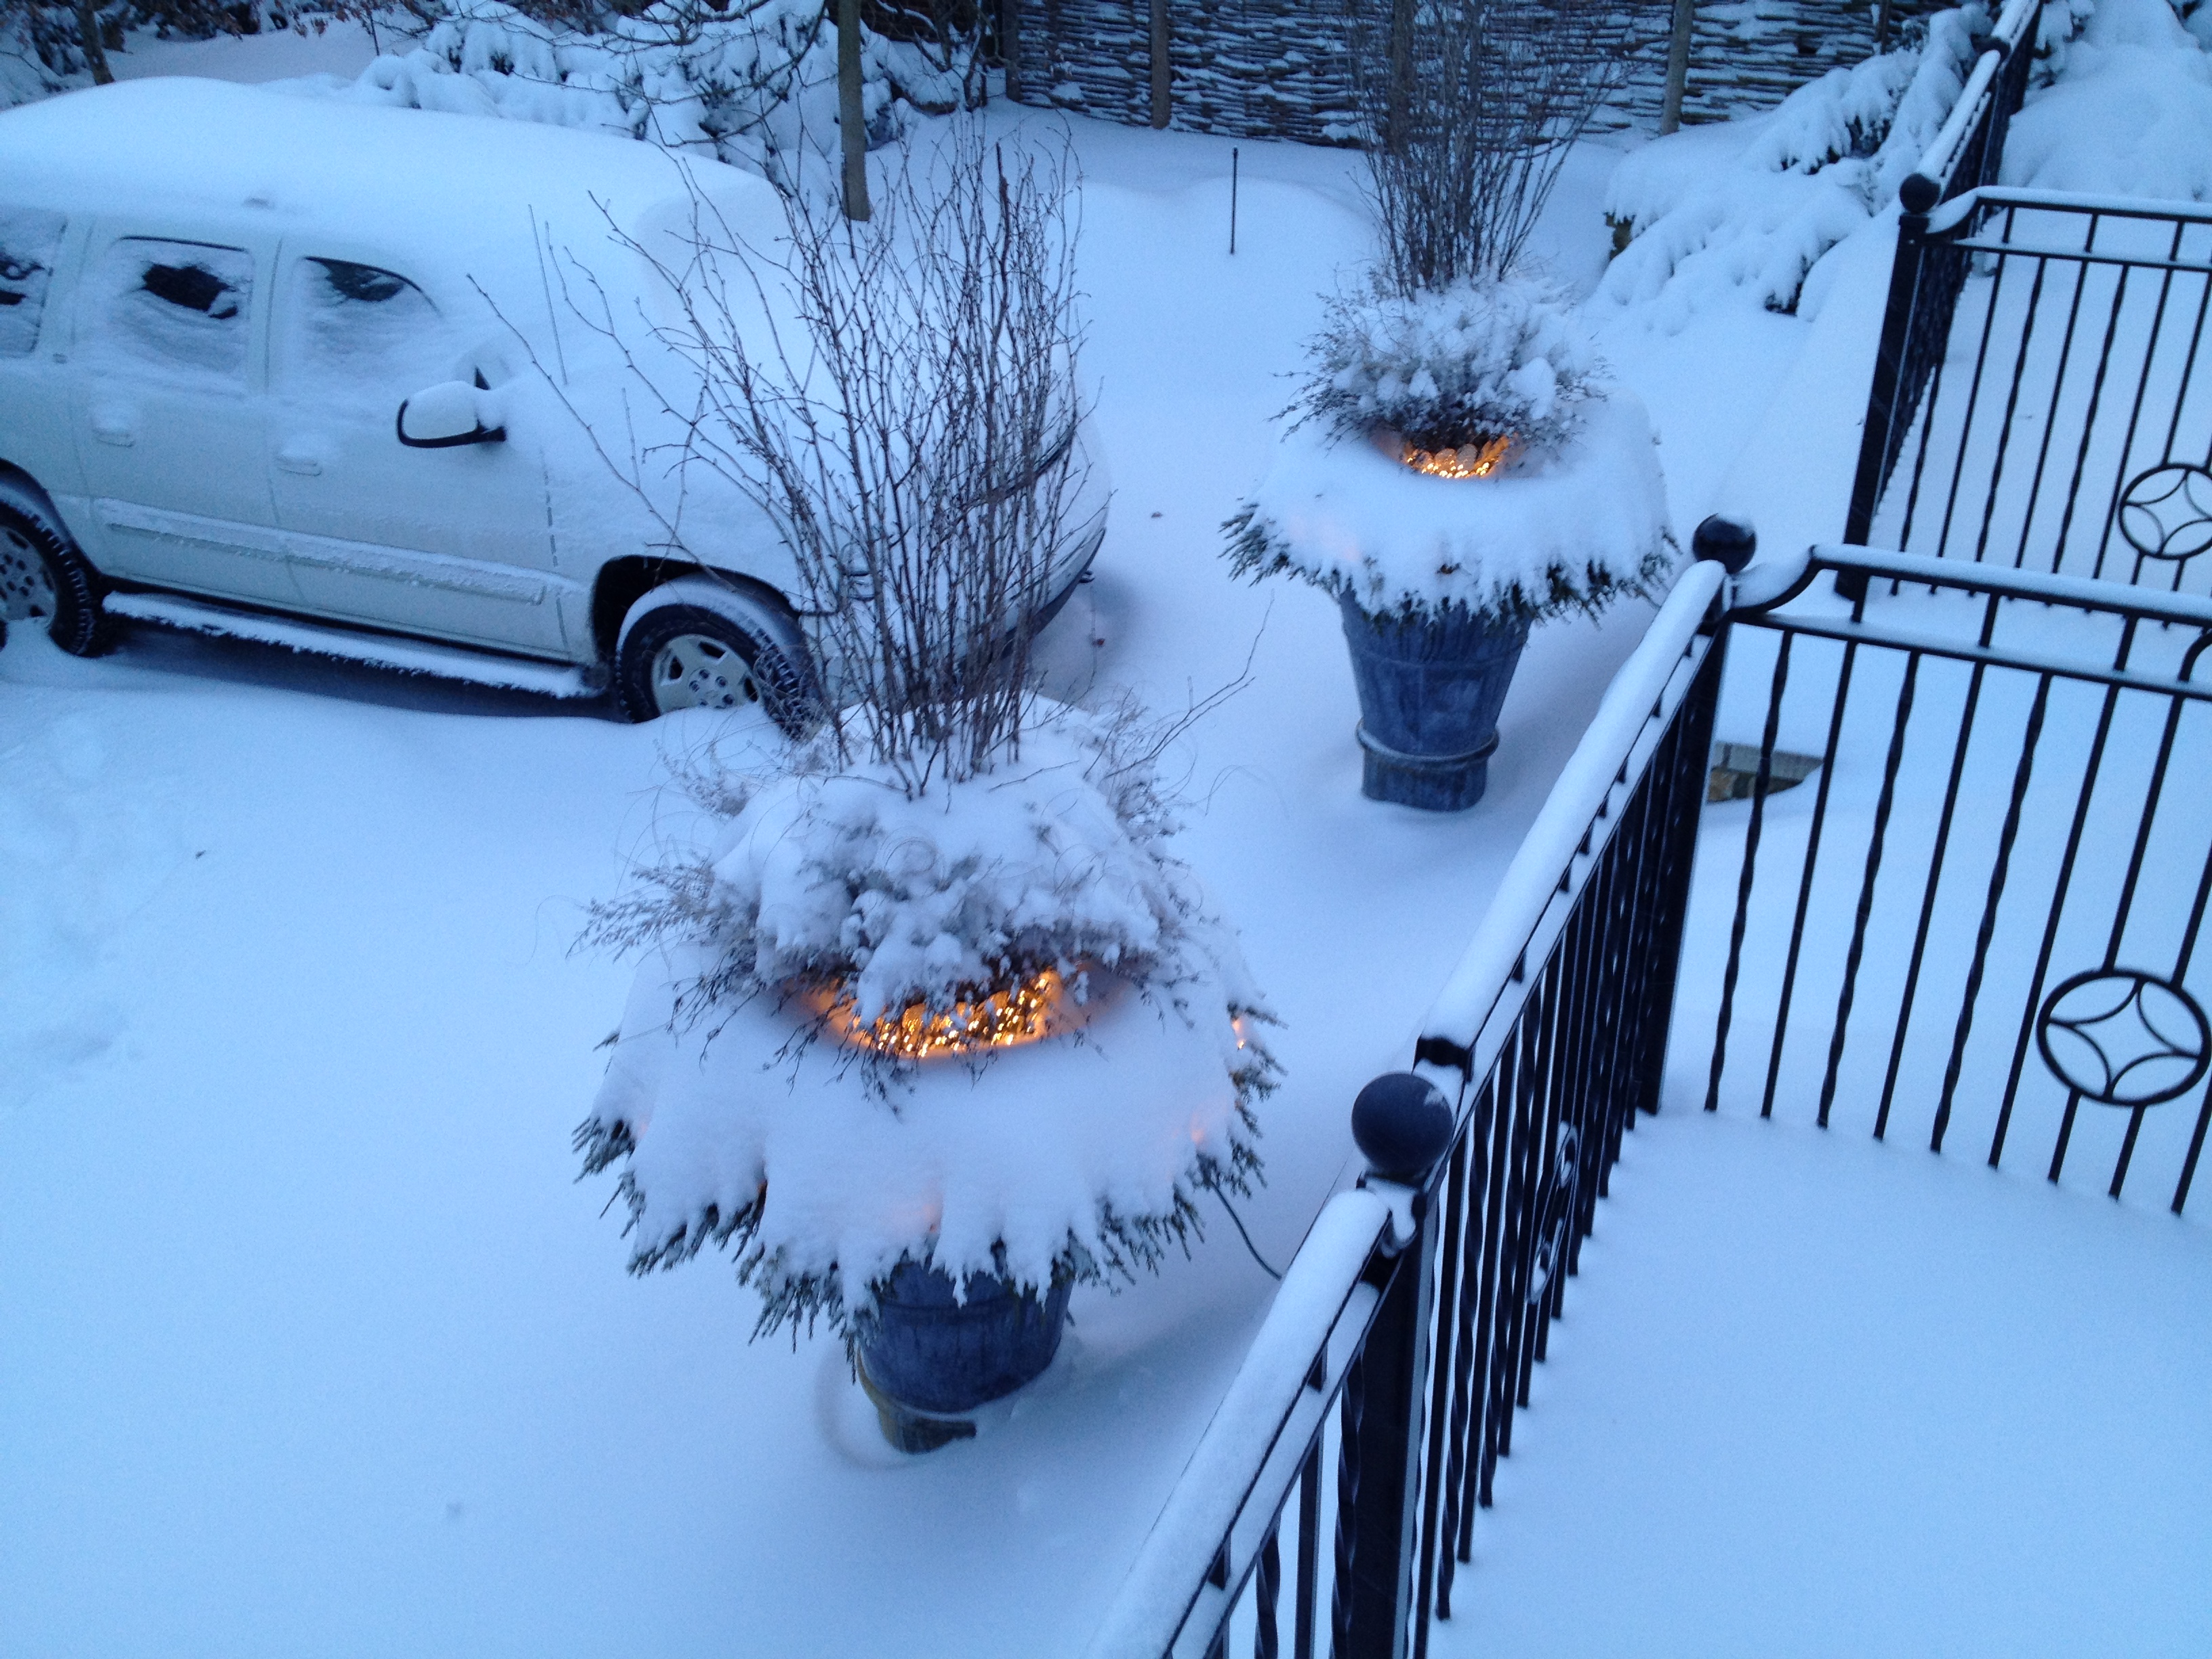
 The look of a winter container during the day can be transformed by some light at night. Snow during the the day, and fire at night encourages a lot of talk. And a lot of delight. I am not so interested in landscape lighting during the spring, summer, or fall. But having the lights on in the dark of winter is a plus. And in my opinion, a must. I would encourage any gardener who takes the time to dress their pots for the winter season to consider lighting them. The lighting in this pot is simple. Lots of C-7 bulb size strands of LED lights set the entire arrangement on visual fire at night. The cost of running LED lights is so minimal, and the longevity of the strands is so good, how could anyone resist adding this element to a winter pot? The materials in this pot? Tree of heaven branches and weeds from the field next door to the shop.
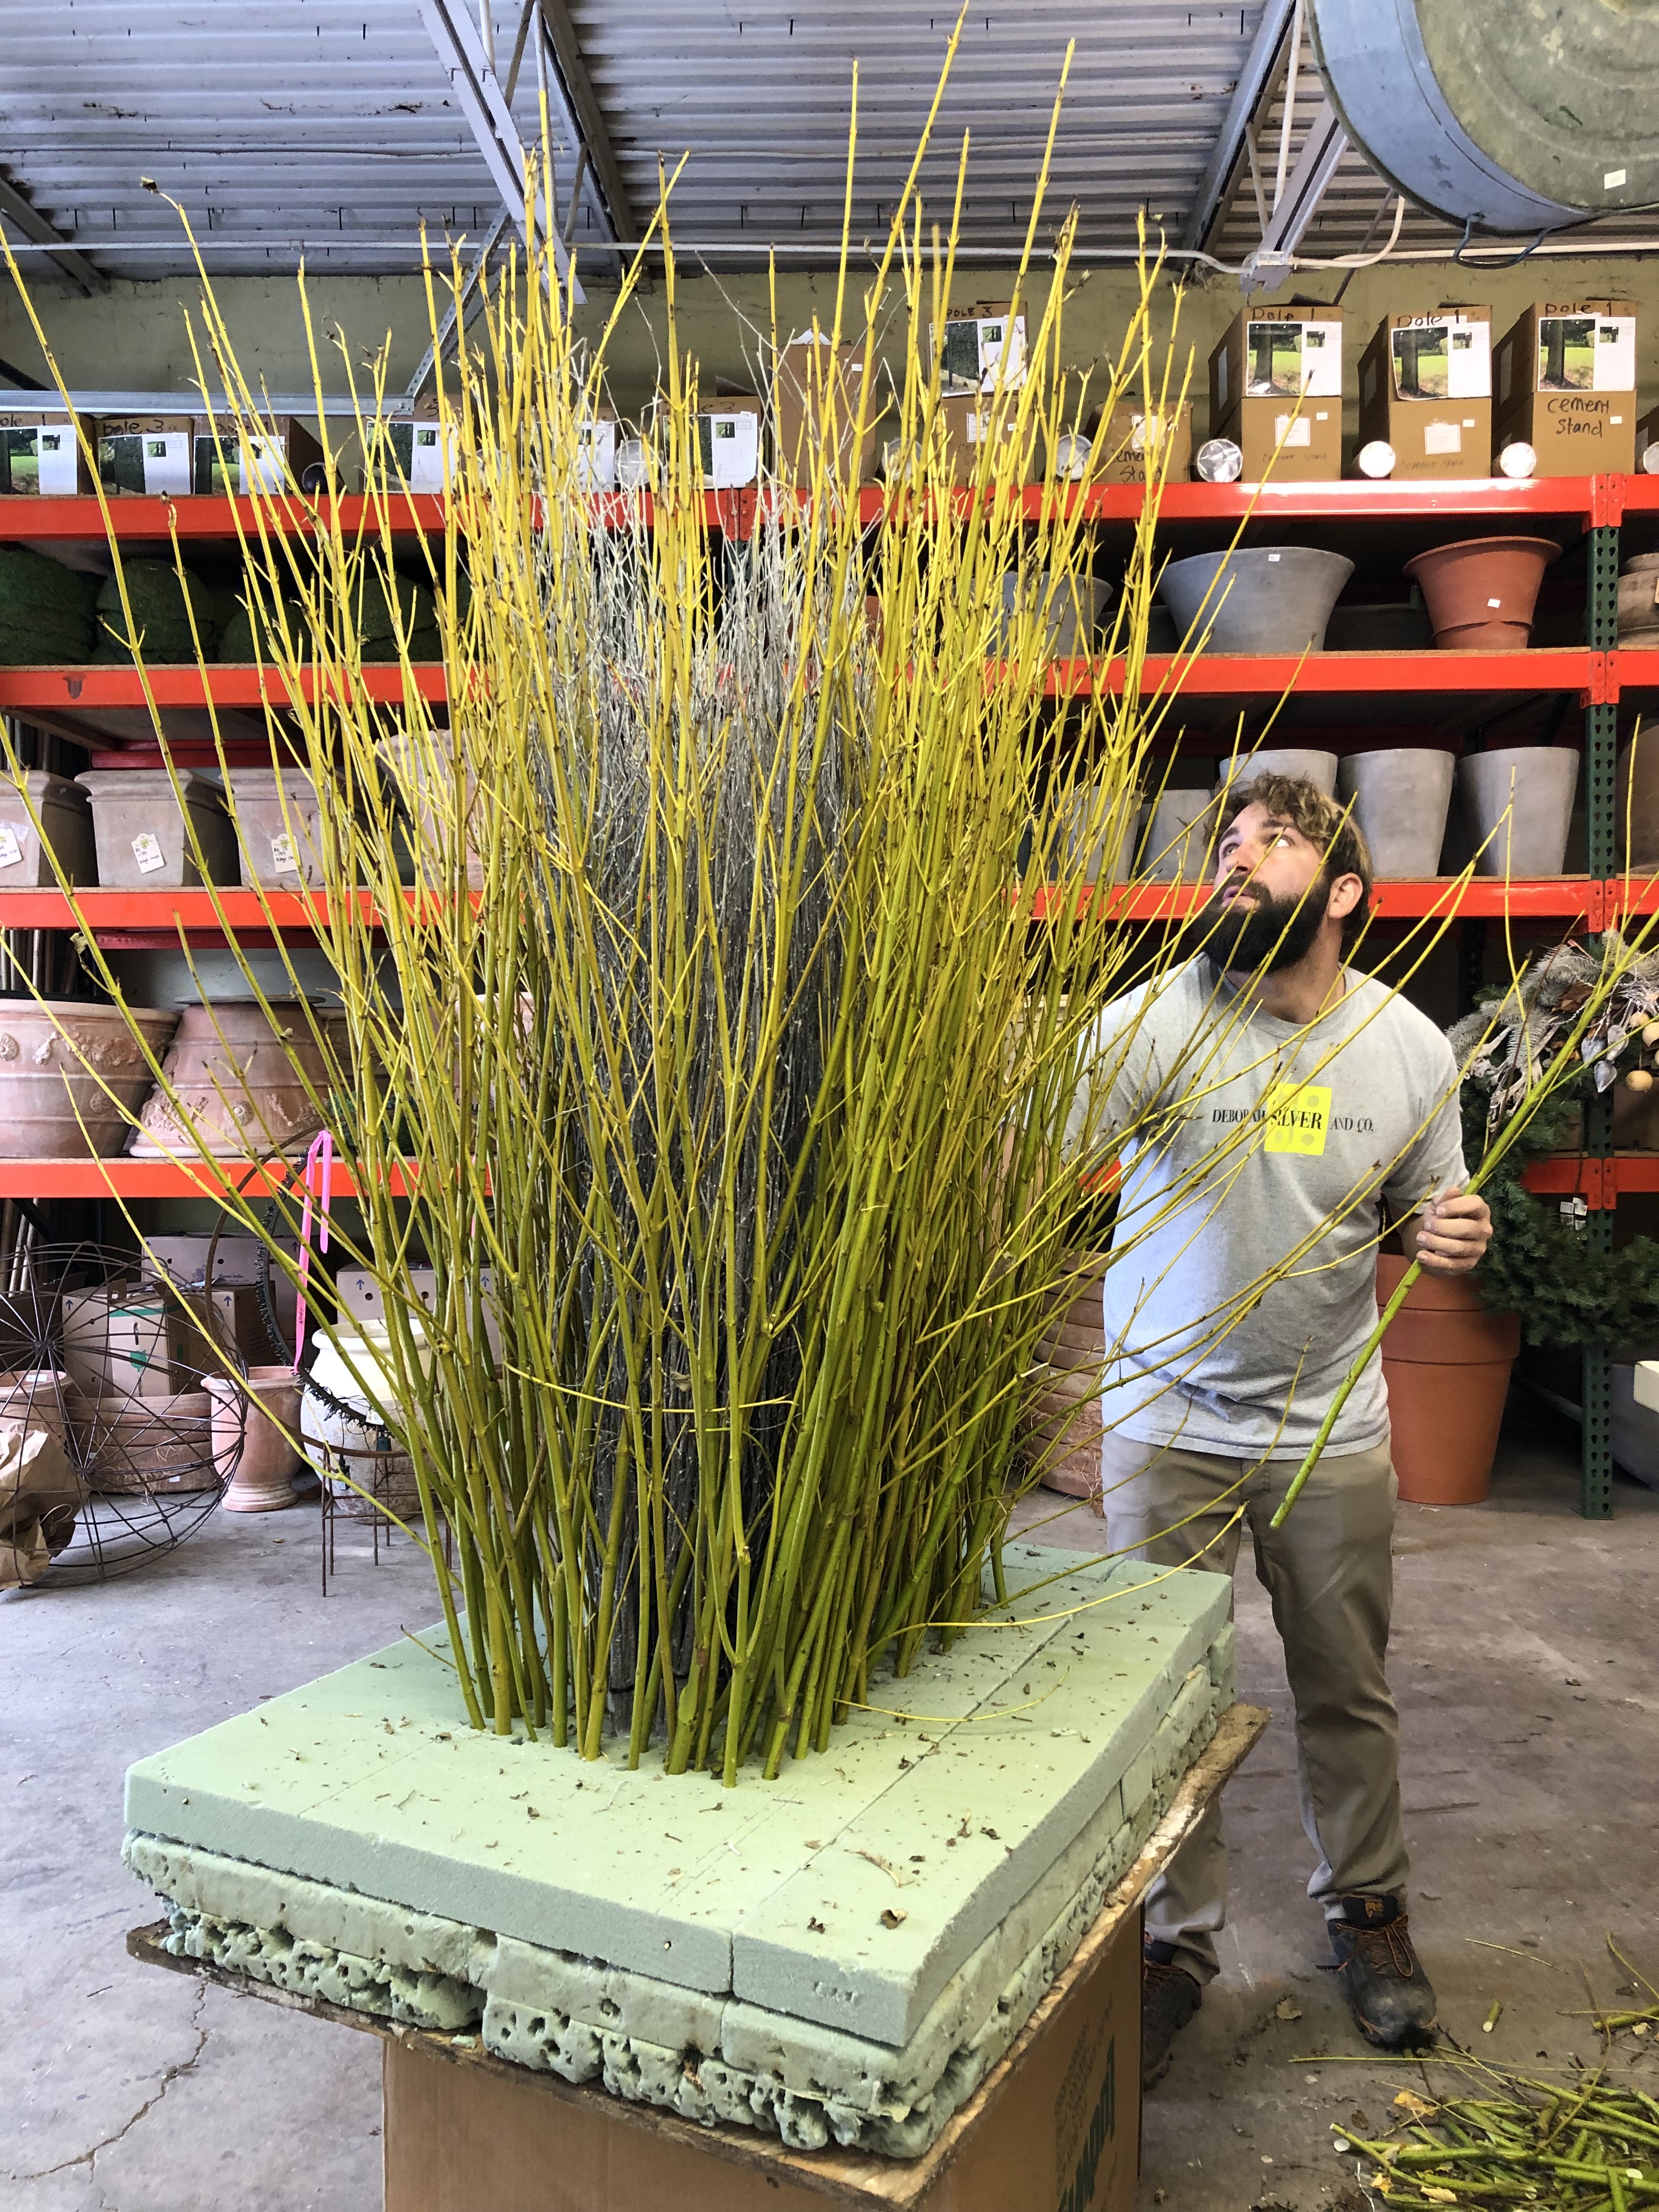
 Lighting winter containers calls for some thought to conceal the wiring. Arranging lights in the bottom of a container before adding the decorative materials means the only daytime sign that the pot has lights is the extension cord that hooks them all up. An exterior rated cord with a three-way plug or light strip can accommodate a fair number of strings. For those without a source of electricity hear a container, a 50 foot extension cord carries power just as well as a 10 footer. That cord can be hidden in the landscape, or a green cord across the grass is unobtrusive, and likely to be covered by snow rather quickly.
 The pot at night is warm and inviting. Winter pots placed at the front door, or next to the steps can be handy for lighting the way at night, or in the early morning.
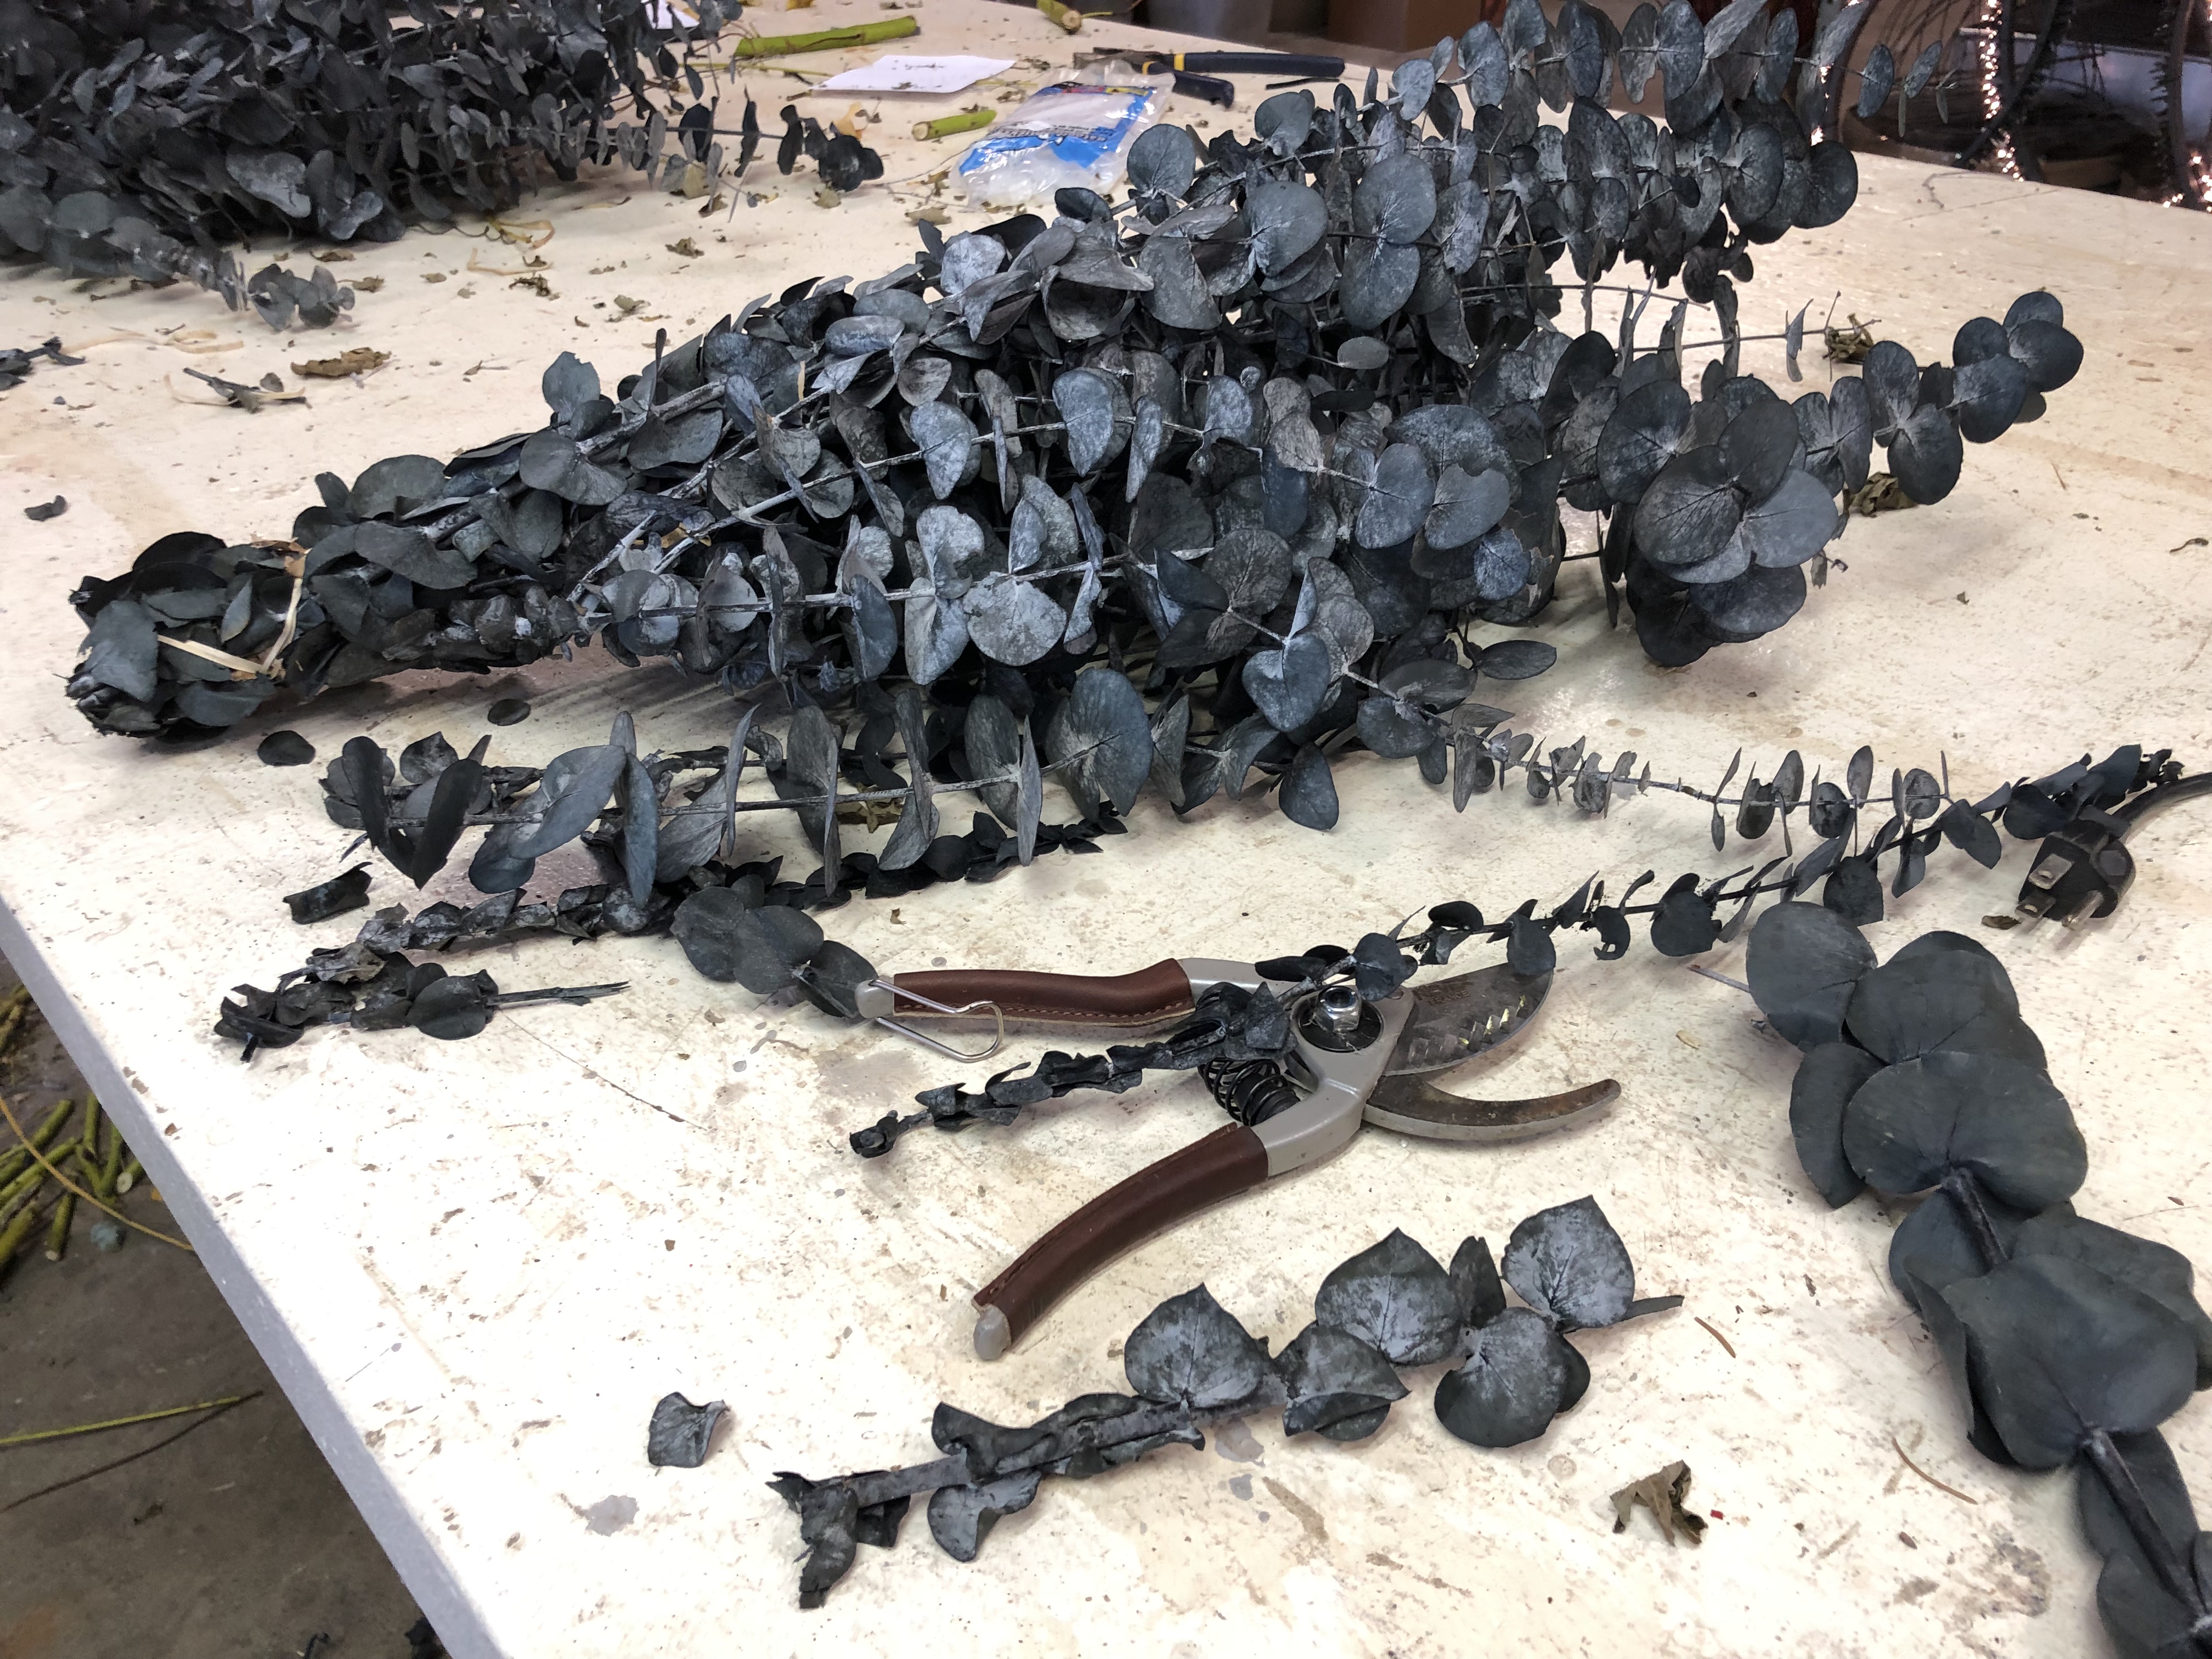
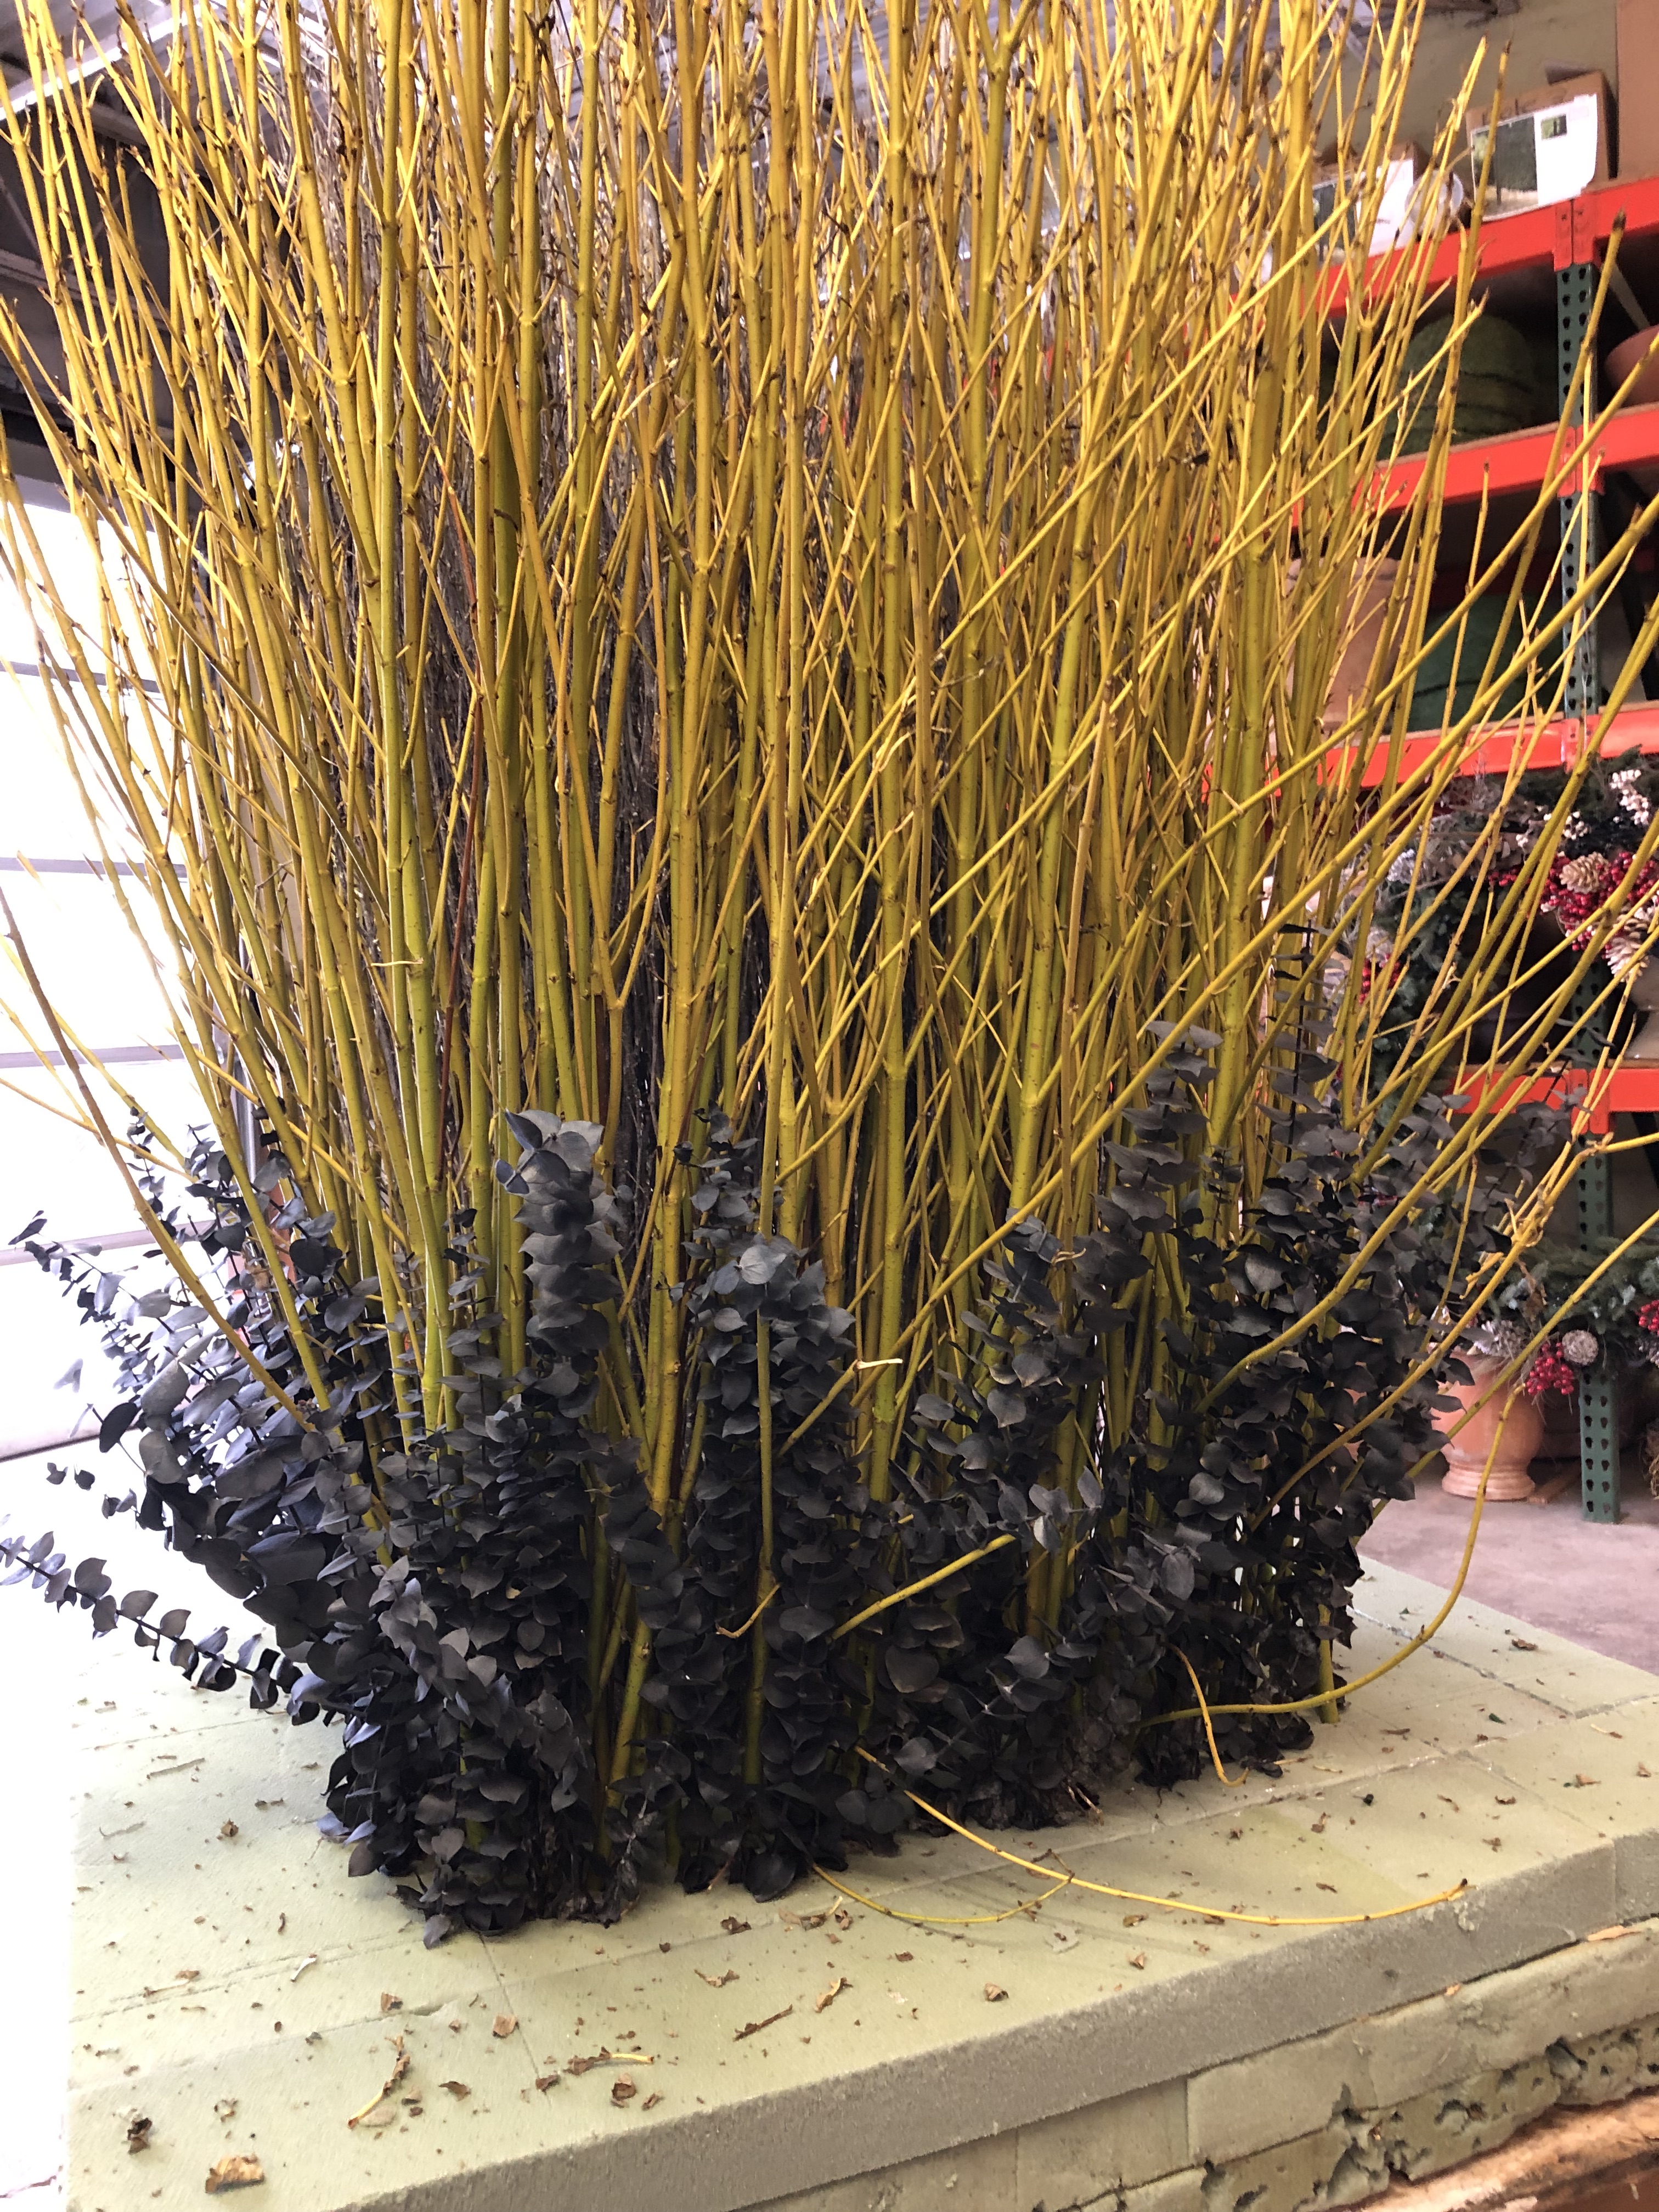
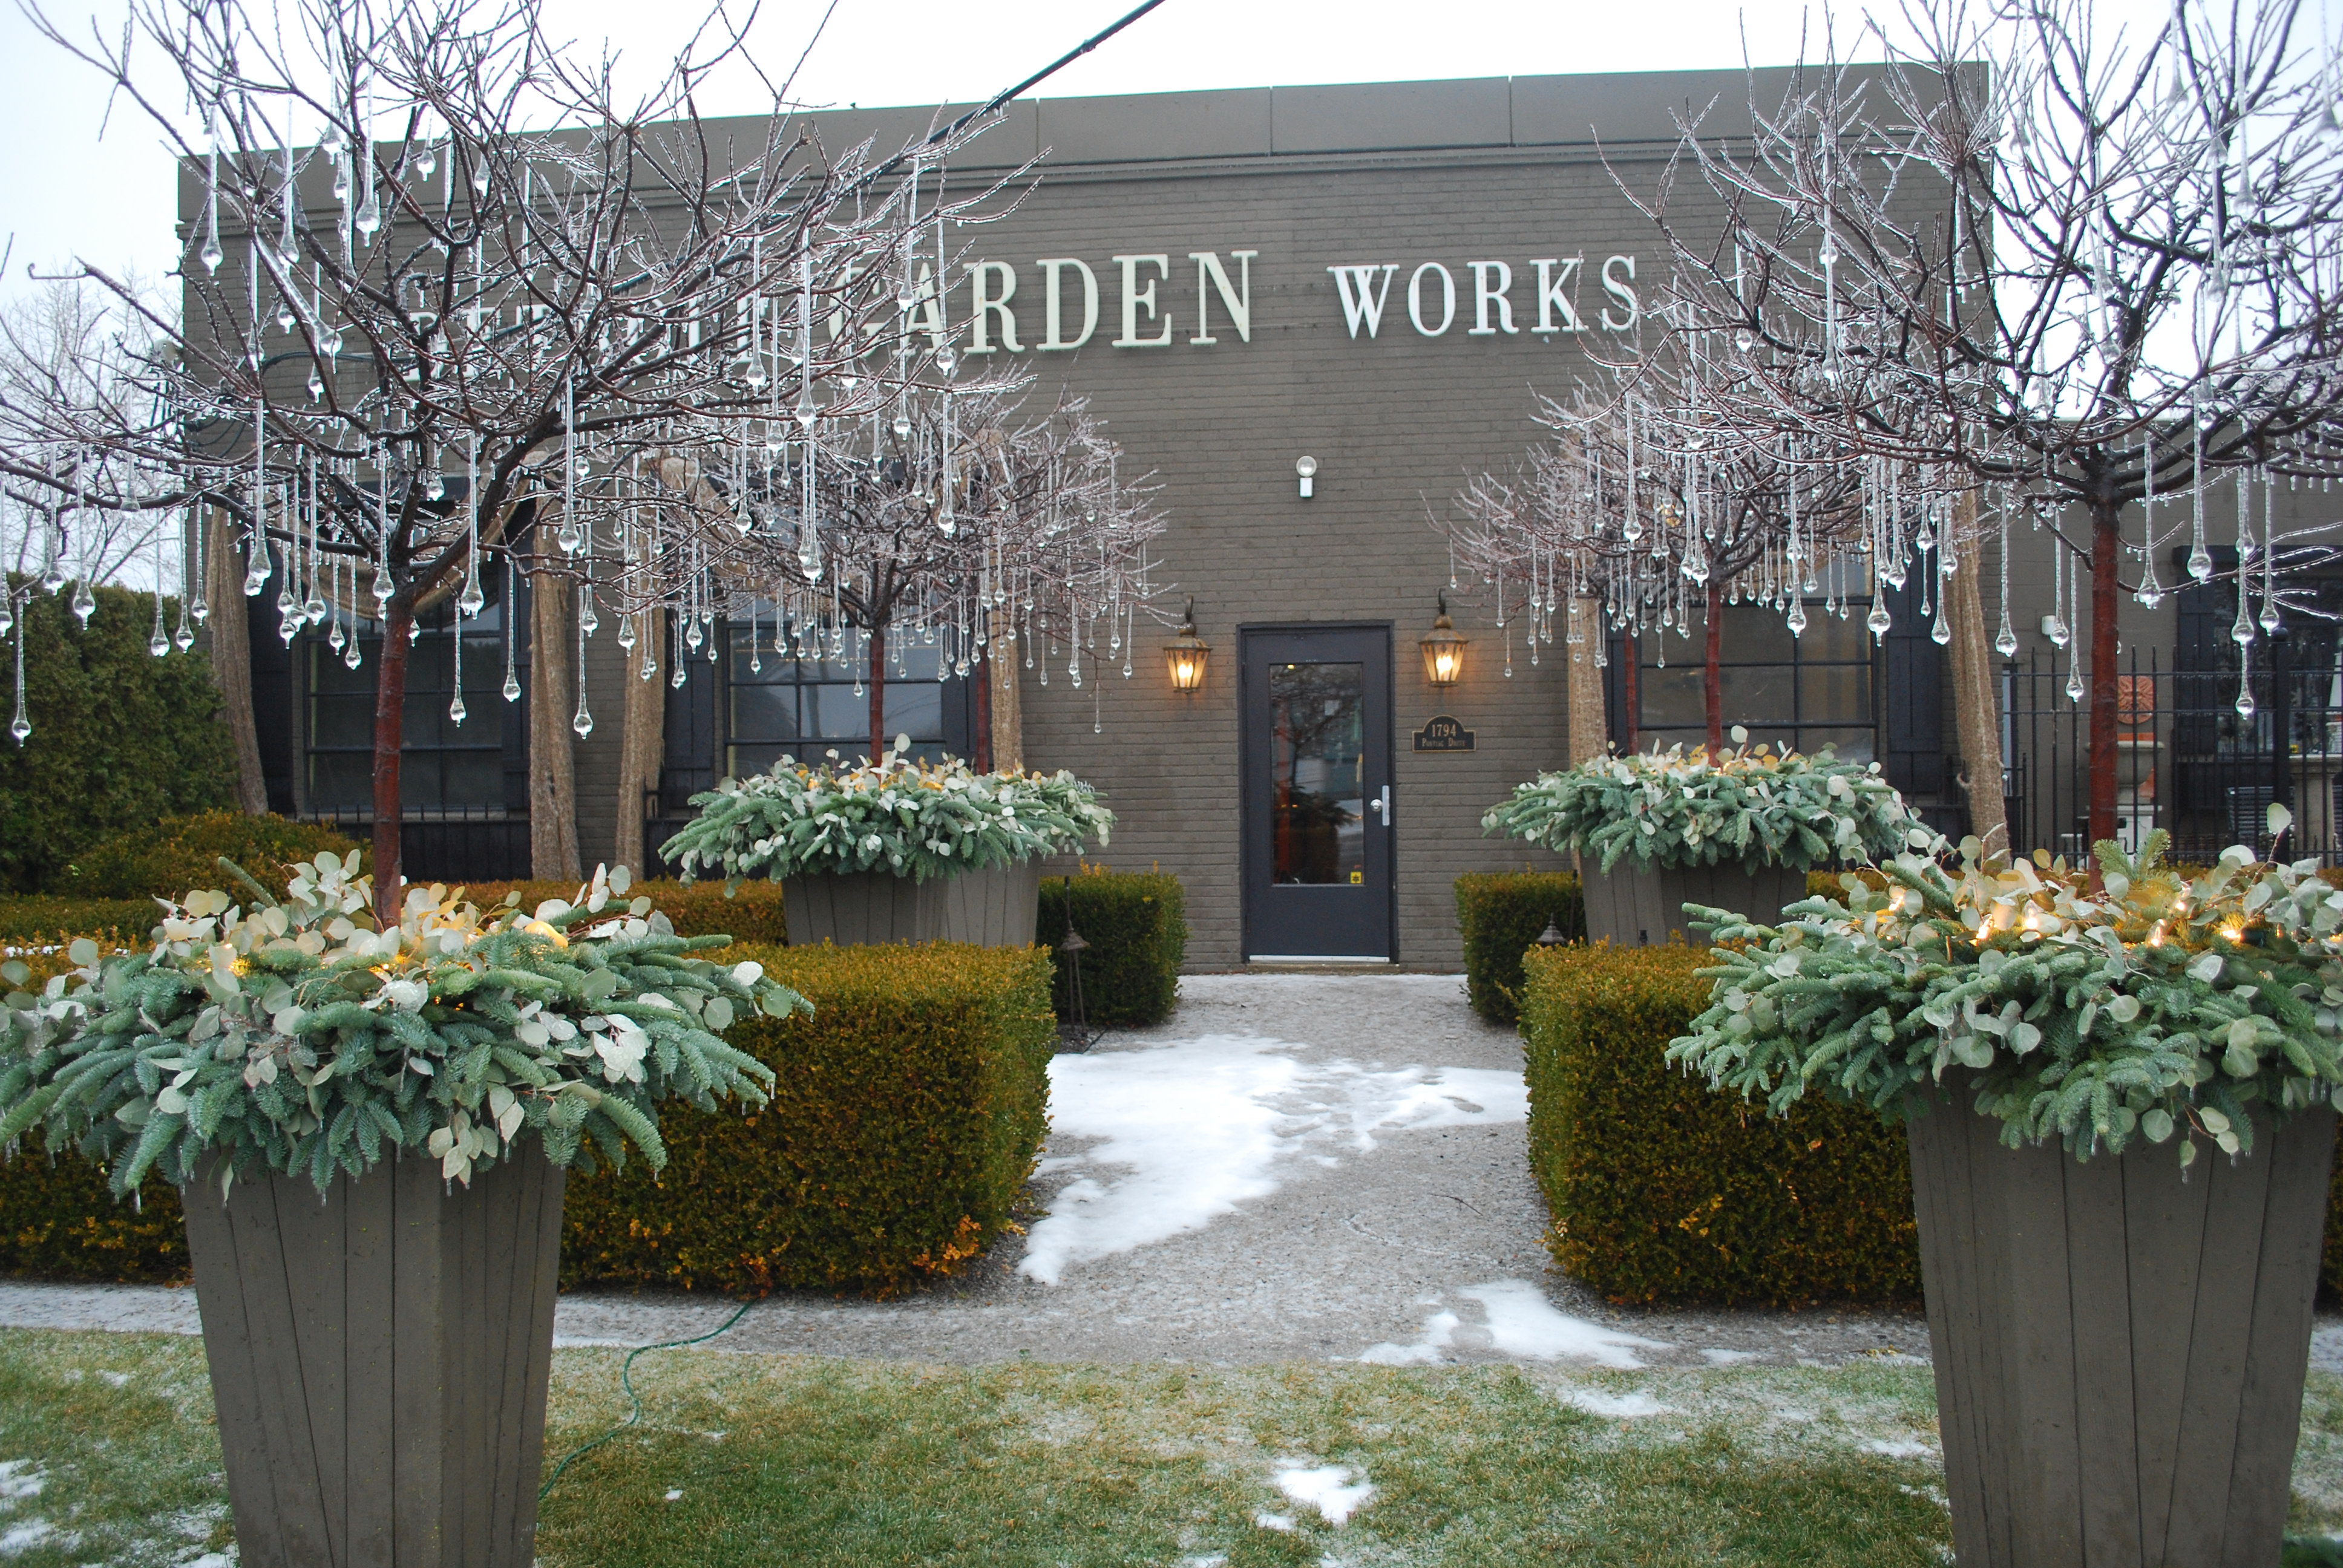 Years ago the nursery manager who supplies us with woody plant material called to say he had 6 Lollipop crab apples that had not survived a summer drought at their farm-did we want to put them to use in some winter containers? We secured the trunks with steel rebar, and hung the branches with 9″ long glass drops. I did worry the glass might break on a windy day, but that fear was unfounded. The foam forms were covered with lights, and stuffed with fresh eucalyptus and noble fir. They did look beautiful during the day.
 How they looked at night was another story altogether. The bottom light illuminated the branches and the glass drops. This is the best example I have that illustrates how light can create a sense of volume in a winter pot.
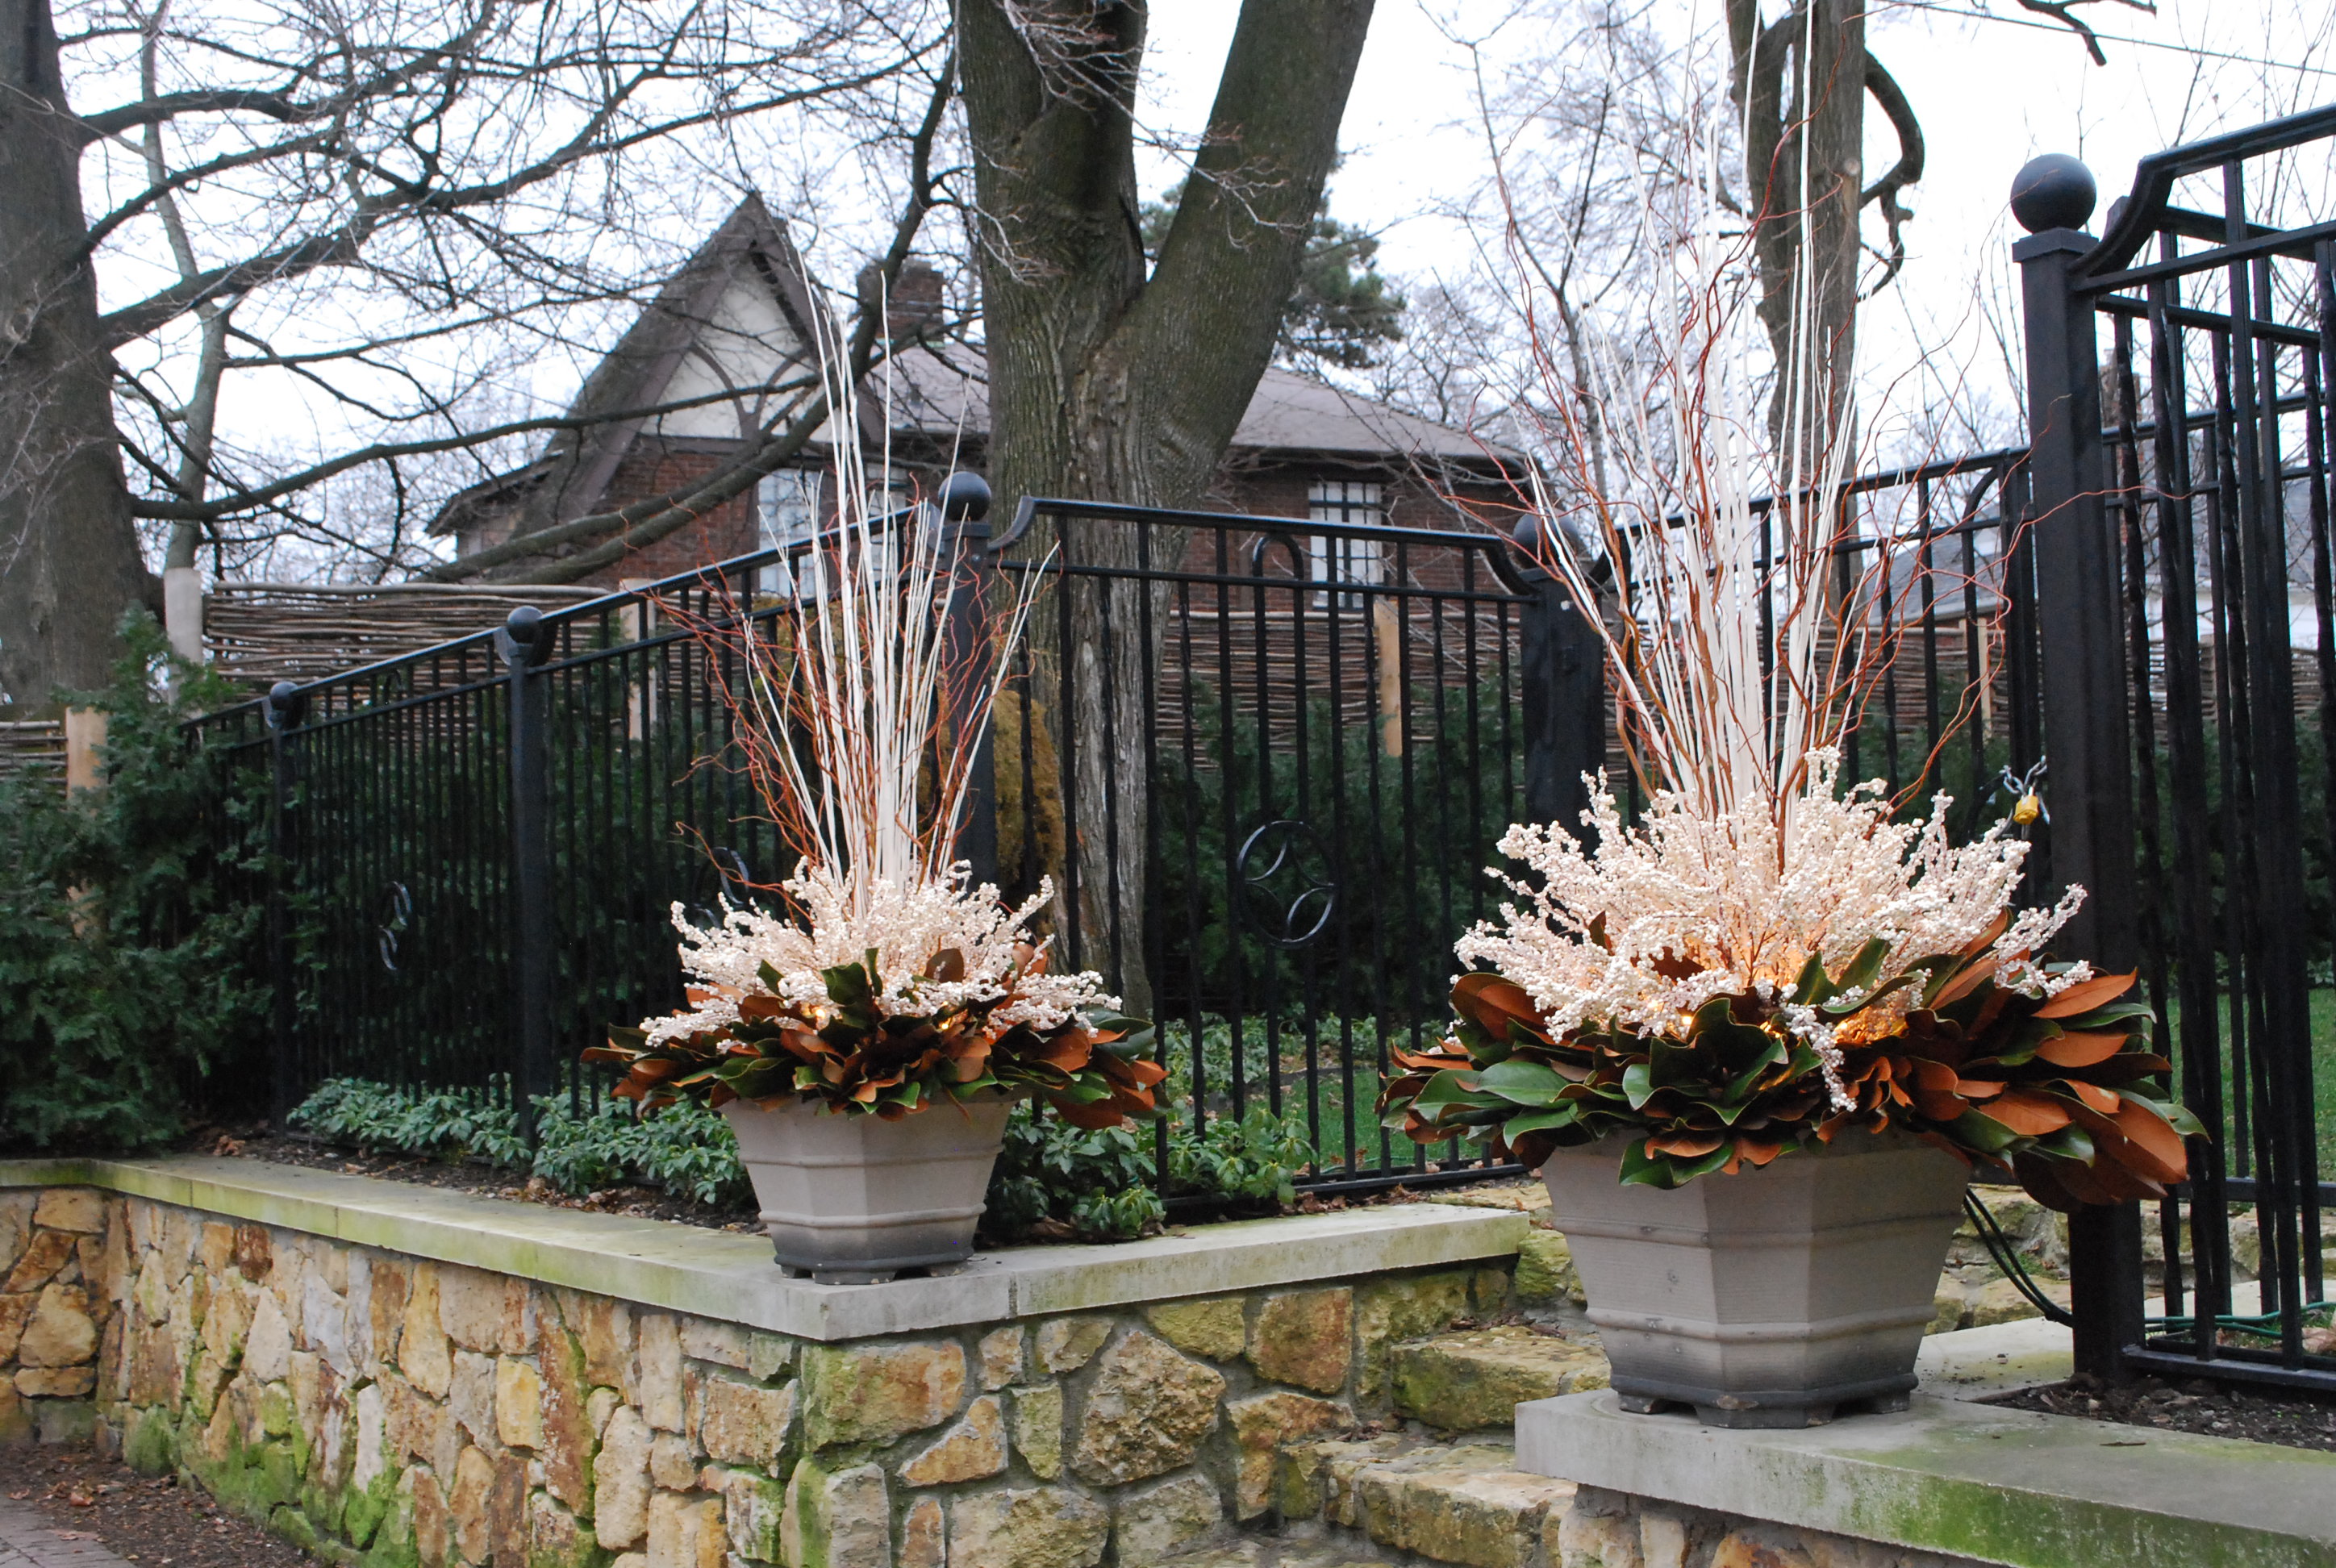 Rob filled this pair of pots for me for winter a long time ago. Placed on the wall at the end of the driveway, they were a celebration of the winter season that greeted me at least twice a day. Even though the pots were fairly small, the display was generous in size. The pots are vintage American made stoneware from the Galway Company in the 1920’s, so they would not crack or break over the course of the winter. The floral foam into which Rob arranged all of the material does not absorb water. The foam effectively keeps water or snow out of the pots.
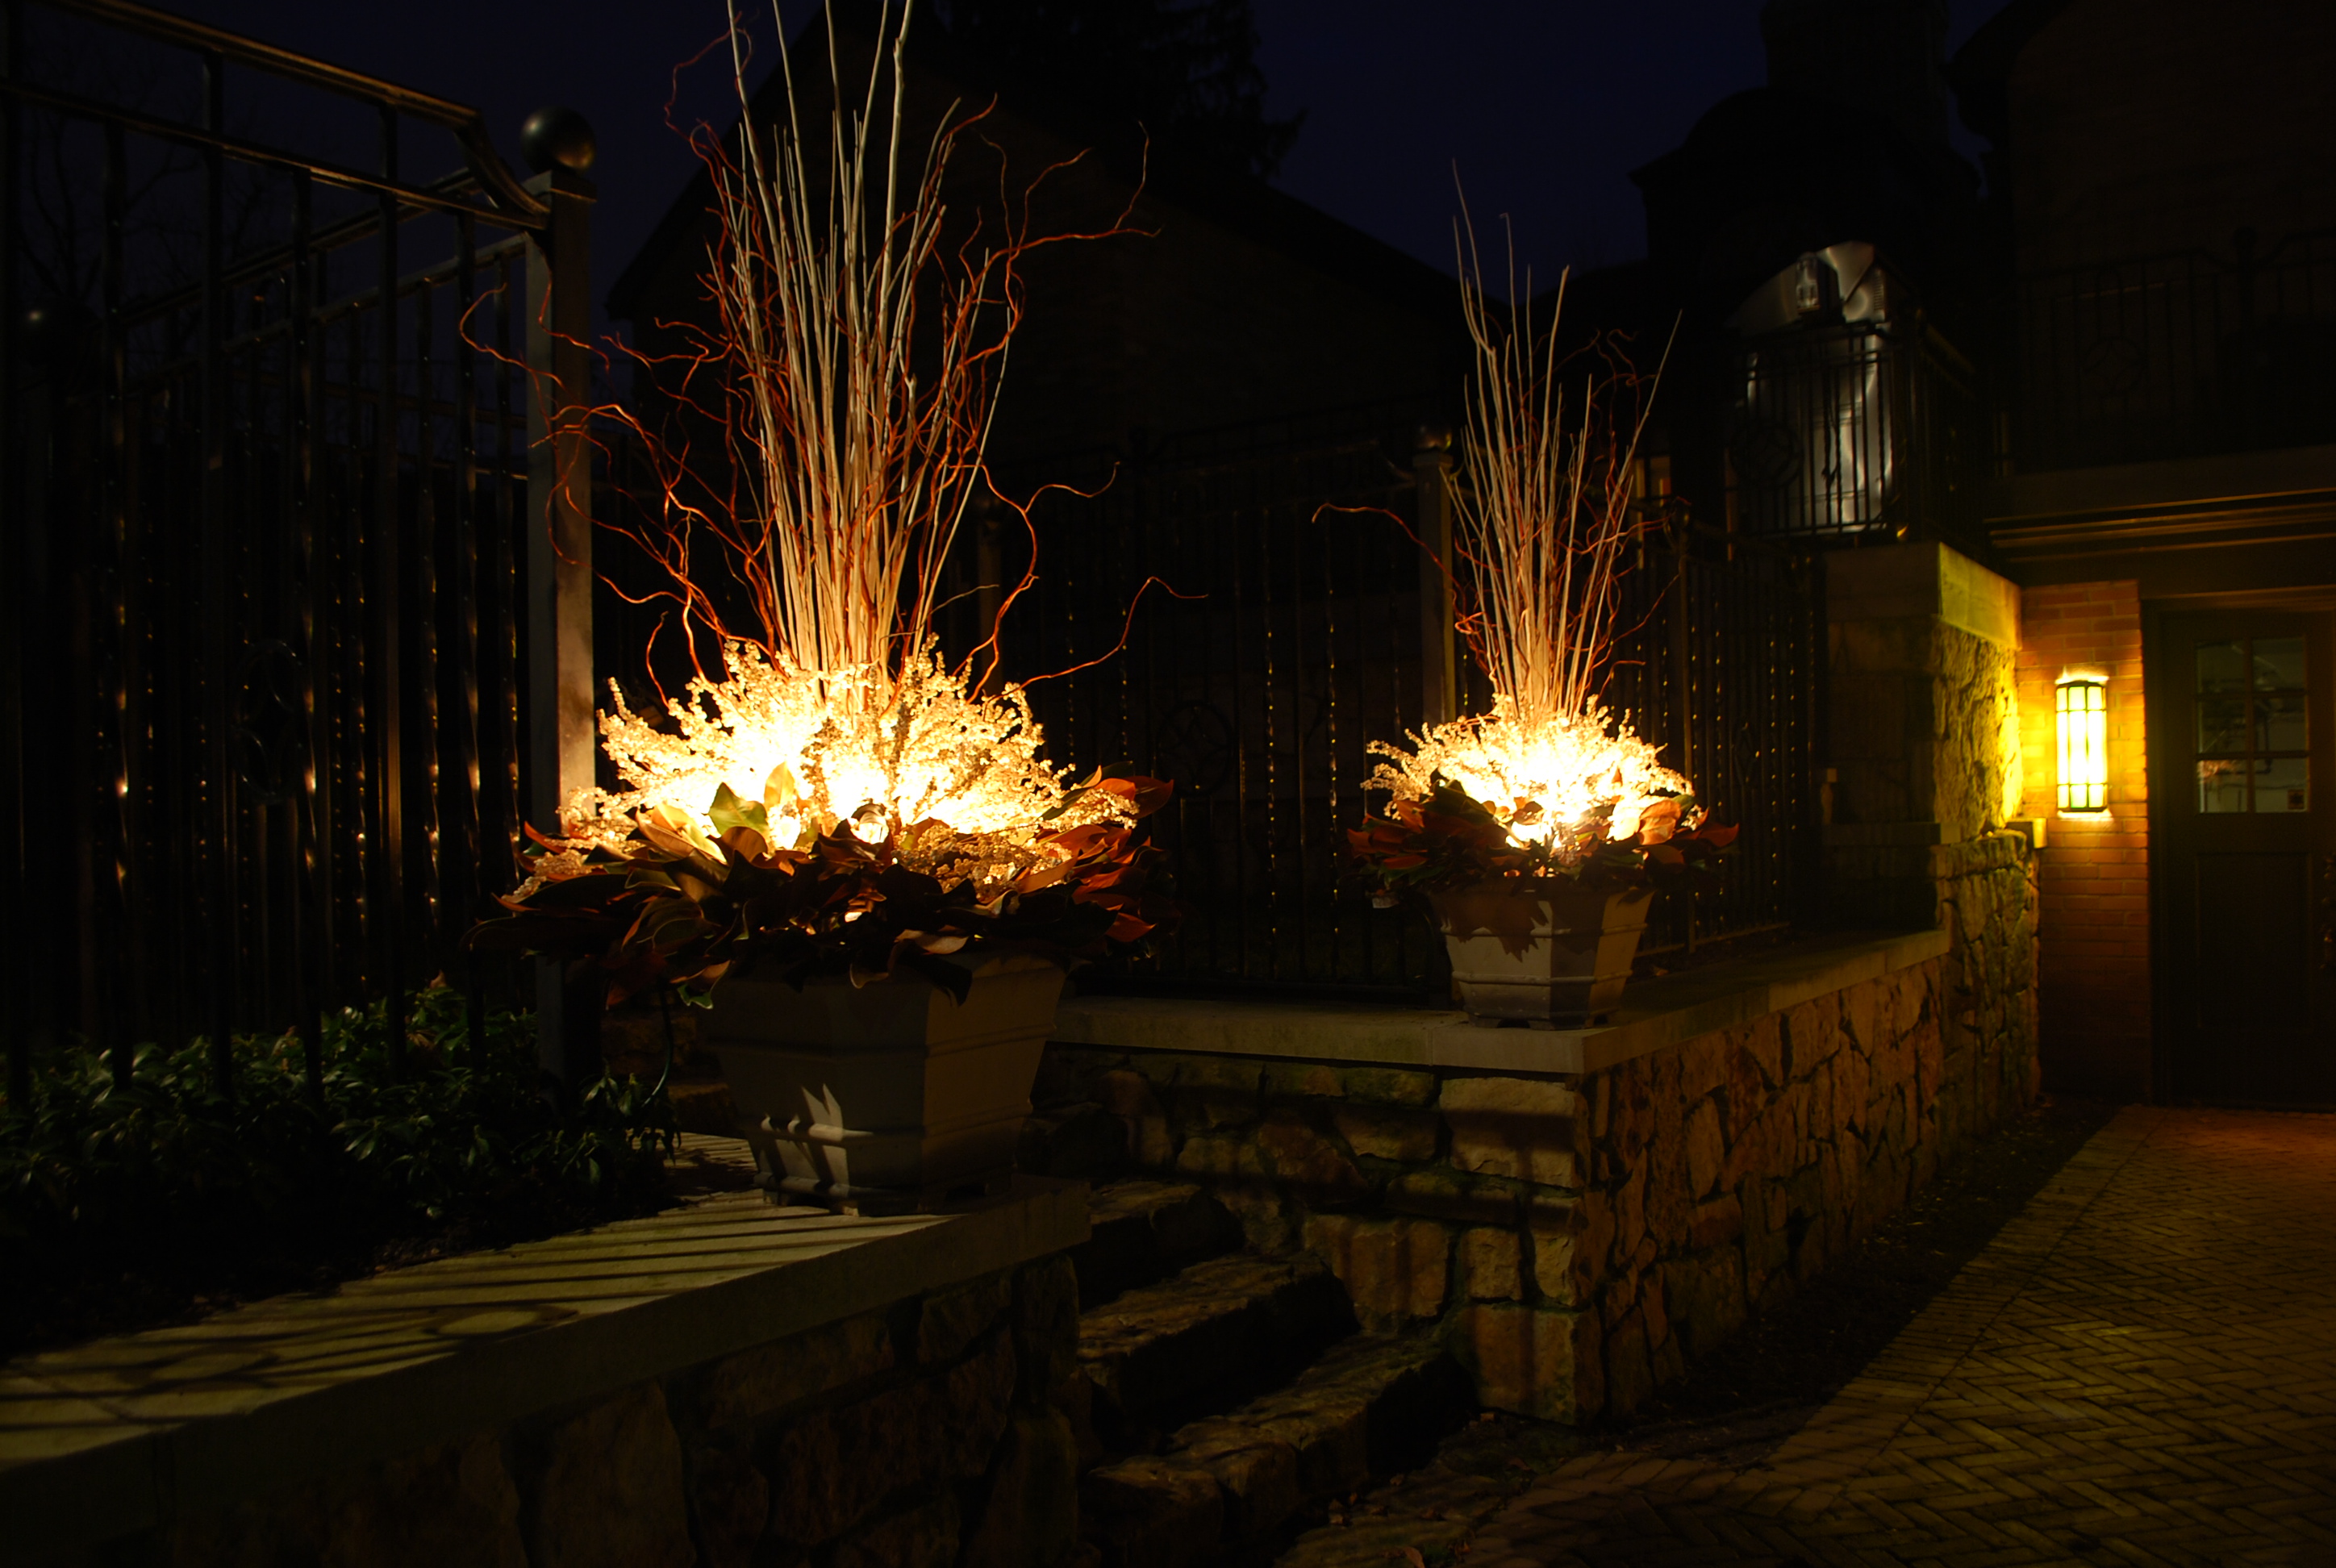 There comes a time when it is dark when I come home from work. The light at the end of the driveway helps light the way. And it is cheery.
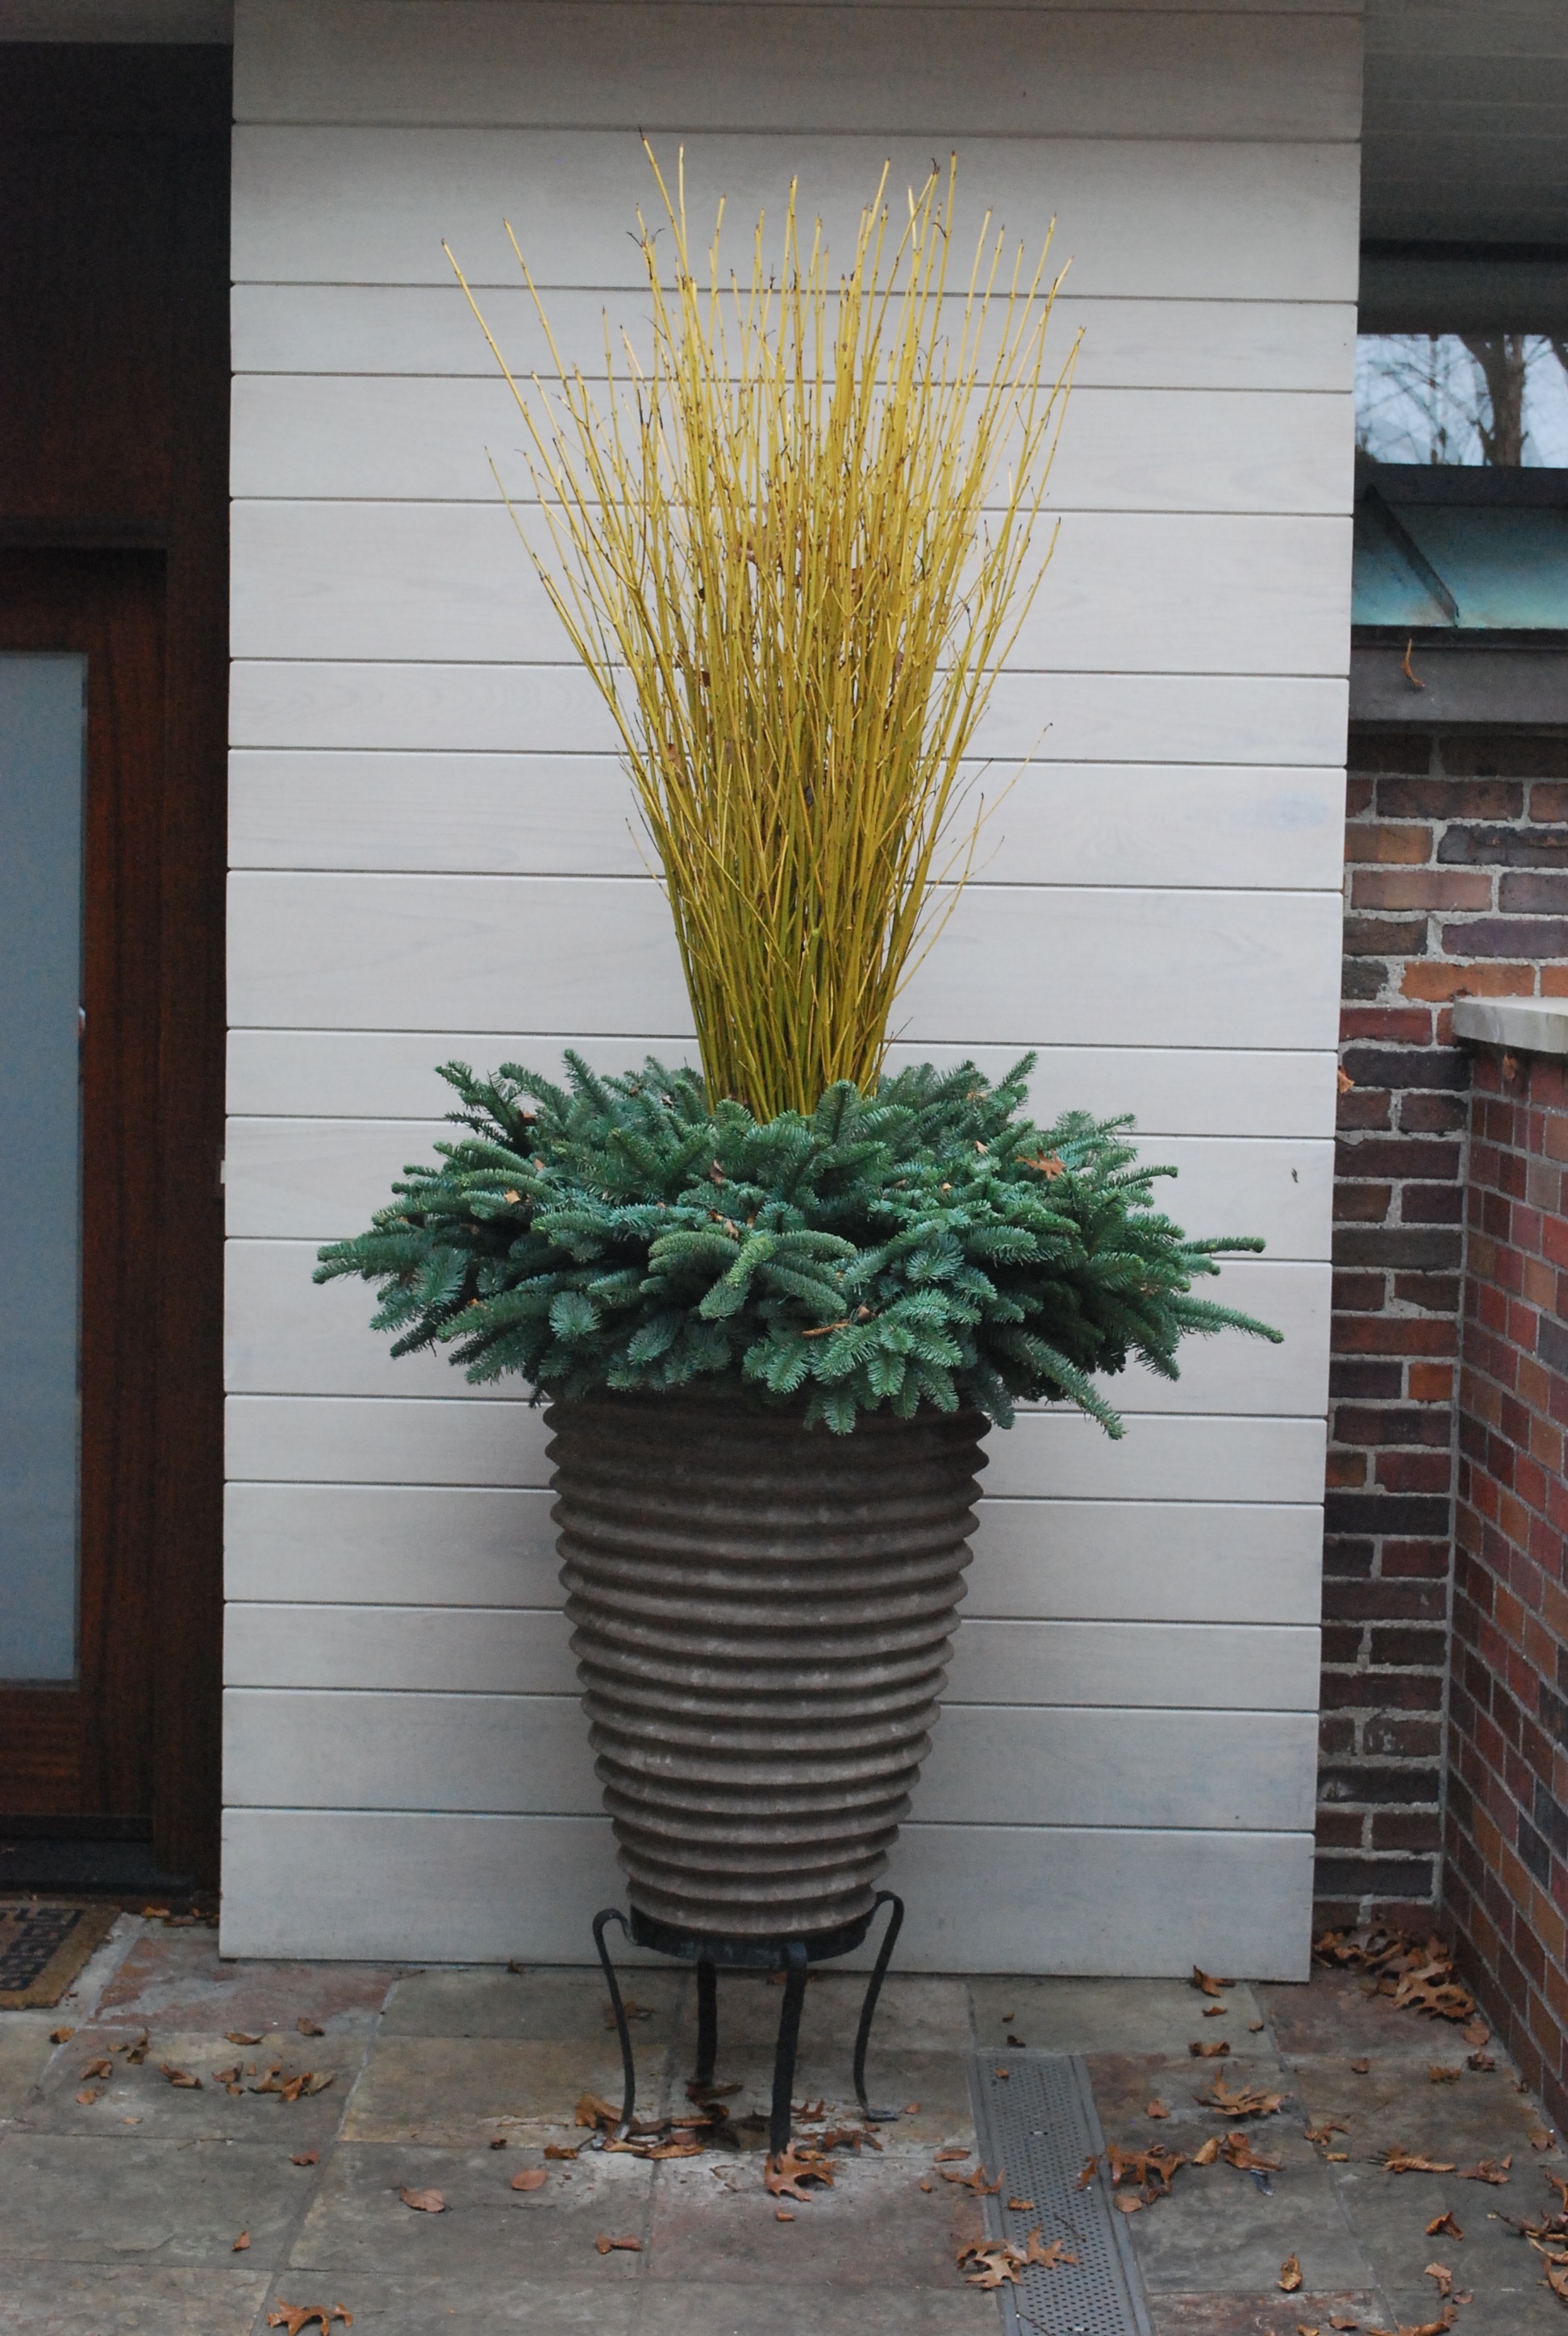
 The large concrete pot in my side yard always gets a cut Christmas tree that is loaded with lights. I do not have any lighting on this side of the house, so I welcome that light as much as I like seeing the pot with something in it for the winter. A cut tree is an easy way to create a winter arrangement. It just takes some care to anchor the trunk so it stays upright all winter.
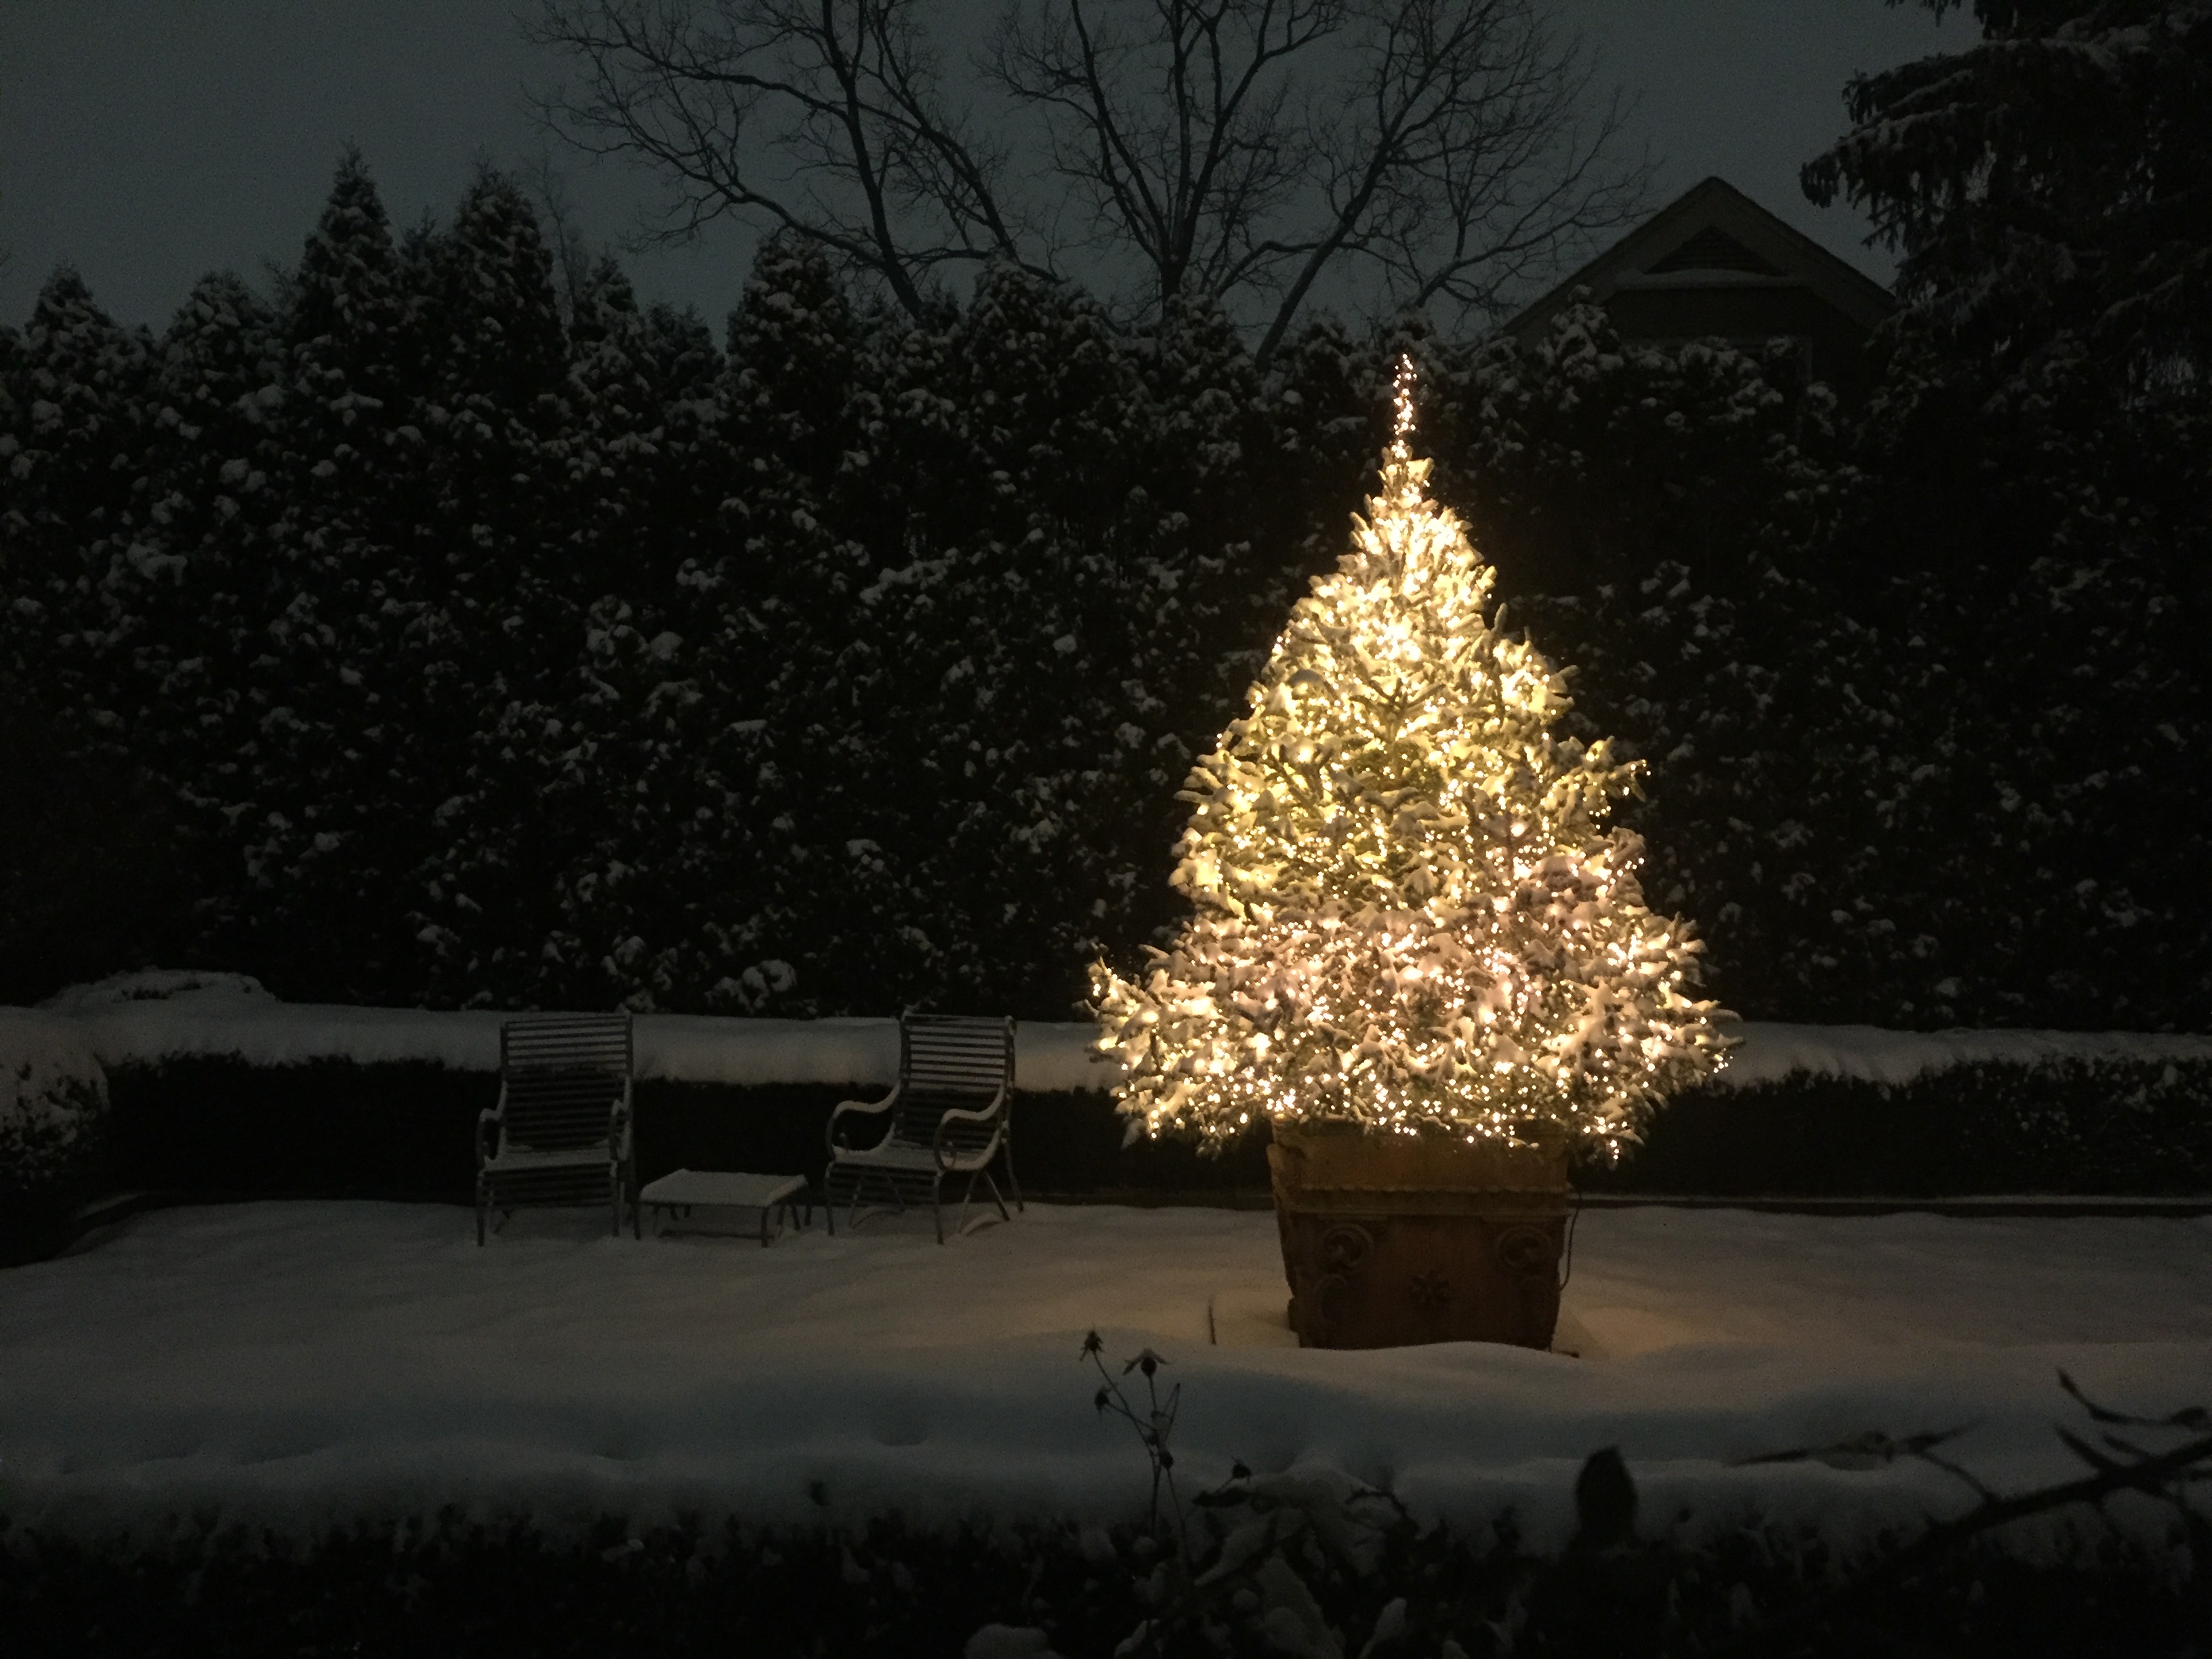 Do I run the lights all winter? Yes. This is the view out of every window on the south side of my house. I like looking at it all winter long. It provides some warmth and life to the dormant garden.
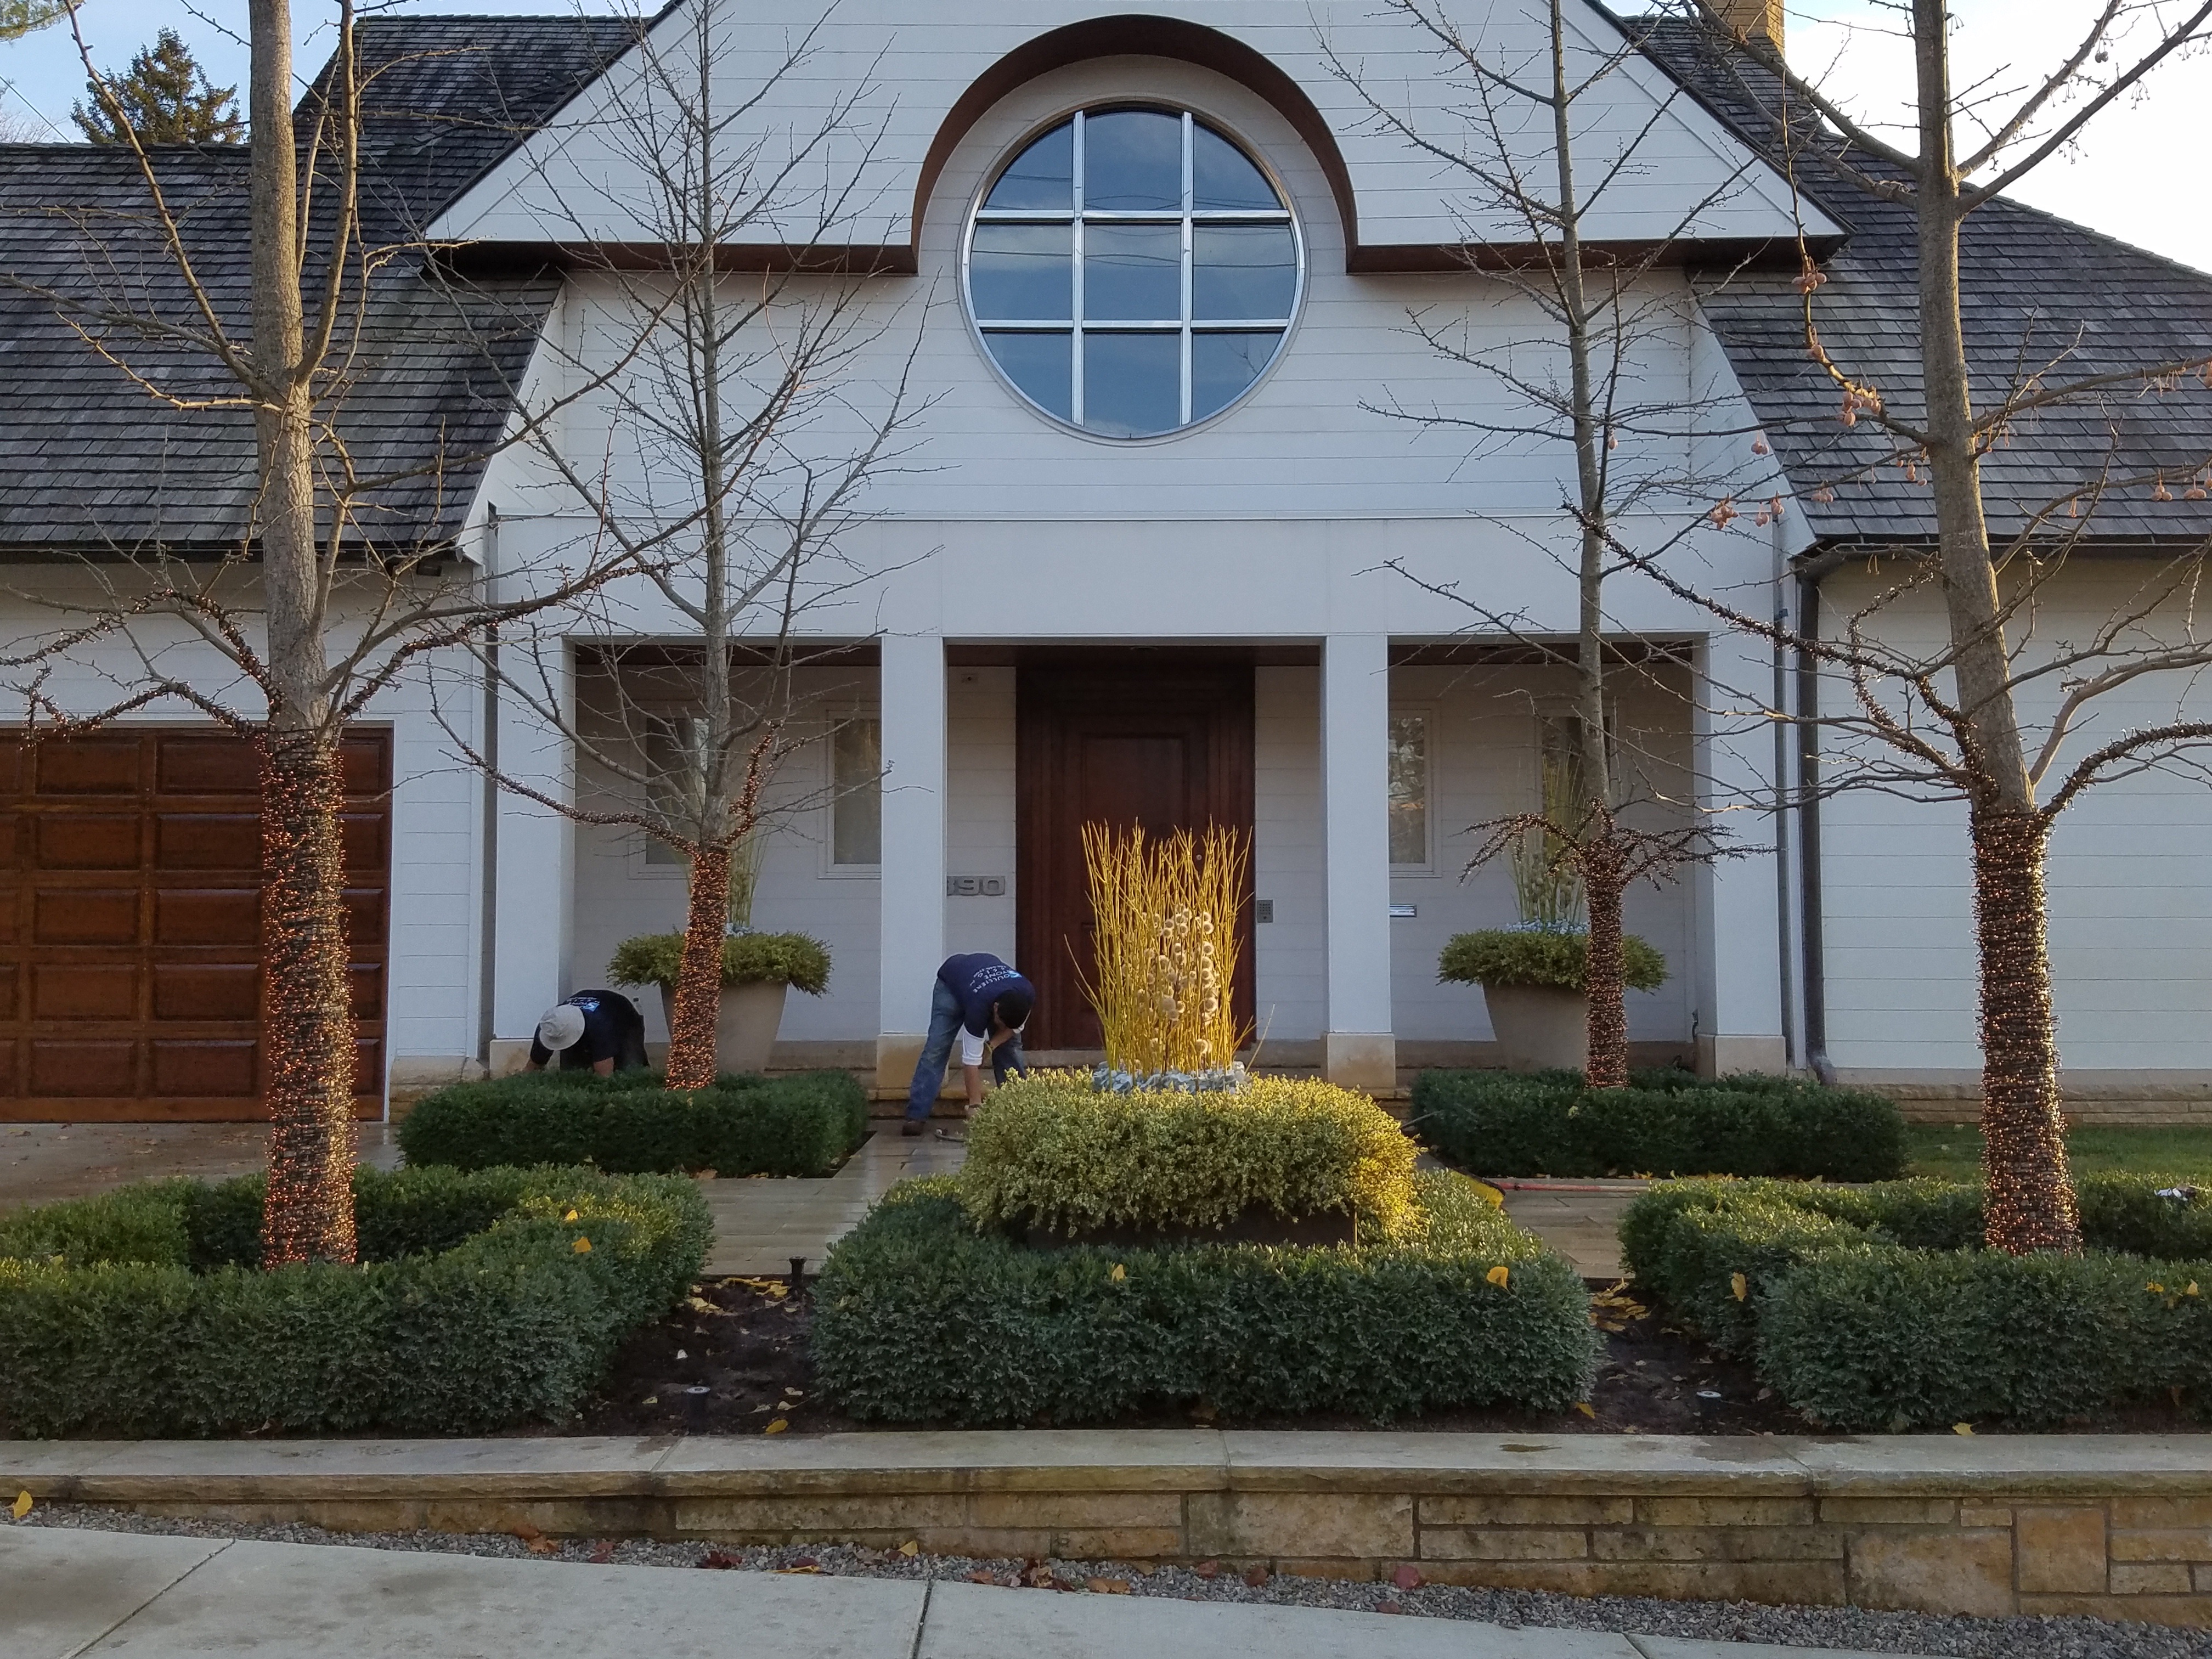
 Rob has been working on this pot at the end of the driveway for a week or so-whenever he has a moment.
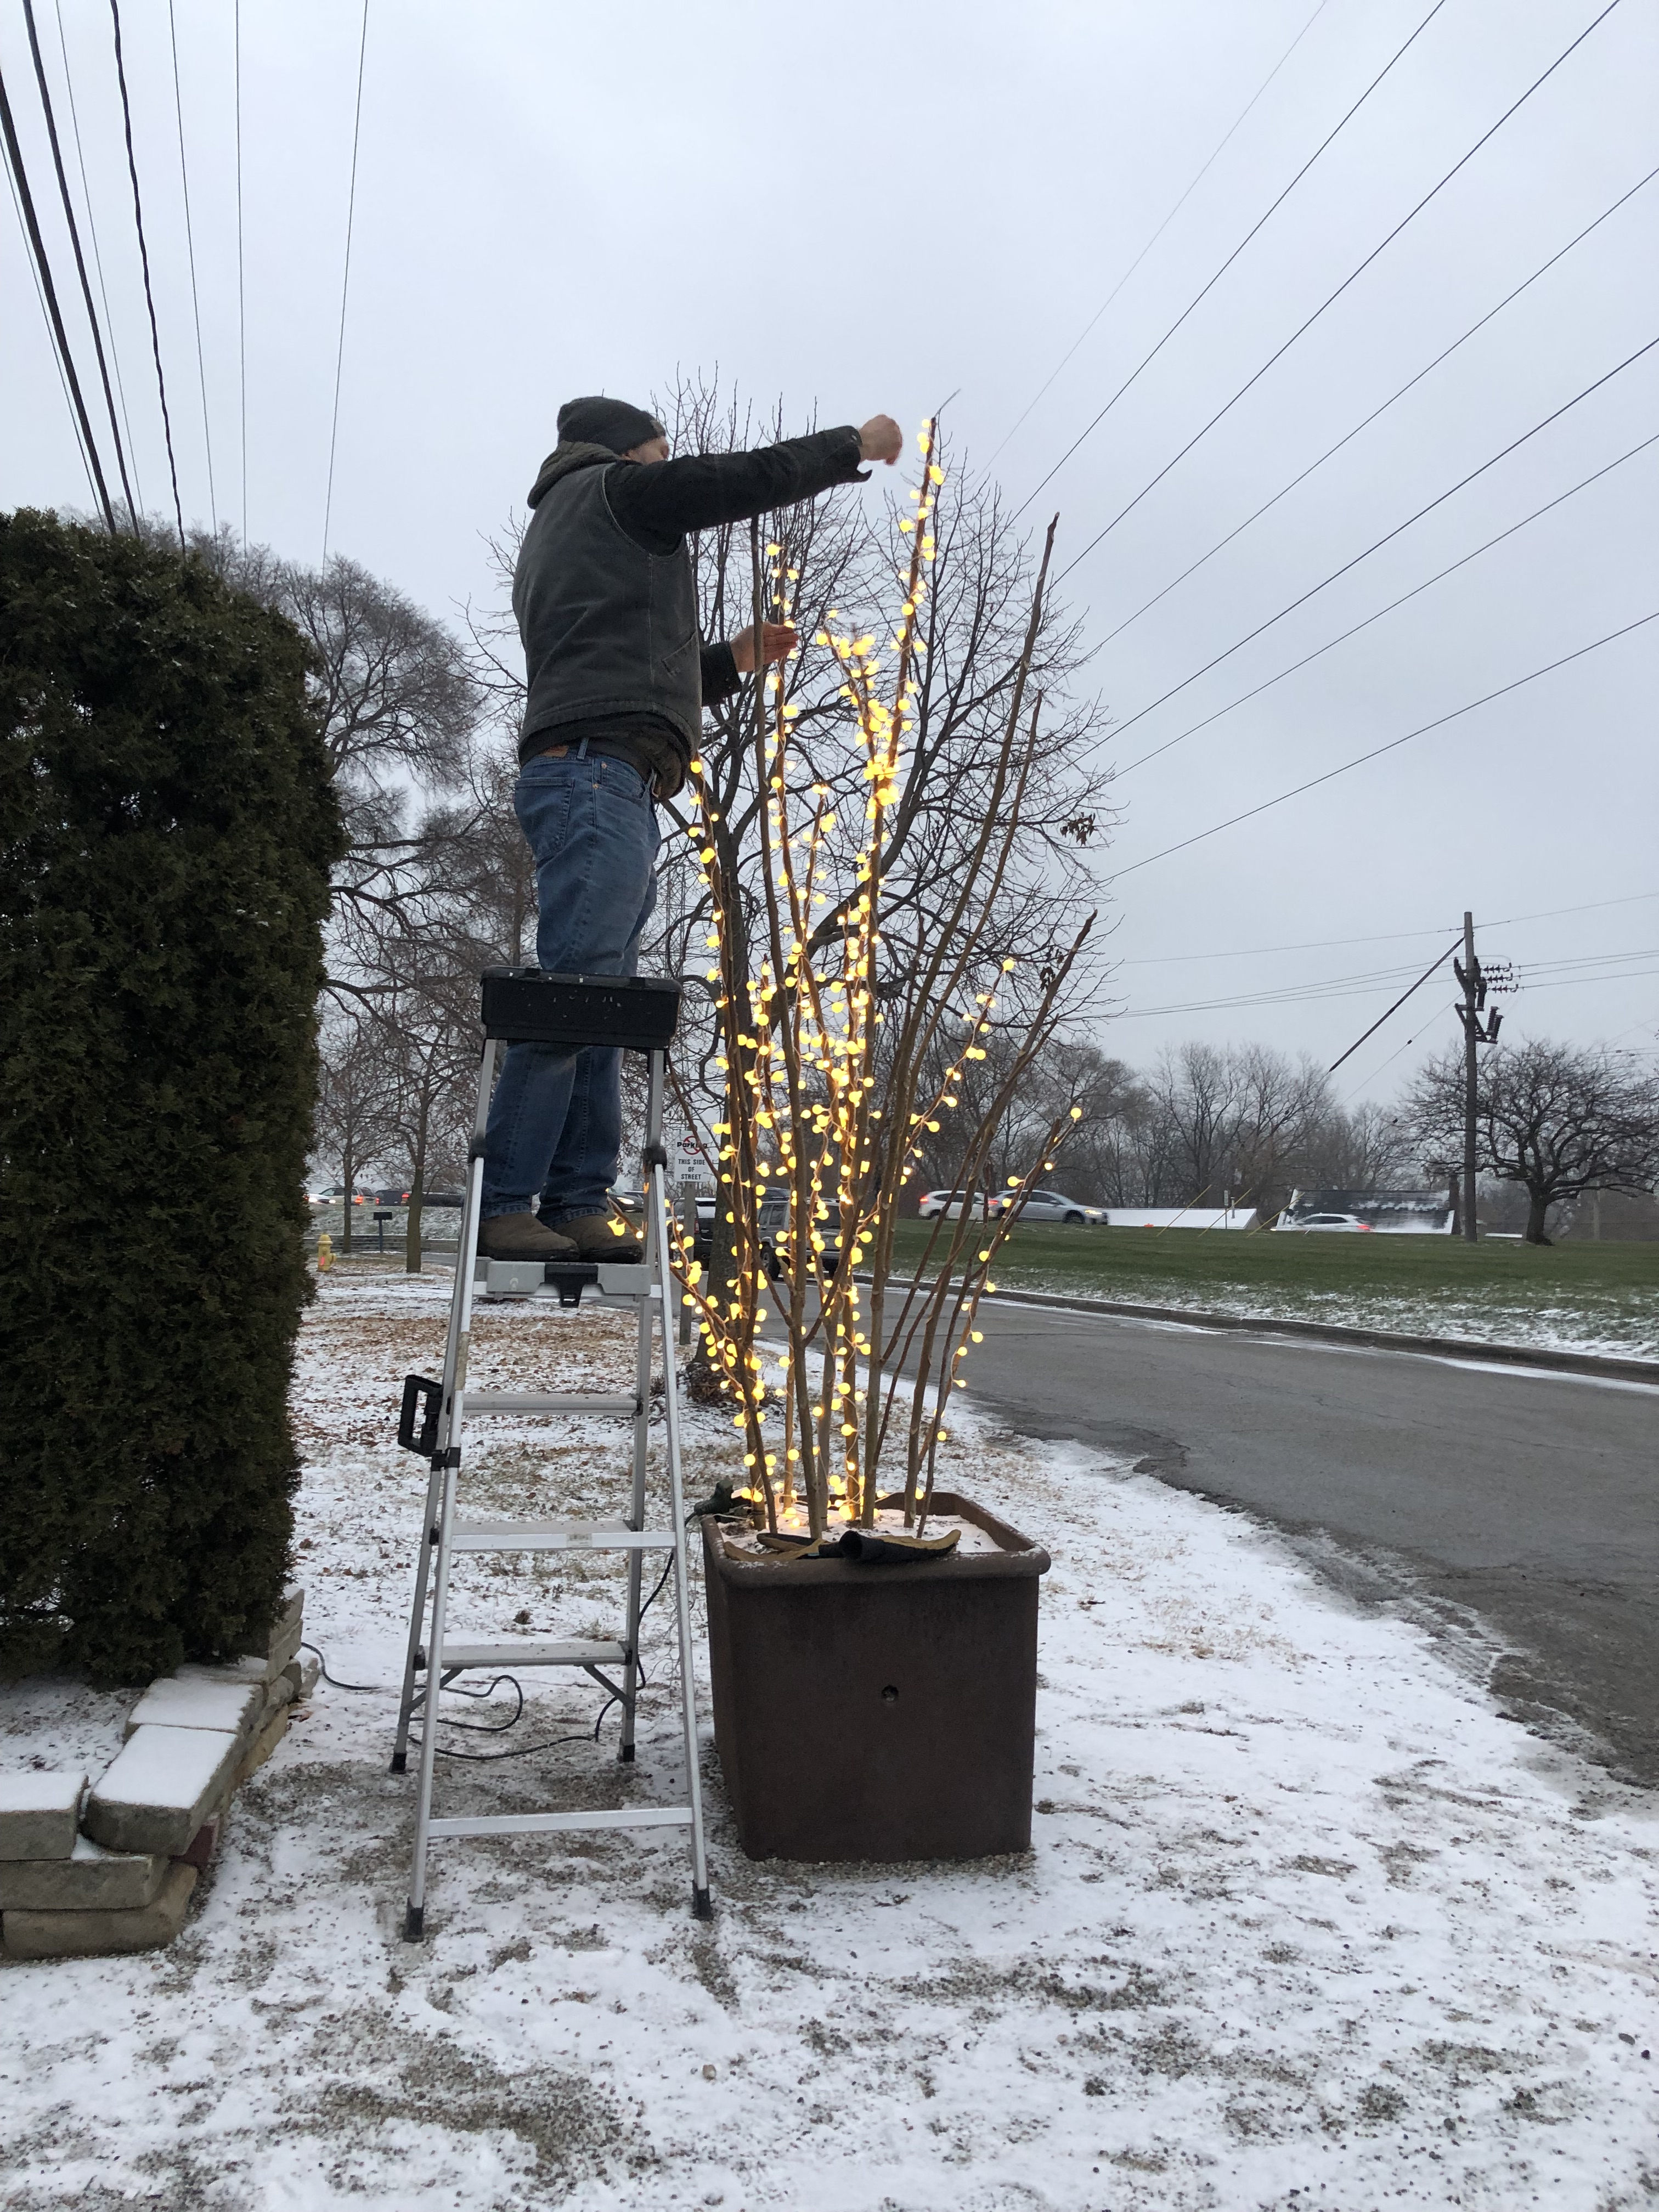 The lights he is adding are new to the shop this year. These mixed berry LED bulbs are large, and the light is soft, as the bulbs are translucent.
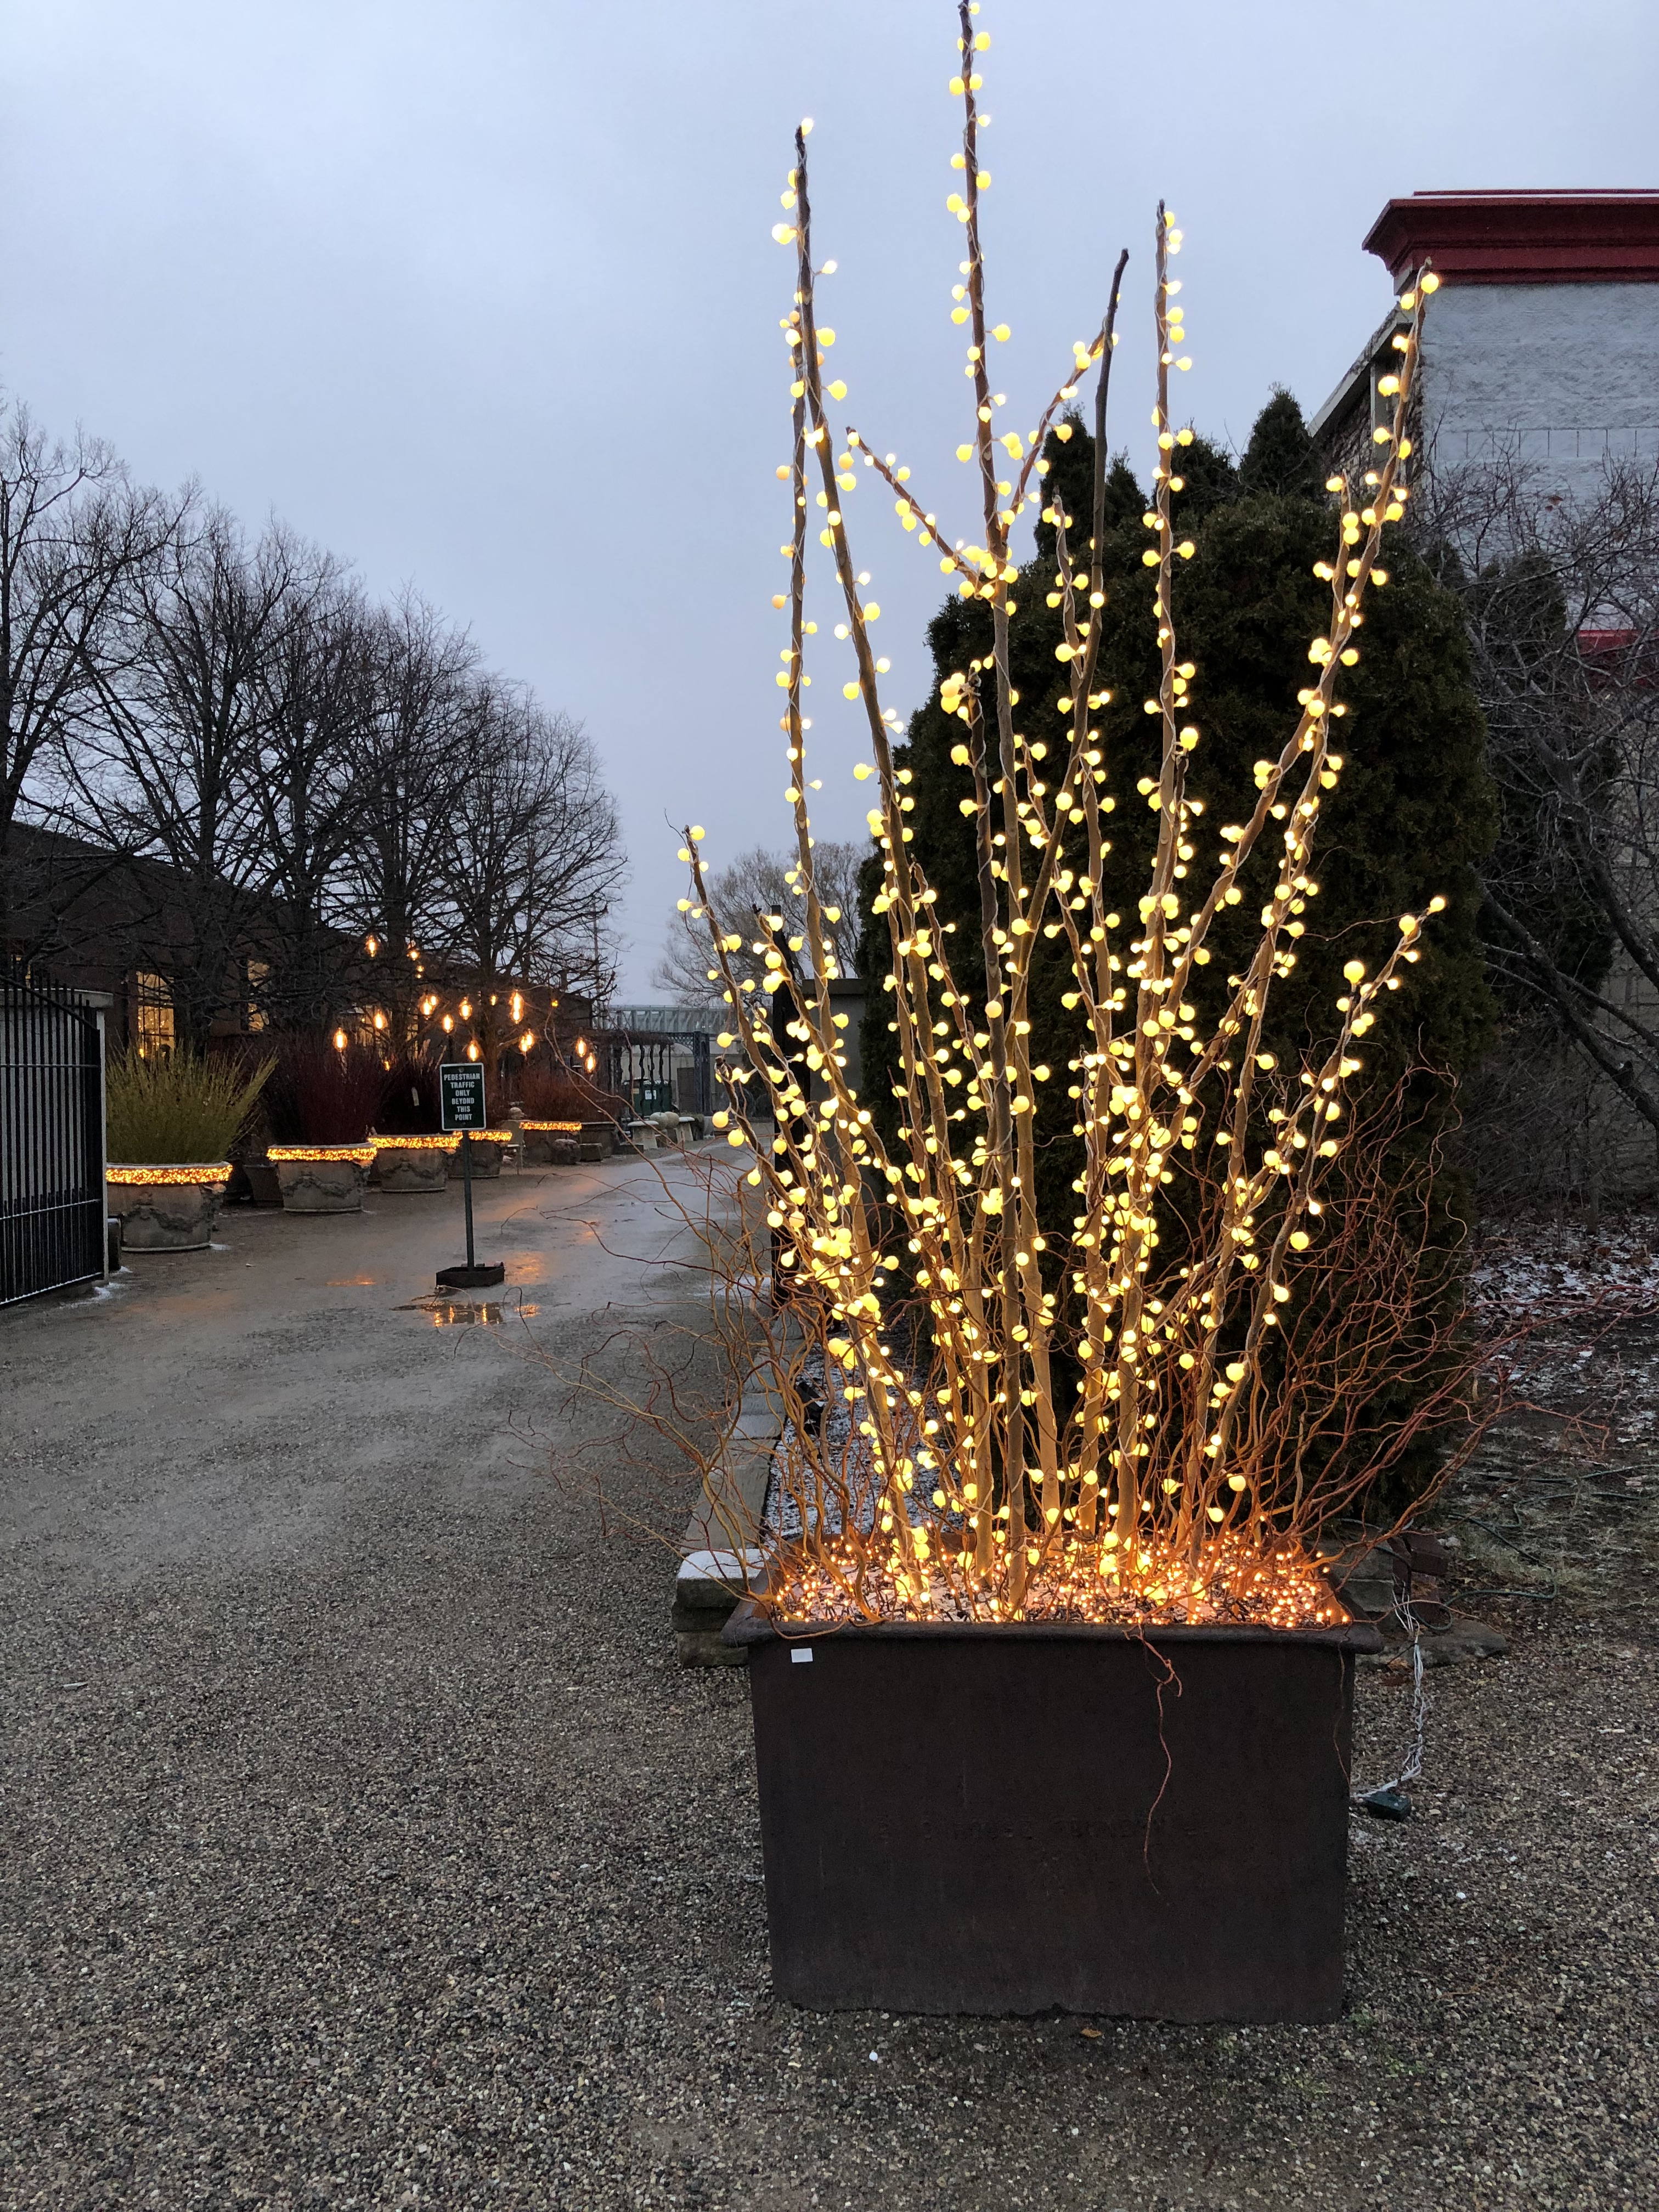 At 5:15 last night, the shop was ready for the evening hours.
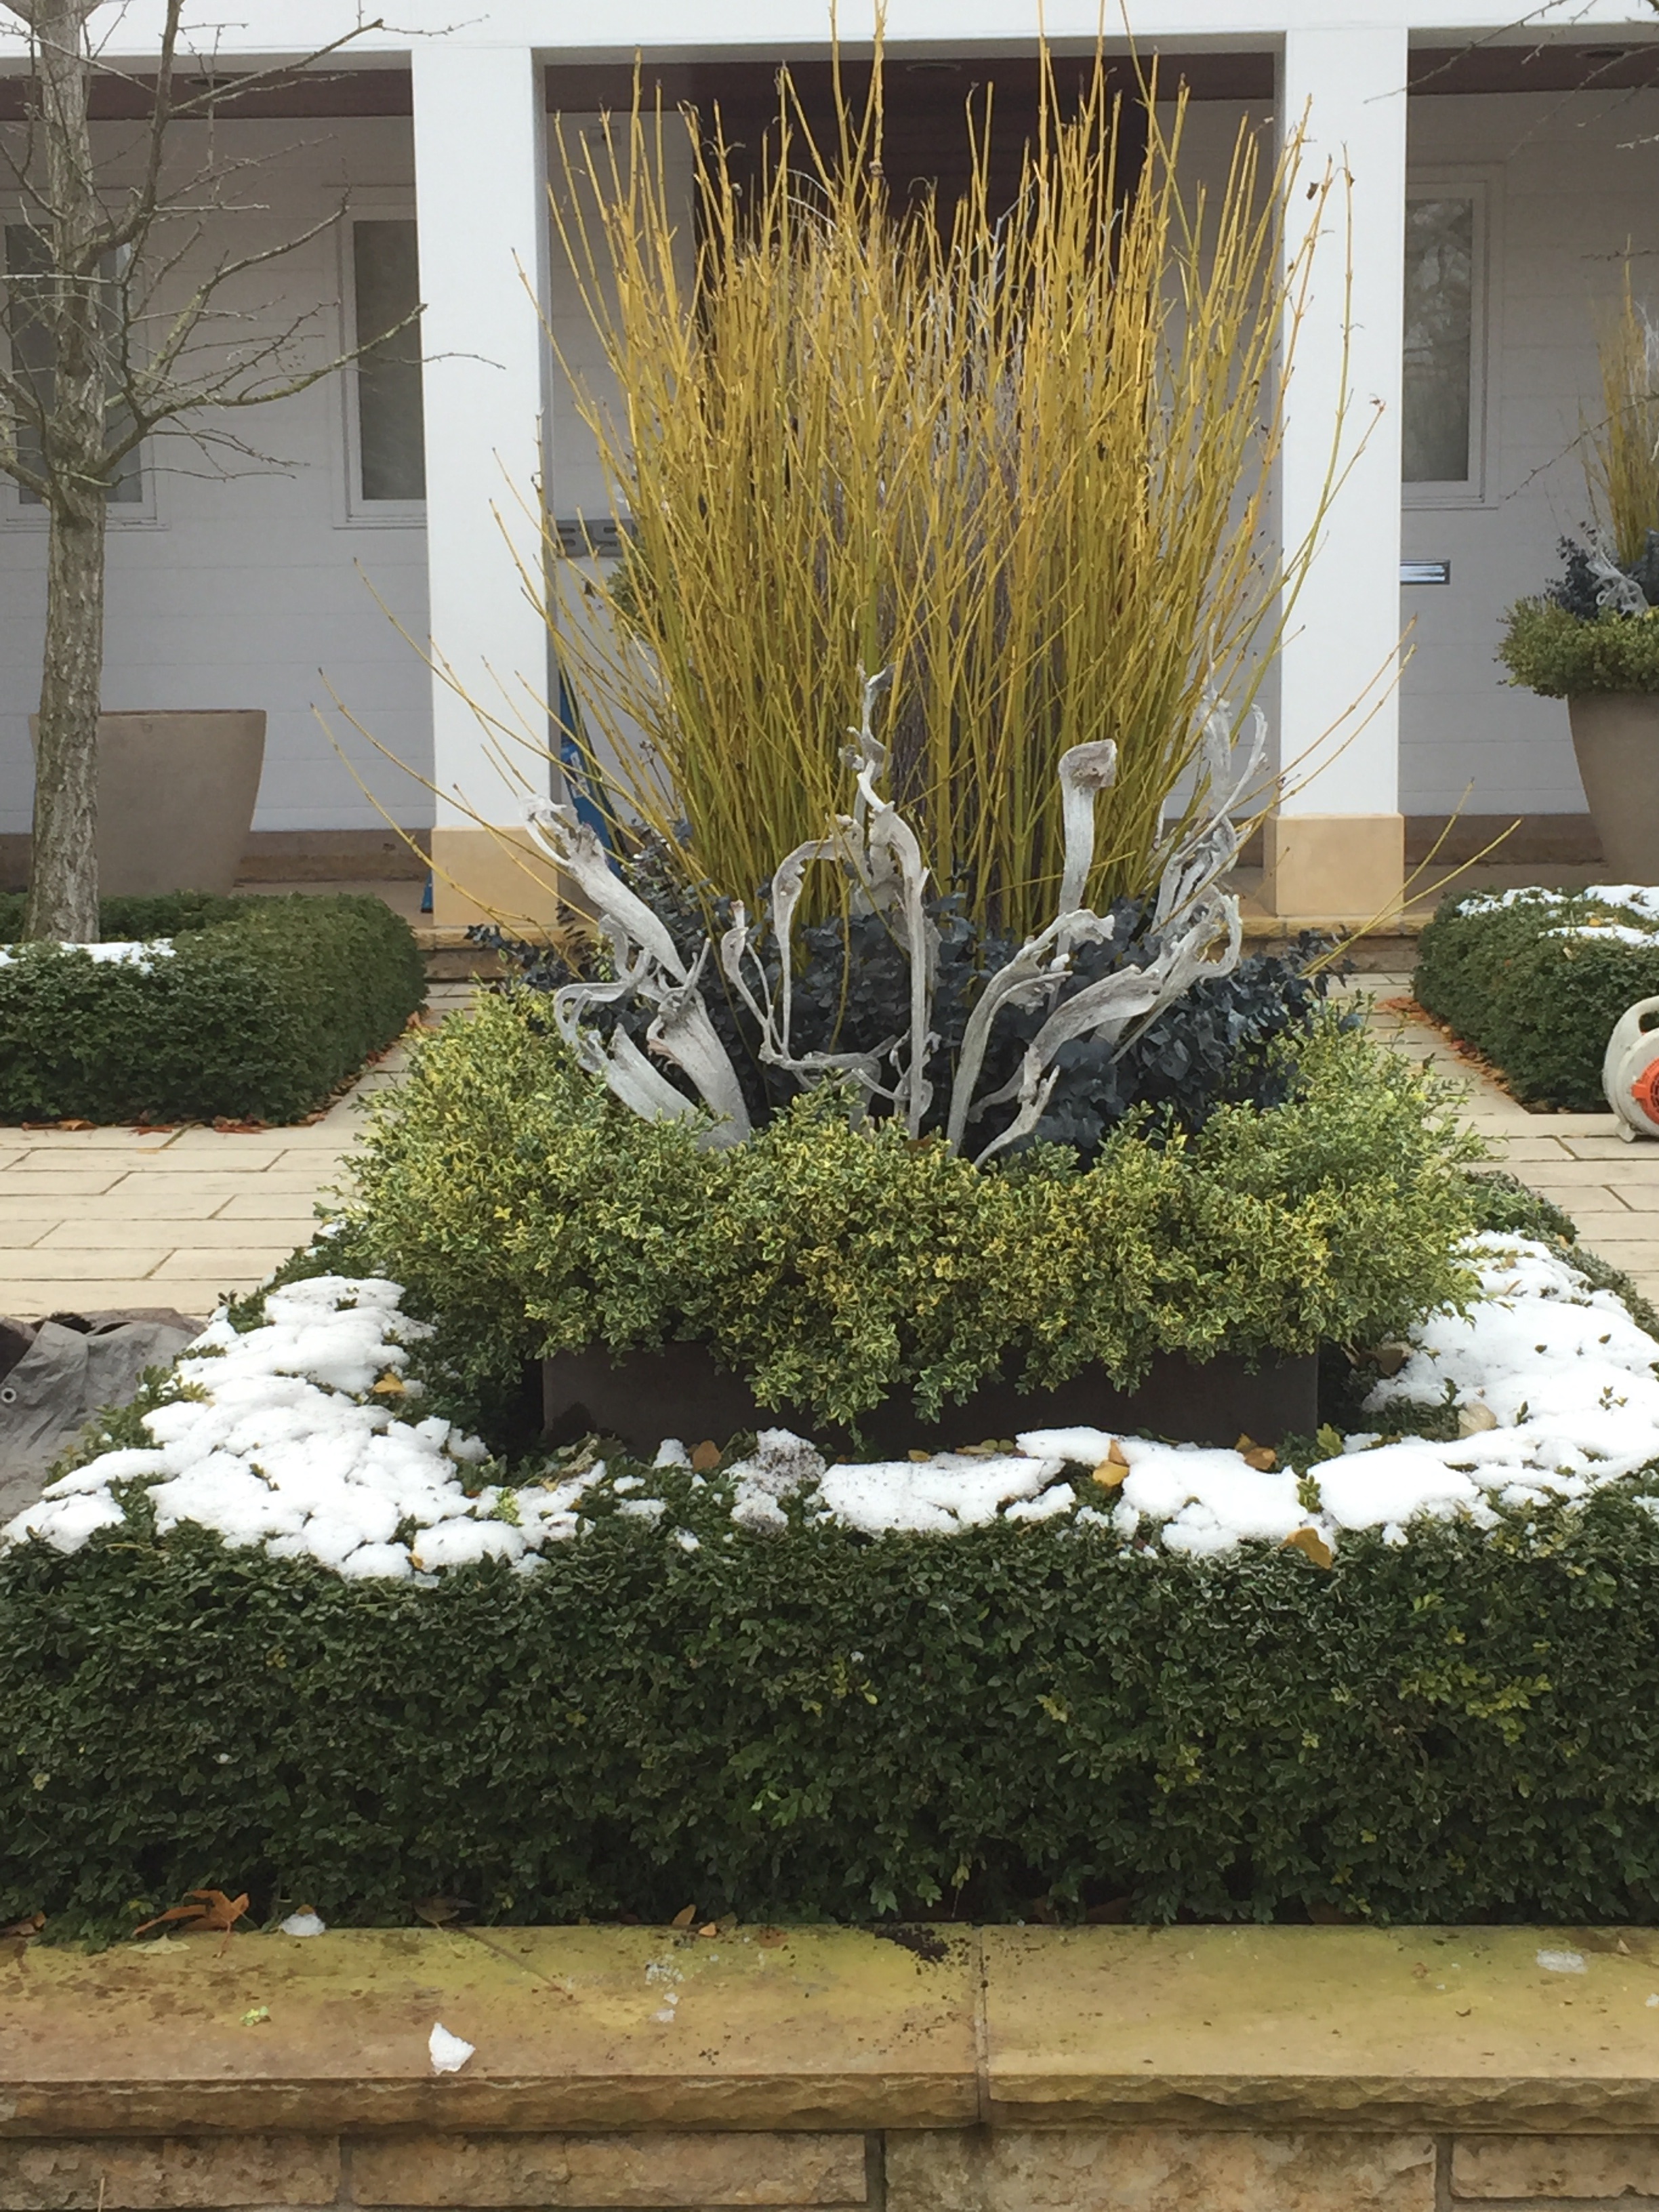
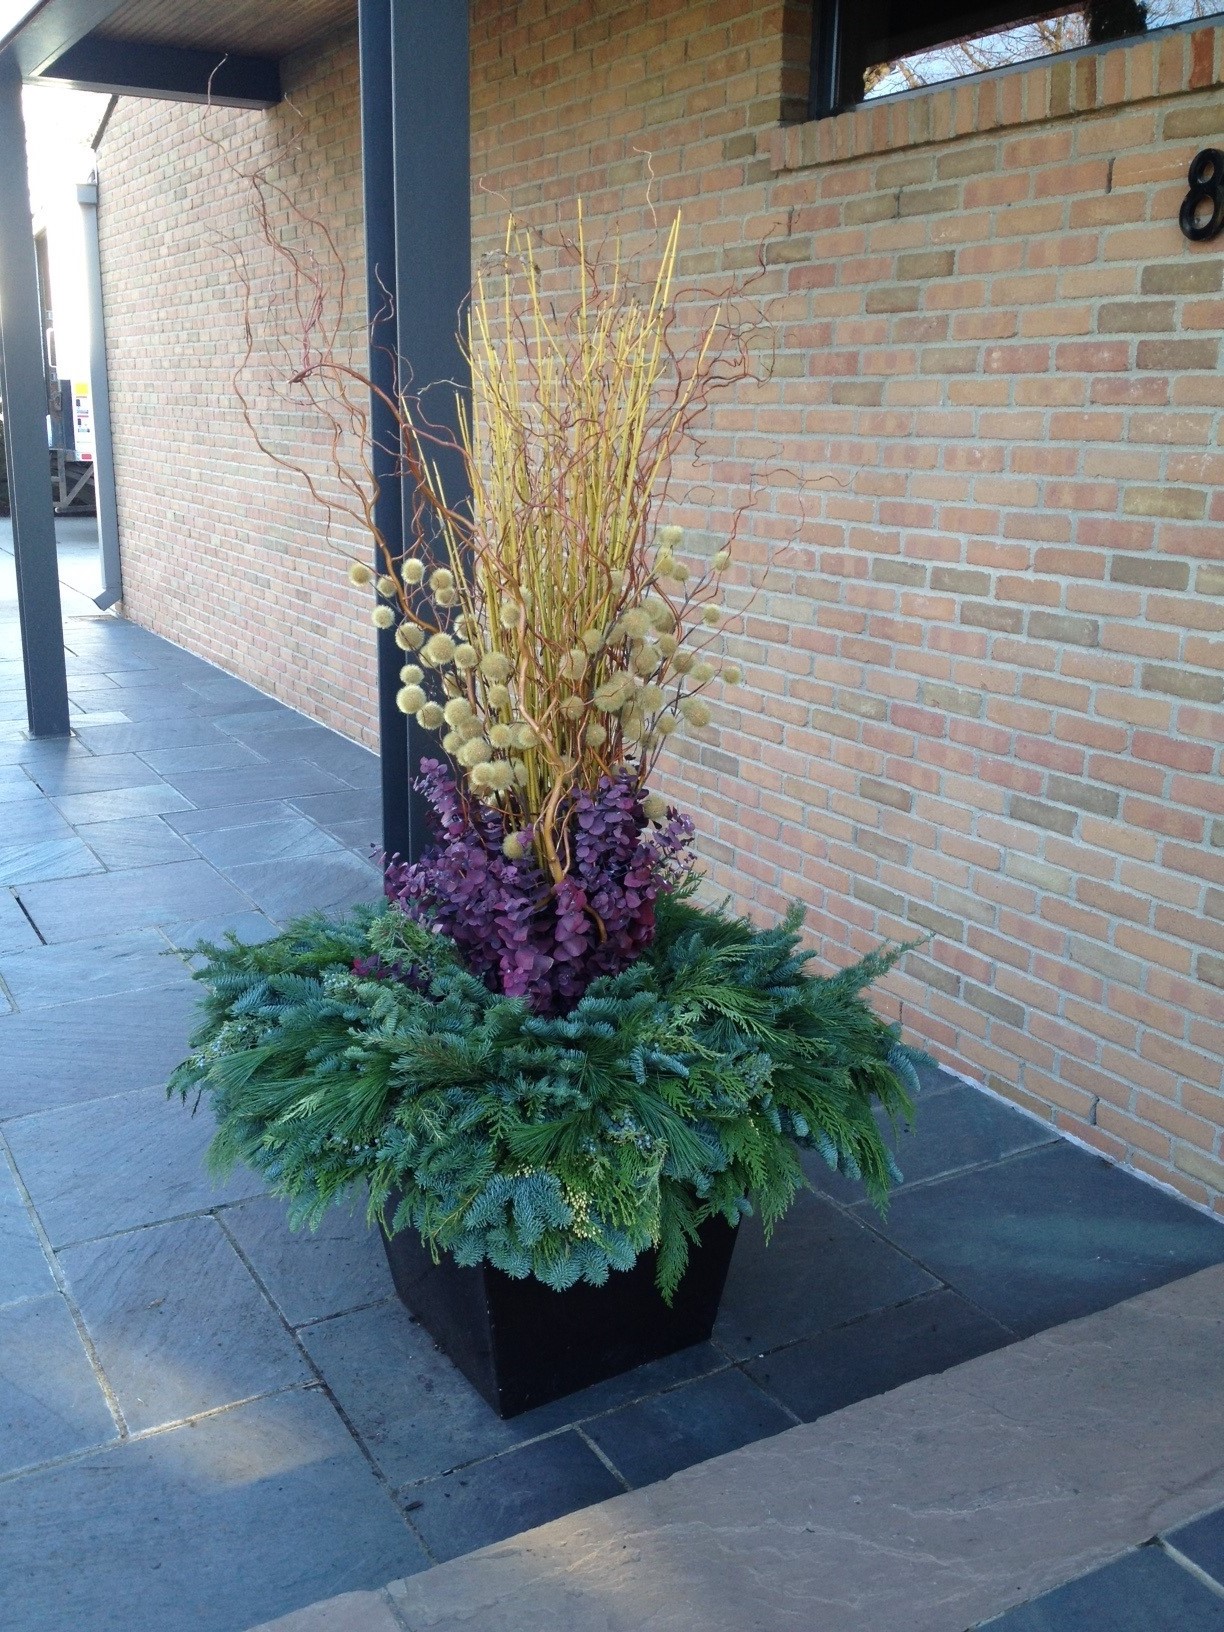
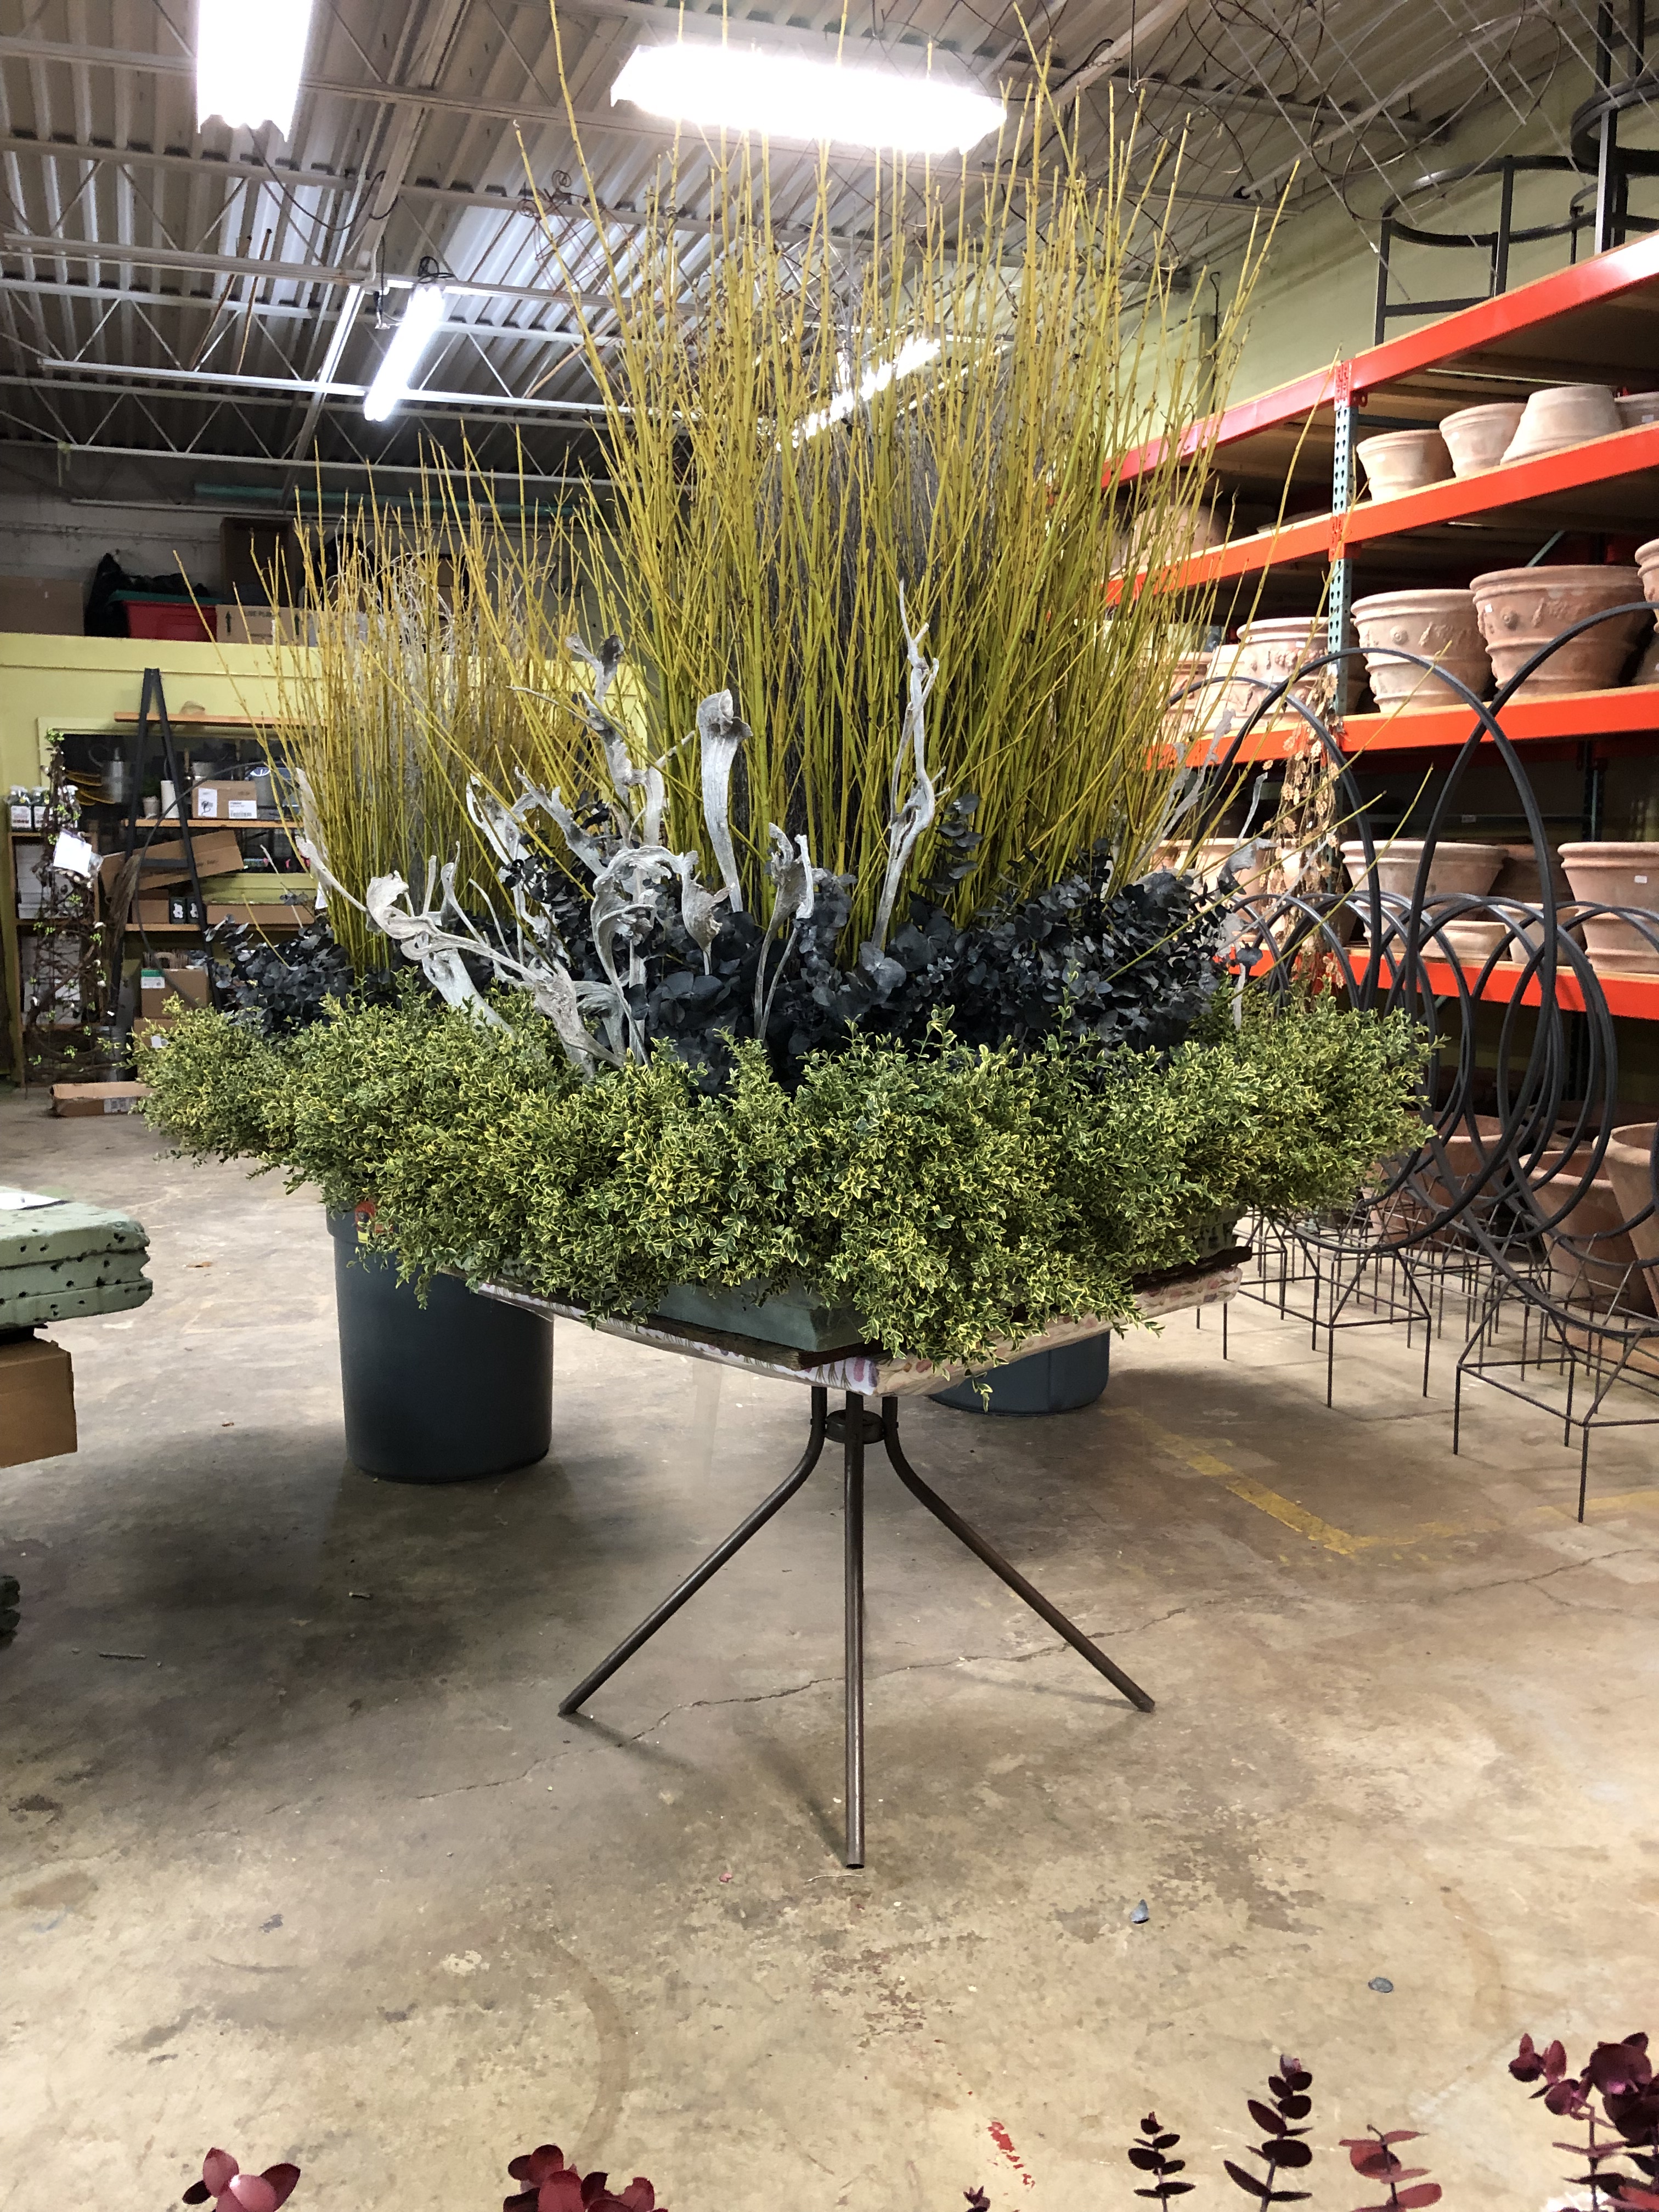
 This container features another new lighting device Rob ordered for the shop. An LED lightburst is 36″ tall, and has 28 waterproof”branches” wrapped with 140 lights. What could be easier than adding one of these to the center of a bunch of natural branches? The lightburst comes with a pointed steel cap, which means it can also be pushed into the soil in a container. Lighting the twigs in a winter container has always been tough to do discreetly, and it takes a long time to suspend lights in the air. This makes quick work of it.
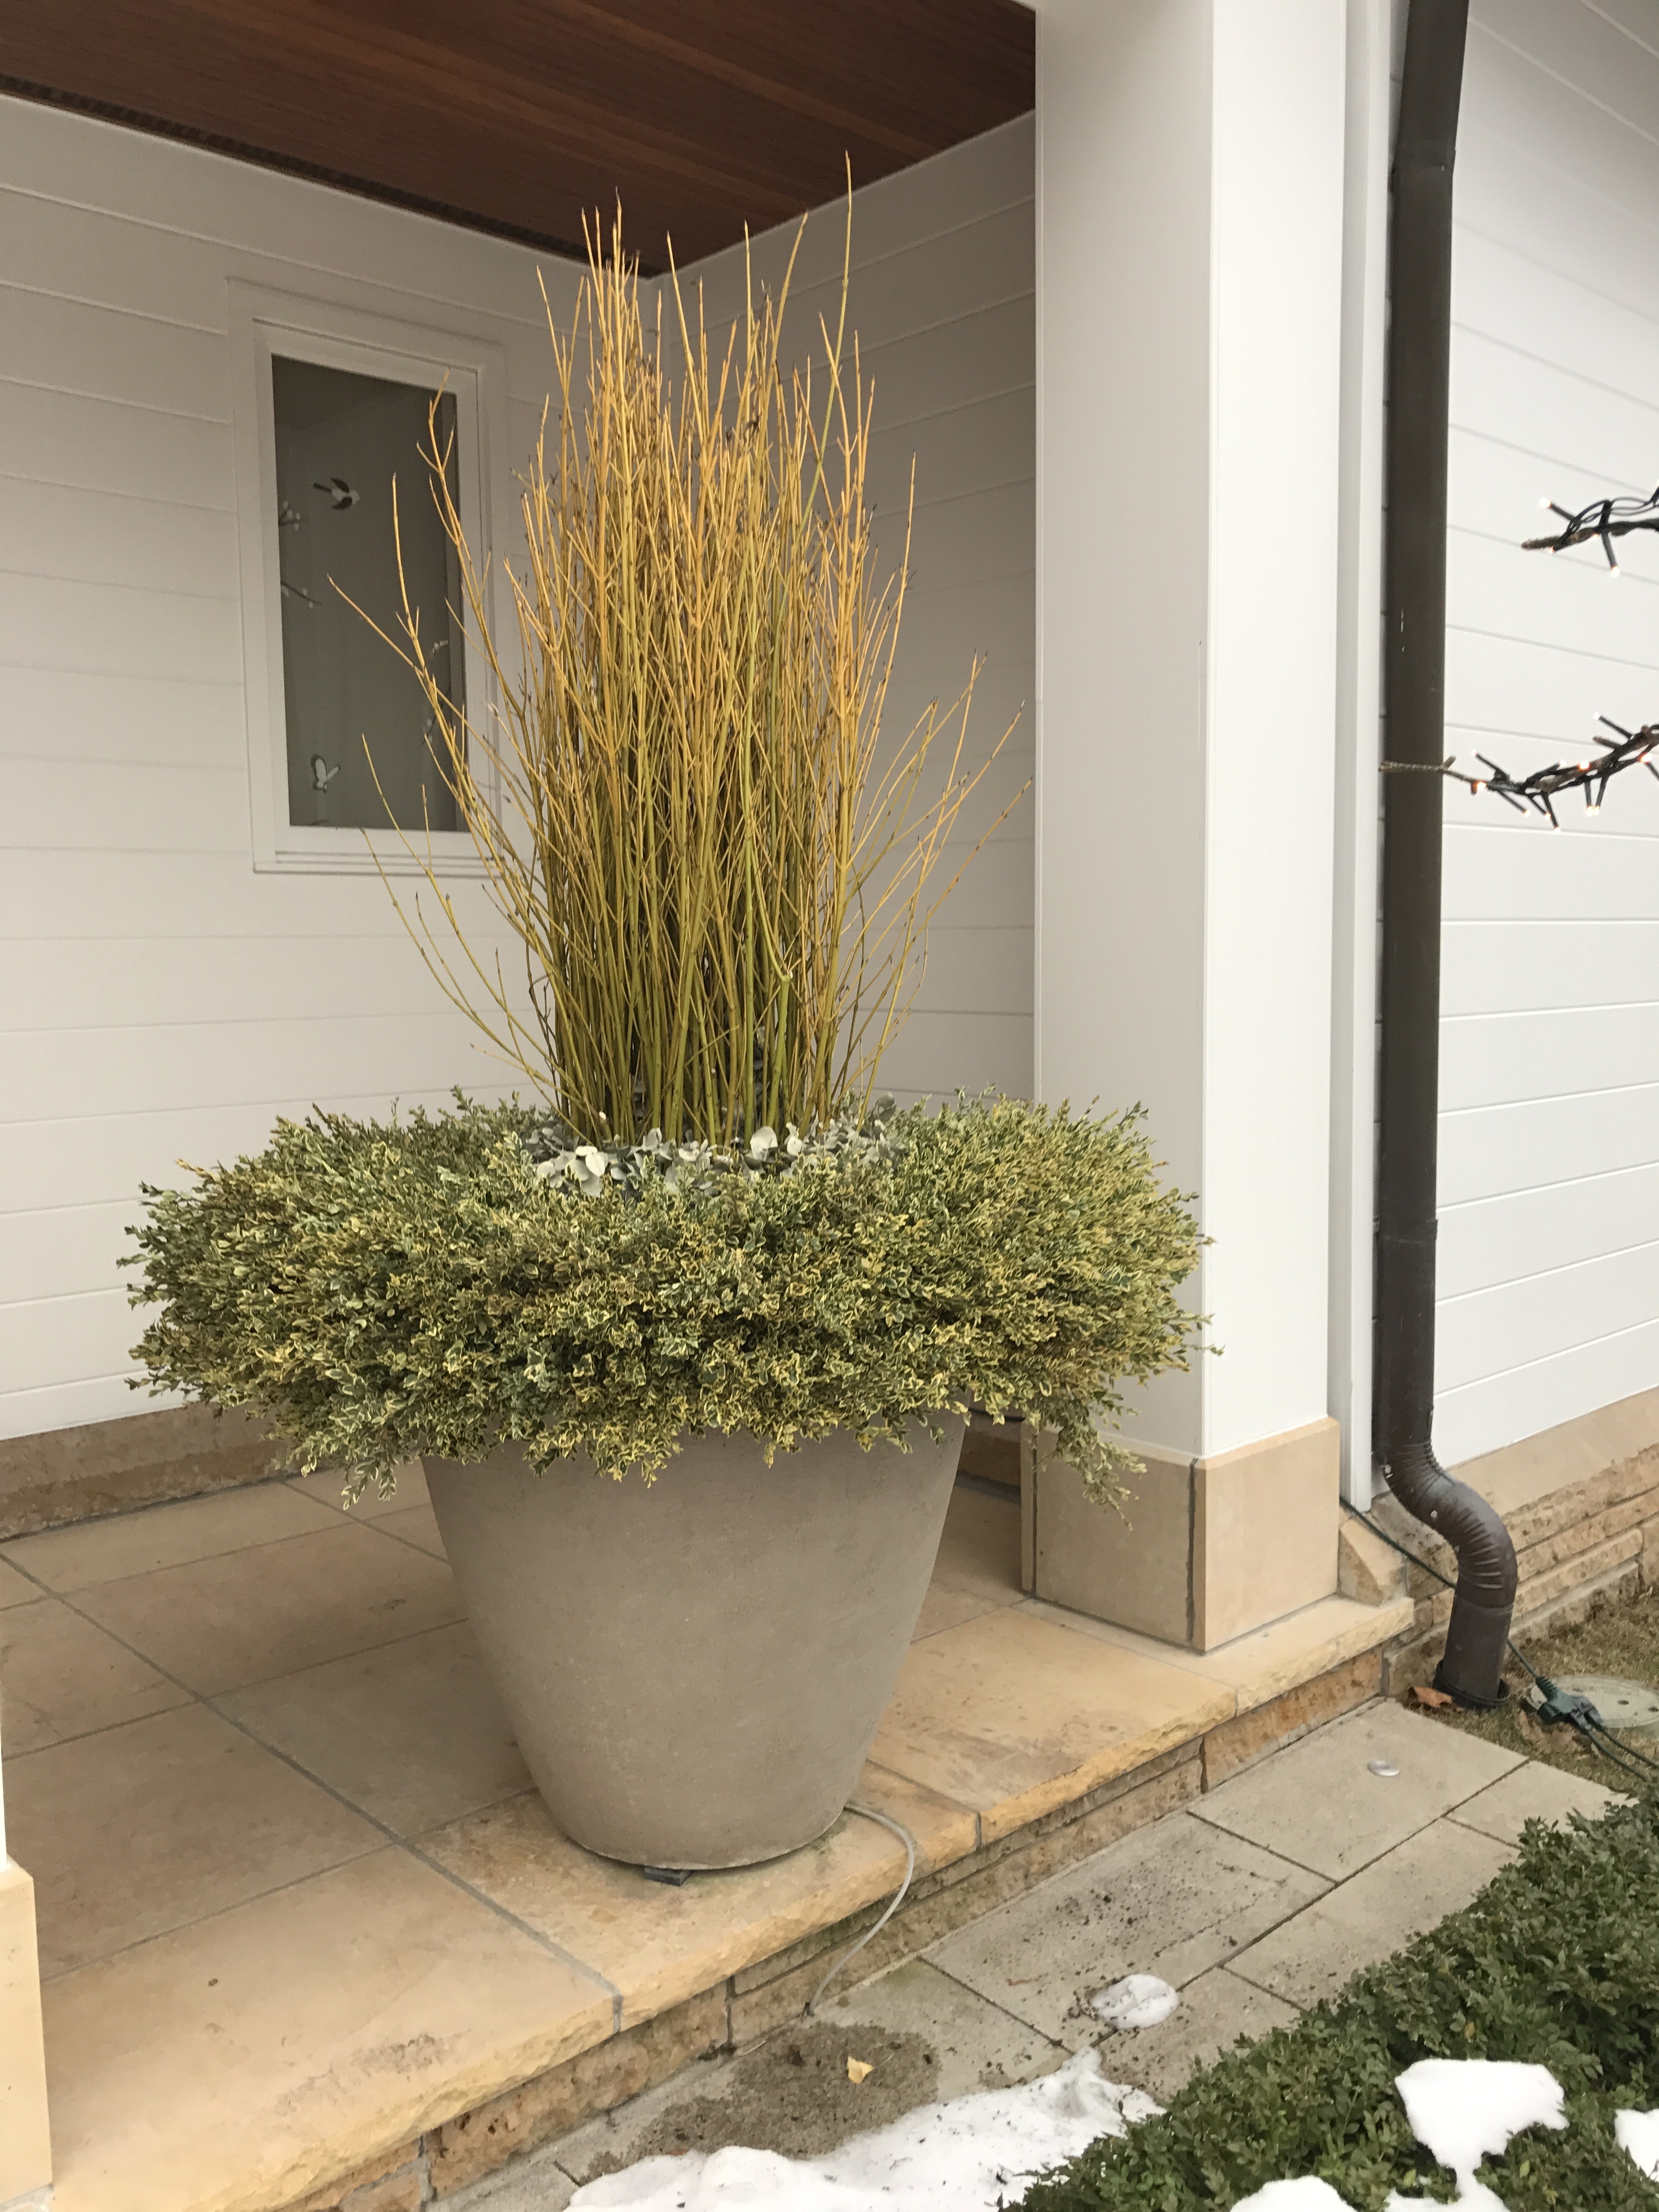
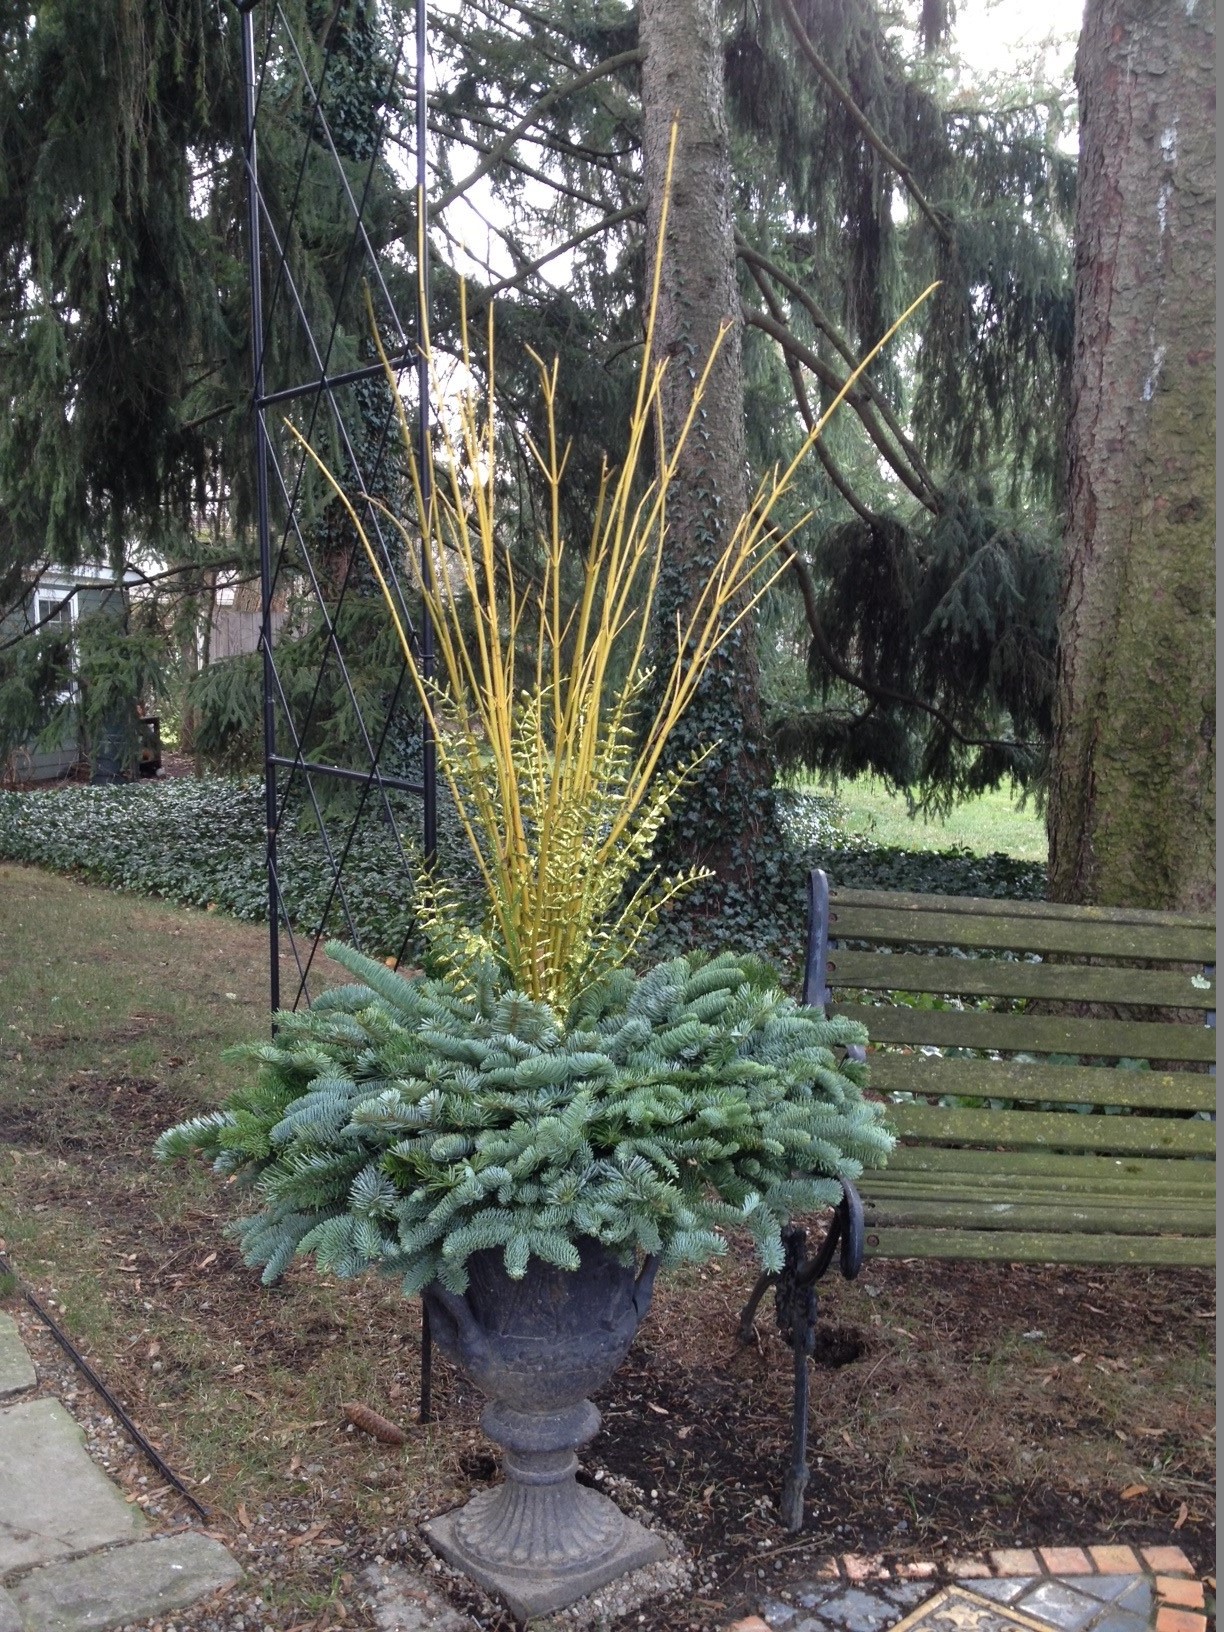
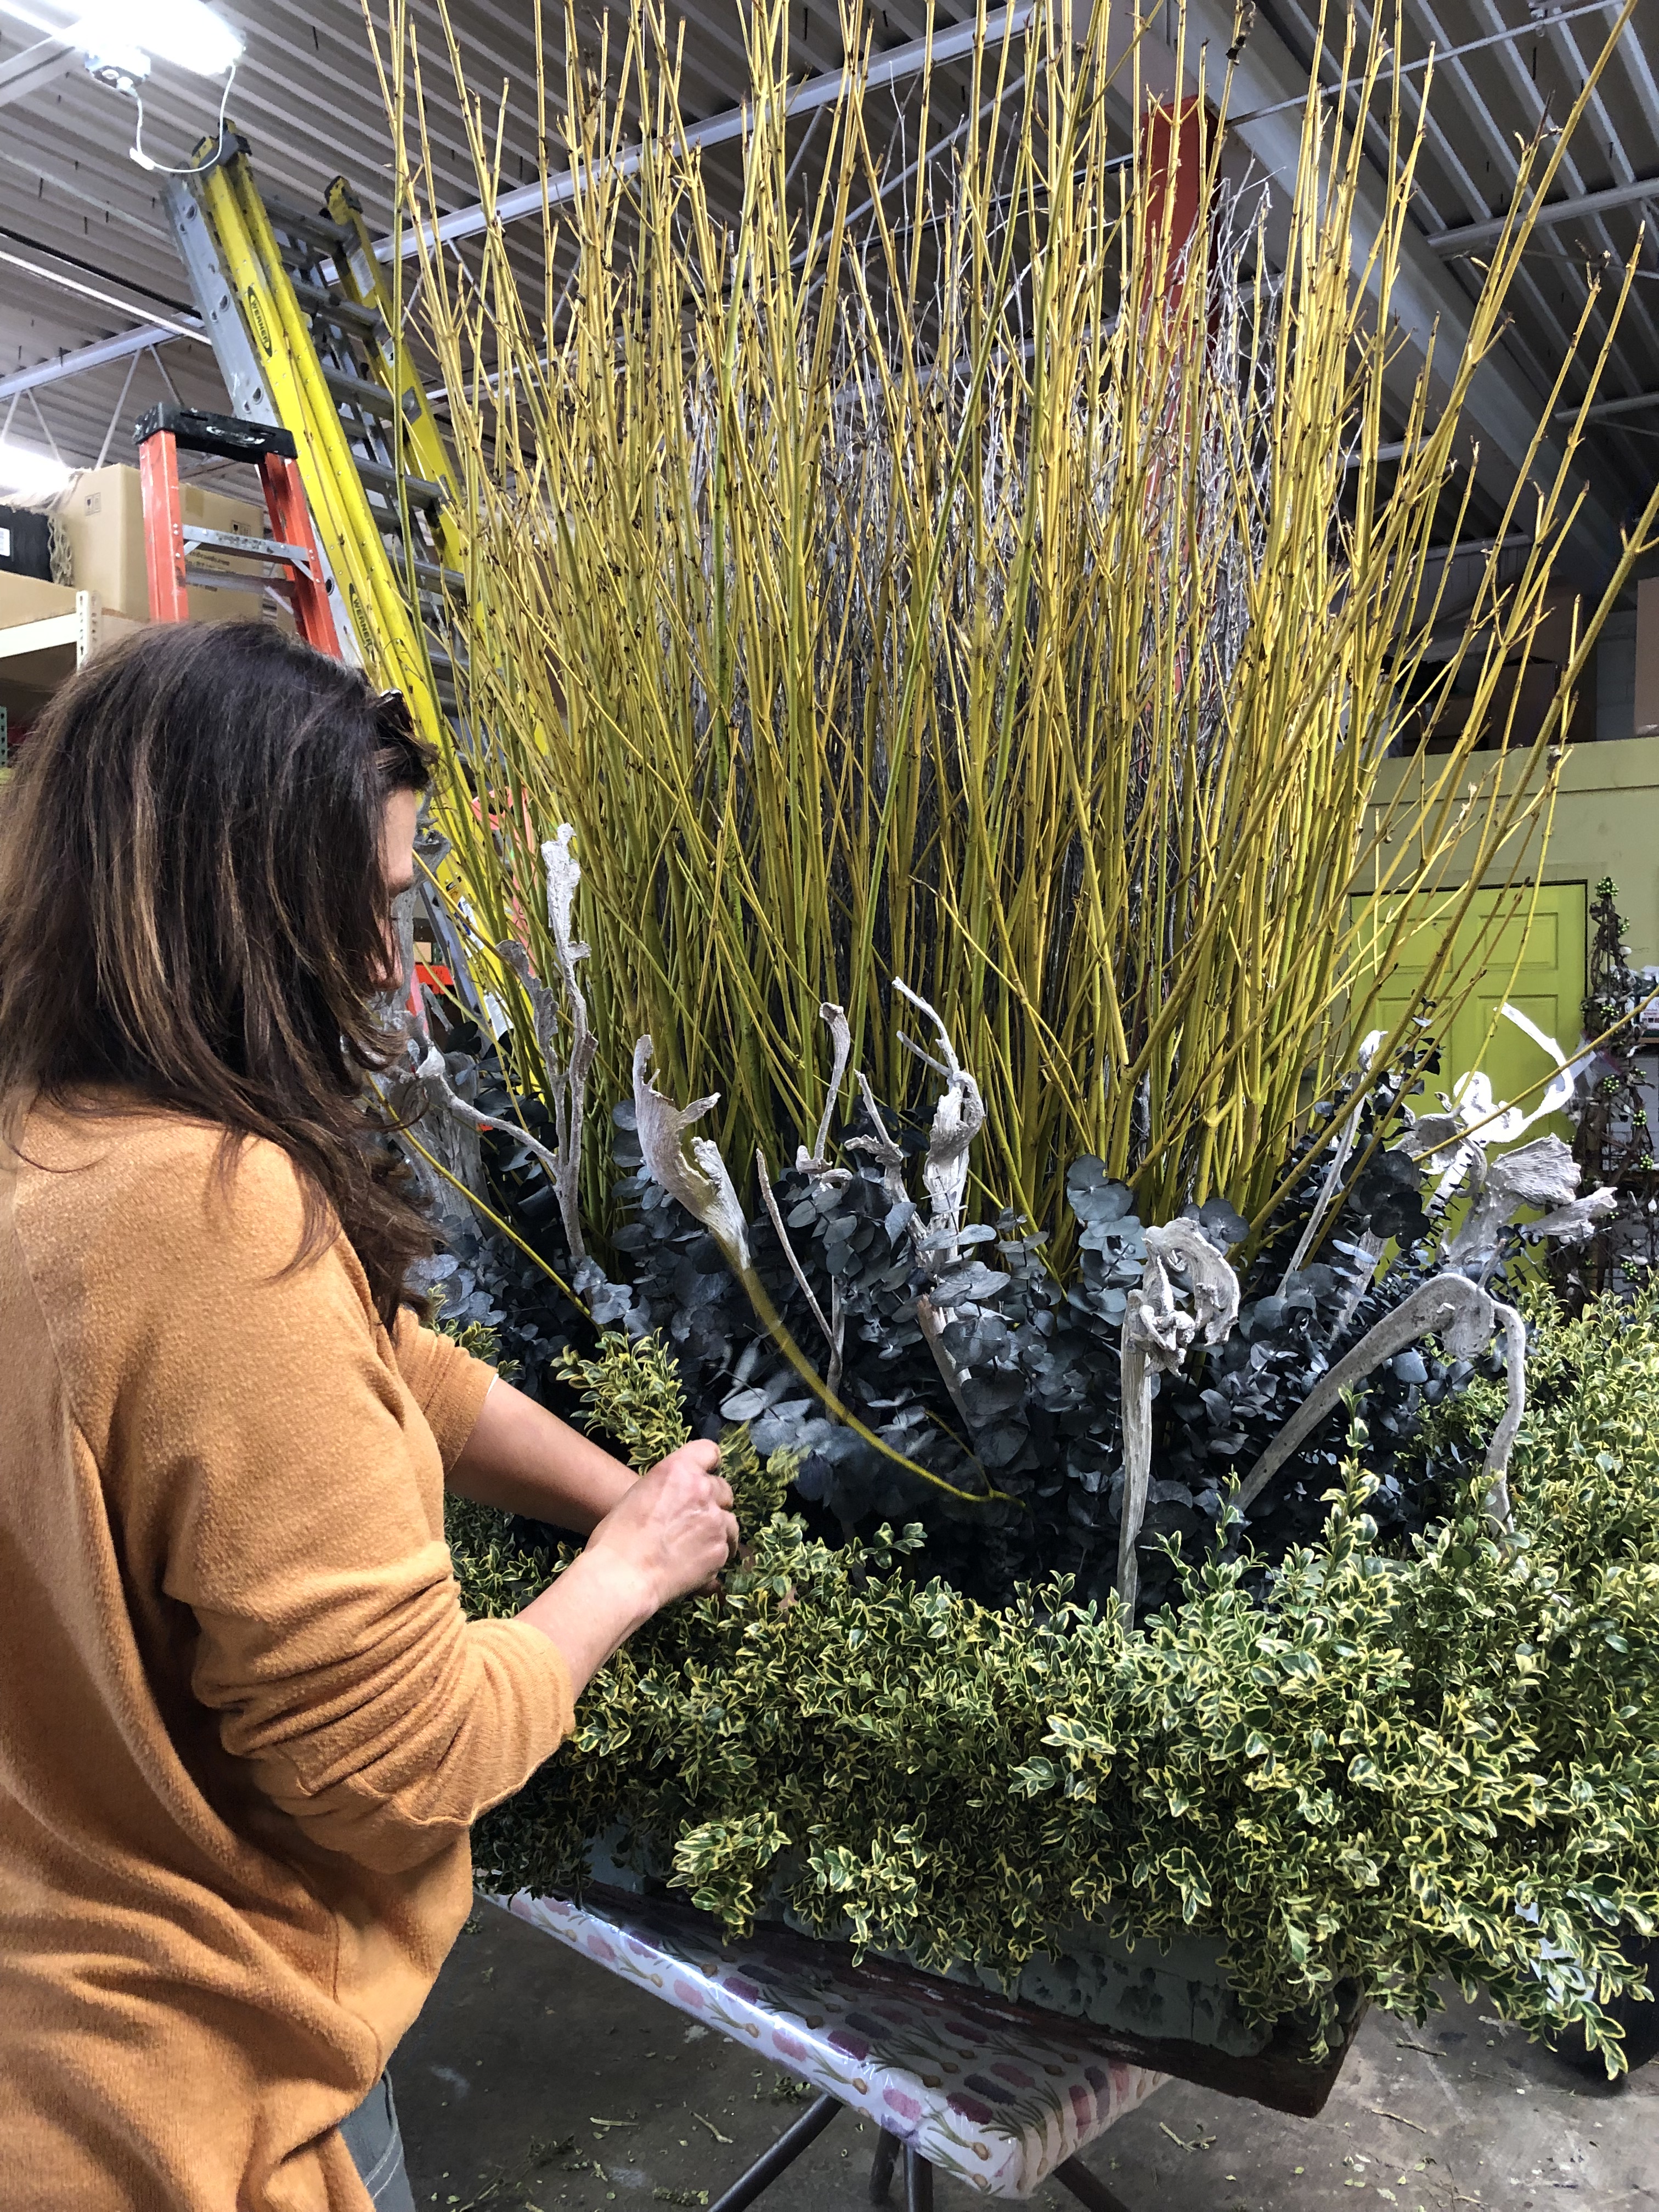
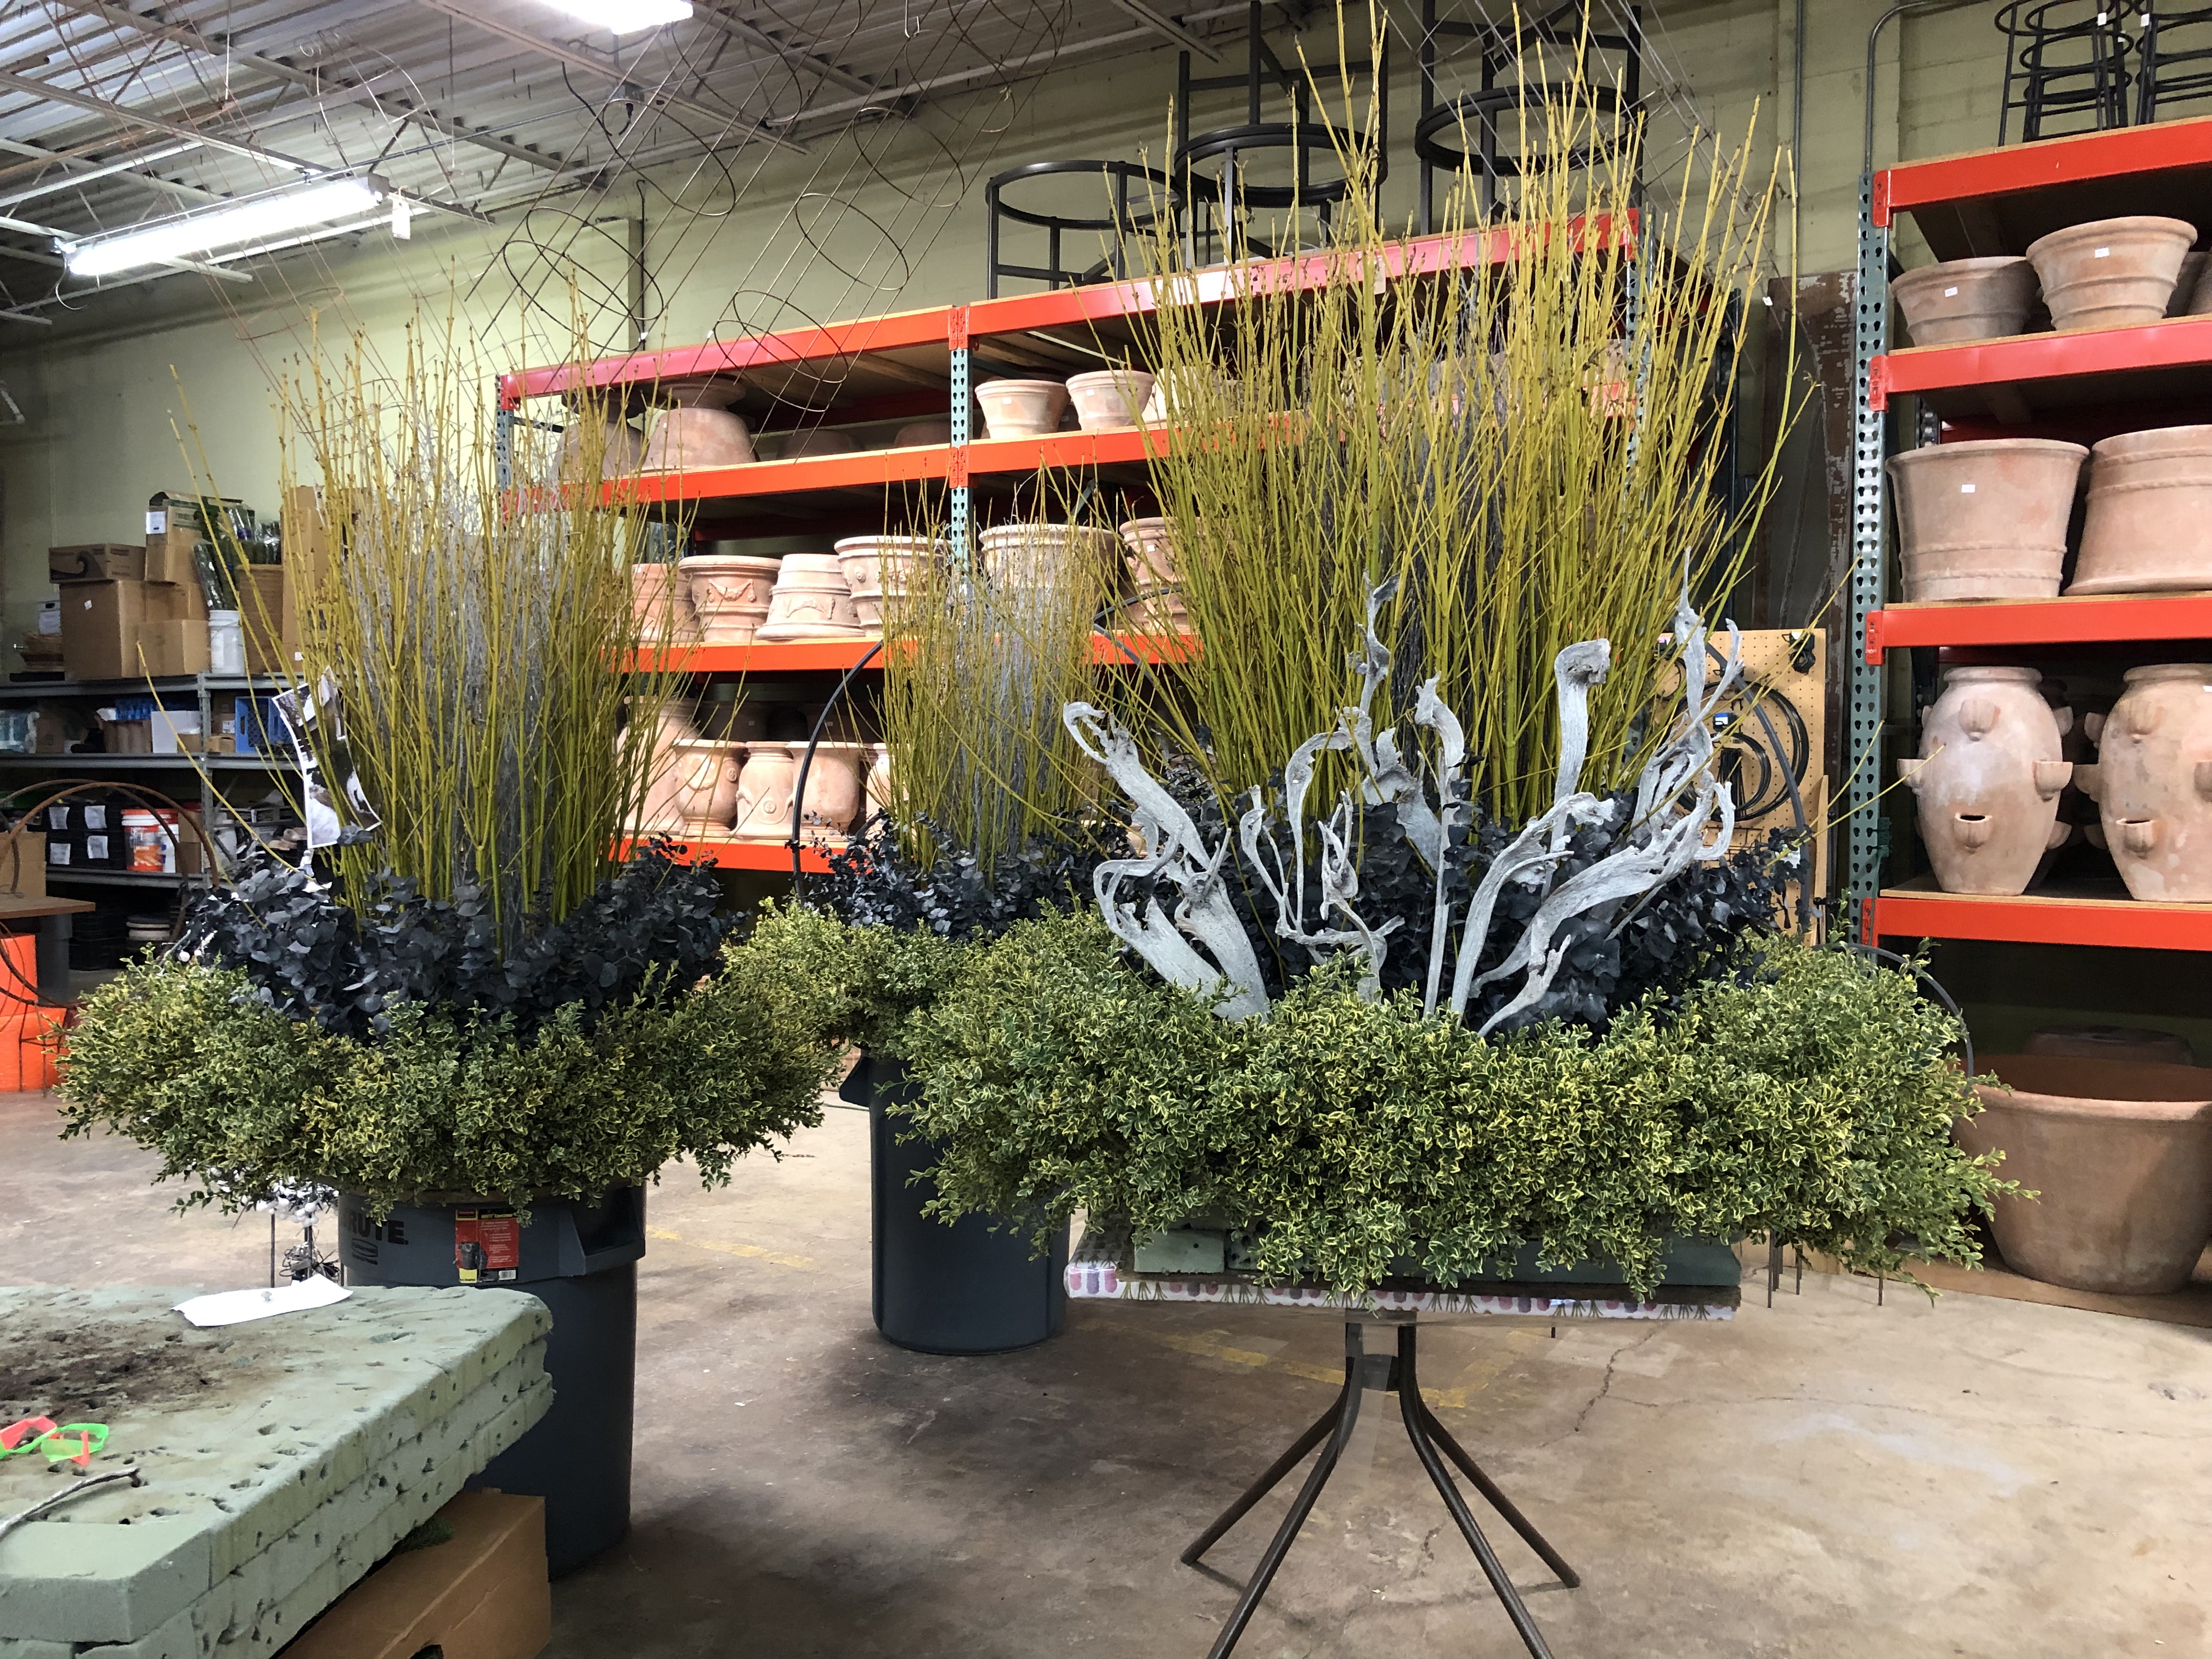
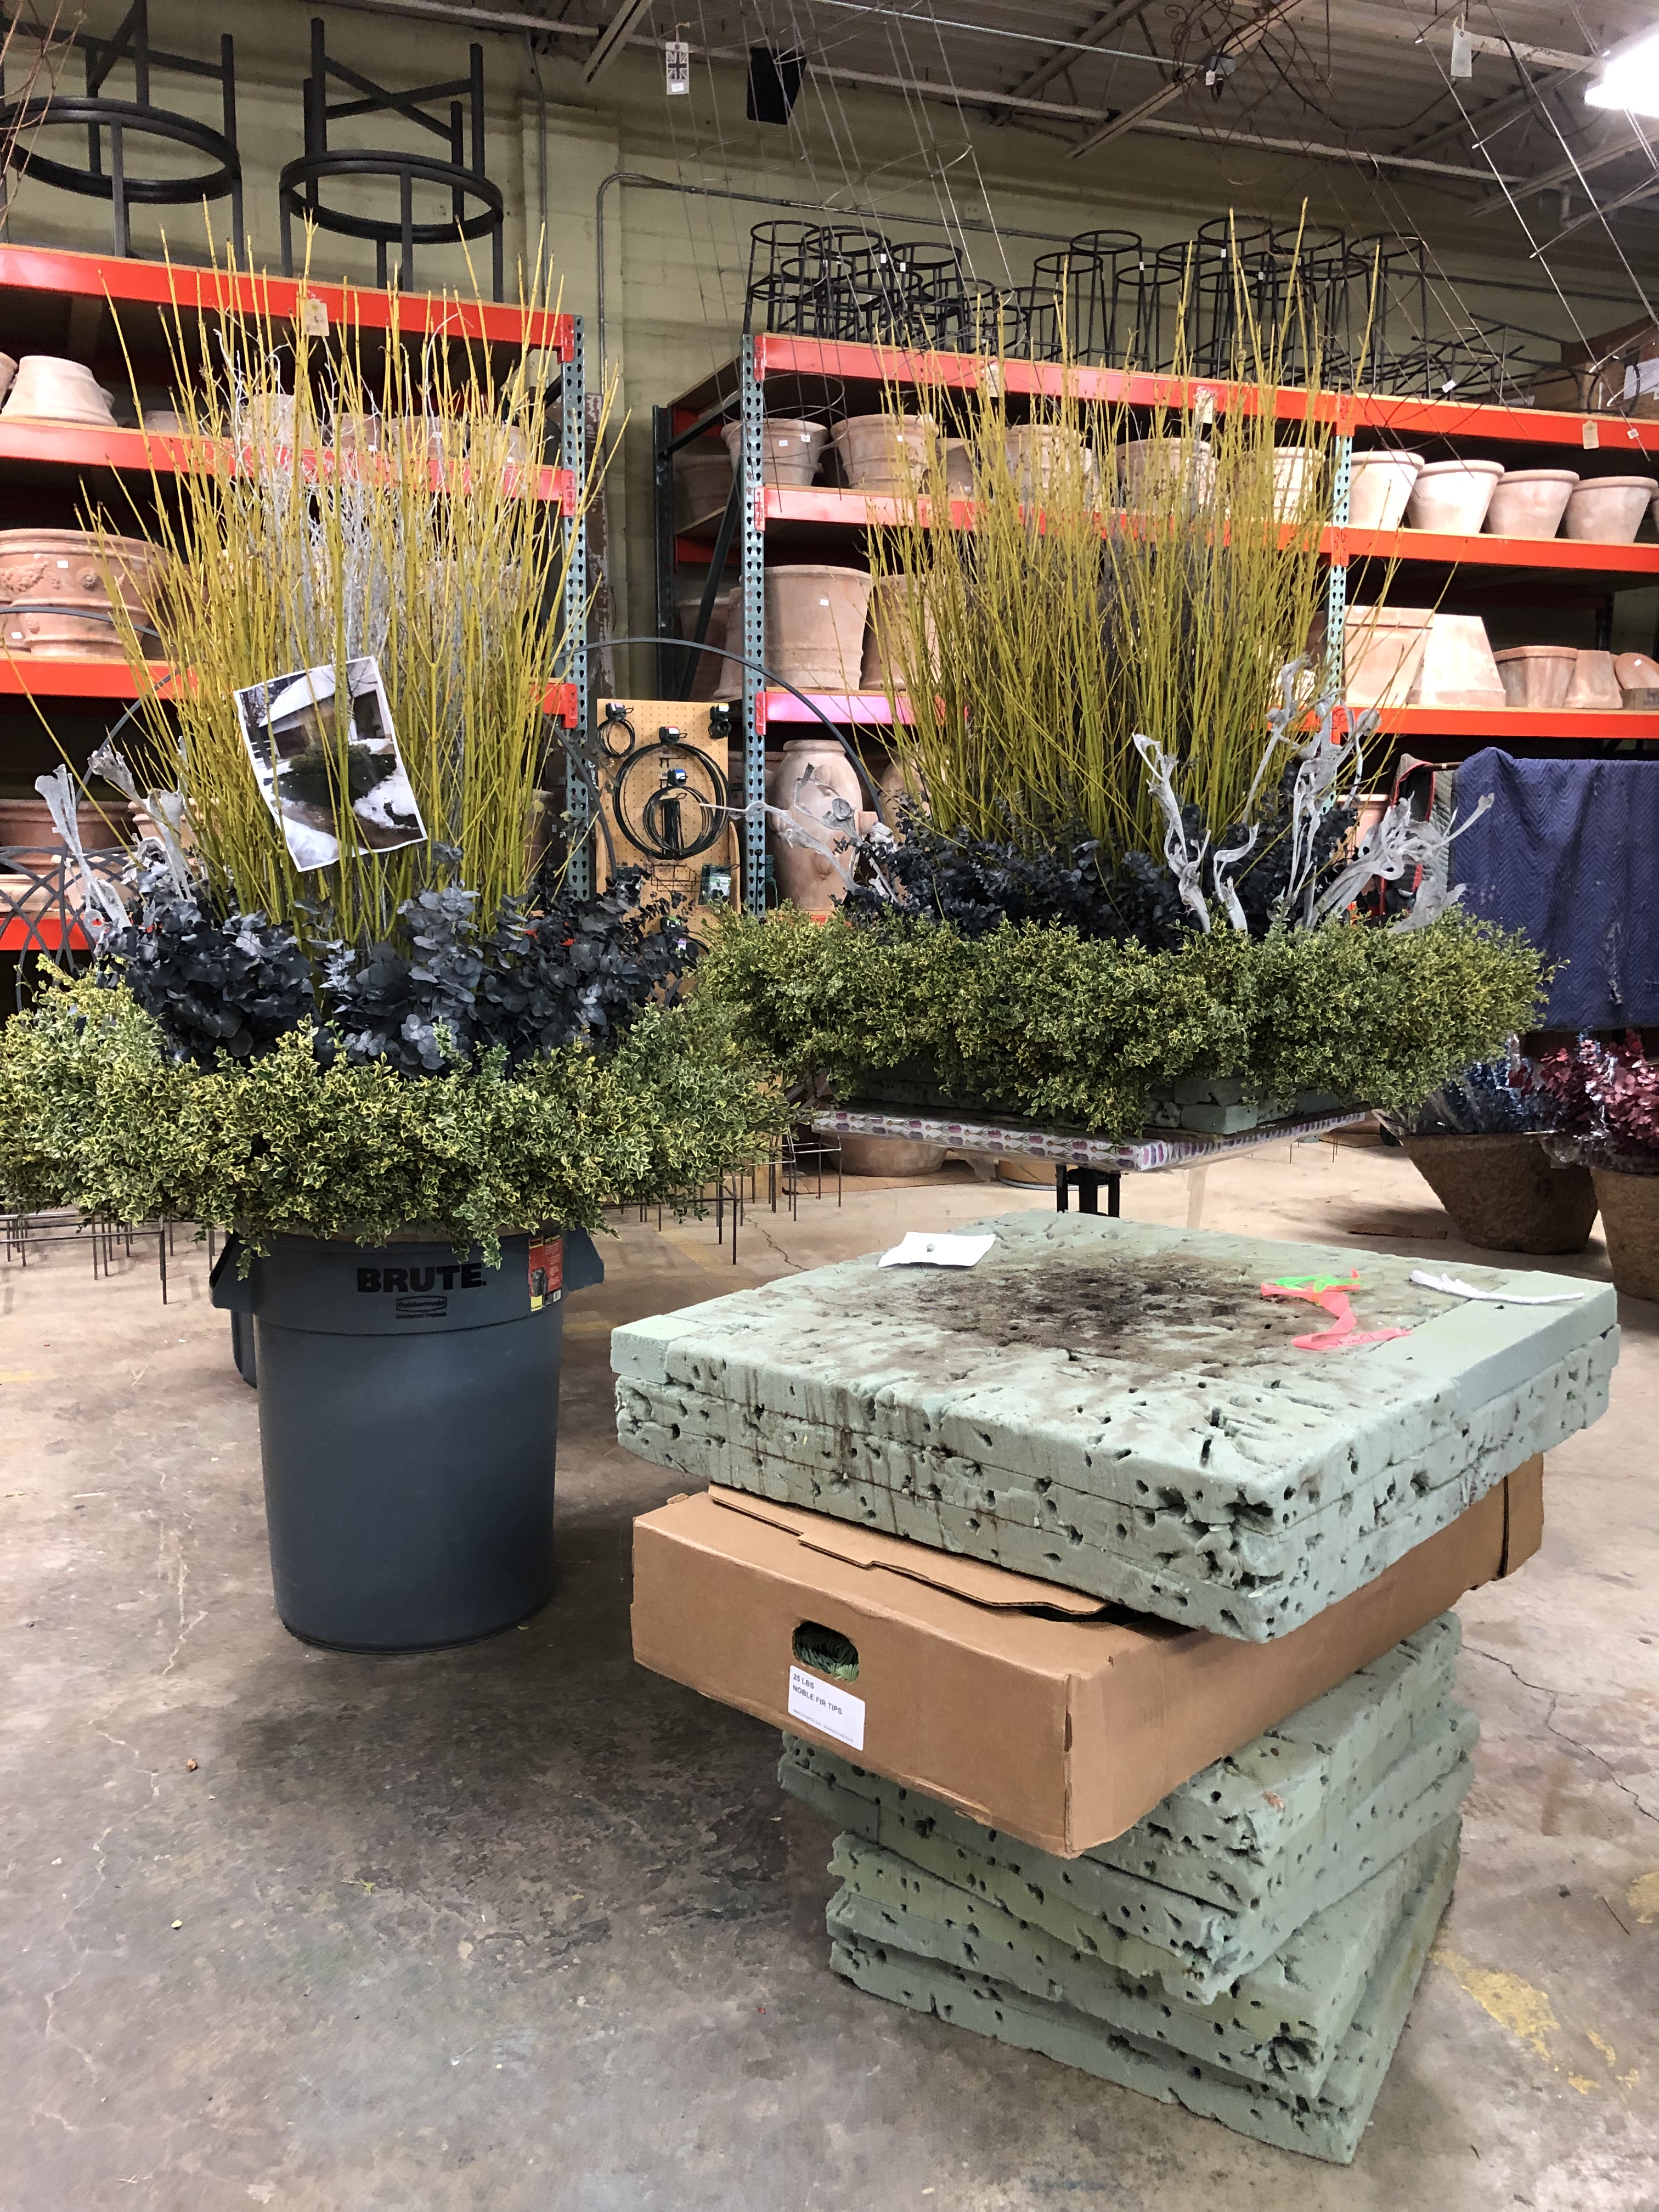
 These pots also have the lightbursts in the twigs.During the day, there is no evidence of the mechanics, just a subtle glow at the top.
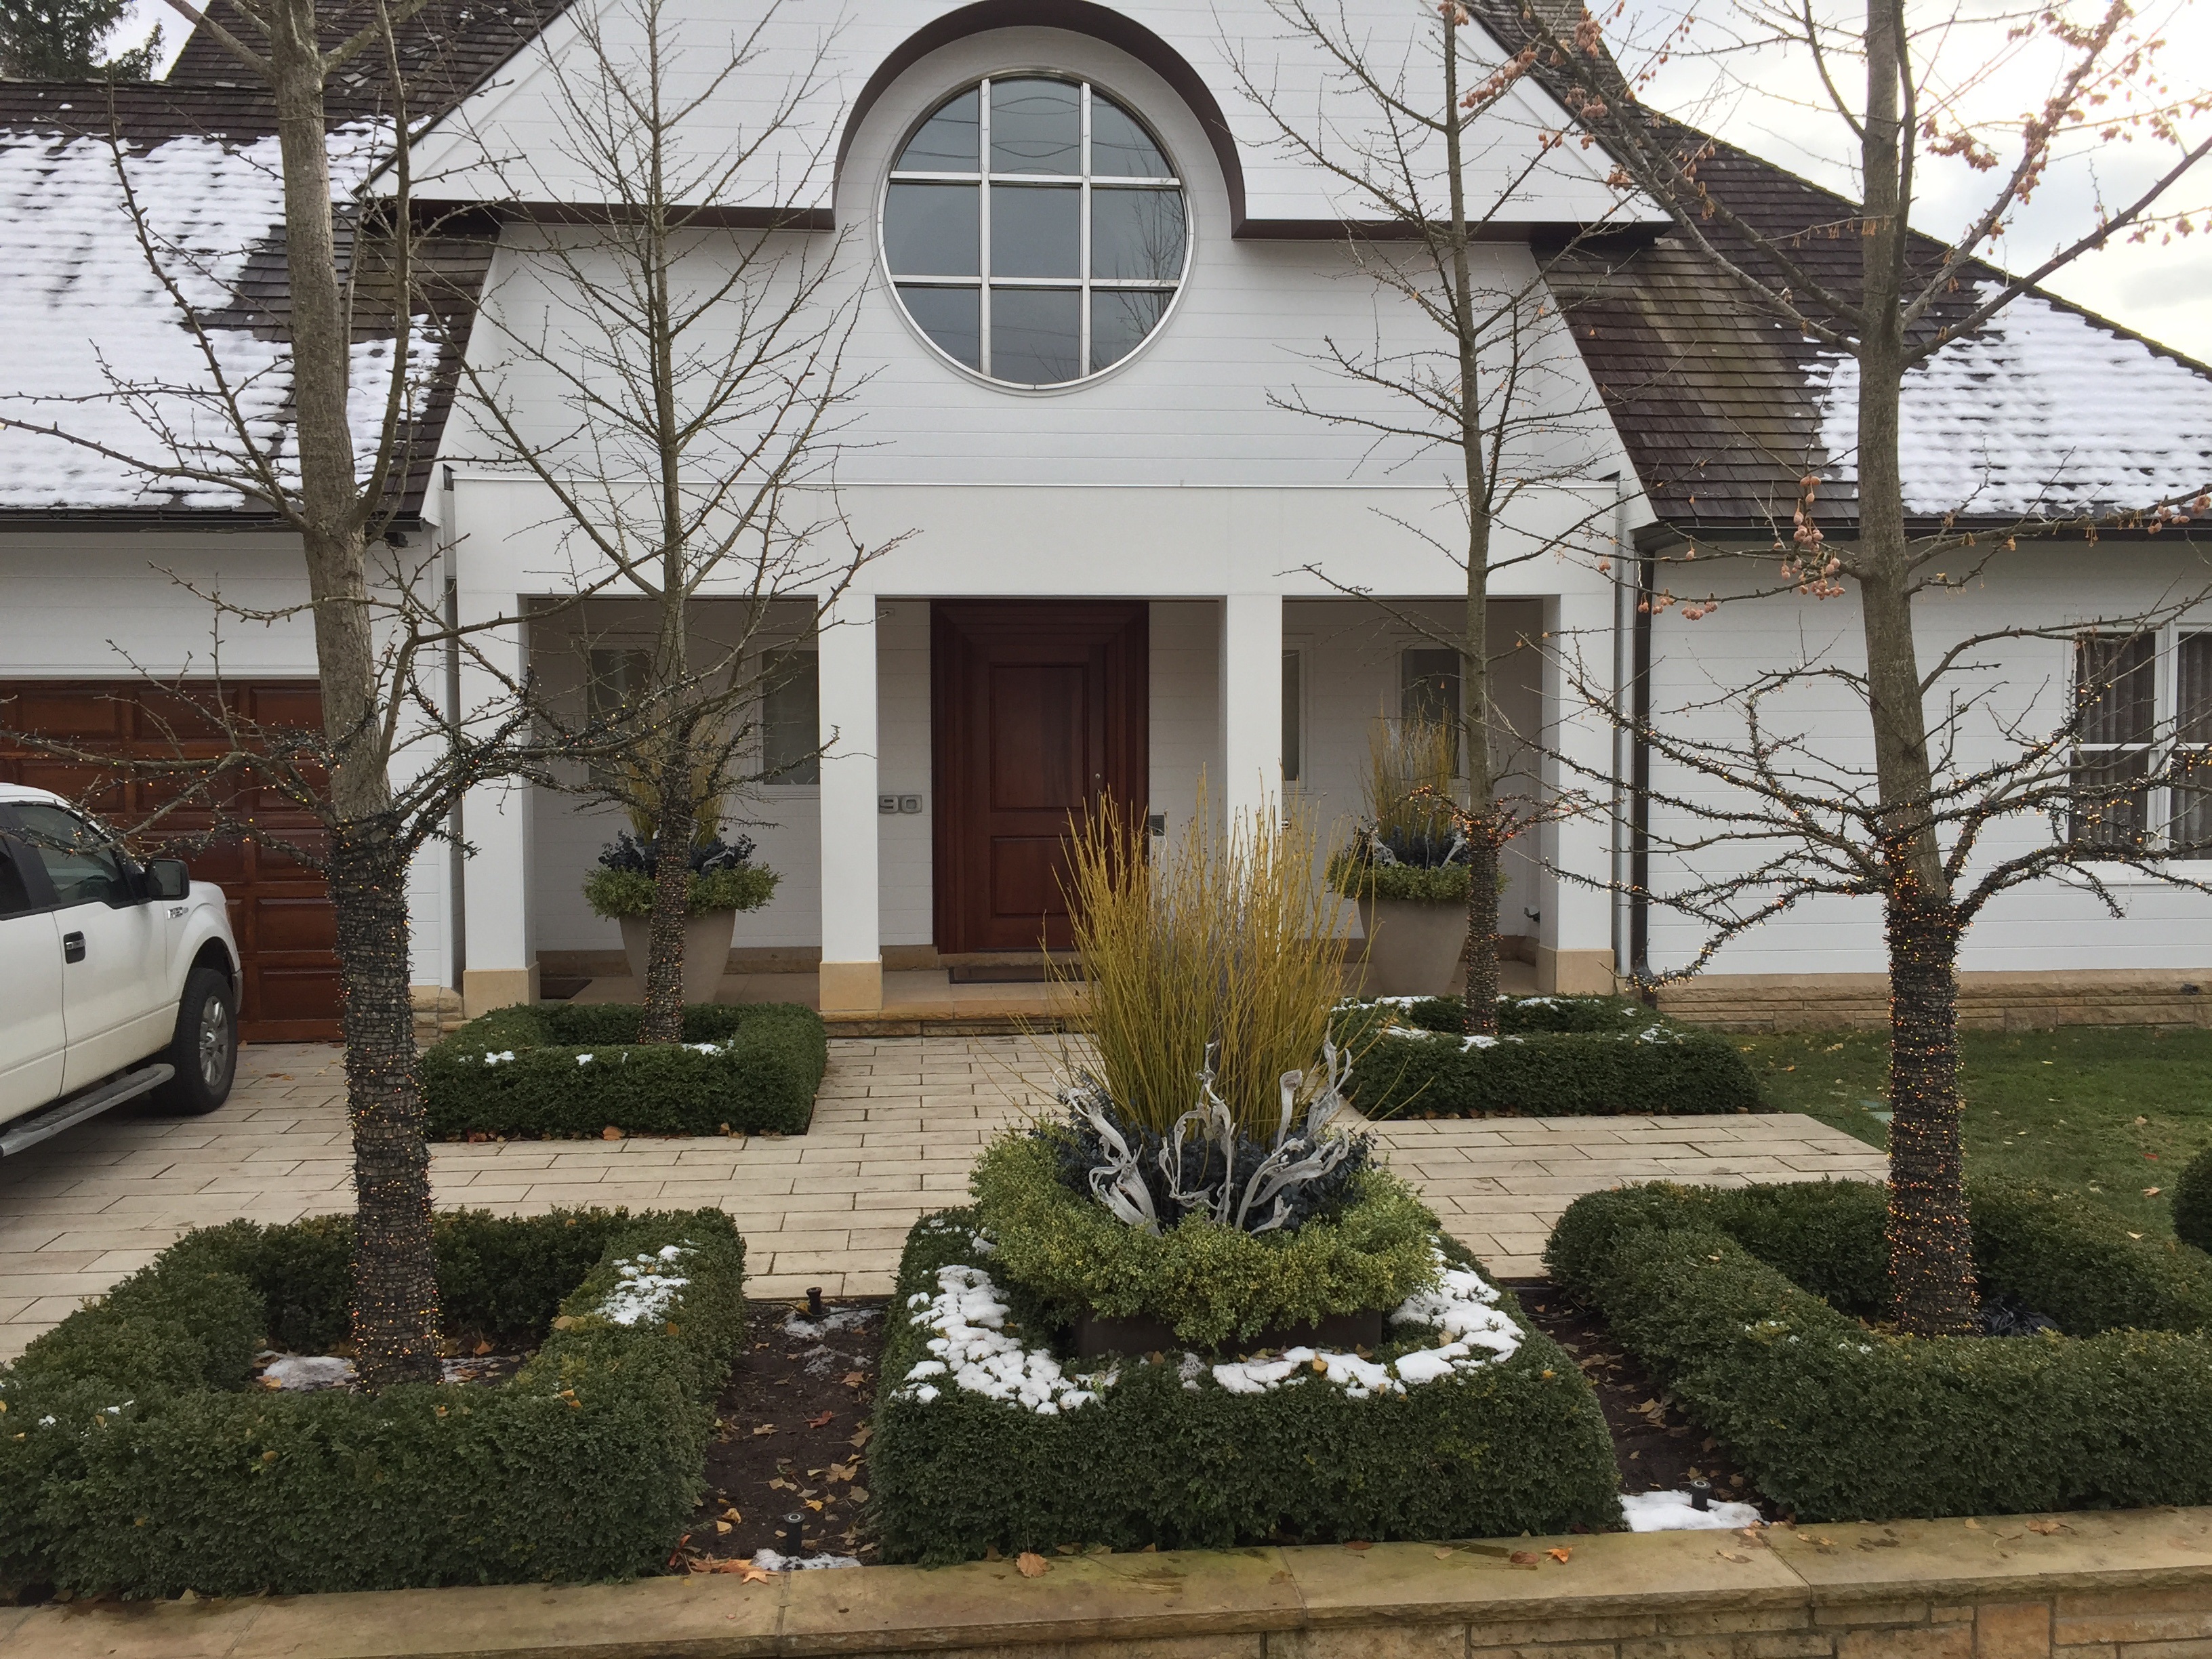
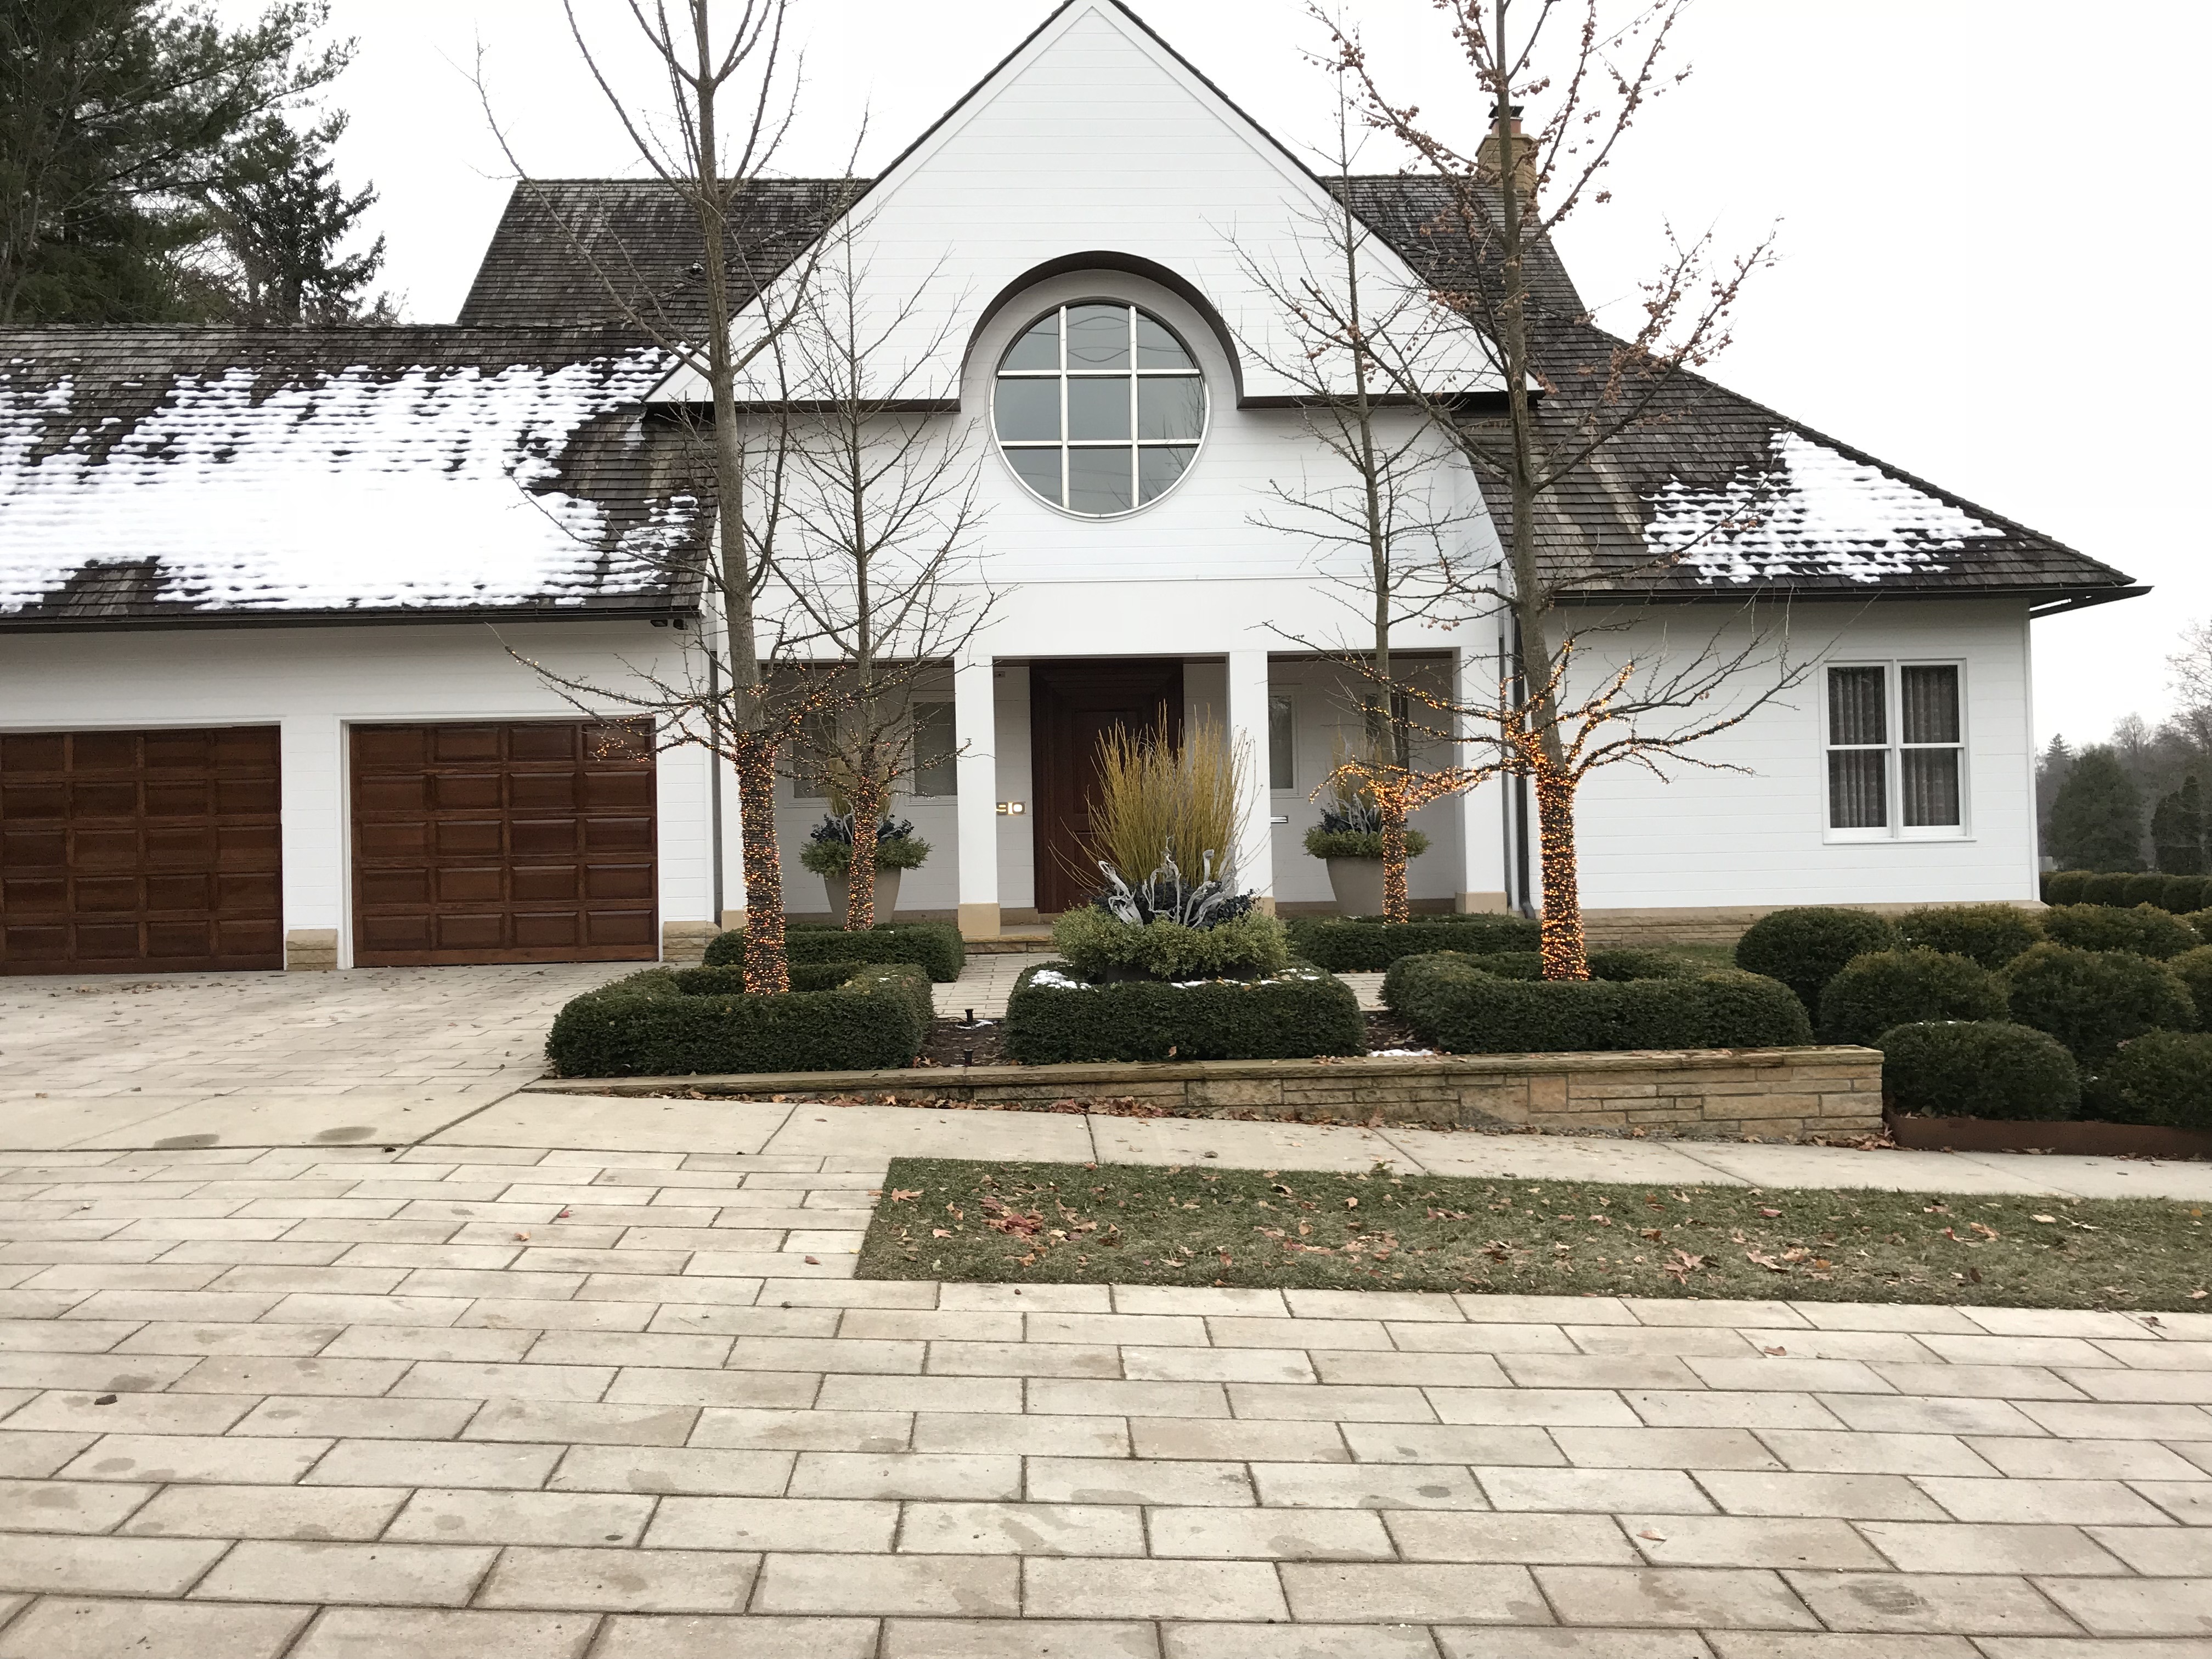
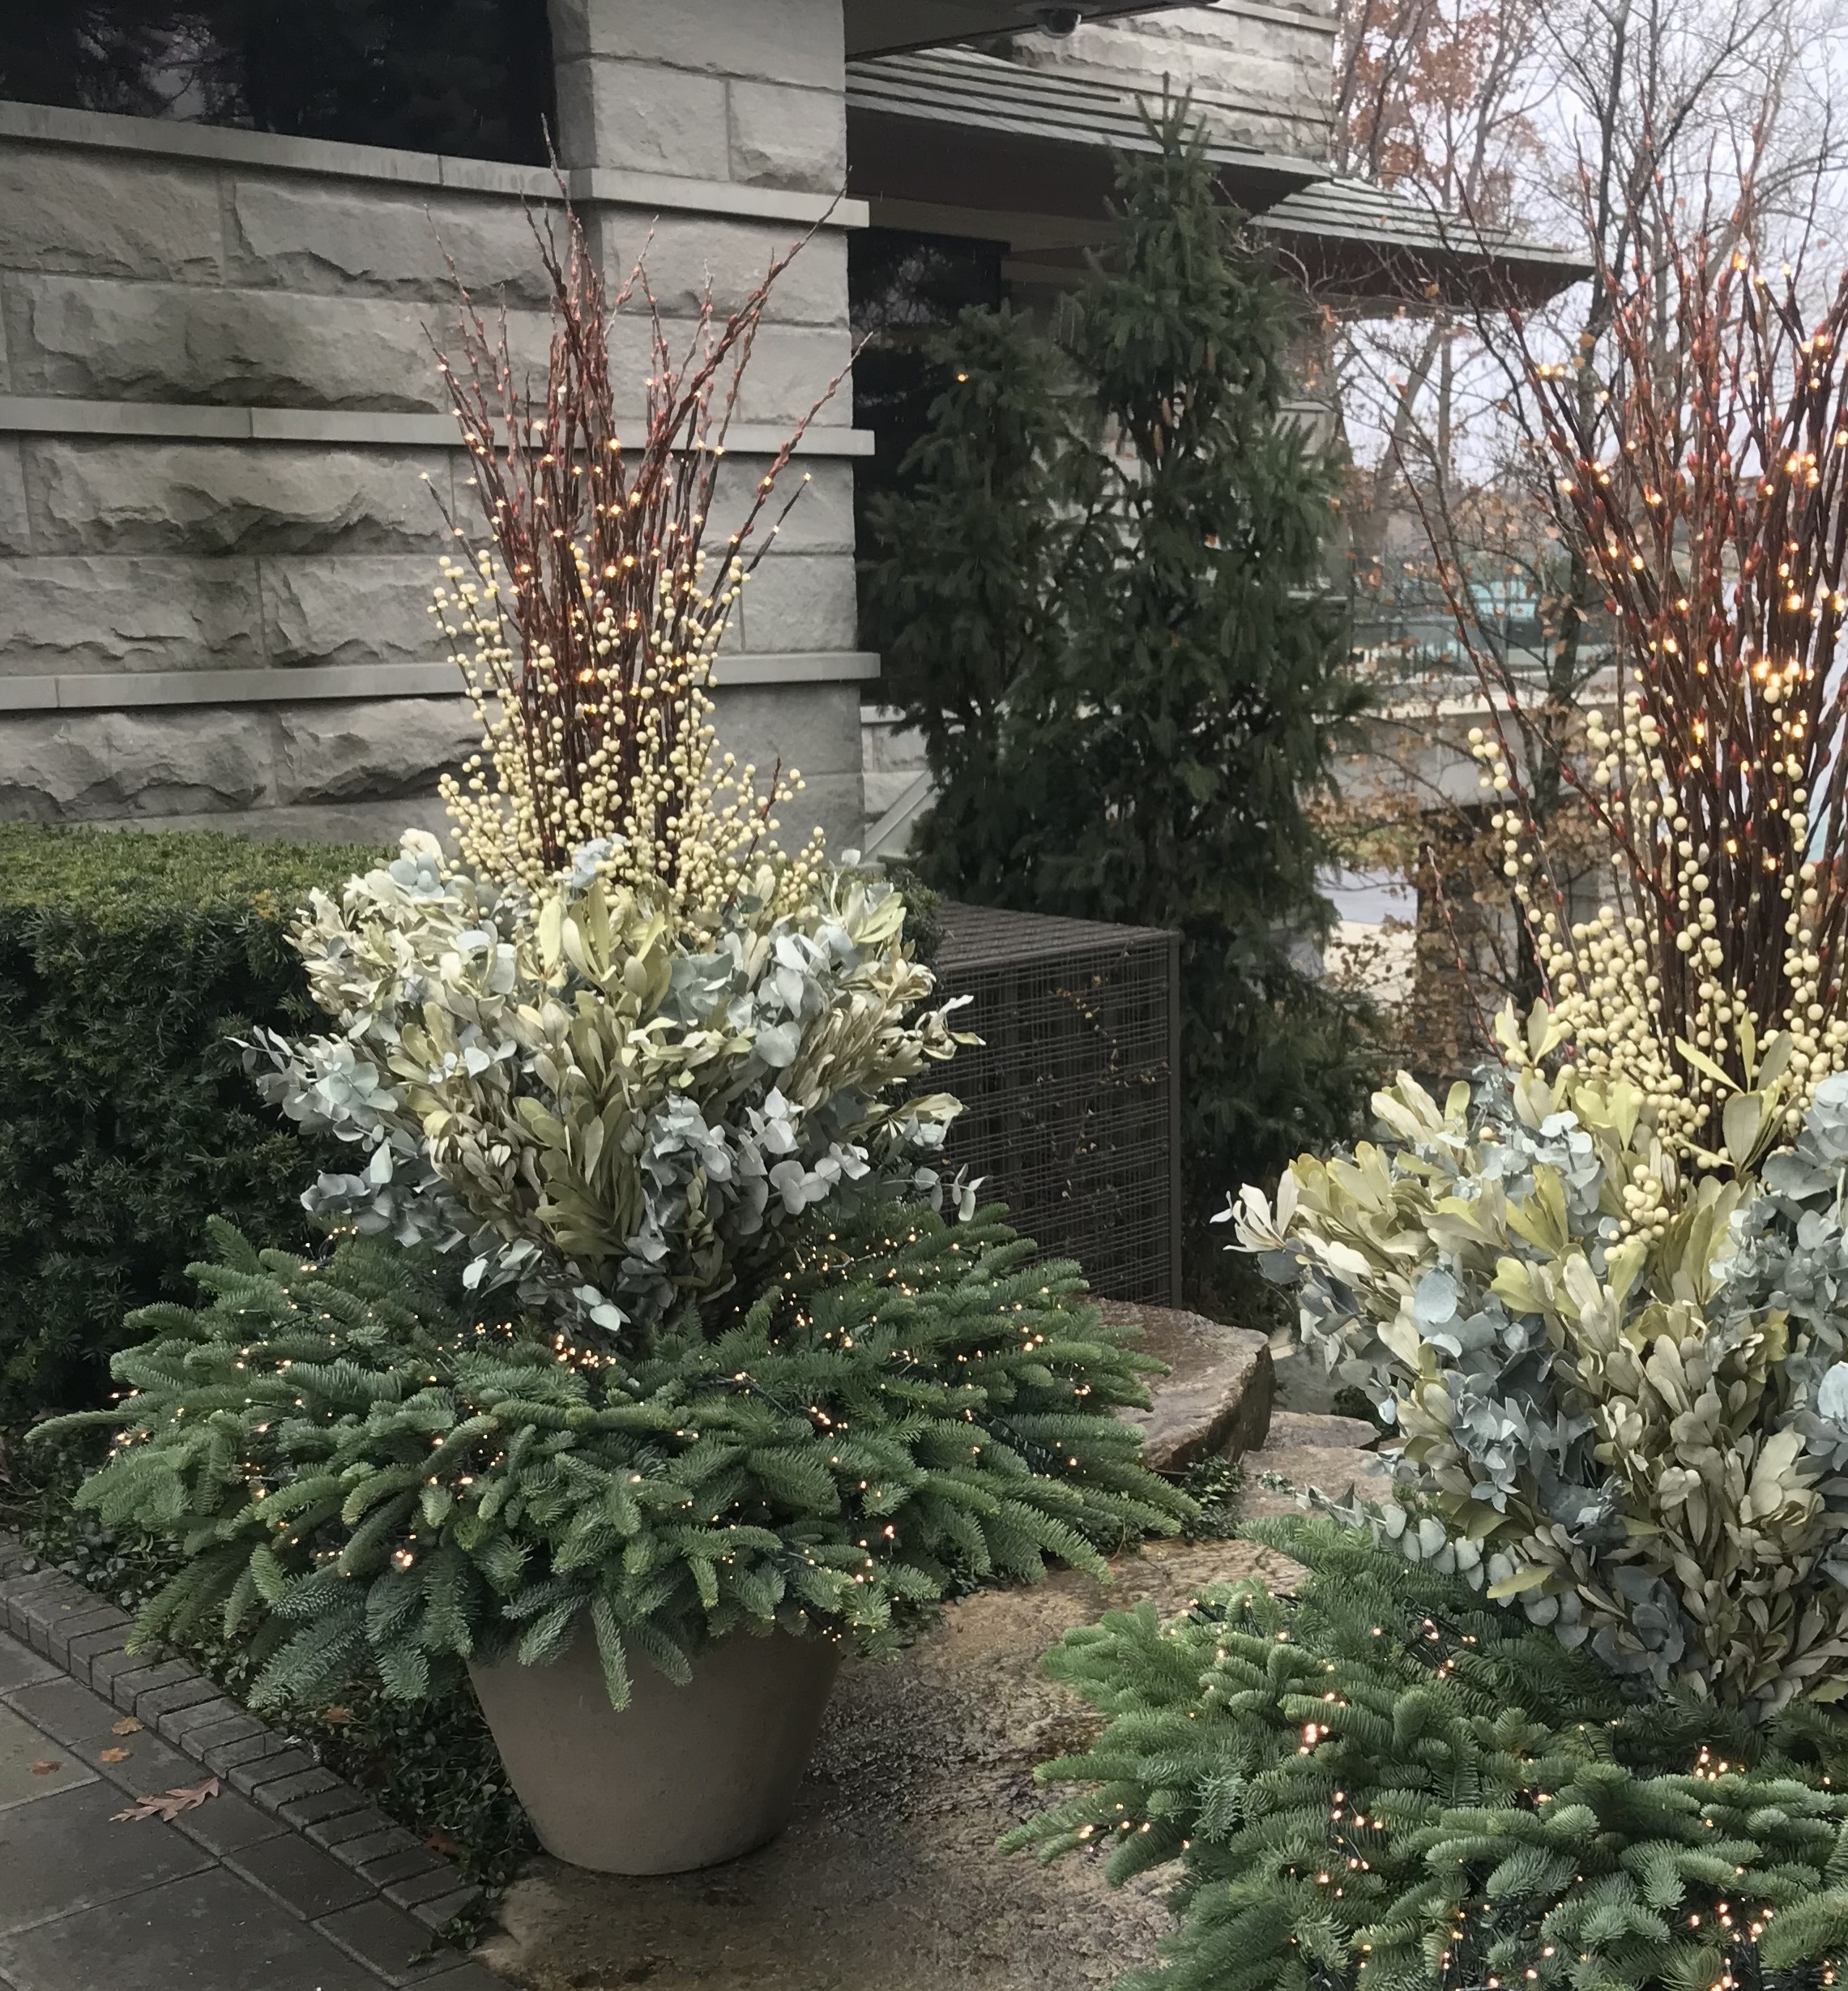
 lighted pot of Rob’s during the day
 a lighted pot of mine at dusk. It’s enough to have made me want to flip the switch.