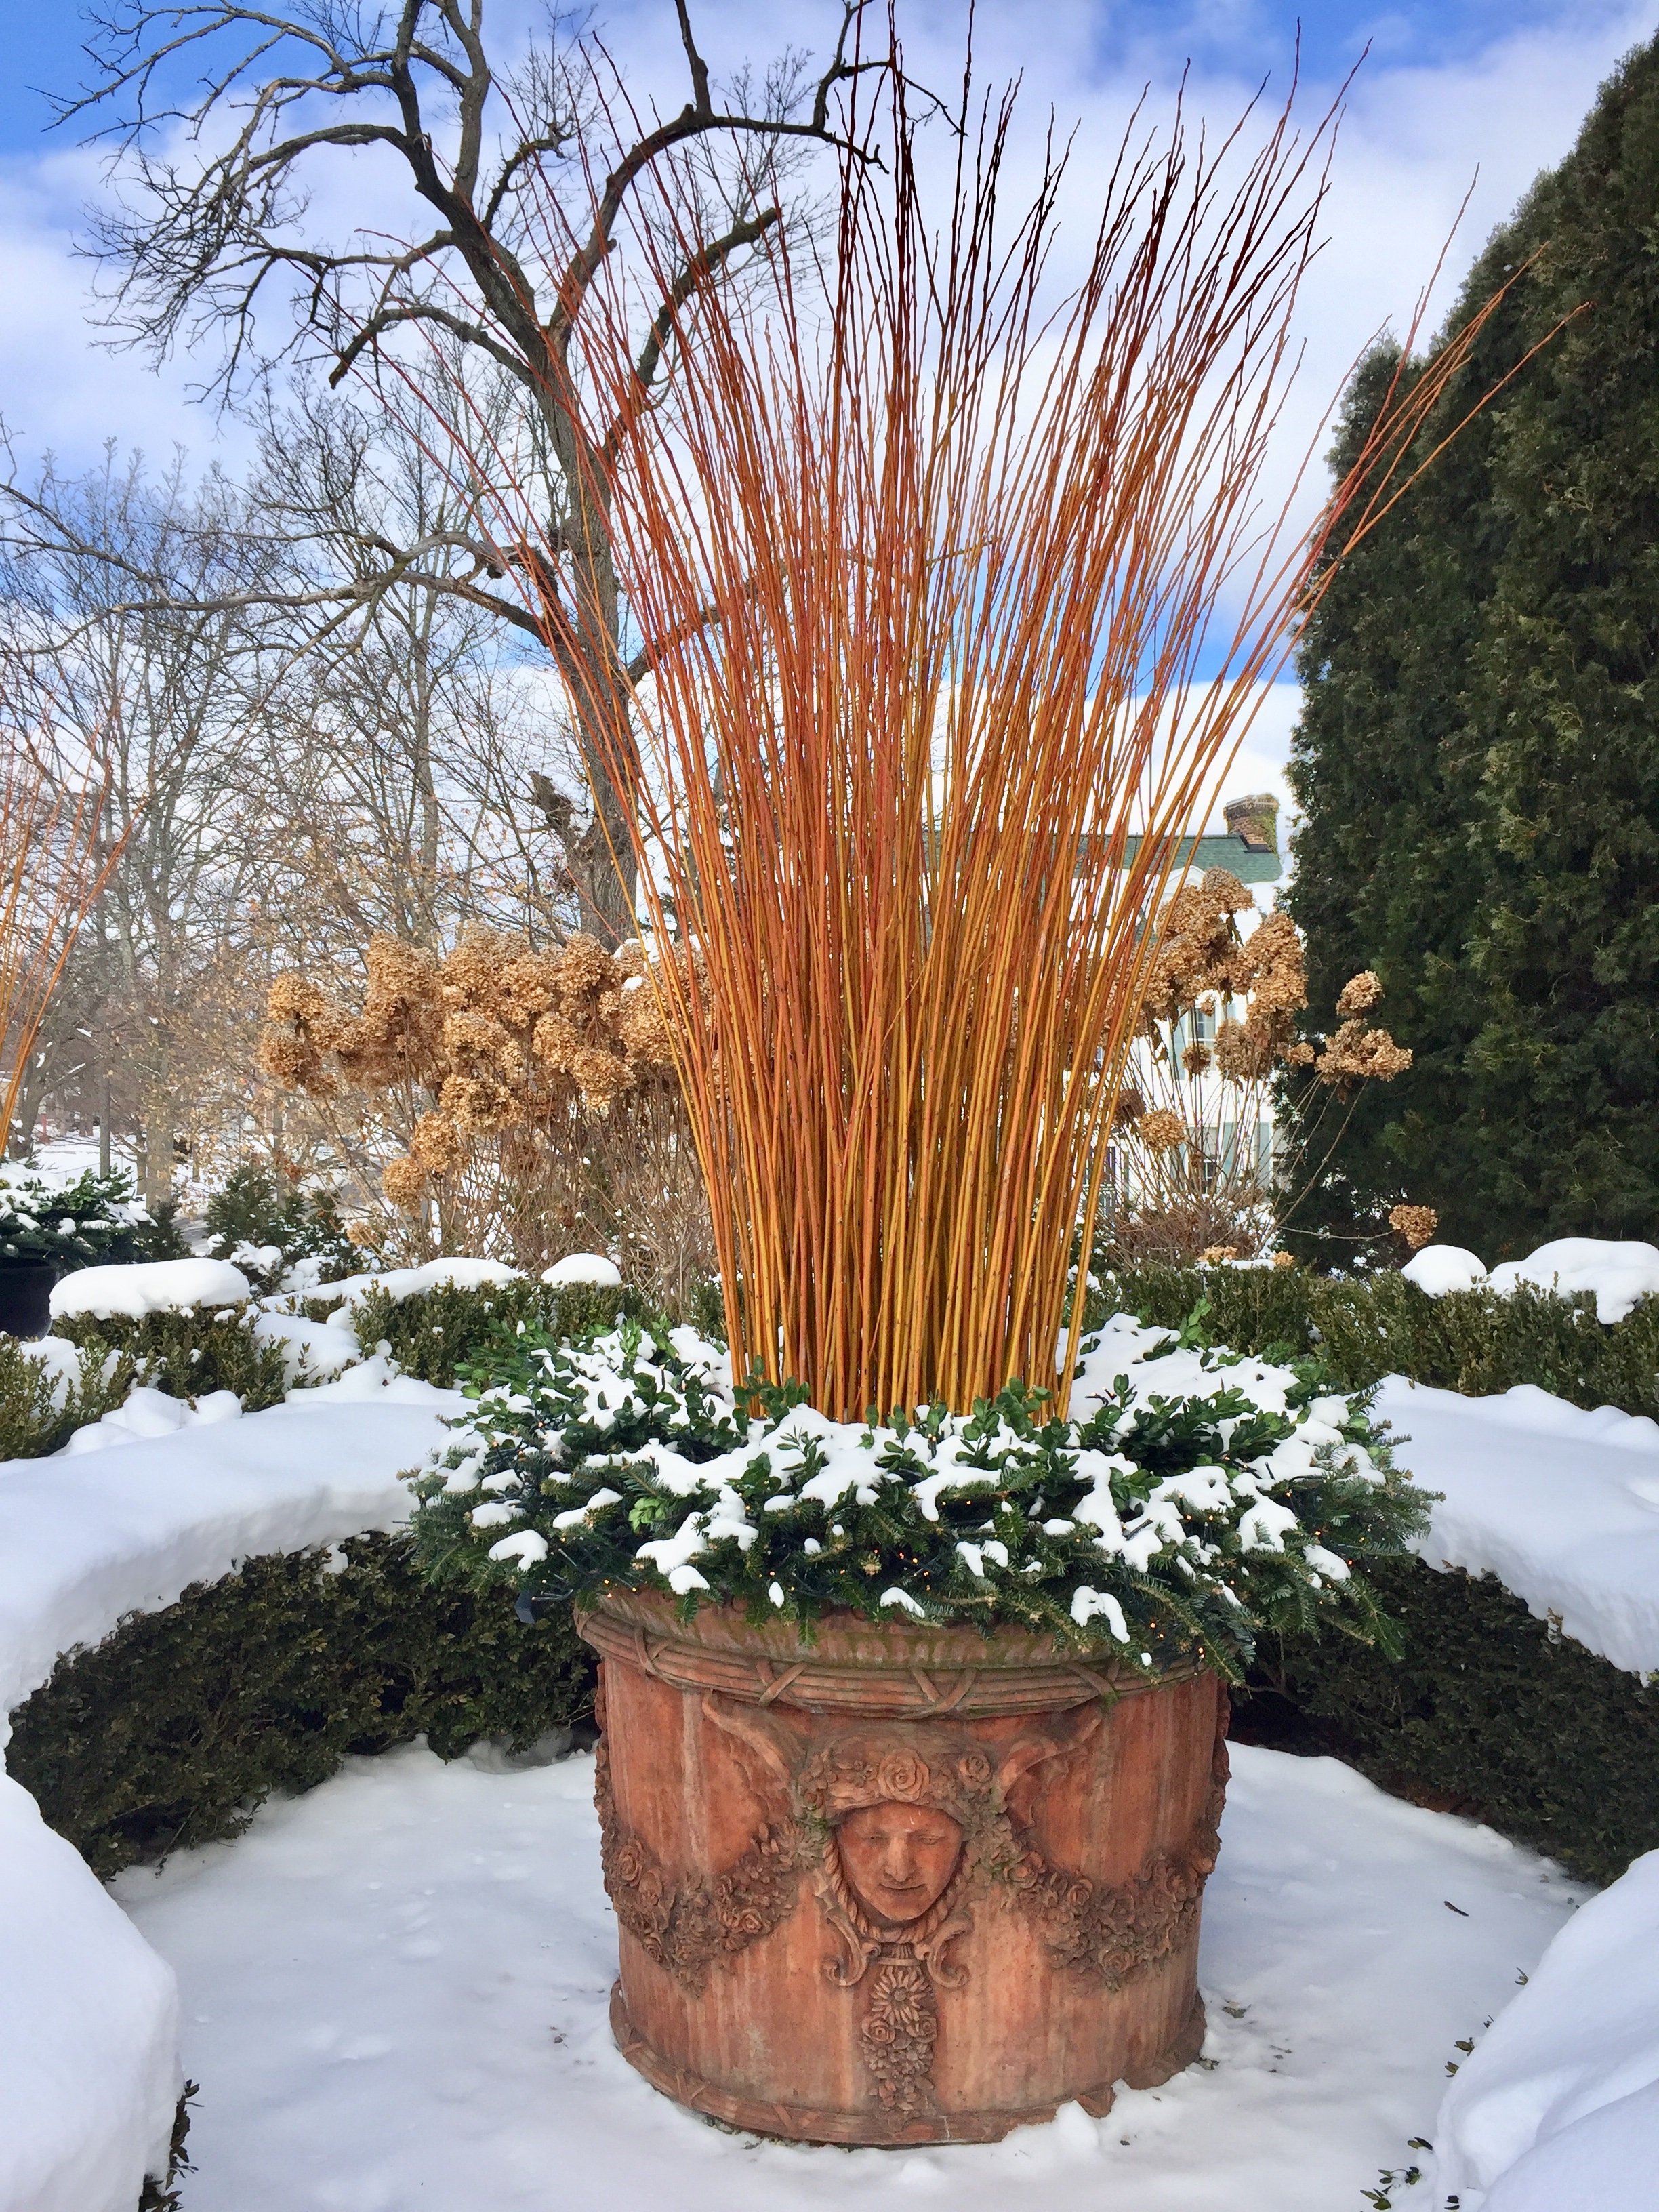
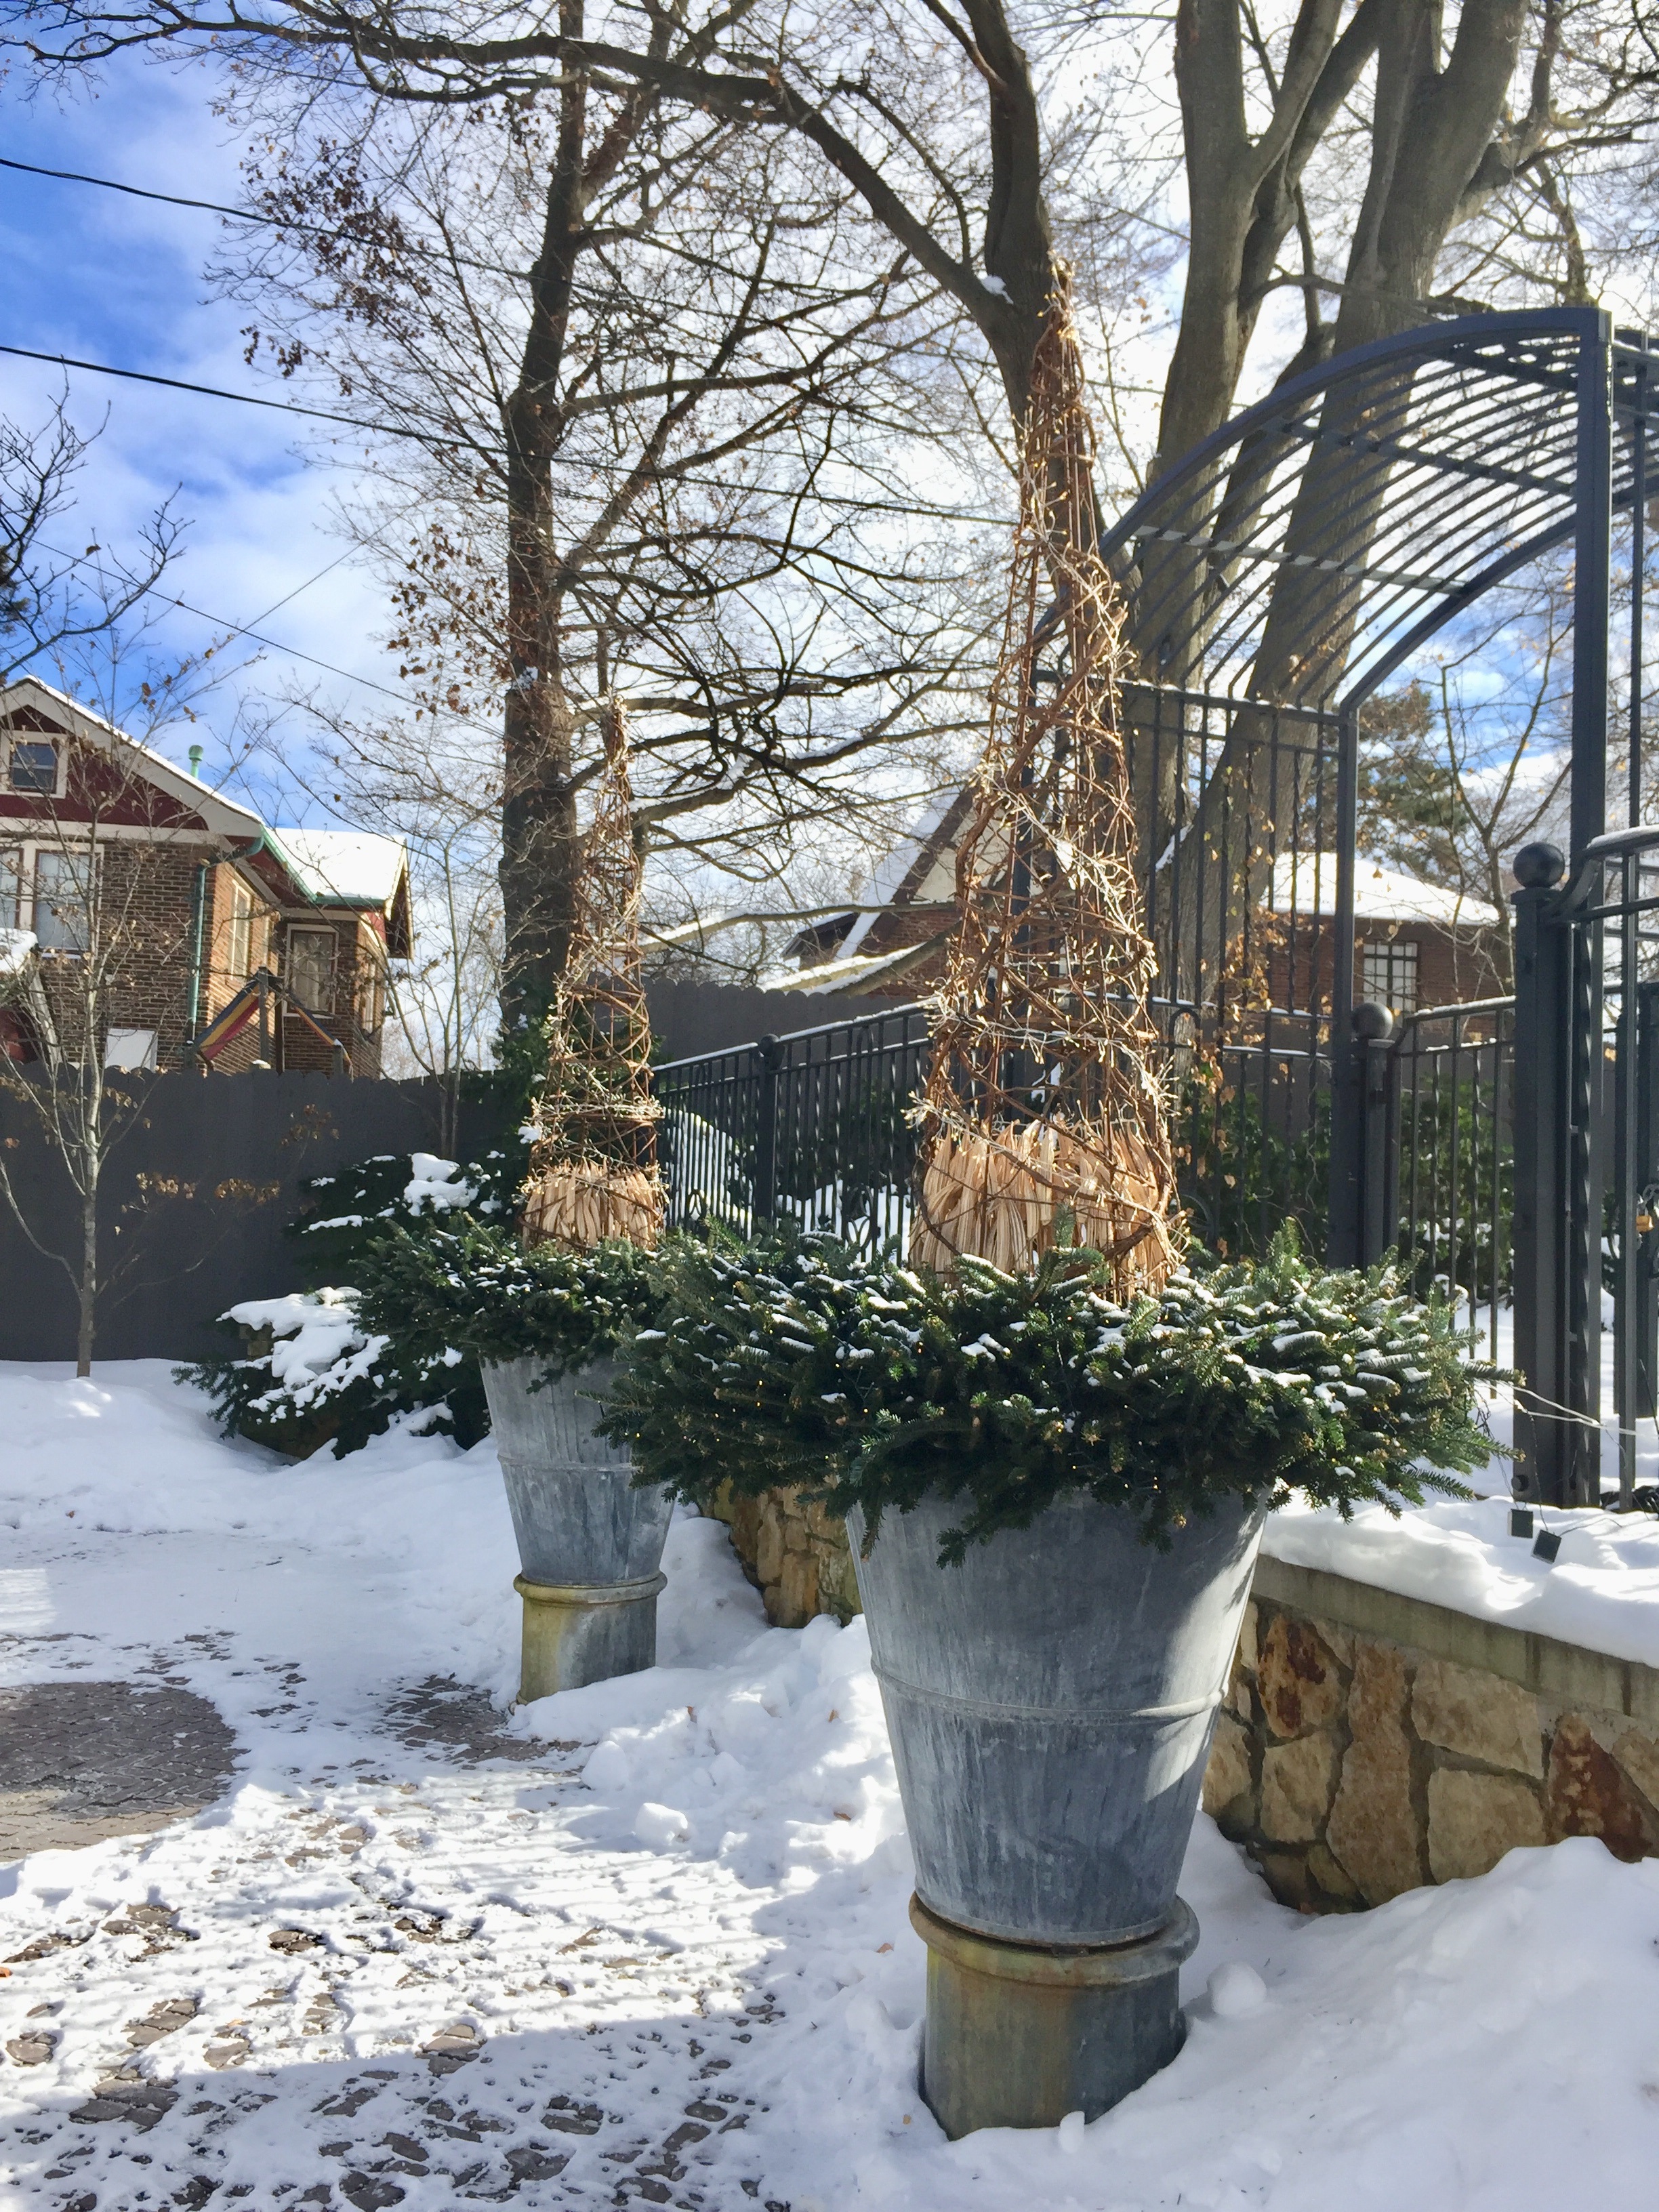
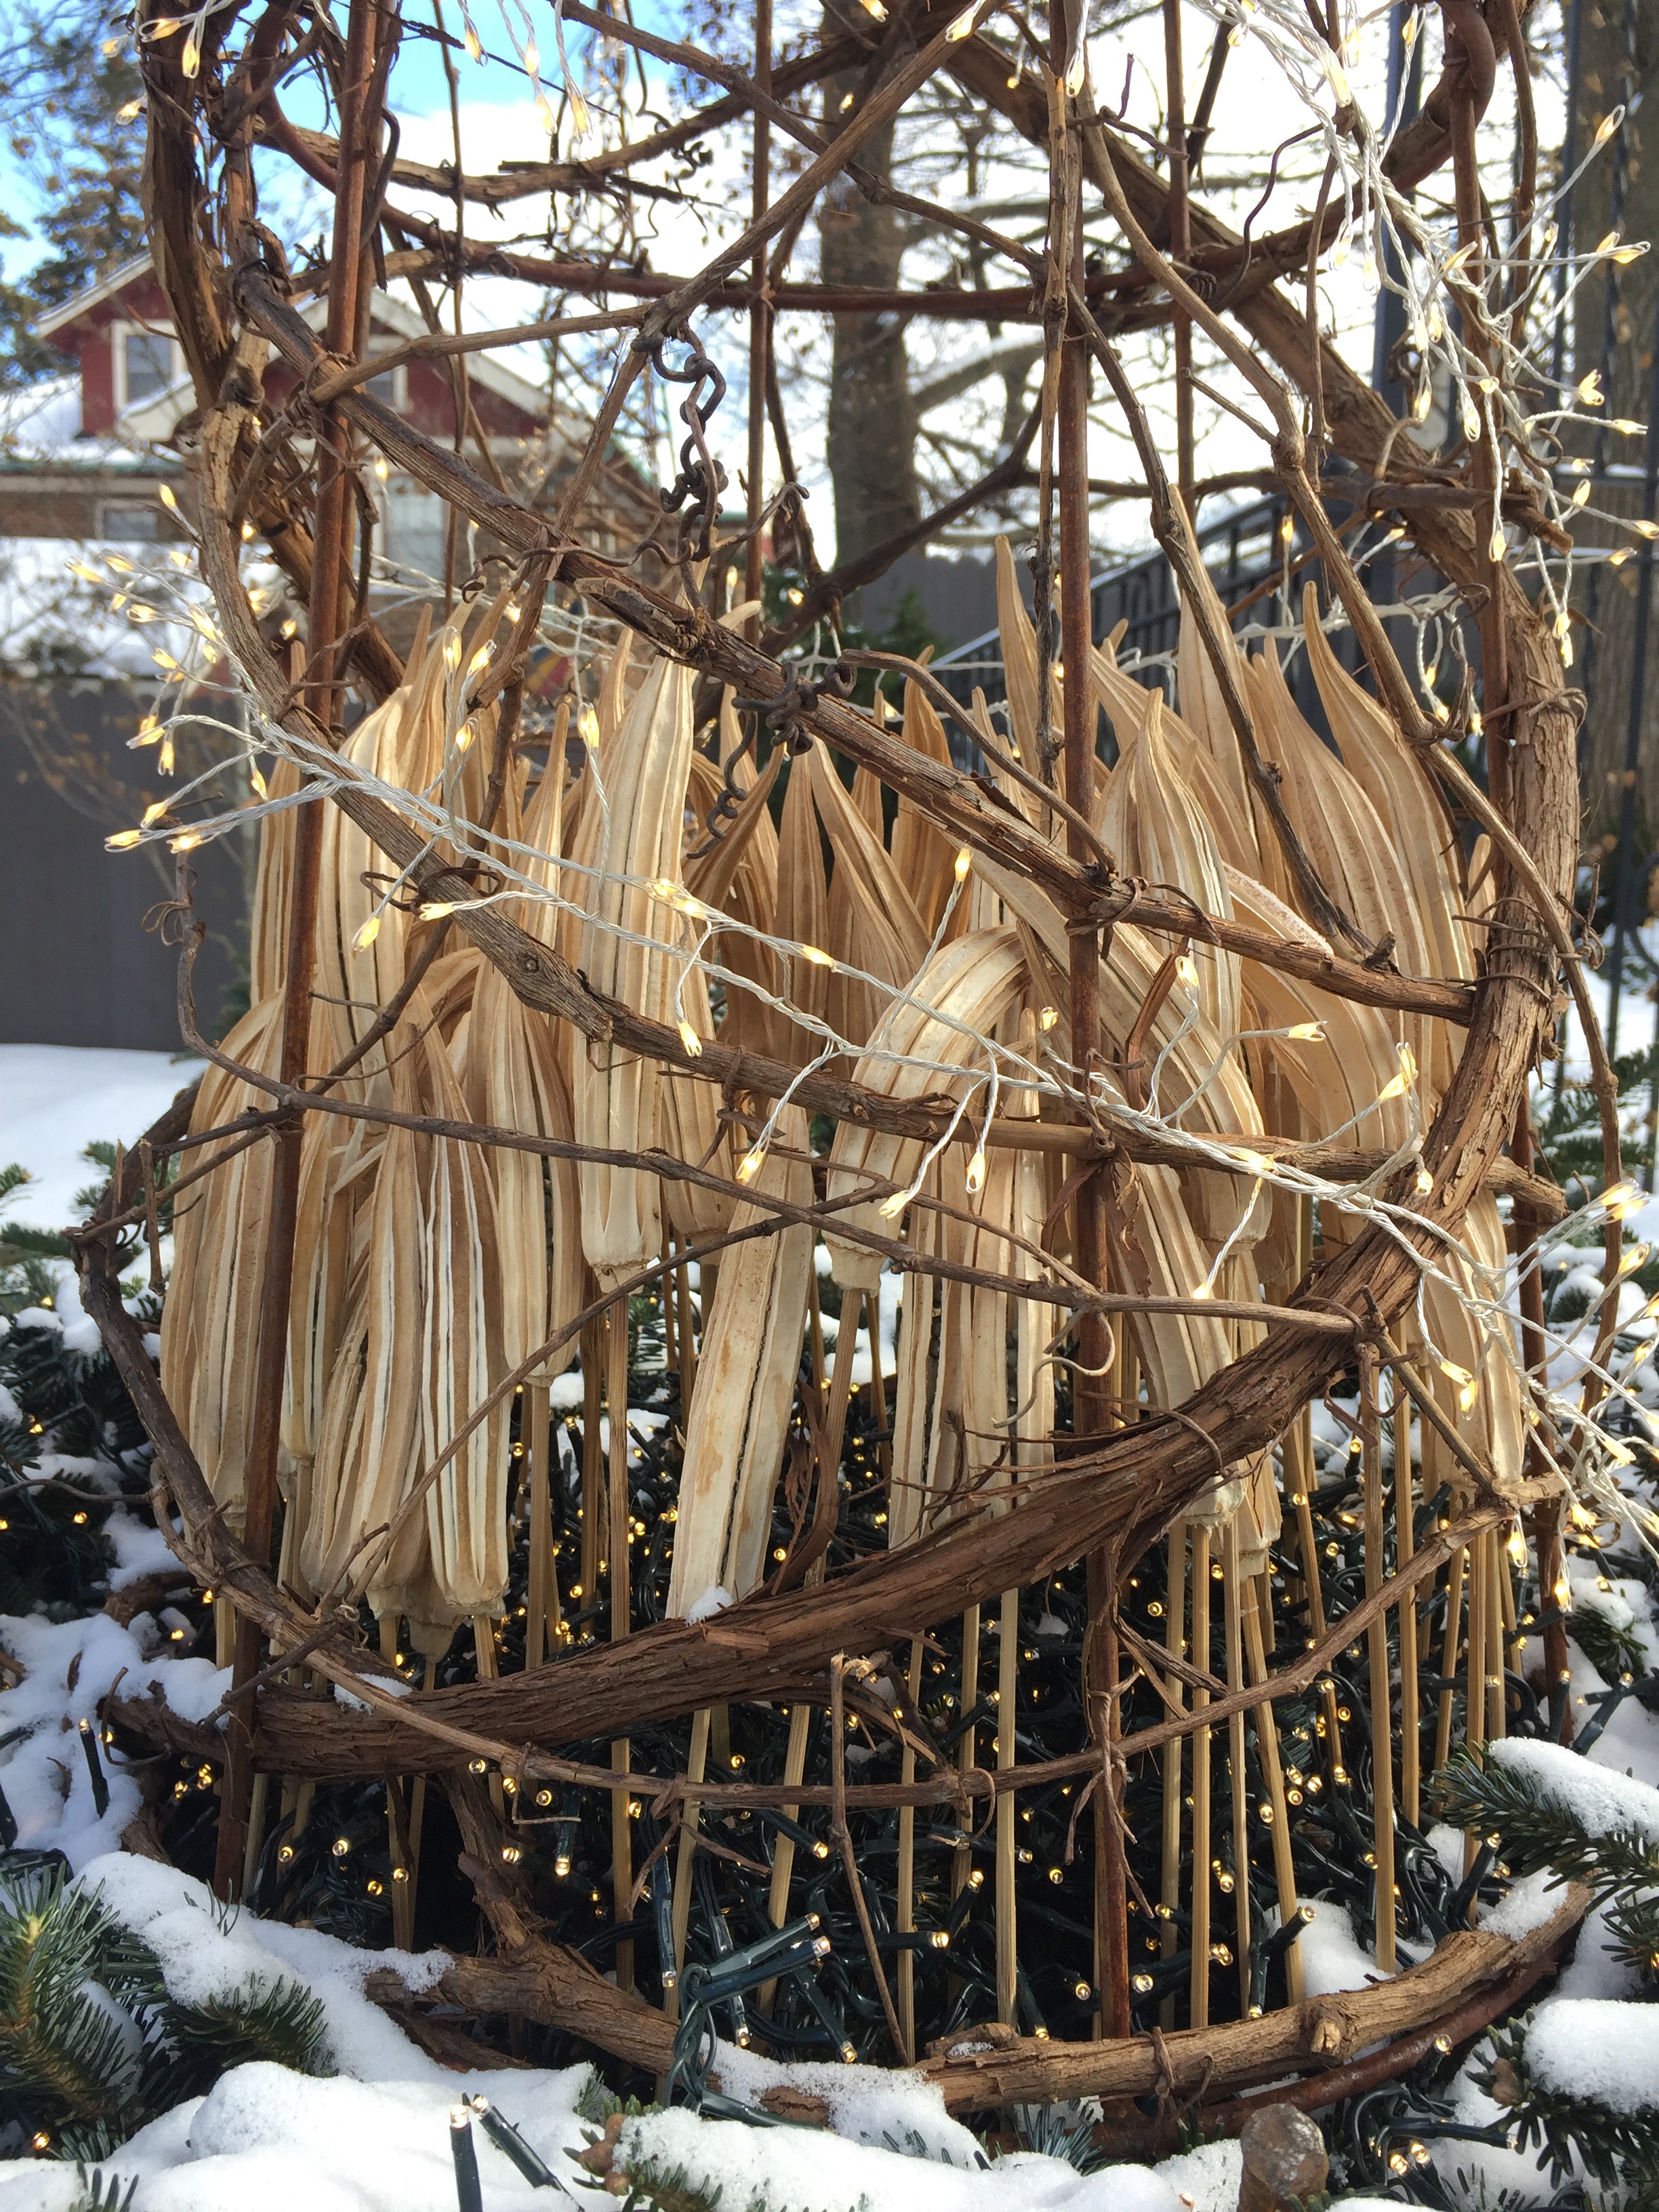
 Blue skies and fluffy clouds the likes of which are pictured above are a rarity in a Michigan January. It is a bleak time of year, featuring uniformly gray-sky days, a lengthy twilight, and long ink black nights for what seems much longer than a month. February will bring more of the same. If this does not sound very appetizing, you are right. It isn’t. For that reason alone, snow can be a welcome visual addition to the landscape. Not those mountains of snow that make shoveling, walking and driving a dangerous and exhausting full time job. A new two to four inch layer of fresh snow describes all of the shapes both living and not in the landscape with a precisely applied thick carpet of bright white. A little judicious wind can whip up some interesting snow shapes on fences, benches and sculpture. Snow is water vapor in the atmosphere that turns to ice crystals without ever passing through a liquid phase. Multiple ice crystals make snow flakes. That lightweight flaky stuff can enliven a winter landscape. At least the cold comes to some good.
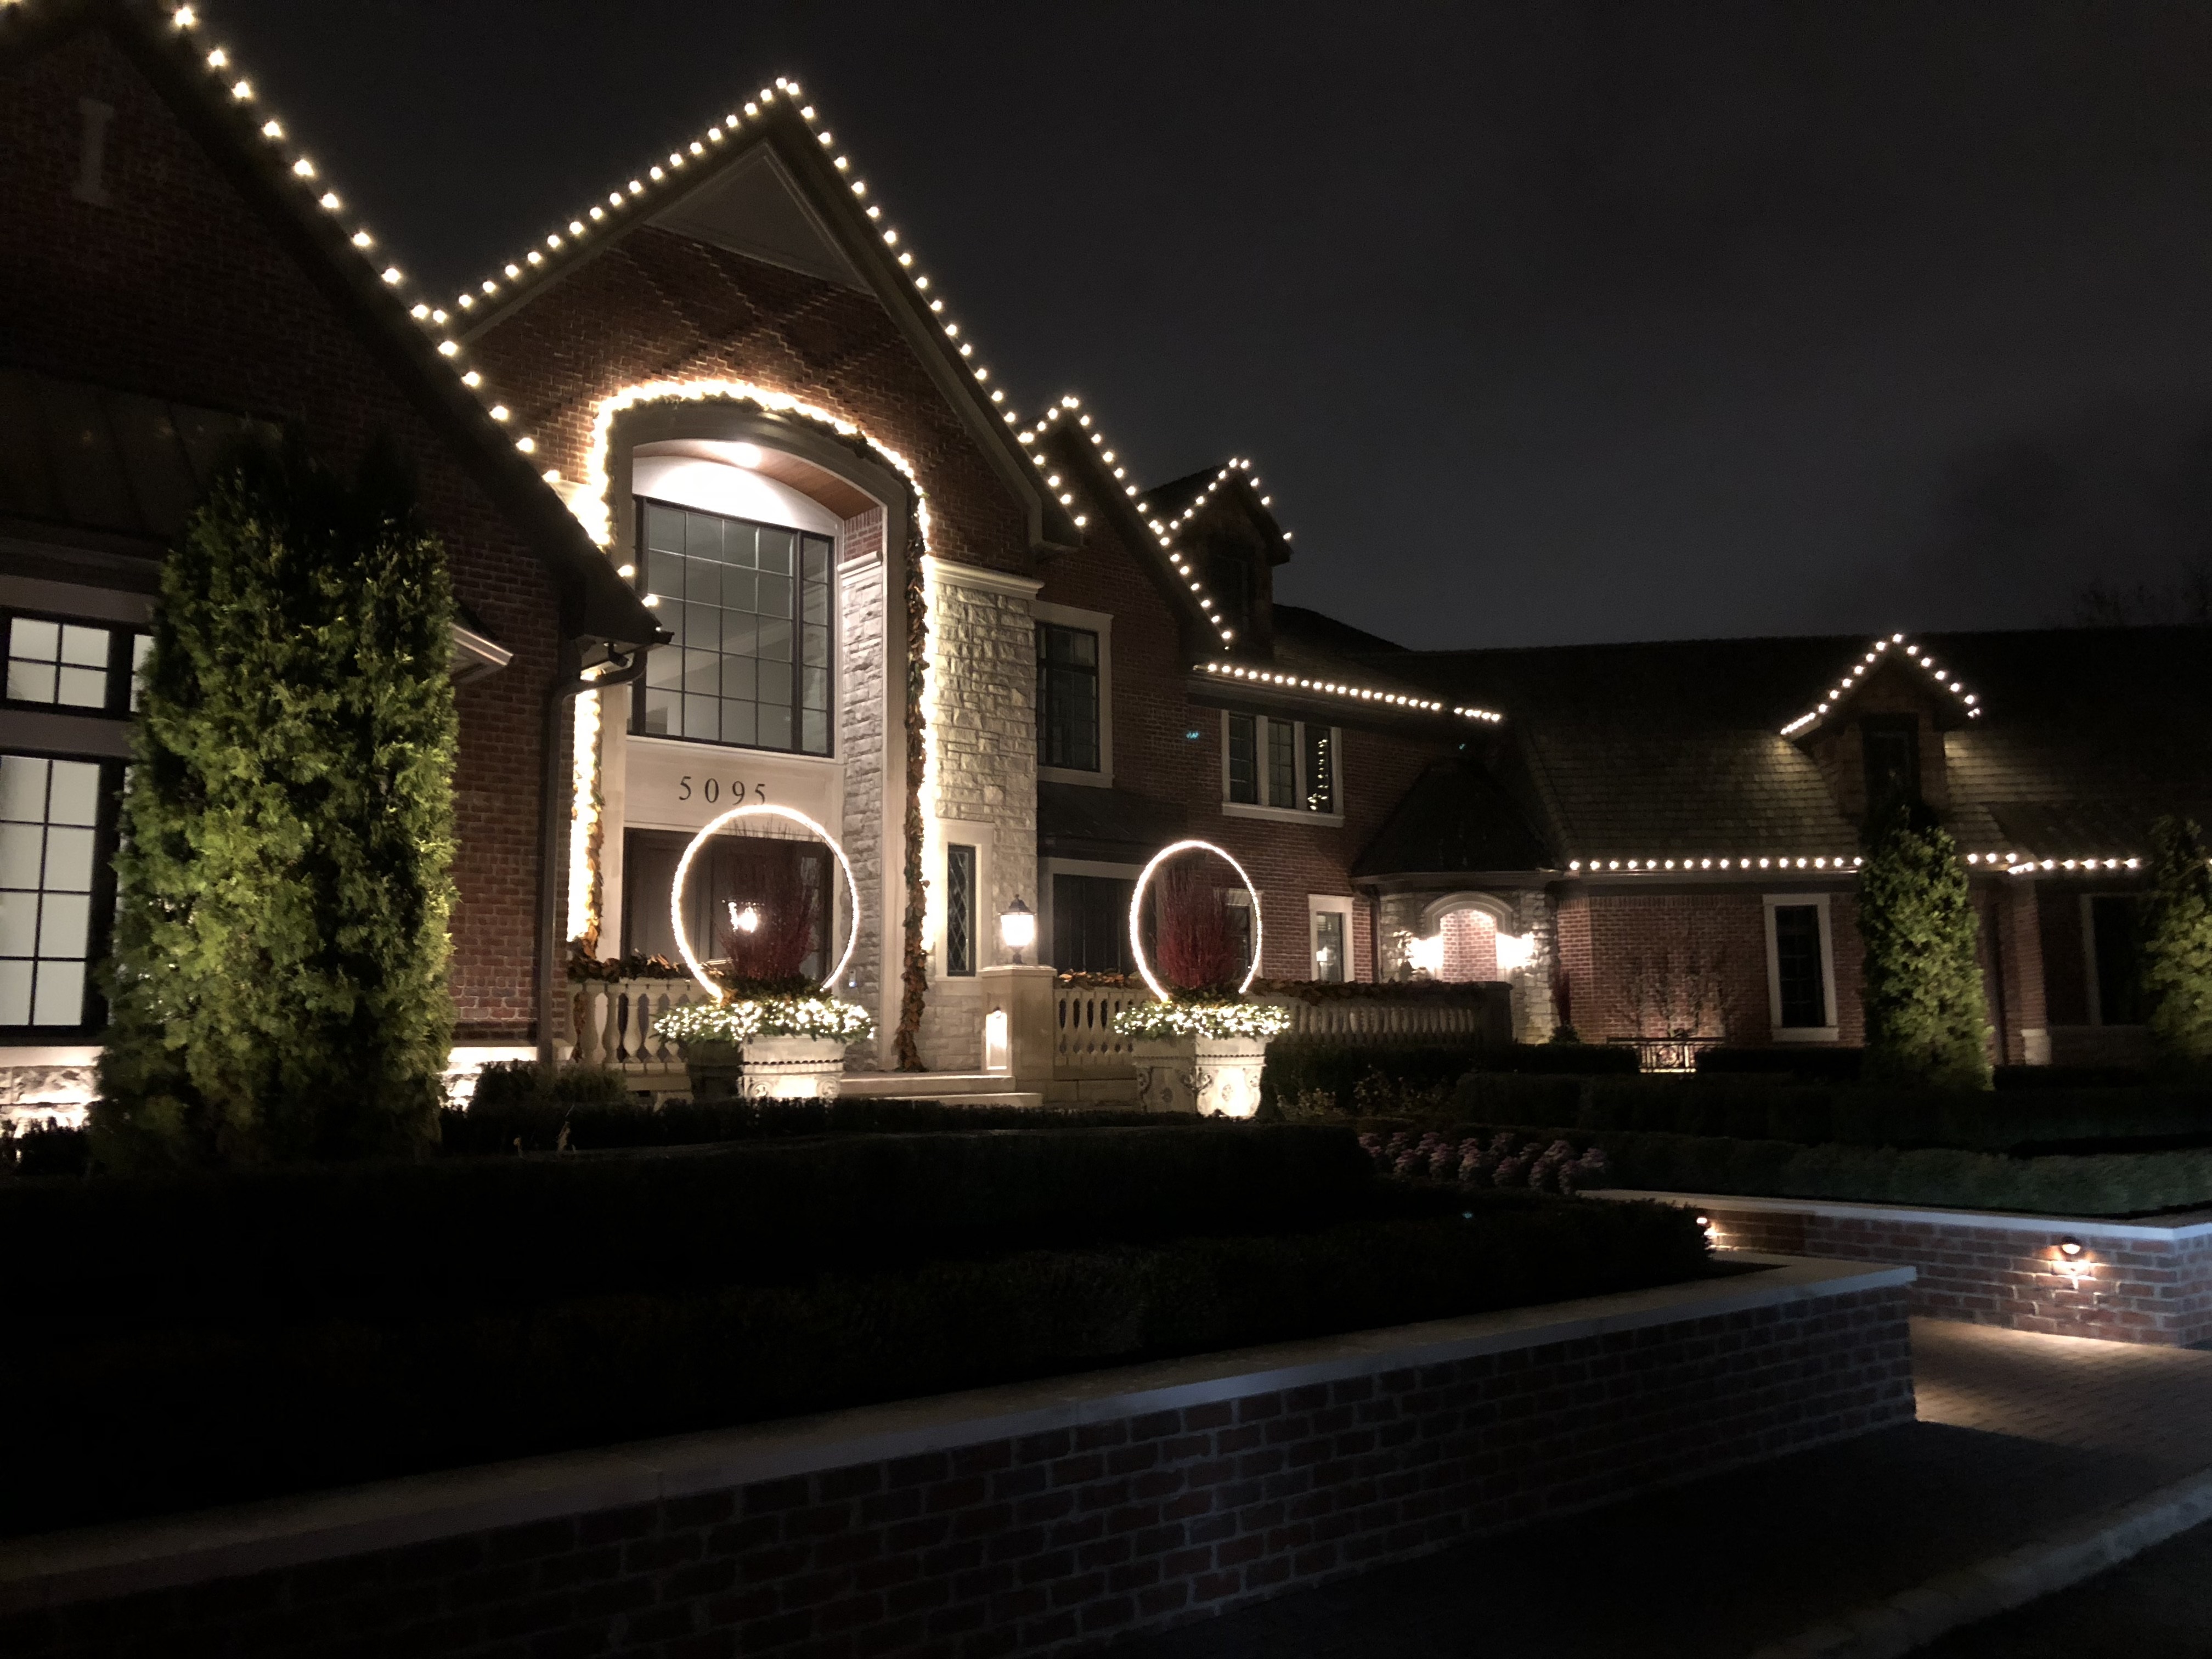
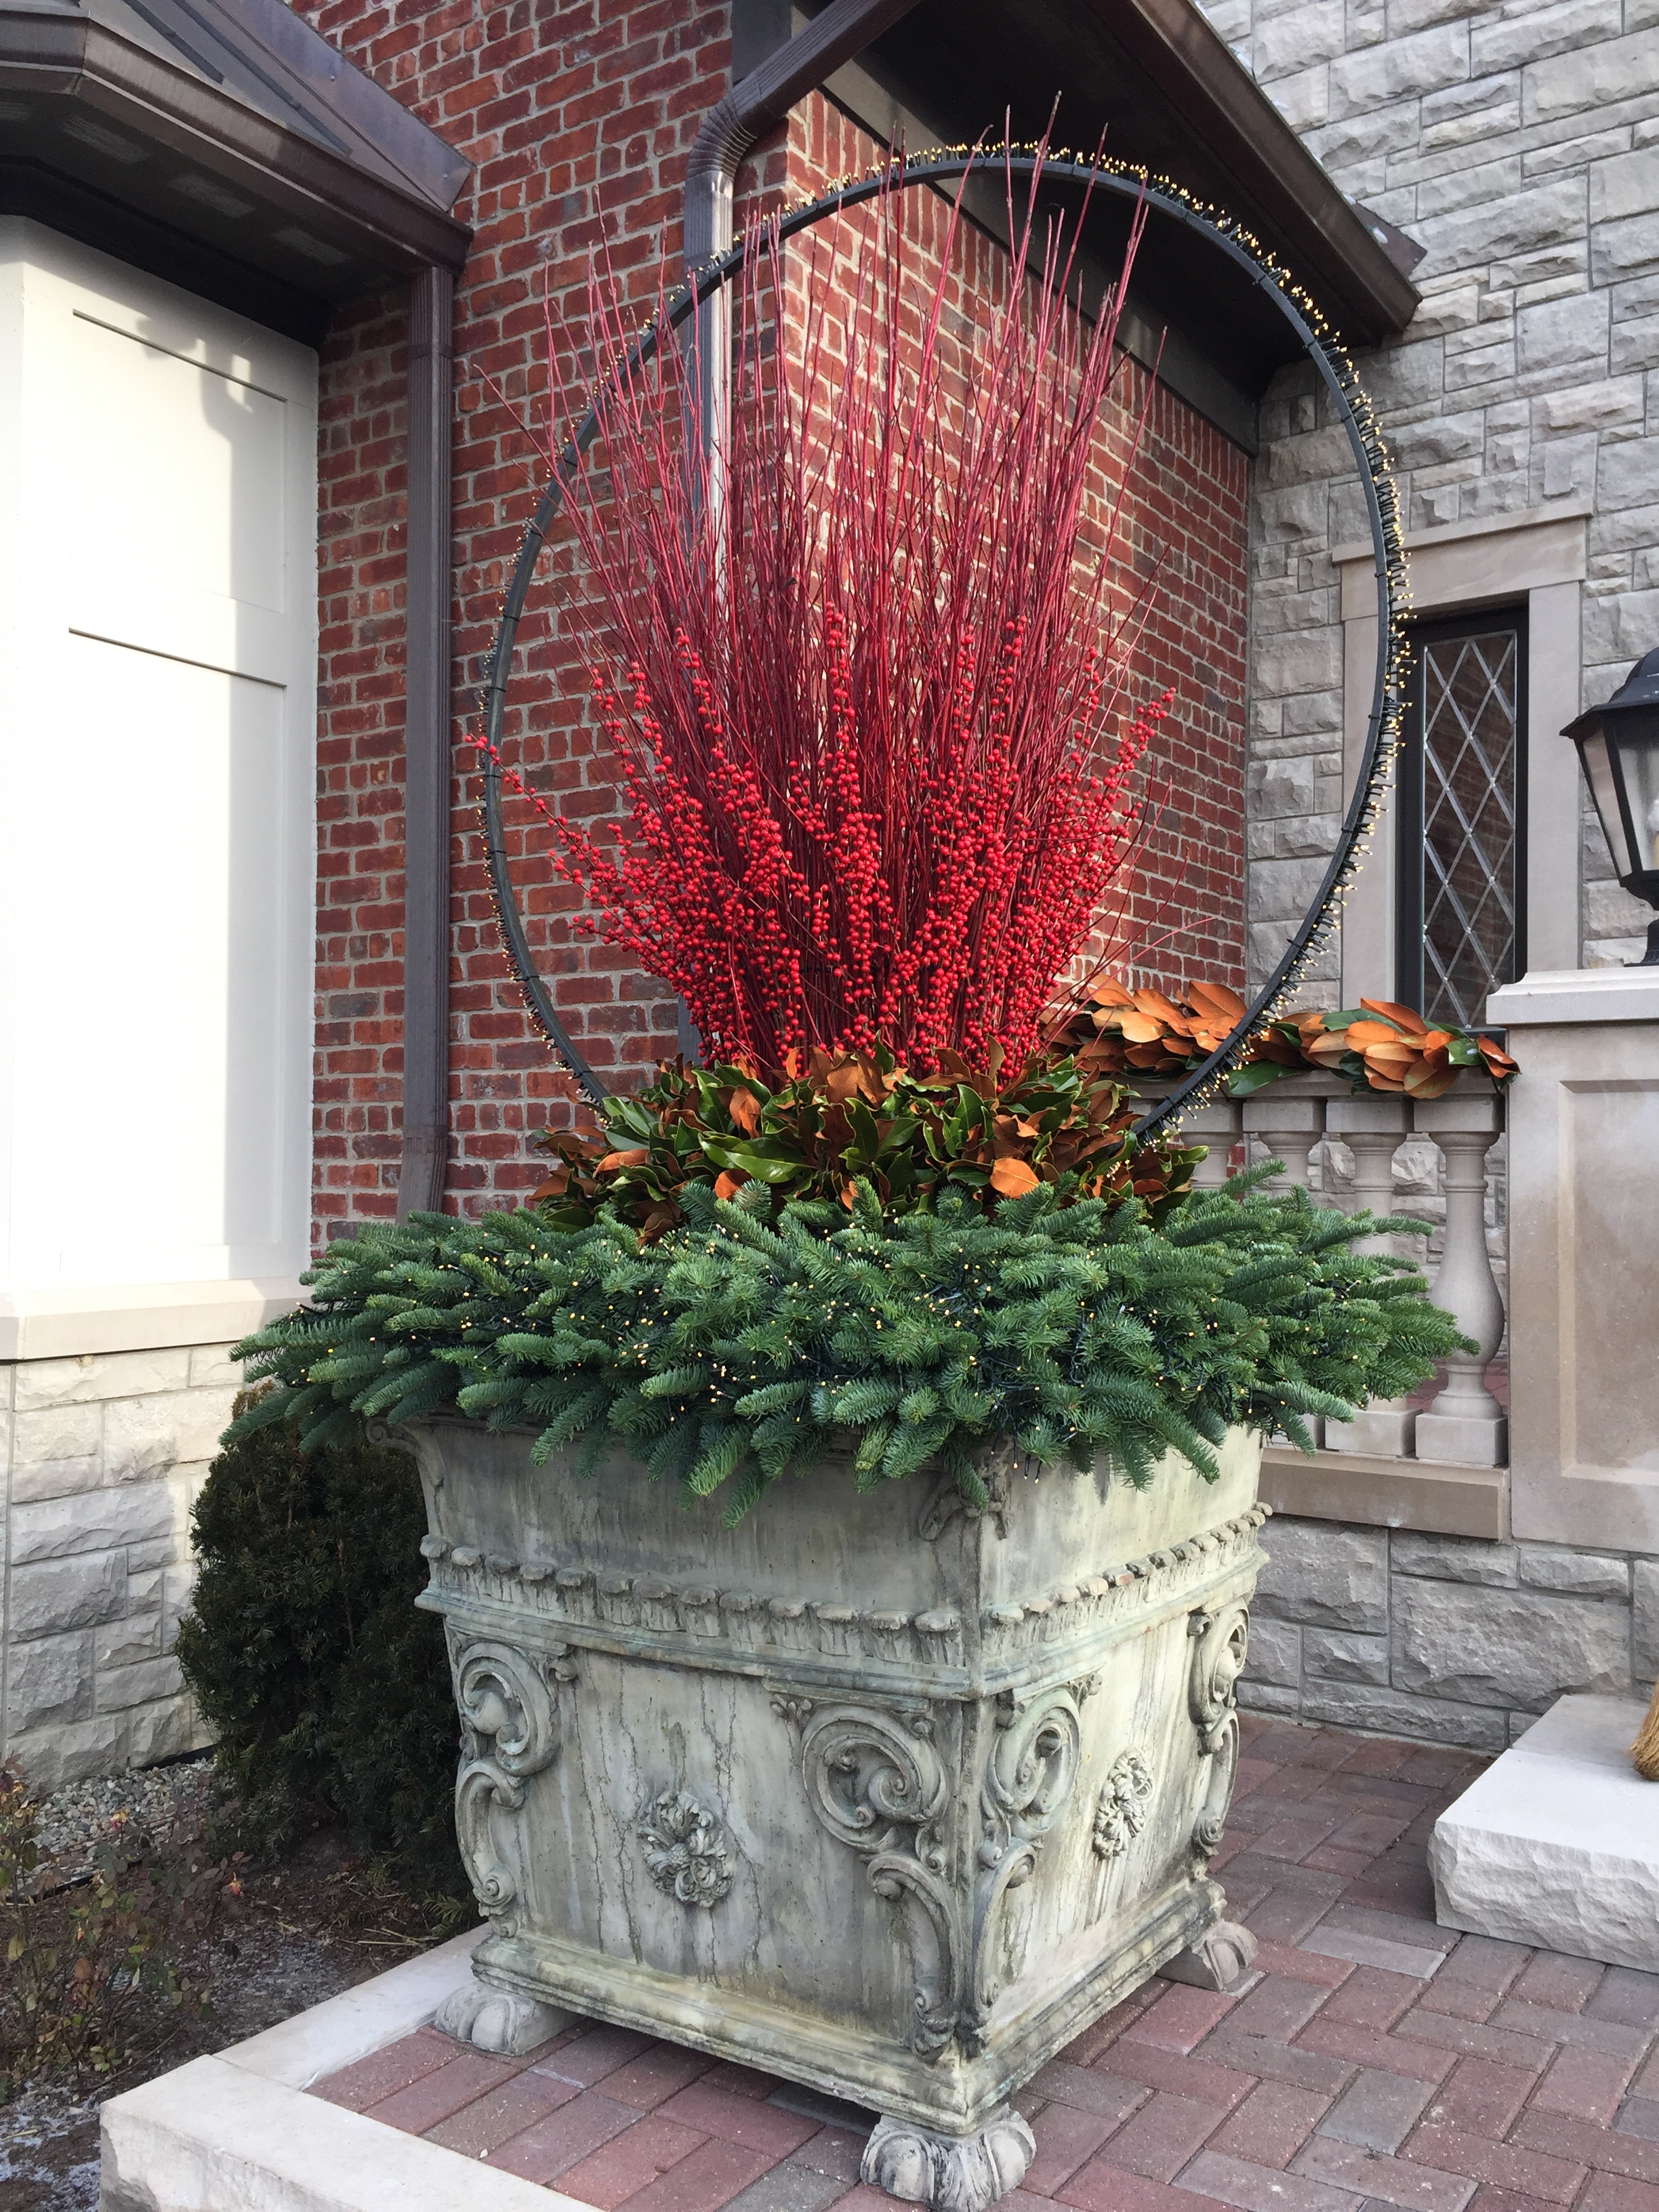
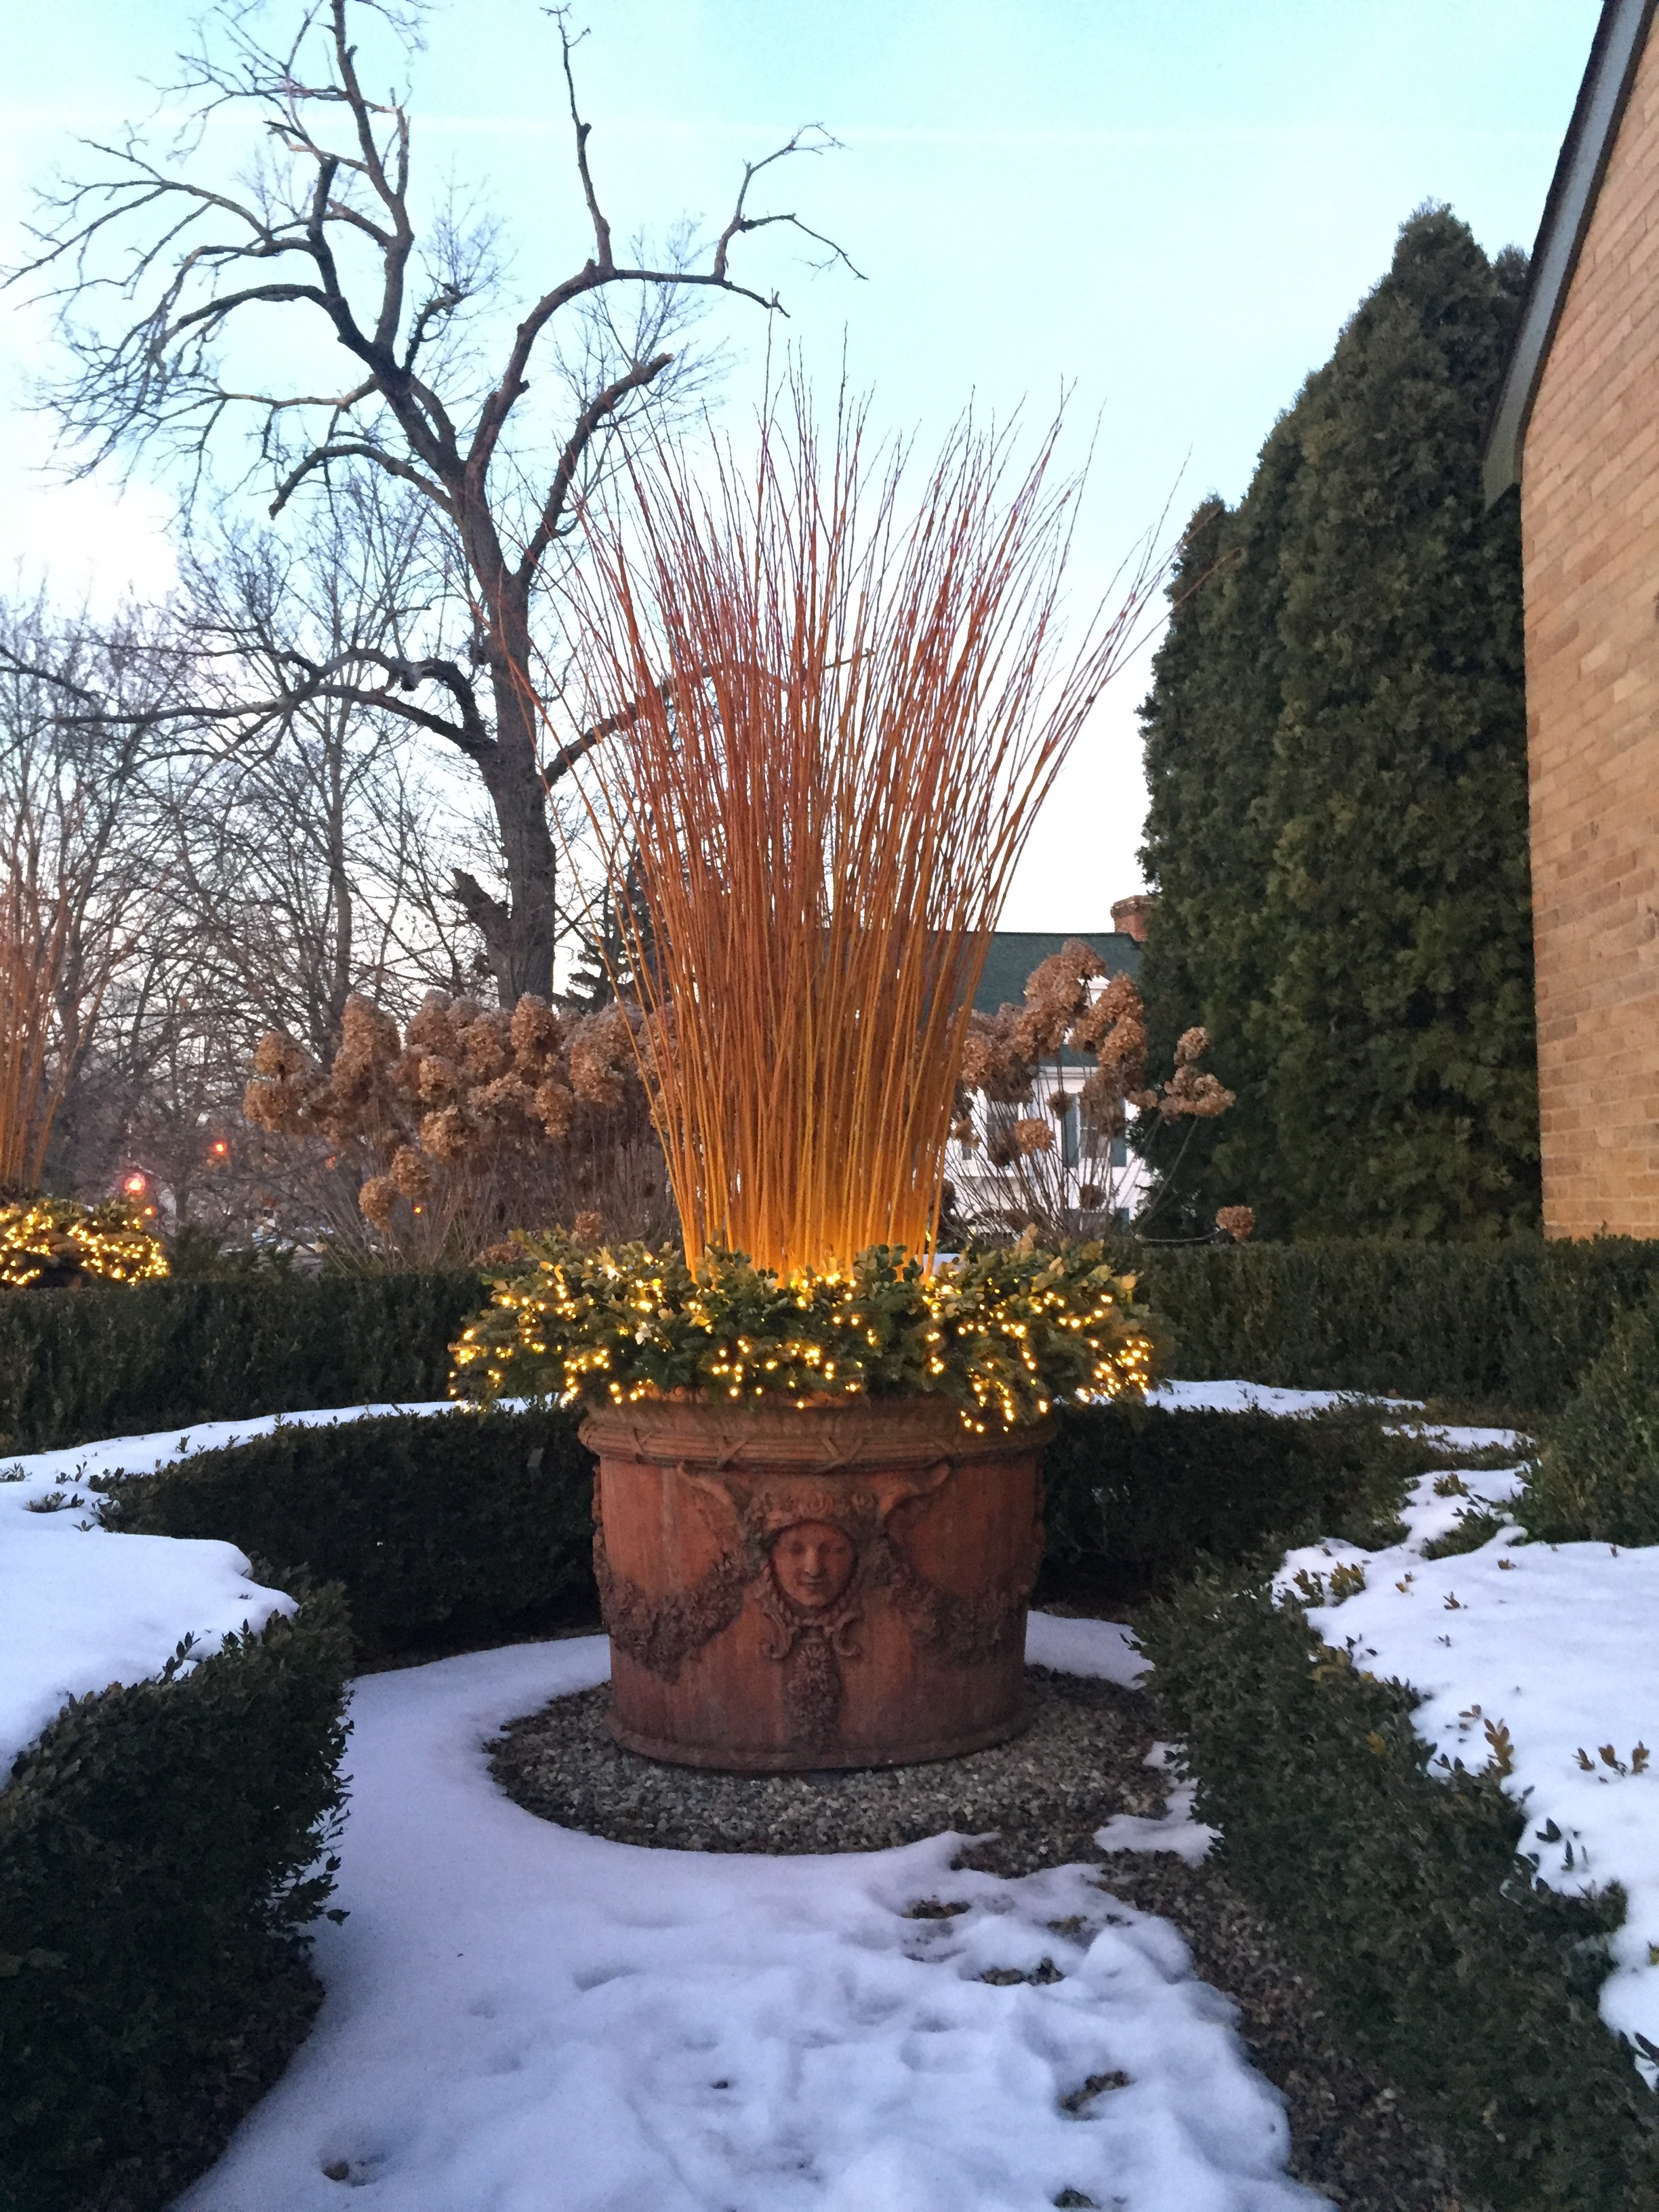 Our snow came early, and persisted. 3 weeks of bone chilling cold made sure it was not going anywhere. Then a week ago, a few days in the high forties reduced the mass of it considerably. The landscape was going dark again. The light in my winter containers was welcome. Providing light for the landscape is never more important than providing it in the winter. Great landscape lighting can go so far as to illuminate the structure of the winter landscape during the gray and dark days. In its simplest form, it can light the way from here to there. Seasonal/temporary lighting can add a sculptural element to the winter garden.
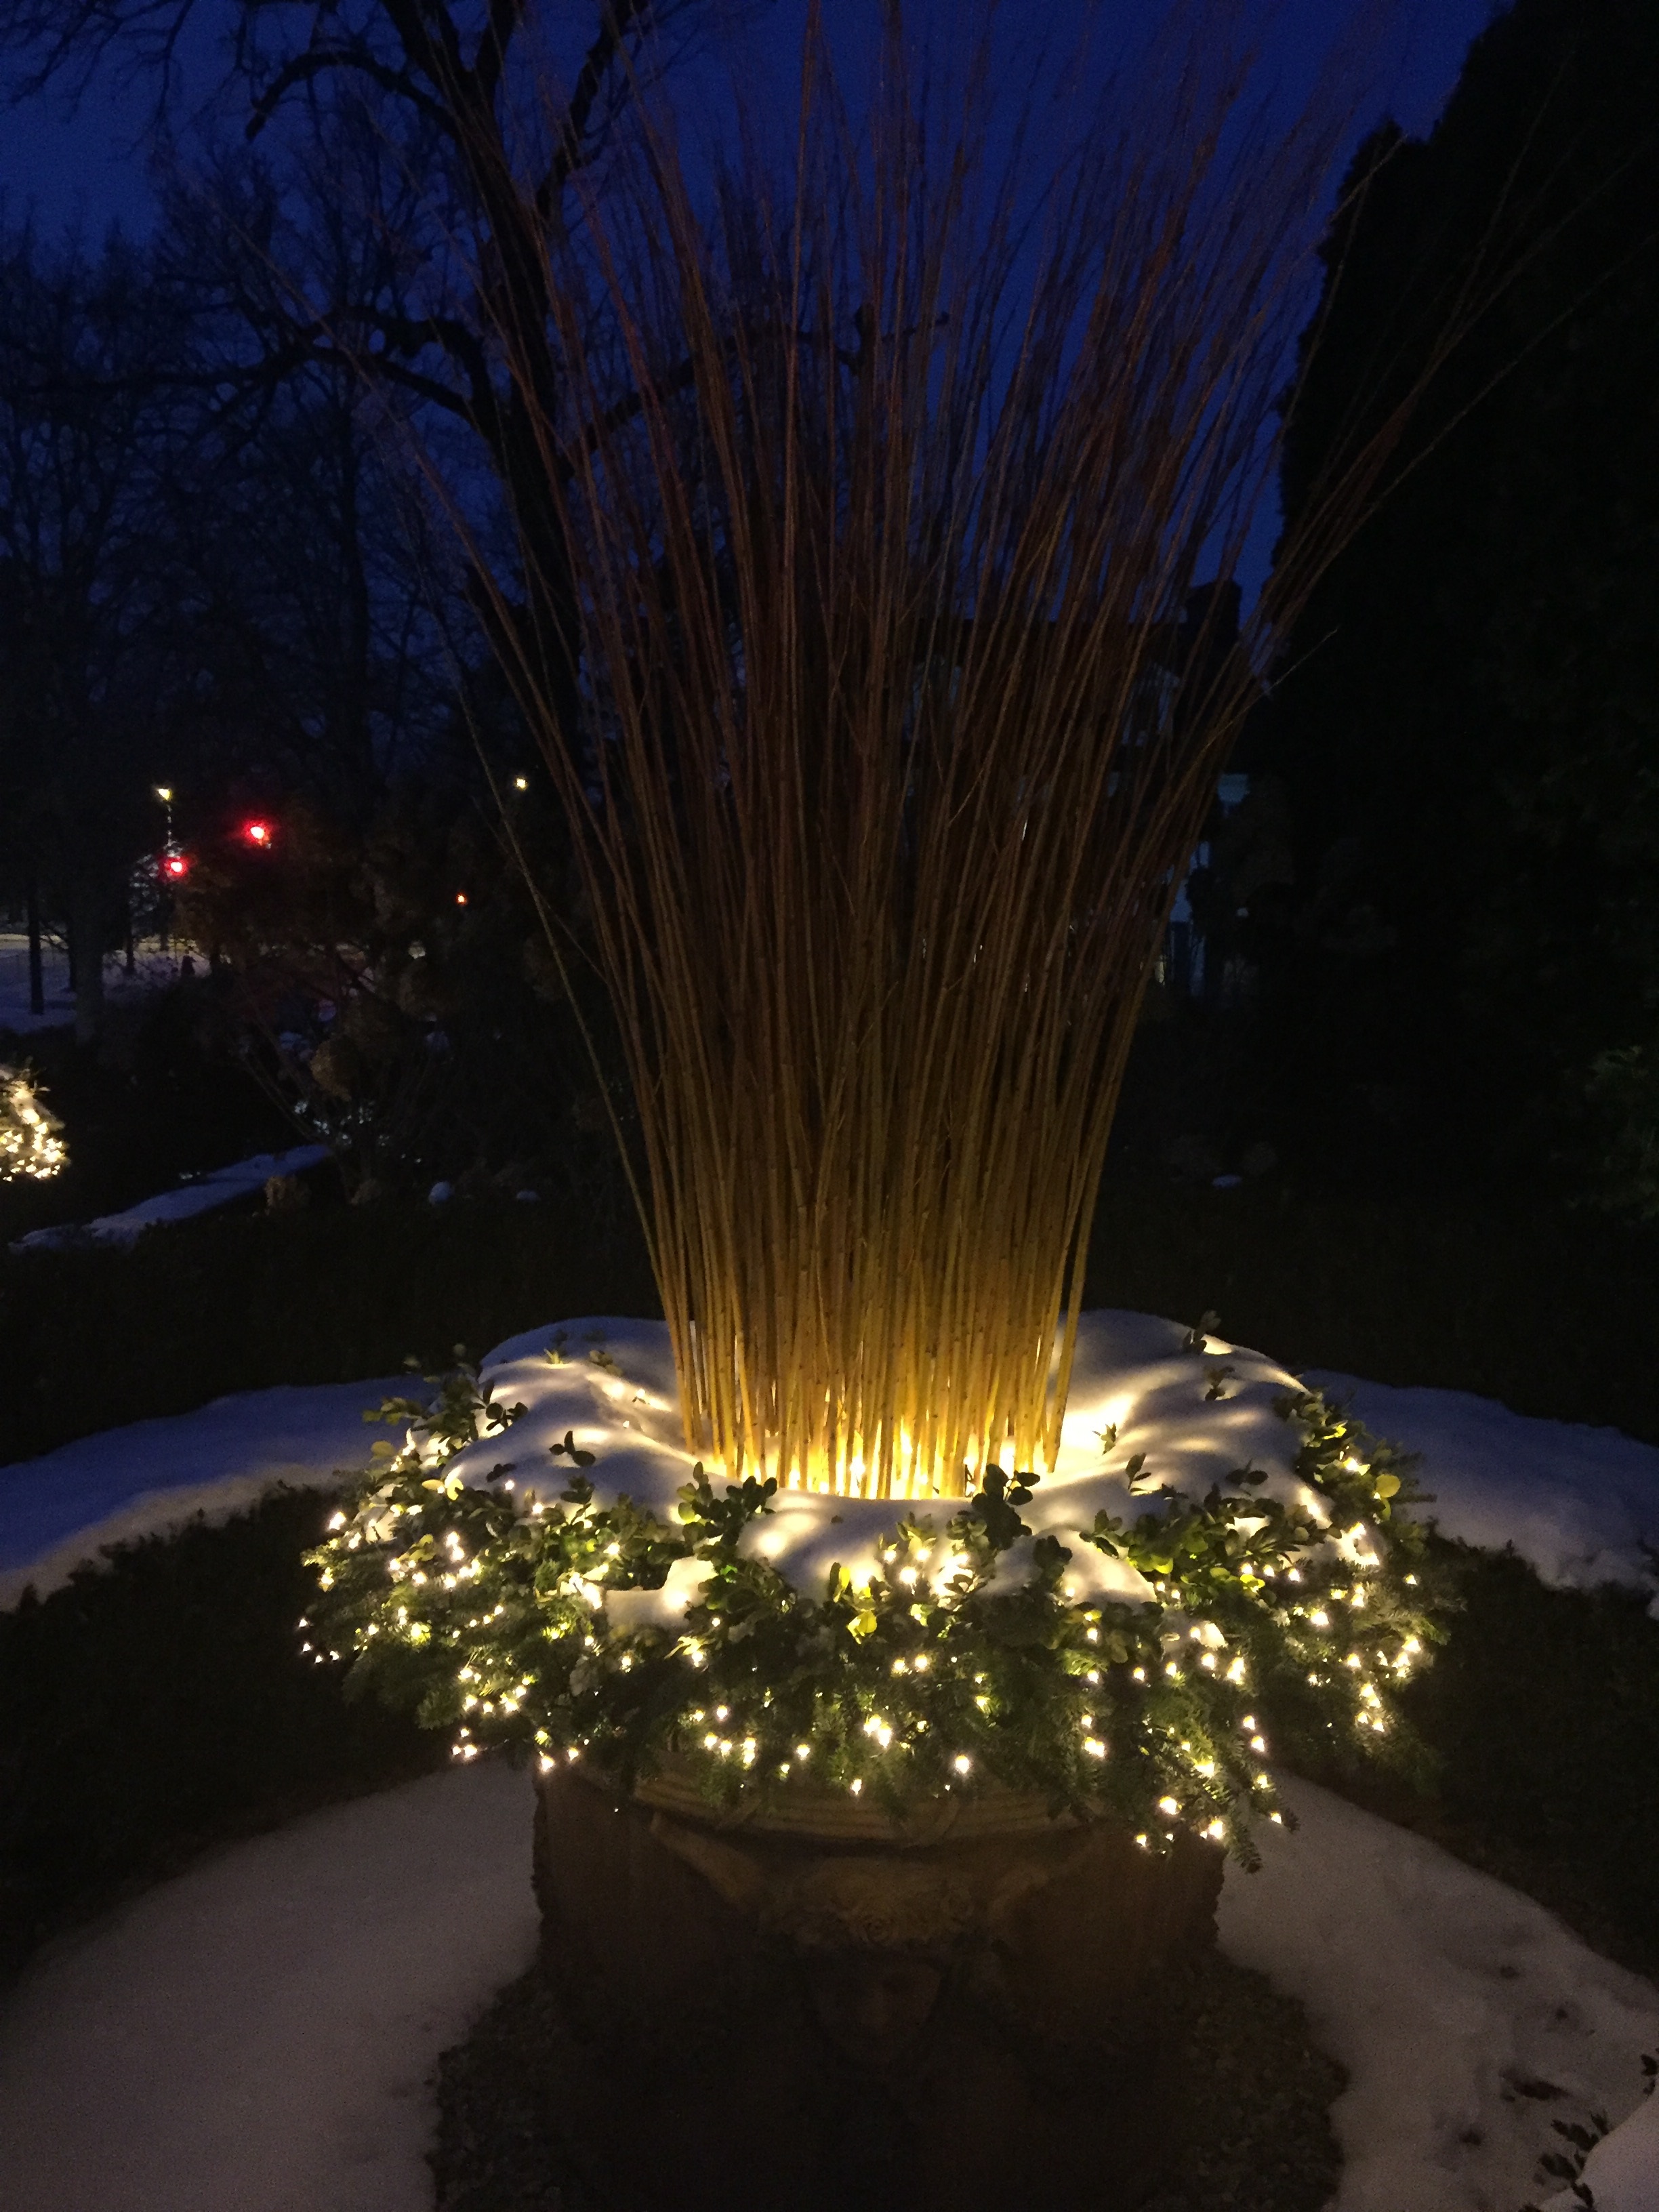
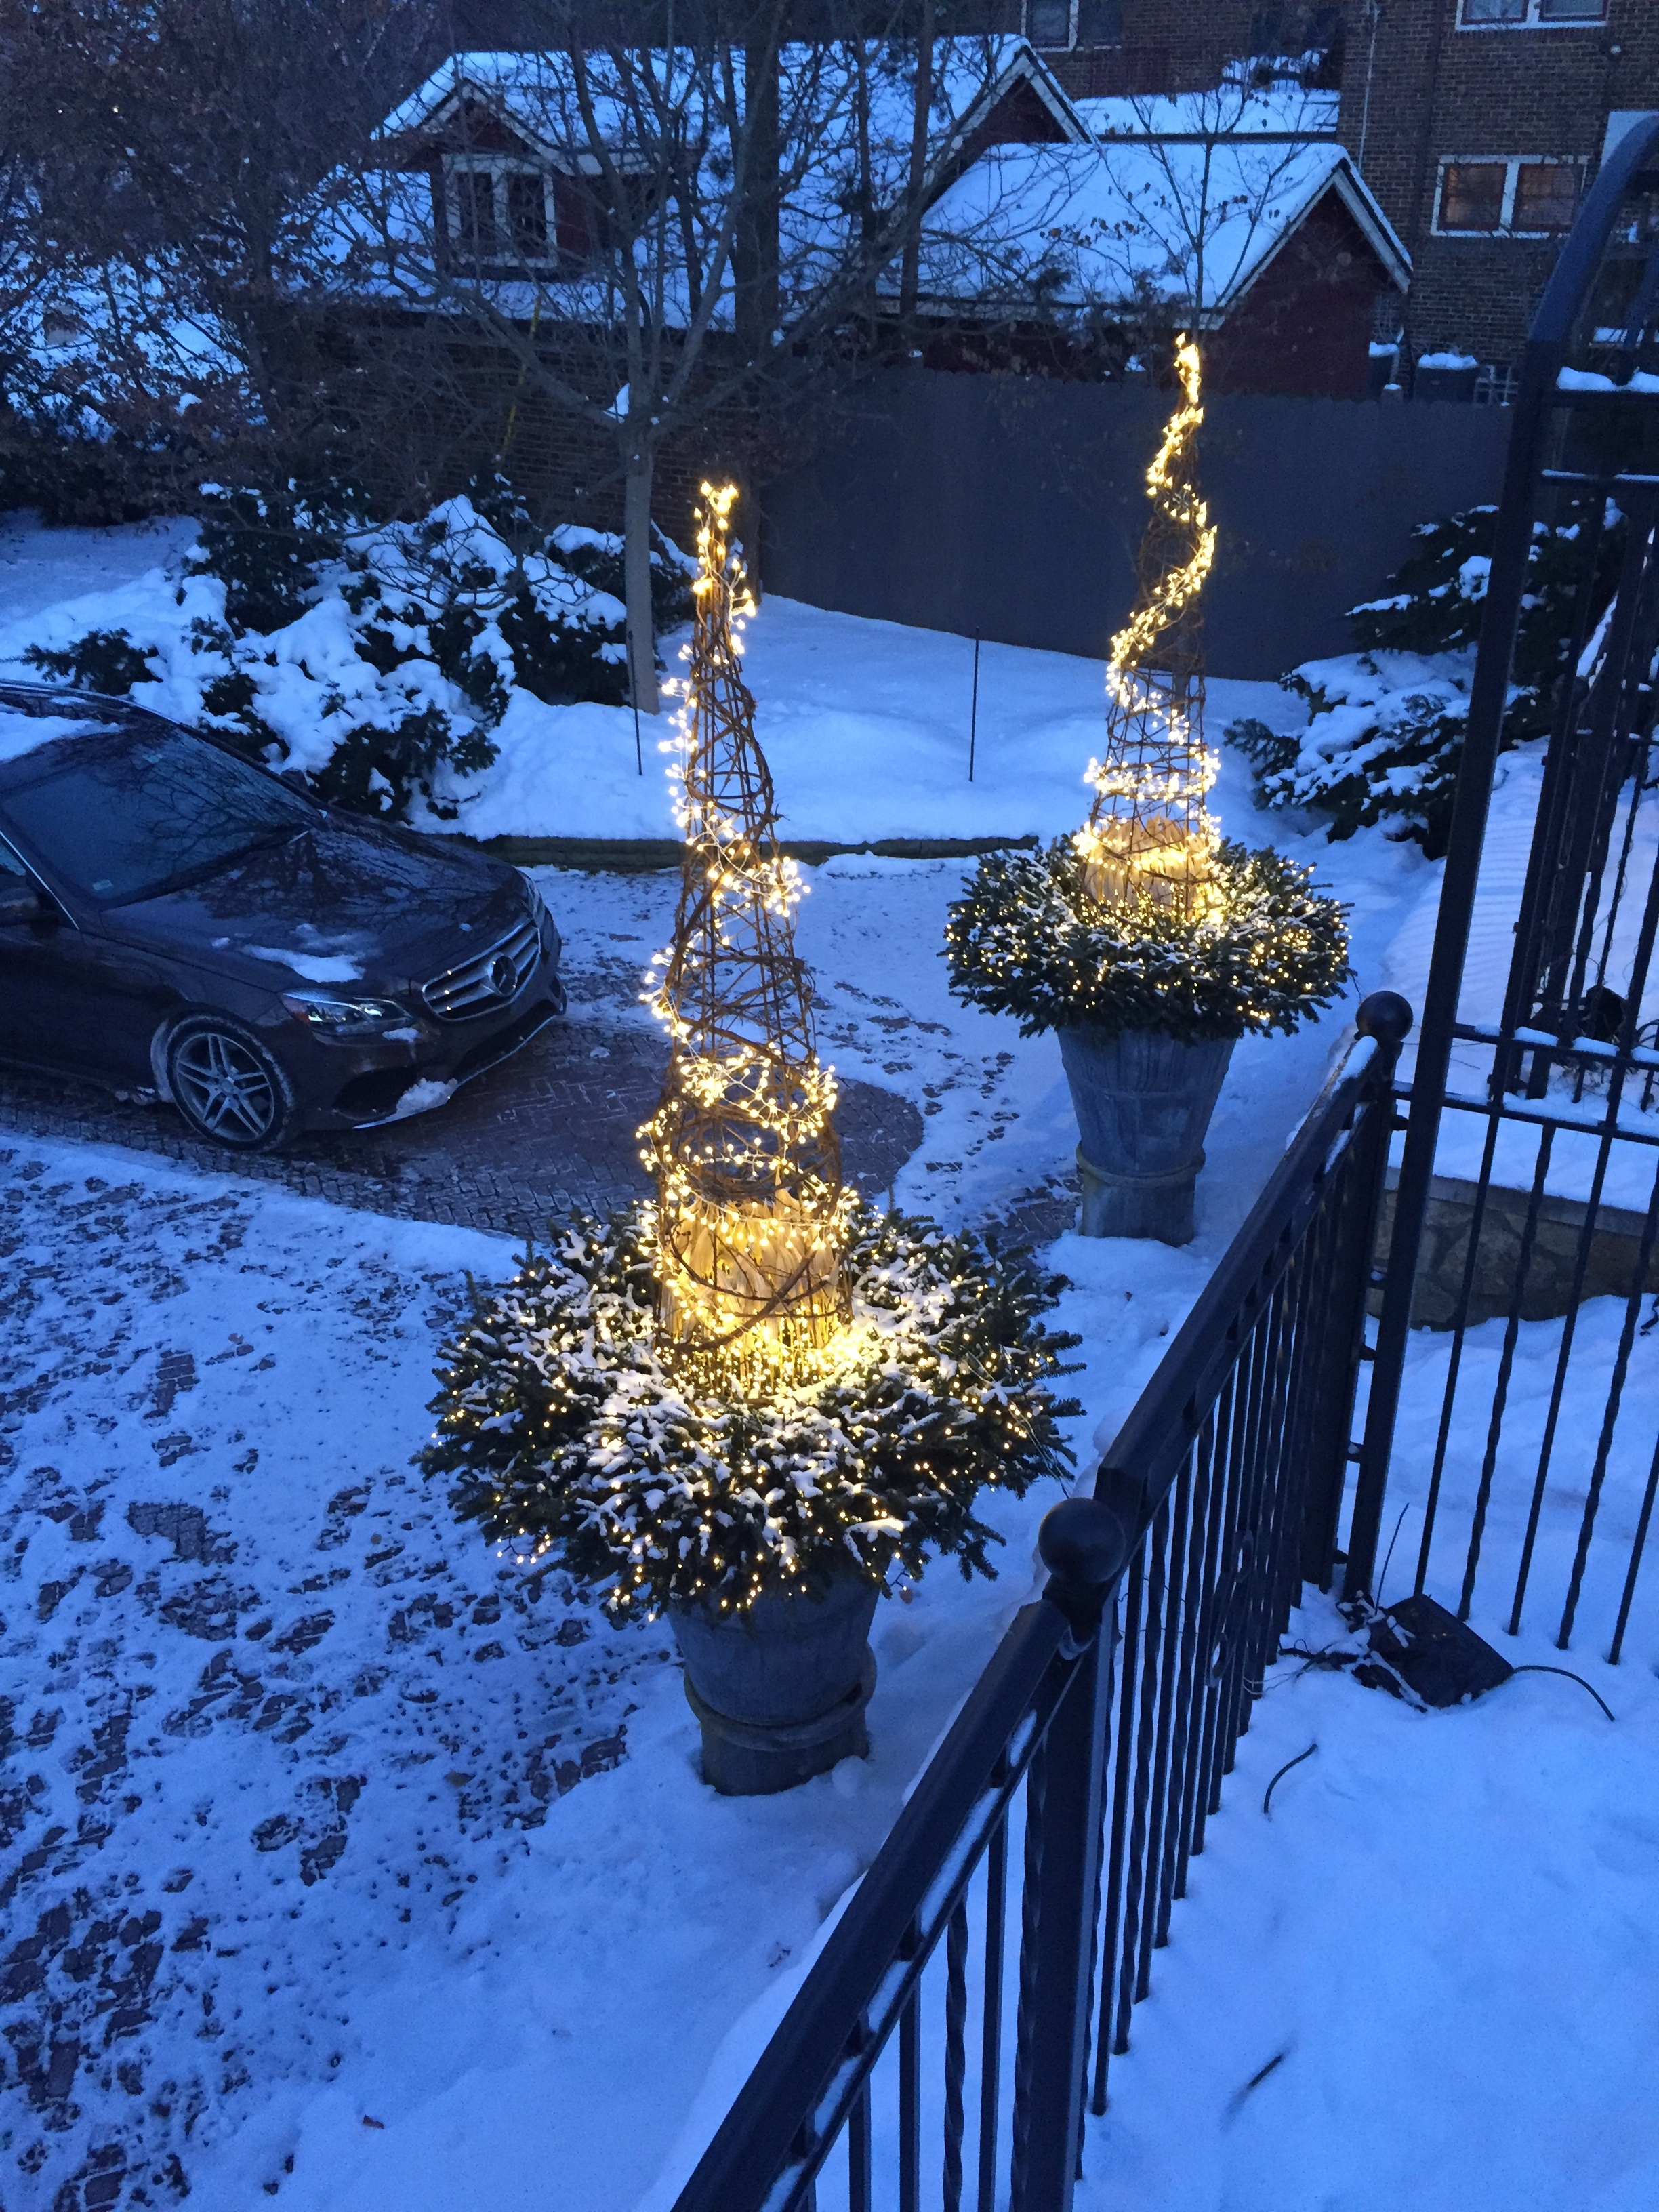
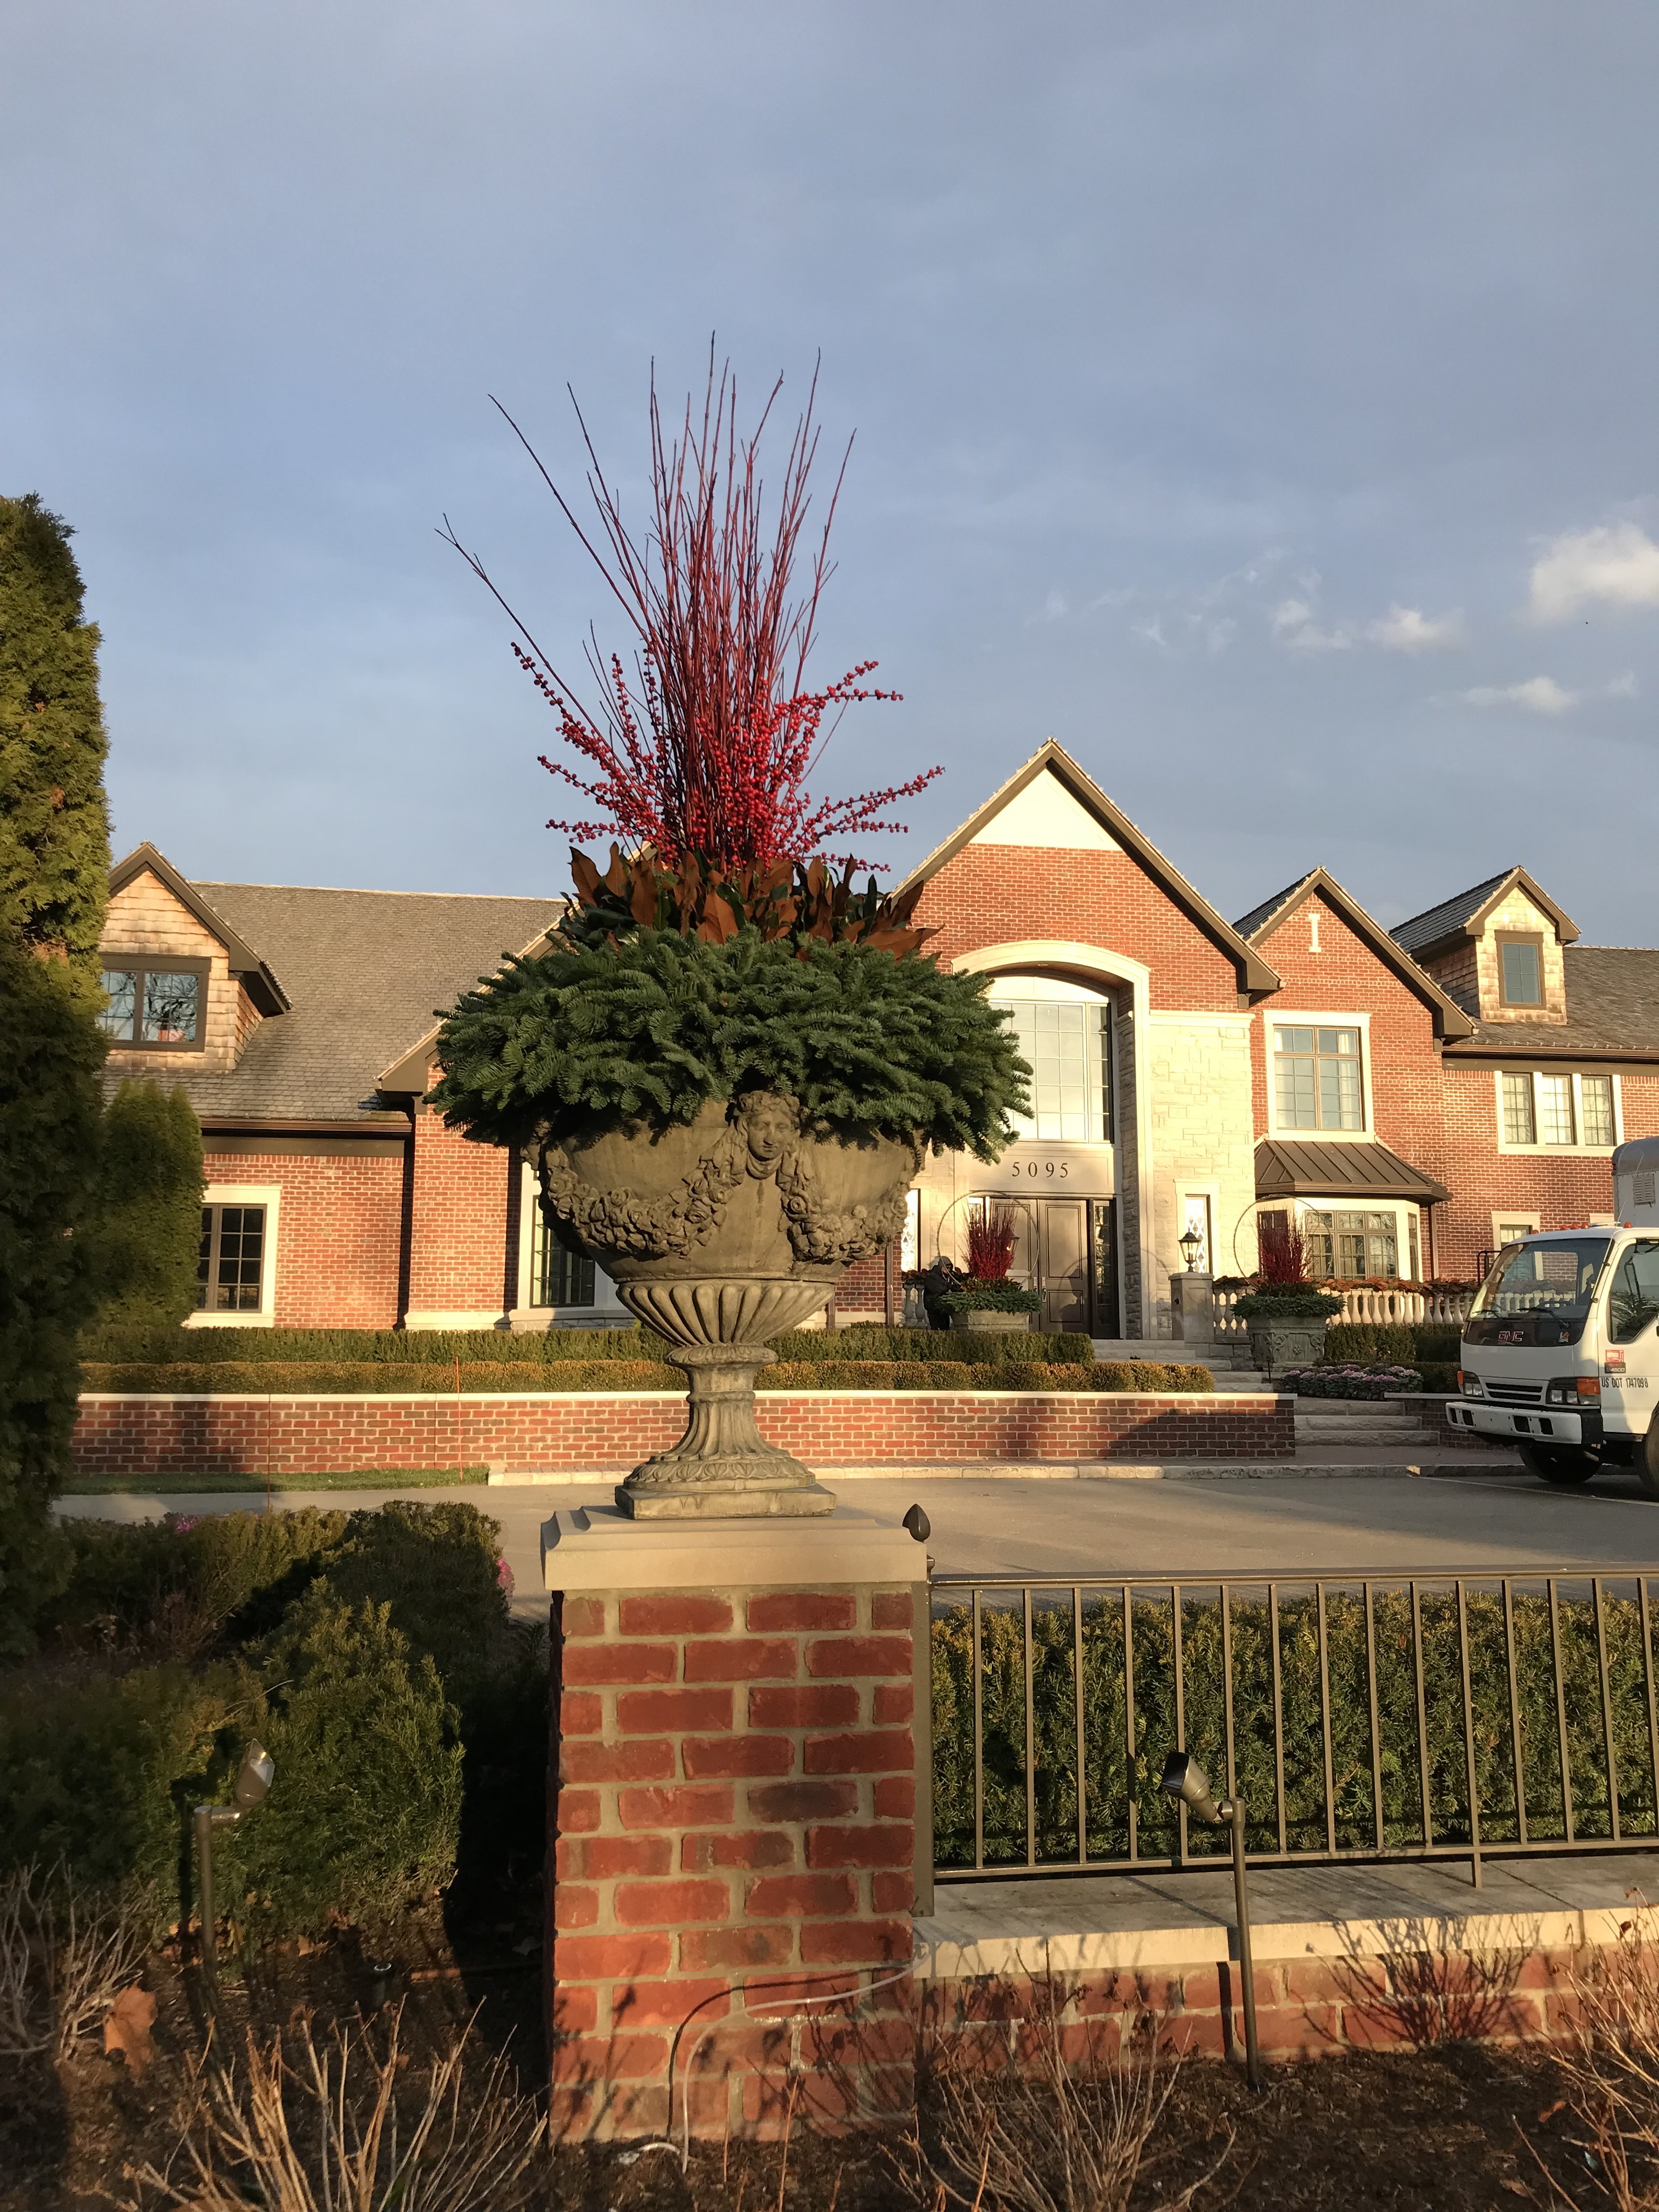
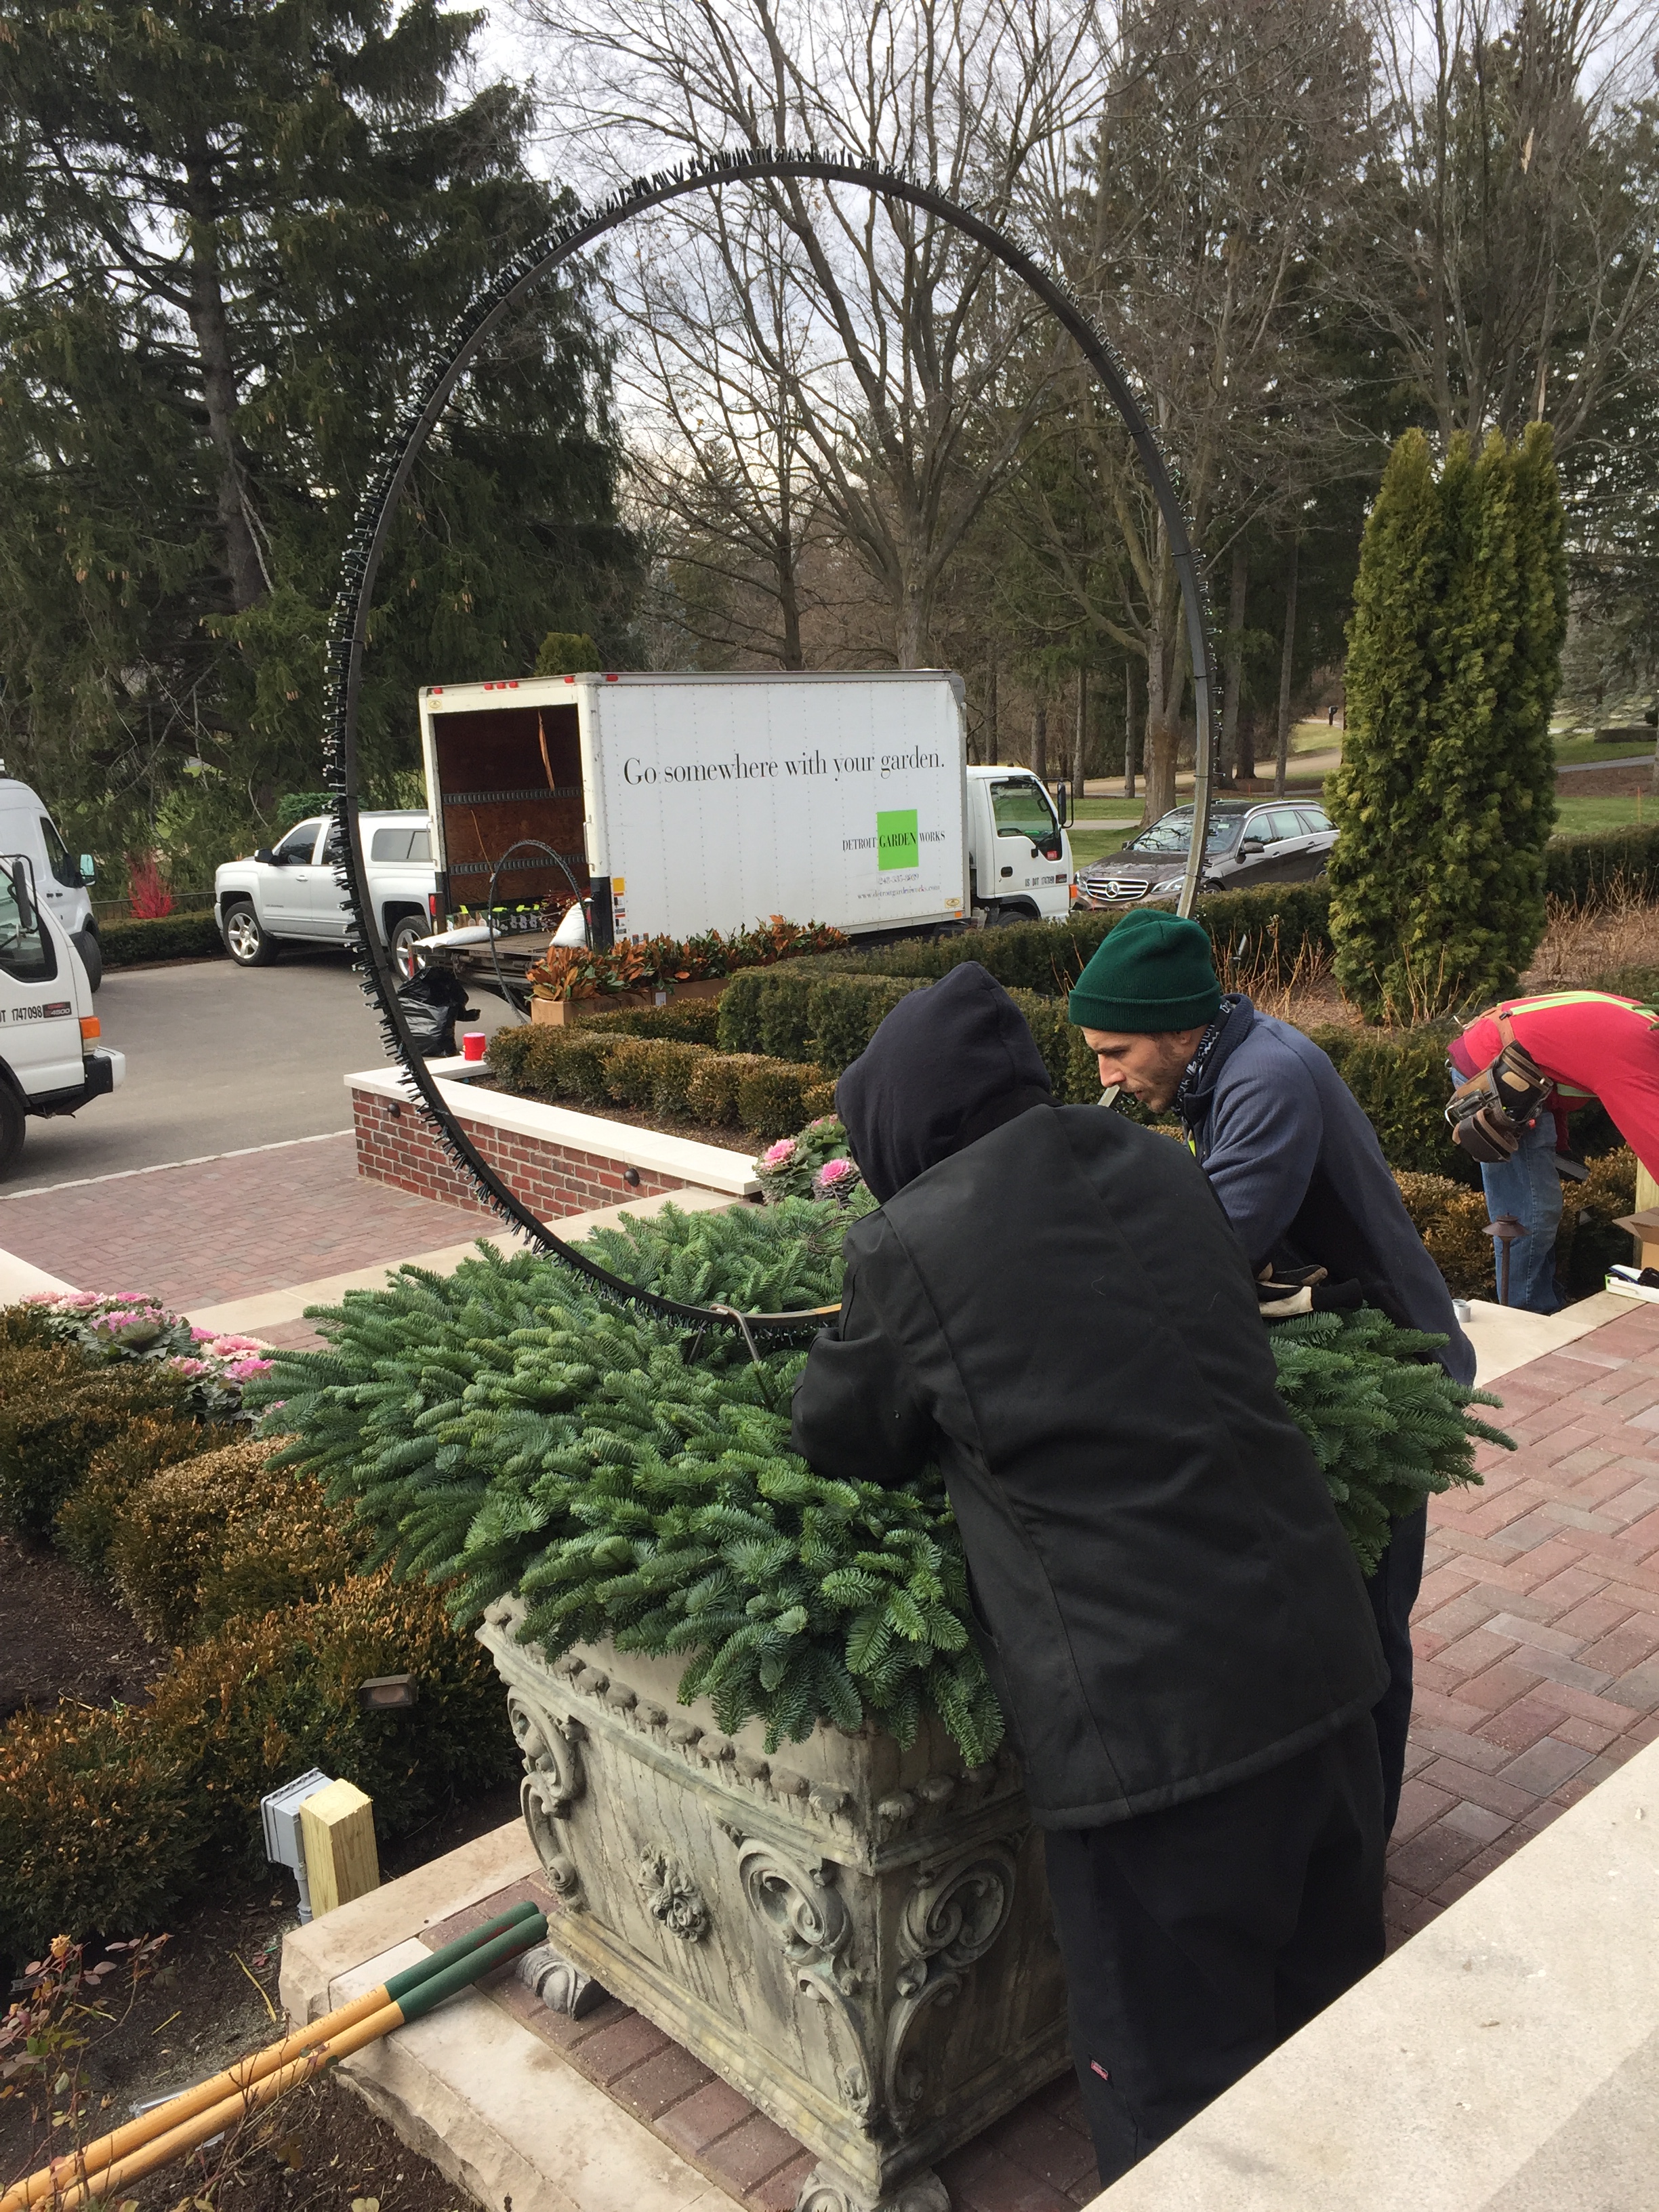
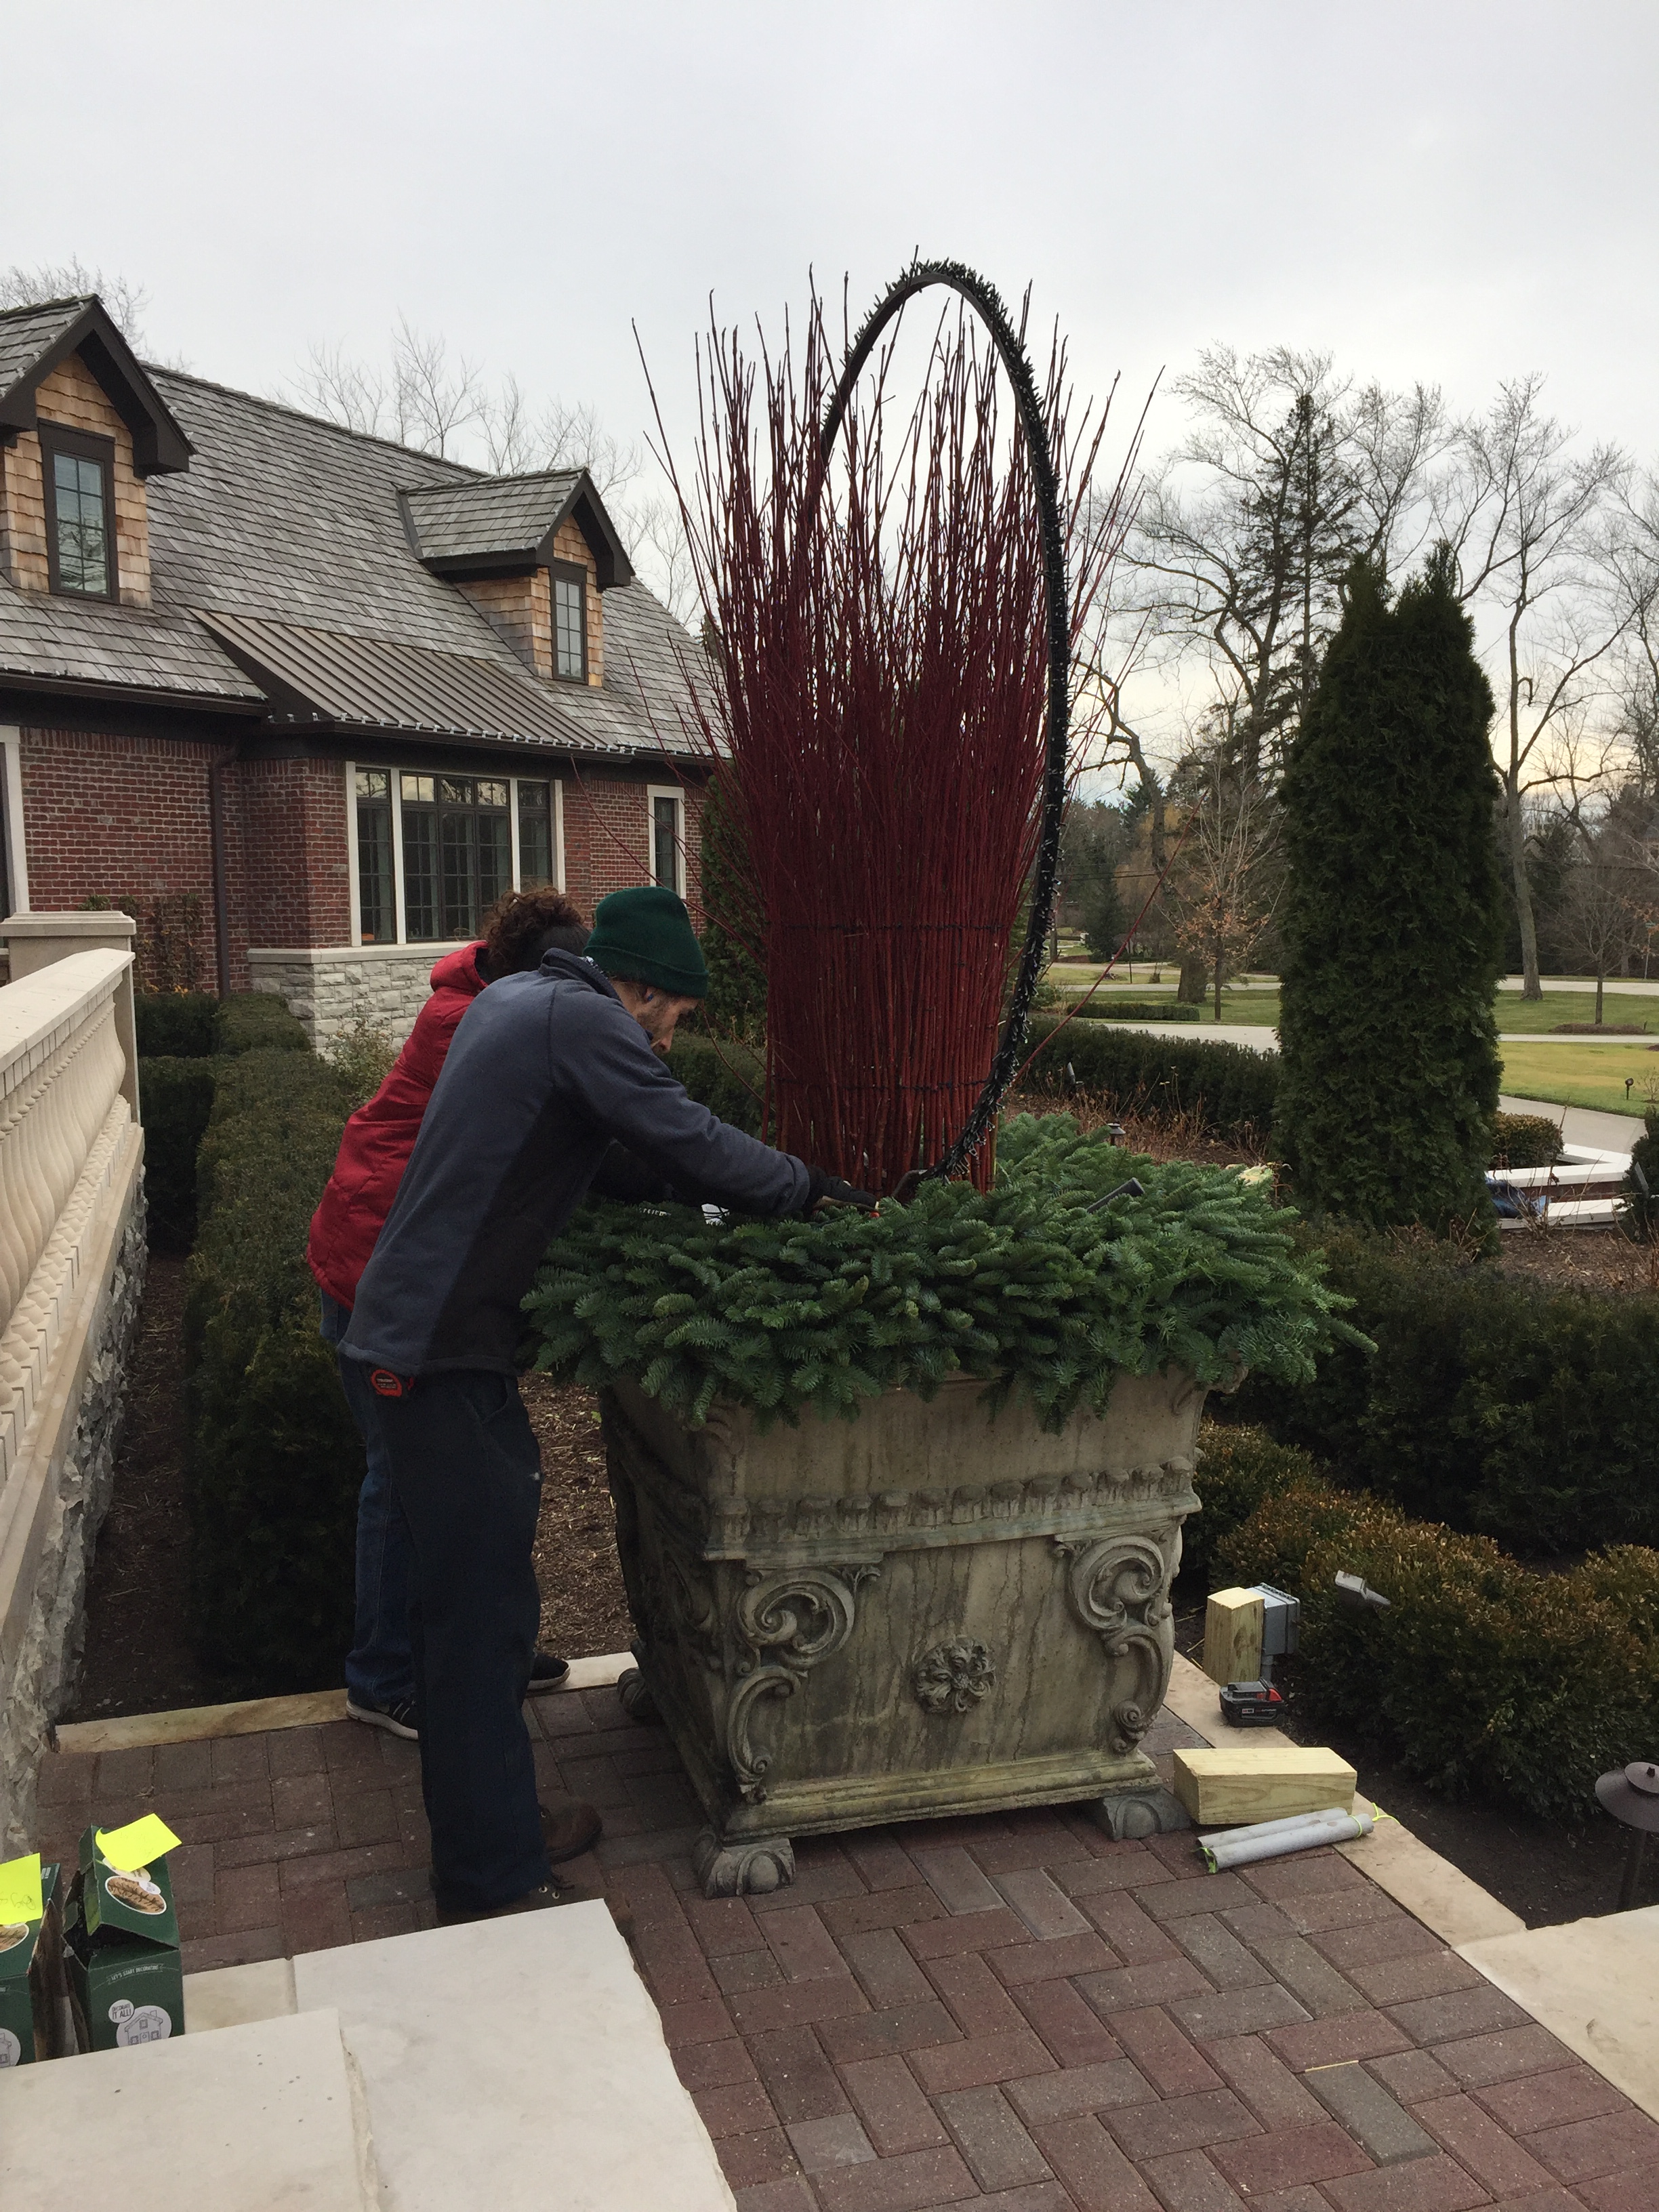
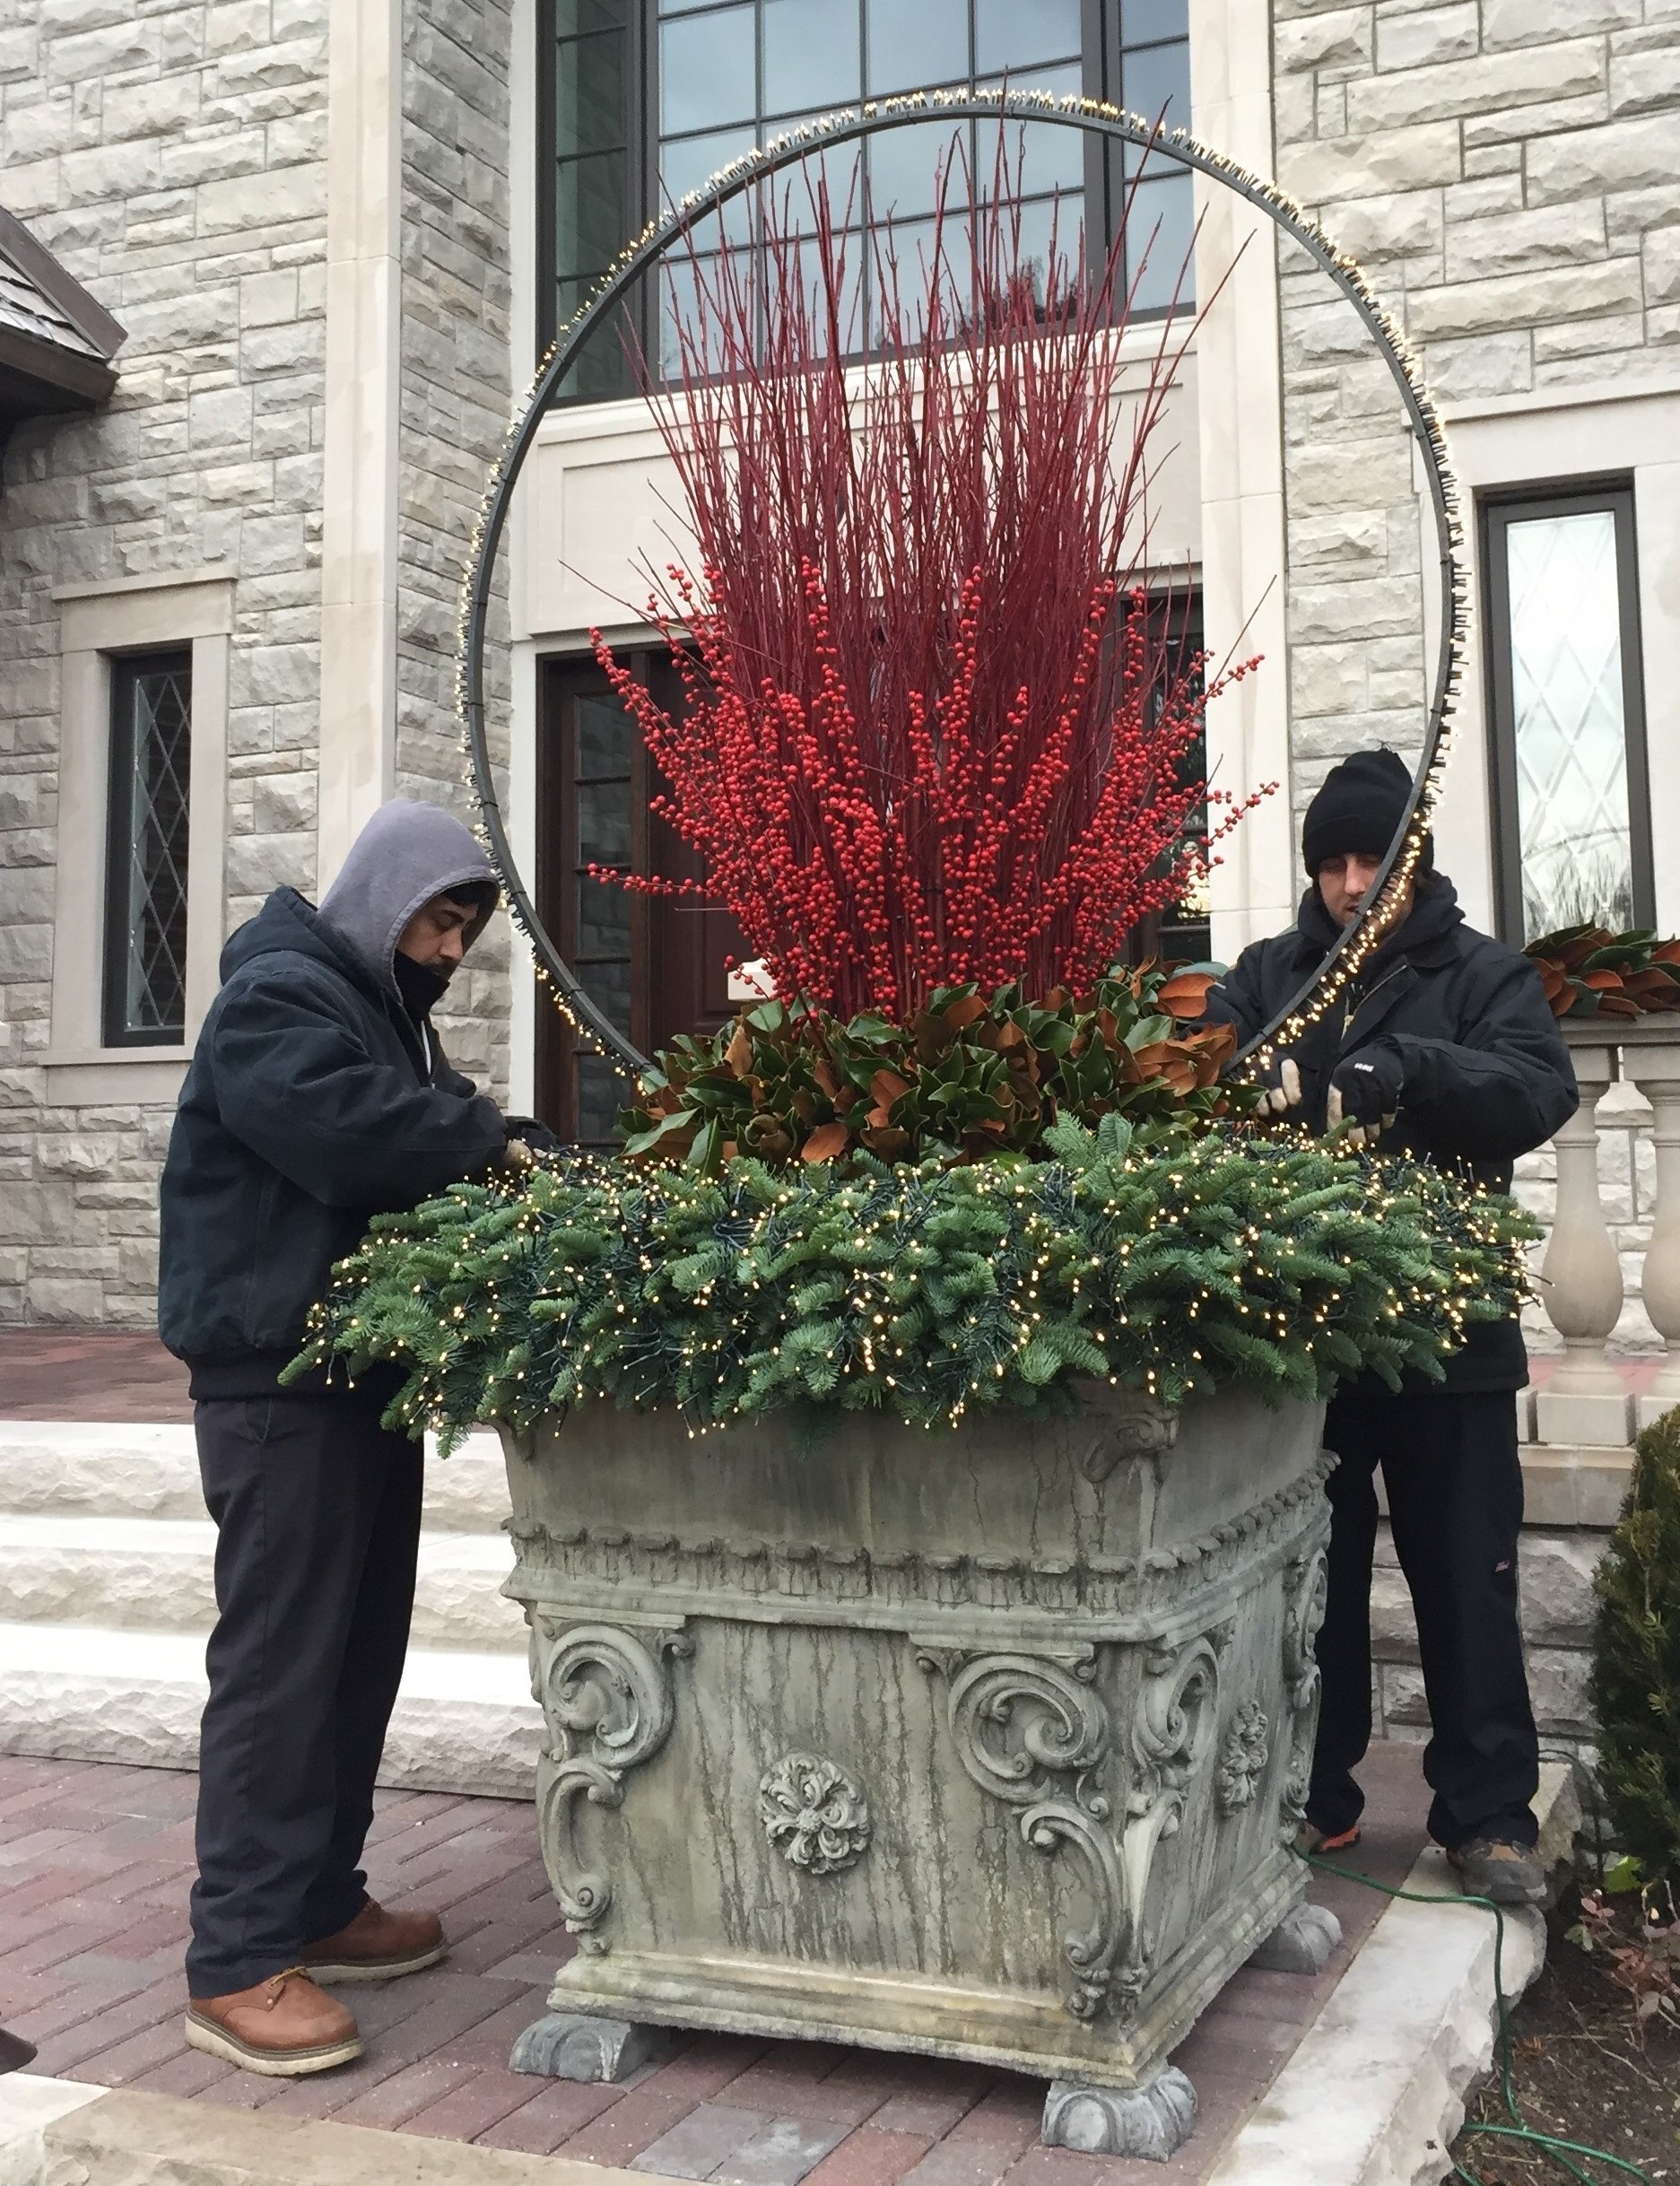
 I especially like a lighting component in winter pots. Not only does it illuminate the materials and shape of the winter container itself, that temporary glow spreads out and encompasses the immediate environment. New technology which has produced warm and flexible LED string lighting that draws little energy, is shatterproof and good for 50,000 hours means it has never been easier or more economical to boost the light in a winter landscape. Adding arrangements to garden pots for the winter season is a must have in my garden. Lighting them means is is possible to enjoy them day and night.
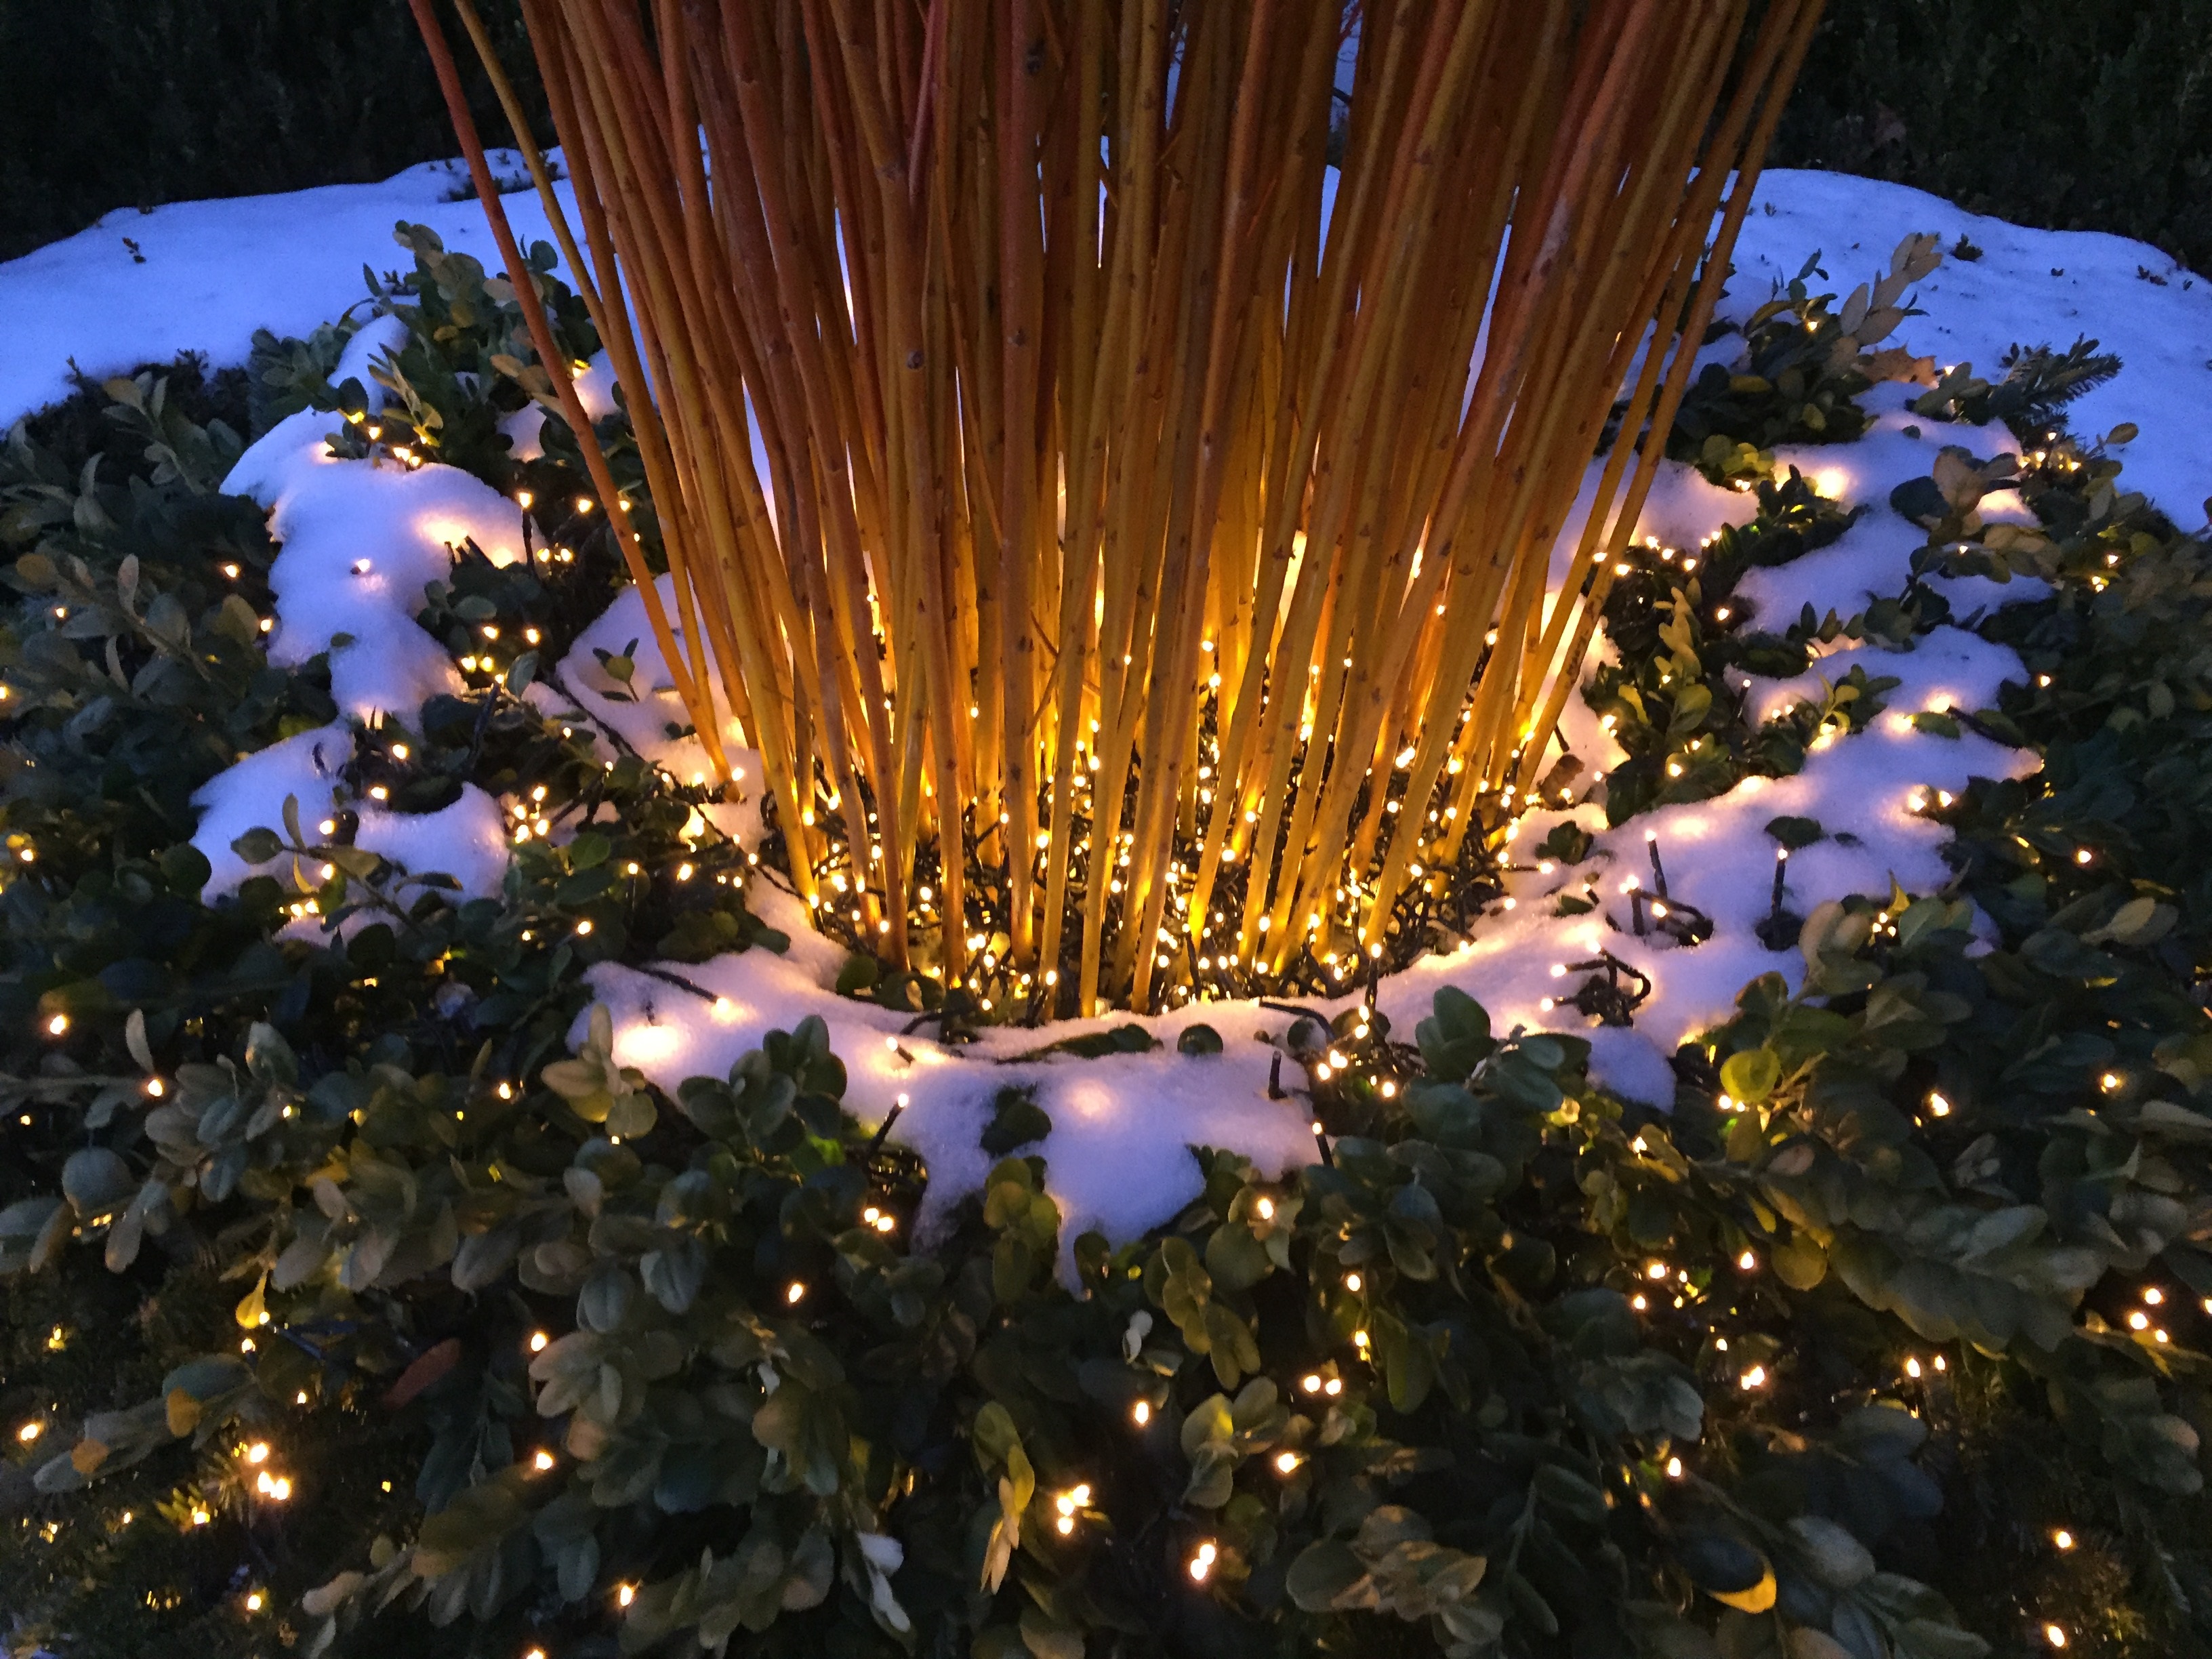
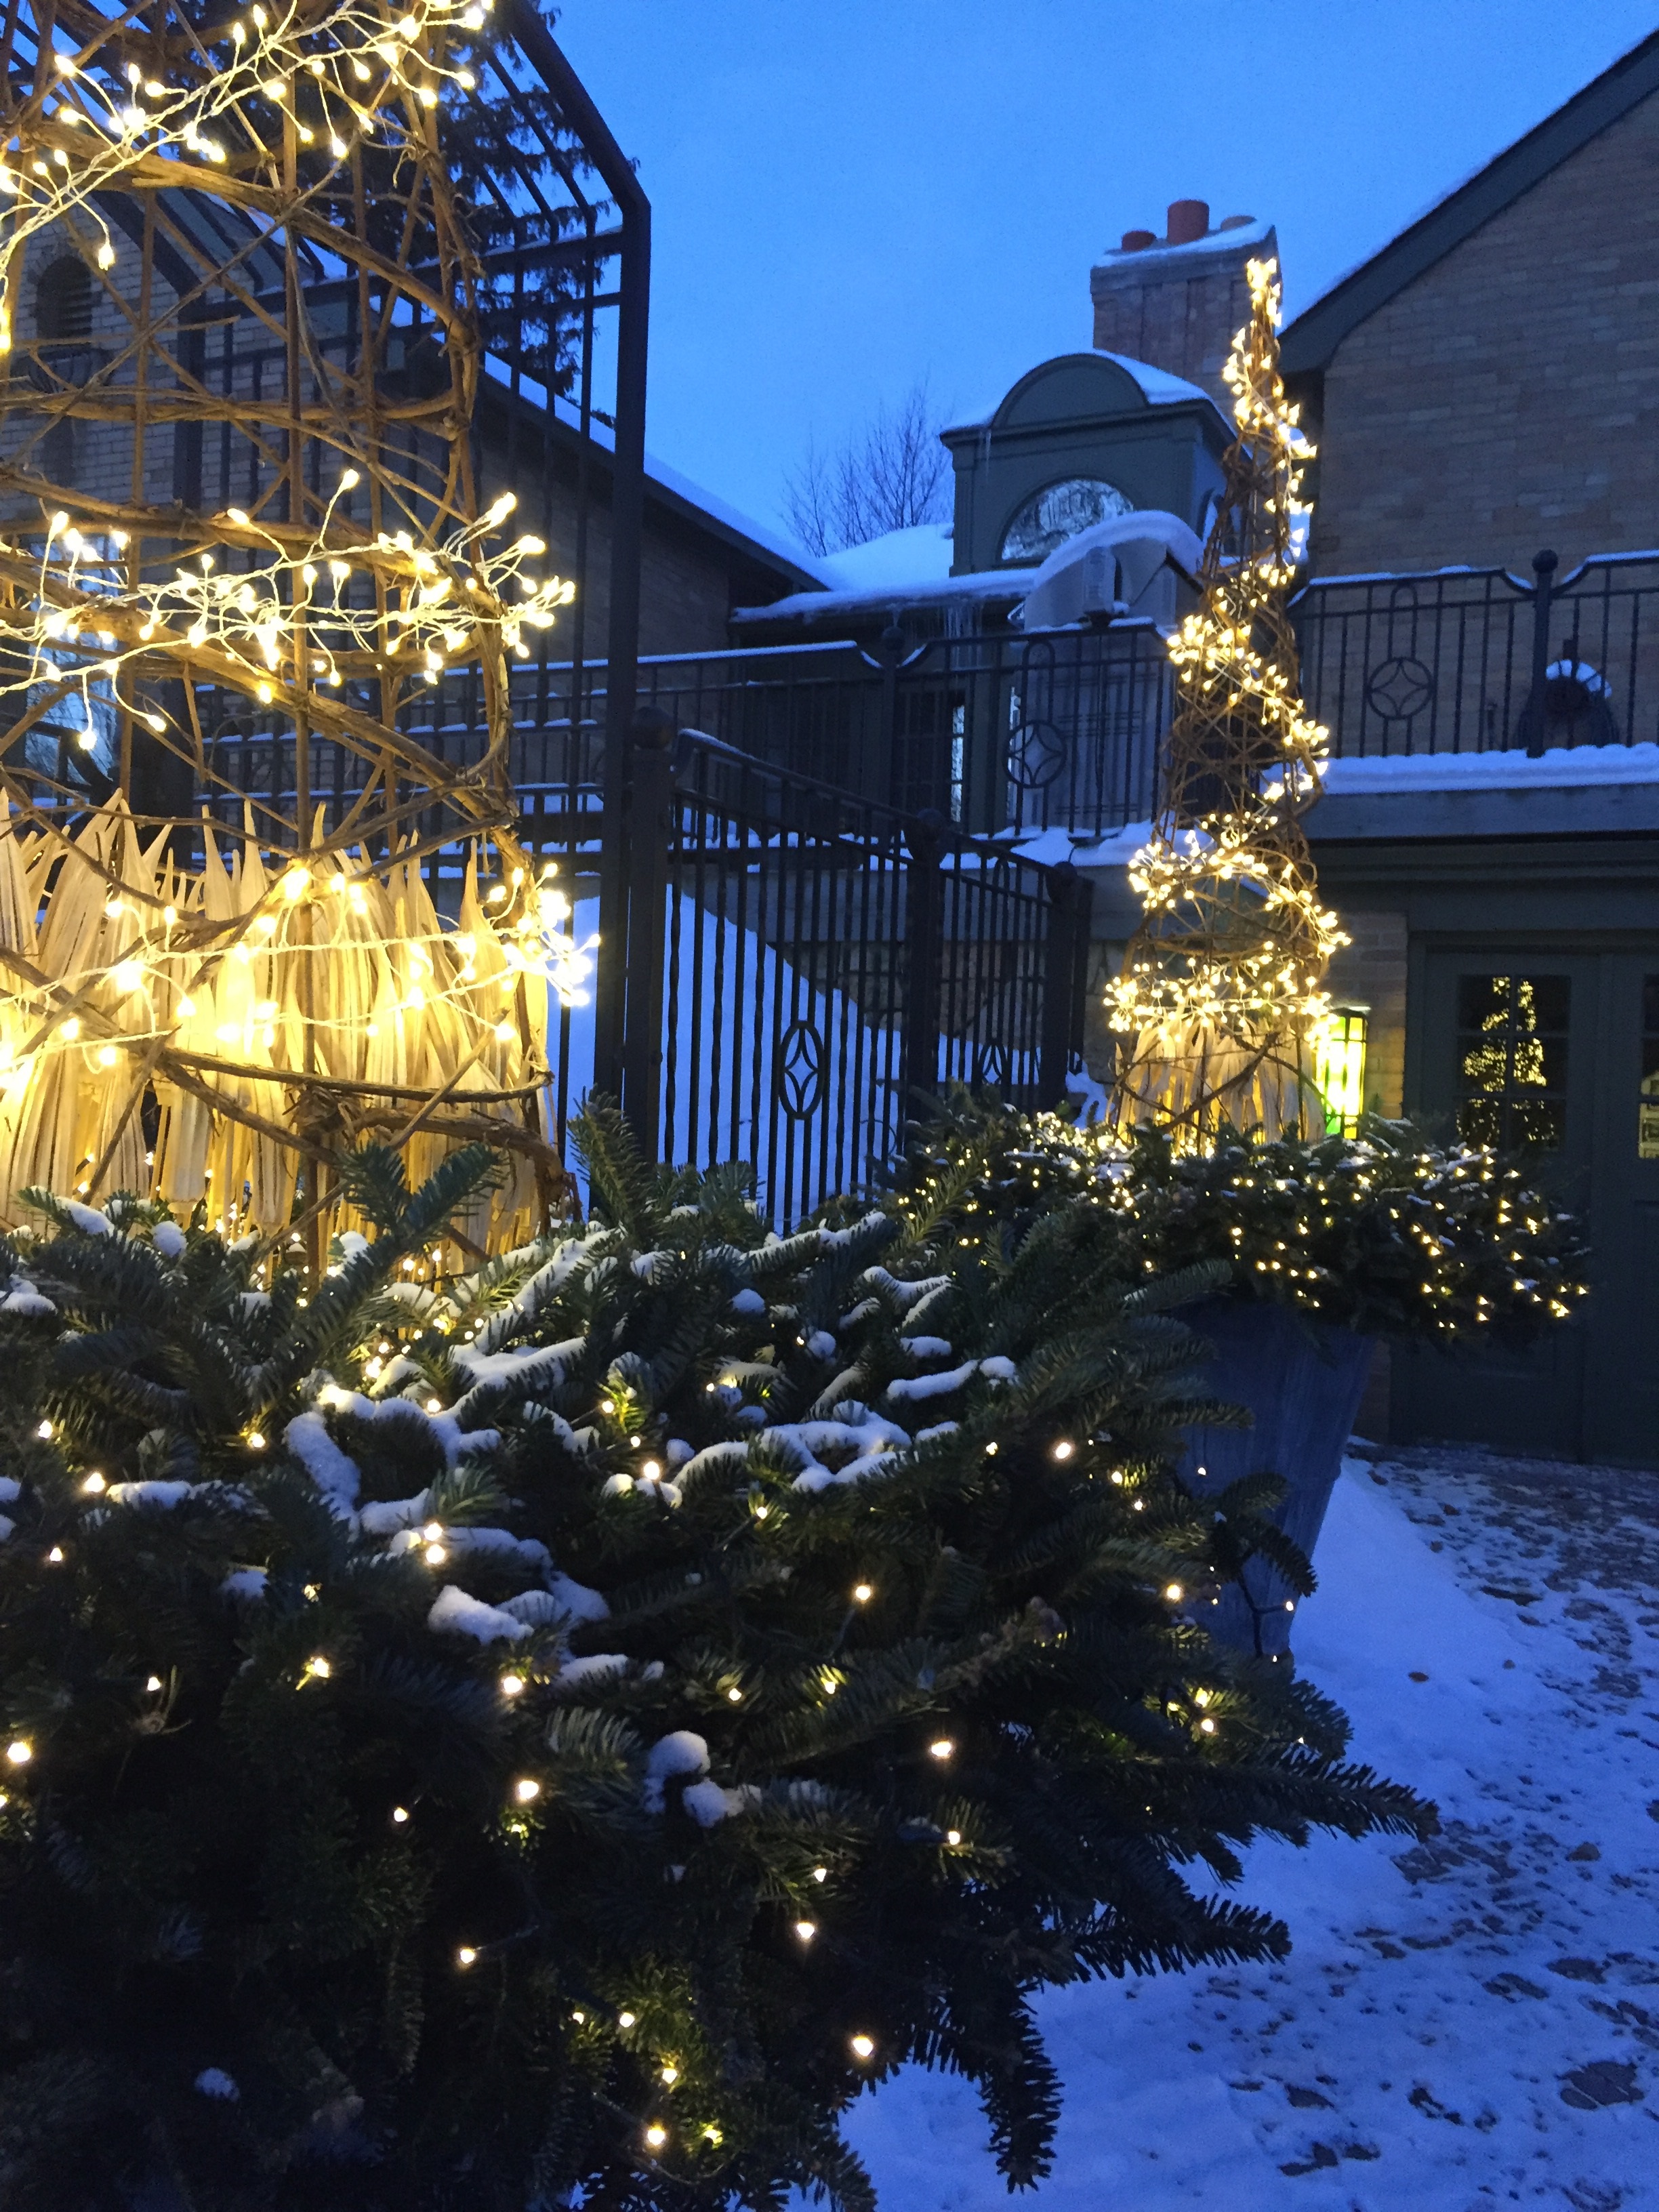
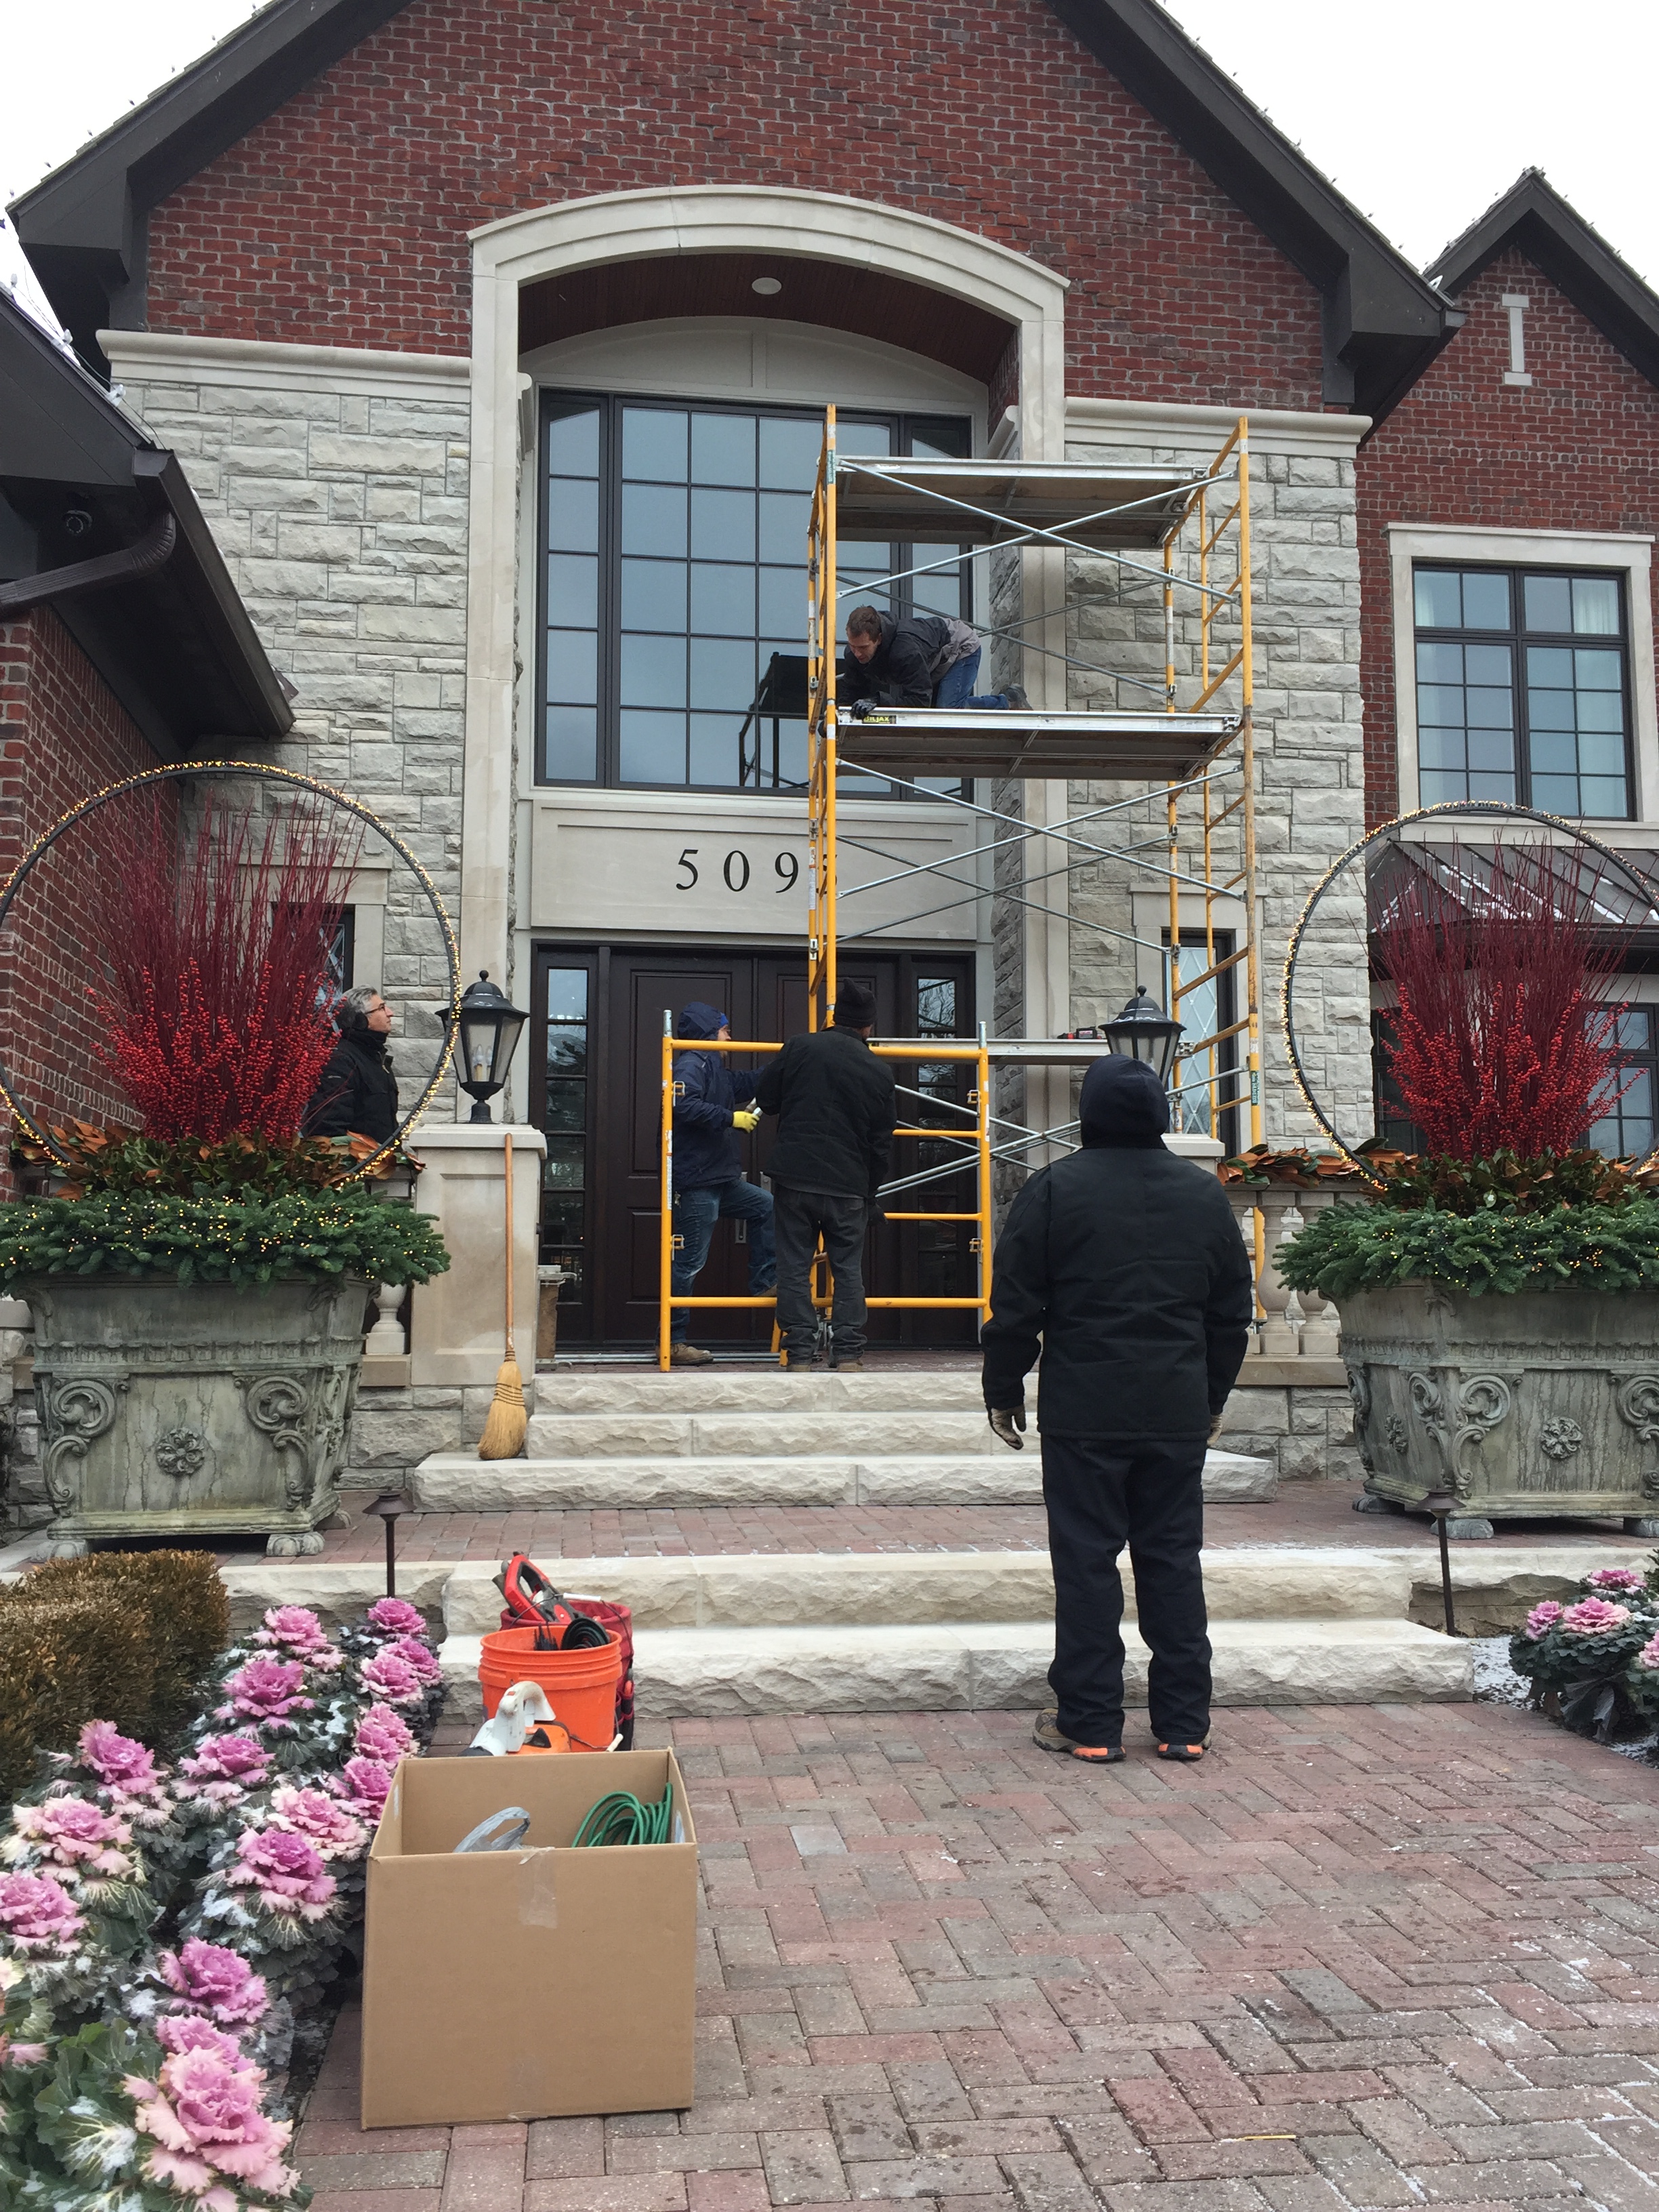
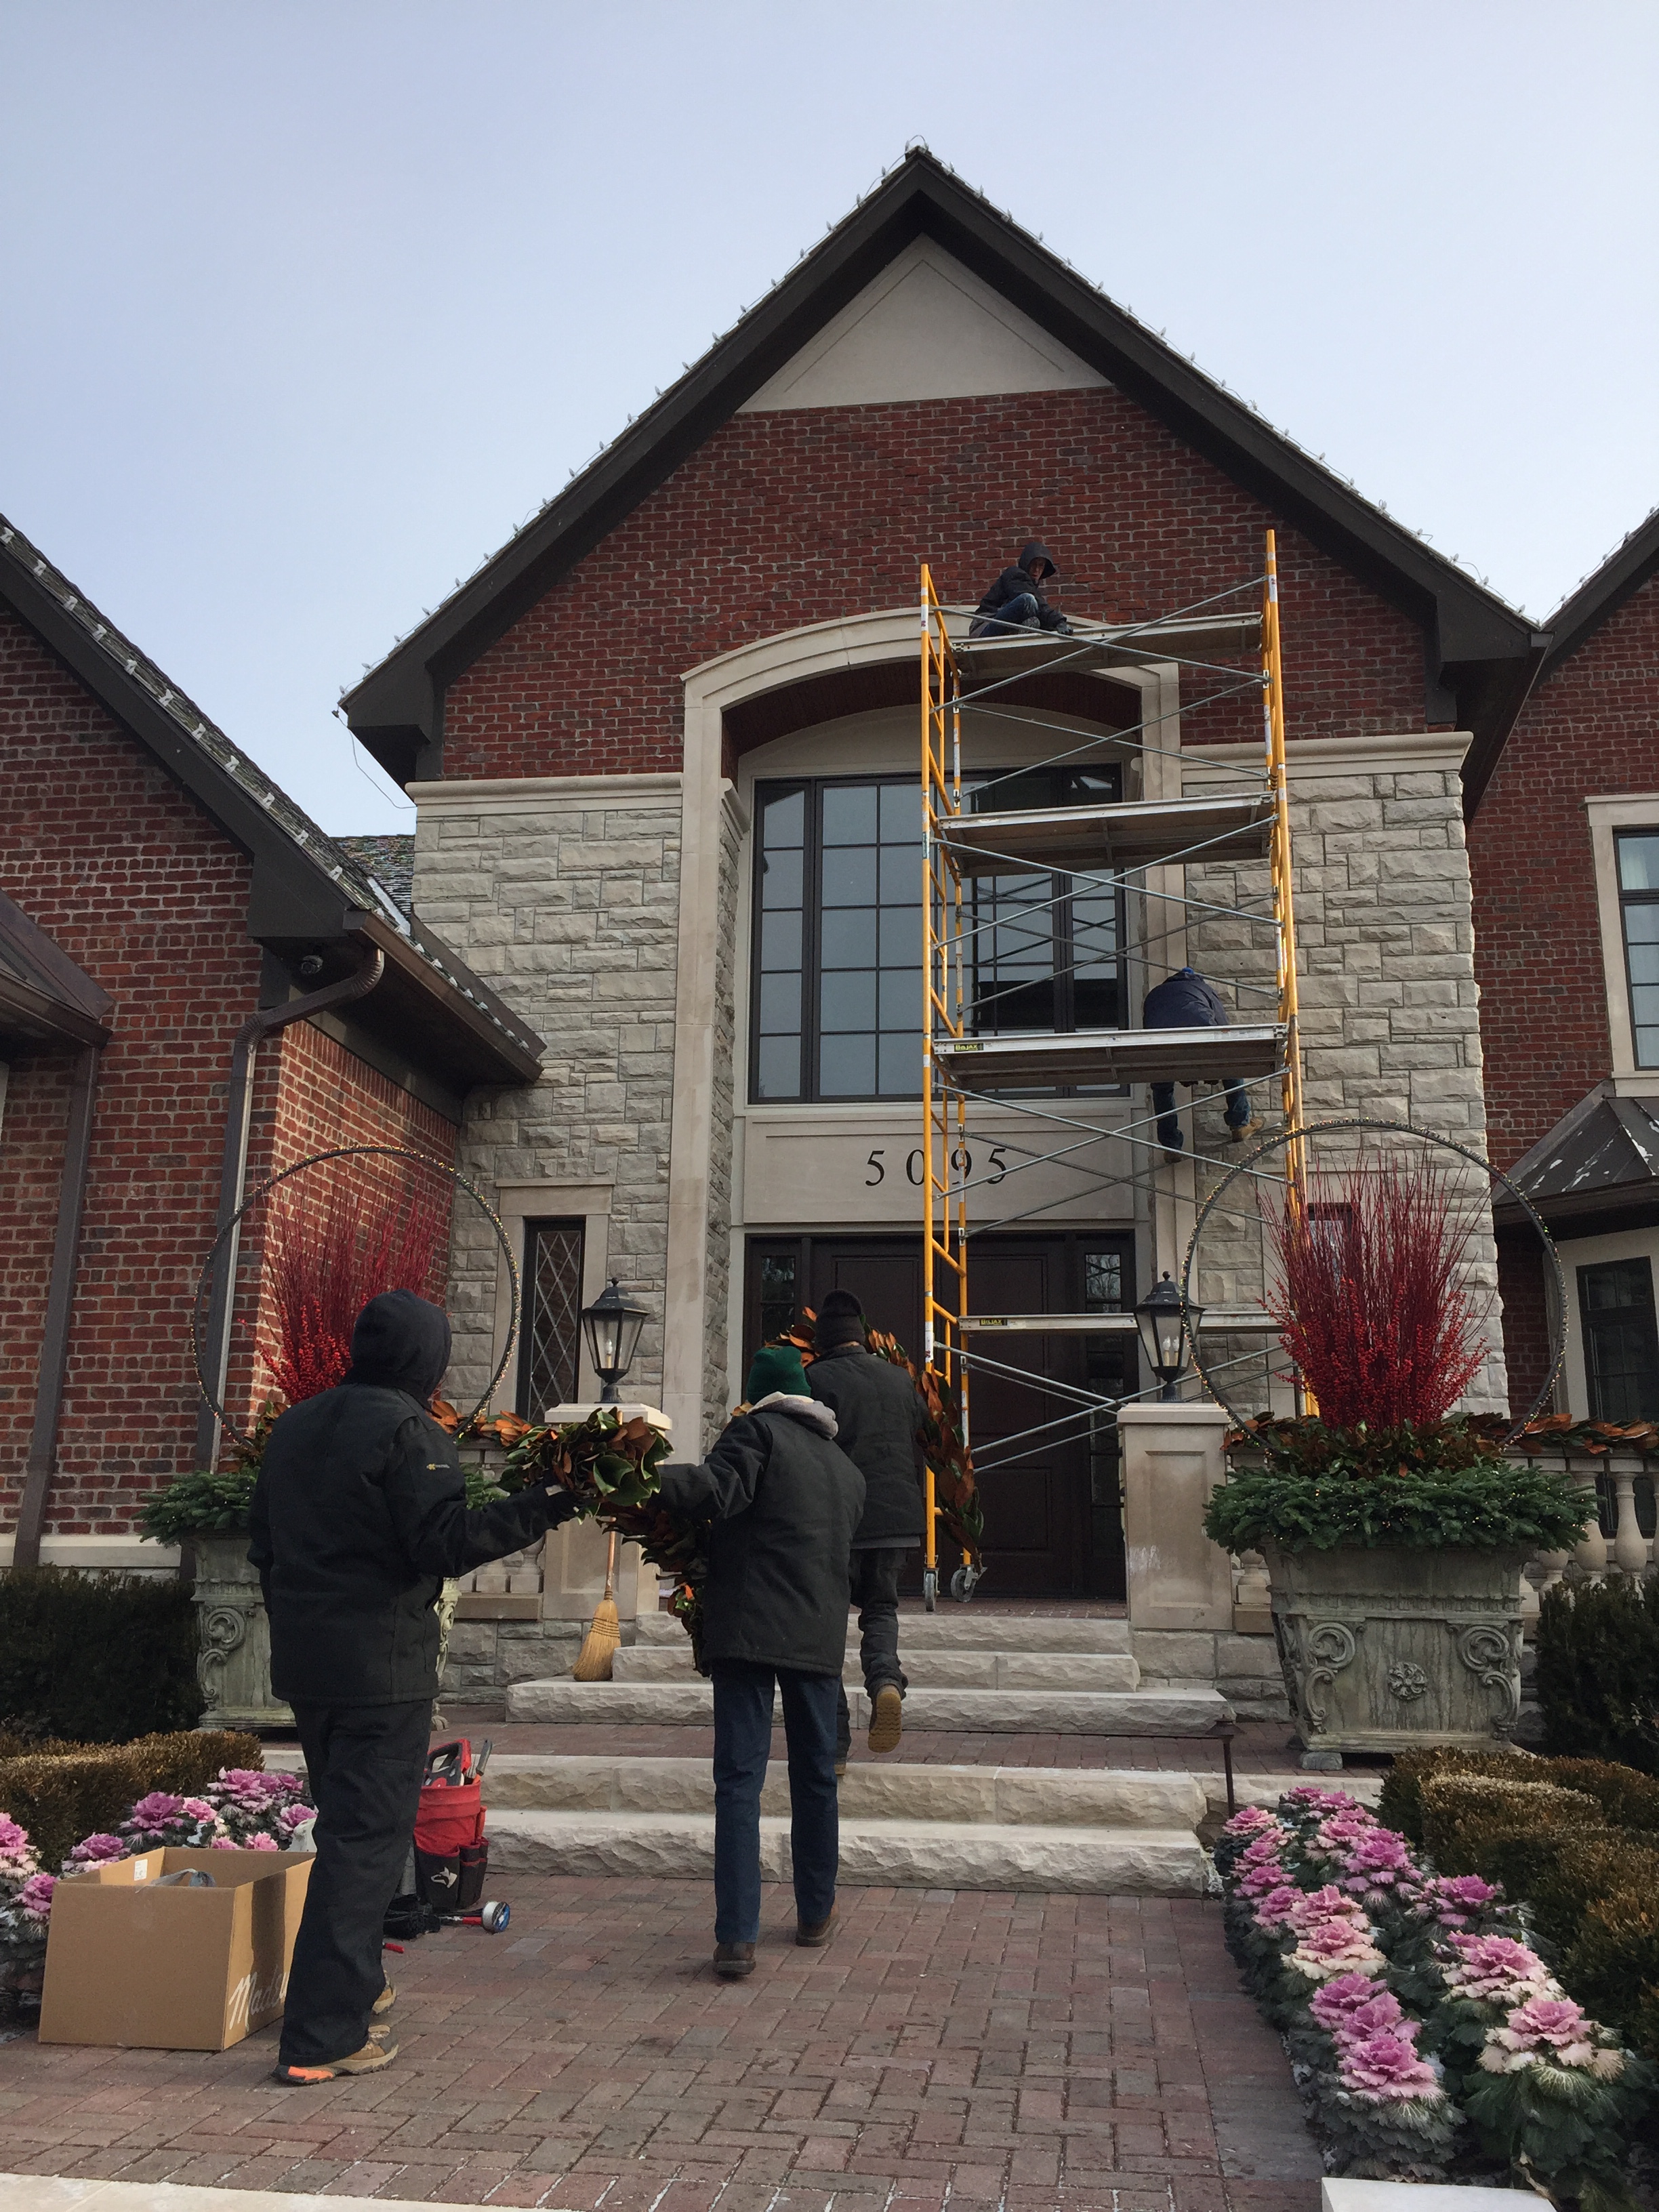
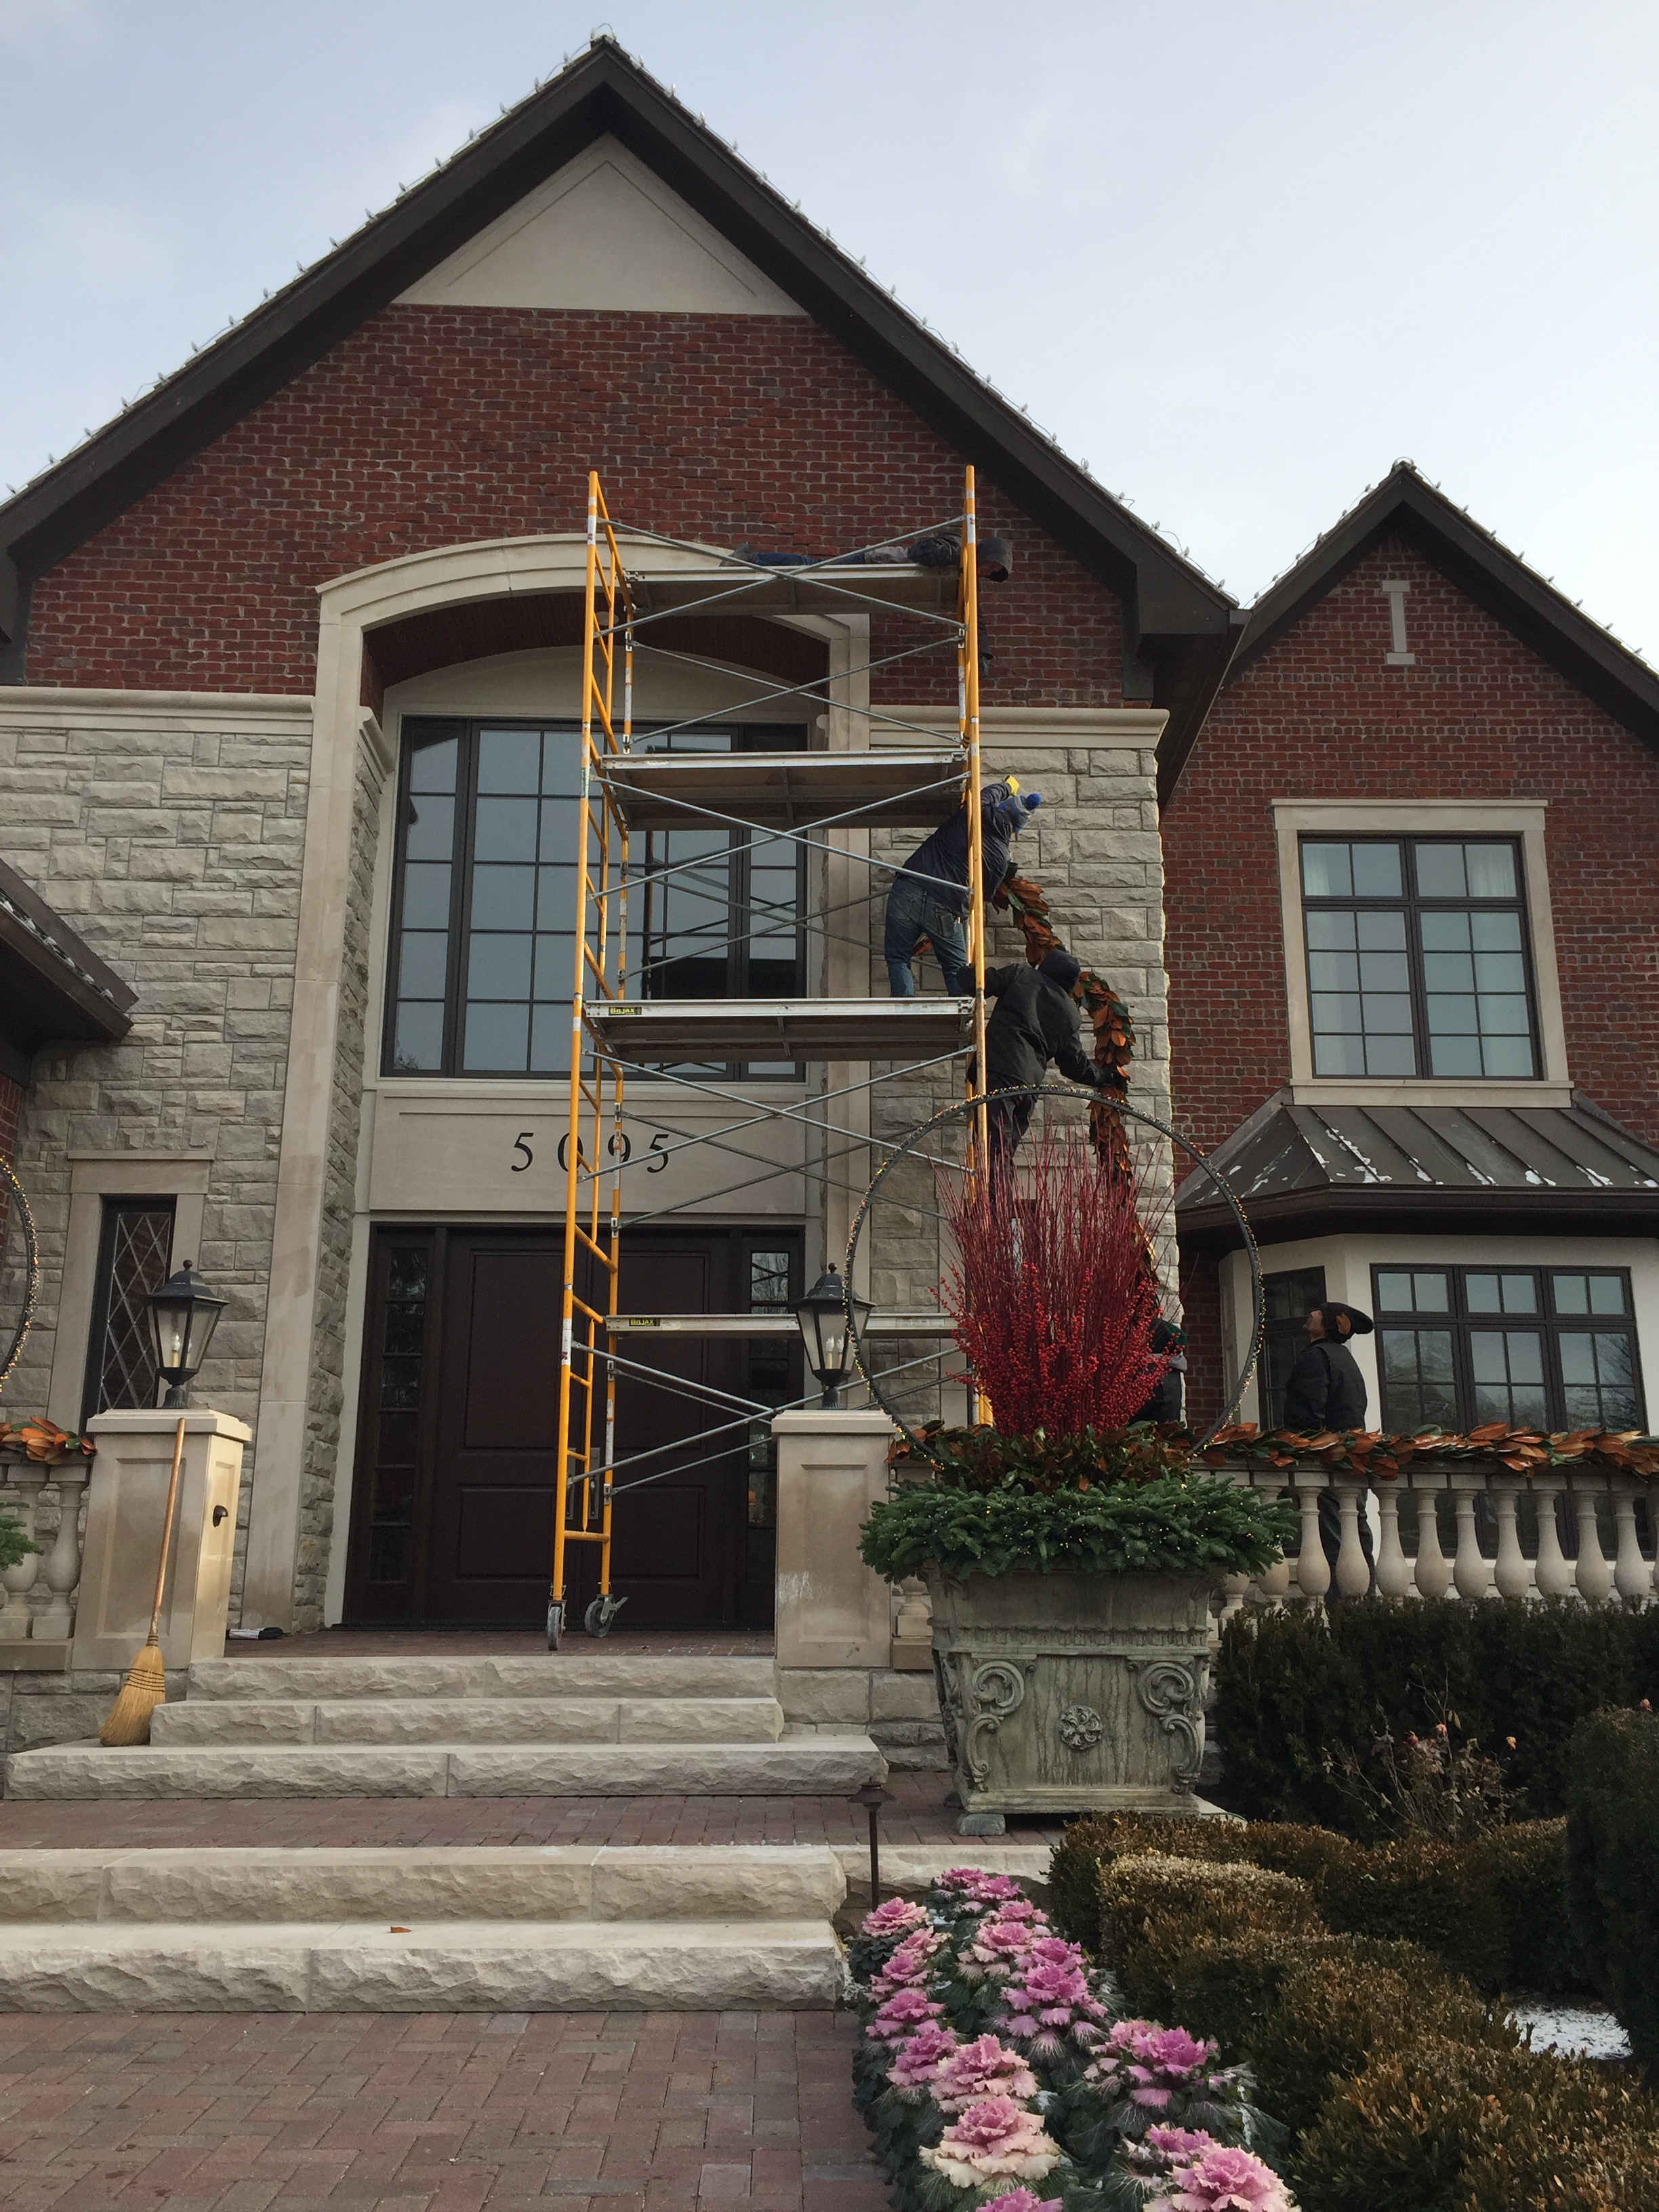
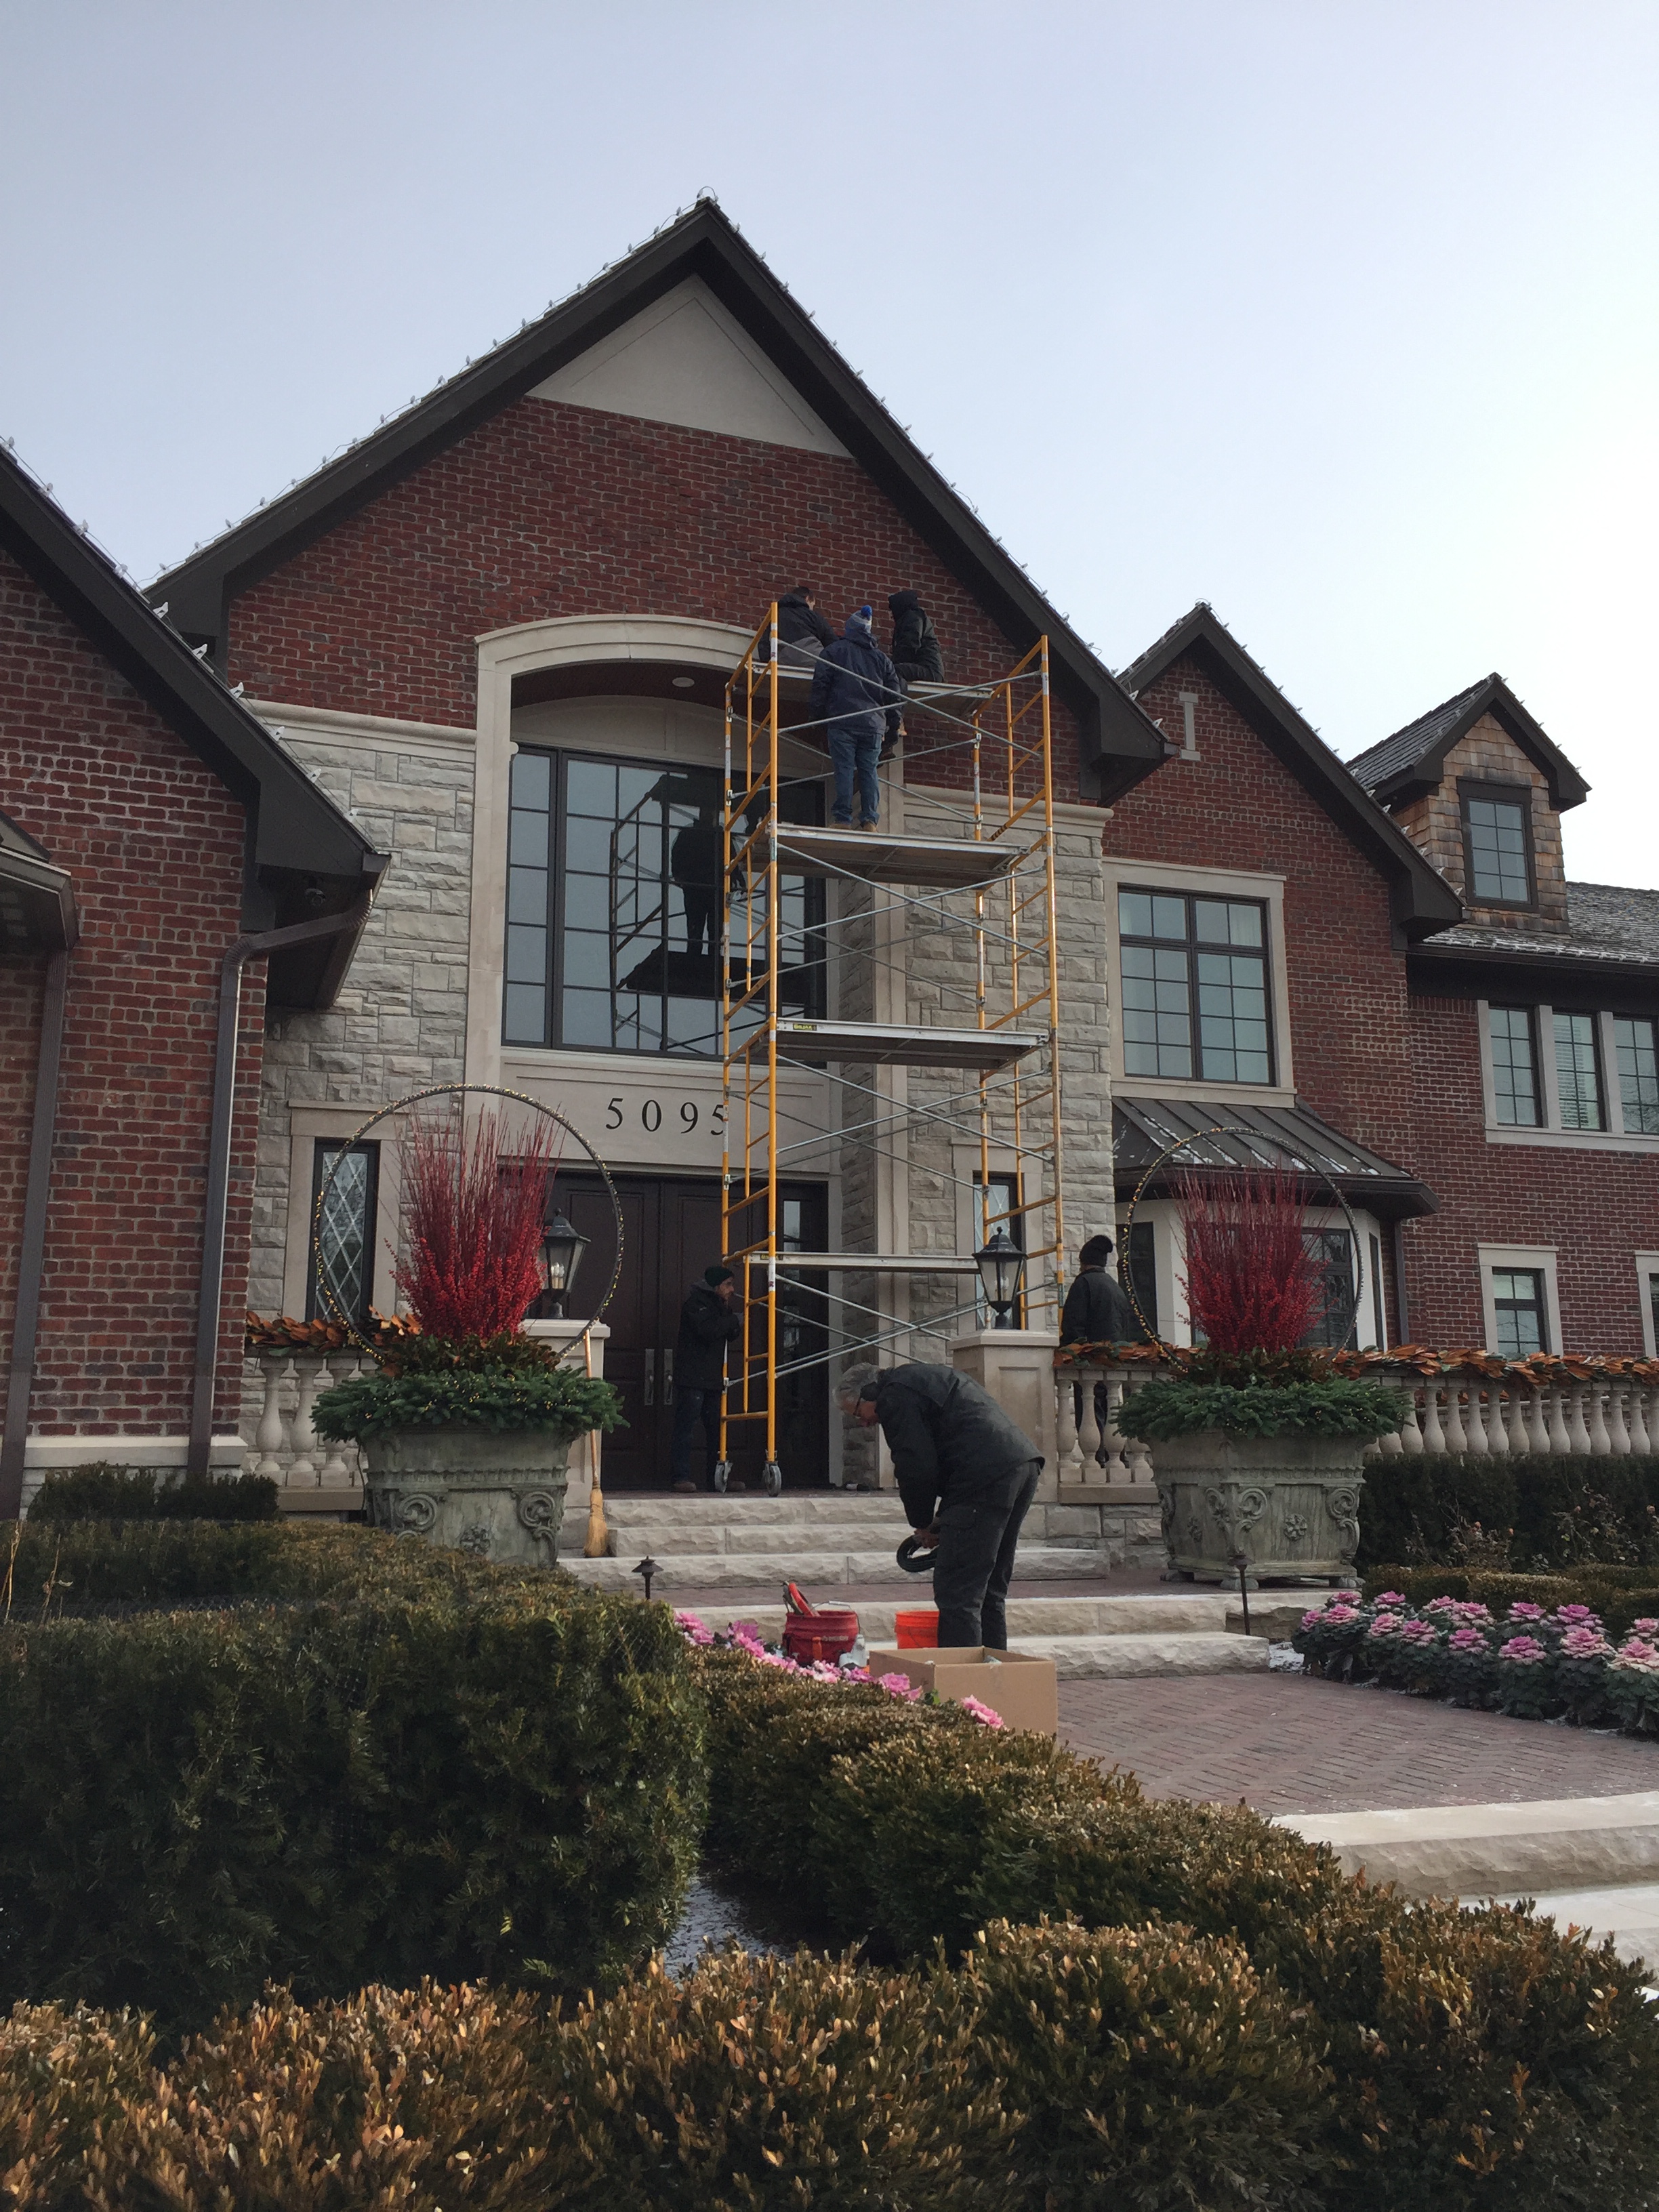
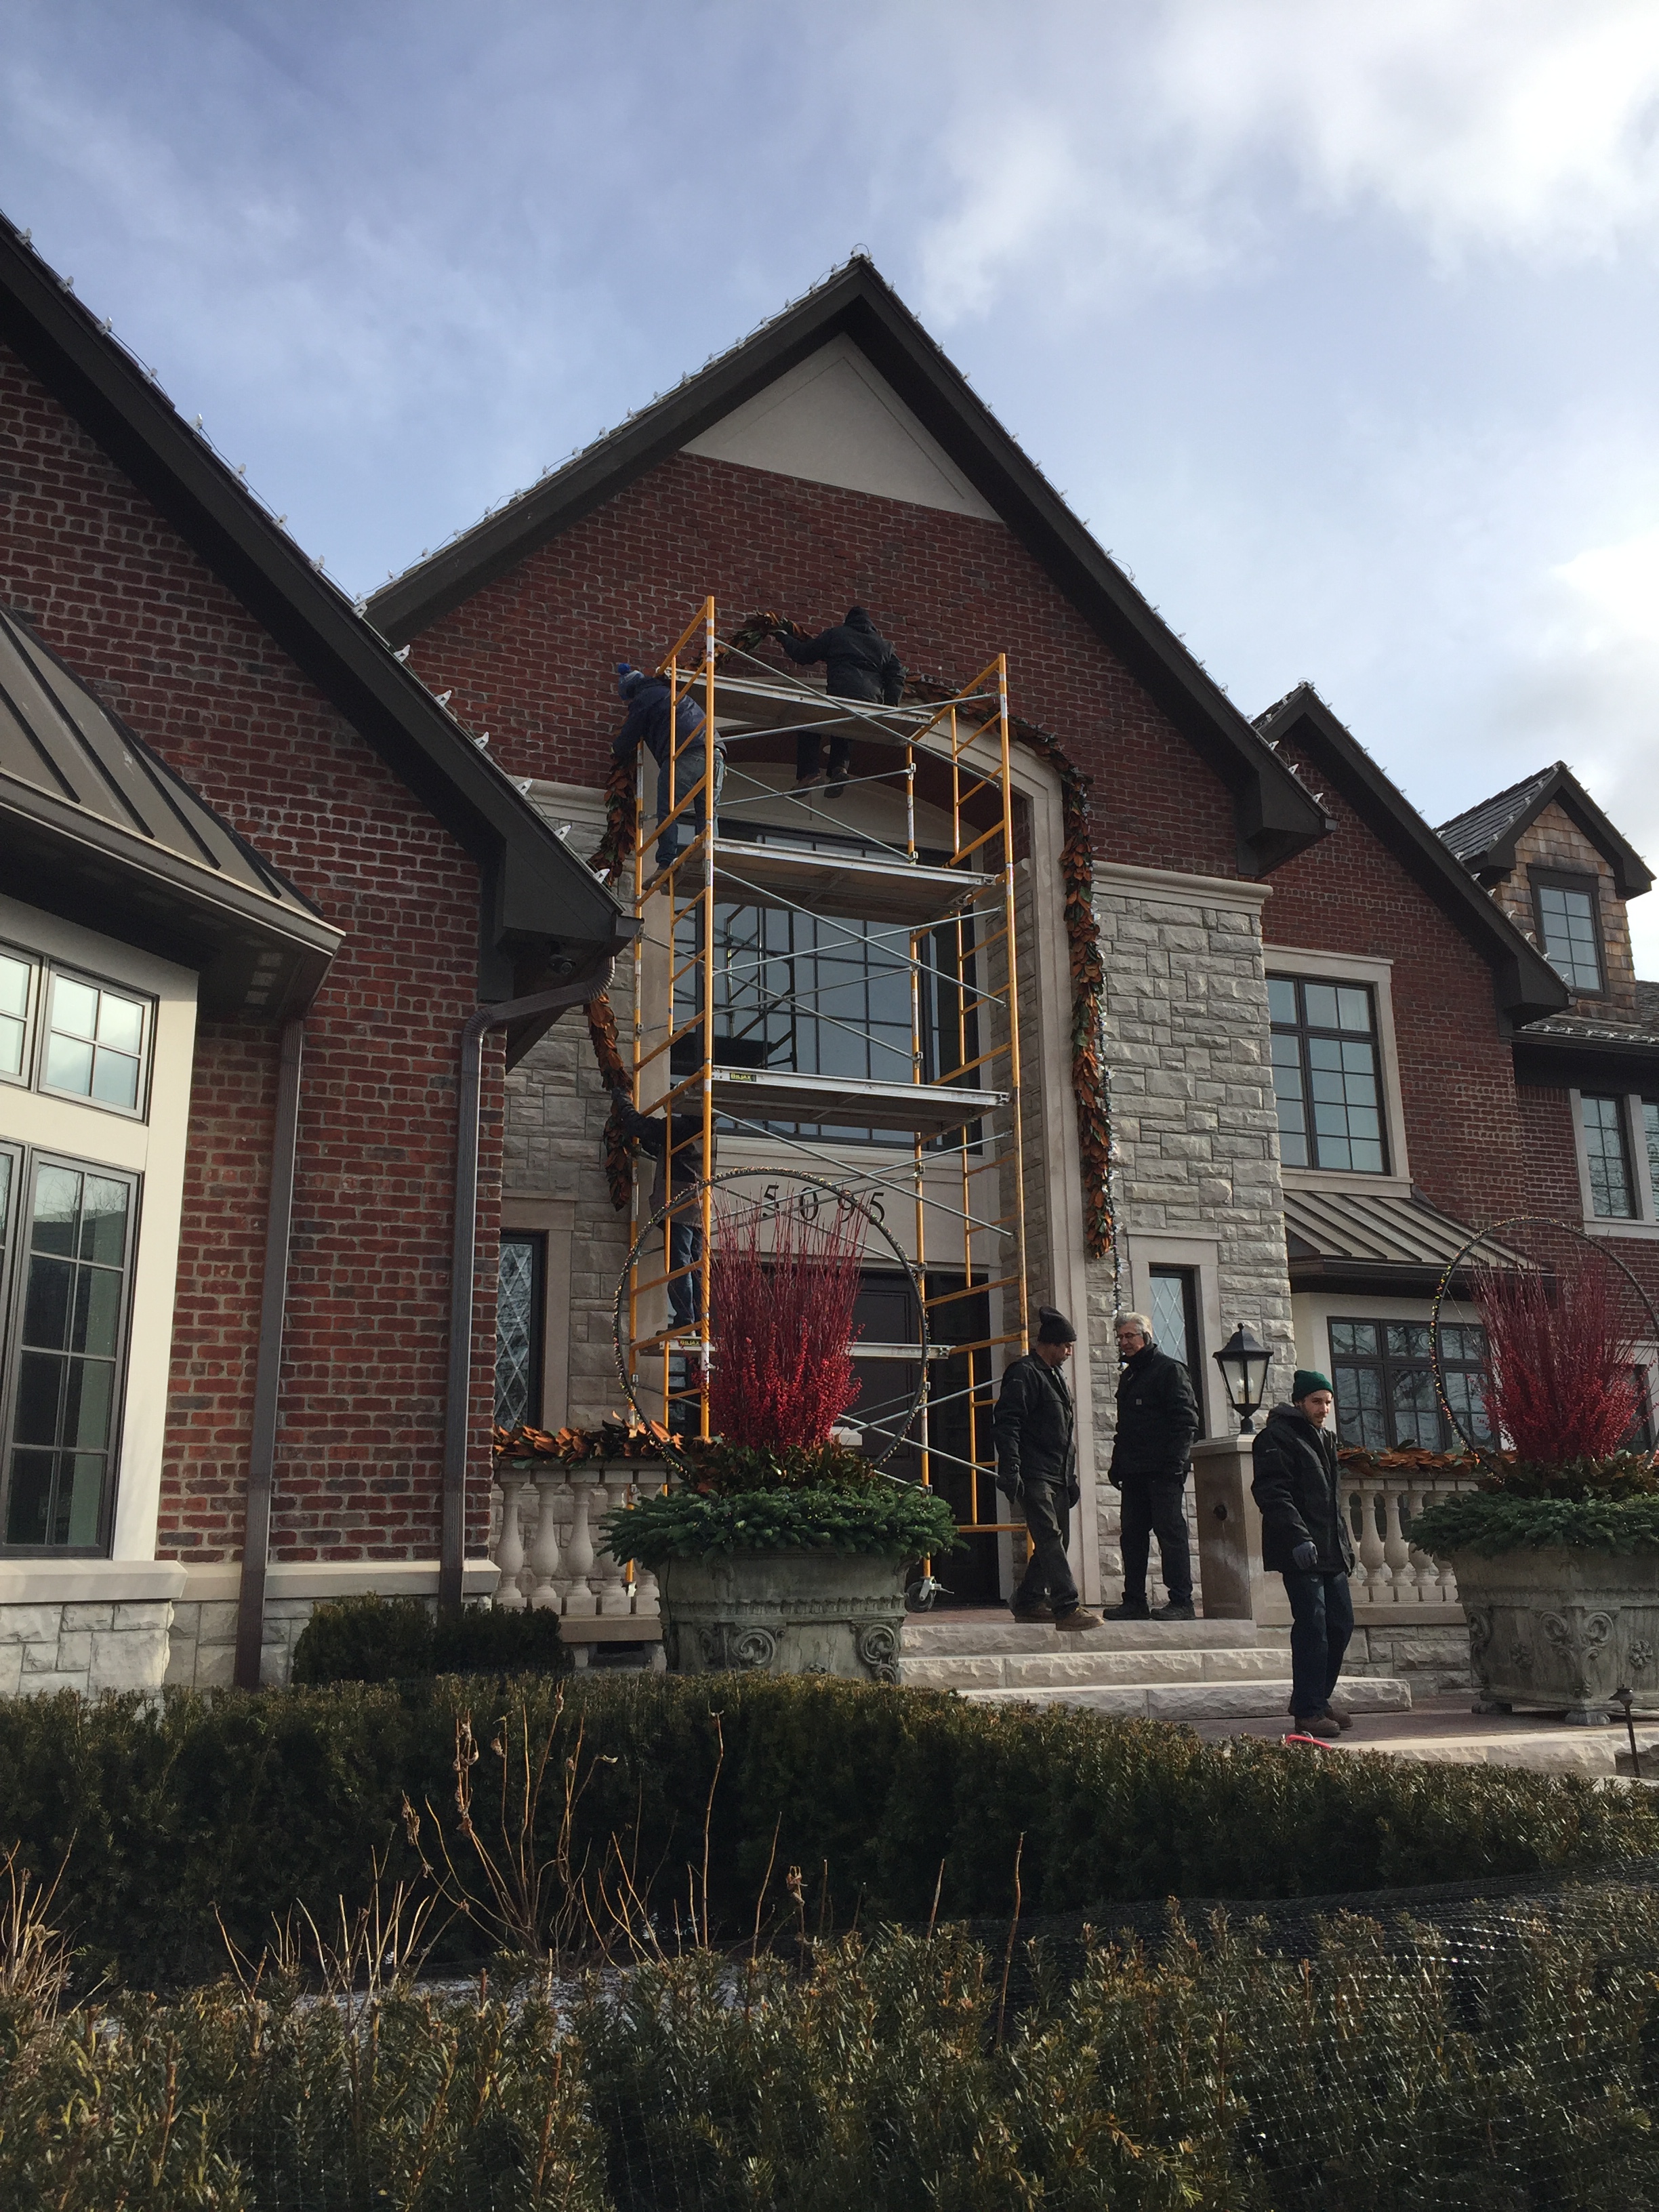
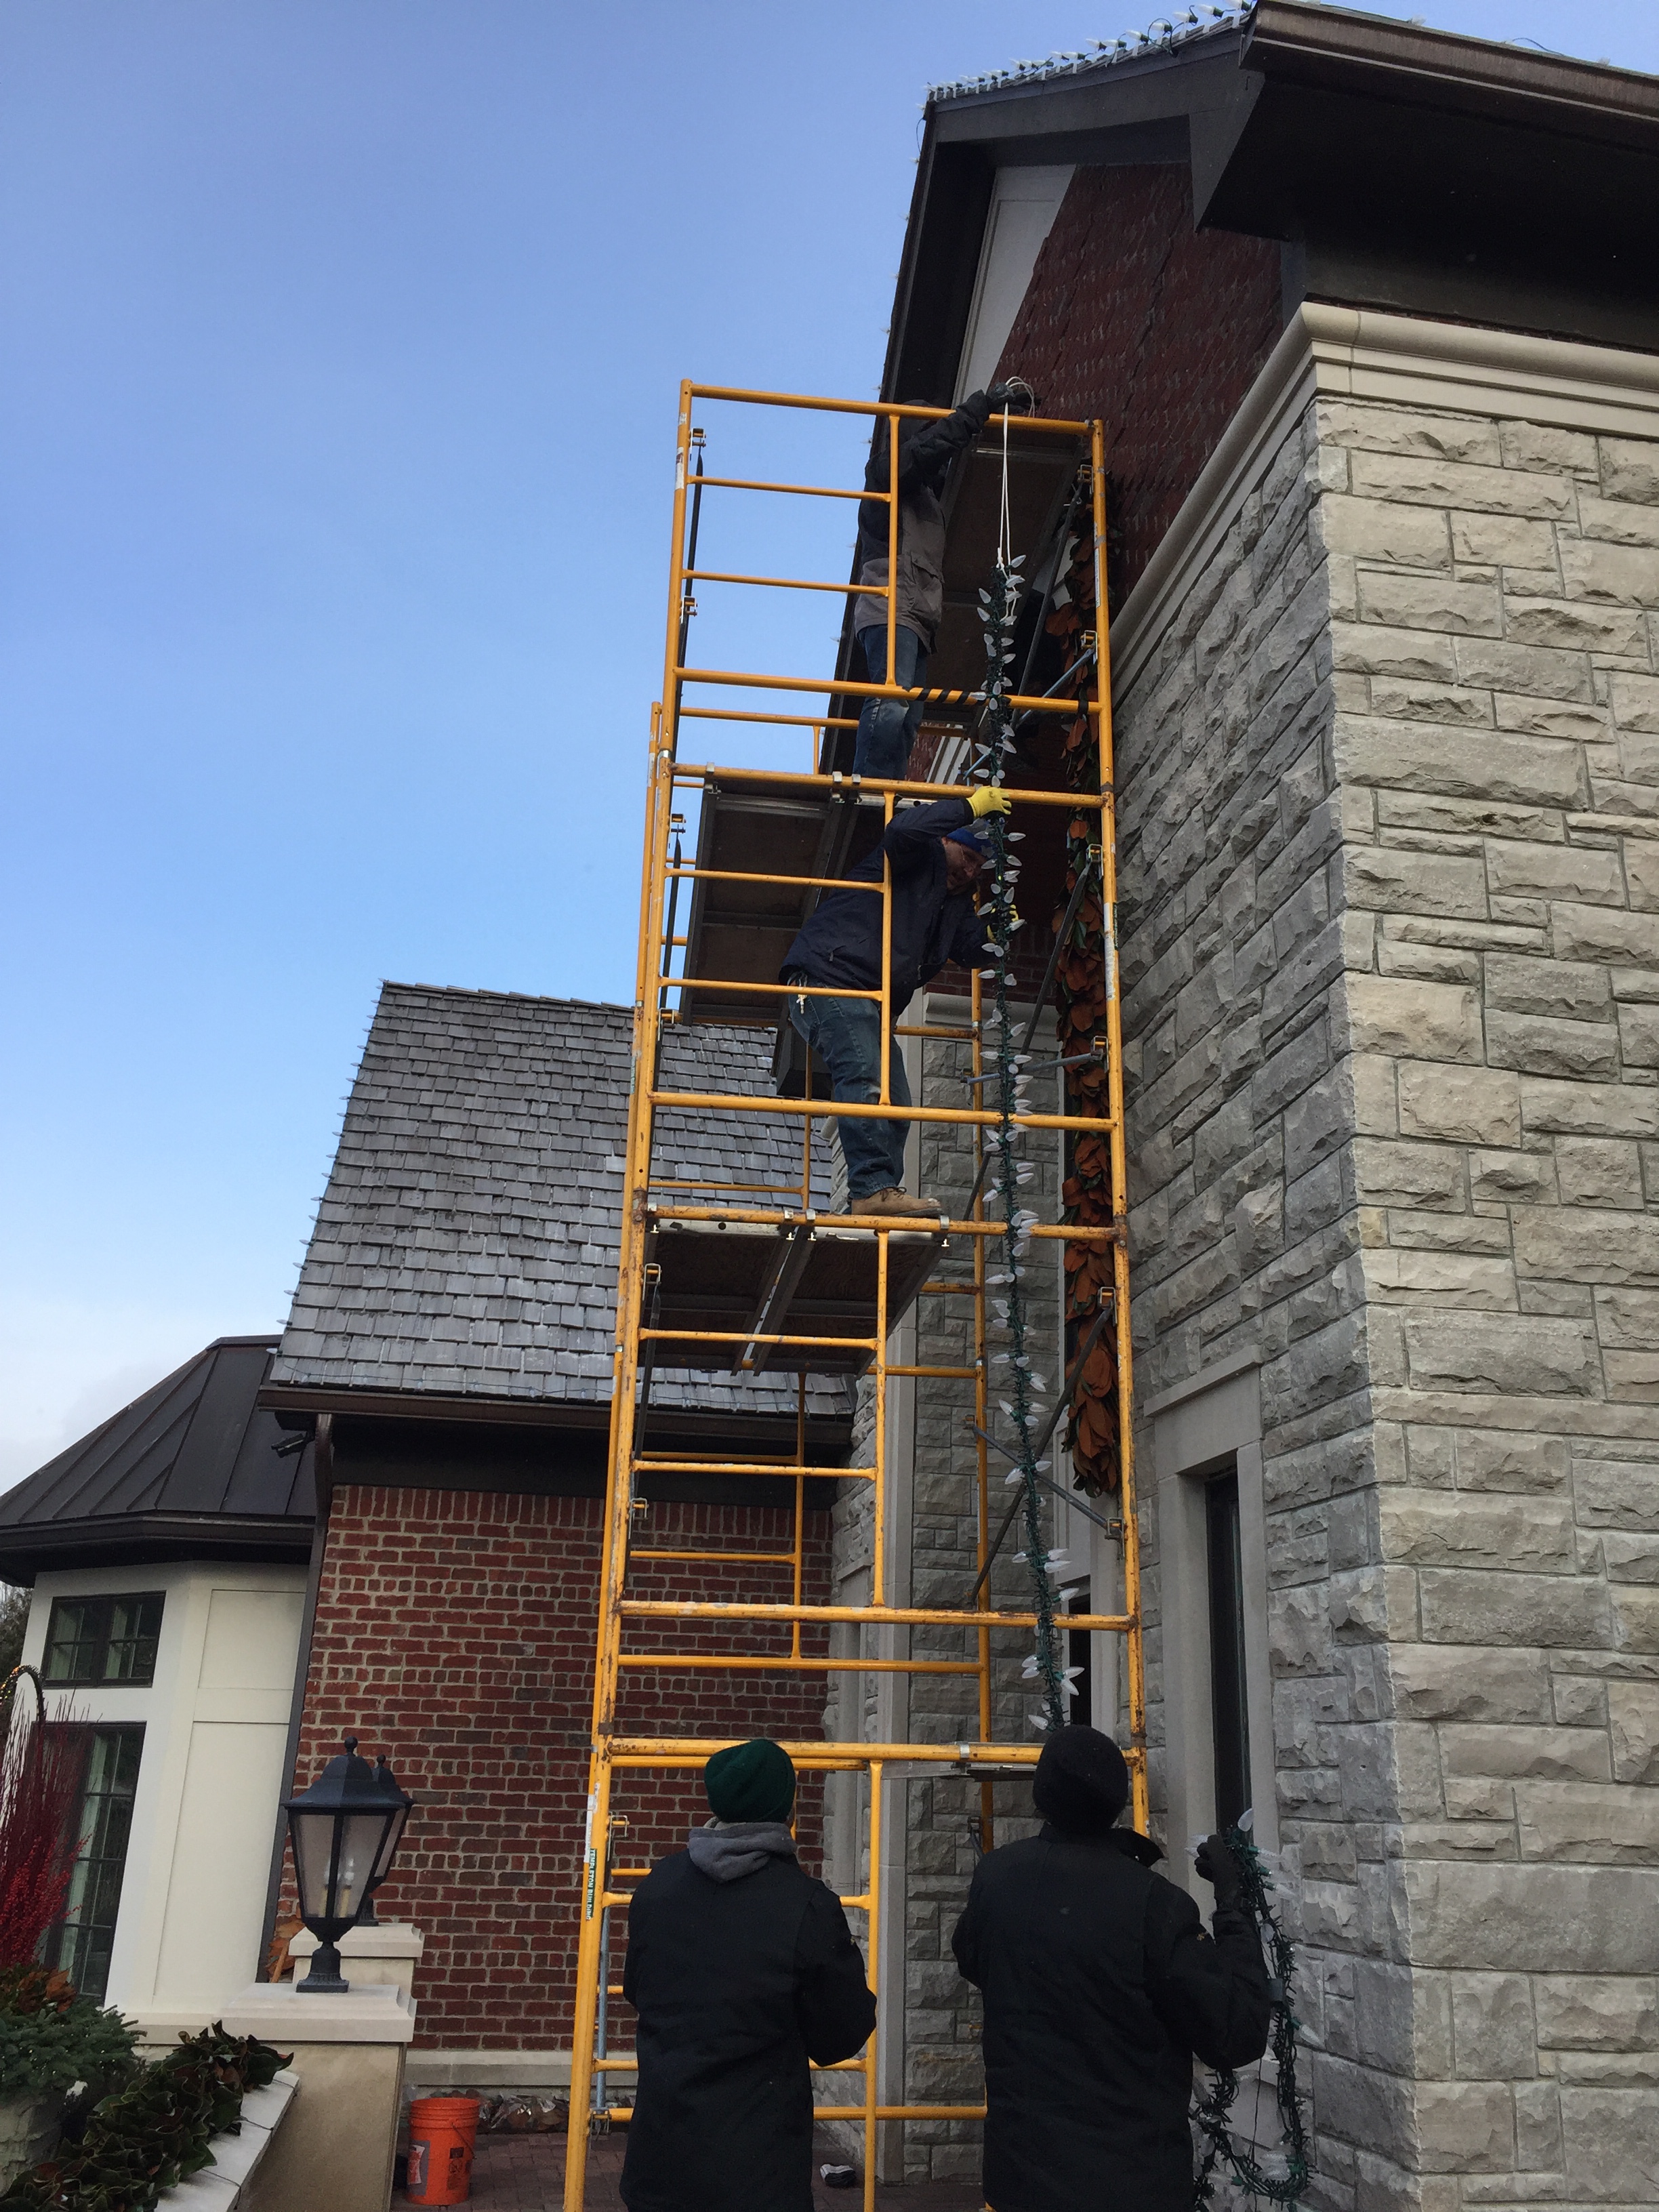
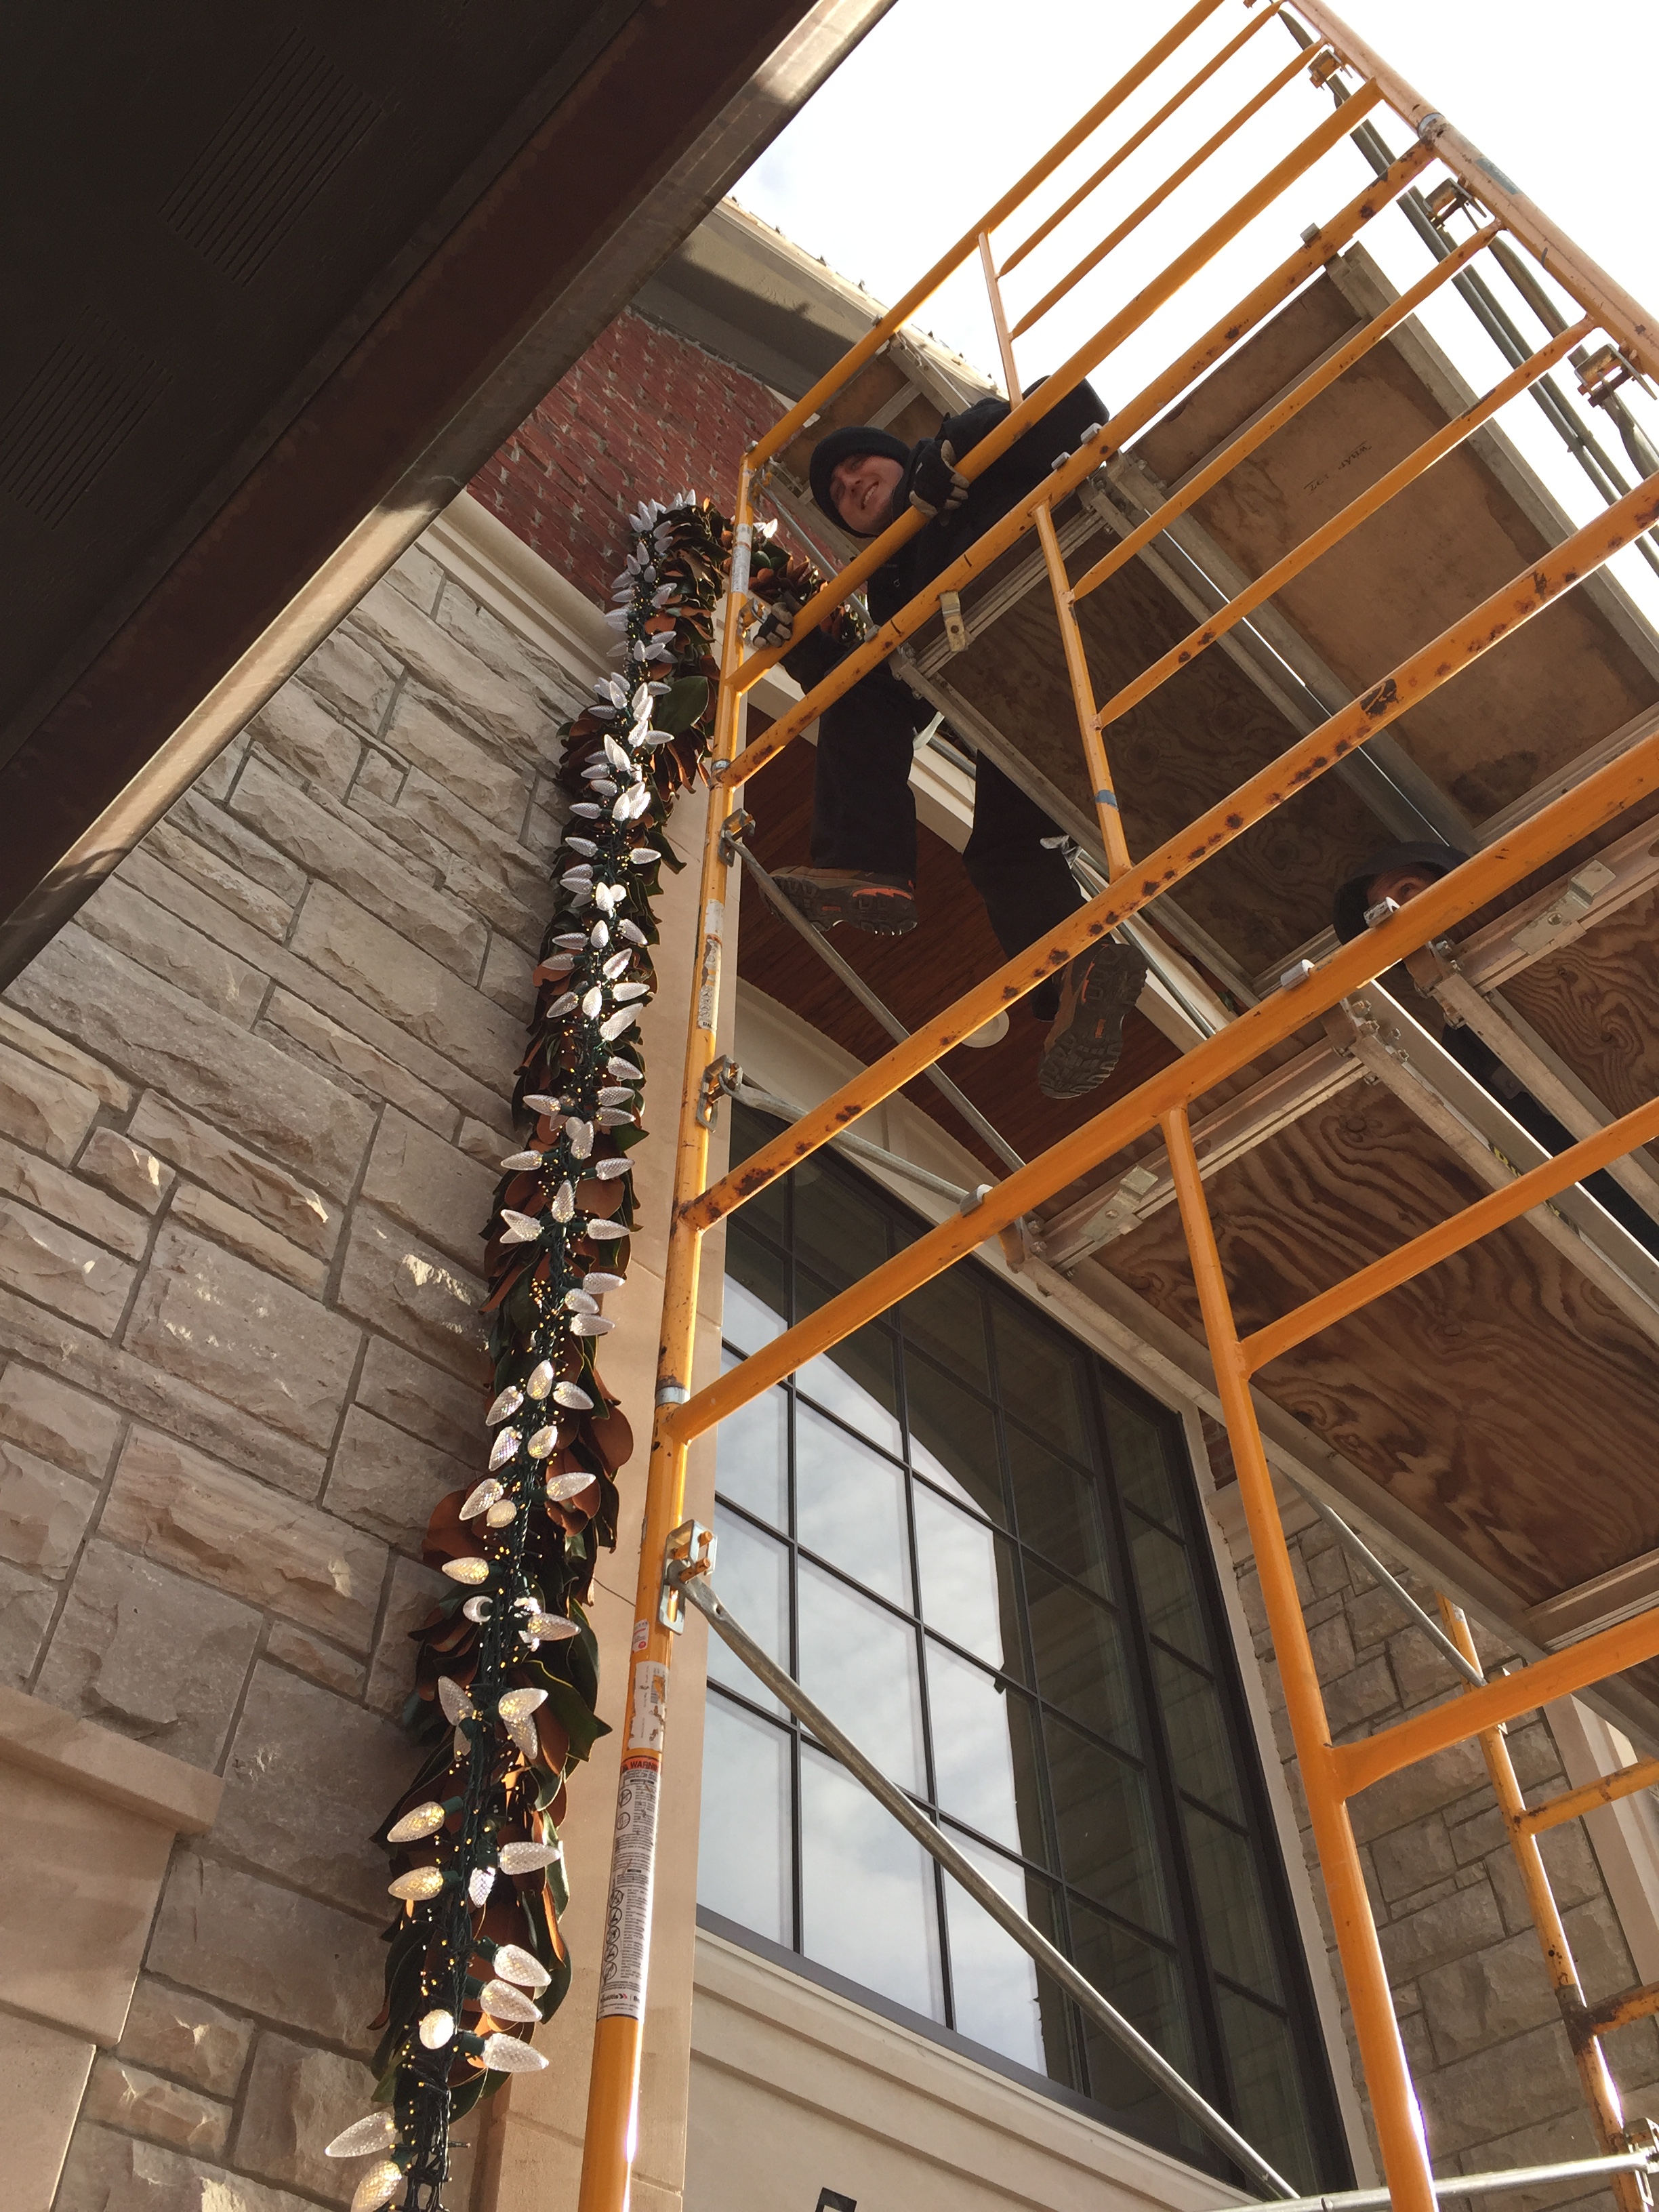
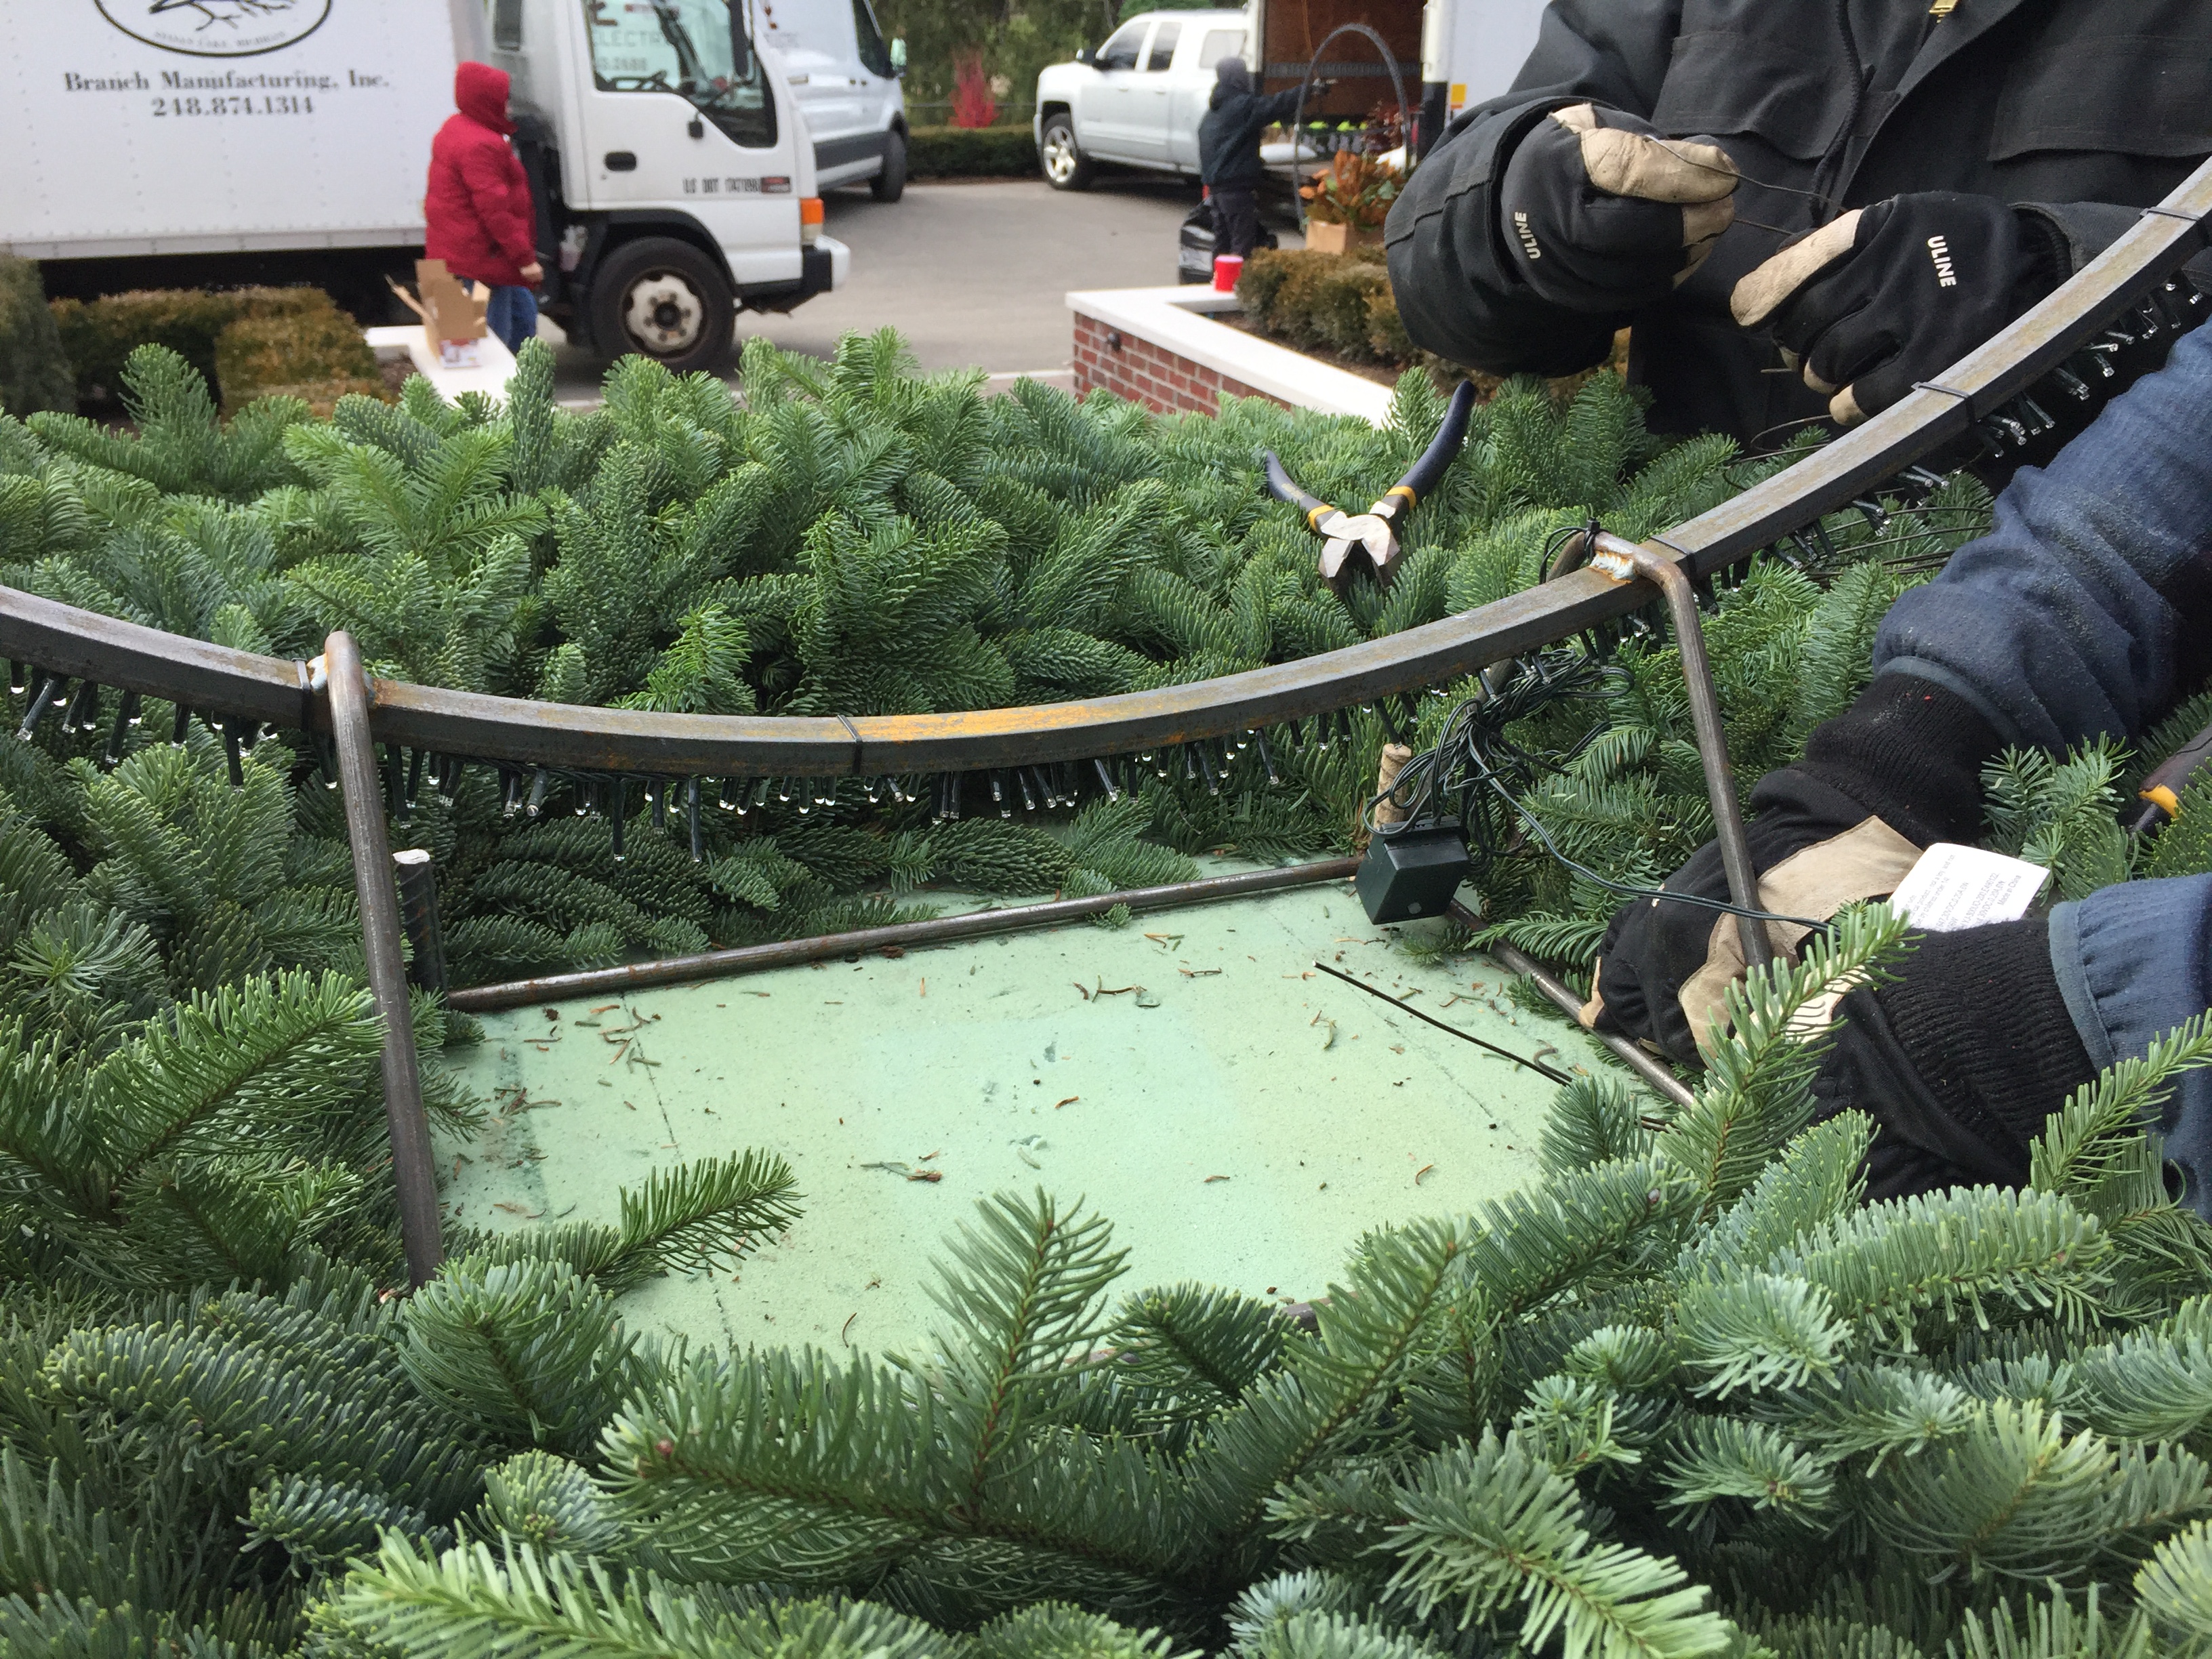
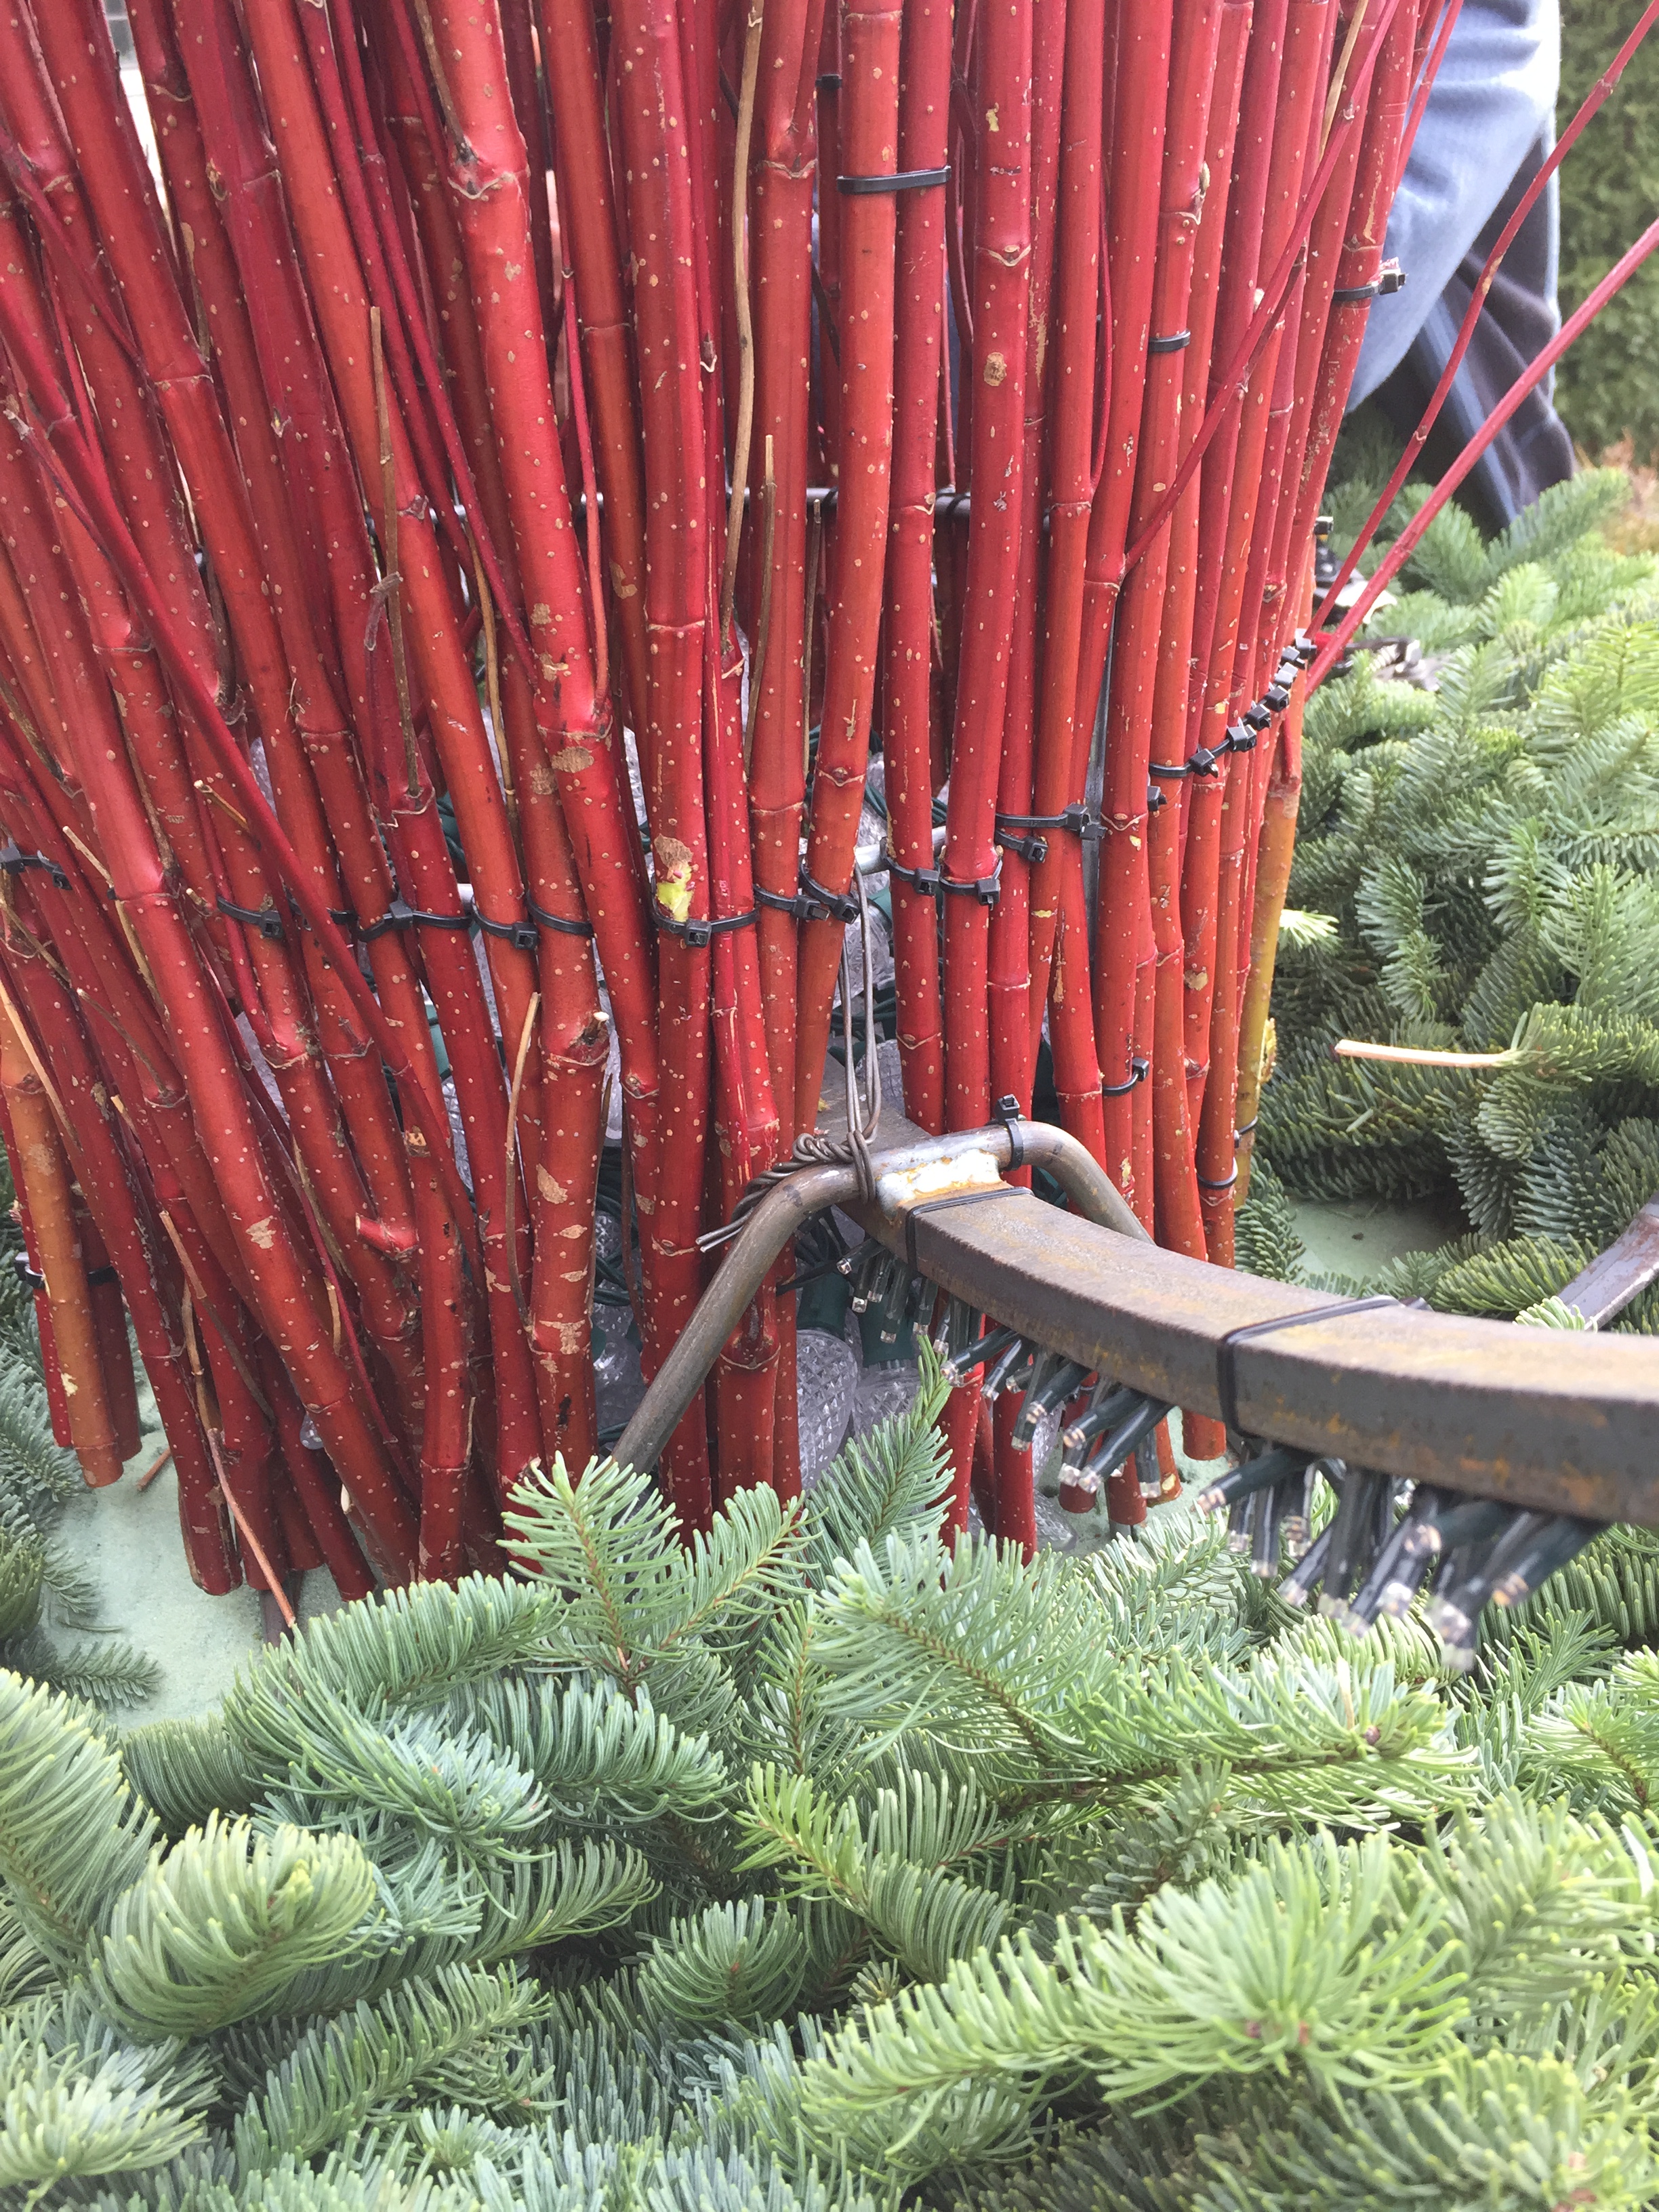
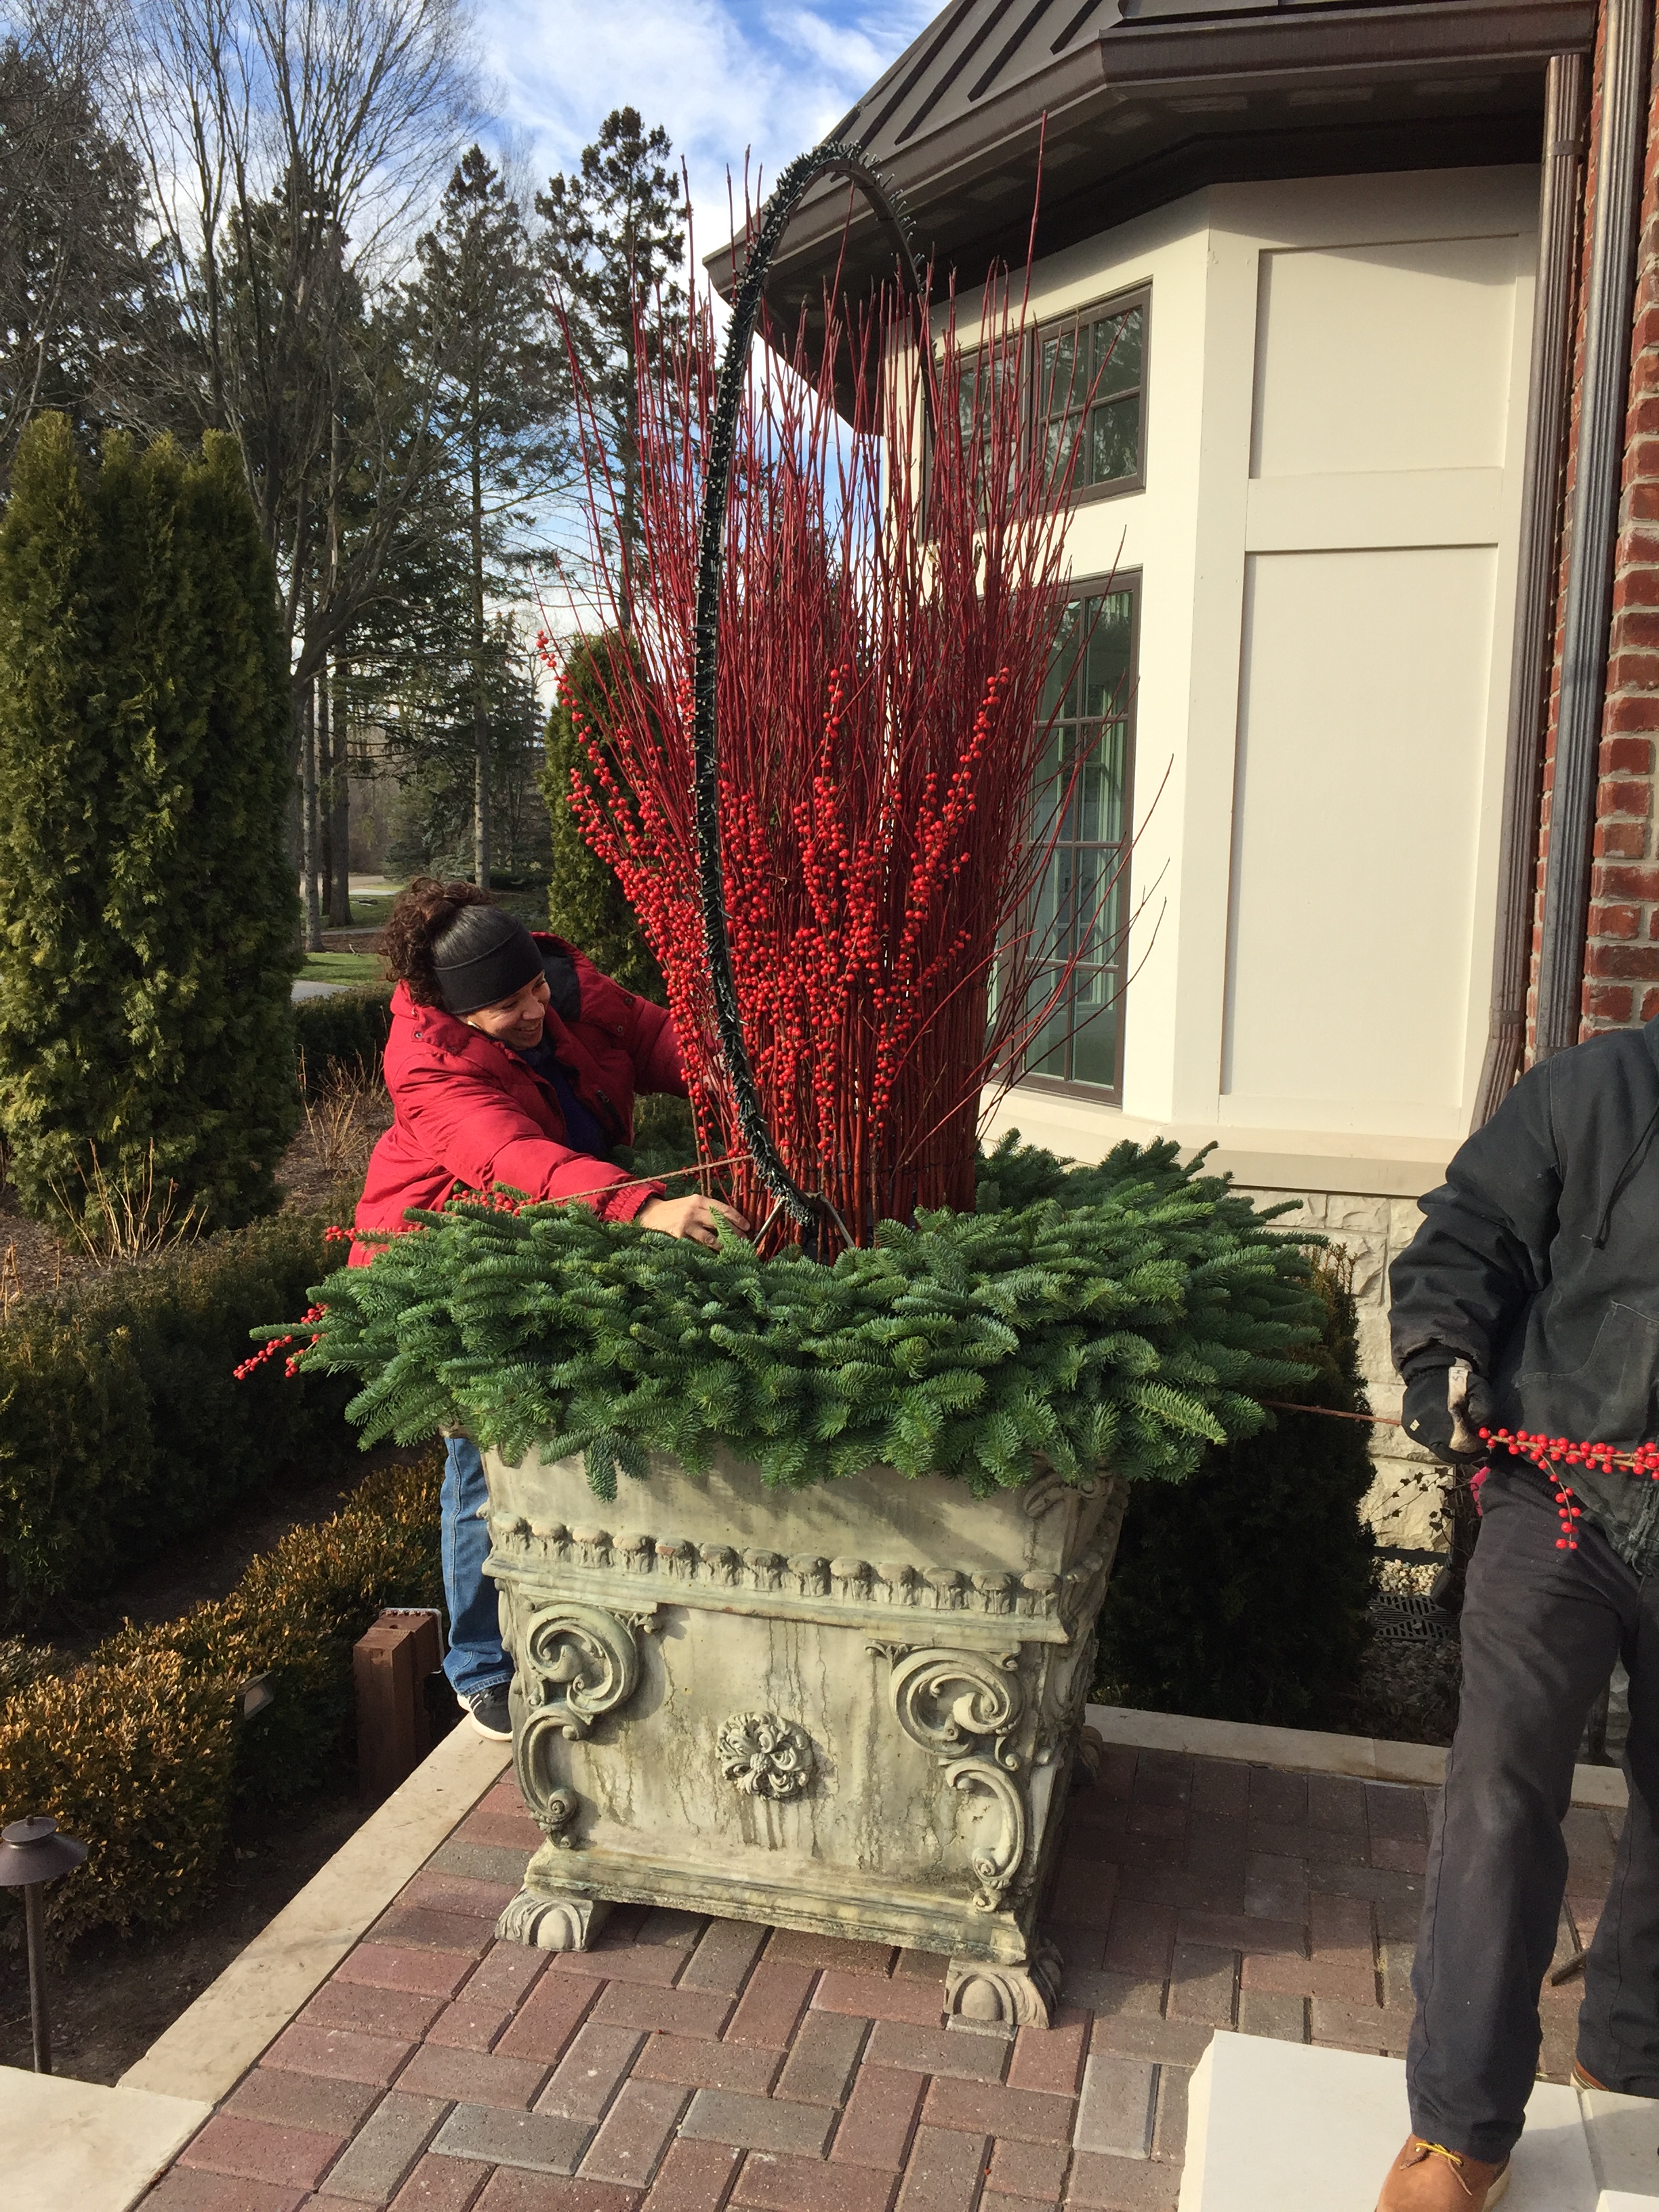
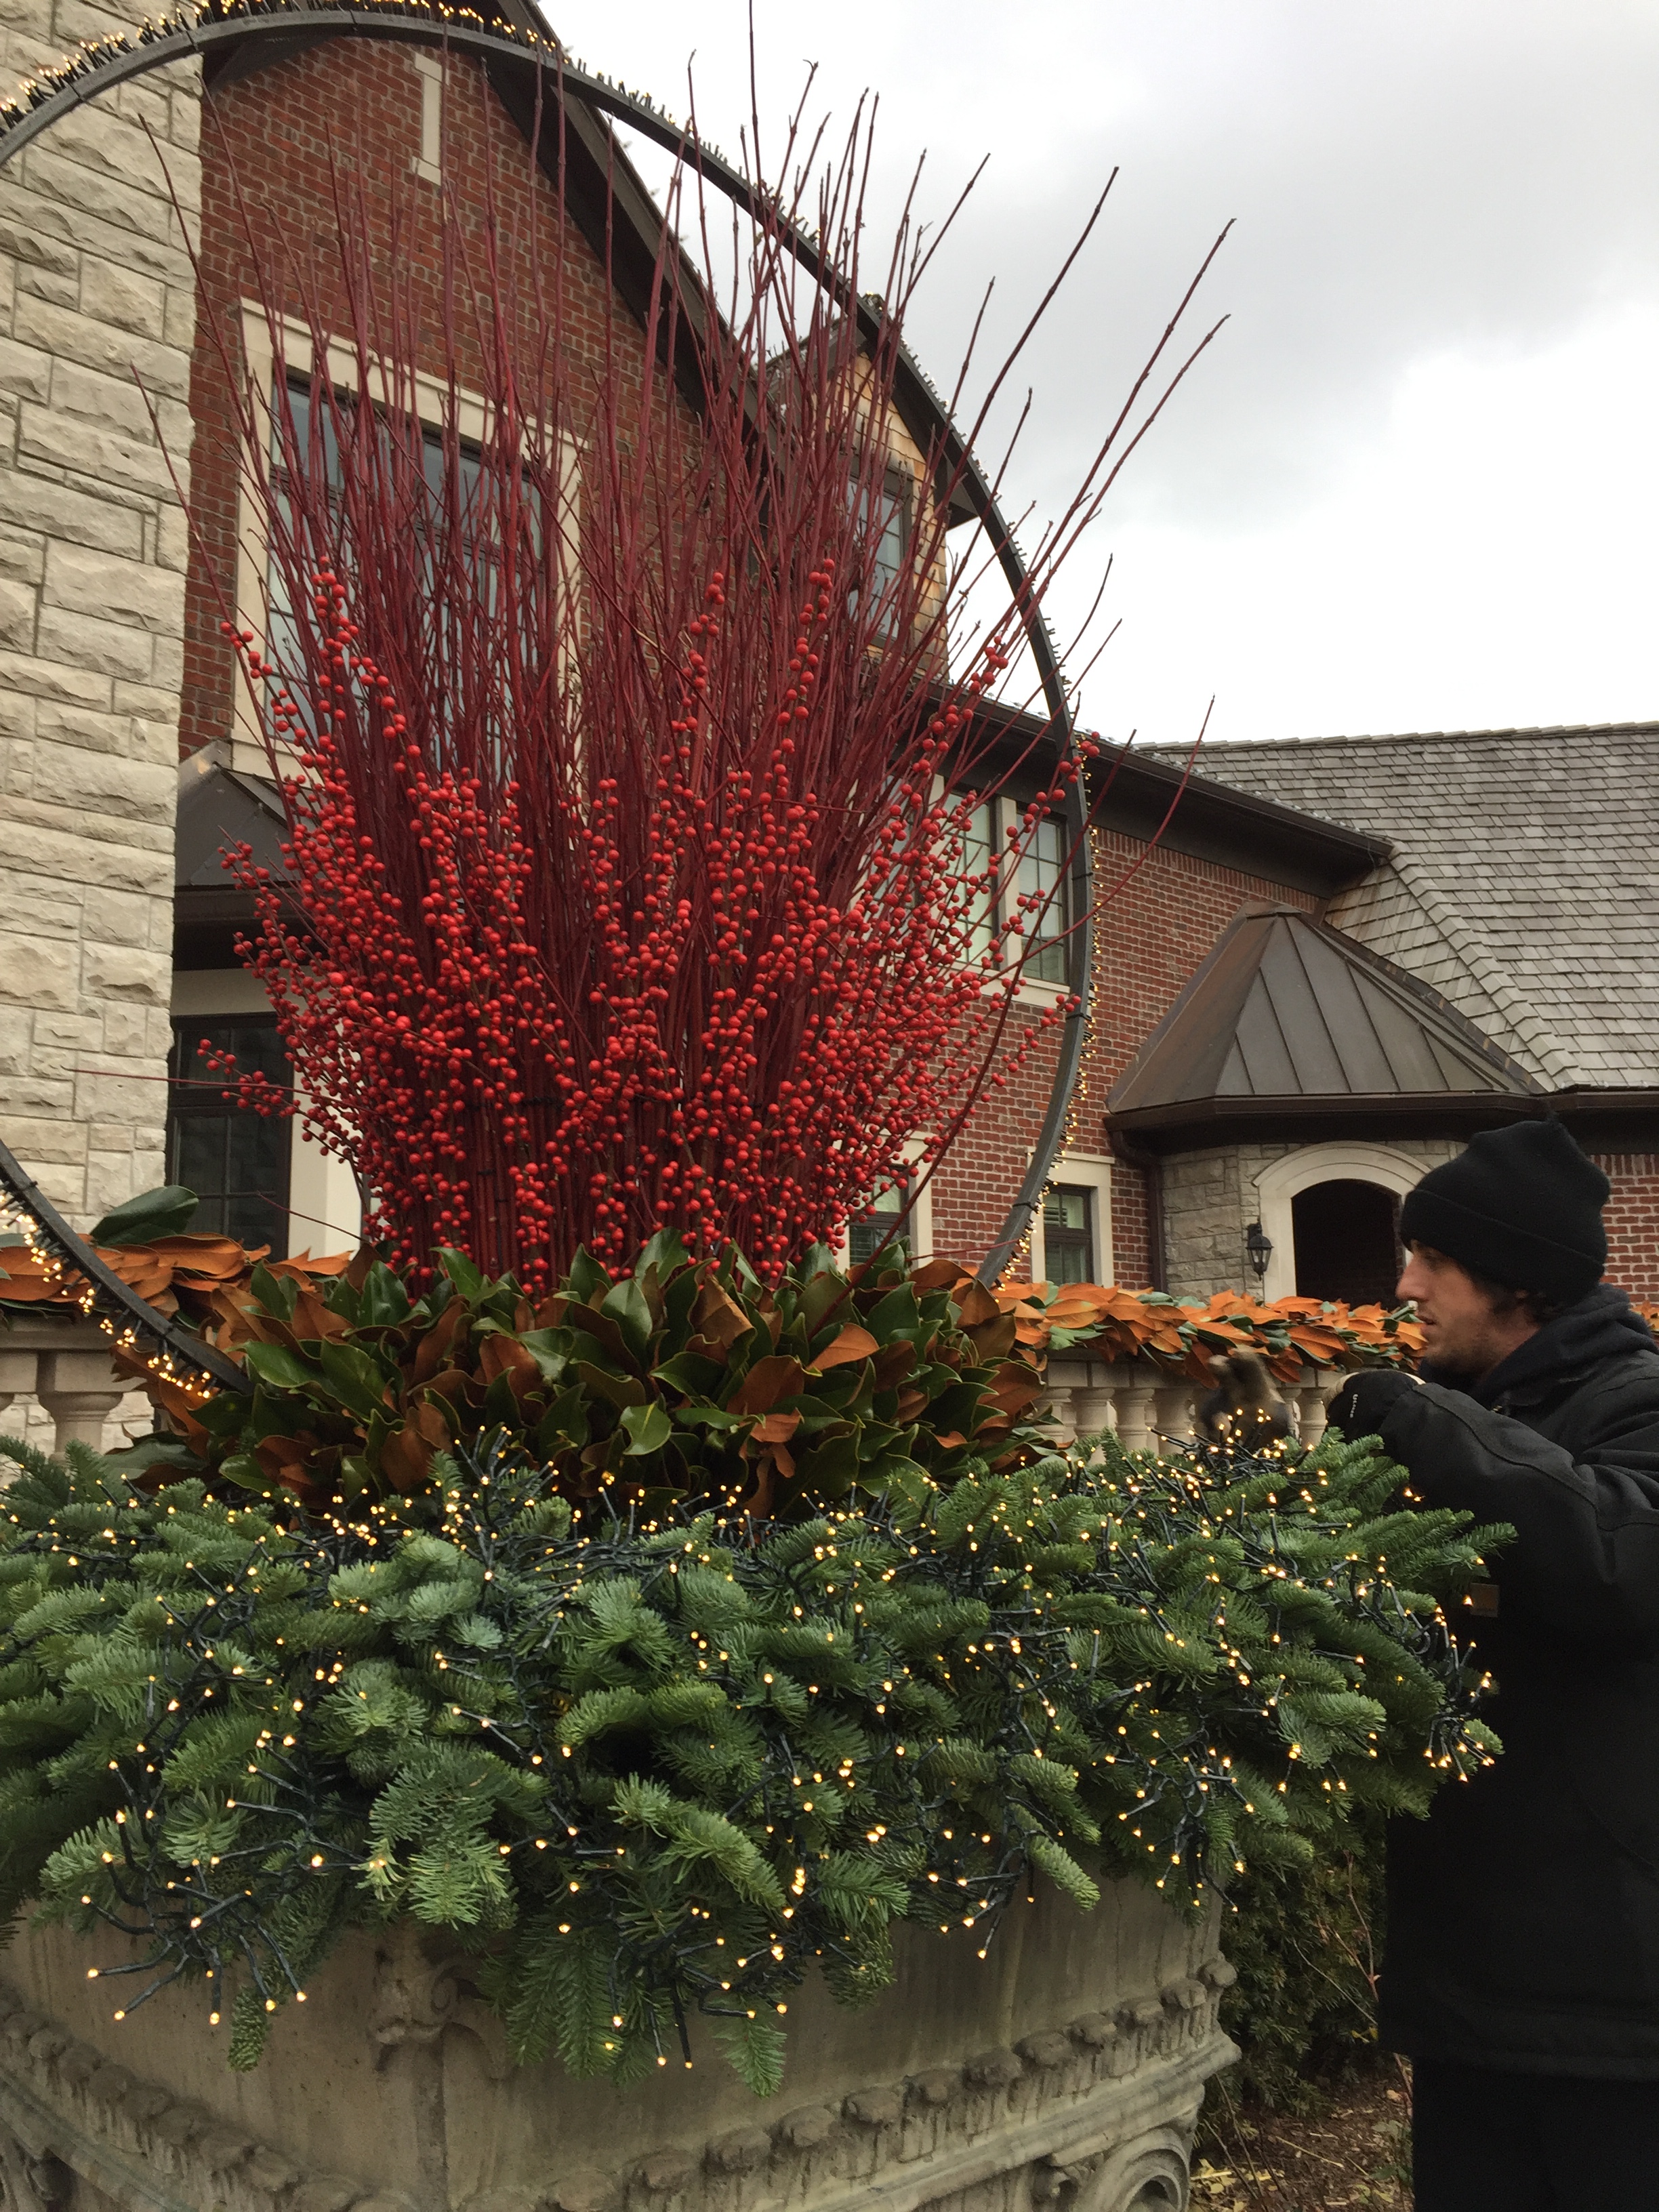
 Weaving light strings into the greens in a winter pot, and piling them up at the base of a centerpiece is a fairly simple task. The results are striking from a distance outdoors. And they provide so much visual interest from indoors. One client likes us to wrap the bottom 7 feet of the trunks of 4 columnar gingkos that frame the entrance to her house. She runs those lights all winter long, as they illuminate the way, and say welcome to my door. Temporary landscape lighting done in November that can light the night until the days start to lengthen is a feature of my winter landscape.
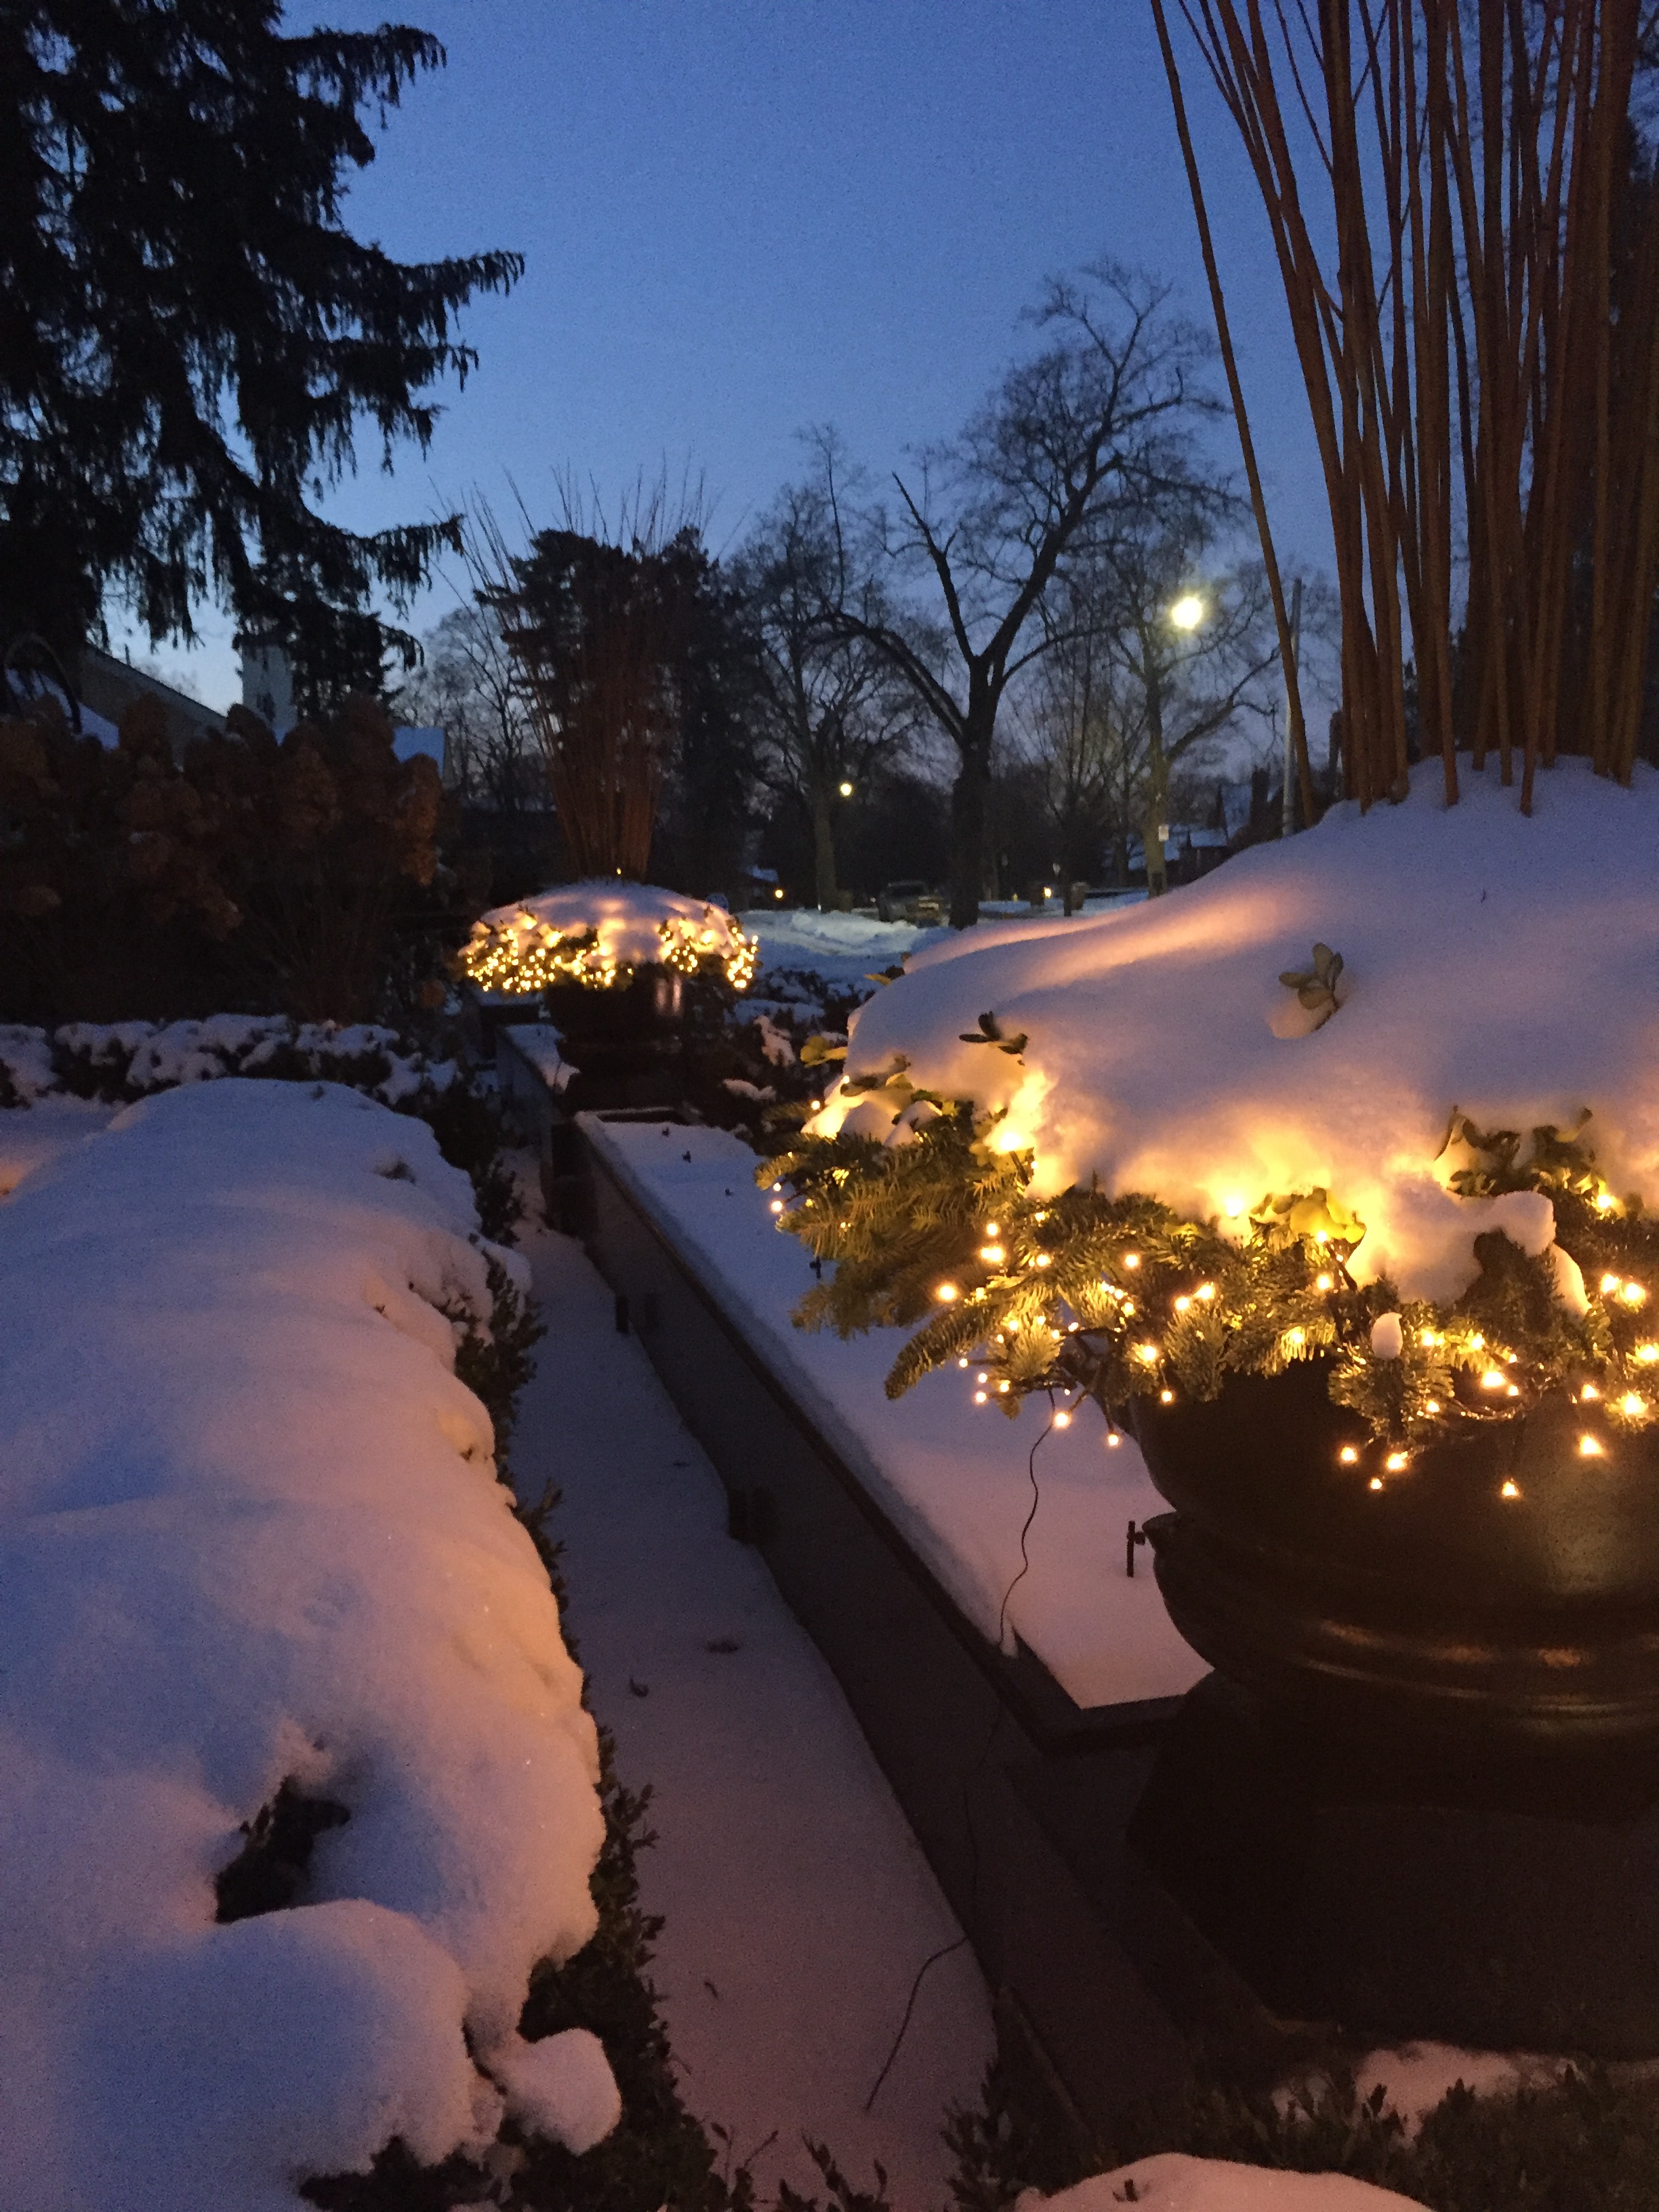
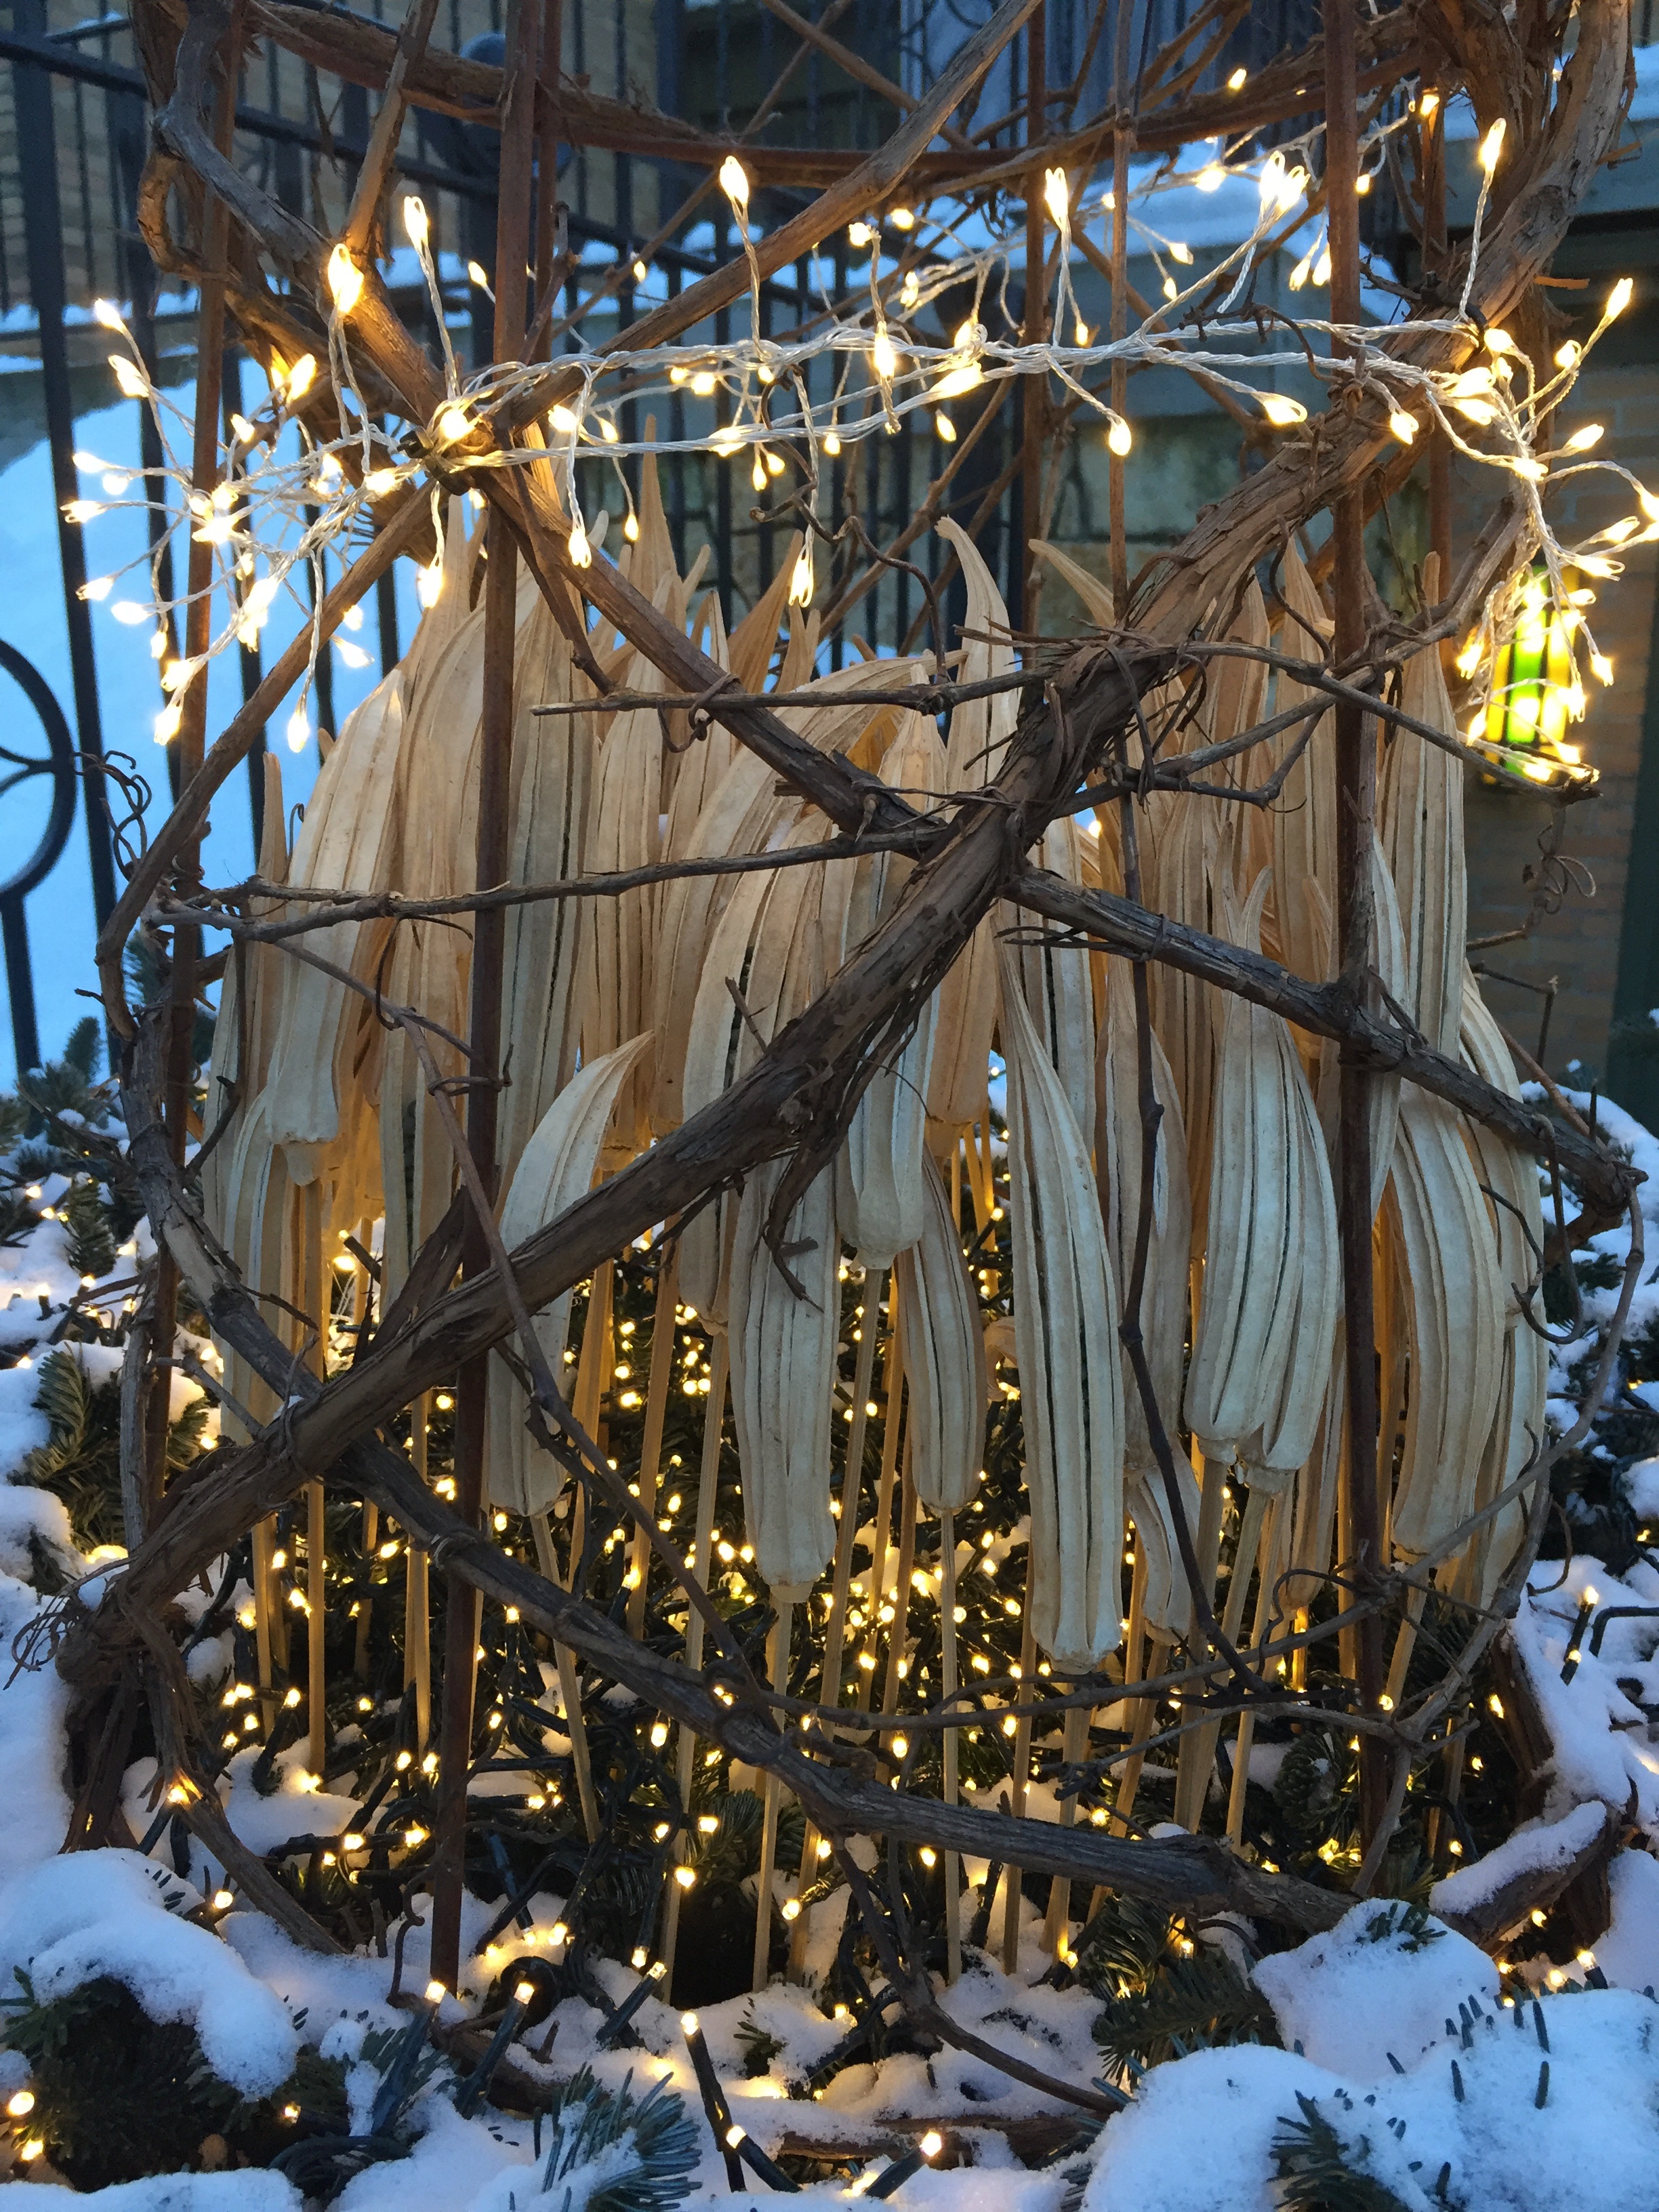
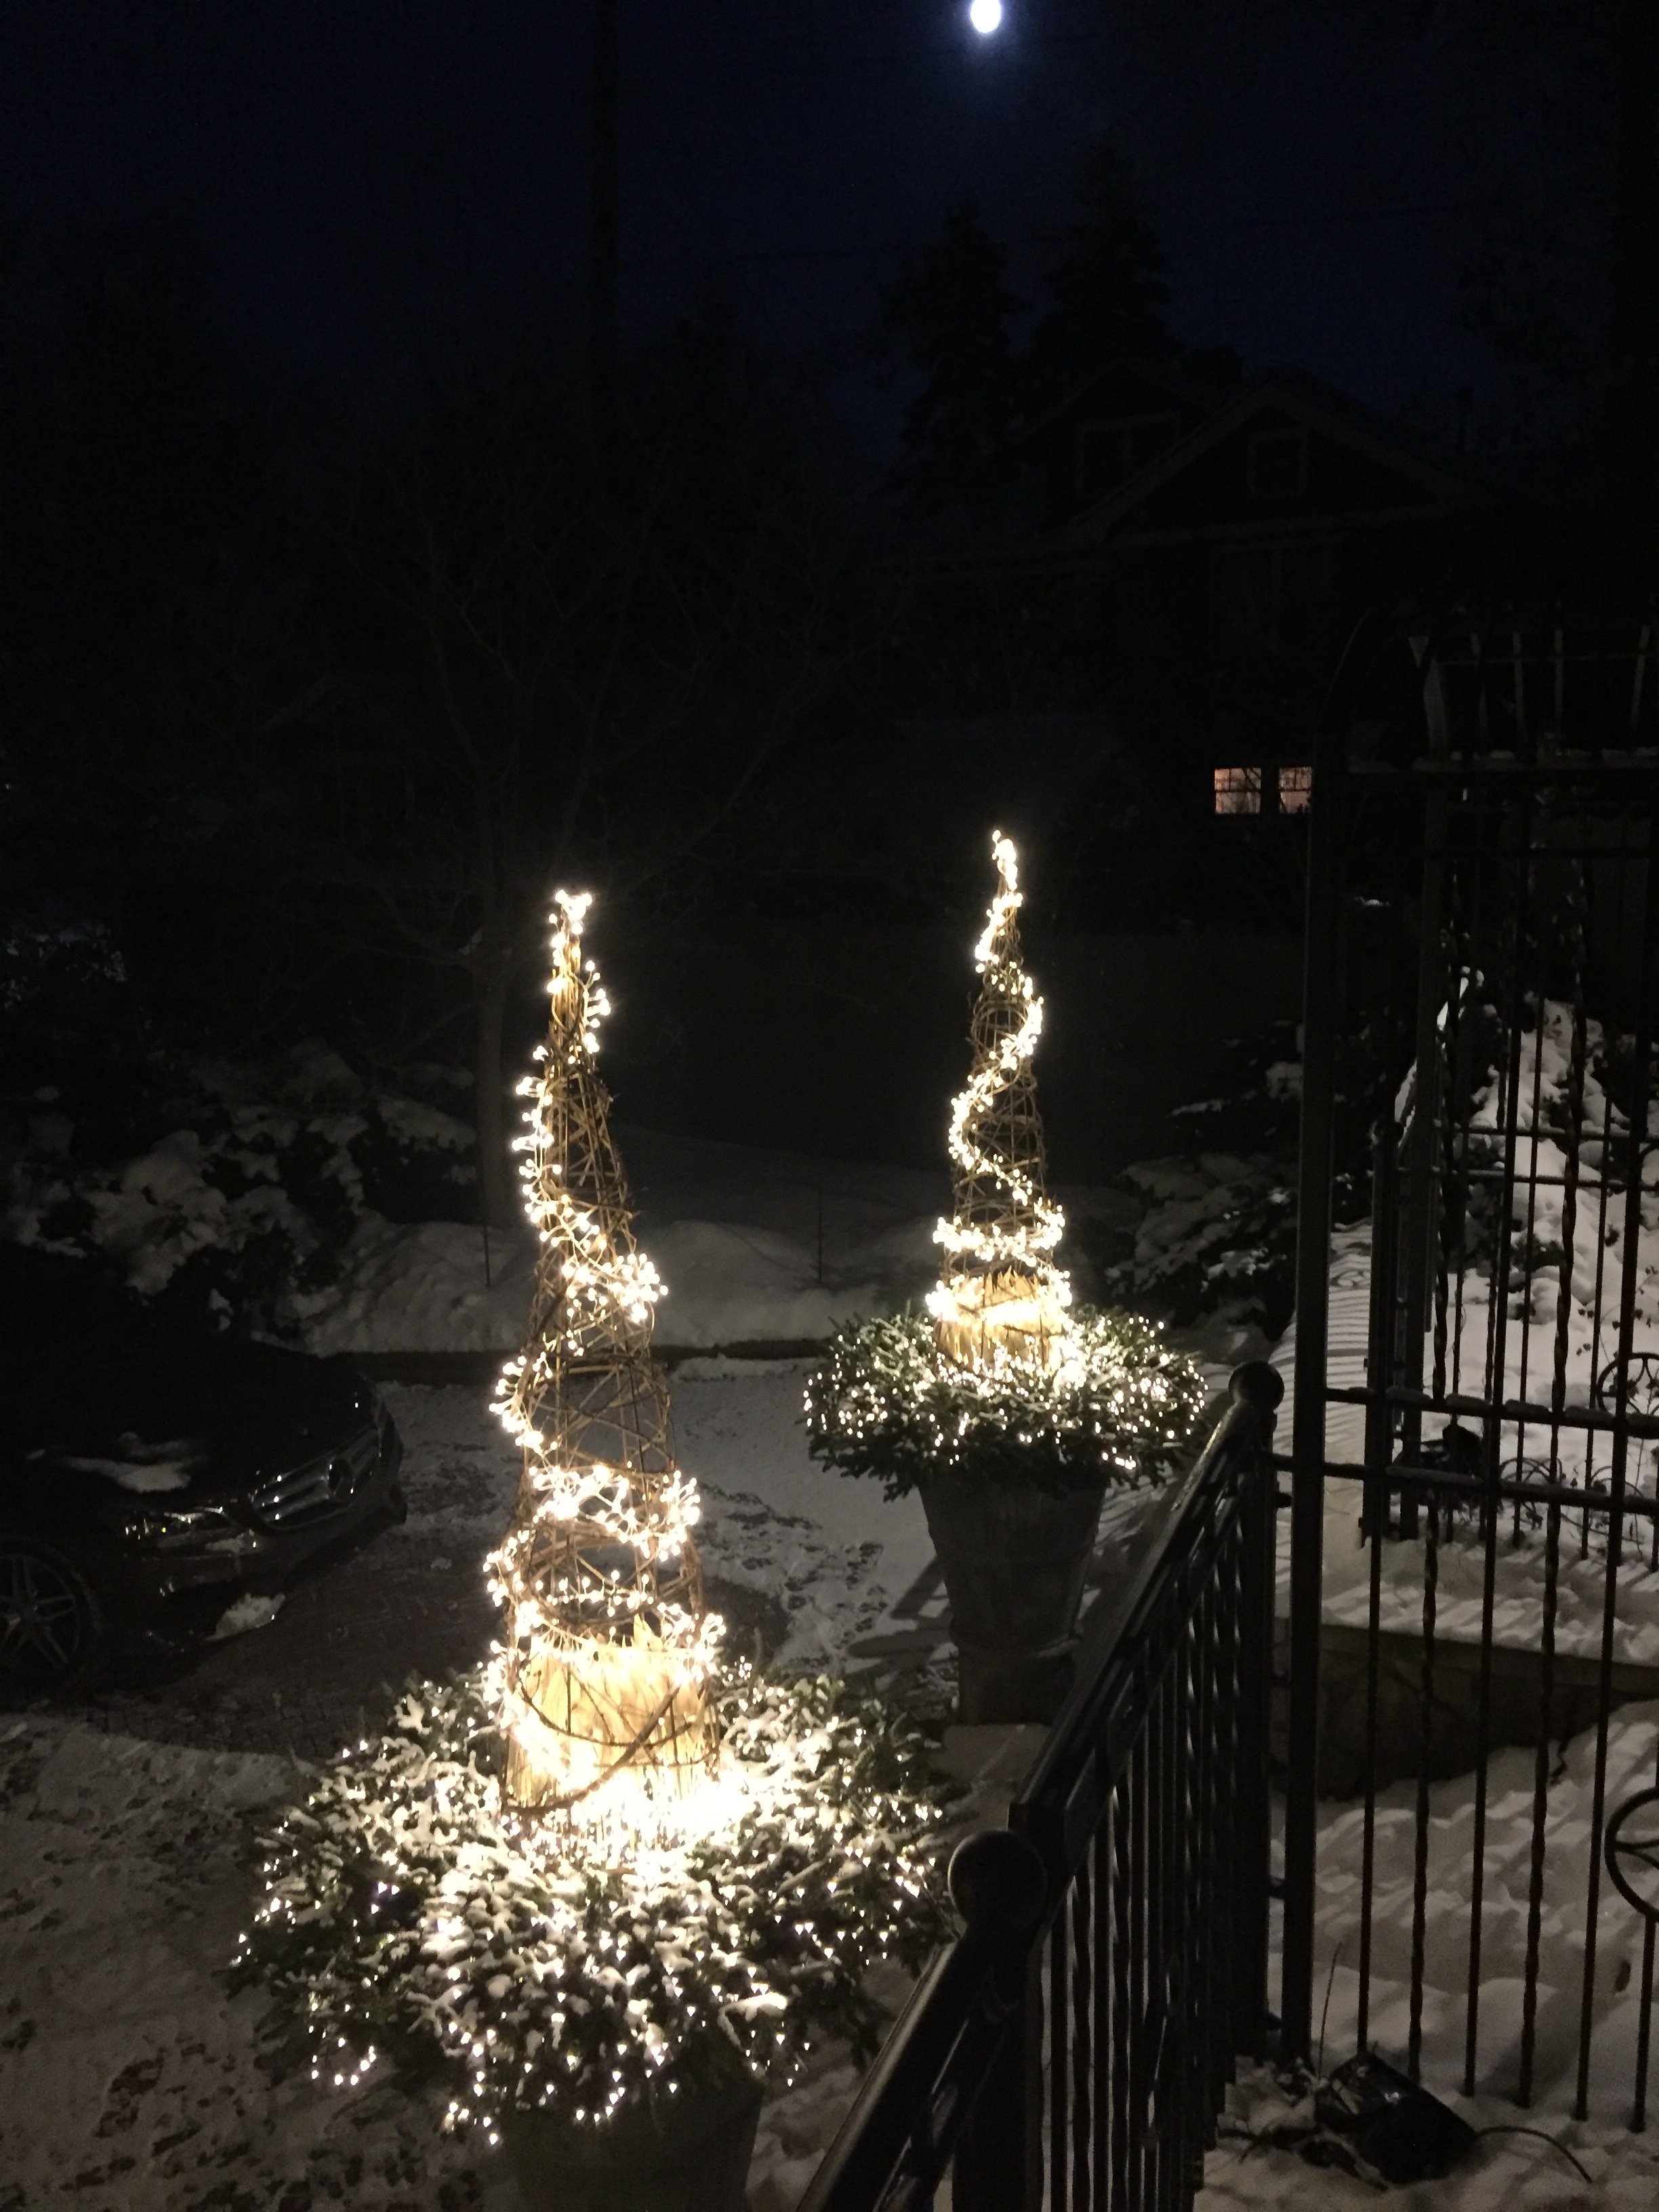
 Once we had more snow, that temporary lighting was providing snow glow. Each tiny LED light that is virtually invisible during the day was magnified by the snow at night. Ice crystals meeting LED string lighting-beautiful. I miss the digging, the planting, the watering, the staking, the dividing and all else that a landscape and garden provides as much as any other gardener. But the winter has its pleasures.
 The snow glow emanating from my pots lights the surrounding landscape in places I can see from inside. Planning for good views out the windows in winter is just acting on one’s own defense. The gloom can be penetrating, as is goes on so long. Is this a substitute for a summer day in the garden? No. But expecting it to only makes one long for another time and place. The winter is its own season, and there are things that can be done to make something beautiful of the dark. Winter is the only season of ours in which an expression like this is possible.
 Our snow is melting again. We have rain this morning. But there will most assuredly be more snow before the winter is over.
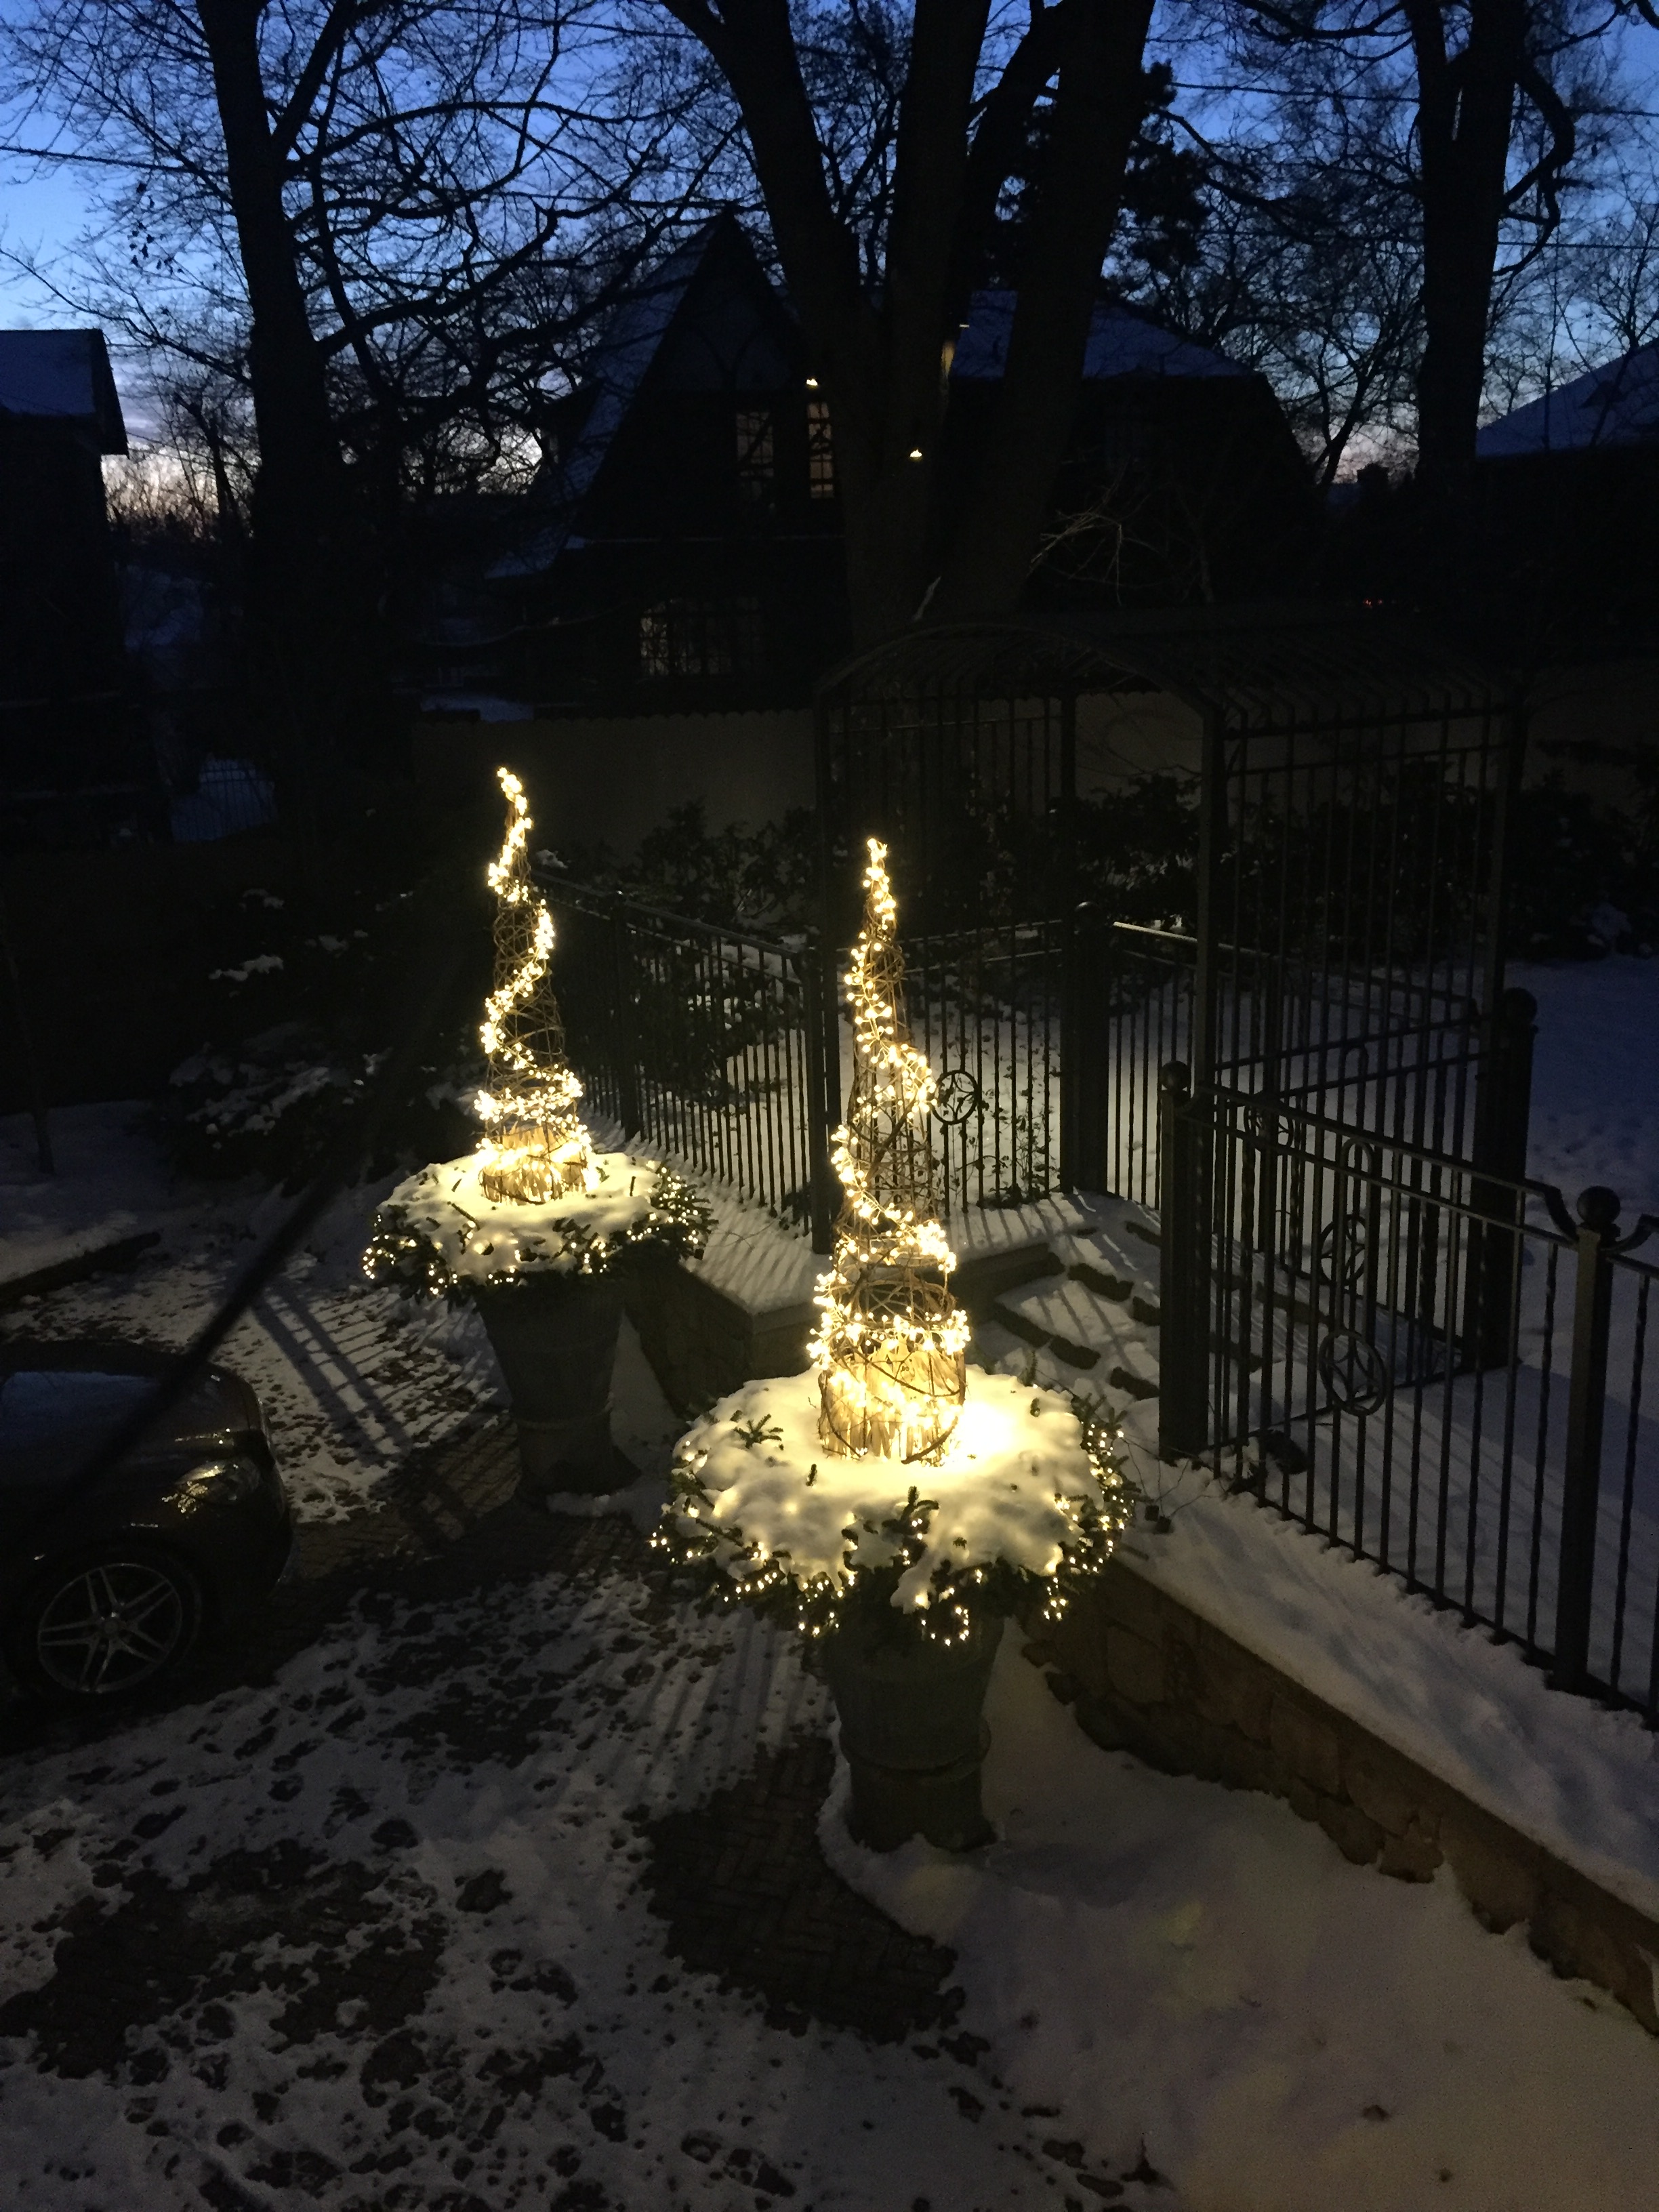
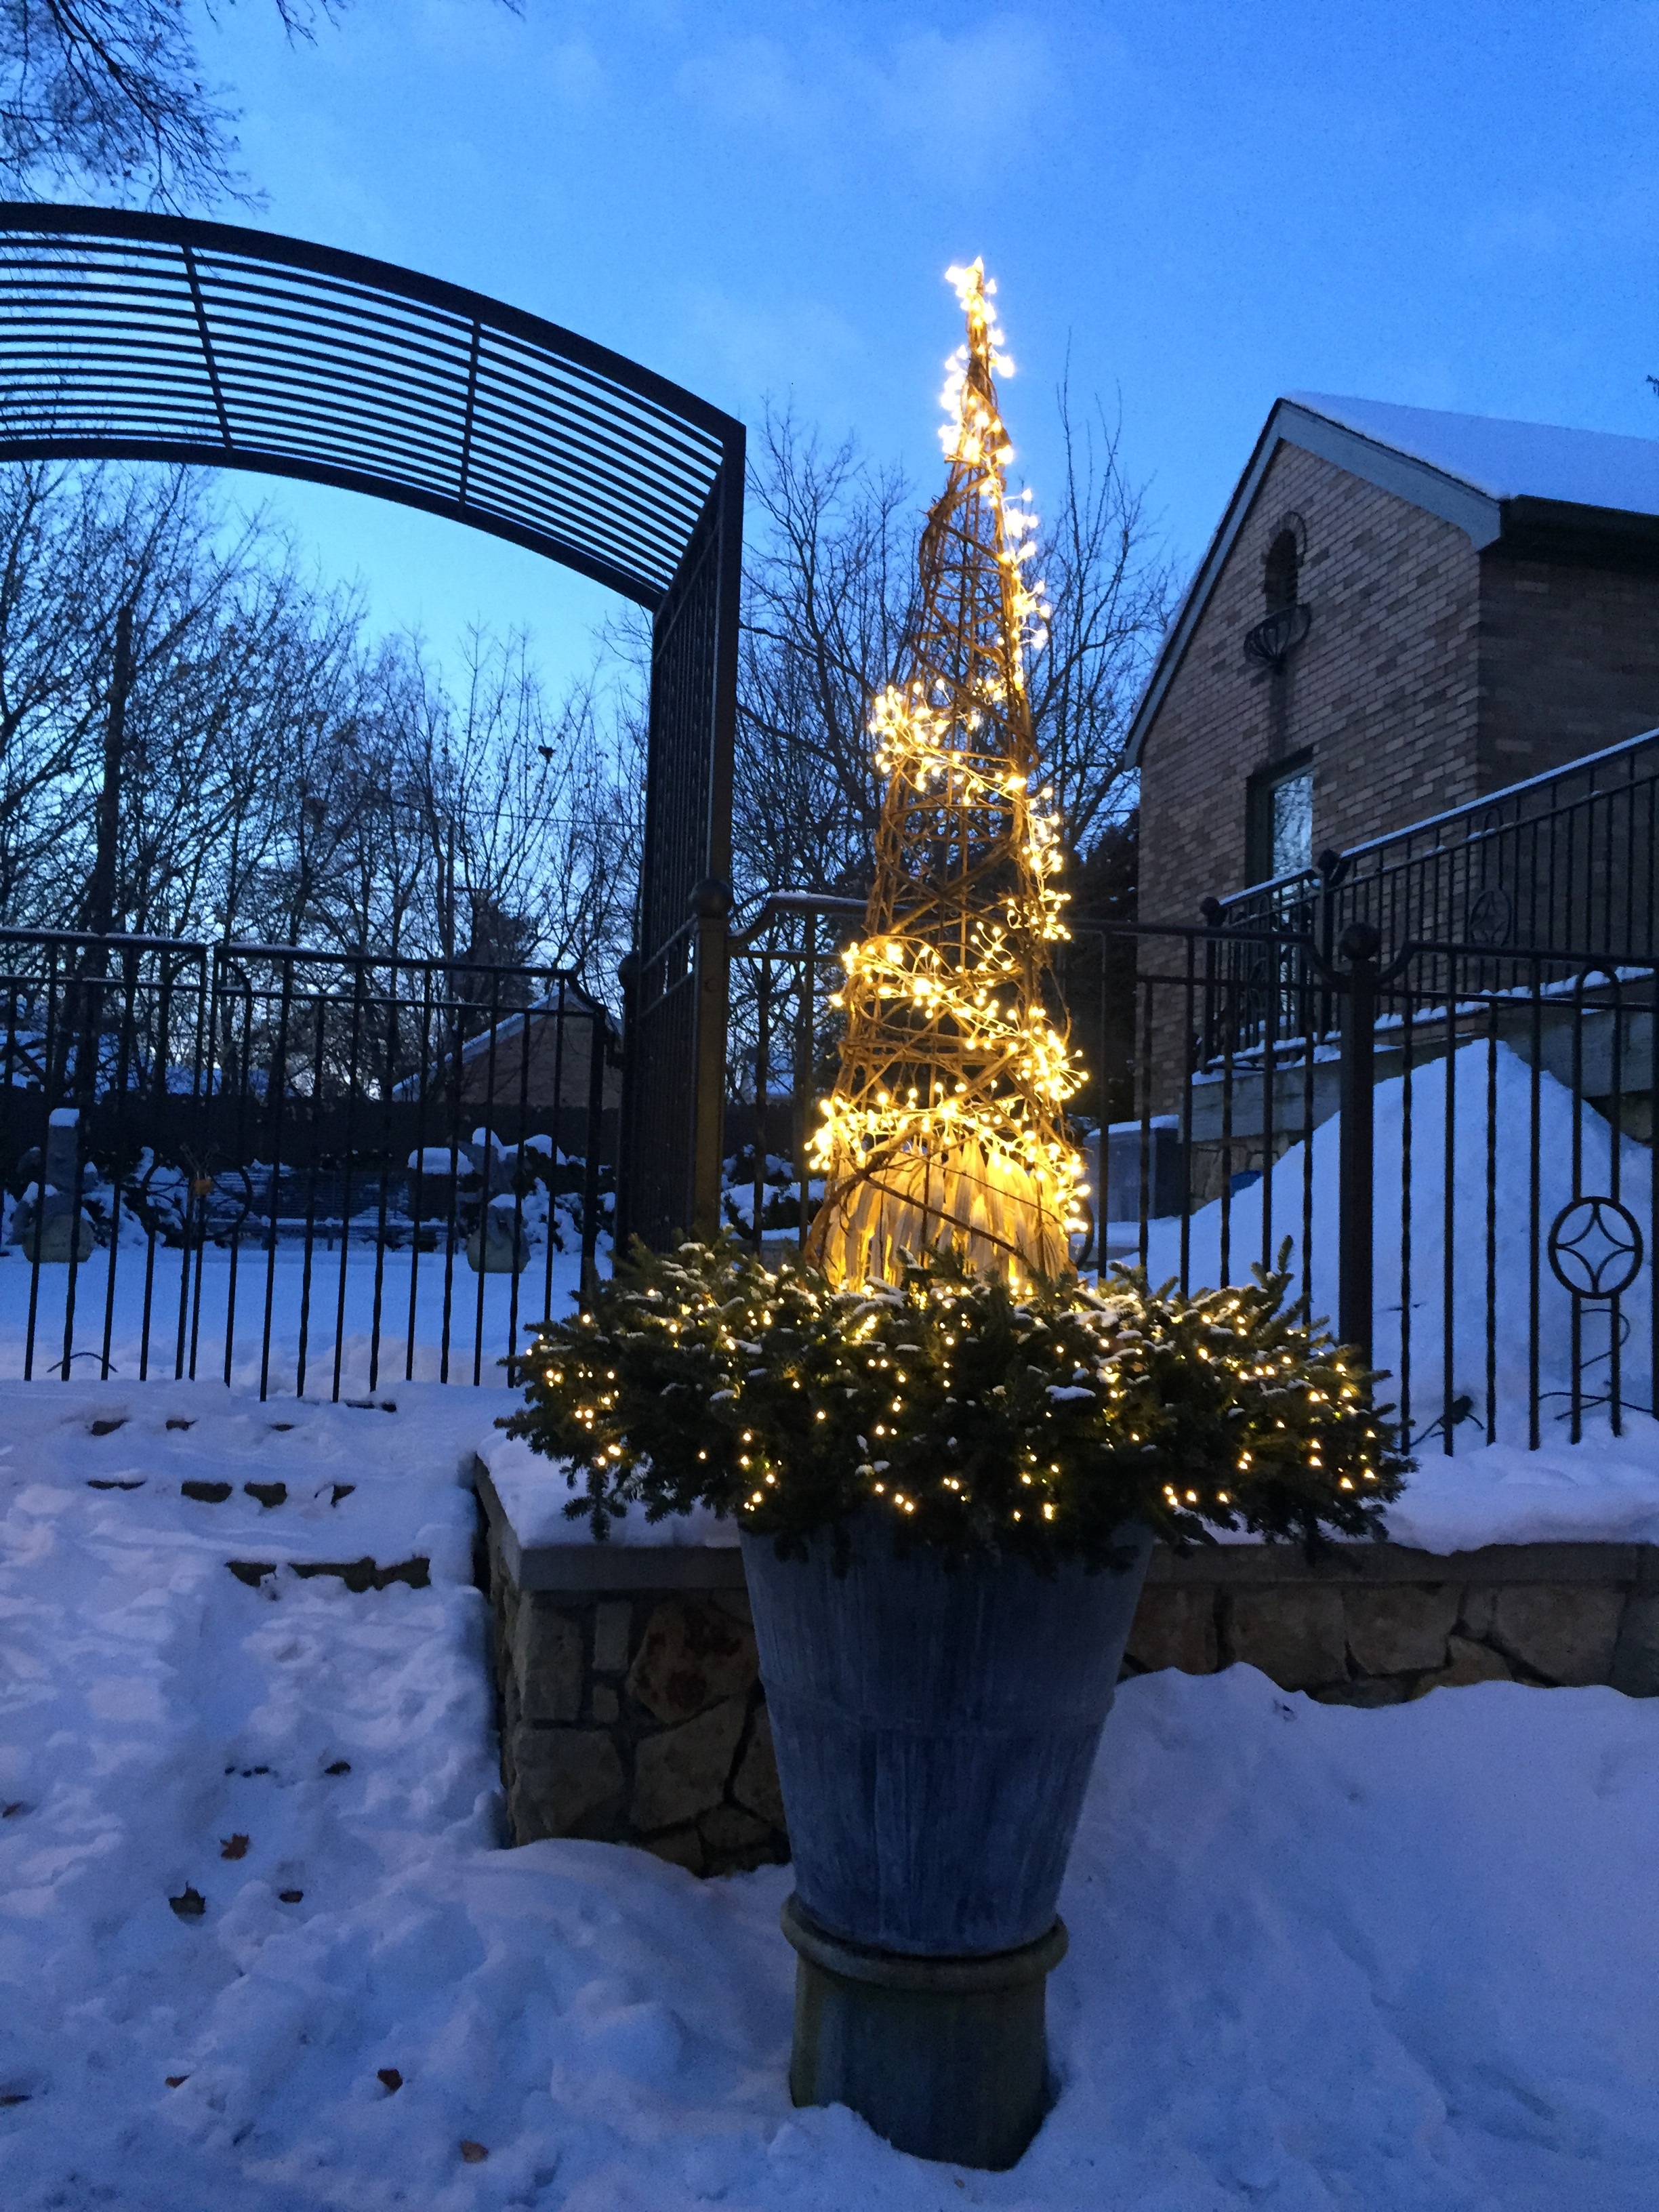
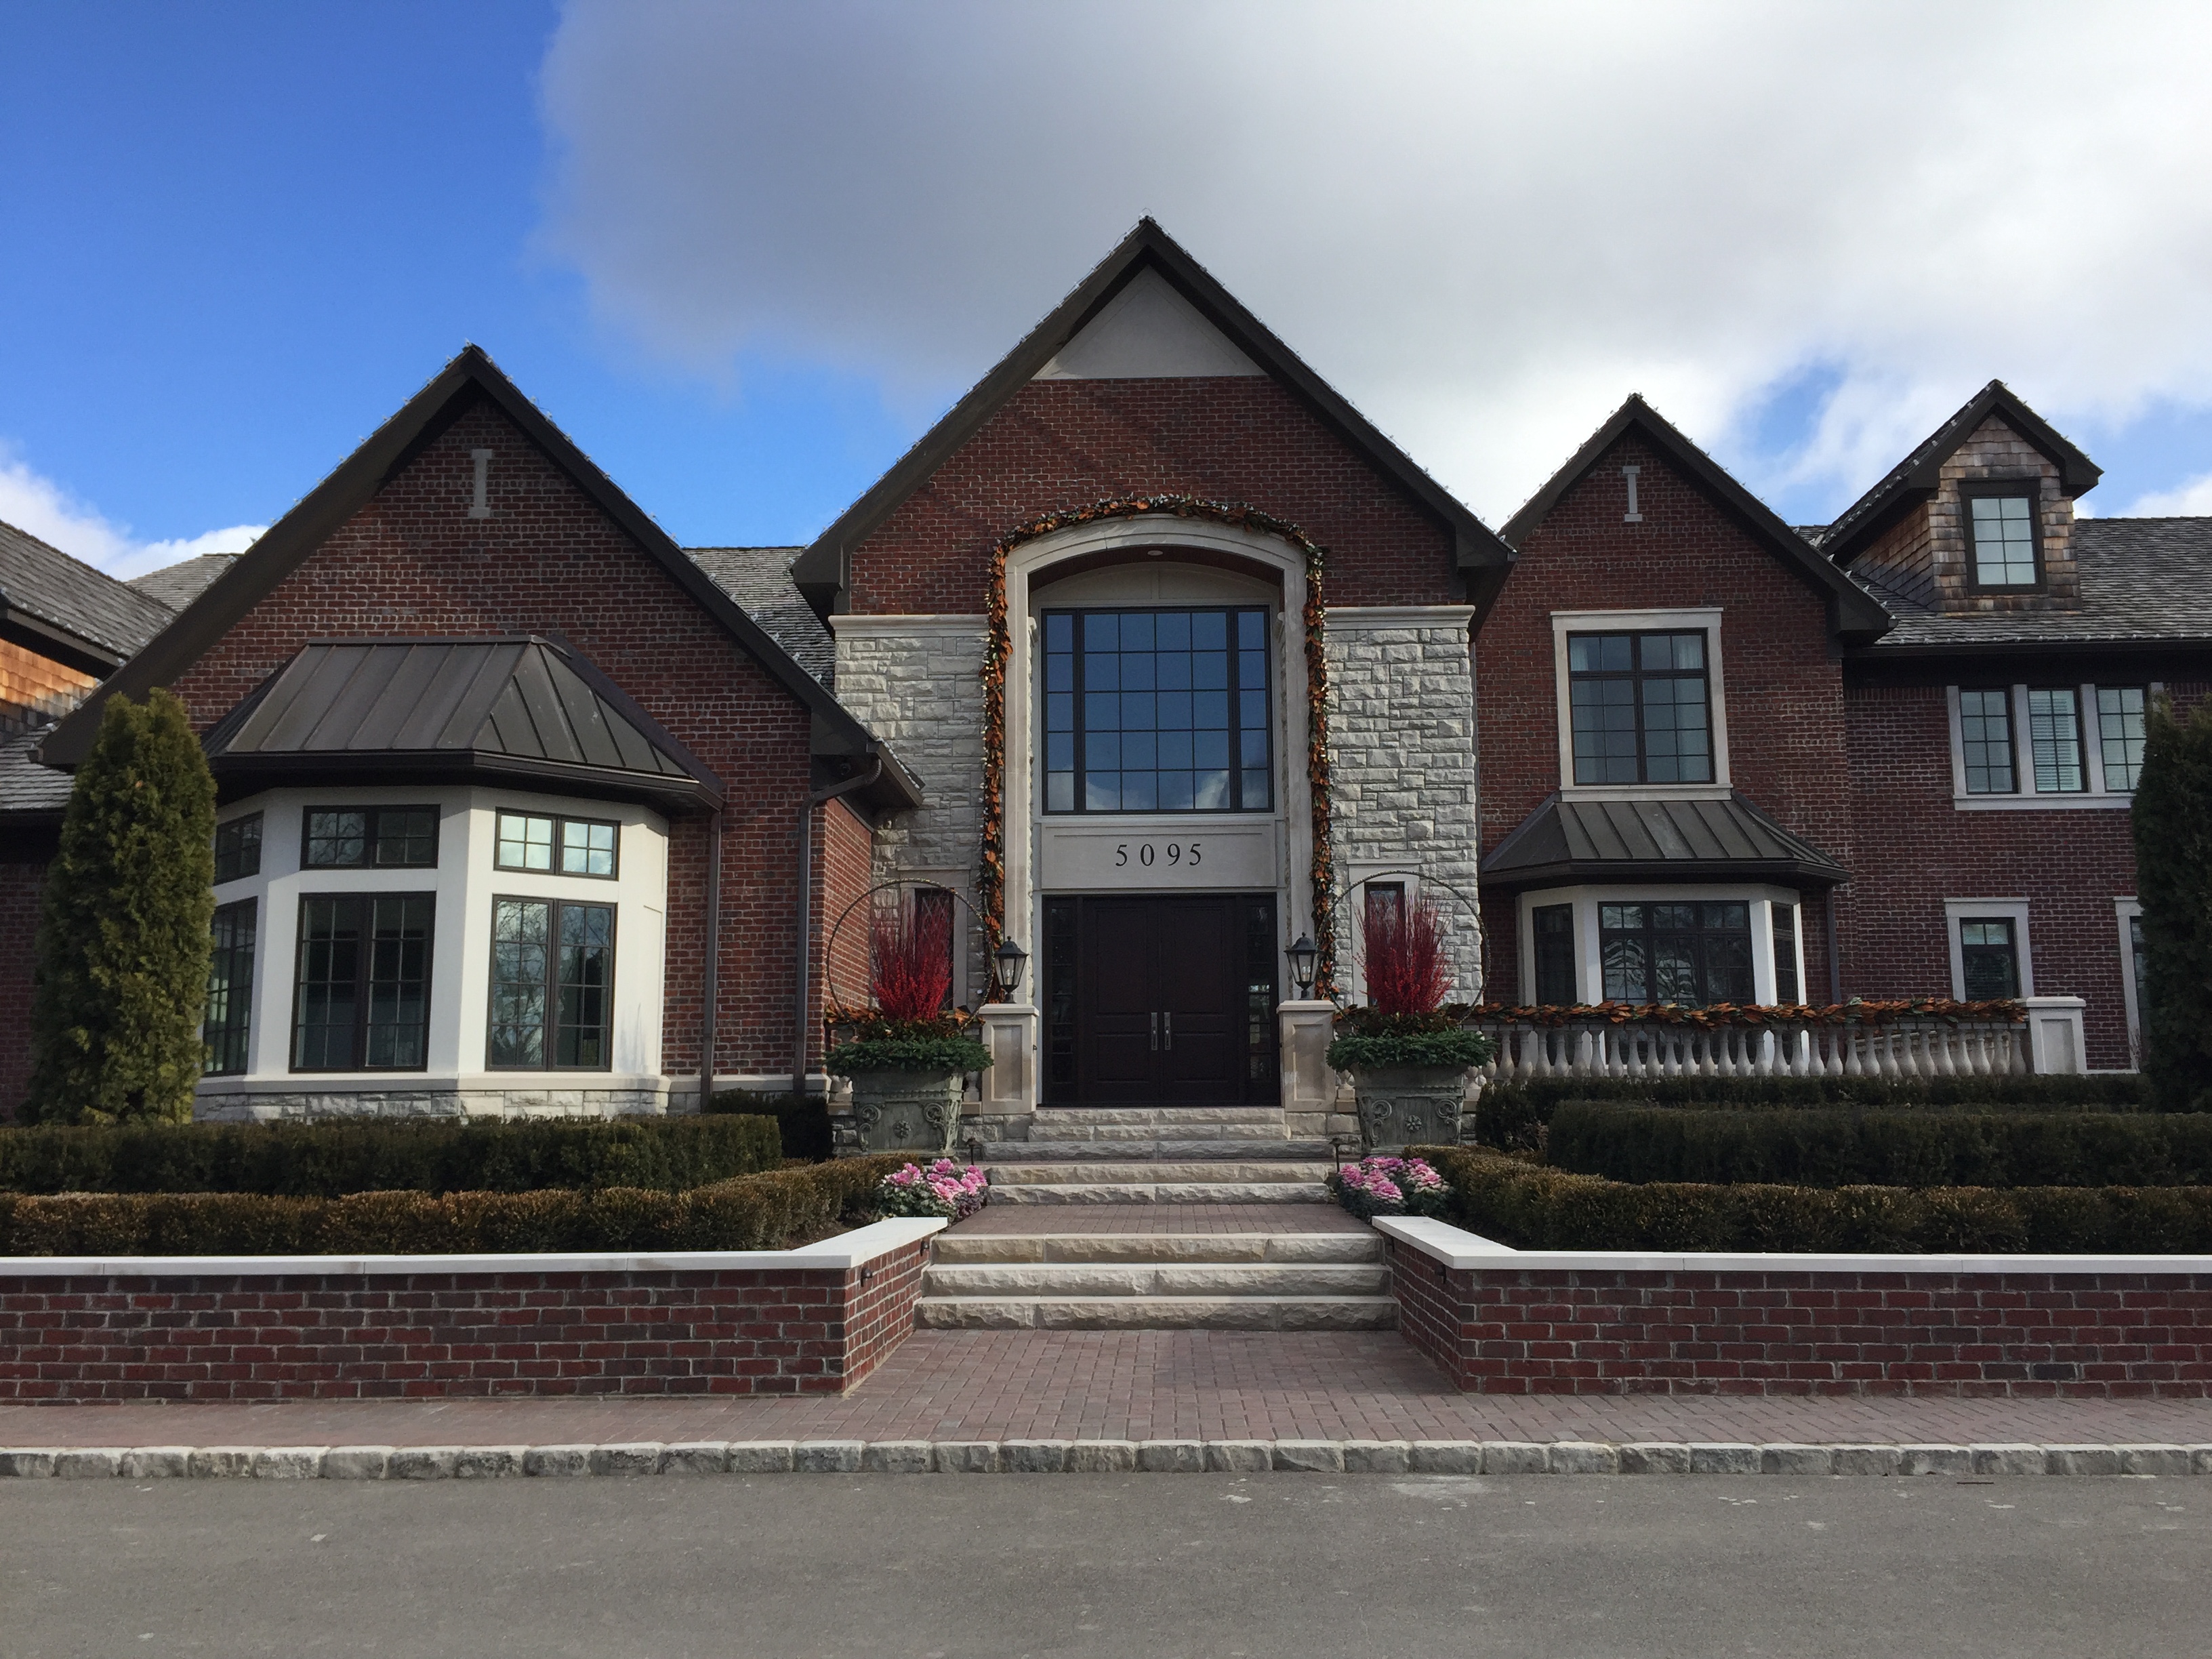
 Though creating sculptures with temporary lighting is a winter activity with all kinds of benefits, permanent landscape lighting is a feature I would recommend to any gardener. I like my front porch lit at night. I like my sidewalk lighting just as much. My house is set almost 4′ above the grade at the sidewalk. I would not want guests to have to negotiate 3 sets of steps without proper lighting. Big pools of light come courtesy of the snow.
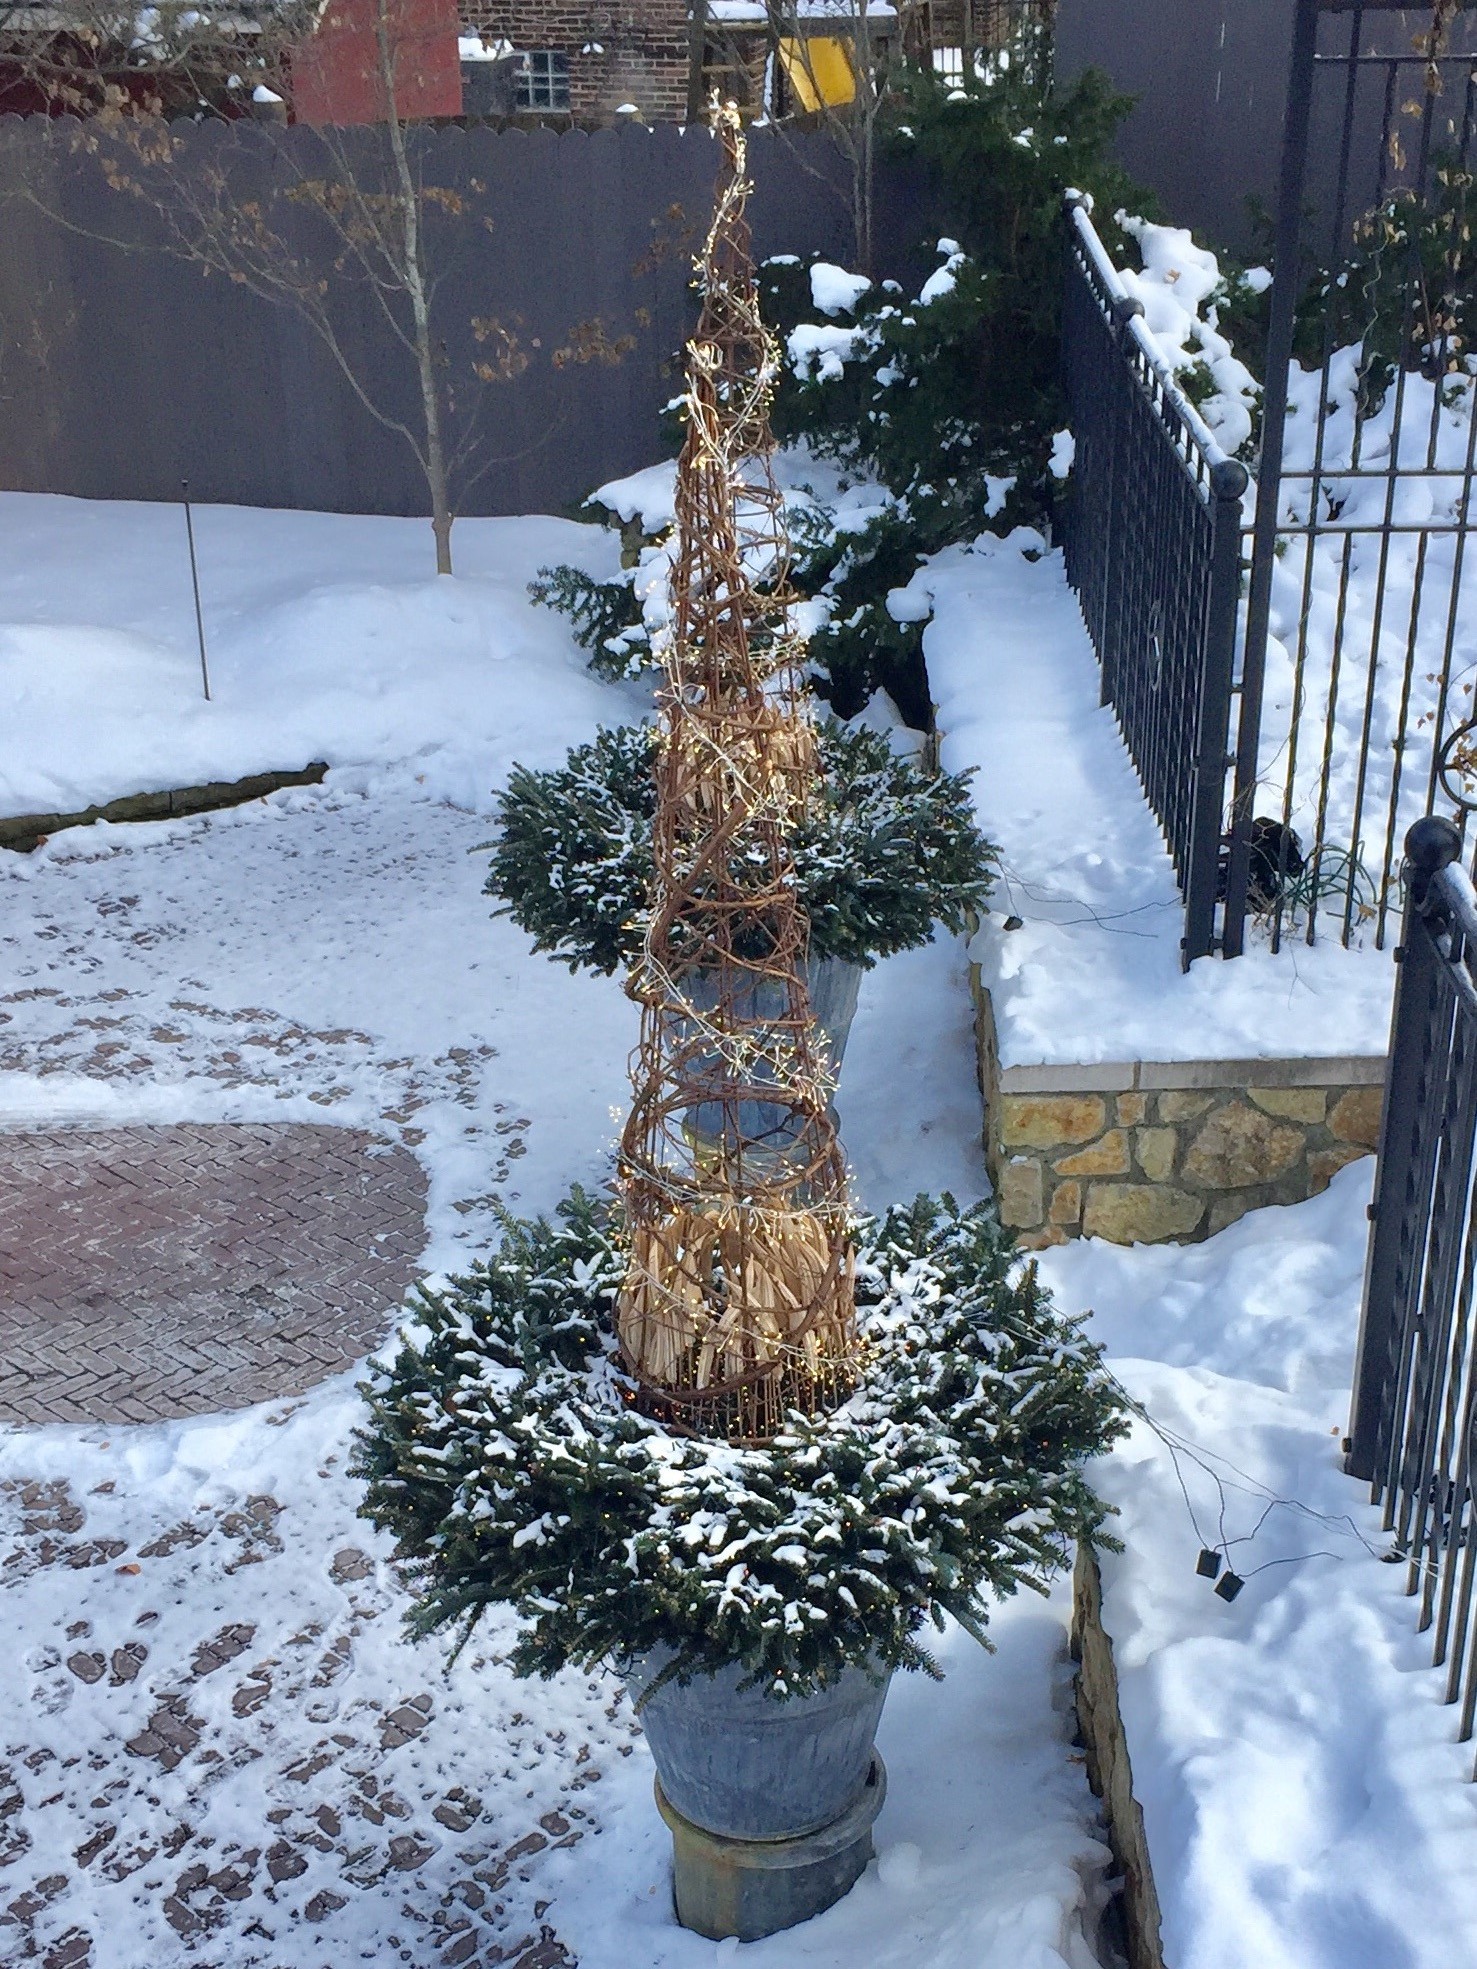
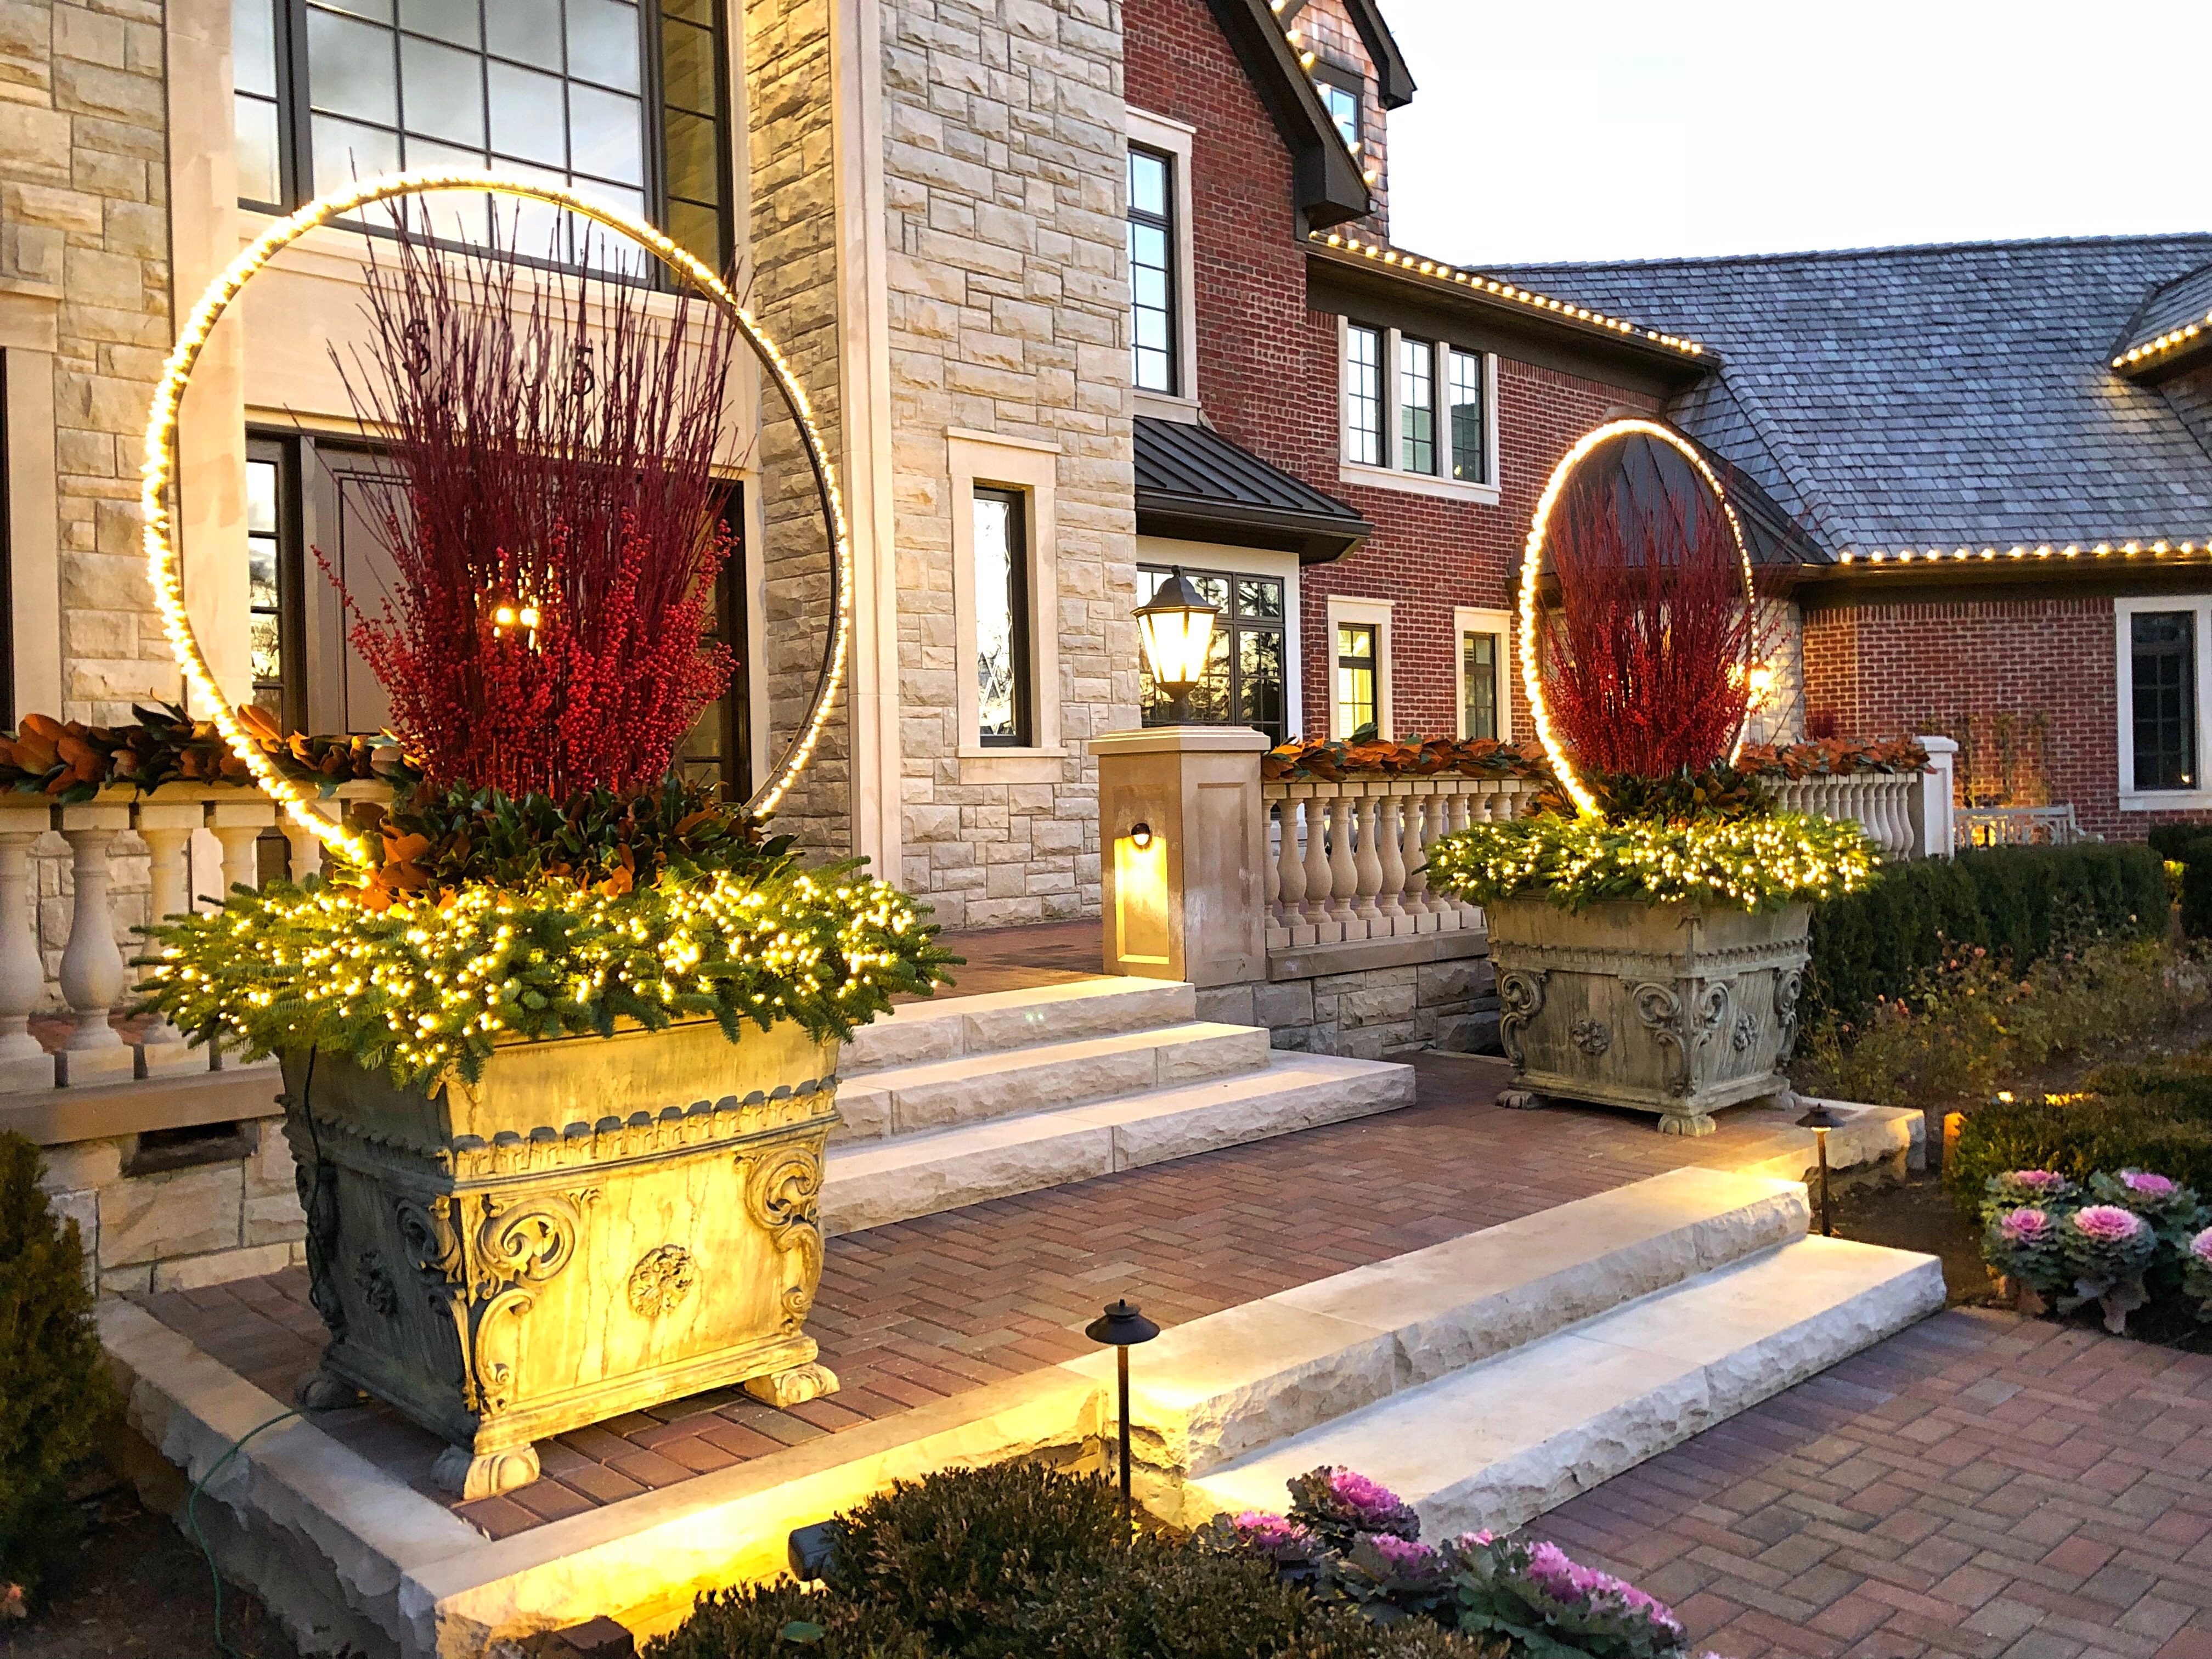
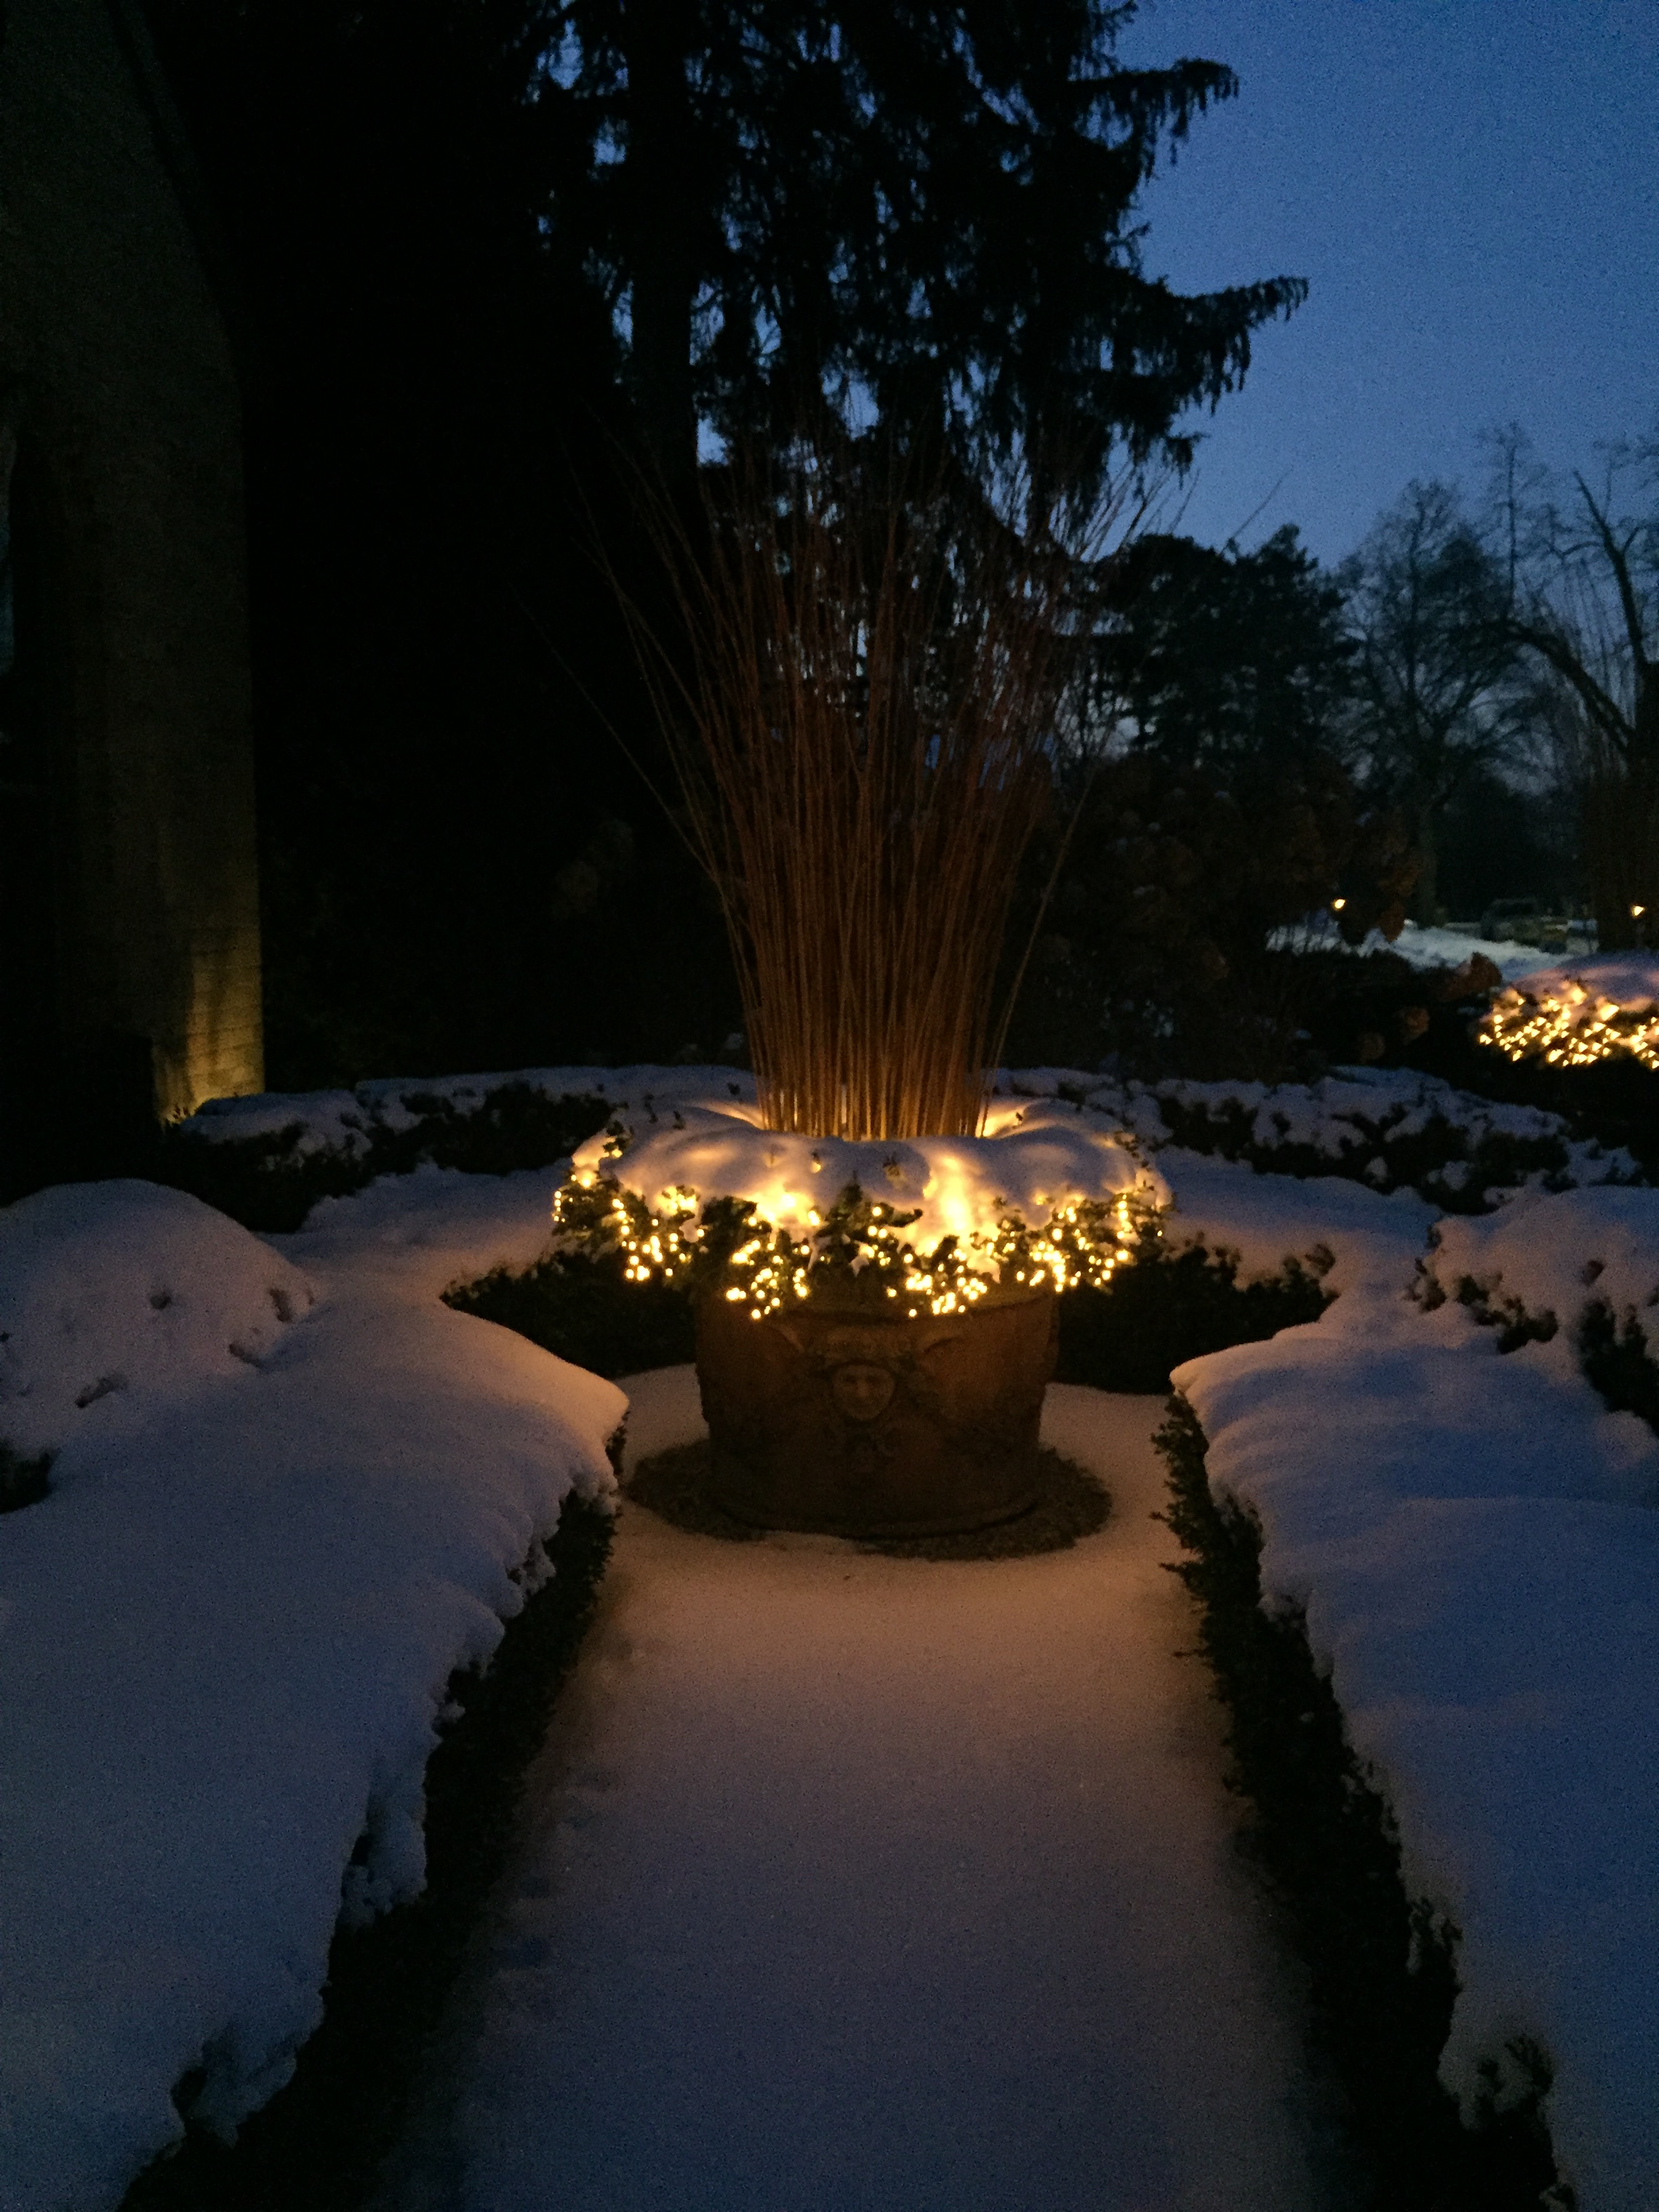 Landscape lighting is all about trying to endow the winter season with some visual interest. This pot is on axis north and south with the sidewalk, and east and west with the den windows. That placement makes it possible to enjoy this from multiple vantage points.
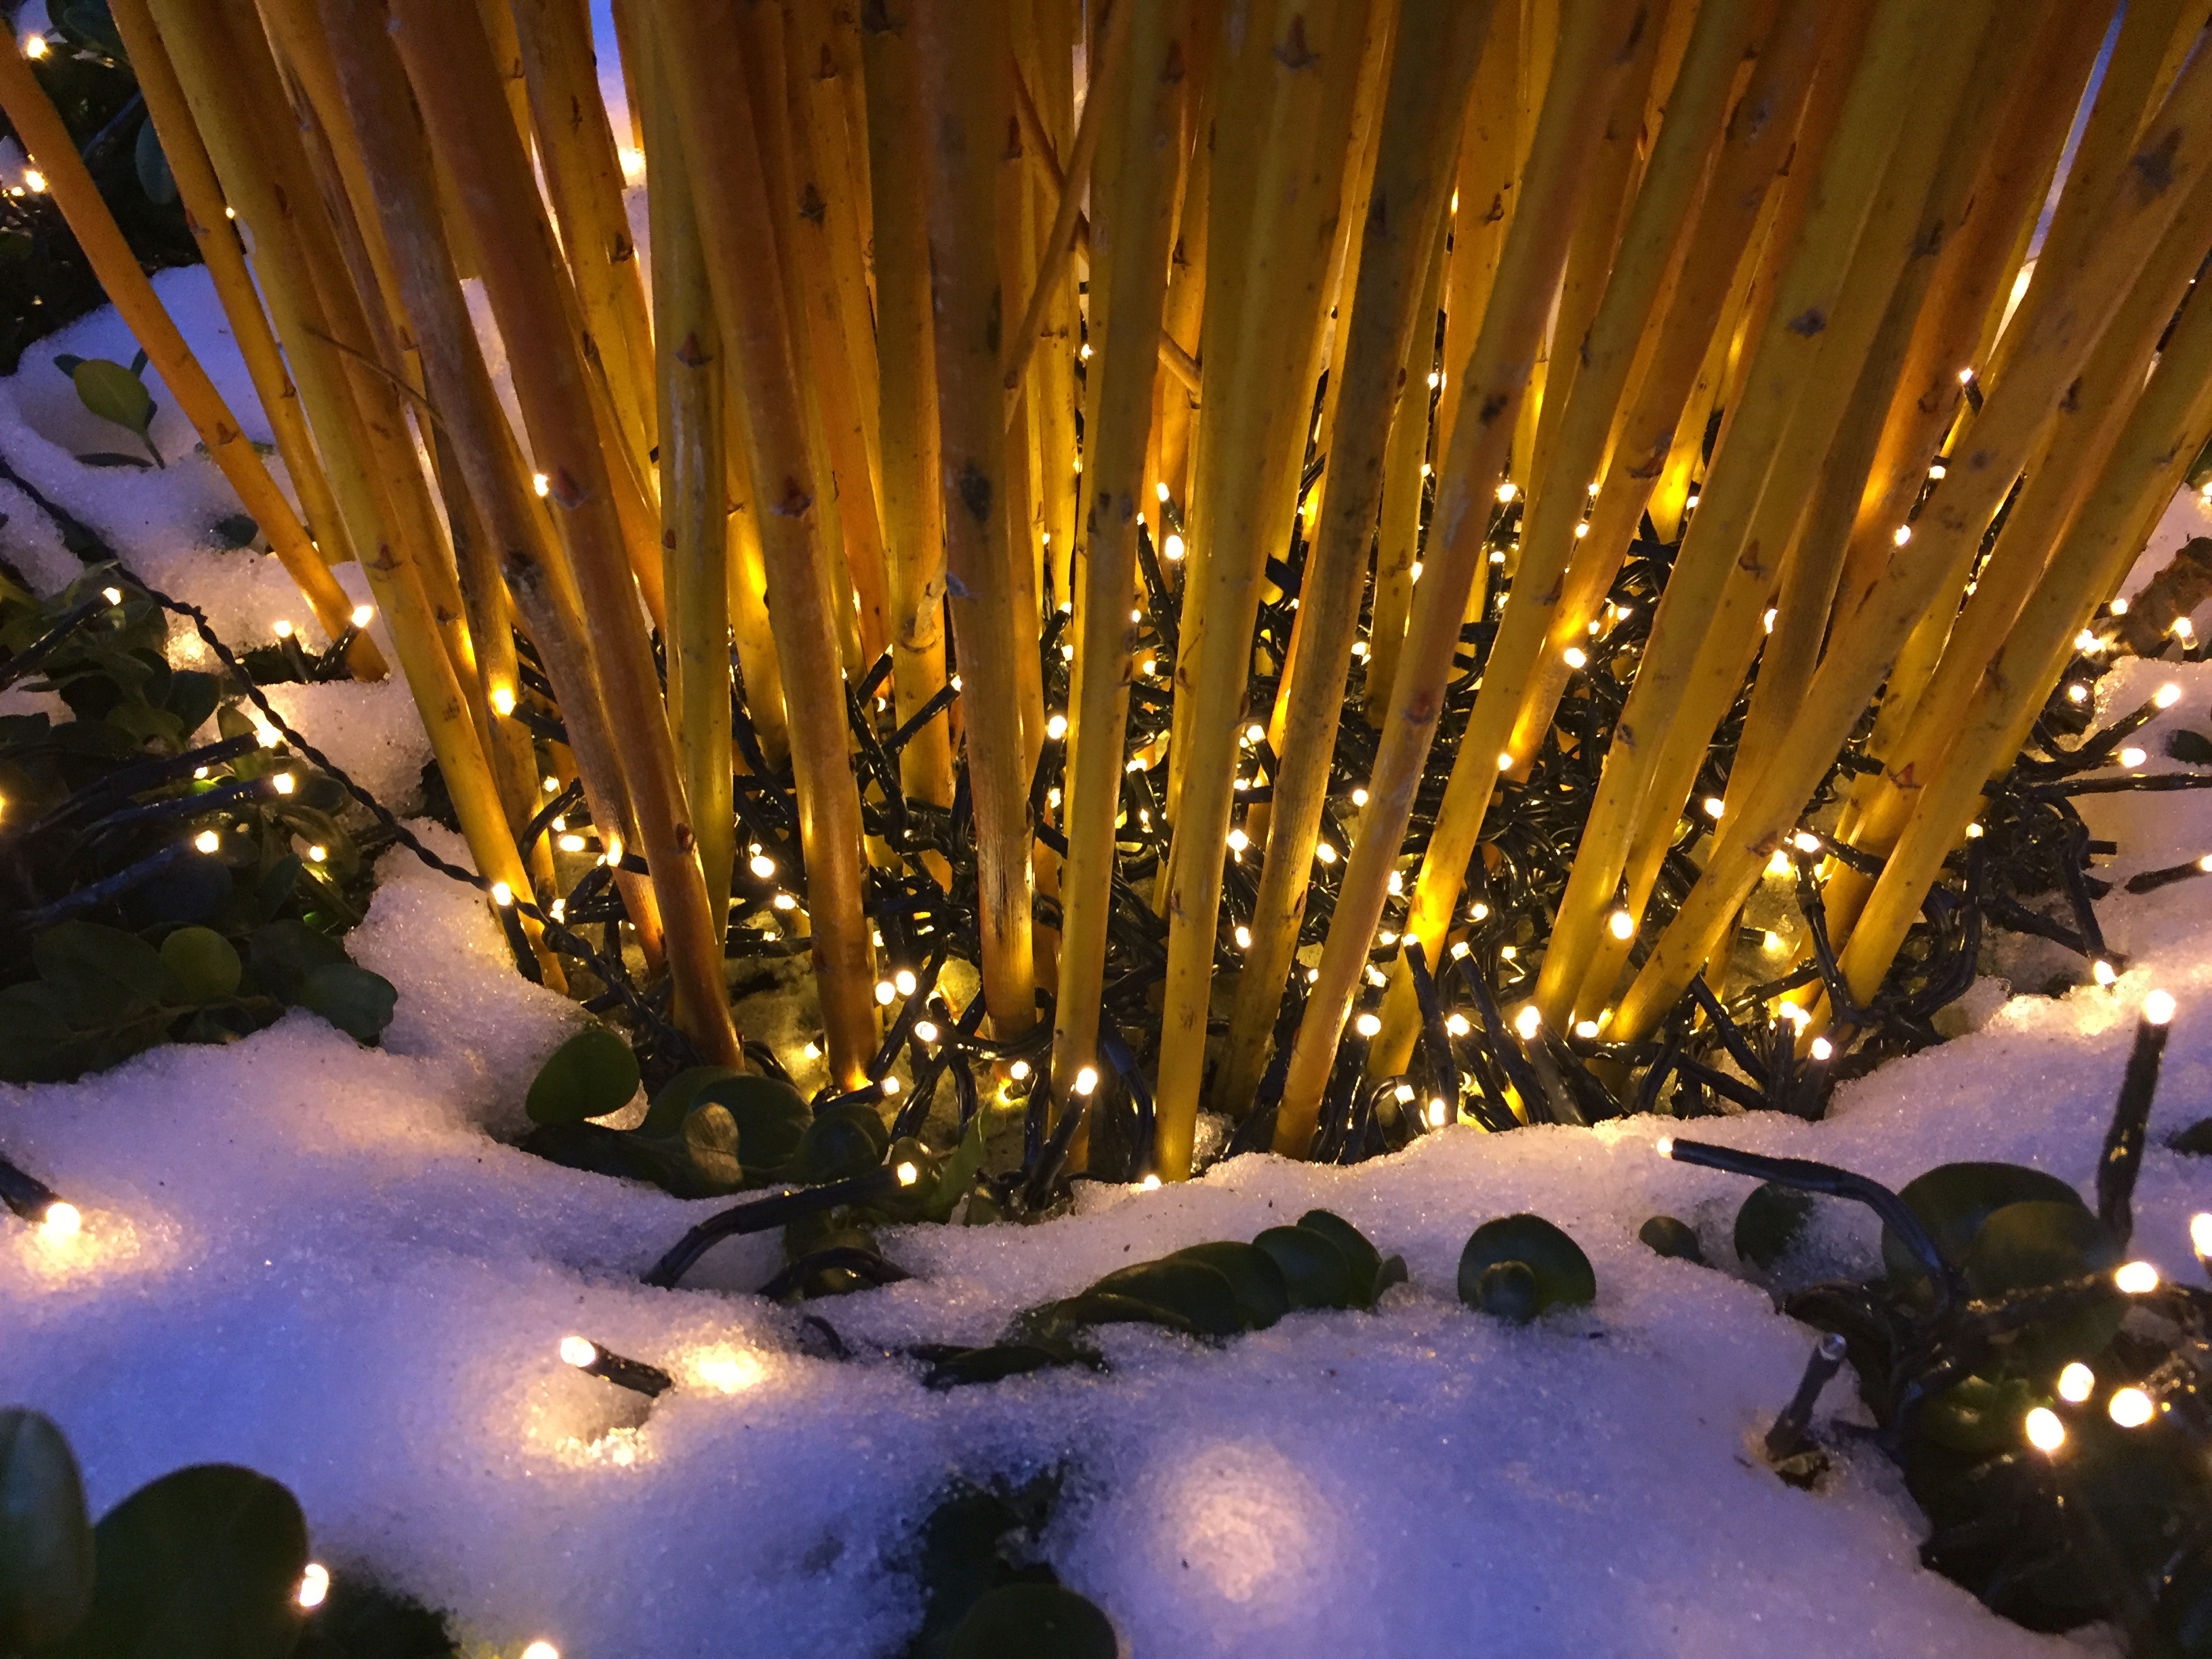
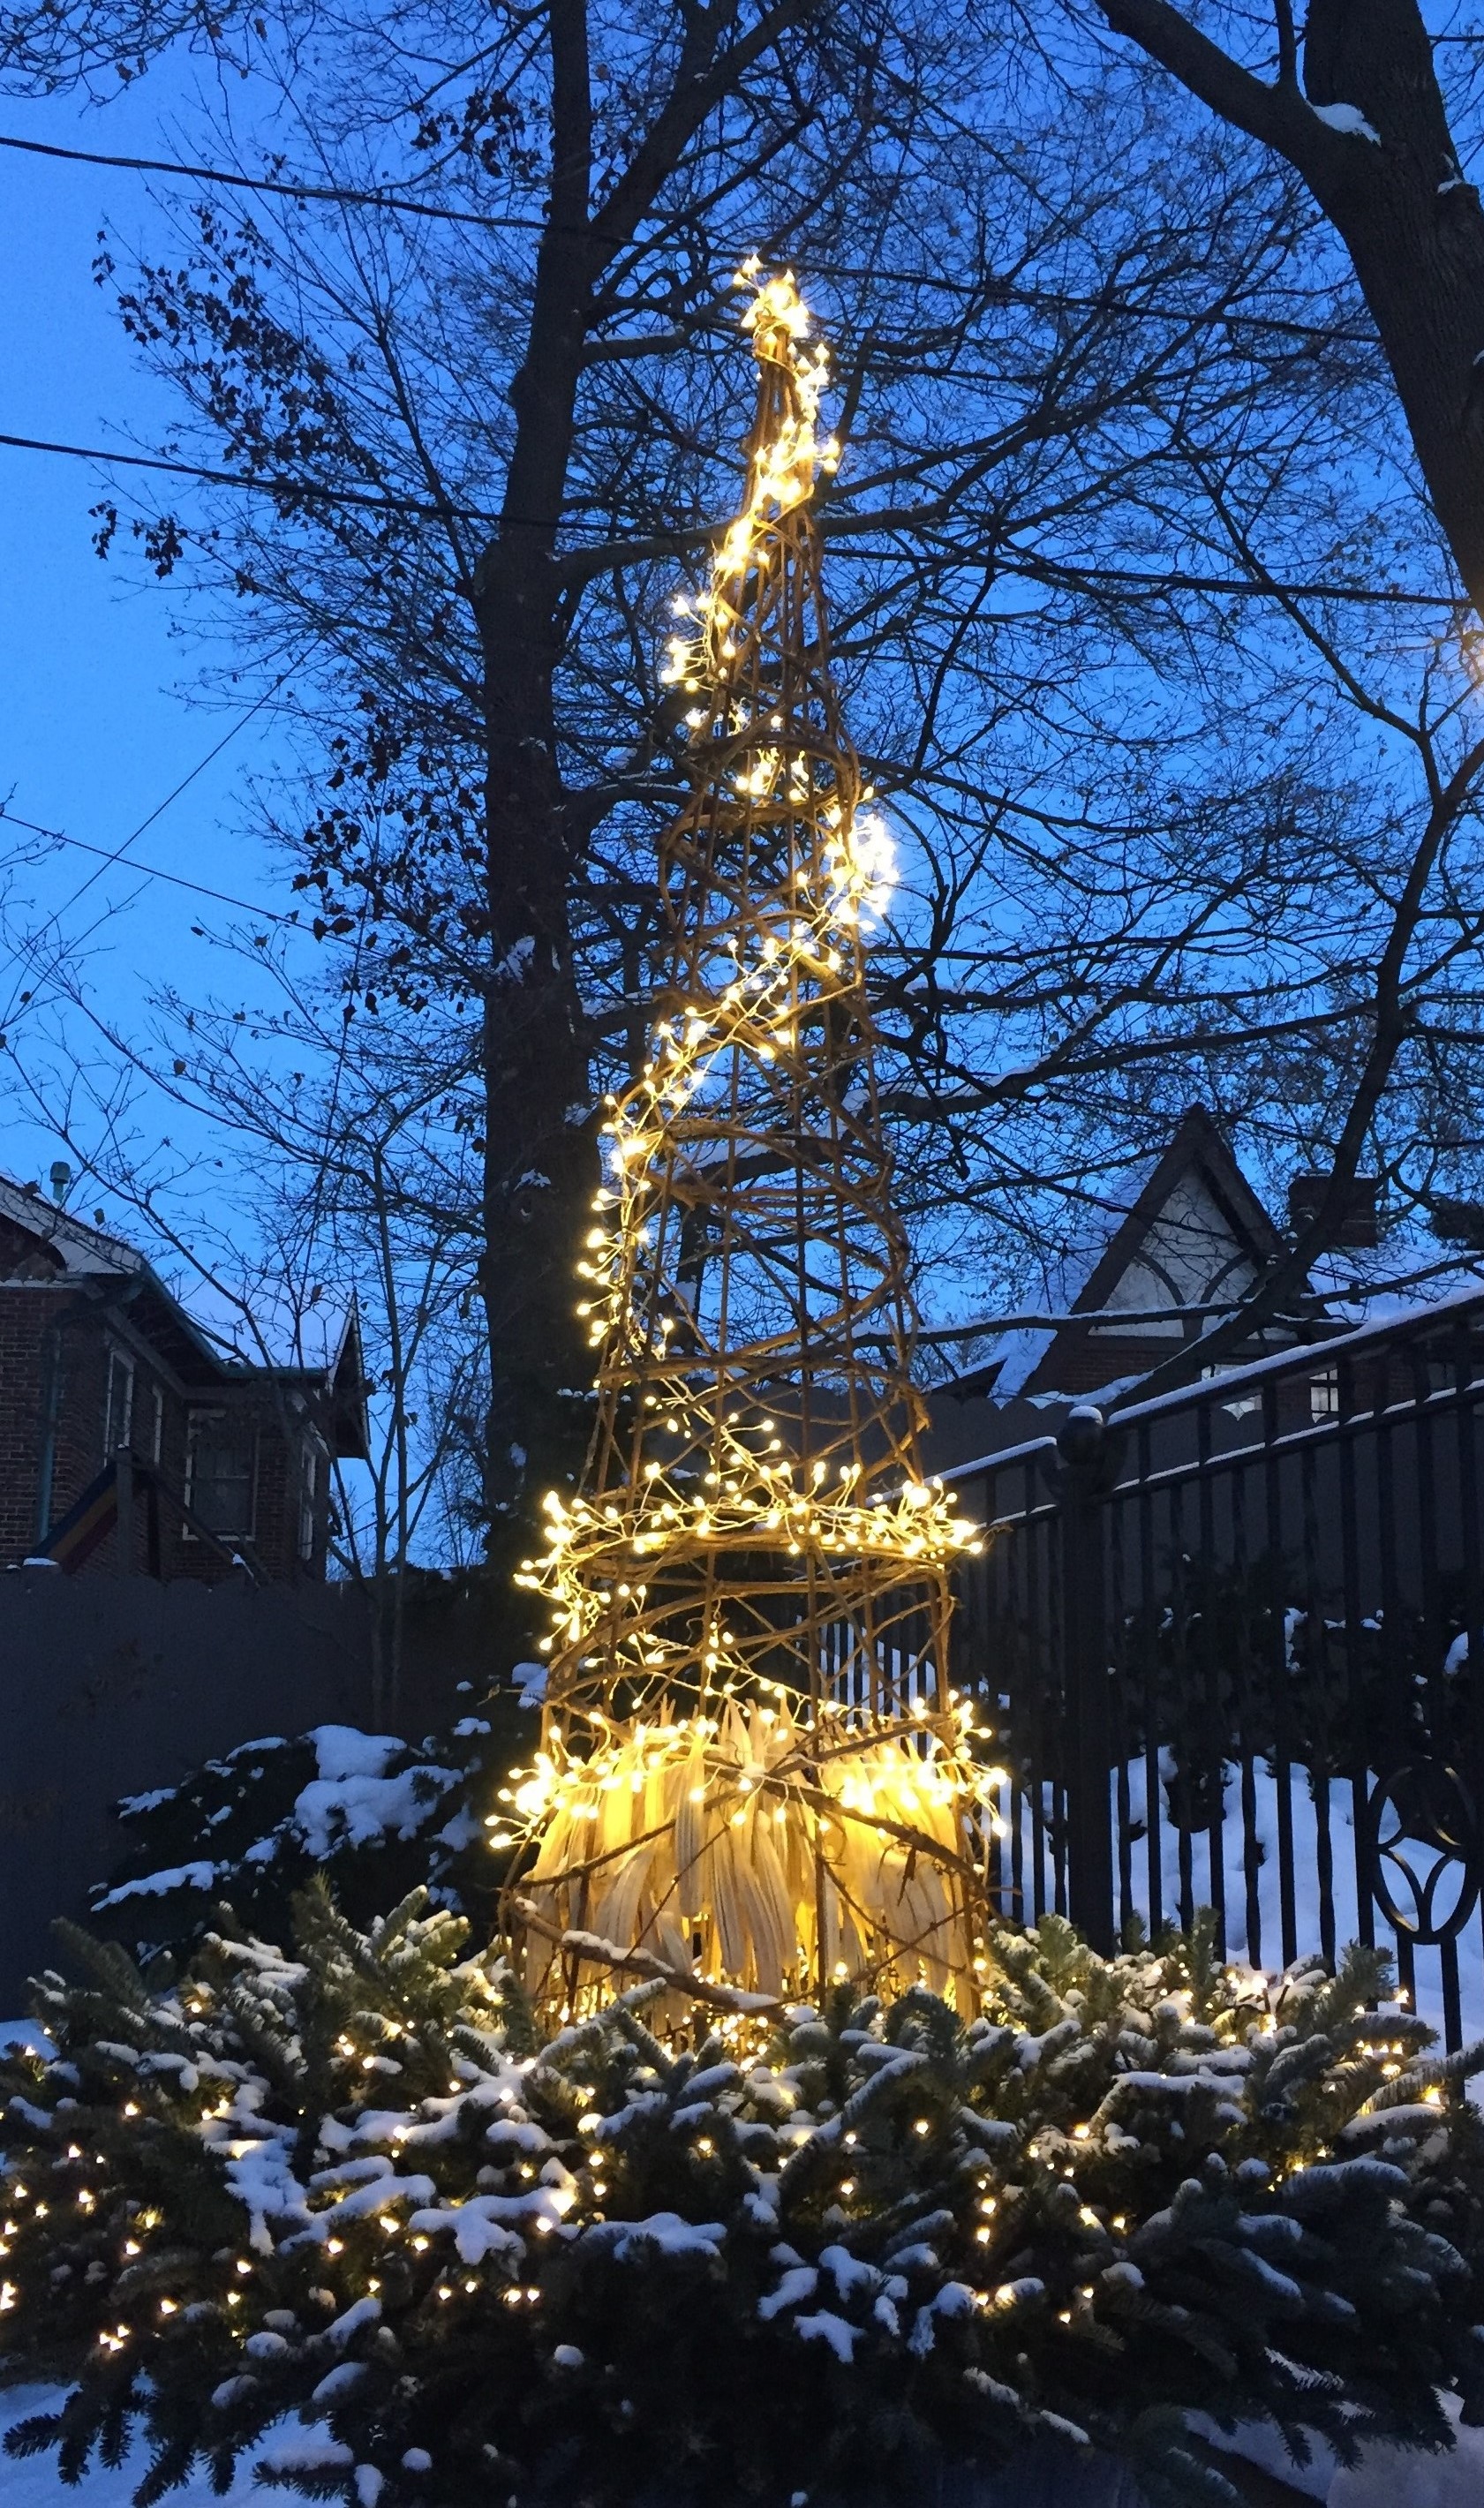
 Yesterday morning at dawn, my snow covered winter pots were, in my opinion, the best intersection of electricity and snow that I have ever devised. Fire and snow look good together.
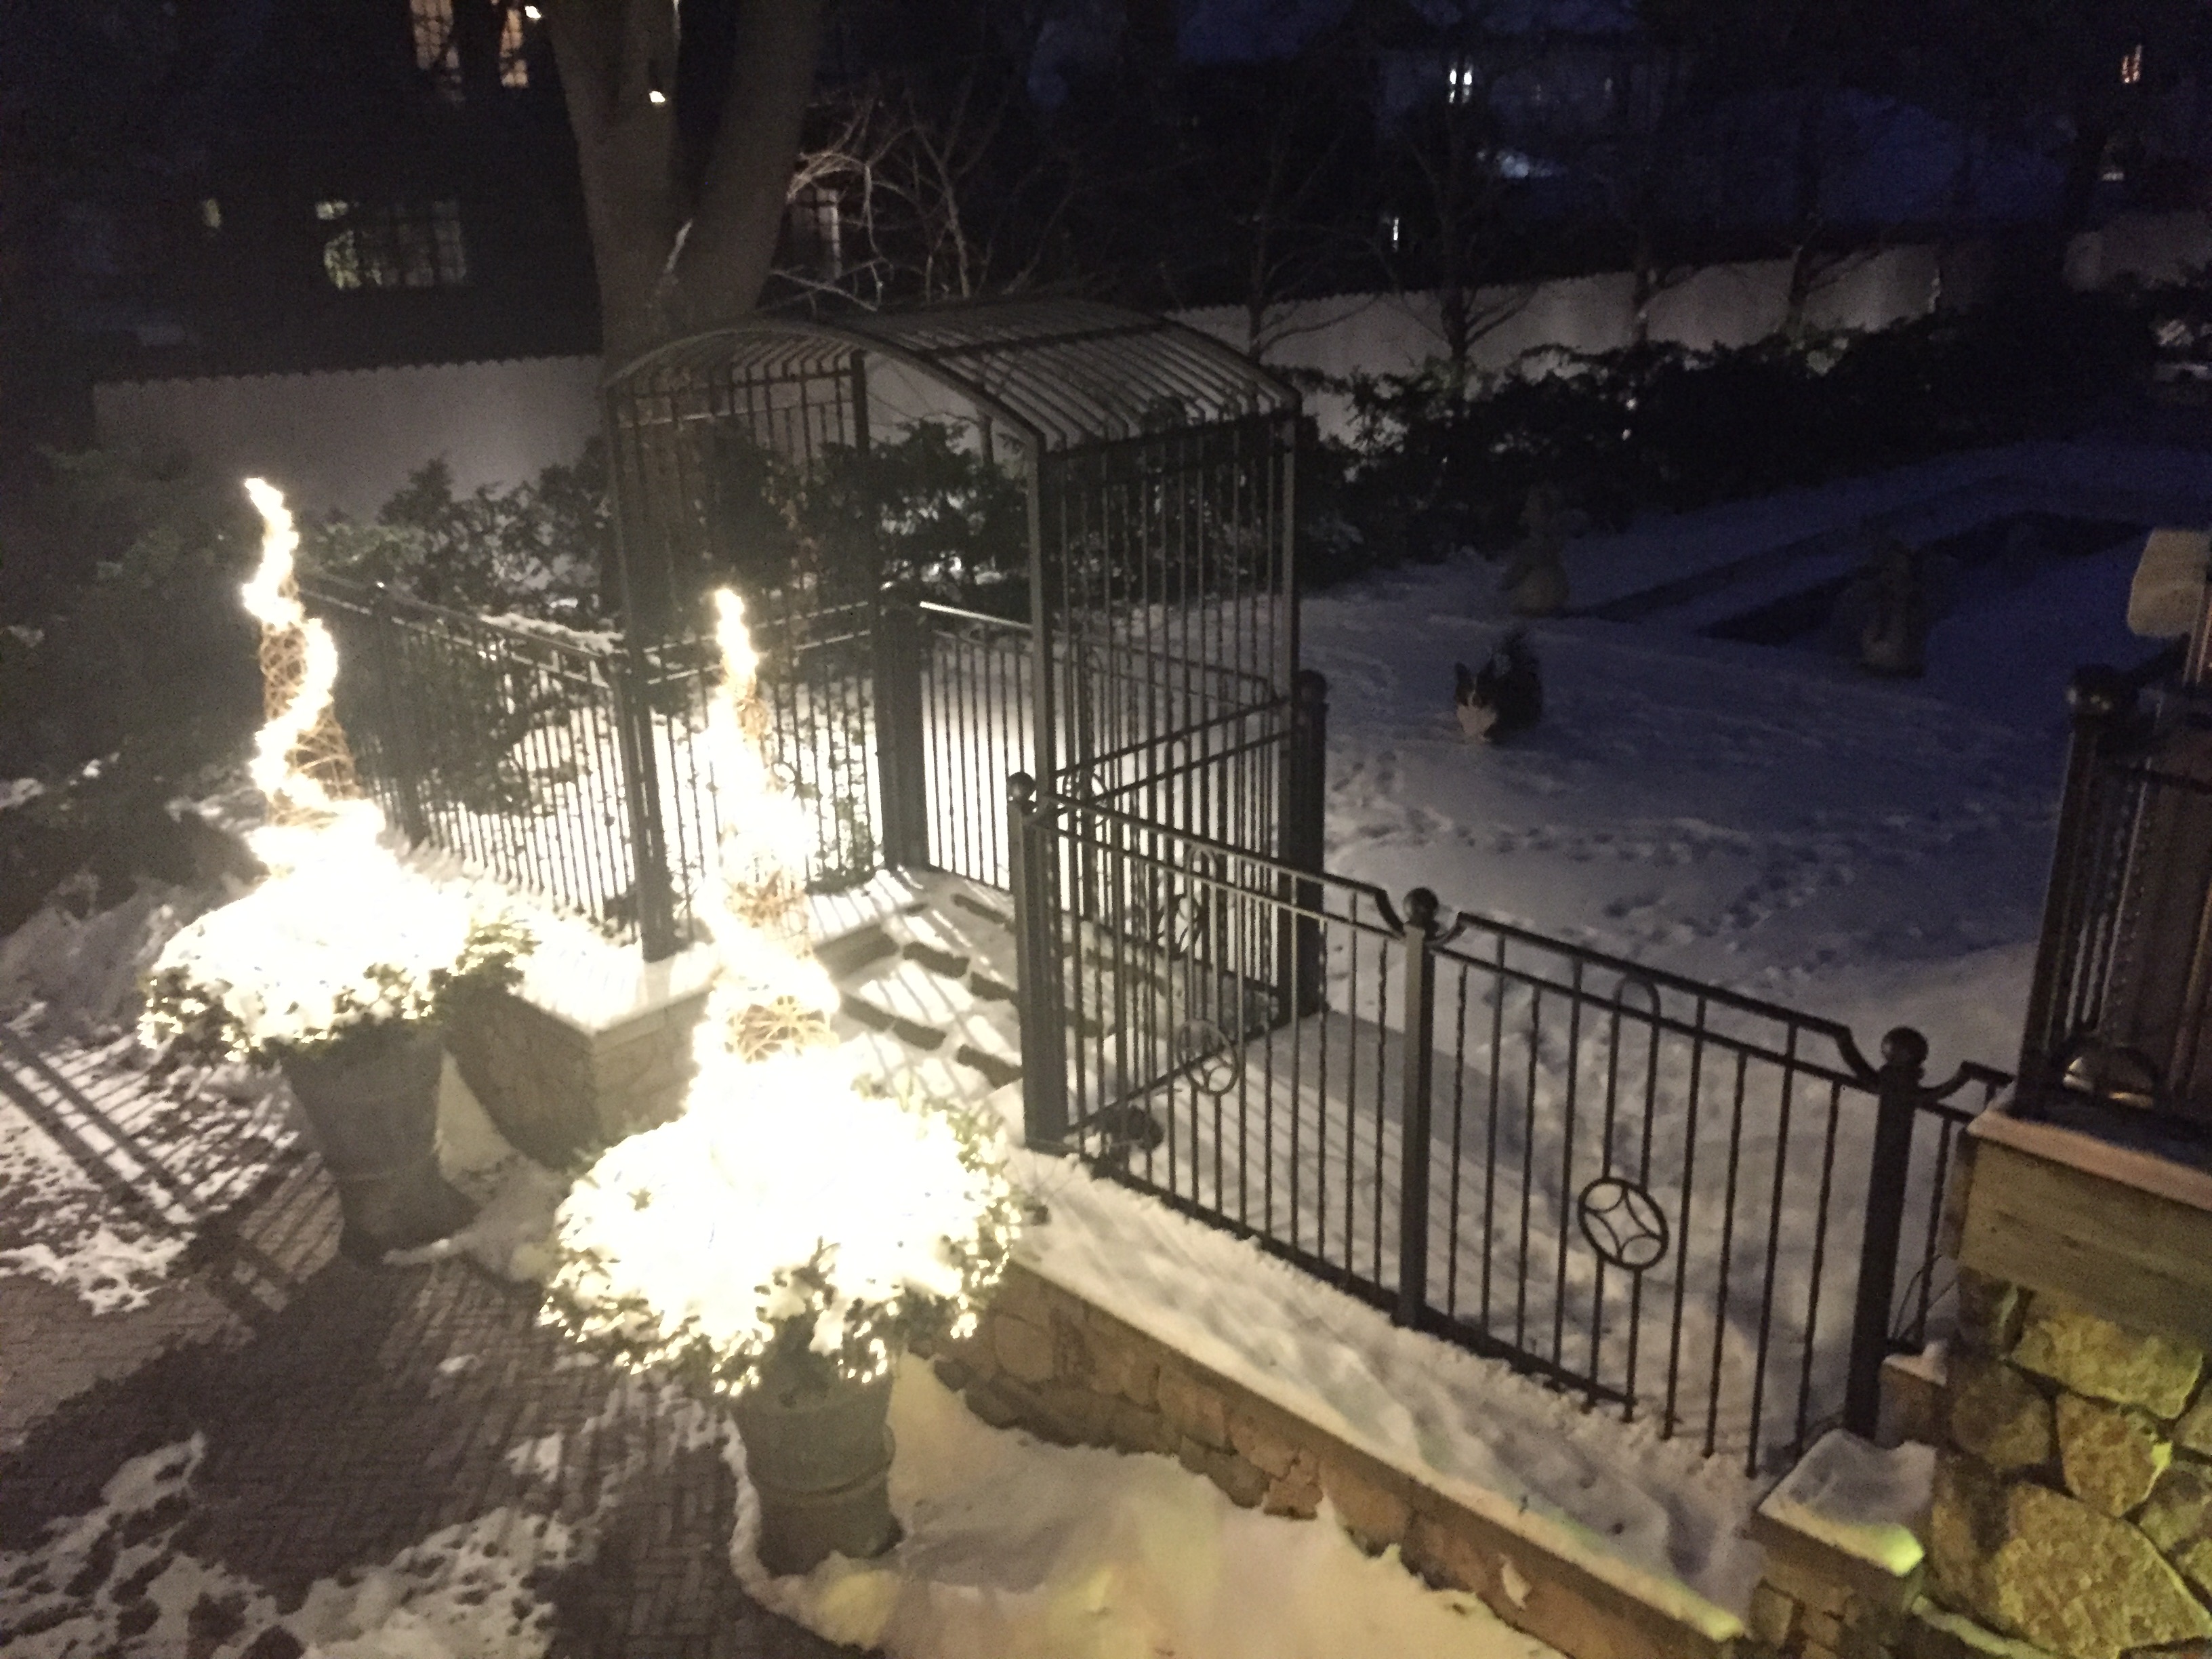 Those LED lights can set a a landscape on fire. Inspired to walk through the snow on the upper deck, a long exposure reveals how bright that temporary lighting can be. I can see Milo in the yard-nice. This past summer, I took all of the landscape lighting out of the trees, and placed them facing up against the fence. That permanent lighting is much more subtle, and silhouettes the trunks of the maple trees and the branches of the yews. This is the best of both lighting worlds that I have to offer my winter landscape.


