 One wall of my shop is completely covered in moss. Dried and preserved moss, that is. Mood moss is sold by the case; the rounded clumps come with a wiry and fibrous backing which are the individual stems and roots. I cut the brown backs flat, and fit and hot melt glue the pieces on sheets of foamcore board. I leave a two inch border unmossed all around the 4 edges of the board. After I stapled all of the sheets to the wall, I covered the seams with solid pieces of moss that cover where one board meets another. This makes the moss field look continuous. This moss makes for a highly textural surface. When the color of the moss fades, as it always does with exposure to light, I spray it with moss dye, which is most likely a glorified food coloring.
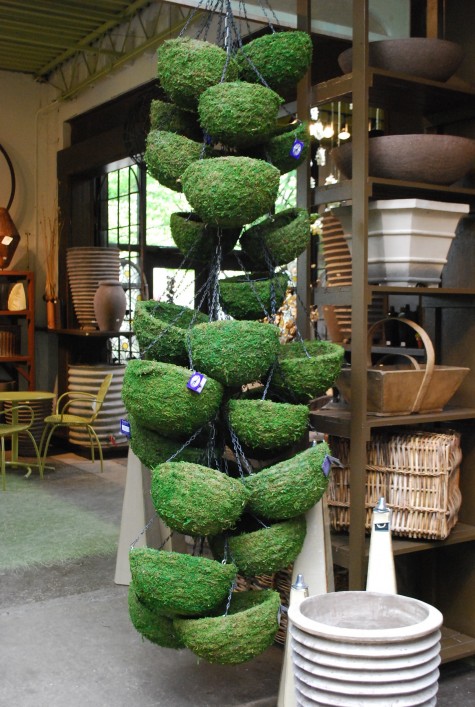 Mossing a container involves a wholly different process. Moss can be used to line a wire container, as its fibrous stems and roots are densely interwoven. It permitts the passage of water while it contains soil. It is a very attractive material-what gardener does not have a soft spot for moss? I once caught Buck in the nick of time, just as he was set to broom all the moss off of a low retaining wall in the drive. It did take a little time to explain the beauty of this plant, but now he treasures our living colonies of moss as much as I do. Florist’s moss comes in flat sheets-or hides” as Rob calls them. They lay obligingly flat against the surface being lined. These moss baskets show nothing of the wire liner; this particular moss is fitted tightly to the outside surface of the basket, rather than the inside surface. More on that later.
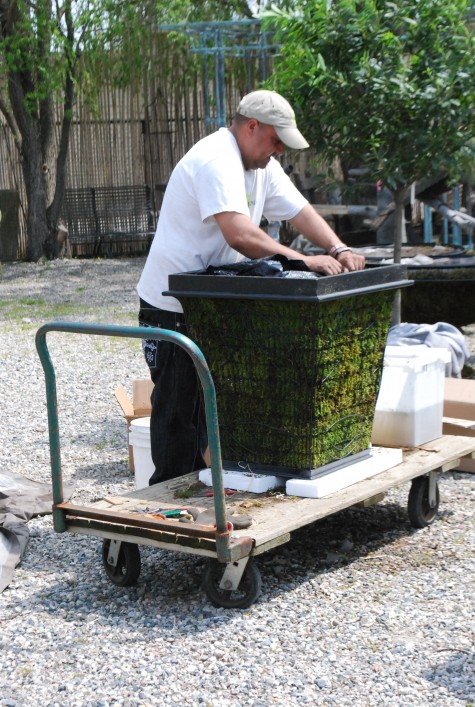 Mossing a very large object, such as this wirework pedestal, involves a filler material. To stuff this entire volume with moss would involve many many cases at great expense. Instead, we turn the pedestal up side down, and place a sturdy plastic trash bag filed with bark that fills the center of the space. The florist’s moss is soaked until is is pliable and can be easily shaped. It is then stuffed into a small space between the bag of bark, and the outside wire shell. The moss is pushed down, and into that wire. This insures that when the pedestal is turned right side up, gravity will cause the moss to fall back onto each individual wire, securing it in place. Gravity plays a big part in any sucessful mossing project.
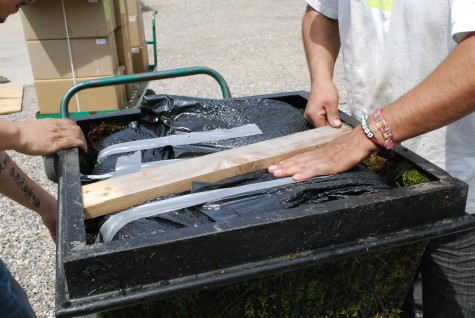 Once the thick outside layer of moss is wedged into place by the bagged bark, and gravity, the bag is sealed with duct tape. Wood 1 by 2 inch lumber is wedged under the angle iron comprising the bottom of the pedestal. This is an anti-gravity measure. Ideally, all of the airspace inside is either moss or bark. Gravity will act on any open pockets, producing that dreaded condition known as “topiary erosion”. This is why I rarely use moss in a horizontal spot in a container. The weight of wet soil, and the action of gravity will tend to perforate the moss-it is only a short time thereafter when the soil breaks through.
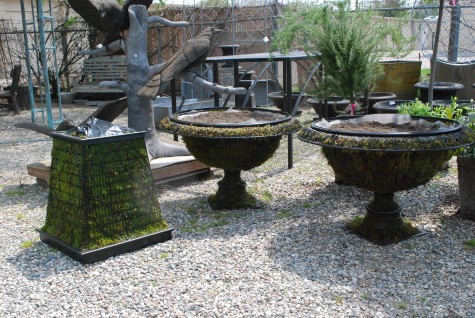 The process of mossing an urn or container is a two step process. 4 or 5 inches of densely packed and overlapping pieces of moss are pressed into the wall of the container. Then the drainage material, and 4 inches of soil are added-this keeps the moss in place. We work our way to the top of the urn-some moss, and then some soil to hold it in place. There is little pressure on the moss in the sides of a container, as the weight of the soil and the action of gravity is always in the vertical dimension.
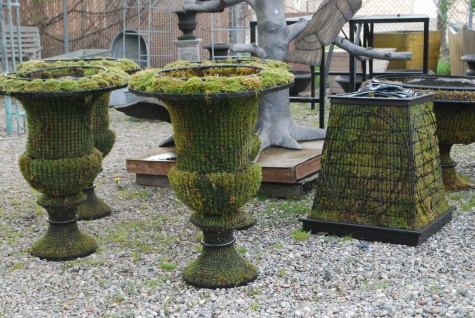 The bottoms of these urns are packed solid with moss, as the space is too small to handle both soil and moss. The bagged bark in the pedestal helps make the pedestal heavy. A large wire pedestal and urn has to be sited in a place where winds are less likely to blow them over.
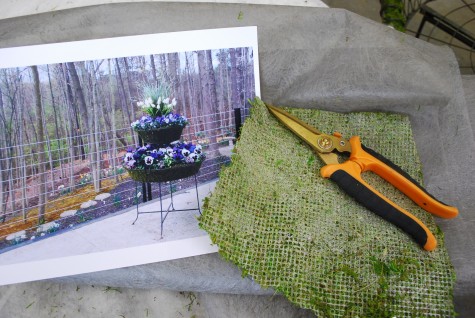 Always, there is new technology. One of my favorite new products-rolls of florist’s moss with a plastic netted backing. I suspect the moss is ground up, mixed with a binder, and sprayed onto the netting. This is a very civilized and easy to handle mossing material. I moss baskets and containers in much the same way as I might wallpaper a wall. There is very little waste. The netting makes the moss very strong, and unlikely to rupture. Smooth and symmentrical containers can be mossed in minutes with this material.
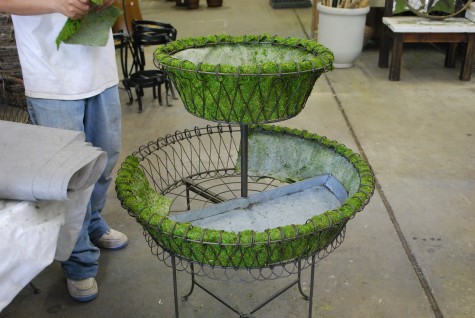 There is no need to fit, soak, or overlap this material, nor do you need to build up each layer a few inches at a time. It molds easily to the surface you are mossing. It can be cut, and the corners easily folded inward. We cut the strips for this plant stand a few inches long, so the top edge could be rolled, and form fitted to the rolled edge at the top of each tier.
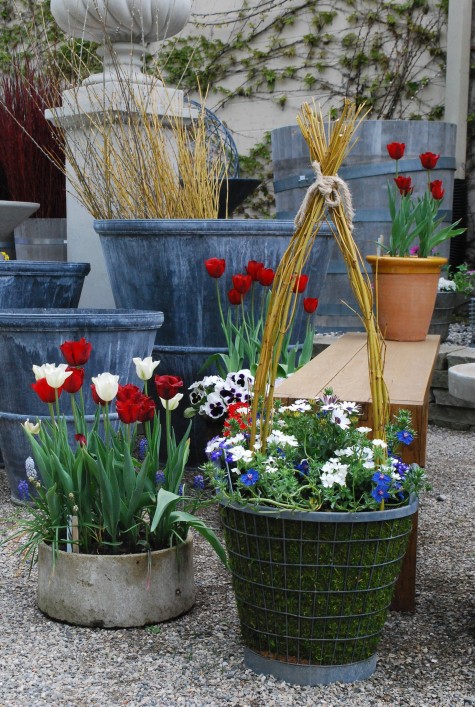
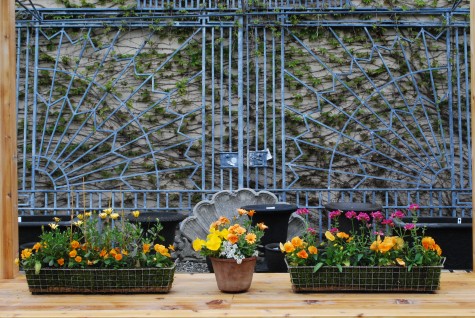 Small, geometrically shaped galvanized wire containers can be mossed and planted very quickly. The smaller the container, the more difficult it is to handle and fit natural sheet moss. I find this netted composite moss retains its mossy color really well.
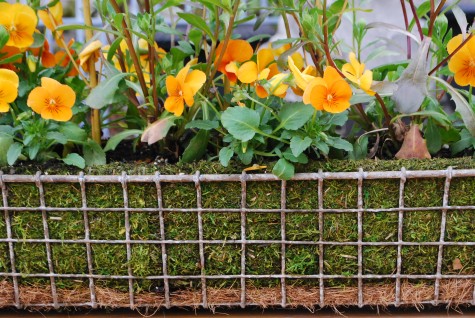 The bottom of this container has a layer of natural coir, cut to snuggly the fit the bottom. The coir is very dense and strong, and will keep the soil where it belongs.
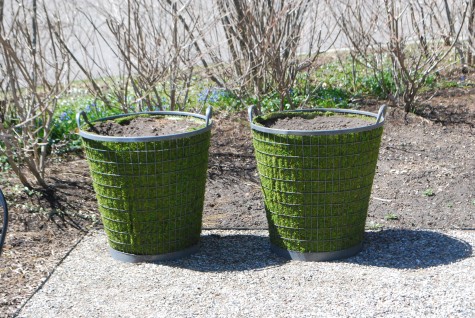
This pair of mossed galvanized buckets look very handsome-even before they have plants. The structure of the wire is cleanly and clearly visible.
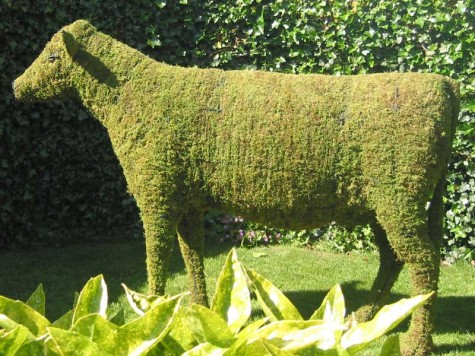 This moss cow was a birthday gift from Rob a number of years ago. This spring, I took it apart, and re-mossed some sections, and repaired others. It is the only sculpture in my garden. Lady Miss Bunny-is she not beautiful?
